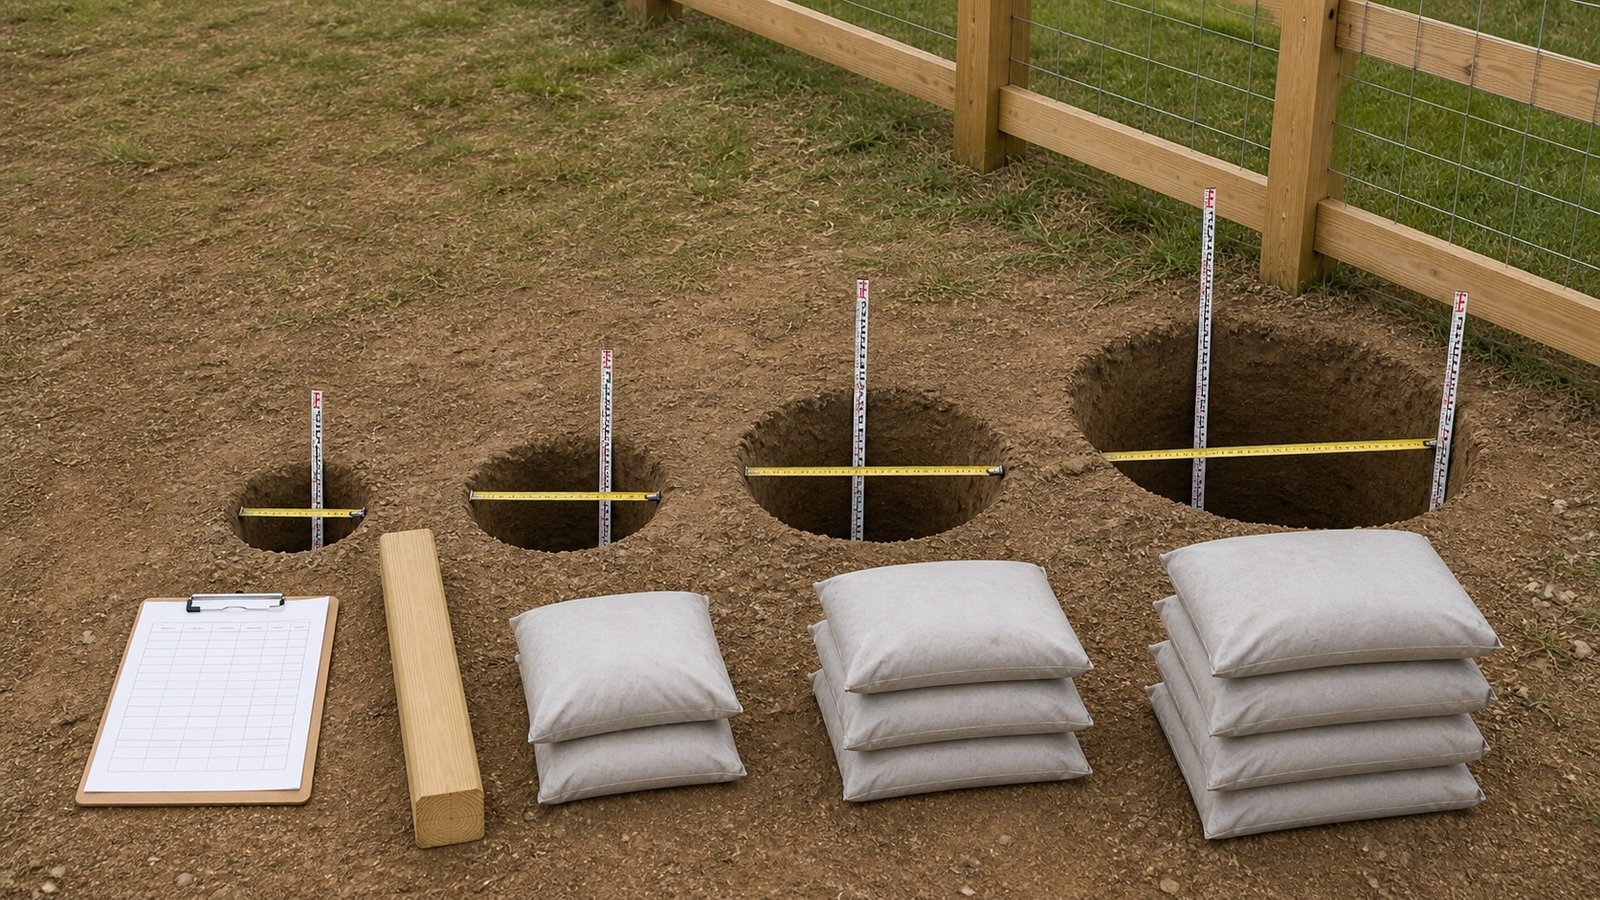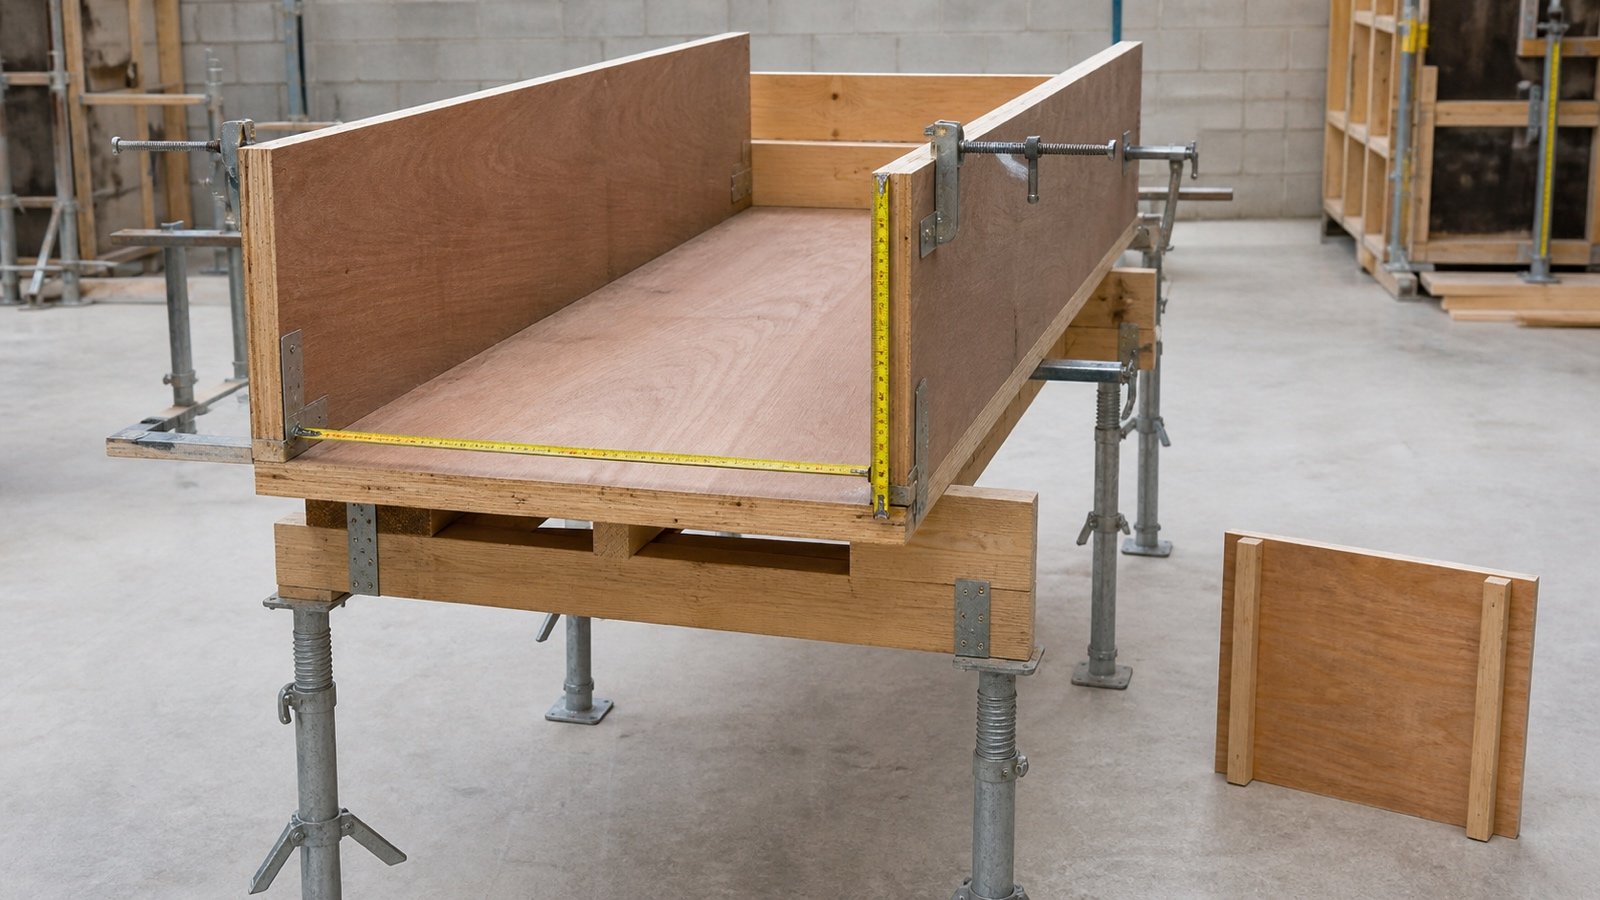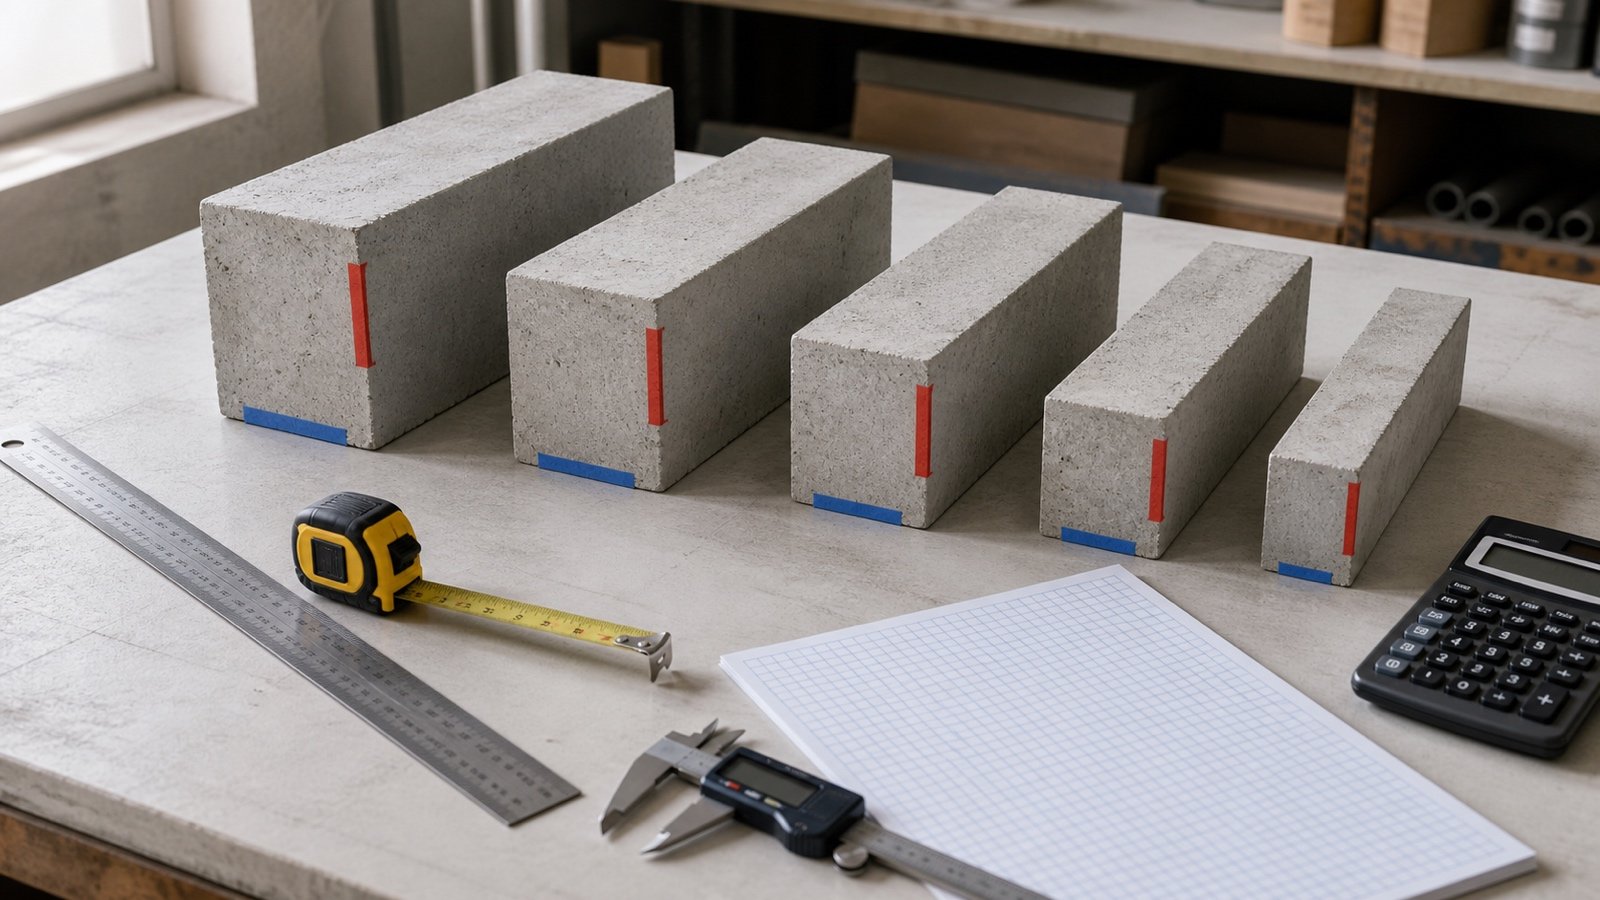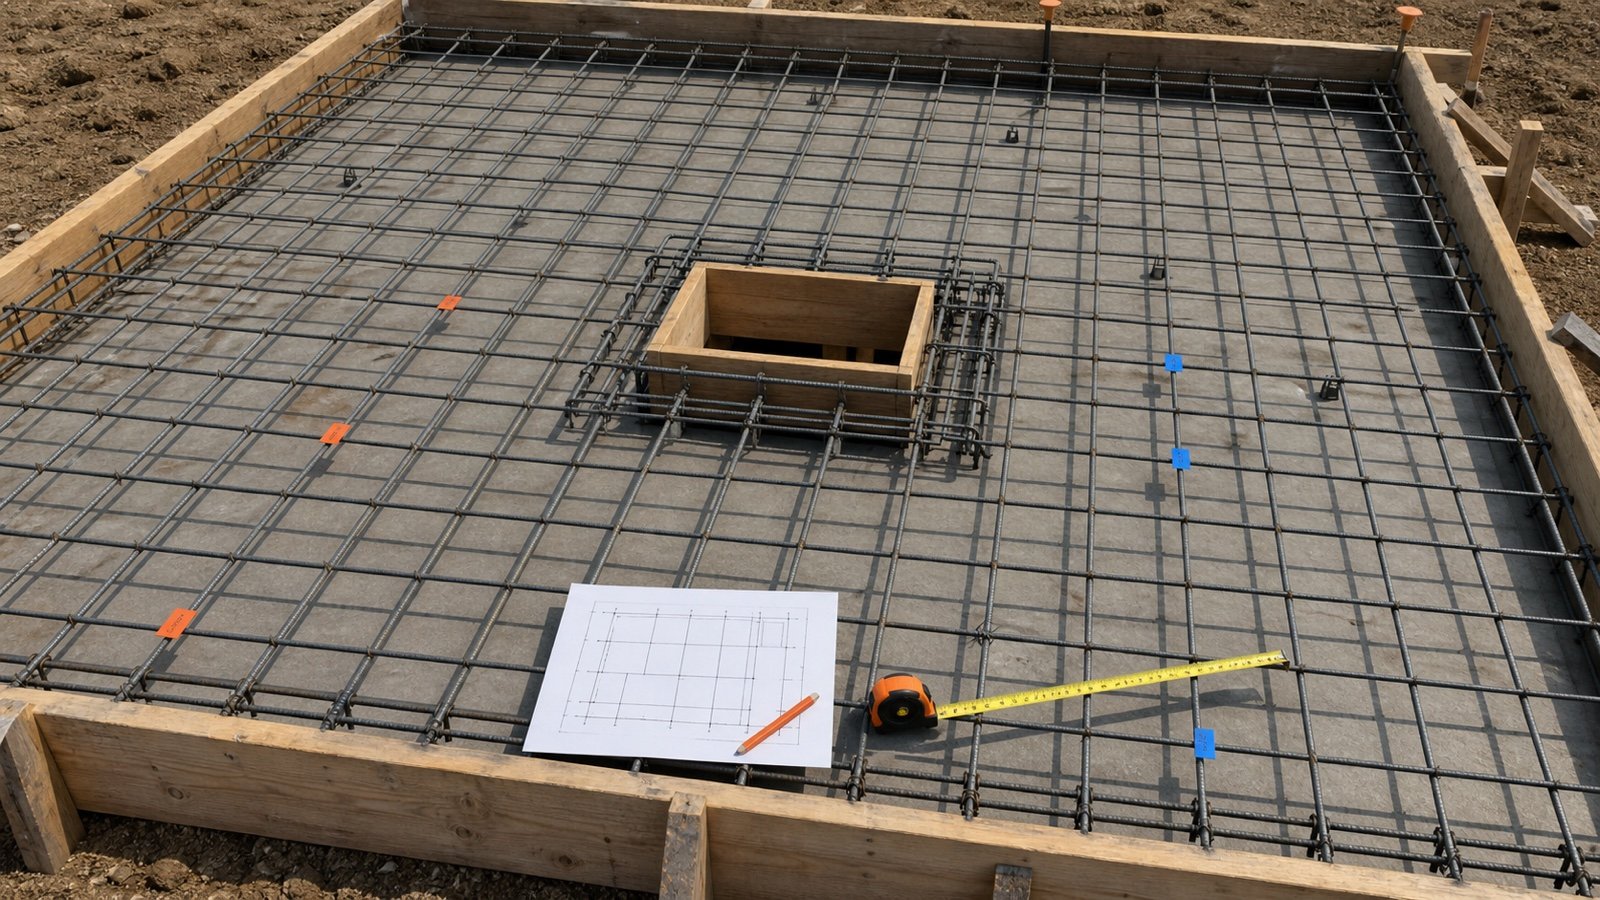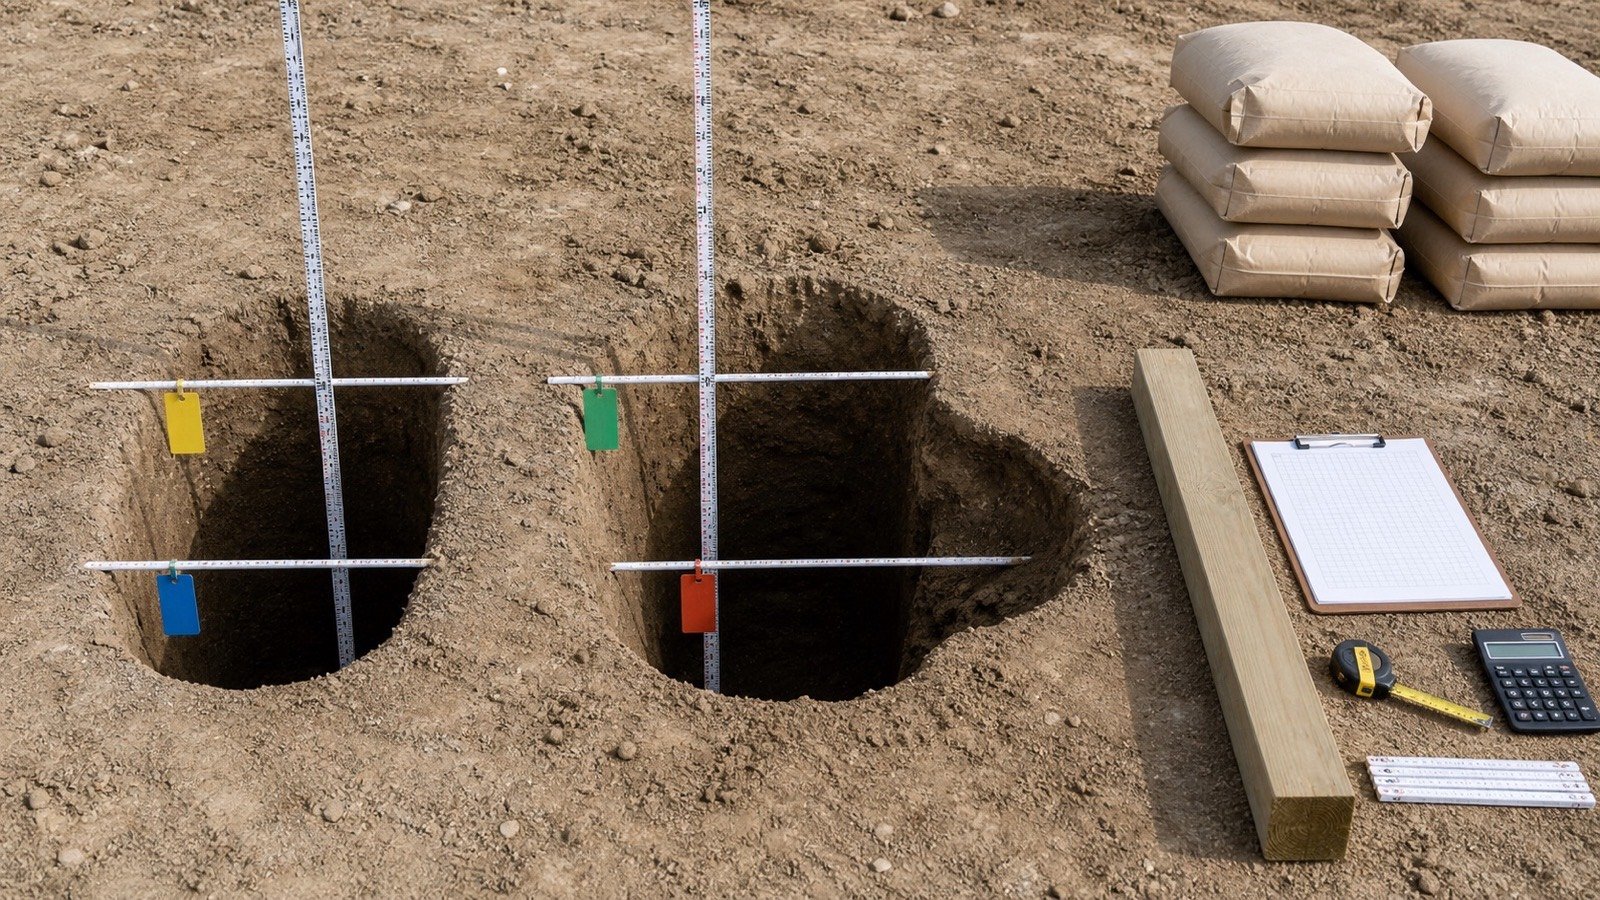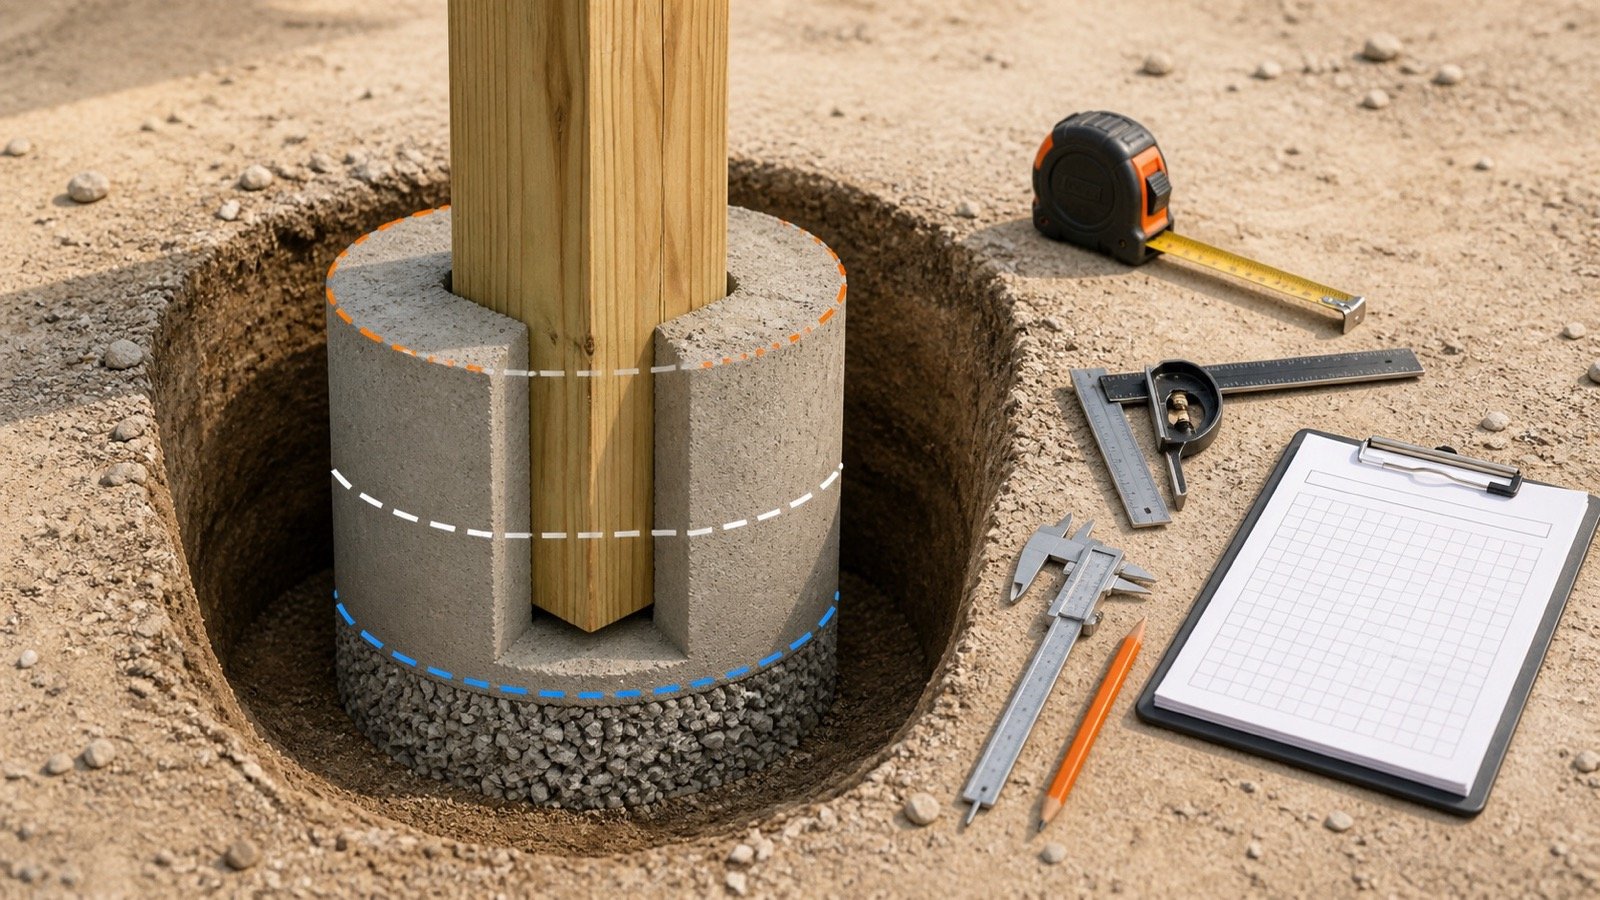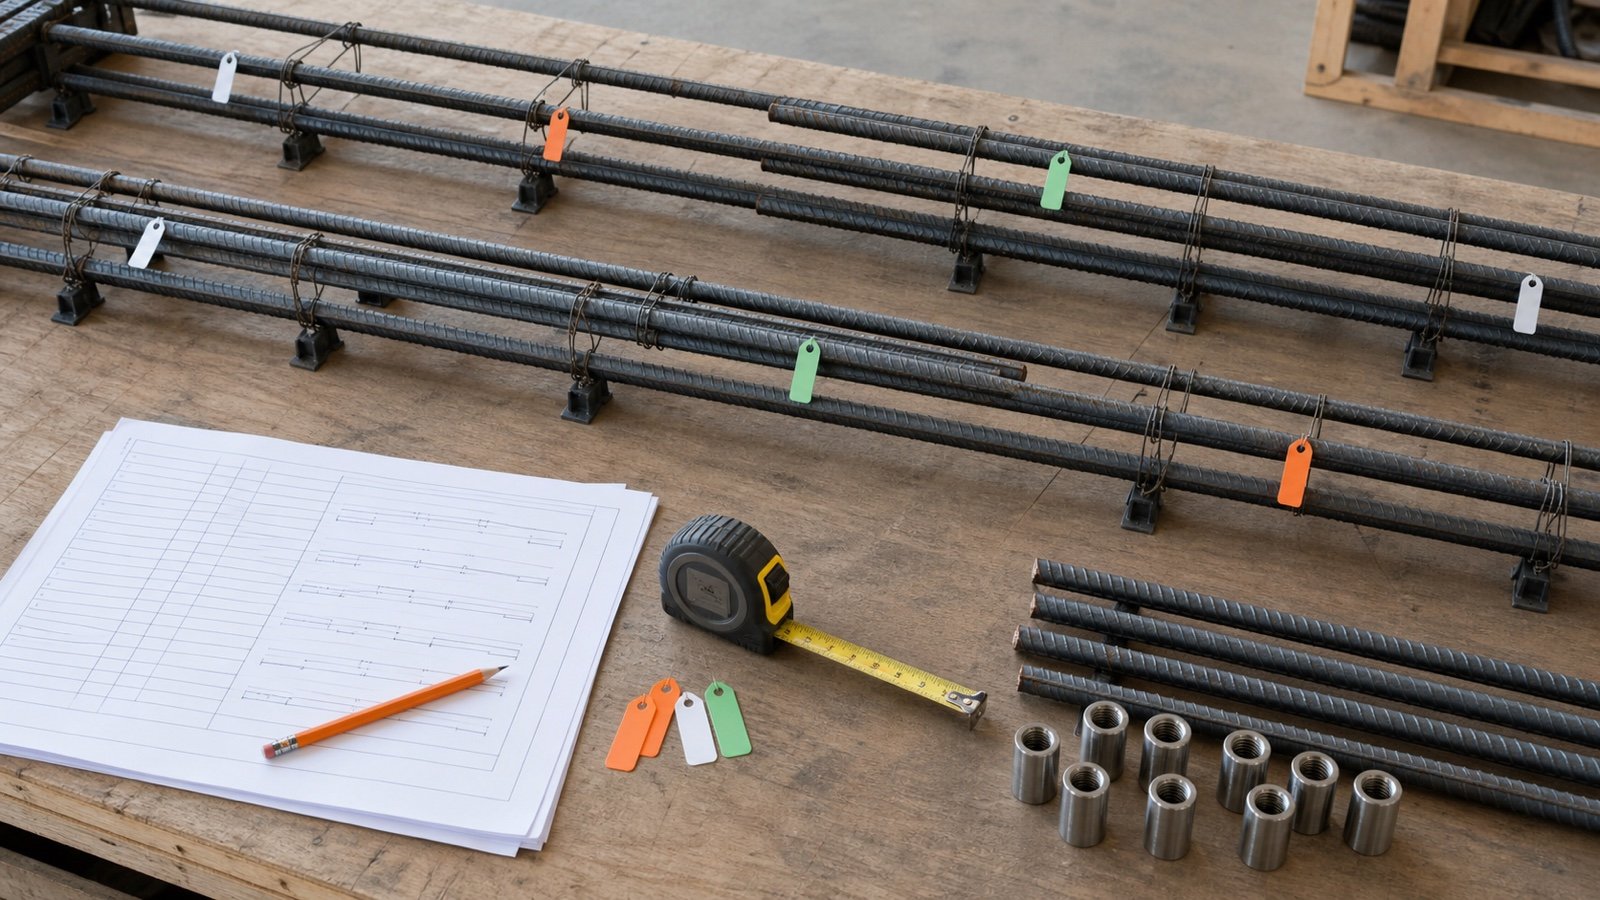
How do you prepare a concrete column quantity takeoff?
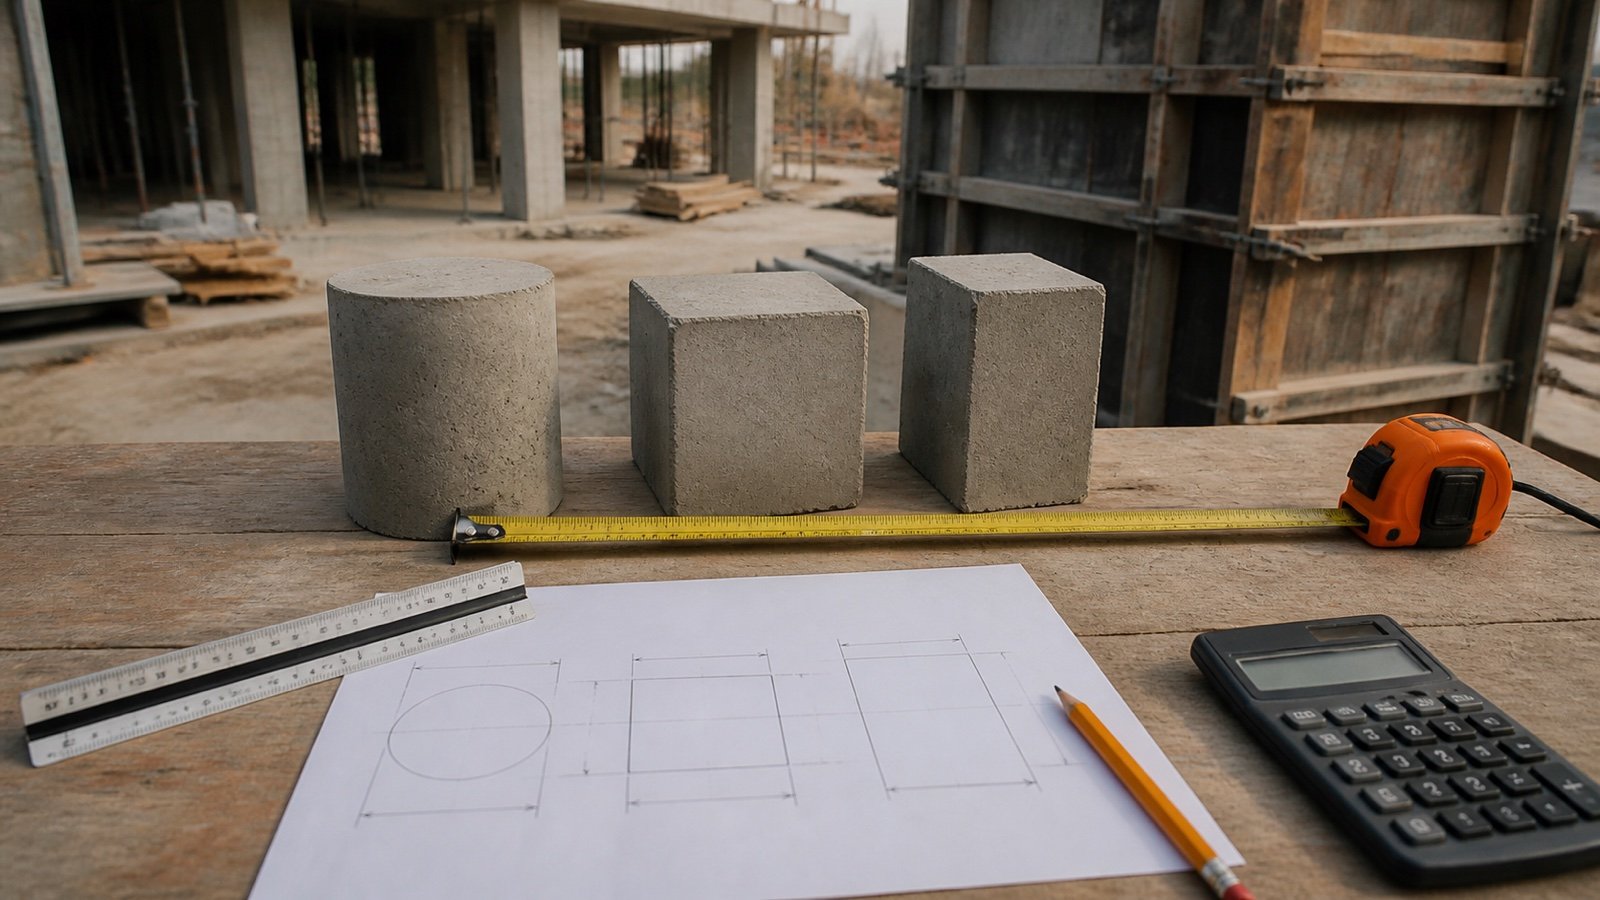
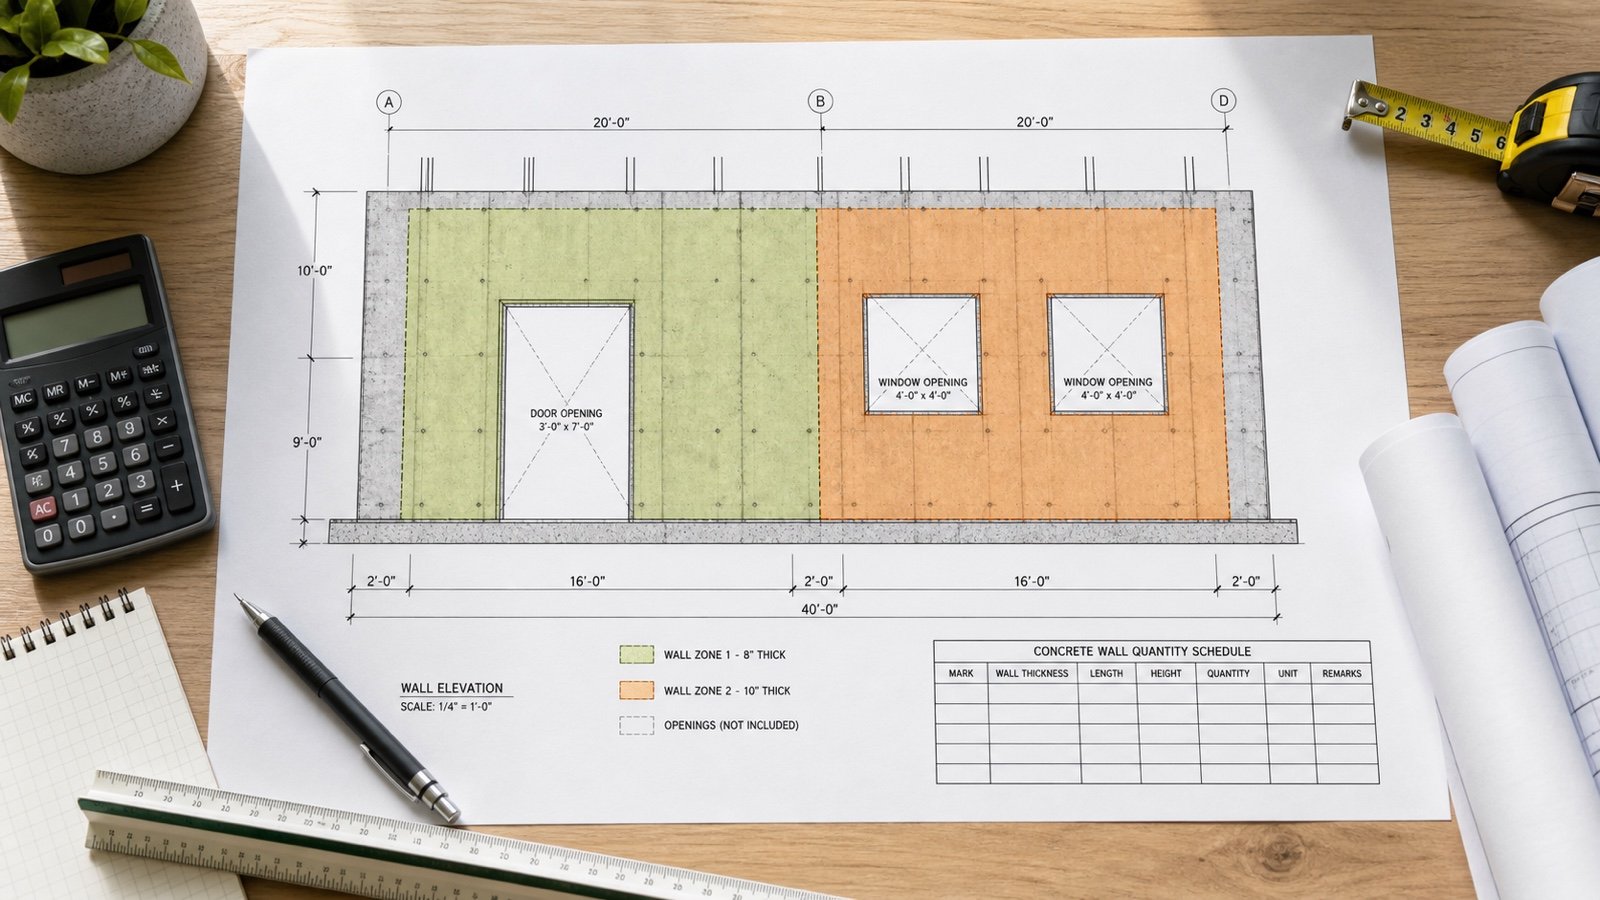
Read each column mark from the current plan and schedule, define the concrete height between recorded boundaries, and group only identical columns. Calculate each group at full precision, then add the non-overlapping group subtotals.
Use the Concrete Column Calculator for each accepted round, square, or rectangular group. Keep the worksheet beside the calculator result so the dimensions, source, level, and revision remain visible.
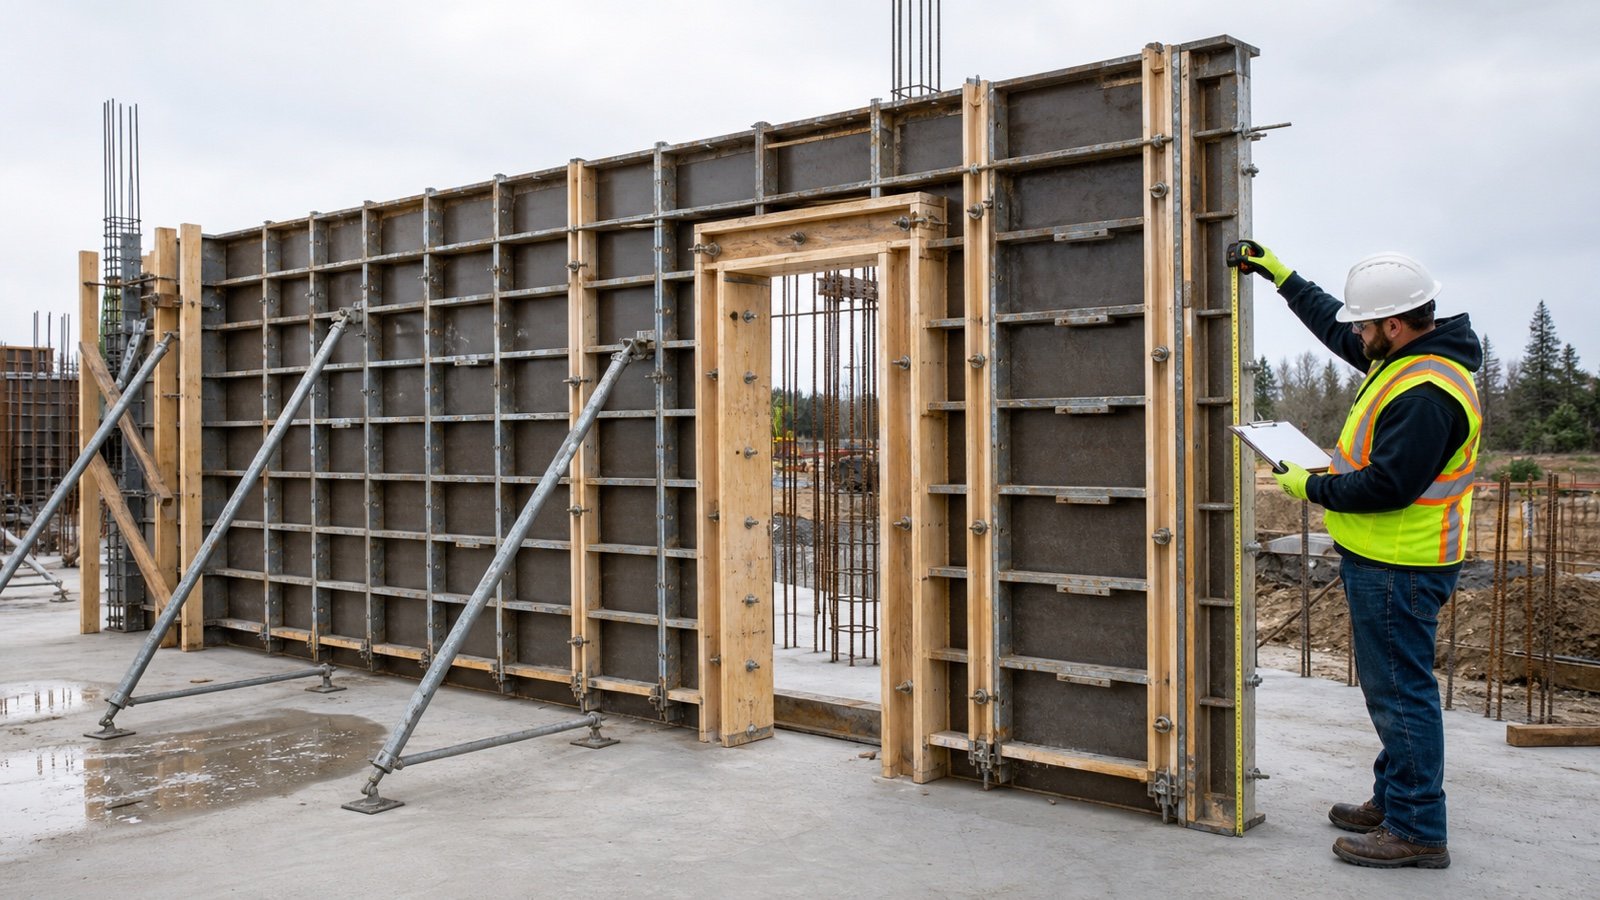
The top of a footing, underside of a beam, floor level, and construction joint can describe different boundaries. Record the boundary that the project drawings and selected measurement rules require.
Which records should you check first?
Use the latest coordinated structural records available for the takeoff. Mark superseded sheets and unresolved differences before measuring.
| Record | What to verify | Why it matters |
|---|---|---|
| Structural plan | Grid, location, mark, count, level, omissions, and revision | Locates every column occurrence |
| Column schedule | Shape, clear size, concrete designation, mark changes, and notes | Defines the group properties |
| Sections and details | Base, top, steps, capitals, corbels, transfer members, and joints | Defines height and adjacent boundaries |
| Specifications | Concrete classes, measurement rules, exclusions, and change control | Separates quantities that cannot be combined |
| Current model or field record | Accepted changes, offsets, slopes, and as-built conditions | Resolves differences from issued drawings |
| Supplier or placement plan | Selling unit, delivery sequence, minimums, access, and current terms | Converts an approved quantity into an order later |
The Hong Kong Institute of Surveyors' BIM measurement requirements give a useful information model: column marks, types, cross-sections, top and base levels, concrete designation, dimensions, height, volume, and formwork-side data can all matter. That document is a scoped BIM and quantity-surveying reference, not a universal rule for every contract.
What should a column takeoff worksheet contain?
The worksheet must let another checker reproduce the quantity without guessing which drawing or boundary was used. Leave an item open when a controlling value is missing.
| Field | Example entry |
|---|---|
| Group and column mark | Level 01, C1 |
| Drawing, schedule, and revision | S-101 and S-601, accepted revision |
| Shape | Rectangular or circular |
| Clear cross-section | 0.30 m × 0.45 m or 0.40 m diameter |
| Base boundary | Top of the identified footing or accepted joint |
| Top boundary | Underside of the identified beam, slab, capital, or joint |
| Concrete height | 3.20 m between those 2 boundaries |
| Quantity | 8 identical occurrences |
| Concrete designation | Exact drawing or specification entry |
| Volume | Per column and group subtotal |
| Open item and checker | Boundary query, change reference, name, and date |
Keep reinforcement, column formwork, finishes, embeds, tests, and temporary works in separate schedules. They may use the same column mark, but they do not share the concrete-volume unit or quantity basis.
How do you group columns without hiding changes?
Combine columns only when shape, clear dimensions, height boundaries, level condition, concrete designation, and quantity basis match. Create another row when any of those fields changes.
- Separate a column that changes size above a floor or transfer level.
- Separate round and rectangular sections even when their nominal width is similar.
- Separate different concrete designations or placement sequences.
- Separate a sloping, tapered, flared, hollow, stepped, or irregular portion until its geometry is approved.
- Keep accepted revisions in new rows or a visible change ledger.
Do not overwrite an old dimension and leave the old total in the worksheet. Record the revised group, its quantity difference, the authority for the change, and the date it entered the takeoff.
Which formulas calculate column concrete volume?
Use clear concrete dimensions in one consistent unit. Multiply cross-sectional area by the accepted concrete height, then by the number of identical columns.
Rectangular group volume = width × depth × height × quantity
Round group volume = π × (diameter ÷ 2)² × height × quantity
Mixed schedule total = sum of non-overlapping group subtotals
NIST Handbook 44 Appendix C records 12 inches as 1 foot and 27 cubic feet as 1 cubic yard. Convert every linear dimension before multiplying. Do not divide a cubic-foot result by 12 or convert a square unit as though it were a length.
Keep full calculation precision through each group and round the displayed schedule total once. A contract bill may prescribe another precision or aggregation method, so record that rule when it applies.
Worked example: rectangular and round column groups
This example uses 2 groups at one level. The dimensions and boundaries are already accepted. They illustrate the worksheet method and do not specify a suitable structural size or concrete designation.
| Mark | Shape and size | Height | Qty | Volume each | Group volume |
|---|---|---|---|---|---|
| C1 | 0.30 m × 0.45 m rectangle | 3.20 m | 8 | 0.432 m³ | 3.456 m³ |
| C2 | 0.40 m diameter circle | 3.20 m | 4 | 0.4021238597 m³ | 1.6084954386 m³ |
| Measured schedule total | 5.0644954386 m³ | ||||
For C1, 0.30 × 0.45 × 3.20 = 0.432 m³ per column. Multiplying by 8 gives 3.456 m³.
For C2, π × (0.40 ÷ 2)² × 3.20 = 0.4021238597 m³ per column. Multiplying by 4 gives 1.6084954386 m³.
Add the full-precision group results: 3.456 + 1.6084954386 = 5.0644954386 m³. The worksheet may display 5.0645 m³ after rounding, while retaining the unrounded calculation record.
This is measured geometric volume. No allowance, reinforcement deduction, package yield, supplier increment, or delivery contingency has been added.
Where should the column start and stop?
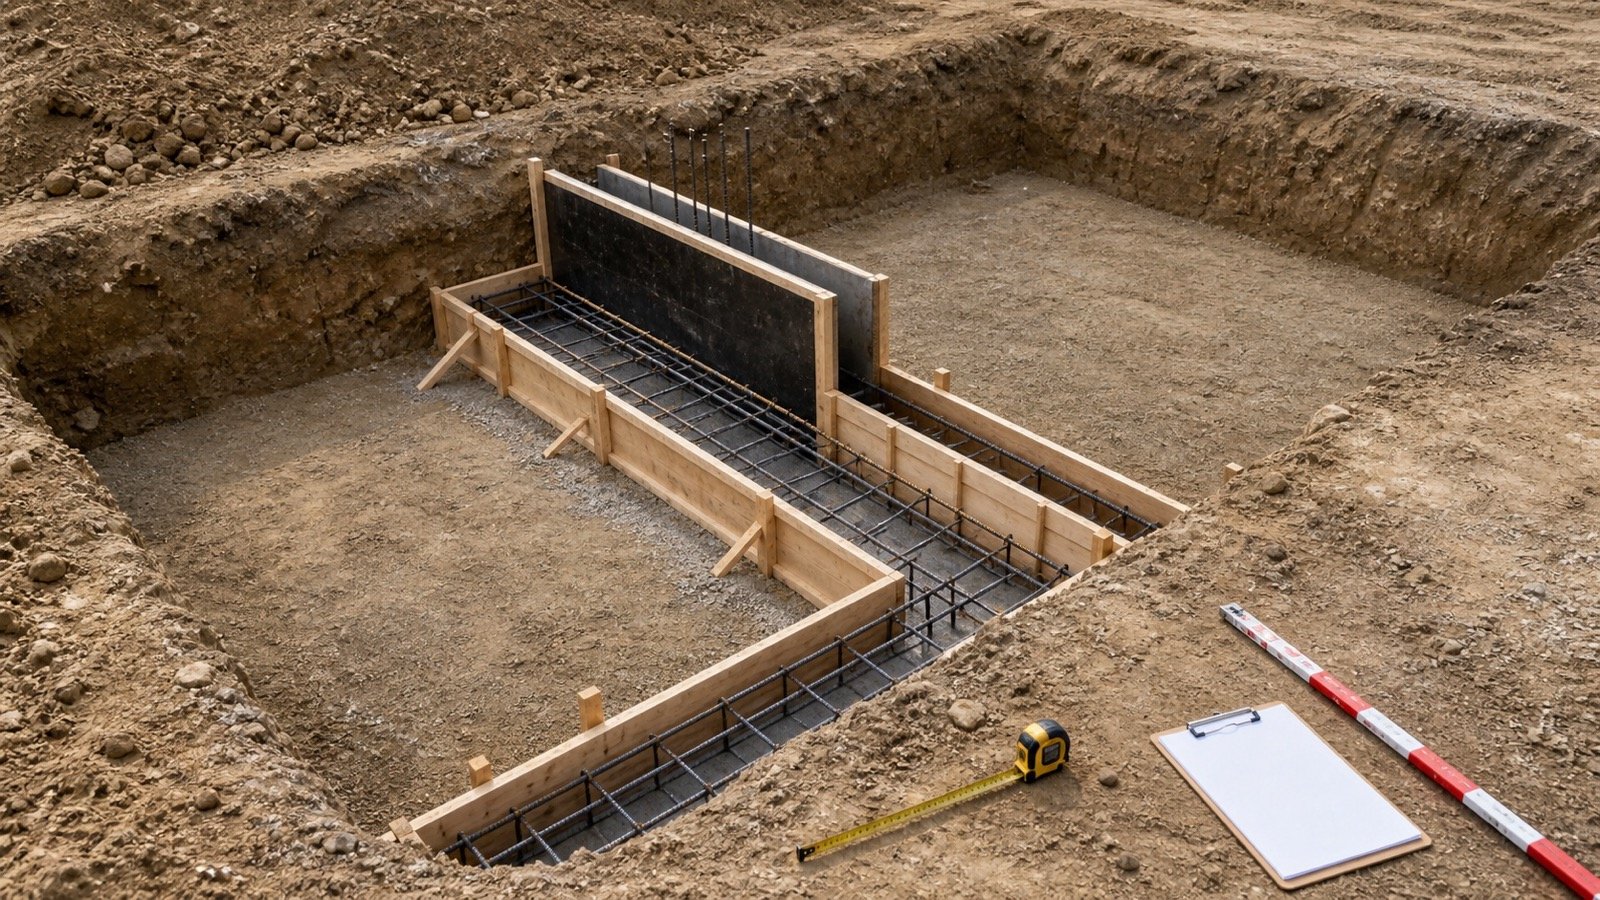
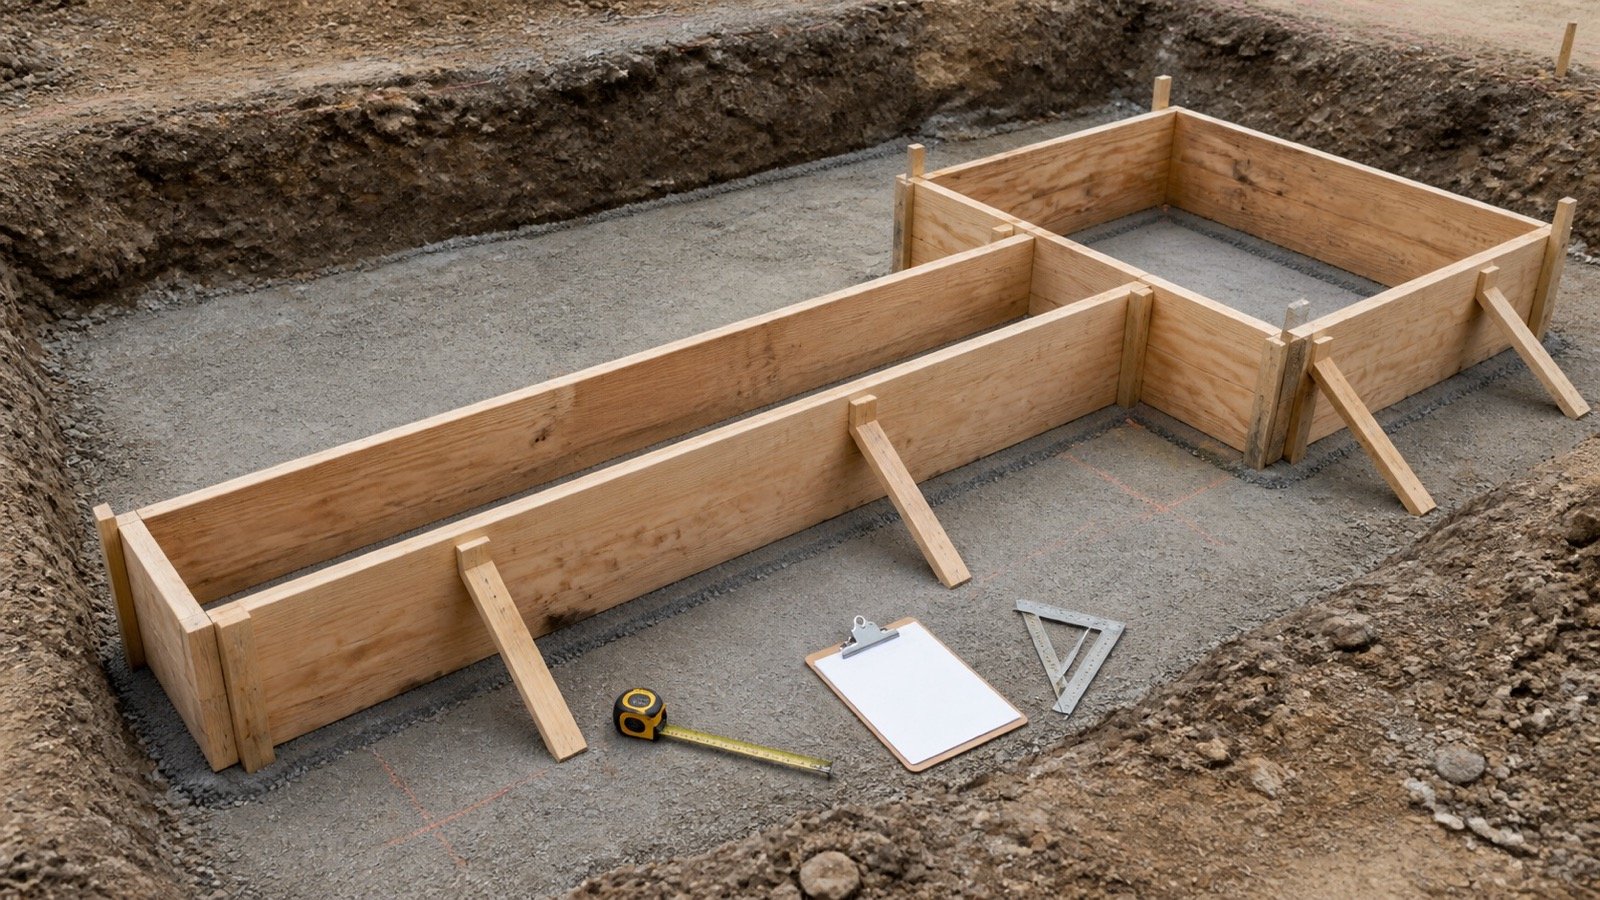
Set one base boundary and one top boundary from the project records. Make adjacent concrete schedules stop at the same boundaries so no zone is counted twice or omitted.
| Adjacent element | Takeoff check |
|---|---|
| Footing or pile cap below | Record whether the shaft starts at its top face, at another joint, or under a stated measurement rule |
| Pedestal | Separate it when its cross-section or measurement classification differs |
| Beam or slab above | Identify the accepted top plane and make the beam or slab use the matching boundary |
| Capital, corbel, or drop | Calculate its approved geometry separately unless the selected rules classify it with the column |
| Transfer slab or beam | Check the special level and classification notes rather than extending a typical-storey rule |
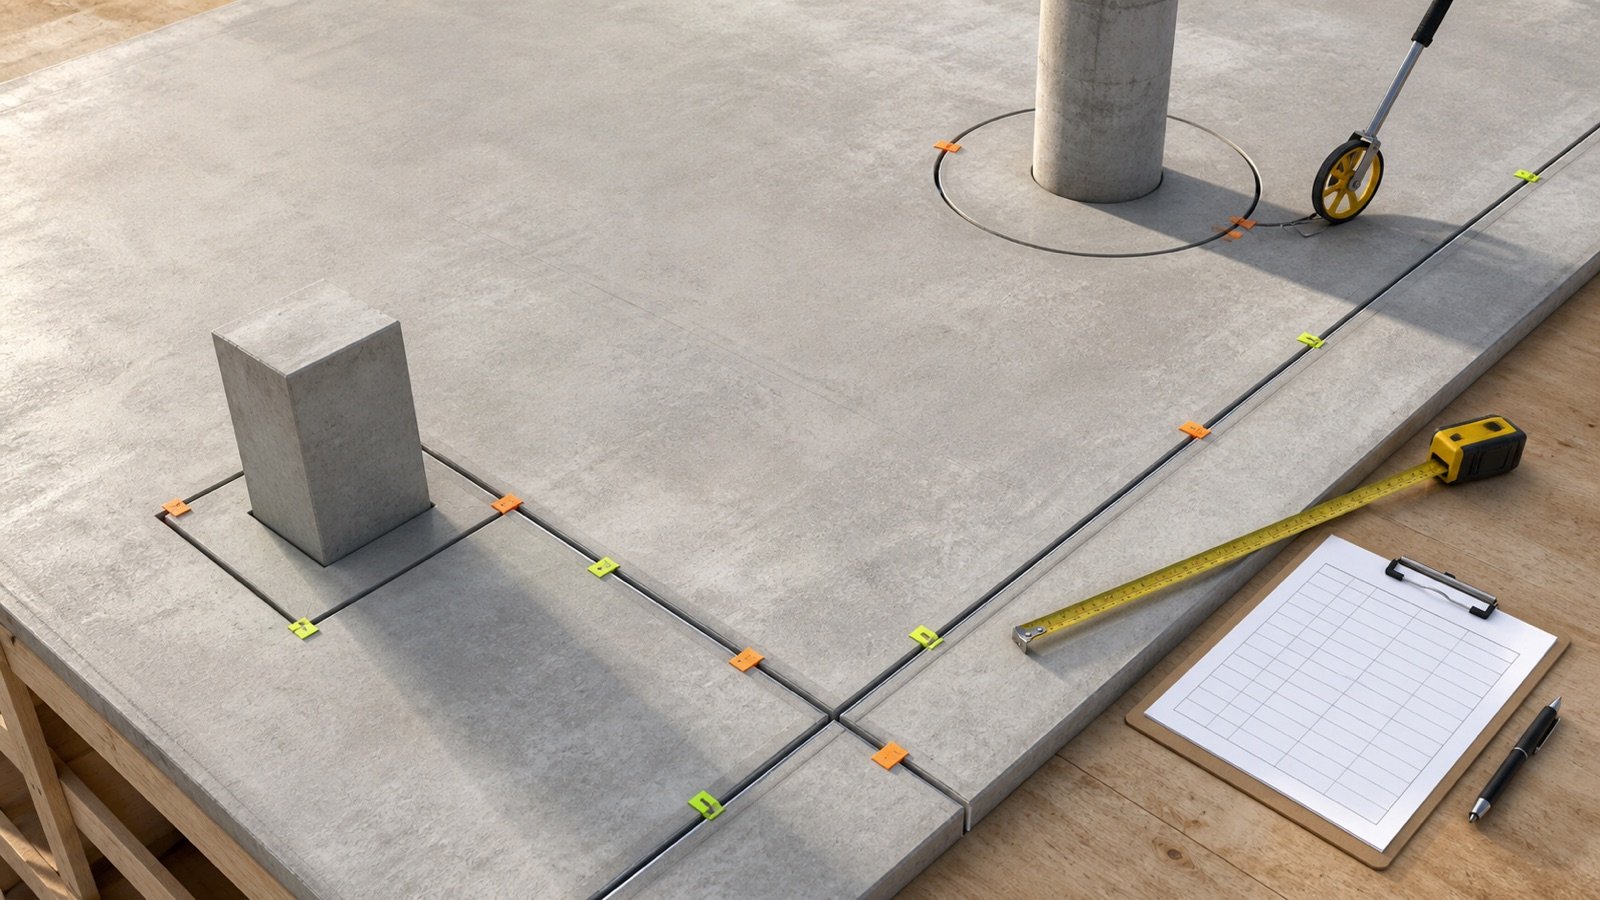
| Construction joint | Use the approved joint only when it controls the quantity split |
RICS NRM 2 provides a formal detailed-measurement framework for building work and classifies vertical in-situ concrete in cubic metres. Its work section also expects drawings to show the relative position and sizes of members. Use the measurement standard named by the project; this planning worksheet does not replace a contract bill or its rules.
How do you reconcile the plan, schedule, and volume total?
Count every column mark on the plan by level and compare that count with the worksheet. Then compare each worksheet size and designation with the schedule and each height with the relevant section or level record.
- Freeze the drawing list and revision used for the check.
- Highlight each plan occurrence once and record its worksheet group.
- Compare the group count with the highlighted count.
- Compare shape, size, and concrete designation with the schedule.
- Compare base and top boundaries with the sections and details.
- Recalculate at least one item per group independently.
- Add group subtotals and compare them with the calculator export or model report.
- List every difference, decision, and unresolved query before release.
A model volume is a cross-check, not automatic proof. Confirm the model element boundaries, classification, voids, joins, revisions, and exported properties before comparing it with a drawing-based takeoff.
Should reinforcement and embeds be deducted?
Do not make an automatic deduction. Formal measurement rules, project specifications, and supplier practice can treat reinforcement, sleeves, plates, ducts, and embeds differently.
A project-approved deduction needs verified geometry inside the same concrete zone and a clear rule authorizing it. Keep the gross measured volume and any deduction on separate lines so the checker can see both bases.
When does the standard column formula stop working?
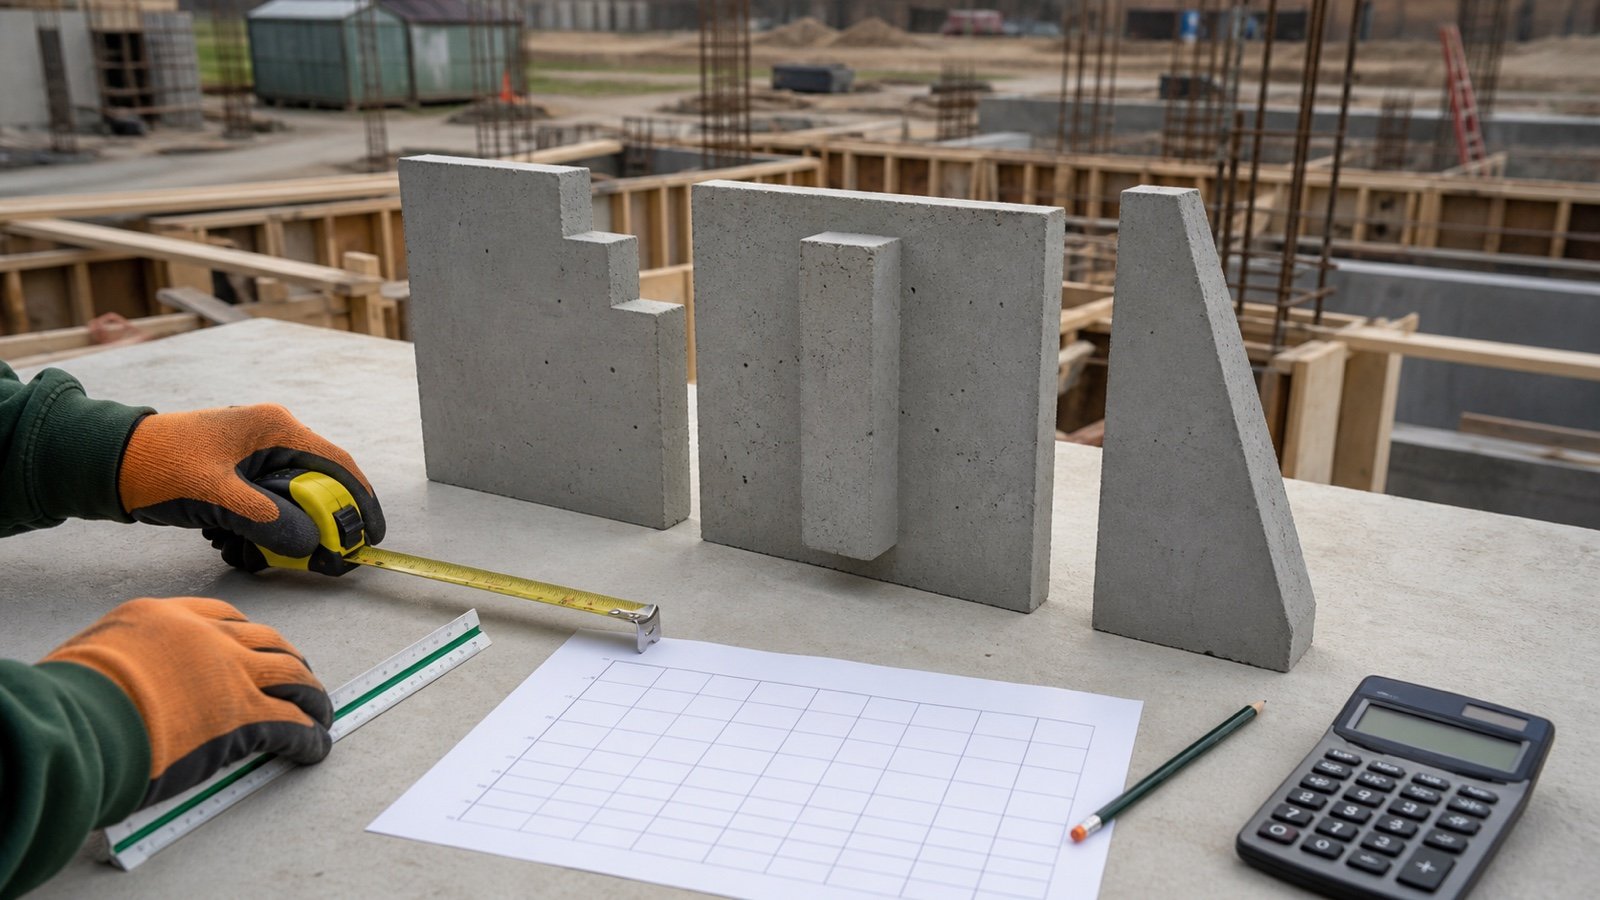
A constant-section prism or cylinder formula does not describe every column. Tapered, sloping, stepped, flared, hollow, composite, or irregular members need accepted geometry and a separate check.
- Split a stepped shaft into non-overlapping constant sections.
- For a sloping member, confirm whether the required length follows the centreline, vertical rise, or another measurement rule.
- Use approved frustum geometry for a true taper; do not average widths without checking the shape.
- Deduct a void only when its dimensions, continuity, and measurement treatment are verified.
- Keep a column capital, corbel, haunch, or pedestal separate when its geometry or classification changes.
Send an unresolved geometry to the designer or quantity lead. A larger allowance cannot repair an undefined solid.
Which mistakes change a column takeoff?
- Counting marks from a plan that does not match the current schedule revision.
- Using outside form dimensions instead of the clear concrete cross-section.
- Reading diameter as radius for a round column.
- Using a floor-to-floor height without checking beams, slabs, footings, joints, or capitals.
- Combining groups that have different sizes, heights, concrete designations, or level conditions.
- Counting an intersection in both the column and the adjacent member.
- Mixing millimetres with metres or inches with feet inside one formula.
- Rounding each column before multiplying the group.
- Applying one default allowance to every project.
- Changing a drawing value without recording the revision and quantity effect.
- Treating a model report as checked before reviewing joins and classifications.
- Converting measured volume directly into an order without current supplier terms.
How does the takeoff become a concrete order?
Approve the measured schedule first. Then document any project-based planning allowance, combine only compatible placement quantities, and apply the current producer or supplier workflow.
The Ready-Mix Concrete Calculator keeps measured volume, an entered allowance, and a supplier increment visible. The Concrete Bags Calculator uses the exact packaged product's current mixed yield. Neither tool chooses the structural mix, placement sequence, pump, testing, access plan, or delivery capacity.
What safety and professional limits apply?
A quantity takeoff does not approve column dimensions, reinforcement, concrete strength, formwork, shores, bracing, placement pressure, construction loads, pour sequence, or structural capacity. Current drawings, specifications, codes, responsible design, site conditions, inspection, and the project safety plan control those decisions.
For covered United States construction work, OSHA 29 CFR 1926.701 addresses construction loads and protection from protruding reinforcing-steel impalement hazards. OSHA also identifies wet cement as a skin and eye hazard. Use the law, safety data sheets, personal protective equipment, washing facilities, and site controls that apply to the actual location and work.
Final takeoff check
- Current drawing list and revisions attached.
- Every plan occurrence assigned to one column group.
- Clear cross-section and shape checked against the schedule.
- Base and top boundaries named, not implied.
- Concrete designation and level condition recorded.
- Irregular geometry separated and independently checked.
- Adjacent concrete boundaries reconciled without gaps or overlaps.
- Full-precision group calculations retained.
- Allowances, deductions, and supplier rounding kept separate from measured volume.
- Preparer, checker, open items, and issue date recorded.
Return to the Concrete planning hub for the full calculator and guide cluster. Use the Concrete Footing Calculator for pad, strip, or stepped footing groups. The calculation methodology explains units, assumptions, precision, and rounding, and the corrections route accepts a source or arithmetic issue.
Sources and source scope
- HKIS BIM Measurement Information Requirements supports the listed column-information fields and model takeoff context.
- RICS NRM 2 supports the stated detailed-measurement and vertical in-situ concrete context.
- NIST Handbook 44 (2026), Appendix C supports the stated unit relationships.
- OSHA 29 CFR 1926.701 and OSHA concrete-products hazard guidance support the stated United States workplace limits.
Source scope: HKIS and RICS provide scoped quantity-information and measurement references. NIST supports unit relationships. OSHA supports the cited United States workplace context. These sources do not set a universal column size, boundary, concrete designation, deduction, allowance, supplier order, or structural design.
Review note: Saleem Sial owns the research and editorial record. Formula fixtures, source checks, build validation, and rendered QA form the internal publication gate. Waseem Sial, External Reviewer and Engineer, is listed for ongoing external review; no completed review date is claimed.