Blog
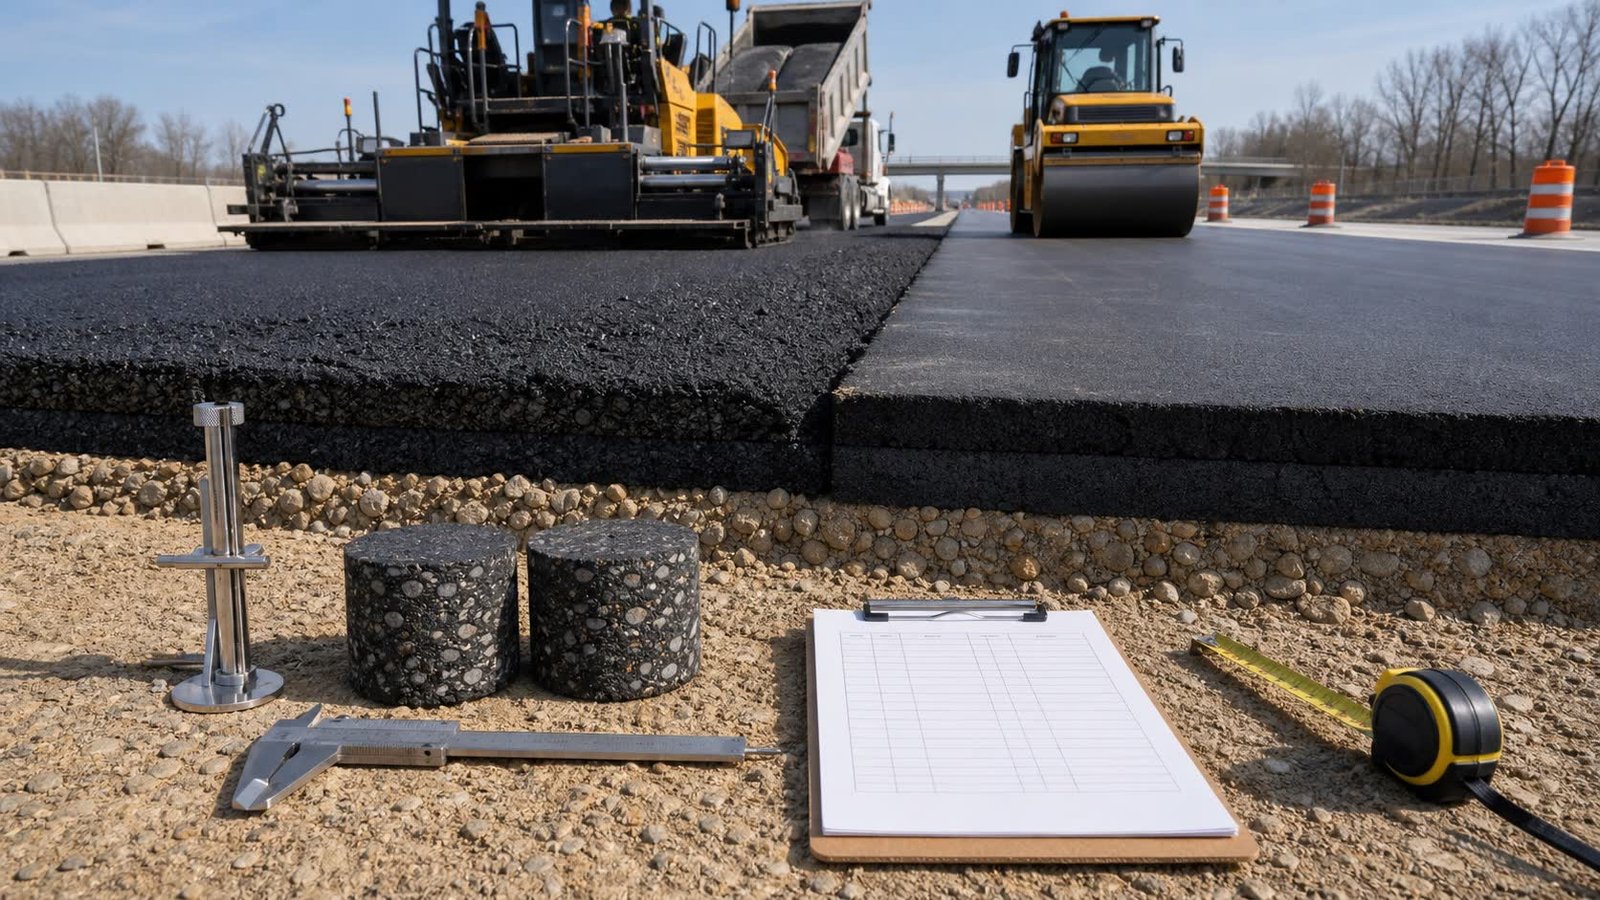
Asphalt Thickness: Loose vs Compacted
Distinguish compacted and loose asphalt thickness, record separate lifts, calculate volume changes, and check quotes without relying on a universal depth.
Read Asphalt Thickness: Loose vs Compacted
Blog
Asphalt Coverage per Ton by Depth
Calculate asphalt coverage per U.S. short ton or metric tonne by compacted depth and density, with checked tables, formulas and ticket controls.
Read Asphalt Coverage per Ton by Depth
Blog
Asphalt Density: Units and Records
Choose an asphalt density record, distinguish Gmb, Gmm and unit weight, convert lb/ft³ to kg/m³, and check tonnage without a universal default.
Read Asphalt Density: Units and Records
Blog
Asphalt Ordering and Loads
Plan an asphalt order without a universal waste factor. Separate measured mass, allowance, supplier rounding, delivery loads, truck cycles and tickets.
Read Asphalt Ordering and Loads
Blog
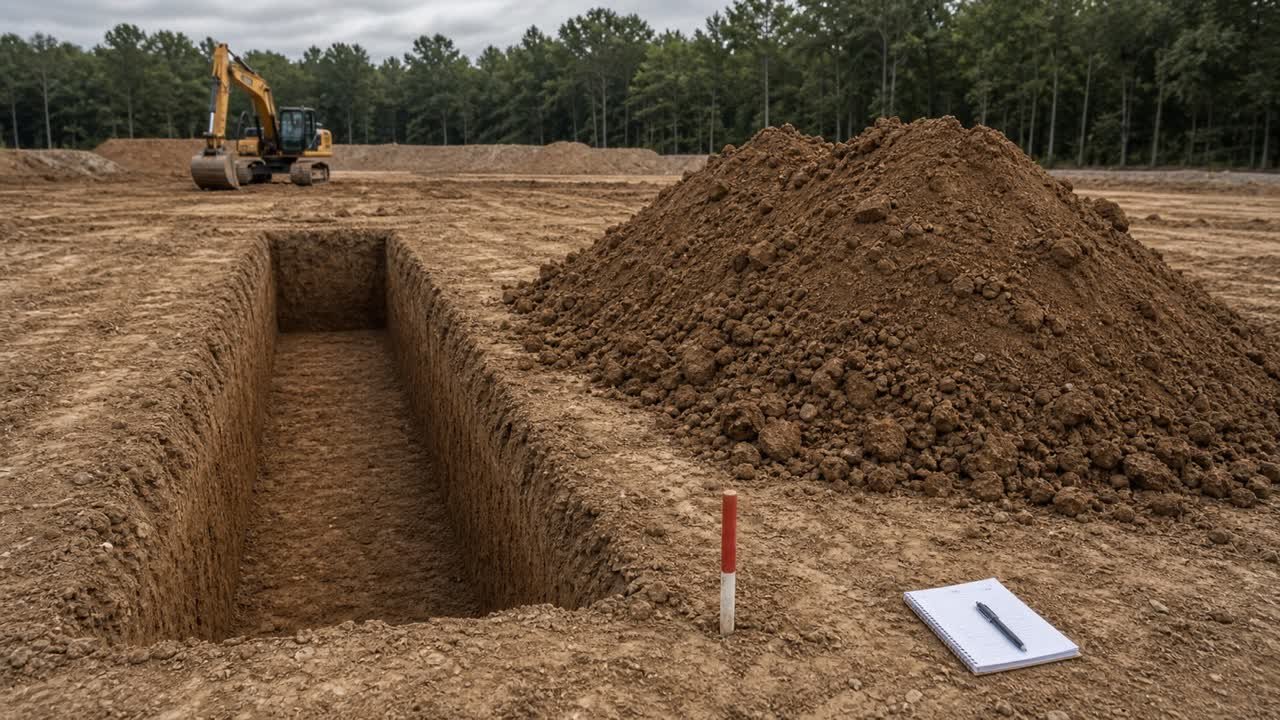
Bank vs Loose Volume: Excavated Soil and Swell
Convert bank volume to loose excavated volume, calculate soil swell, check a project factor, and keep truck, stockpile, and compacted quantities separate.
Read Bank vs Loose Volume: Excavated Soil and Swell
Blog
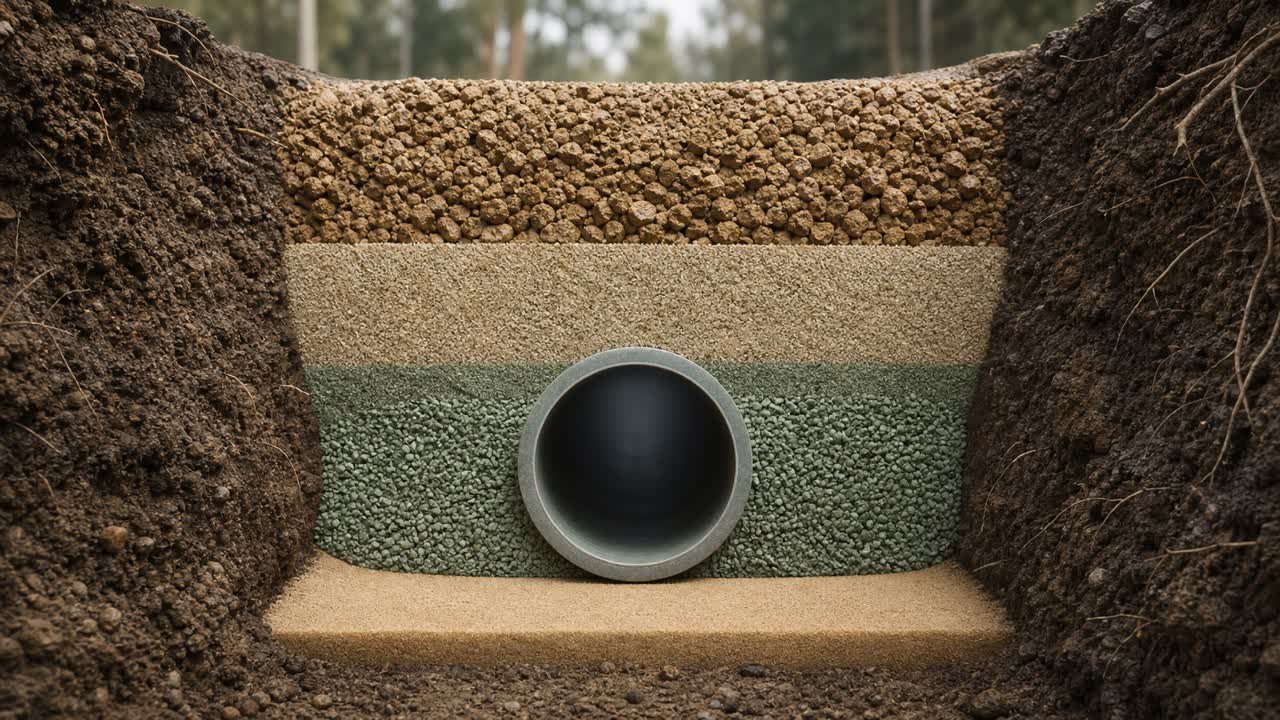
Bedding, Haunch, Pipe Zone and Final Backfill
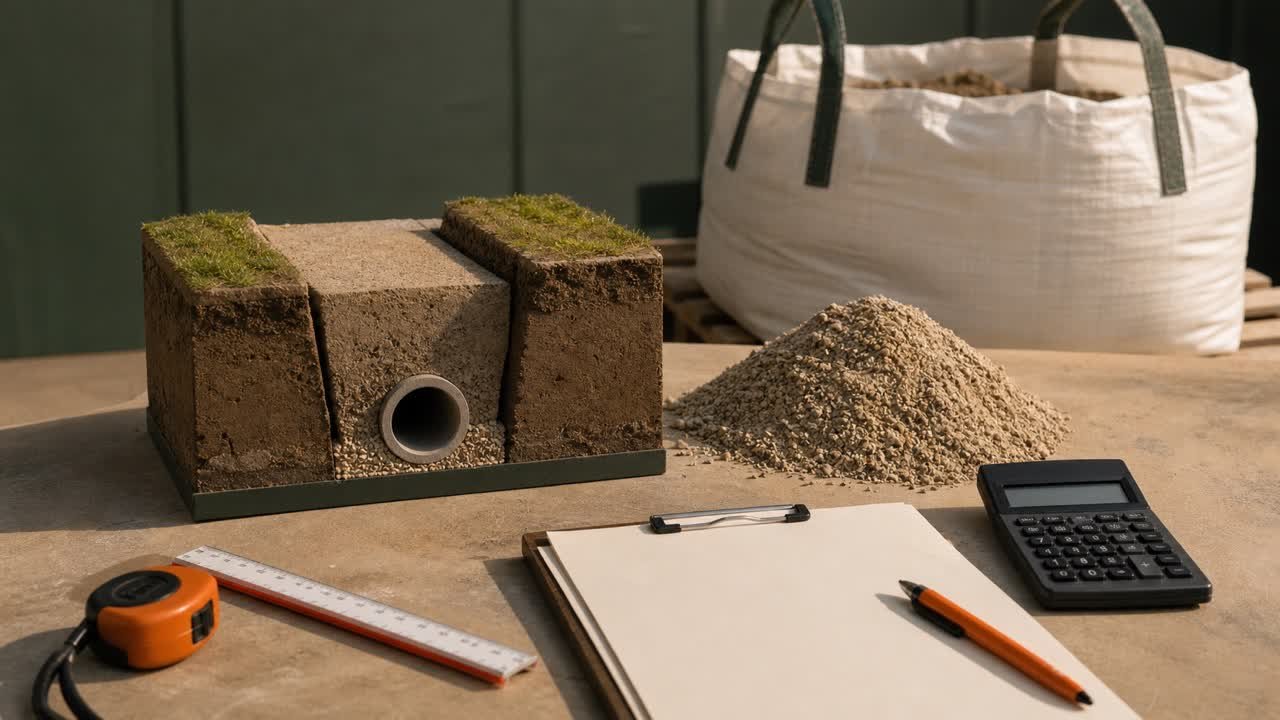
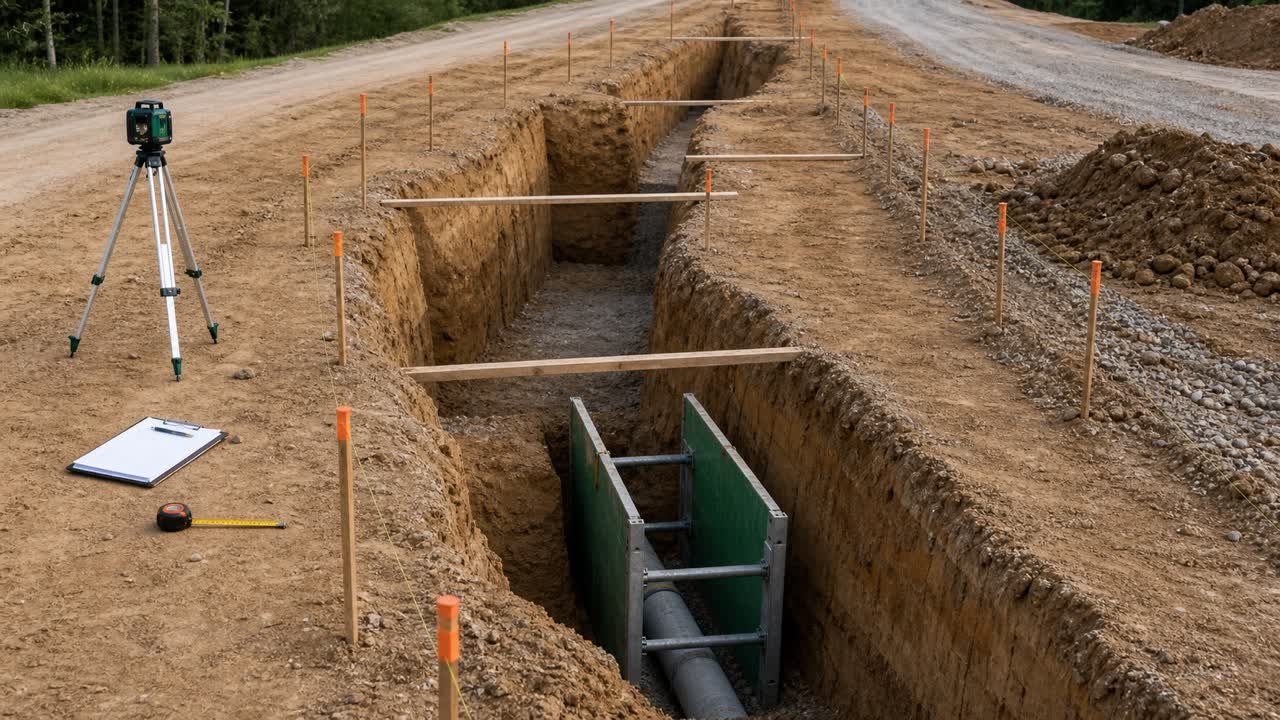
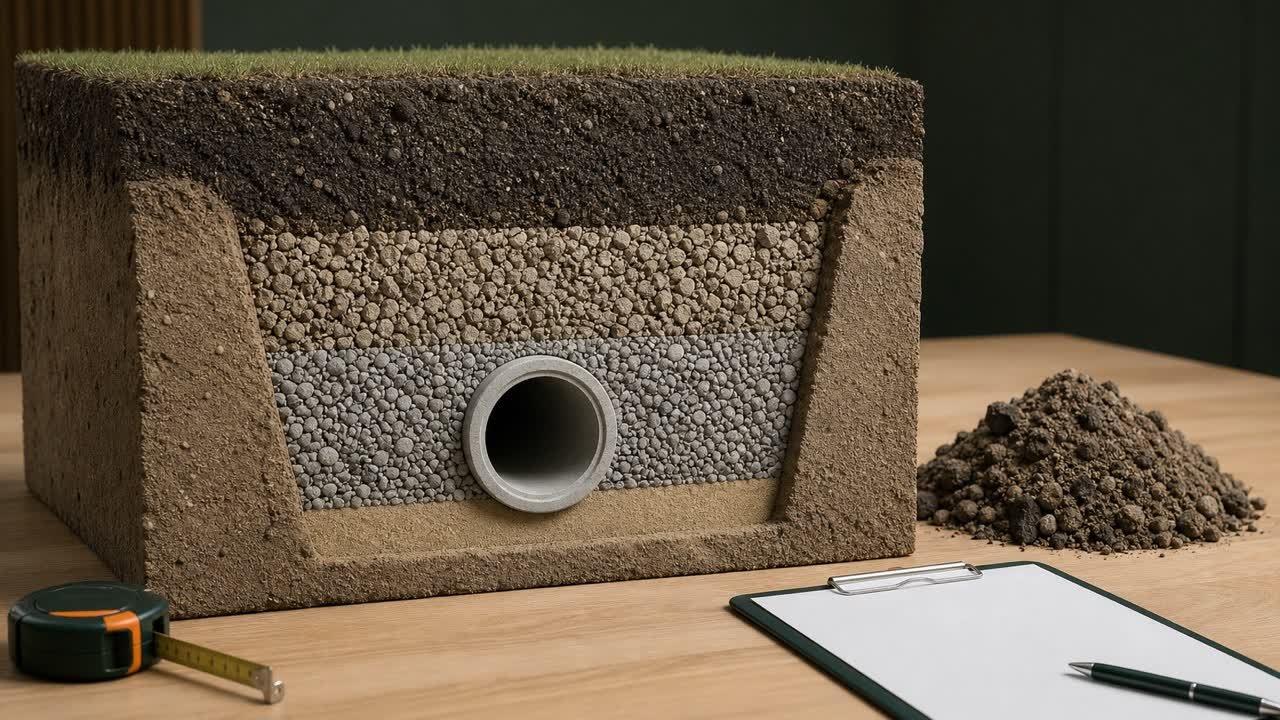
Identify bedding, haunch, pipe-zone, initial-backfill, and final-backfill limits, then calculate each trench material zone from the project detail.
Read Bedding, Haunch, Pipe Zone and Final Backfill
Blog
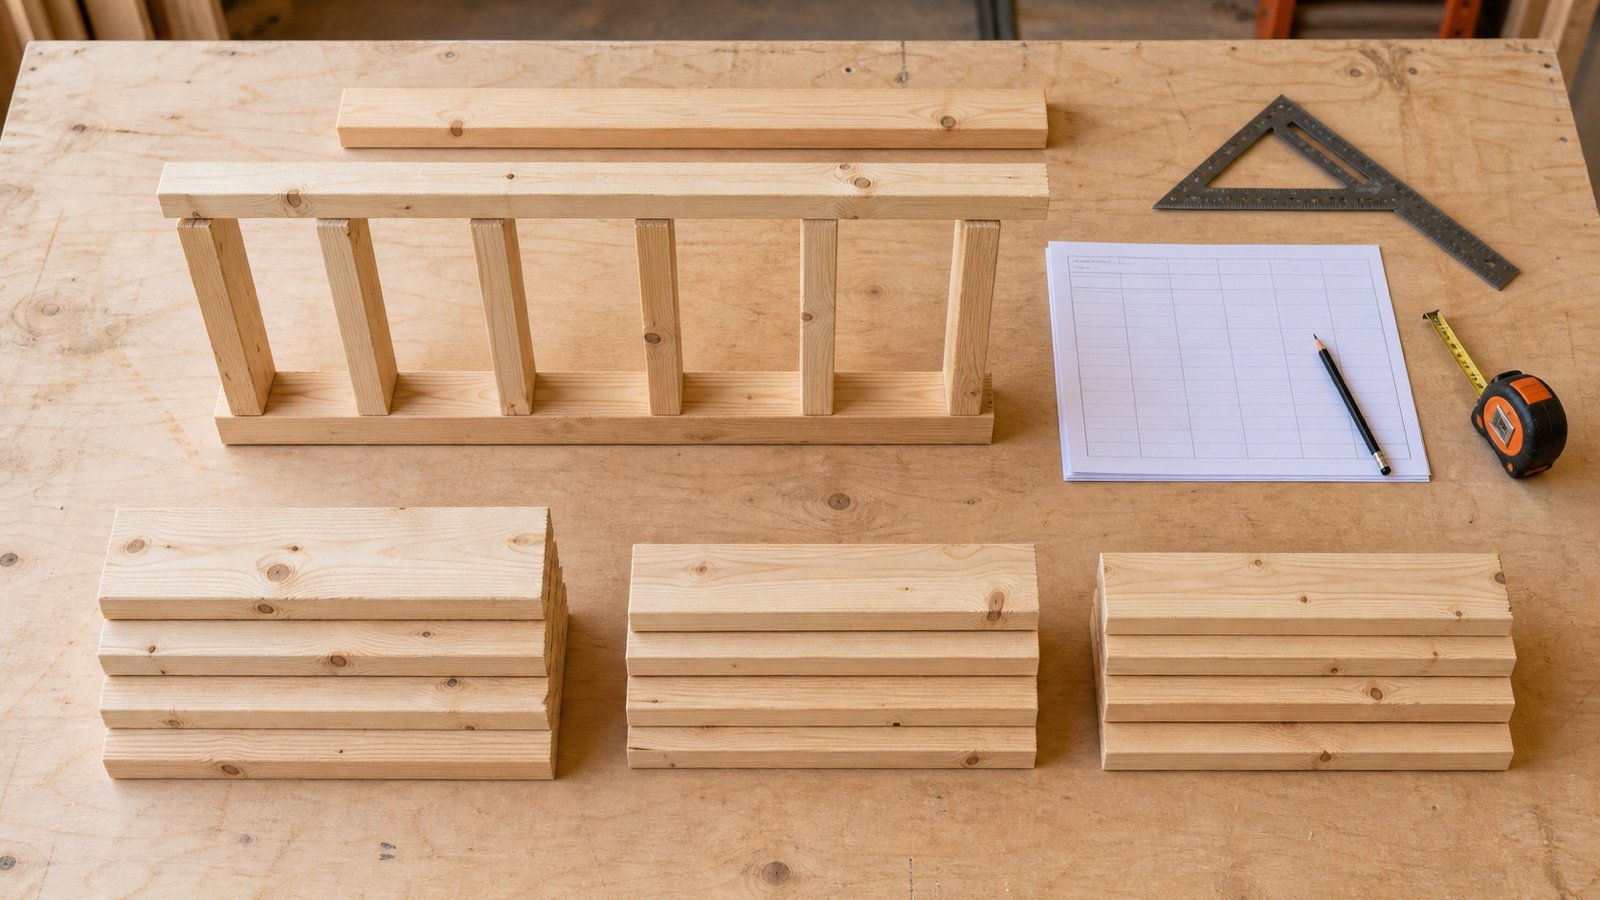
Bottom Plate vs Top Plate: Framing and Takeoff
Compare bottom and top wall plates by role, layer count, product identity, opening treatment and takeoff method, with a checked ordering example.
Read Bottom Plate vs Top Plate: Framing and Takeoff
Blog
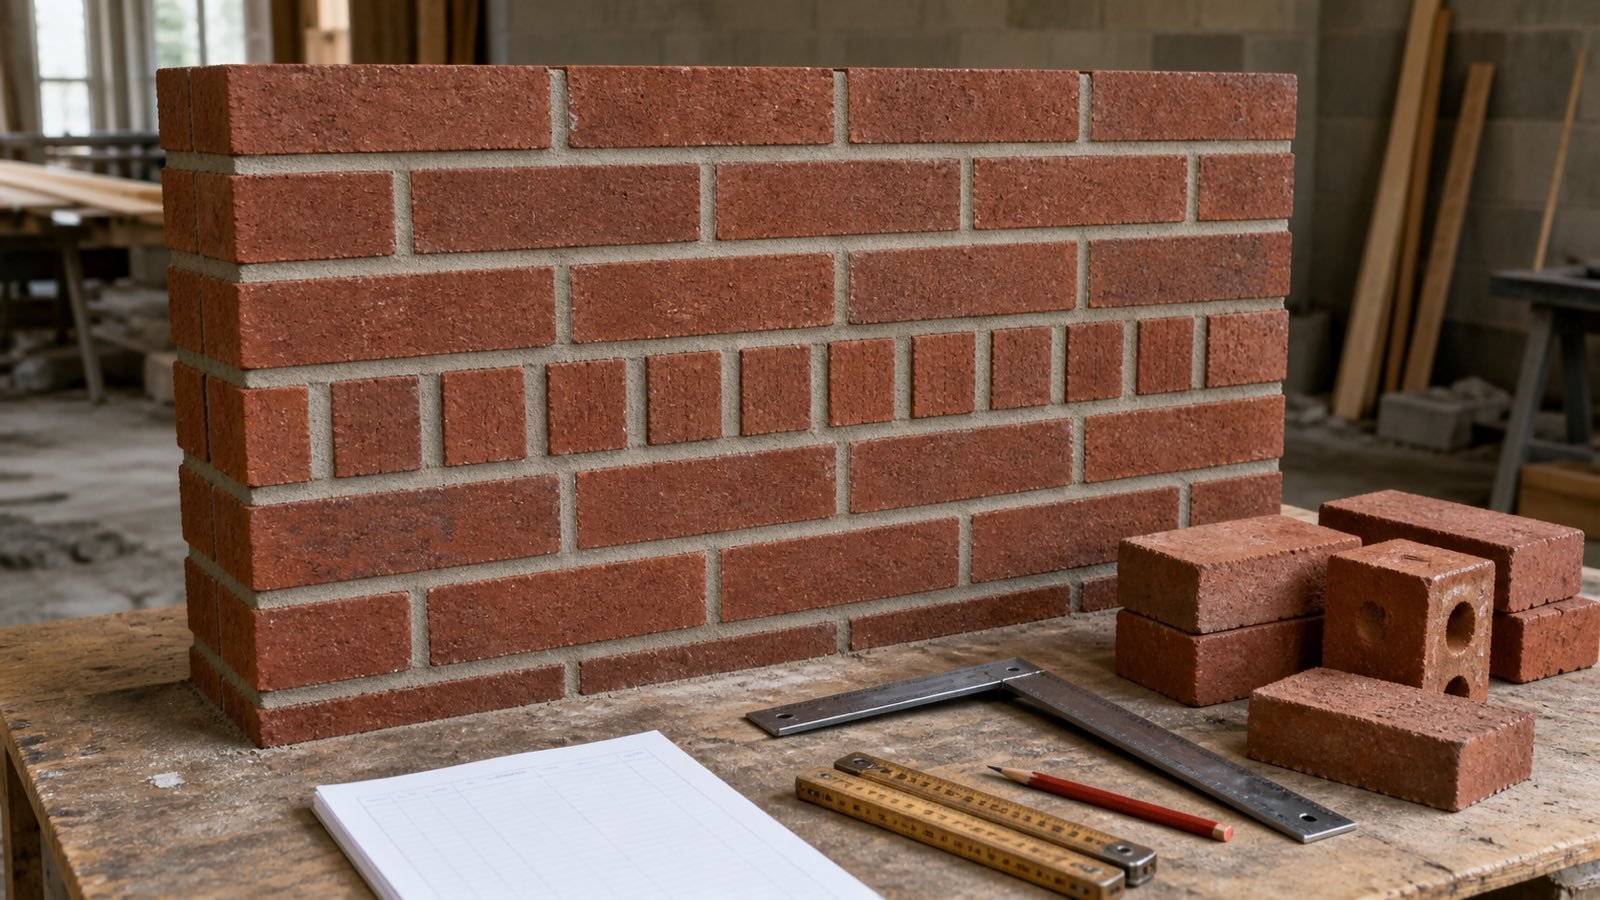
Brick Bond Quantity Corrections
Apply BIA brick bond correction factors to full-header wall patterns, keep waste separate and use a direct count when the table conditions do not fit.
Read Brick Bond Quantity Corrections
Blog
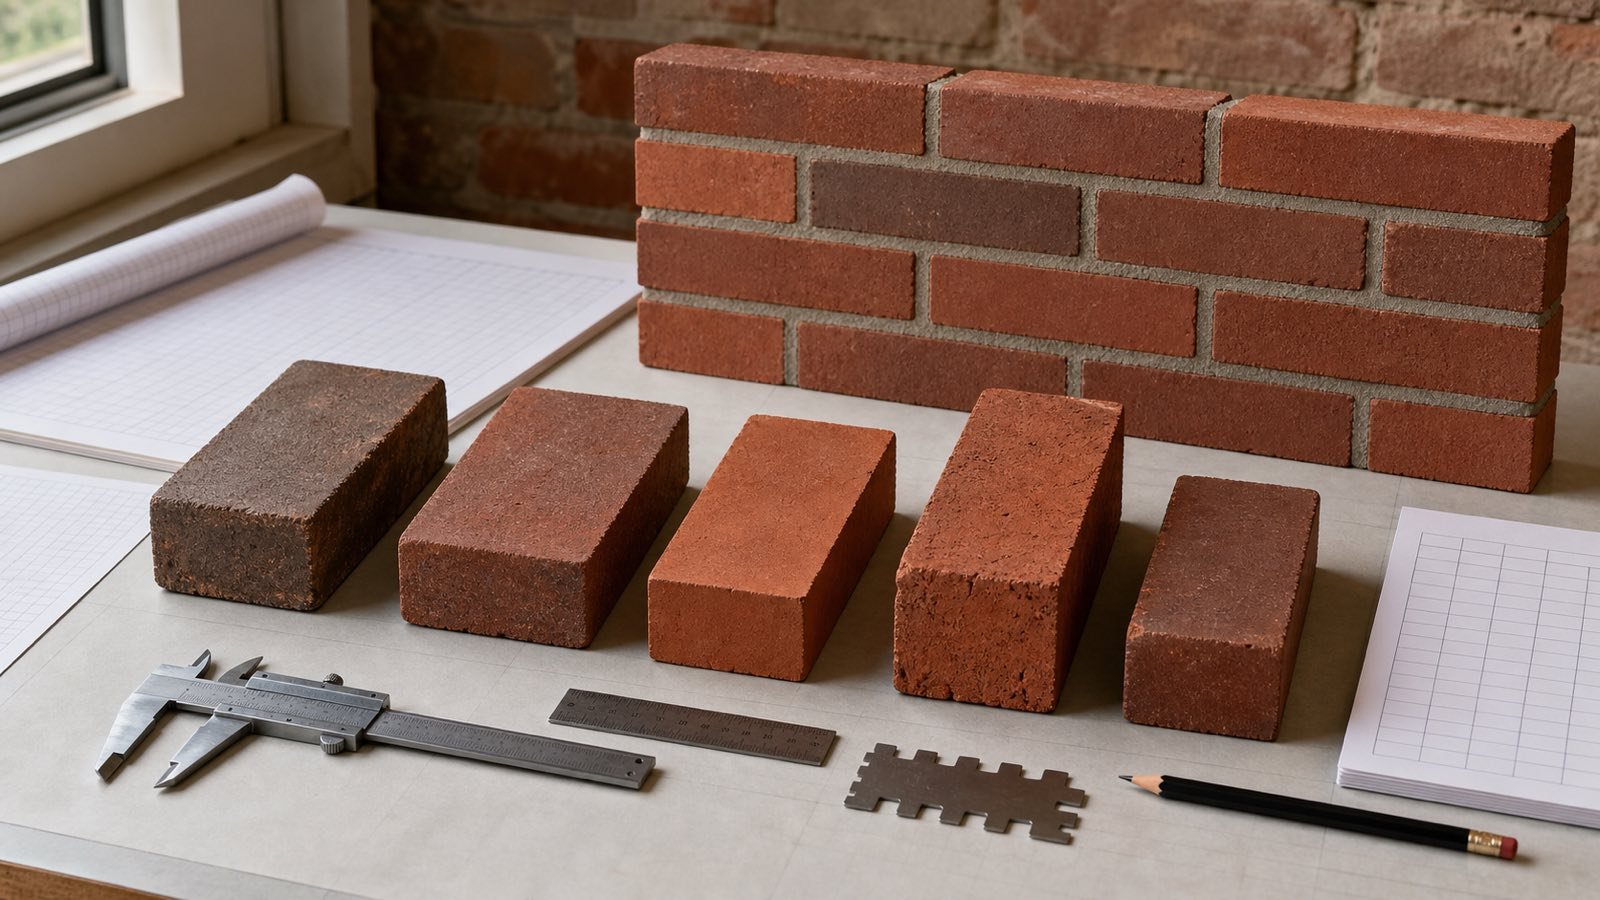
Brick Sizes and Coverage Chart
Compare named U.S. brick dimensions and BIA coverage rates, then record the size, joint, bond and source needed for a checkable brick takeoff.
Read Brick Sizes and Coverage Chart
Blog
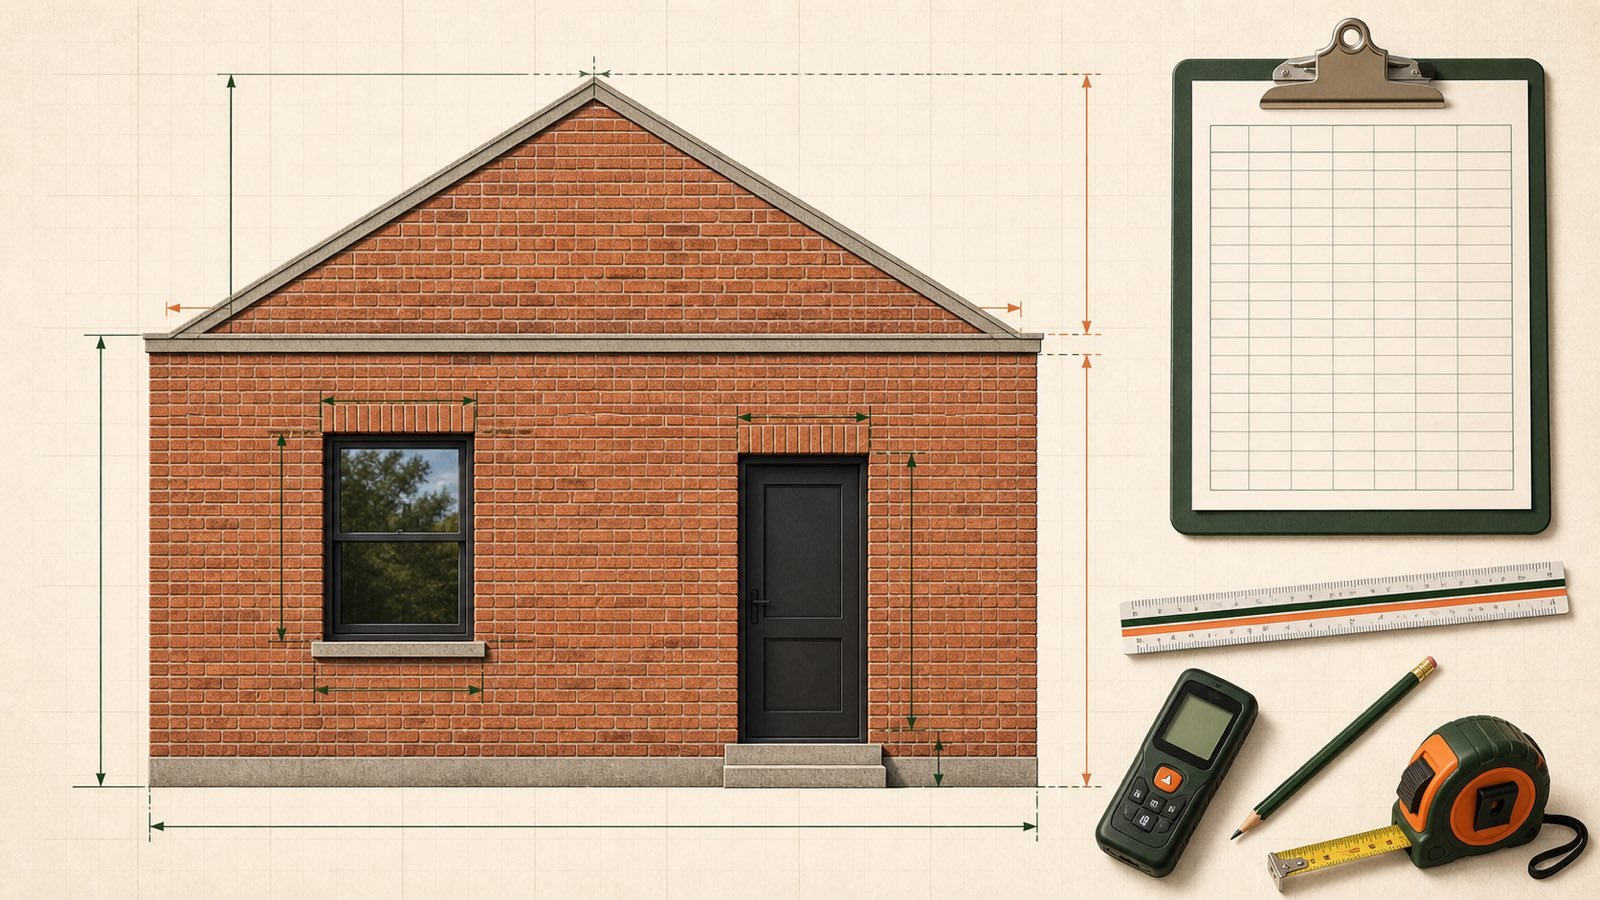
Brick Wall Takeoff: Walls and Openings
Measure brick wall faces, openings and gables with a section ledger, checked area formulas and a clear handoff to the Brick Calculator.
Read Brick Wall Takeoff: Walls and Openings
Blog
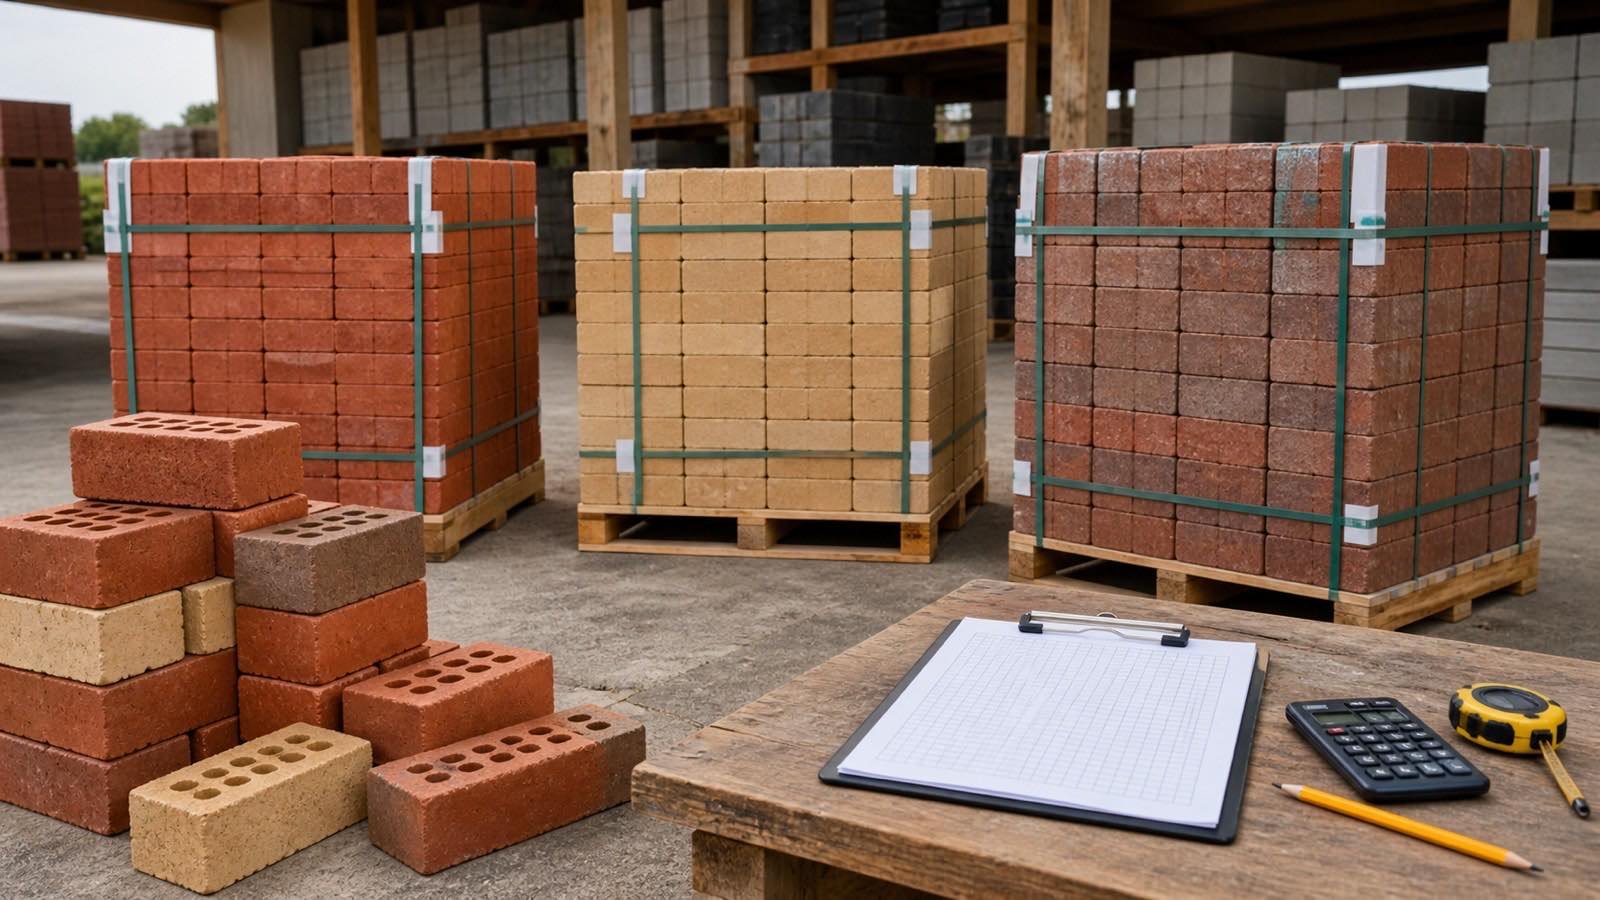
Brick Waste, Packs and Order Allowance
Choose a documented brick allowance, calculate whole supplier packs, measure pack surplus and keep special shapes and blends on separate order lines.
Read Brick Waste, Packs and Order Allowance
Blog
Bulking of Sand: Moisture Test and Volume Correction
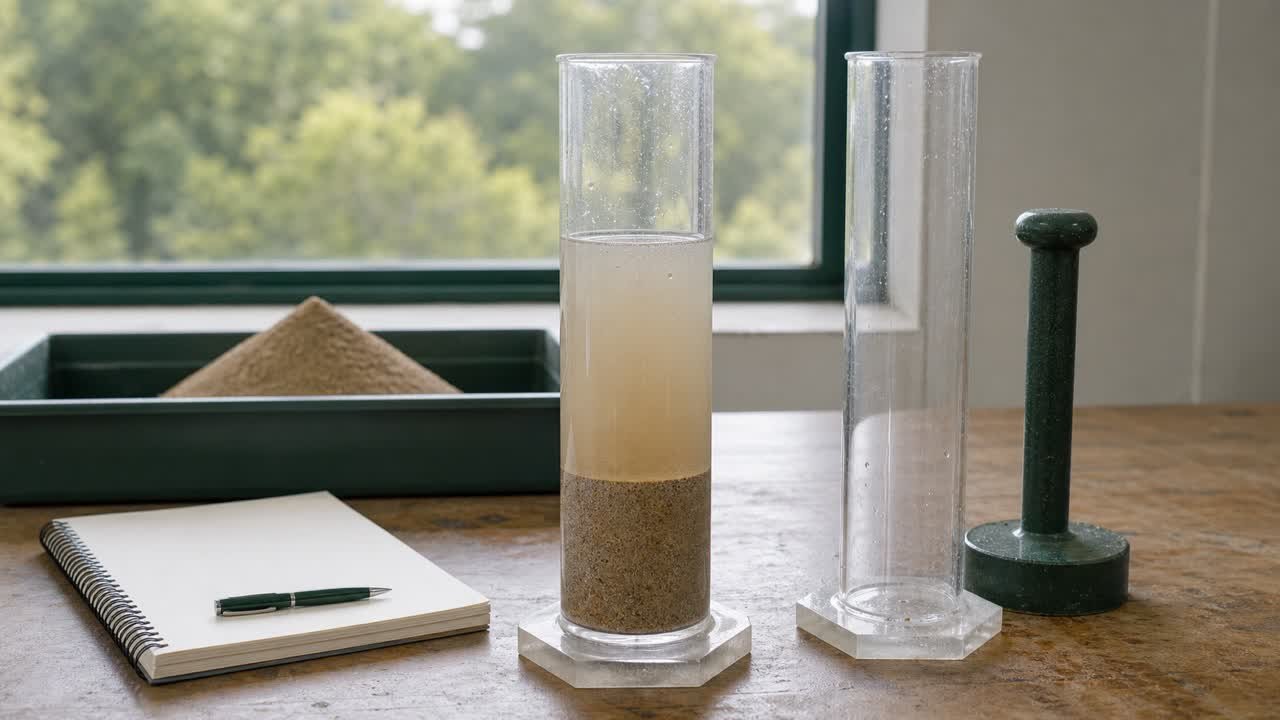
Measure sand bulking from damp loose and inundated volumes, calculate the correction factor, and keep moisture, density, and compaction separate.
Read Bulking of Sand: Moisture Test and Volume Correction
Blog
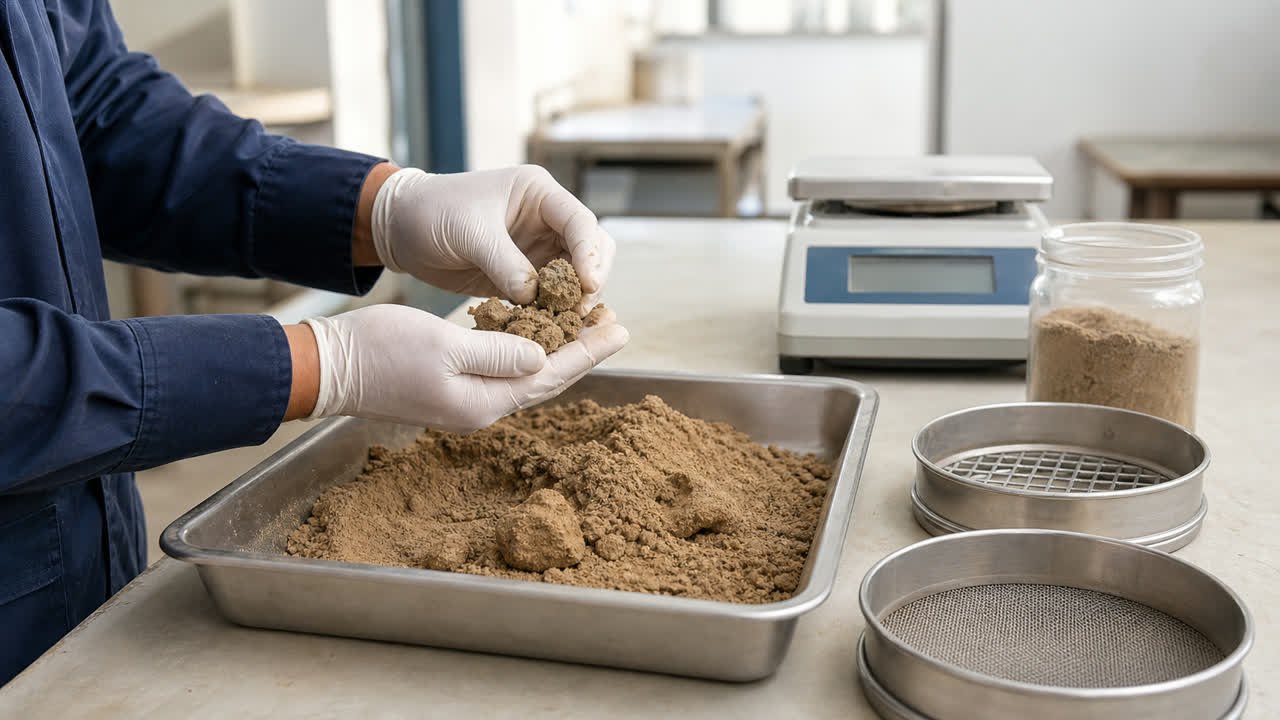
Clay Lumps in Sand: Test Results and Calculations
Calculate and check clay-lumps and friable-particles results for fine aggregate, compare method differences, and apply the correct project limit.
Read Clay Lumps in Sand: Test Results and Calculations
Blog
Compost Bags vs Bulk: Cost, Volume and Delivery
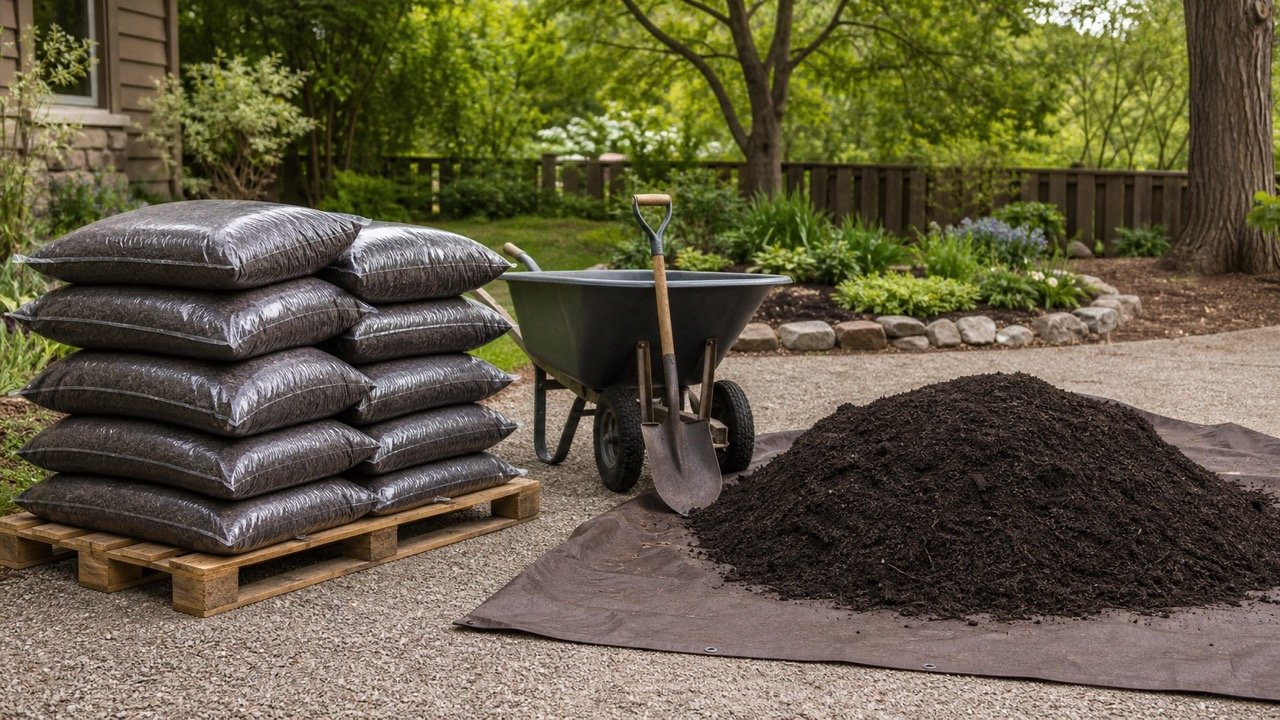
Compare bagged and bulk compost using exact net volume, current quote terms, landed cost, usable surplus, product evidence, access and delivery records.
Read Compost Bags vs Bulk: Cost, Volume and Delivery
Blog
Compost and Soil-Mix Records: Recipe and Lots
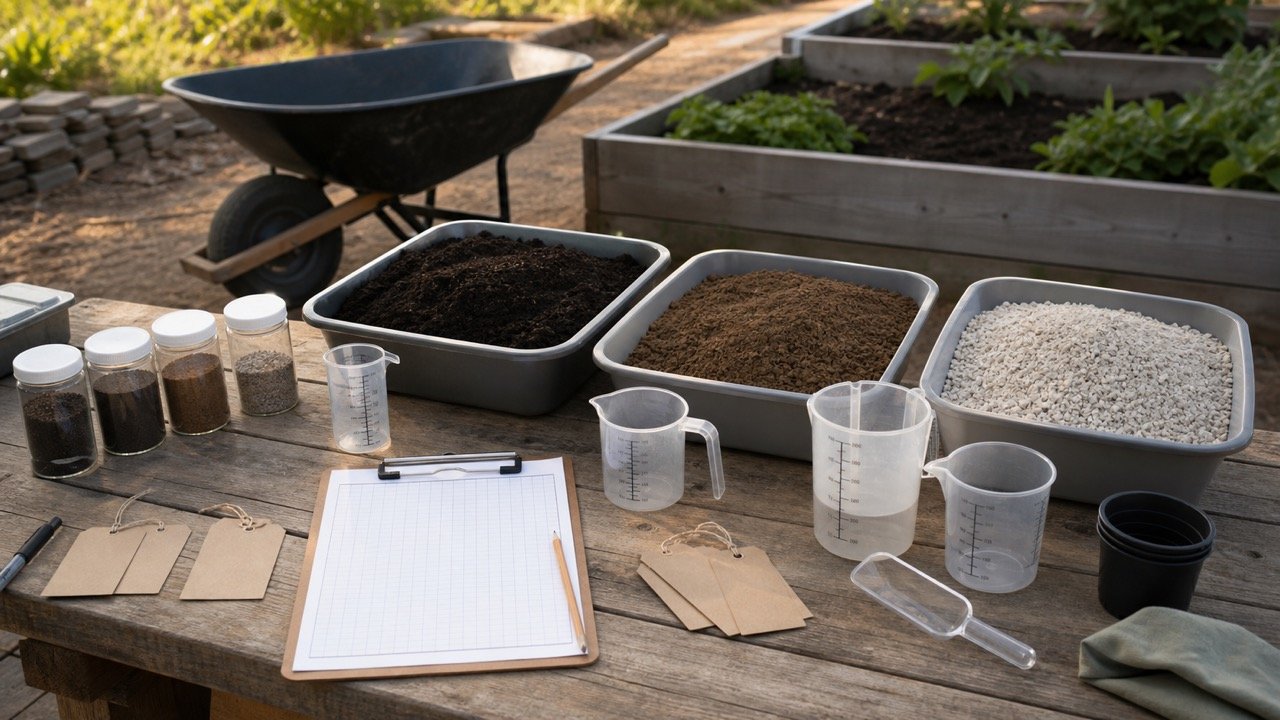
Record a compost or soil-mix plan from recipe and product lots through measured batches, application zones, changes, exceptions and quantity reconciliation.
Read Compost and Soil-Mix Records: Recipe and Lots
Blog
Compost Topdressing Depth for Lawns and Garden Beds
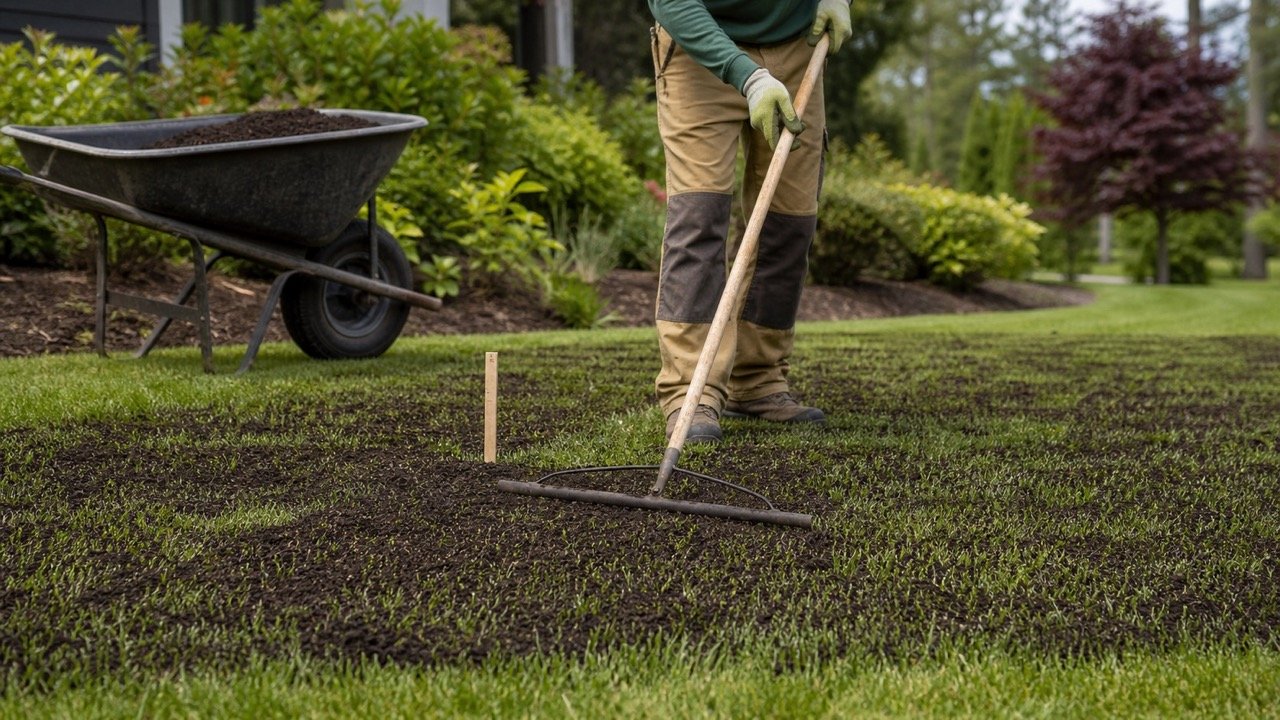
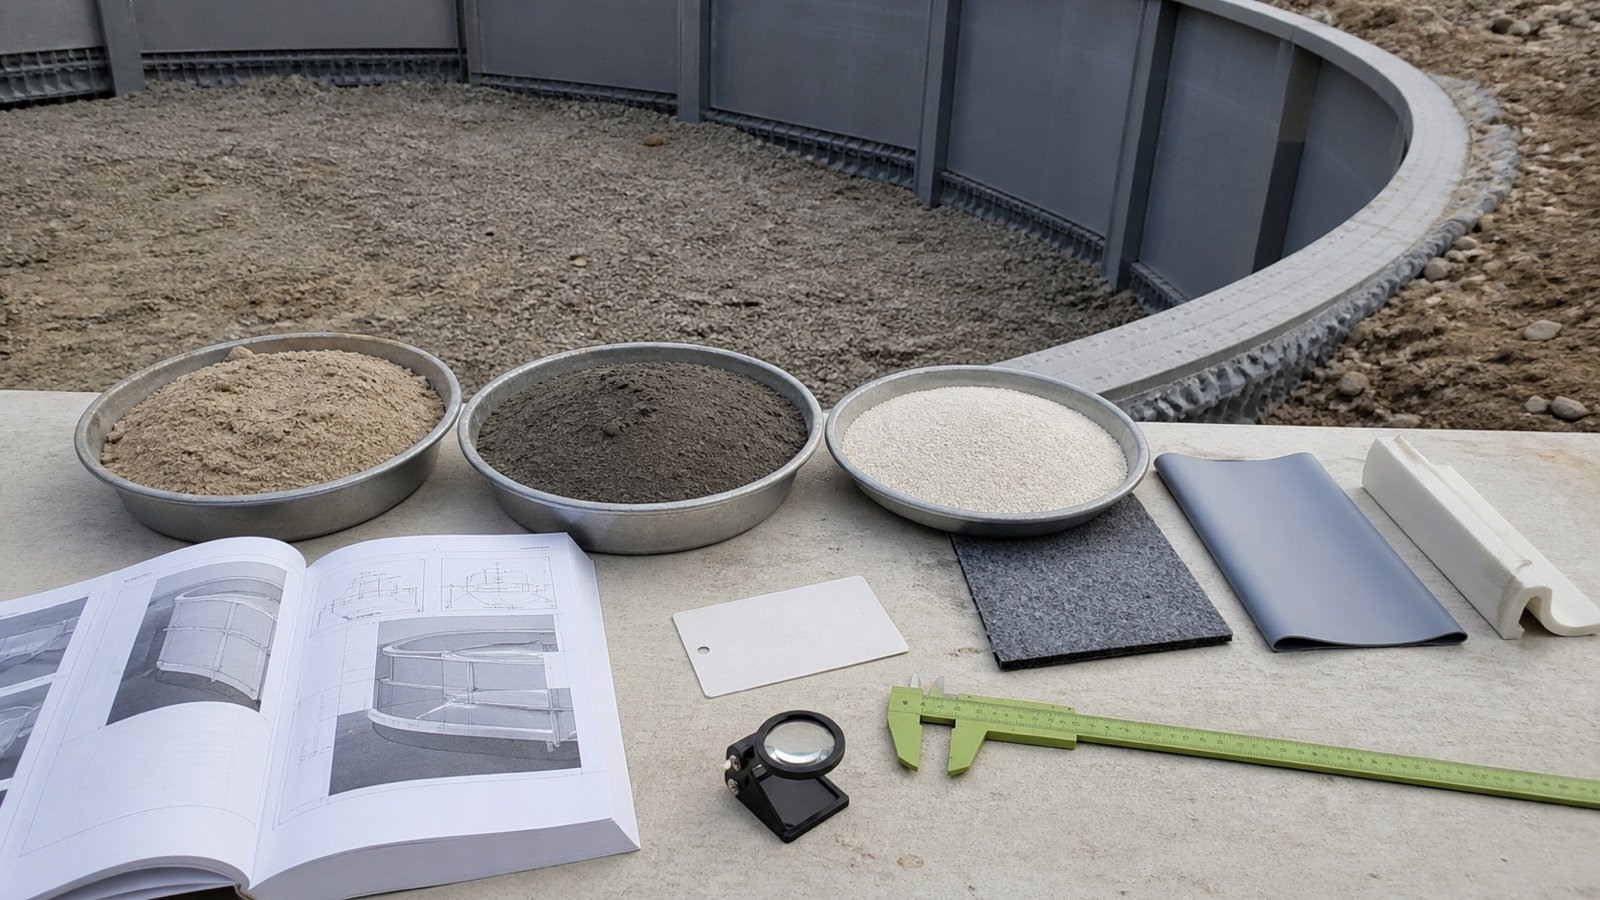
Choose a compost topdressing depth for an established lawn or existing garden bed, calculate exact volume, and check soil, compost and field limits.
Read Compost Topdressing Depth for Lawns and Garden Beds
Blog
Compost Volume for Garden Beds: Depth and Mix Share
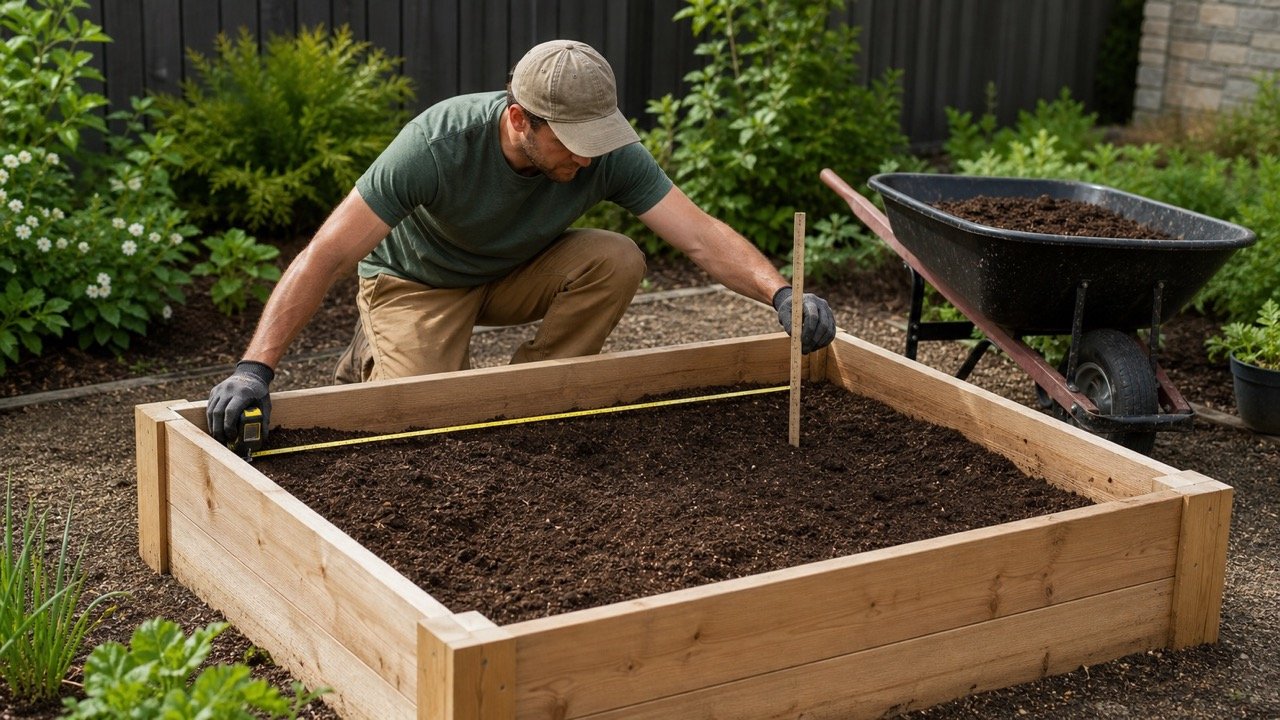
Measure internal garden-bed volume, deduct headspace and existing fill, calculate unequal zones, and apply a verified compost share without double counting.
Read Compost Volume for Garden Beds: Depth and Mix Share
Blog
Concrete Bag Rounding: Whole Bags by Pour
Round concrete bags in the correct order, decide which pours can share one total, and track allowance, supplier increments, partial packages and surplus.
Read Concrete Bag Rounding: Whole Bags by Pour
Blog
Concrete Bag Yield Chart: Product and Bag Count
Compare dated manufacturer yields for named concrete mixes, convert cubic feet to litres, and calculate exact or whole bags per cubic yard from the selected product.
Read Concrete Bag Yield Chart: Product and Bag Count
Blog
Concrete Bags per Post Hole Chart: Diameter and Depth
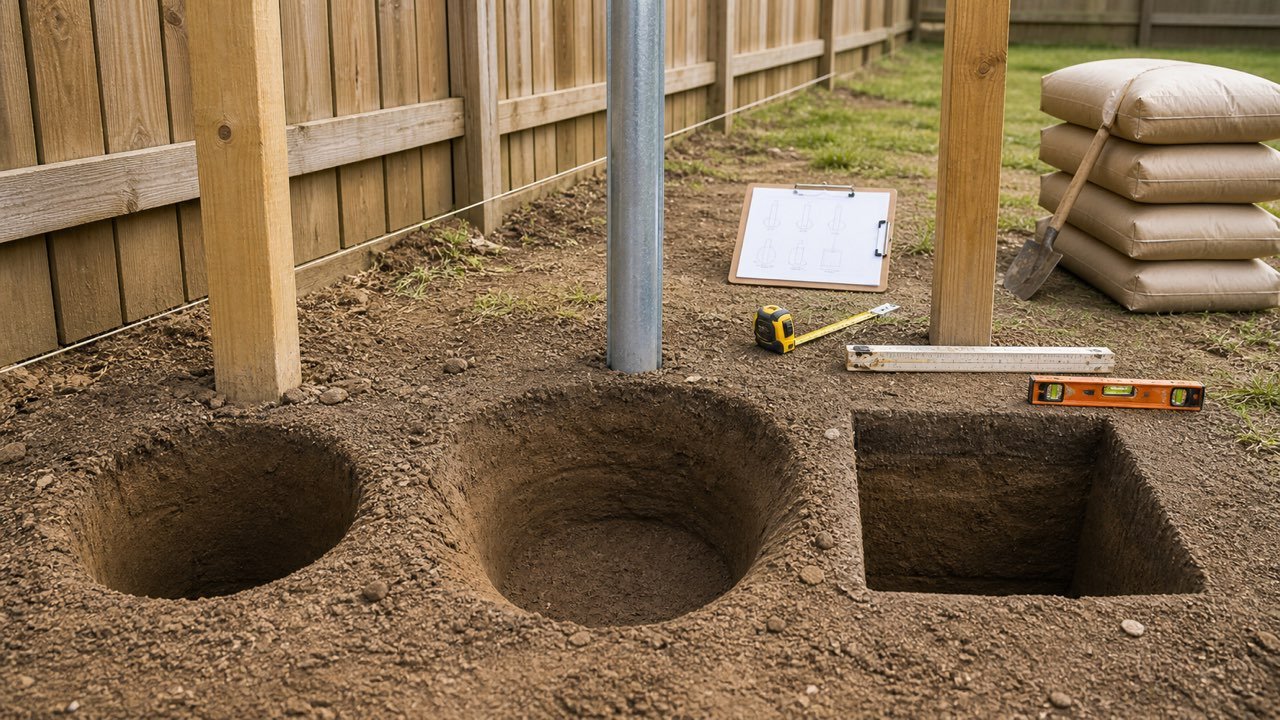
Use checked imperial and metric post-hole charts to compare net concrete volume and whole bags by diameter, depth, measured post size, and current product yield.
Read Concrete Bags per Post Hole Chart: Diameter and Depth
Blog
Concrete Bags for Small Slabs: Worked Examples
Calculate concrete bags for small rectangular slabs with transparent U.S. and metric examples, optional allowance, thickness changes and a thickened band.
Read Concrete Bags for Small Slabs: Worked Examples
Blog
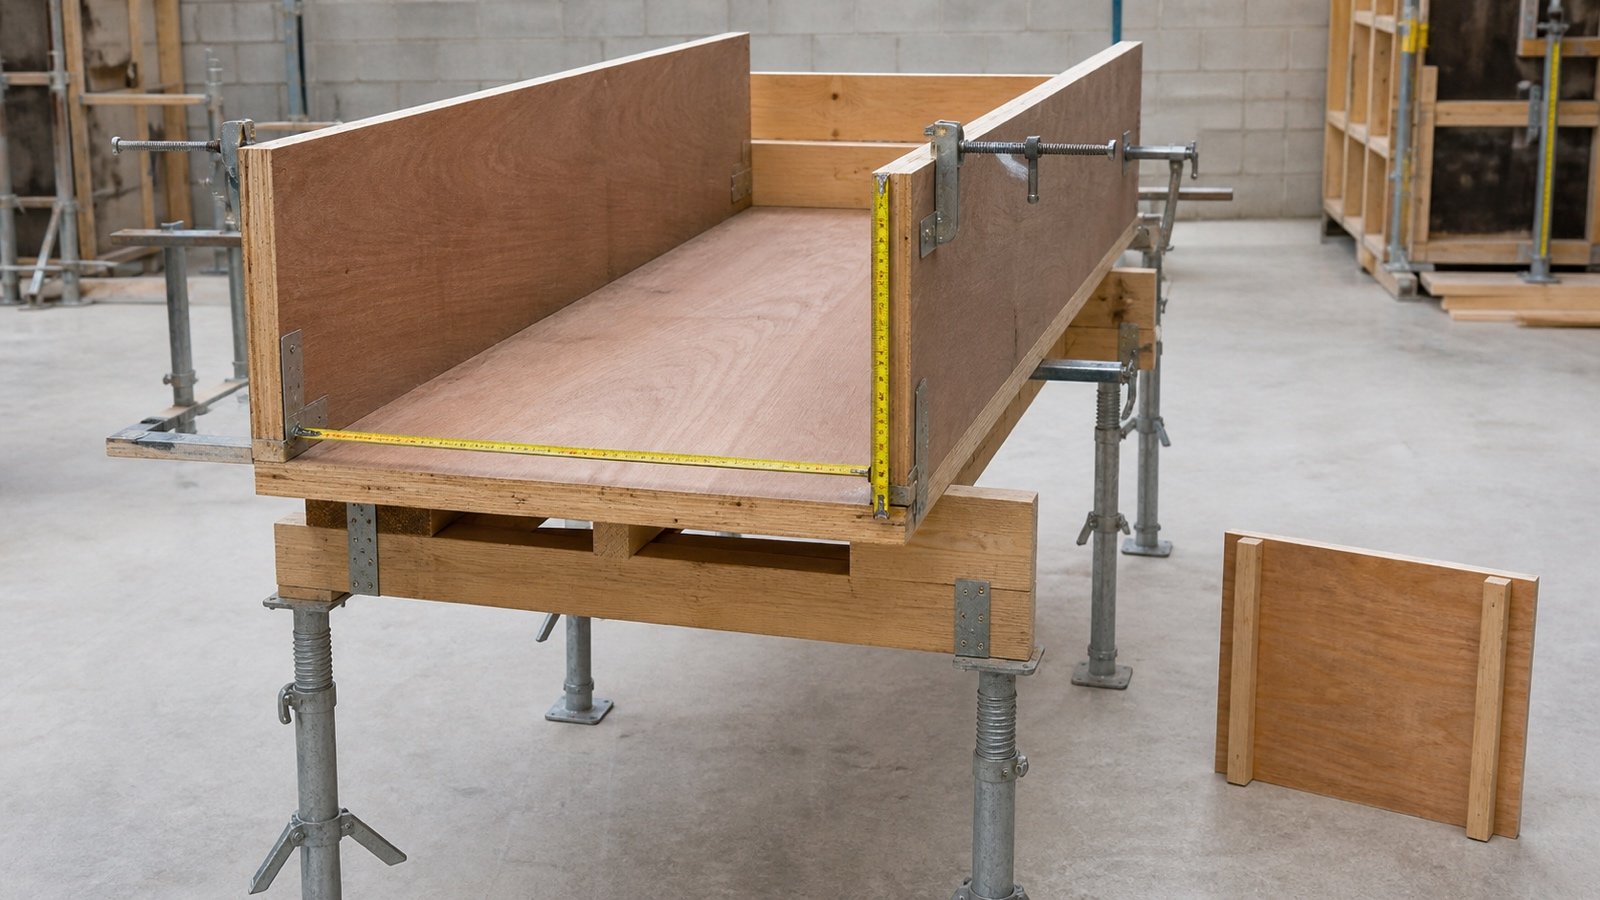
Concrete Beam Formwork Area: Sides and Soffit
Calculate concrete beam formwork area face by face, including soffits, sides, attached-beam drops, formed ends, intersections, and checked examples.
Read Concrete Beam Formwork Area: Sides and Soffit
Blog
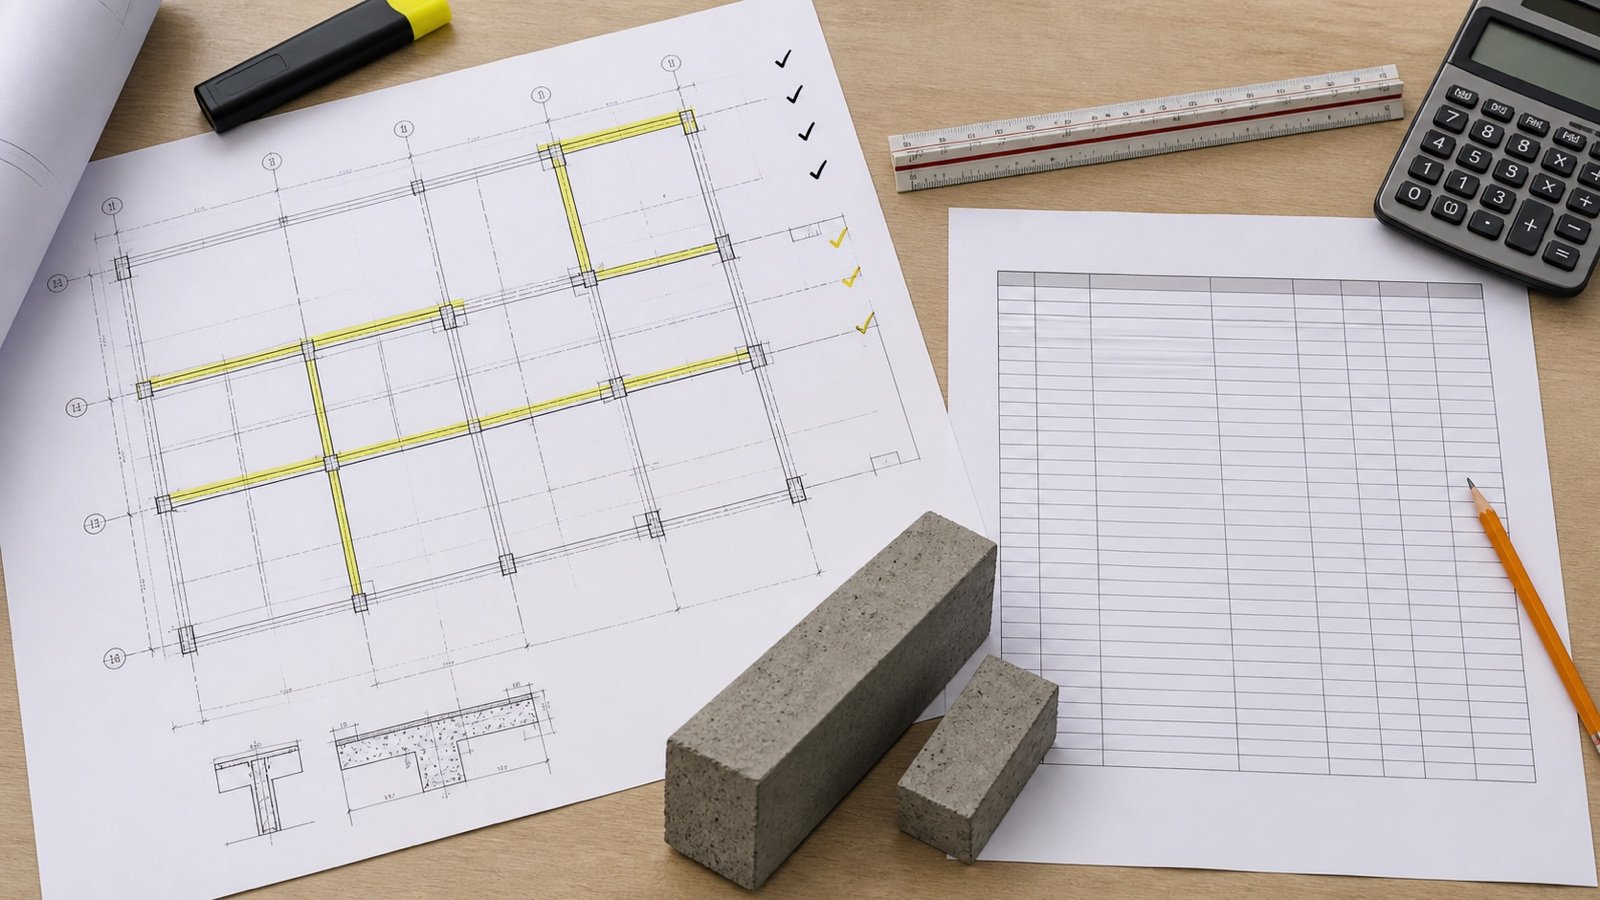
Concrete Beam Quantity Takeoff: Worked Schedule
Prepare a concrete beam quantity takeoff from current plans and schedules, with section ownership, grouped formulas, a worksheet, and checked examples.
Read Concrete Beam Quantity Takeoff: Worked Schedule
Blog
Concrete Beam Shapes: Haunches, Steps and Tapers
Calculate concrete volume for stepped, haunched and straight tapered beams with checked examples, boundary rules and a double-taper accuracy test.
Read Concrete Beam Shapes: Haunches, Steps and Tapers
Blog
Concrete Beam Volume Chart: Metres and Feet
Use checked rectangular concrete beam volume rates per metre and per foot, then calculate mixed beam schedules without hiding rounding or slab overlap.
Read Concrete Beam Volume Chart: Metres and Feet
Blog
Concrete Block Mortar: Yield and Bag Planning
Plan mortar from a checked CMU schedule and the selected product's current coverage, keep allowance and whole-bag rounding visible, and reconcile observed use.
Read Concrete Block Mortar: Yield and Bag Planning
Blog
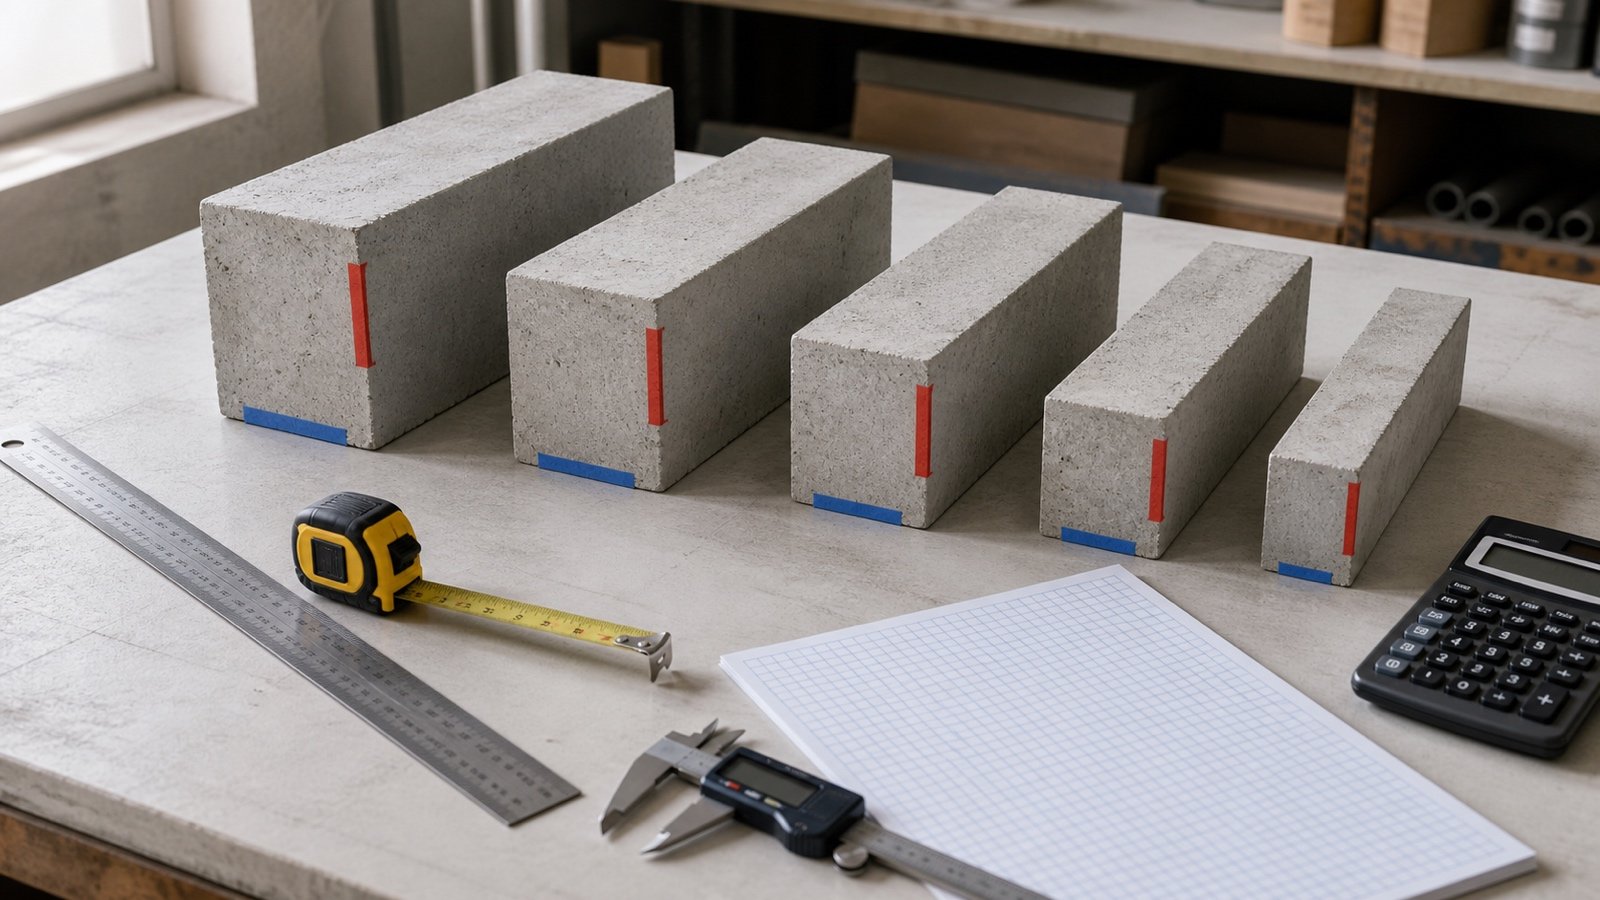
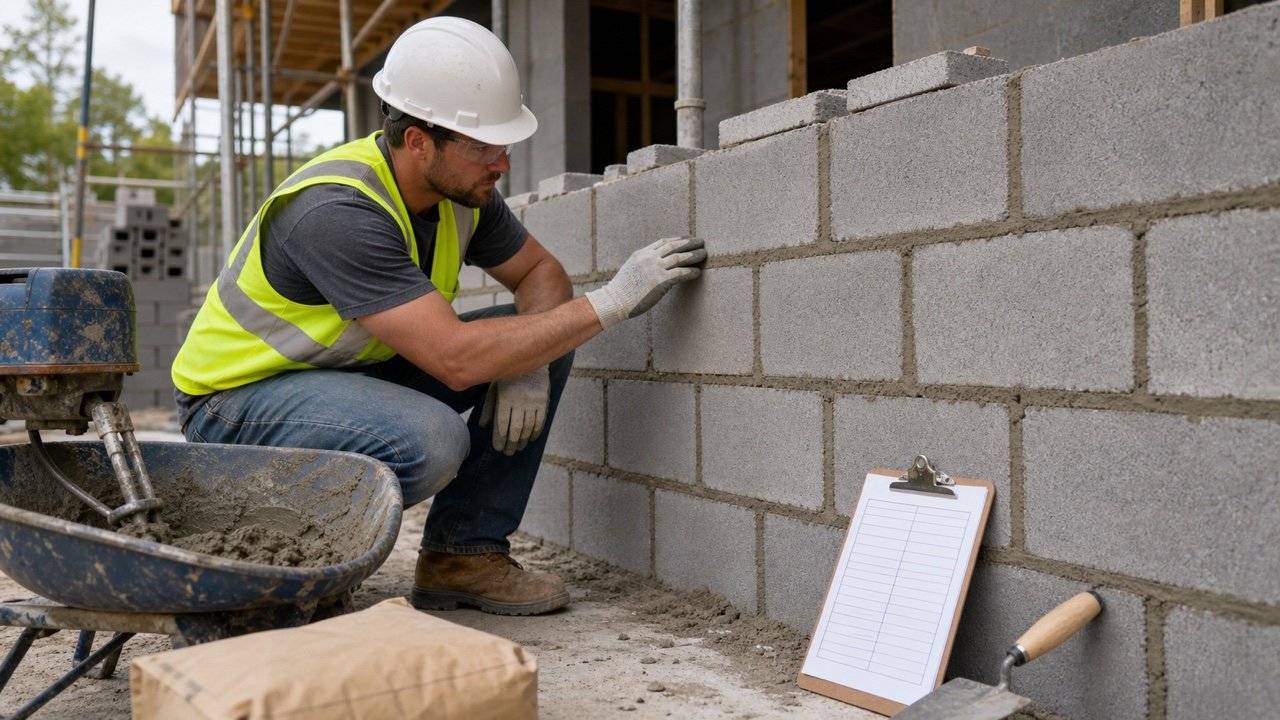
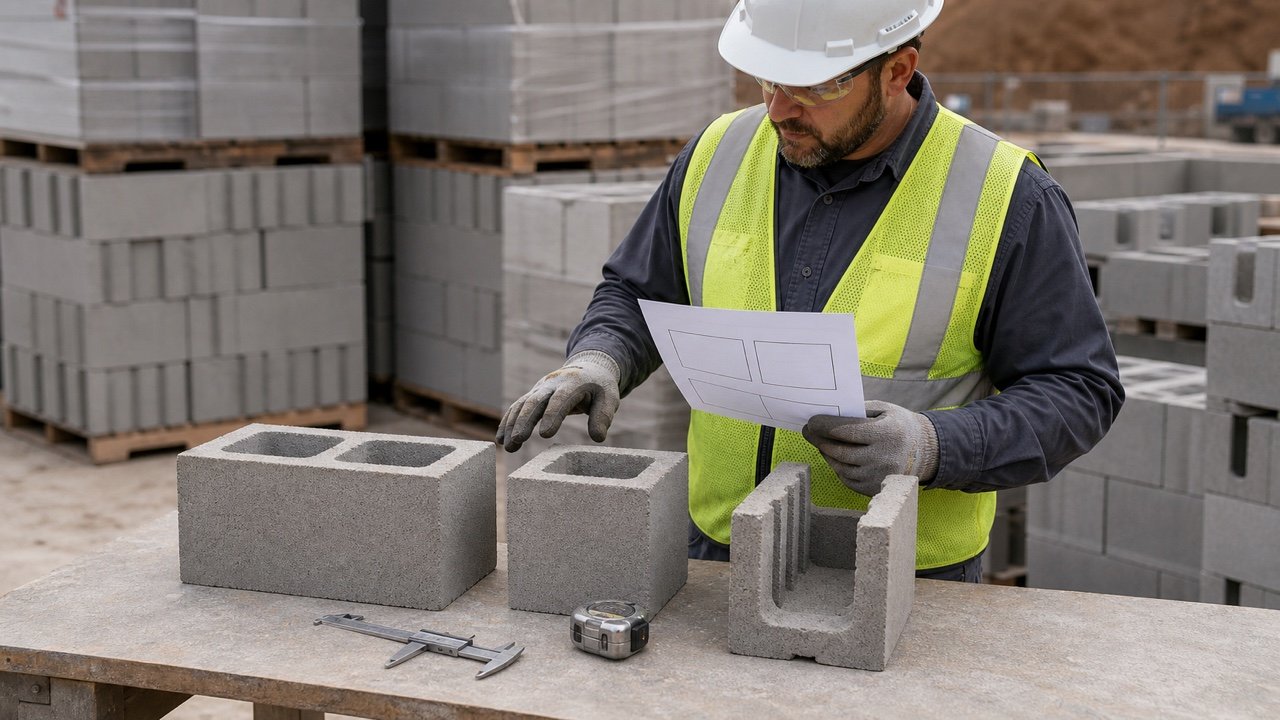
Concrete Block Sizes: Nominal vs Actual
Read concrete masonry unit sizes in width, height and length order, separate nominal, specified and actual dimensions, and choose the correct face module for a block count.
Read Concrete Block Sizes: Nominal vs Actual
Blog
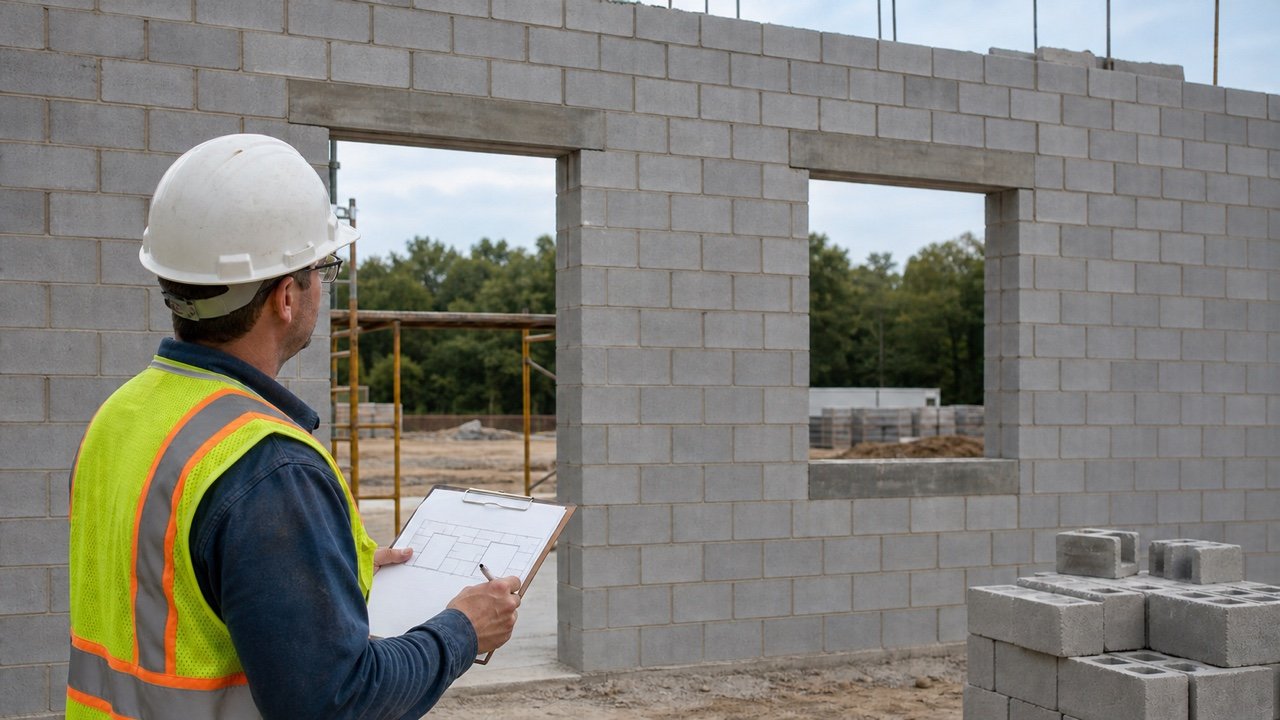
Concrete Block Wall Layout: Openings and Net Area
Deduct masonry openings from gross wall area, check their size and position against the verified CMU module, and hand the result to a traceable unit schedule.
Read Concrete Block Wall Layout: Openings and Net Area
Blog
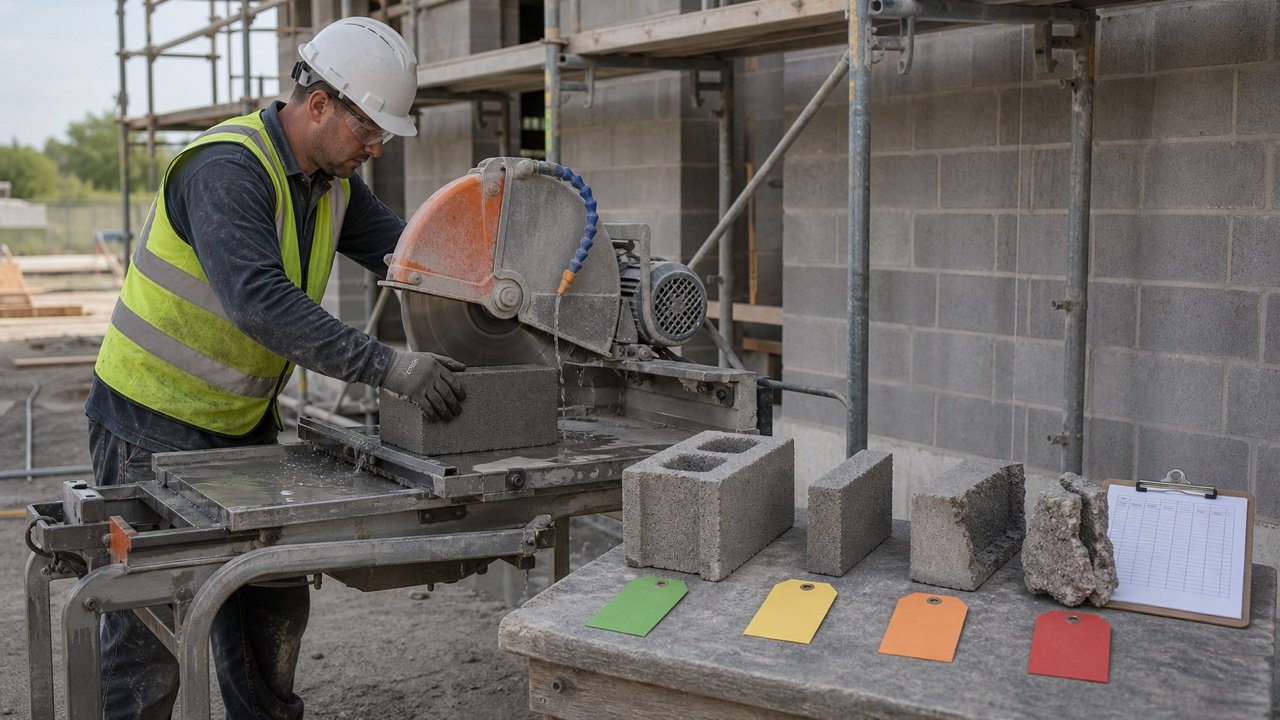
Concrete Block Waste: Cuts, Offcuts and Reconciliation
Plan a documented CMU allowance, separate supplier rounding from actual loss, schedule cut-source units and offcuts, and reconcile delivered block stock.
Read Concrete Block Waste: Cuts, Offcuts and Reconciliation
Blog
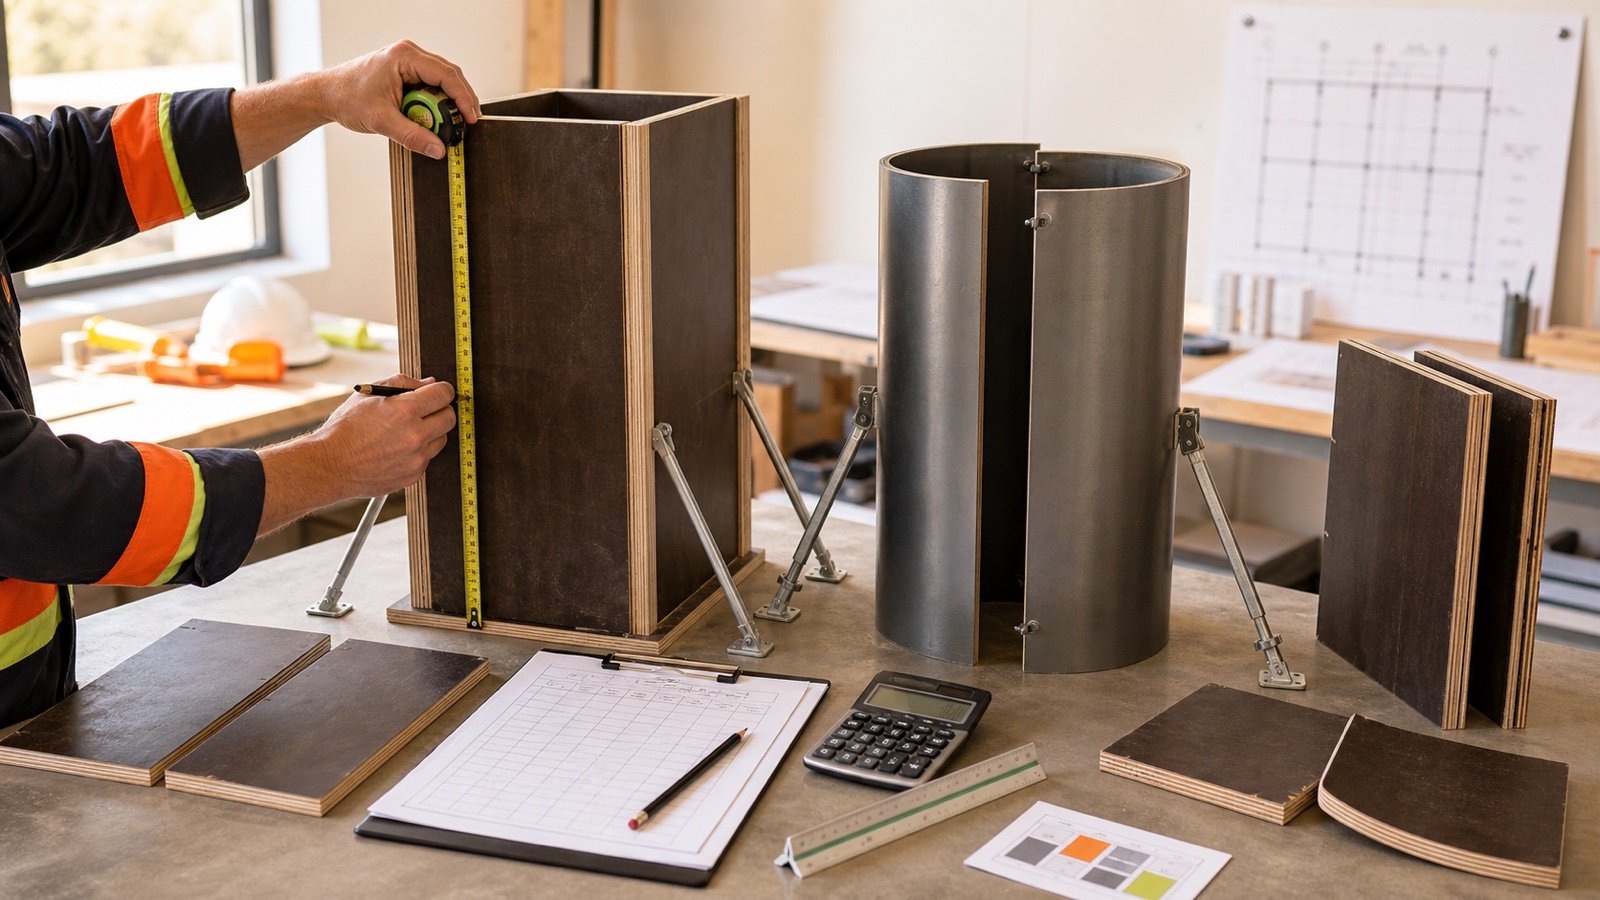
Concrete Column Formwork Area: Faces and Reuse
Calculate rectangular and round concrete column formwork area, adjust contact faces at intersections, and separate gross measured work from reusable form sets.
Read Concrete Column Formwork Area: Faces and Reuse
Blog
Concrete Column Quantity Takeoff: Schedule and Worked Example
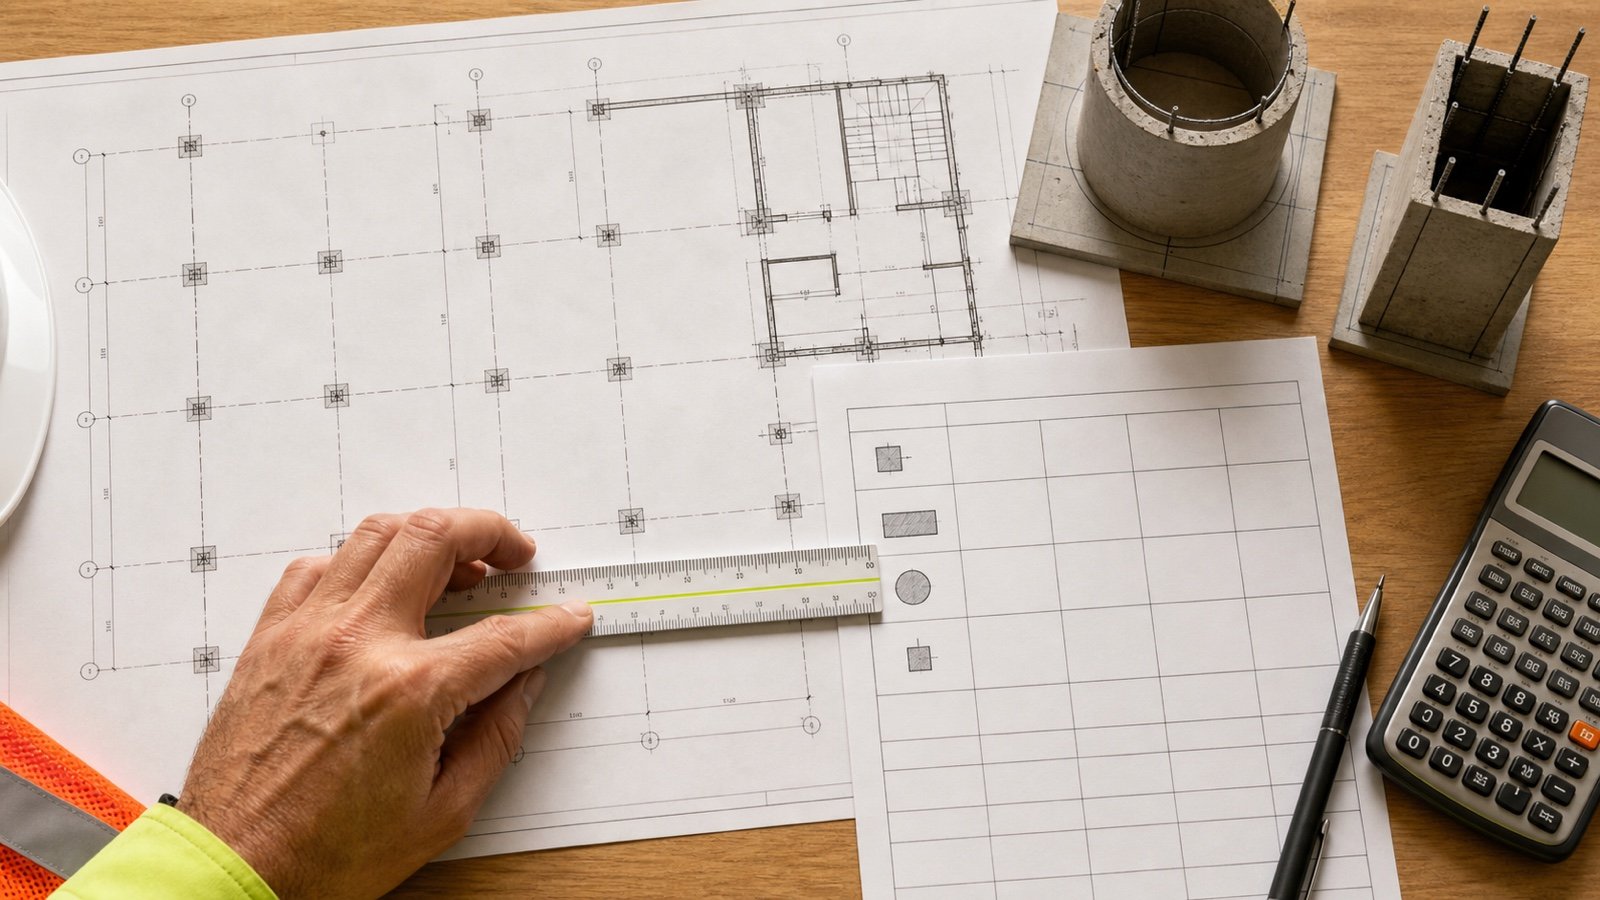
Prepare a concrete column quantity takeoff from current plans and schedules, with clear level boundaries, grouped formulas, a worksheet, and a checked example.
Read Concrete Column Quantity Takeoff: Schedule and Worked Example
Blog
Concrete Column Shapes: Pedestals and Tapers
Calculate stepped pedestals, rectangular and round column tapers, capitals, attached projections, and chamfer deductions without double-counting concrete.
Read Concrete Column Shapes: Pedestals and Tapers
Blog
Concrete Column Volume Chart by Shape
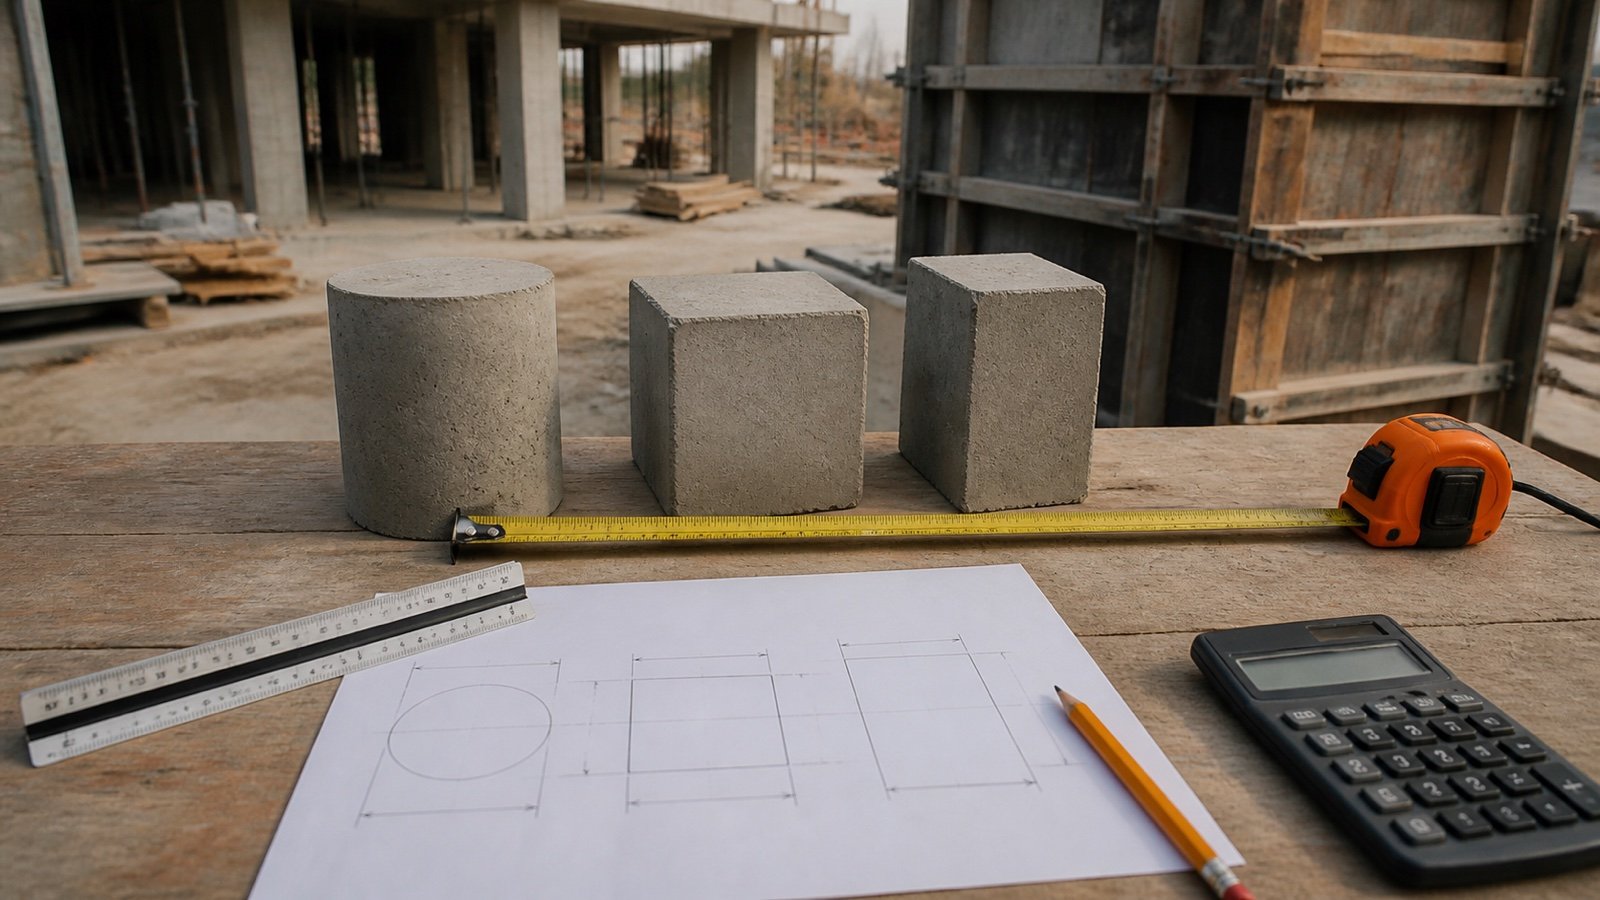
Use concrete column volume charts per foot or metre, compare round and square sections, and calculate rectangular and mixed column schedules.
Read Concrete Column Volume Chart by Shape
Blog
Expansion Joint Filler, Backer Rod and Sealant
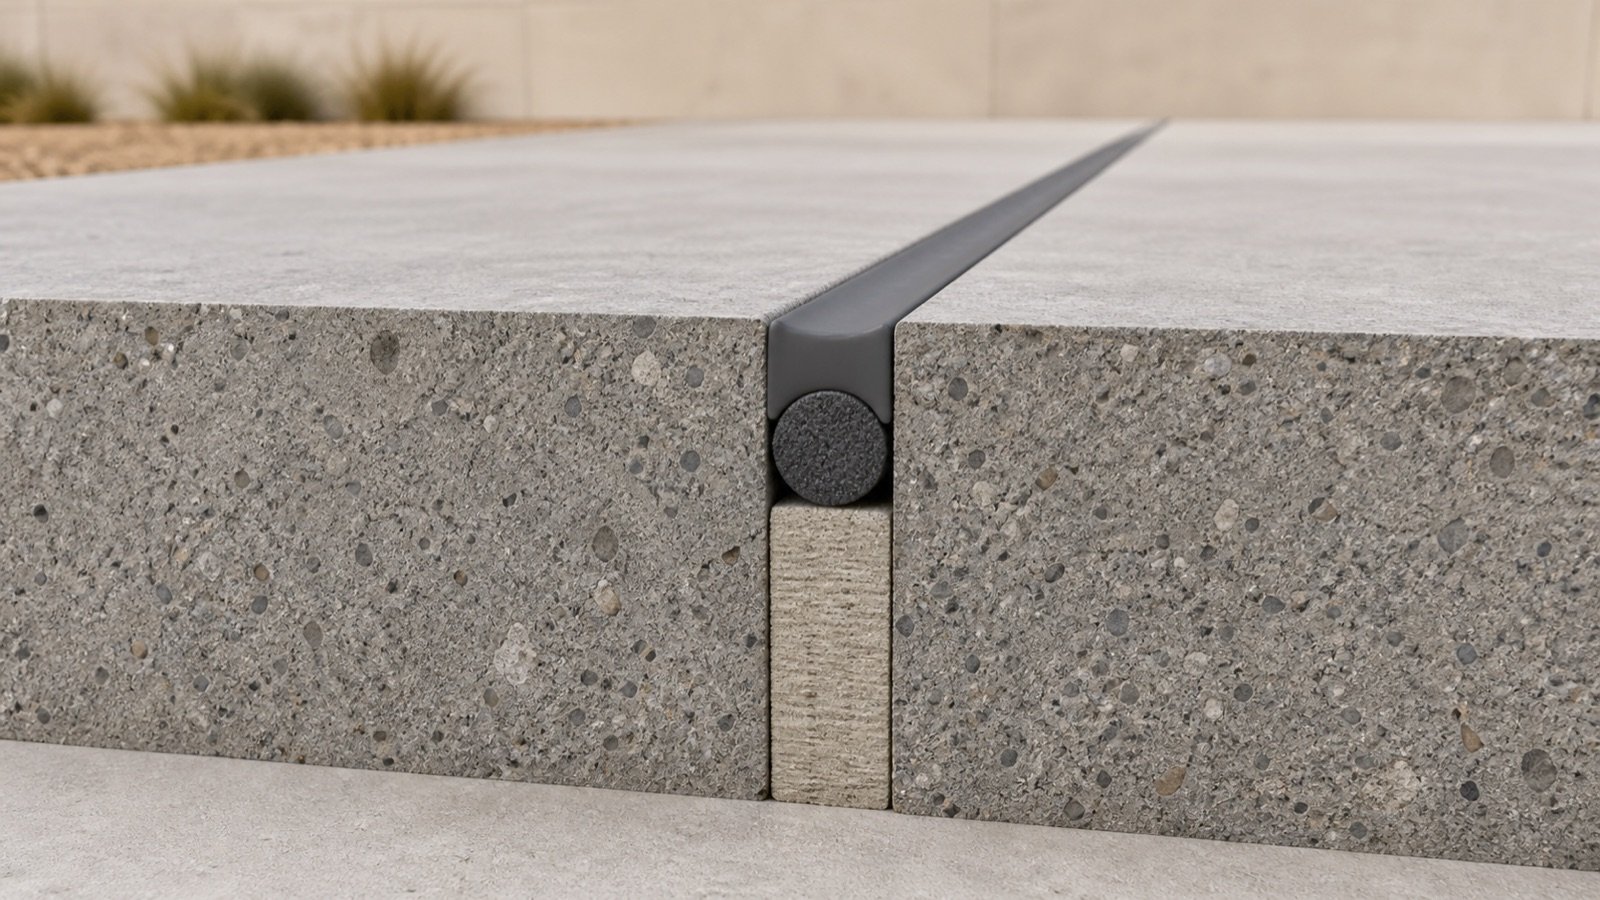
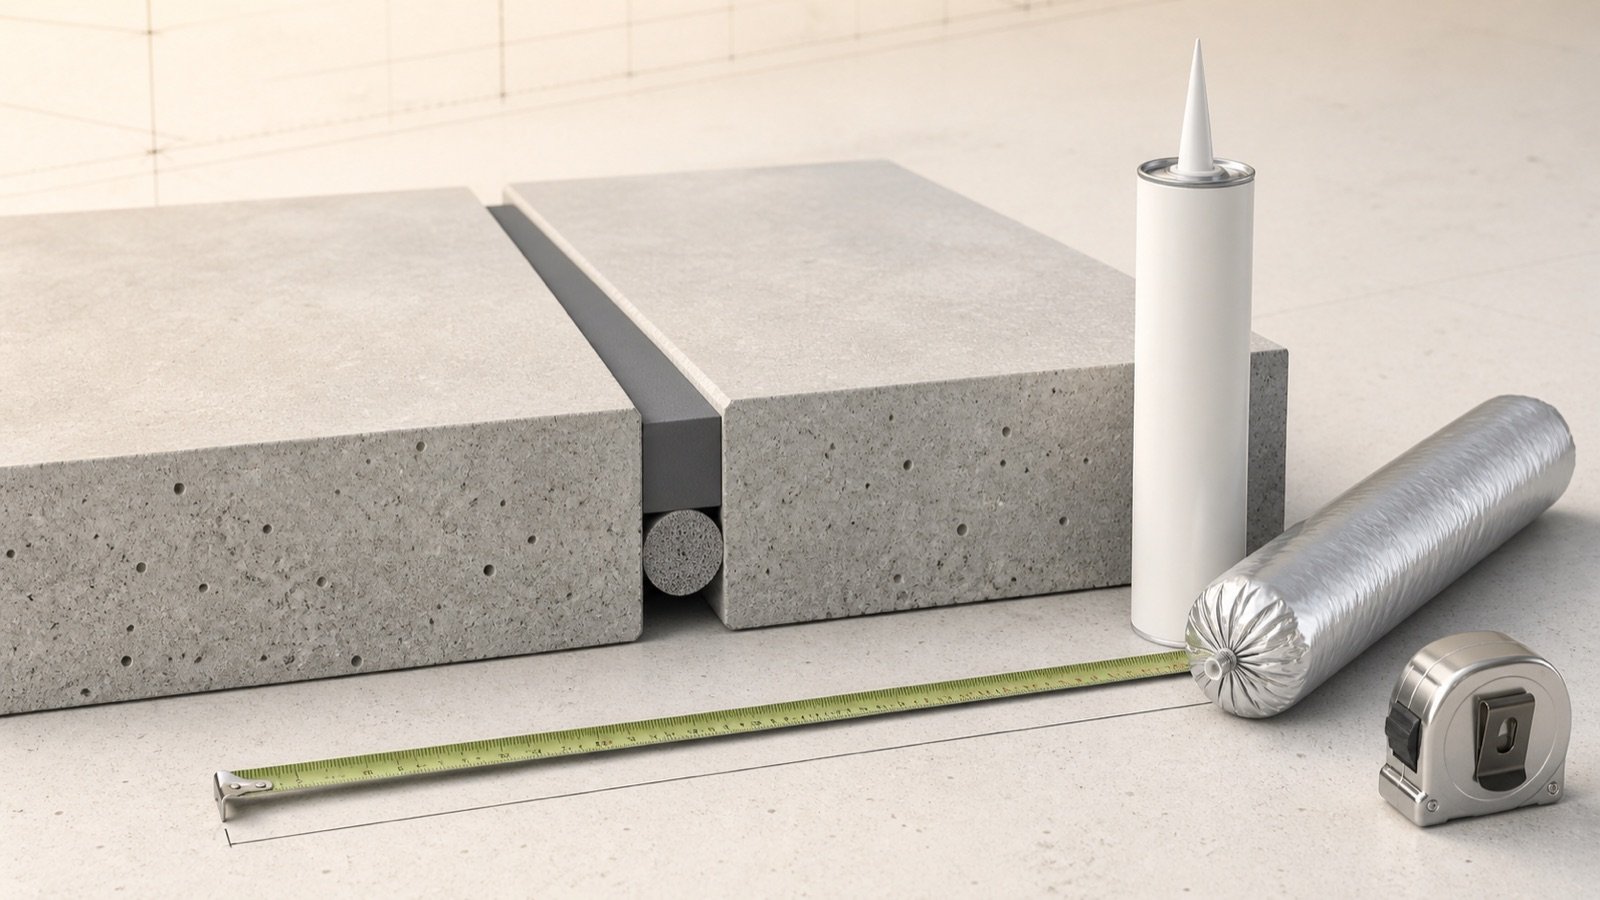
Identify concrete expansion joint filler, backer rod, bond breaker, primer and sealant, then build a product-specific material schedule and takeoff.
Read Expansion Joint Filler, Backer Rod and Sealant
Blog
Concrete Footing Volume: Strip, Pad and Steps
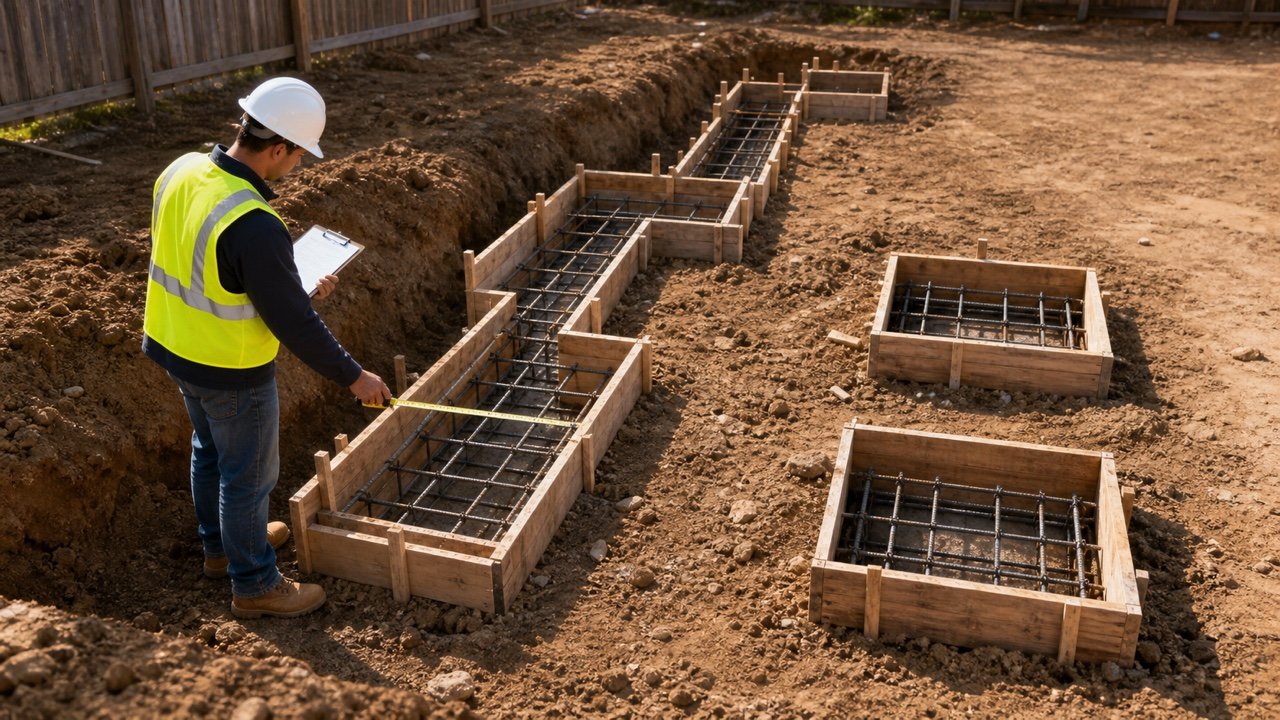
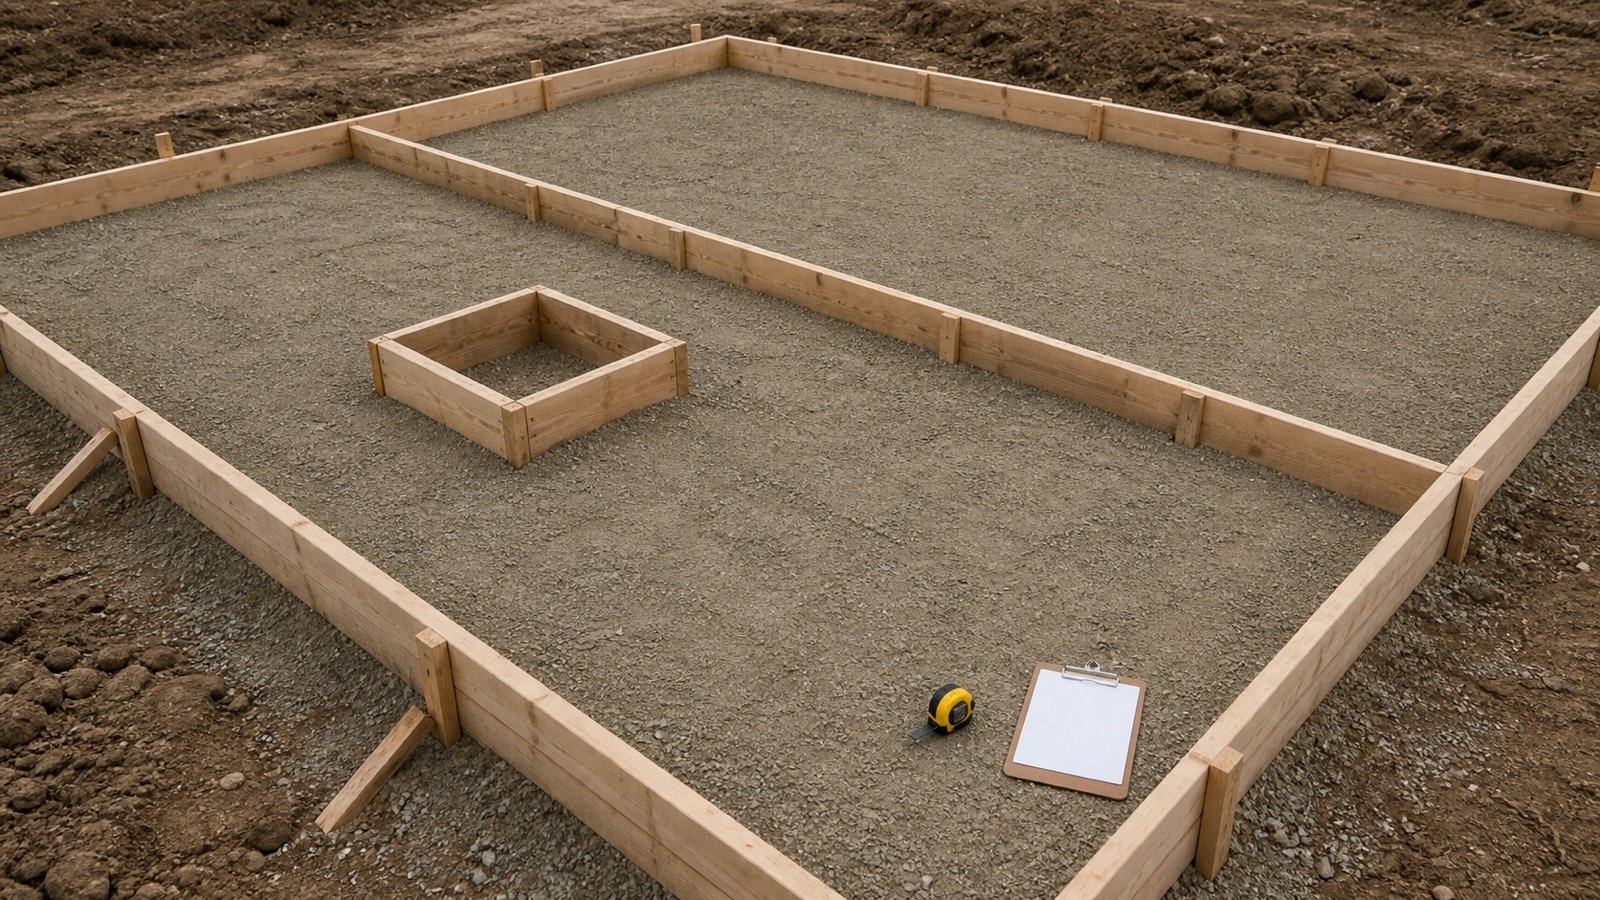
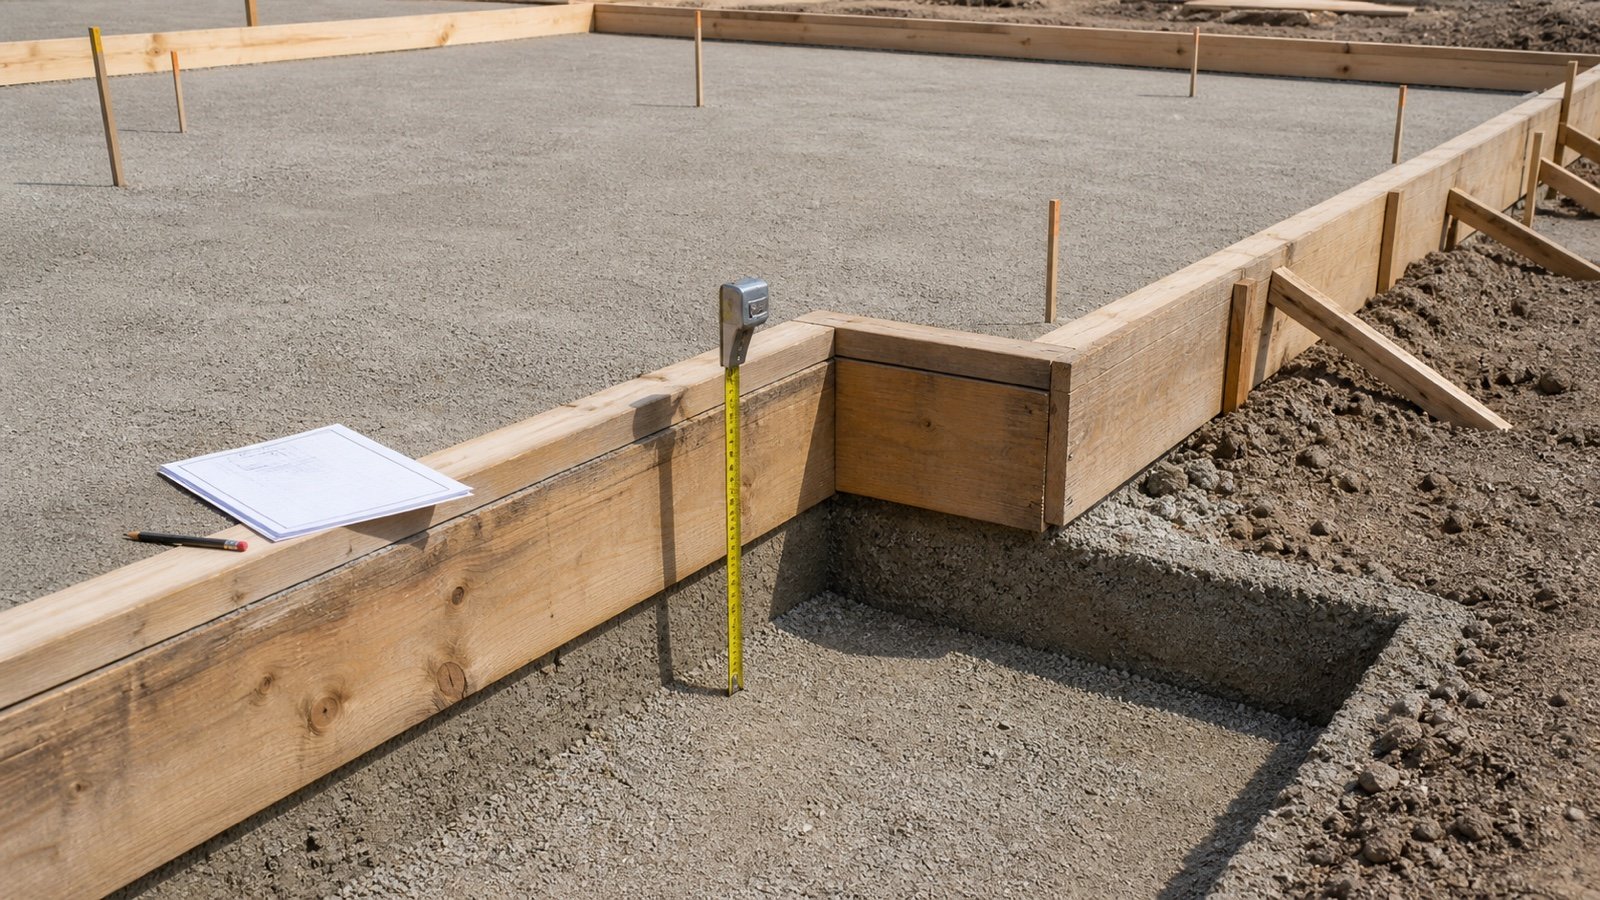
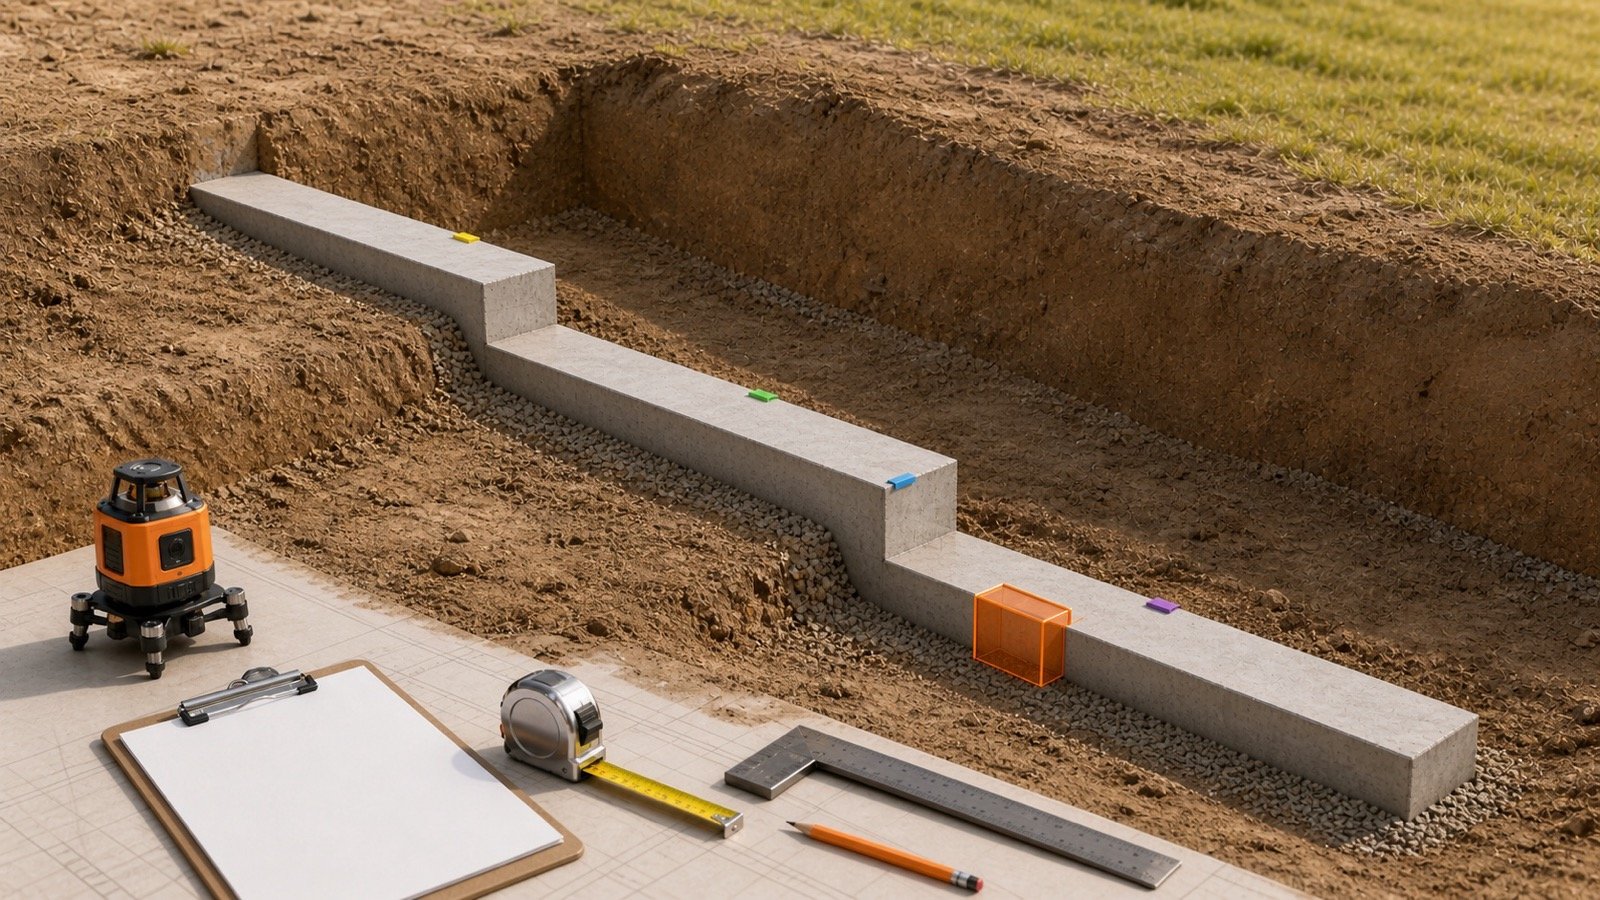
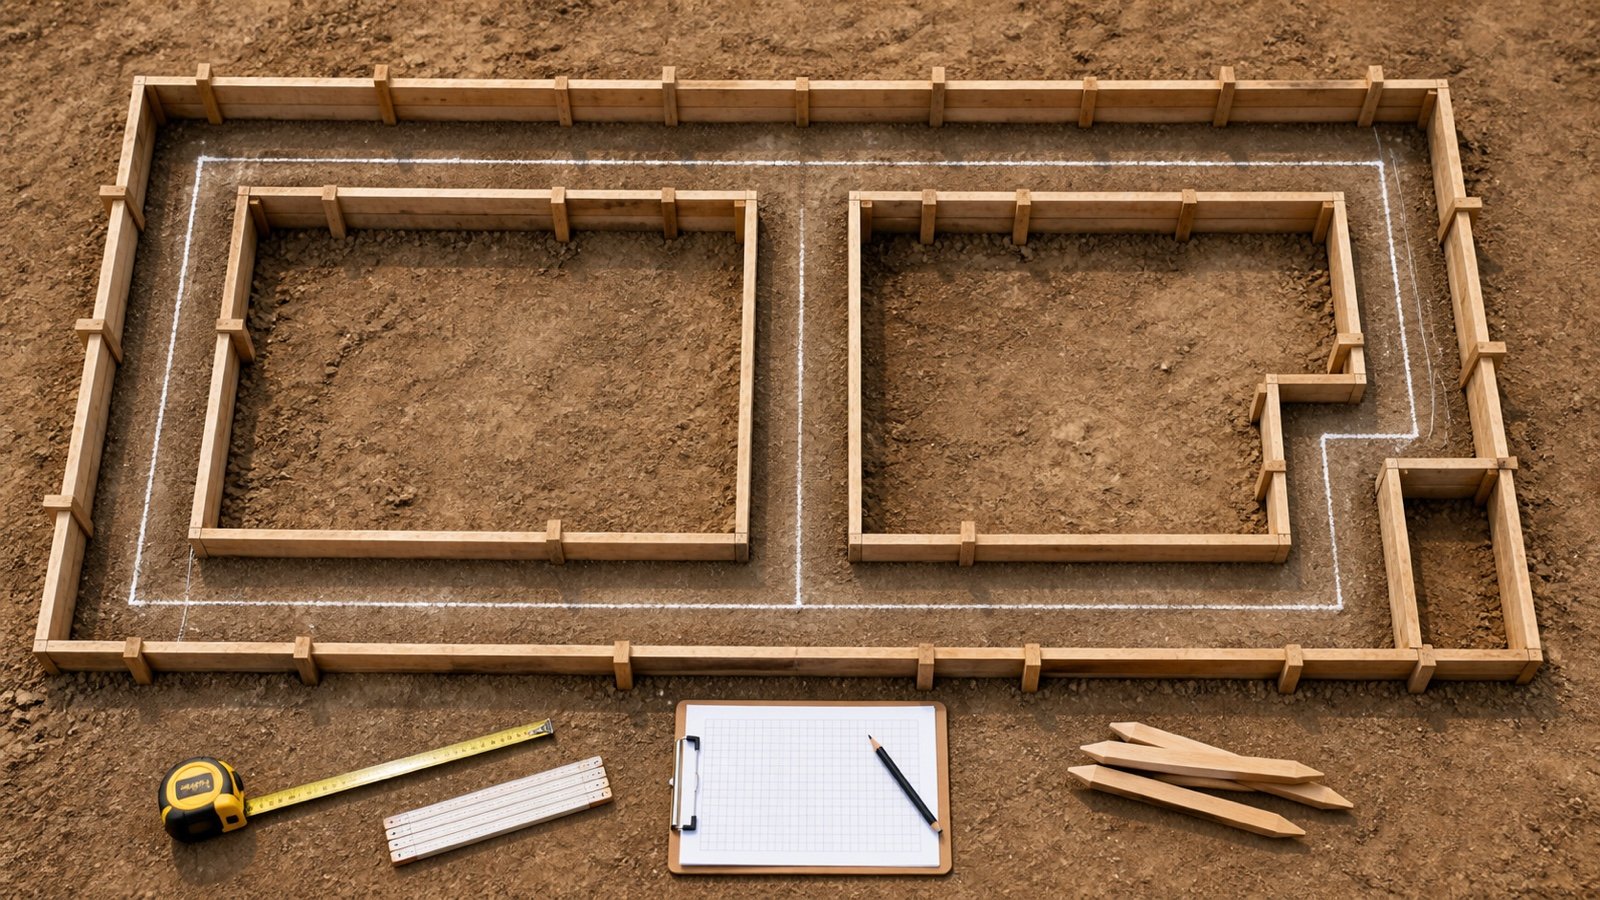
Calculate concrete volume from approved strip, pad and stepped footing dimensions, check corner overlaps, and prepare a measured quantity for ordering.
Read Concrete Footing Volume: Strip, Pad and Steps
Blog
Concrete Post Hole Volume: Round, Square and Tapered
Calculate net concrete volume for straight or tapered post holes, deduct embedded posts, group different holes, and convert the total to bags.
Read Concrete Post Hole Volume: Round, Square and Tapered
Blog
Concrete Slab Formwork Area: Edges and Stop Ends
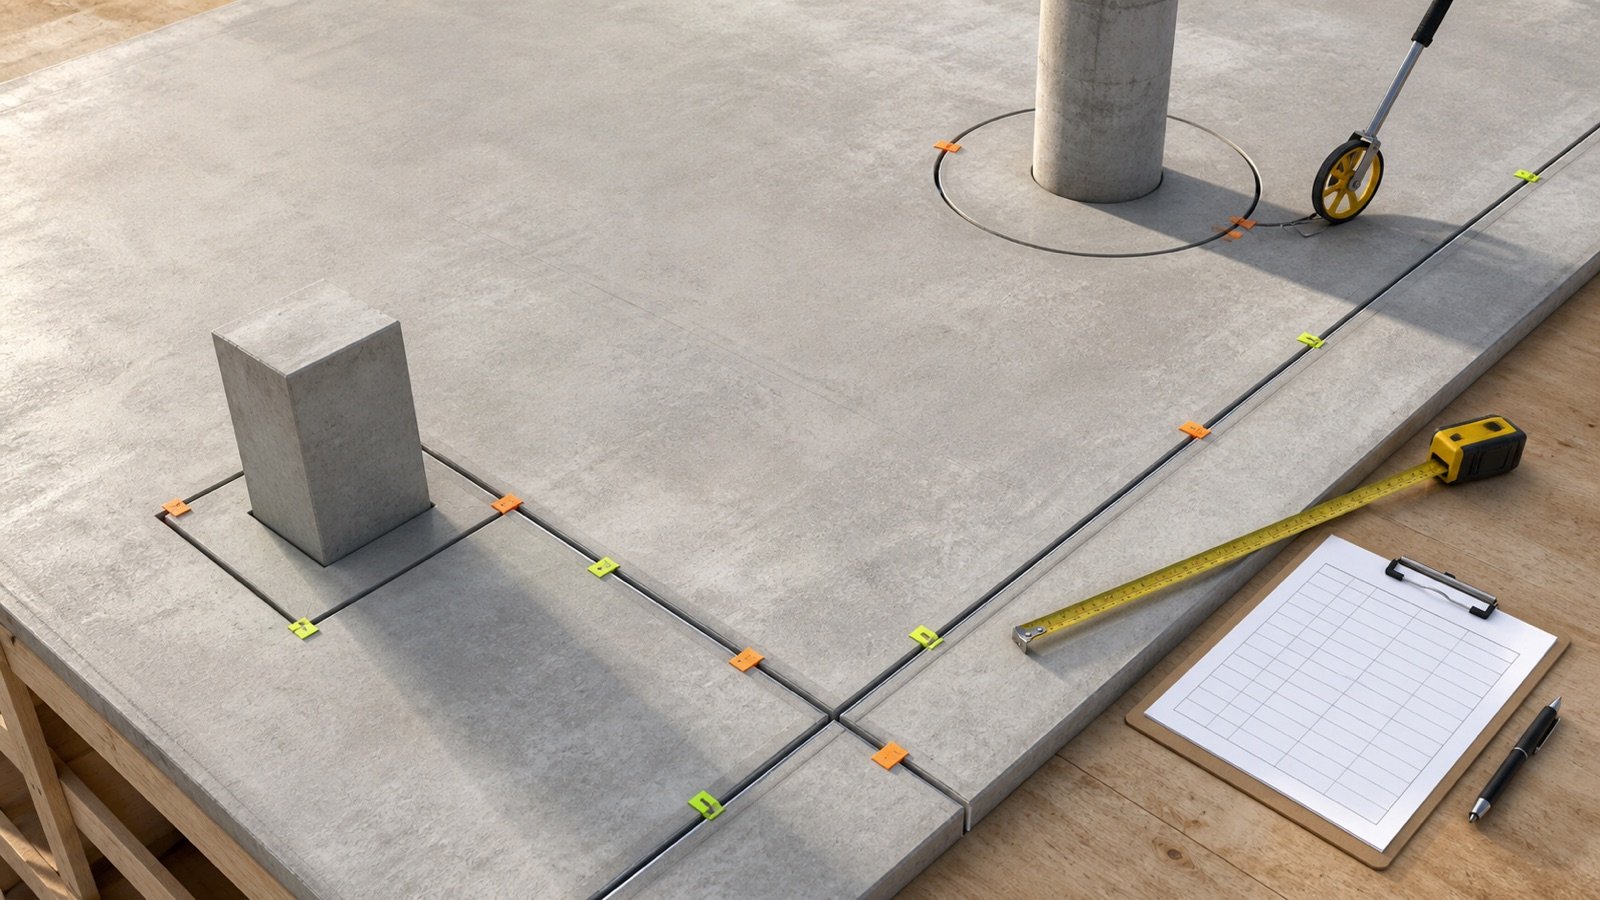
Calculate concrete slab formwork area for perimeter edges, blockouts, stop ends and suspended soffits with metric and imperial examples.
Read Concrete Slab Formwork Area: Edges and Stop Ends
Blog
Concrete Slab Thickness: Drawings and Field Checks
Check concrete slab thickness from current drawings, loads and field boundaries, then calculate how each thickness change affects concrete volume.
Read Concrete Slab Thickness: Drawings and Field Checks
Blog
Concrete Wall Formwork Area: Faces and Openings
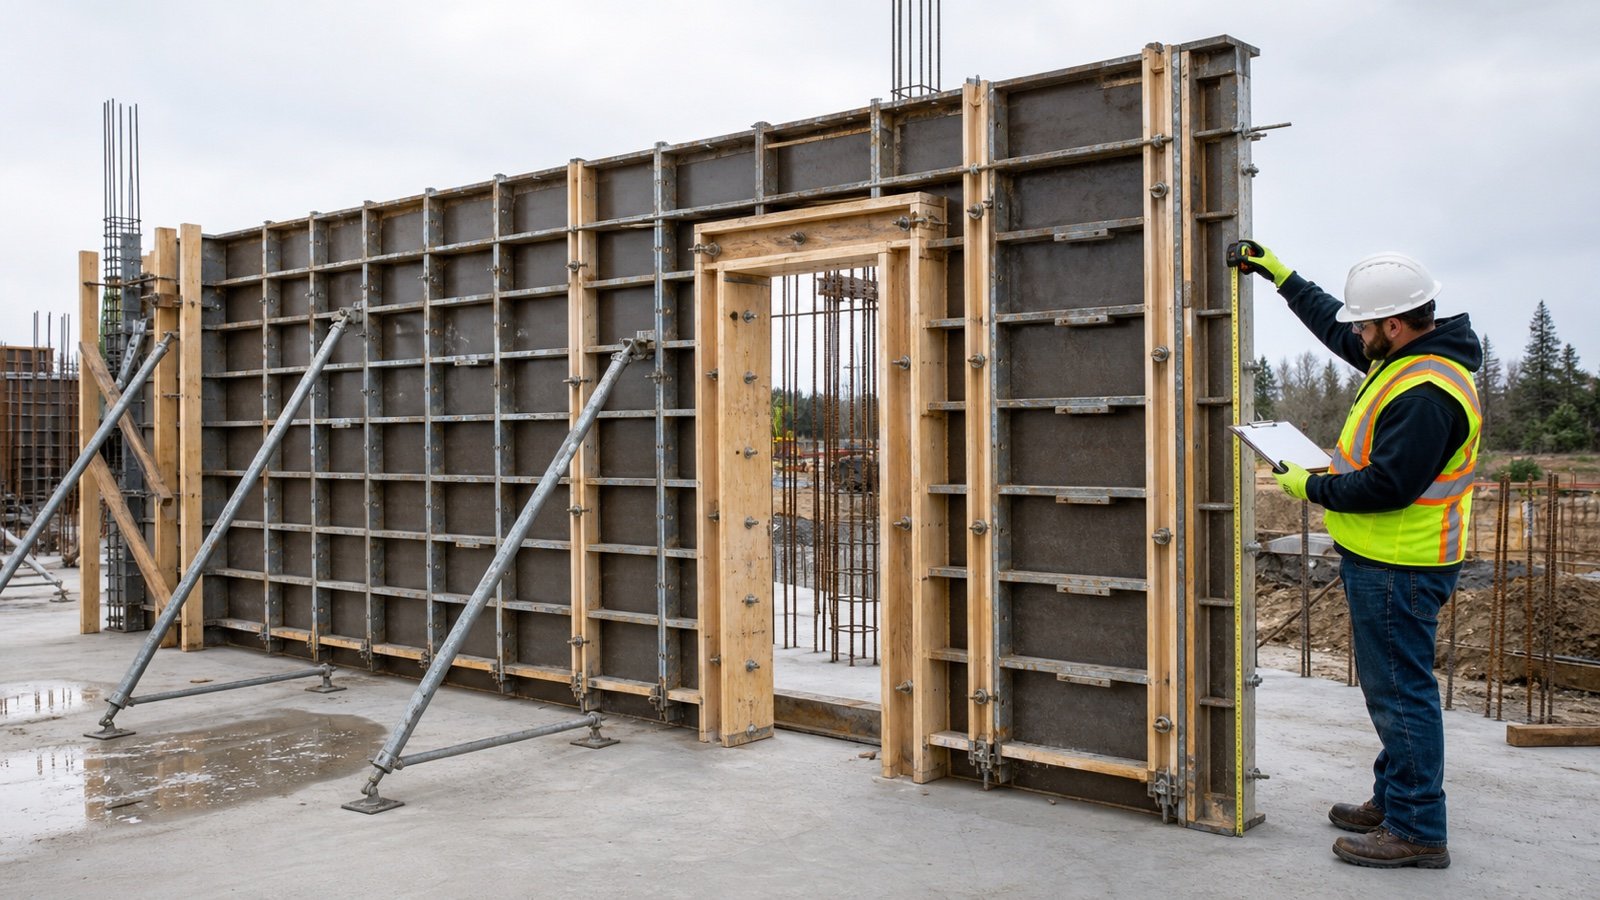
Calculate concrete wall formwork area for one or two formed faces, then schedule opening deductions, reveals, stop ends, joints, and reuse separately.
Read Concrete Wall Formwork Area: Faces and Openings
Blog
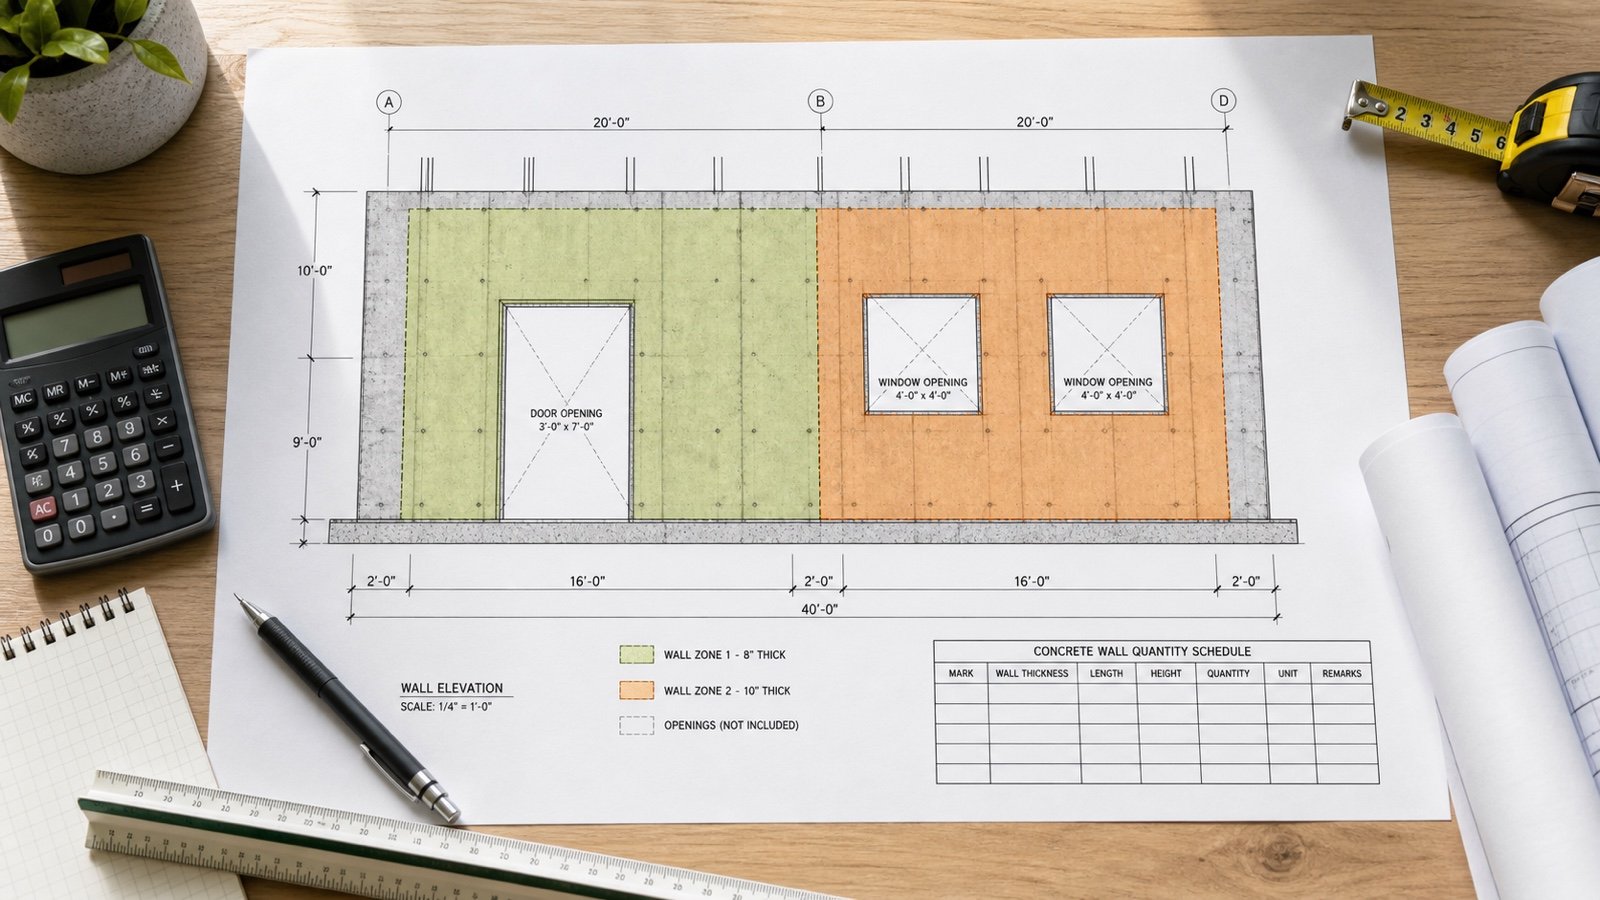
Concrete Wall Takeoff: Zones and Openings
Prepare a concrete wall quantity takeoff from current drawings, with wall zones, opening deductions, checked metric and imperial examples, and a reviewable schedule.
Read Concrete Wall Takeoff: Zones and Openings
Blog
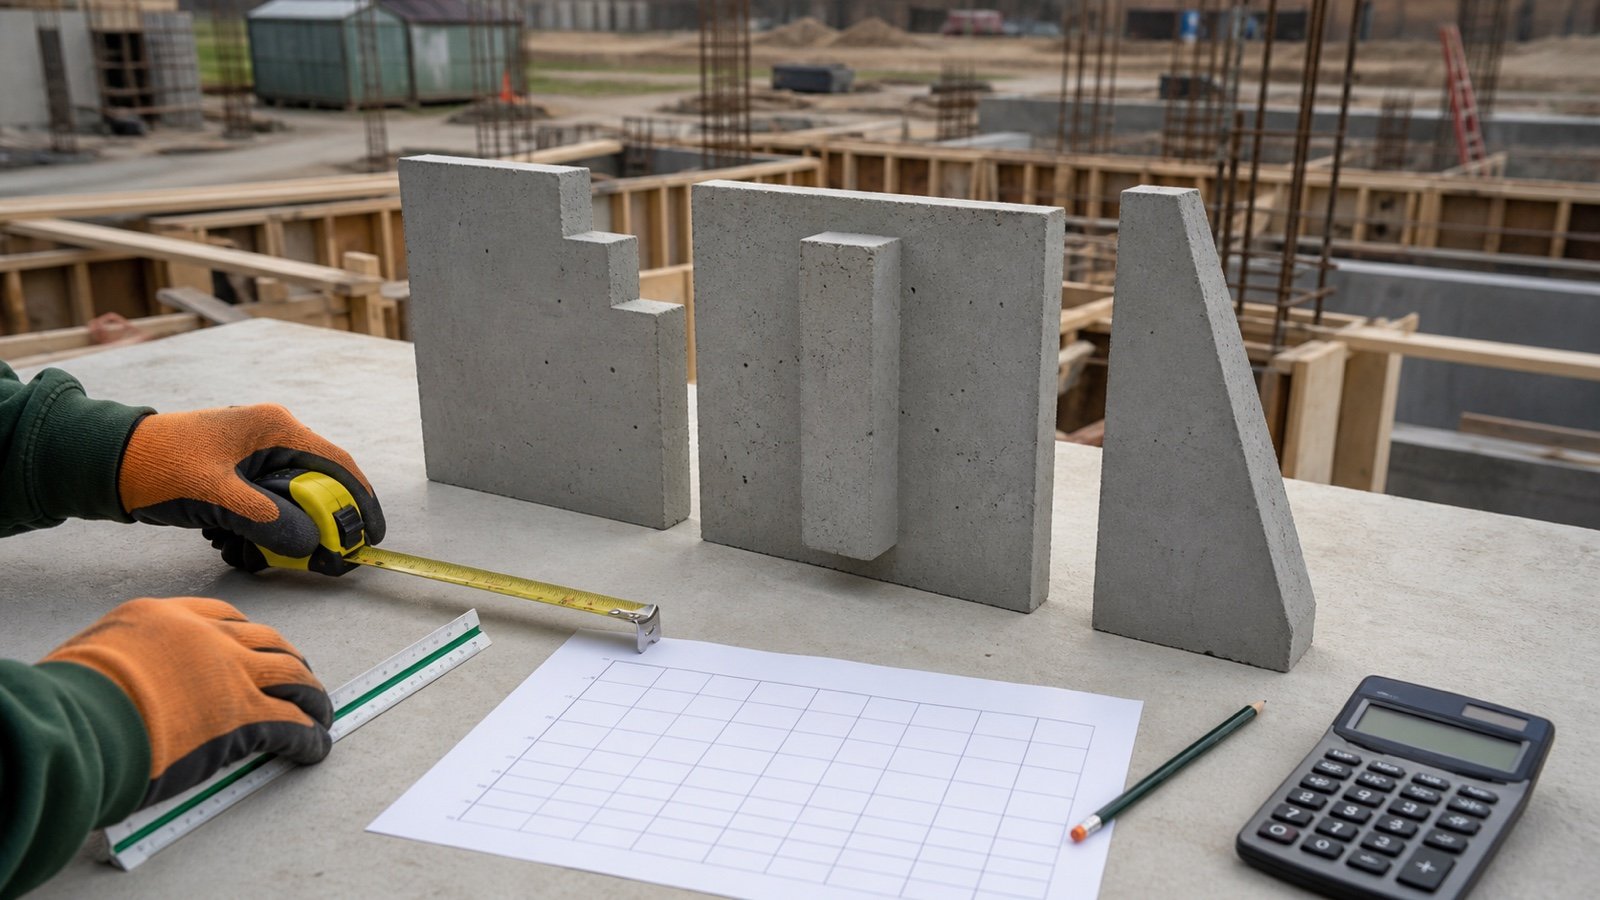
Concrete Wall Shapes: Steps, Pilasters and Tapers
Calculate concrete wall steps, pilaster projections, linear tapers, battered sections, and concentric curves without double-counting shared volume.
Read Concrete Wall Shapes: Steps, Pilasters and Tapers
Blog
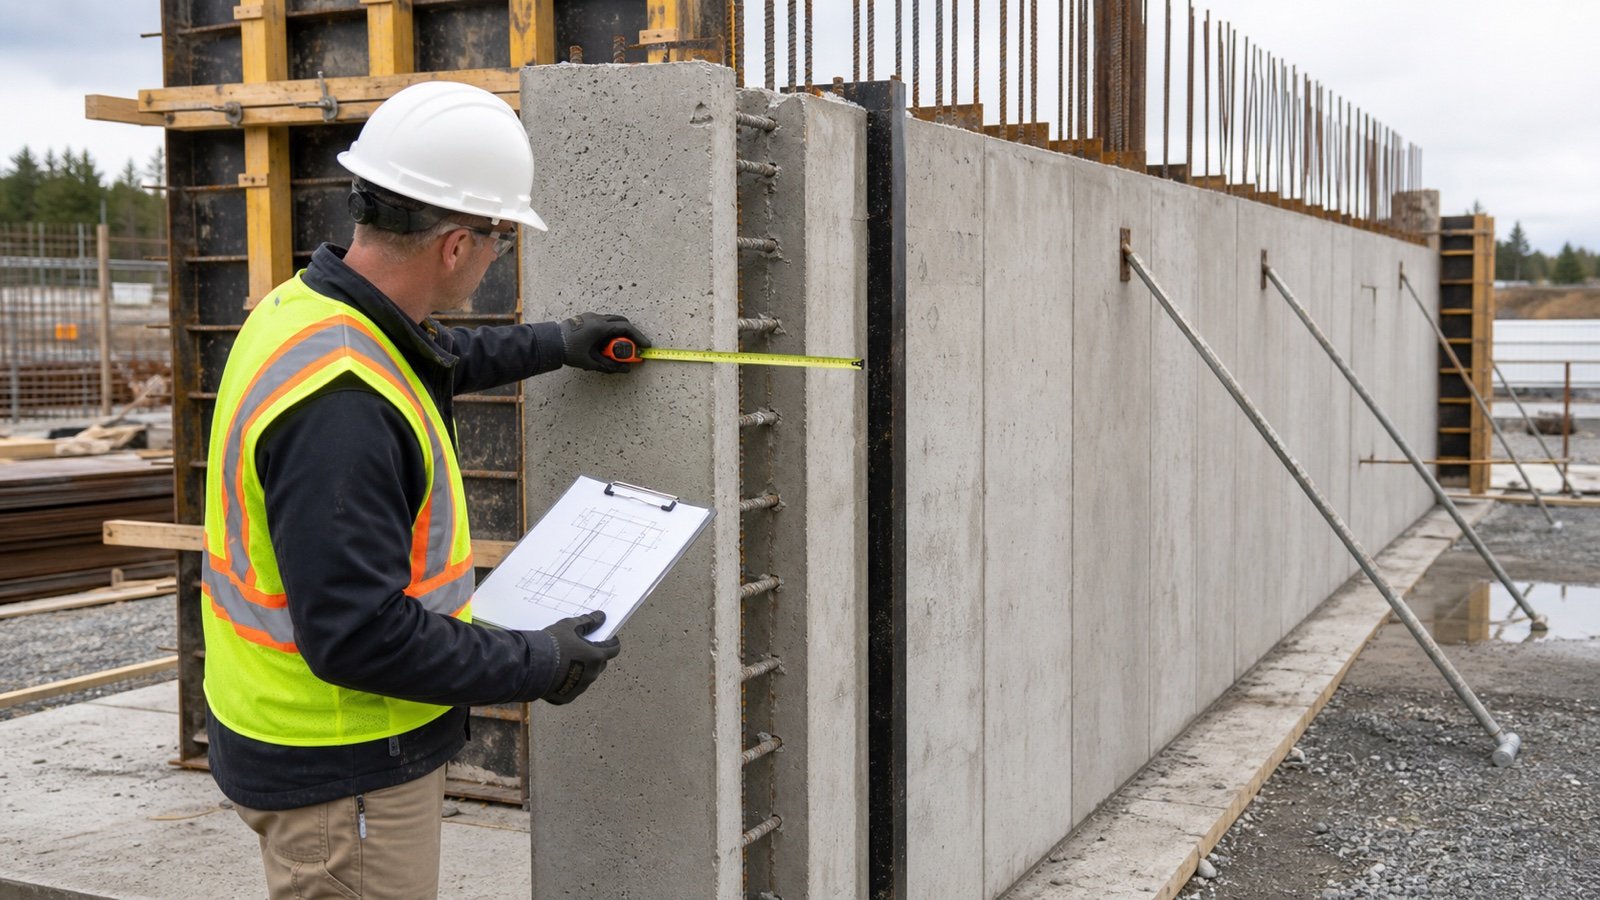
Concrete Wall Thickness: Drawings and Field Checks
Find the approved concrete wall thickness in plans, schedules, sections, ICF details, and field records before calculating volume or checking formwork.
Read Concrete Wall Thickness: Drawings and Field Checks
Blog
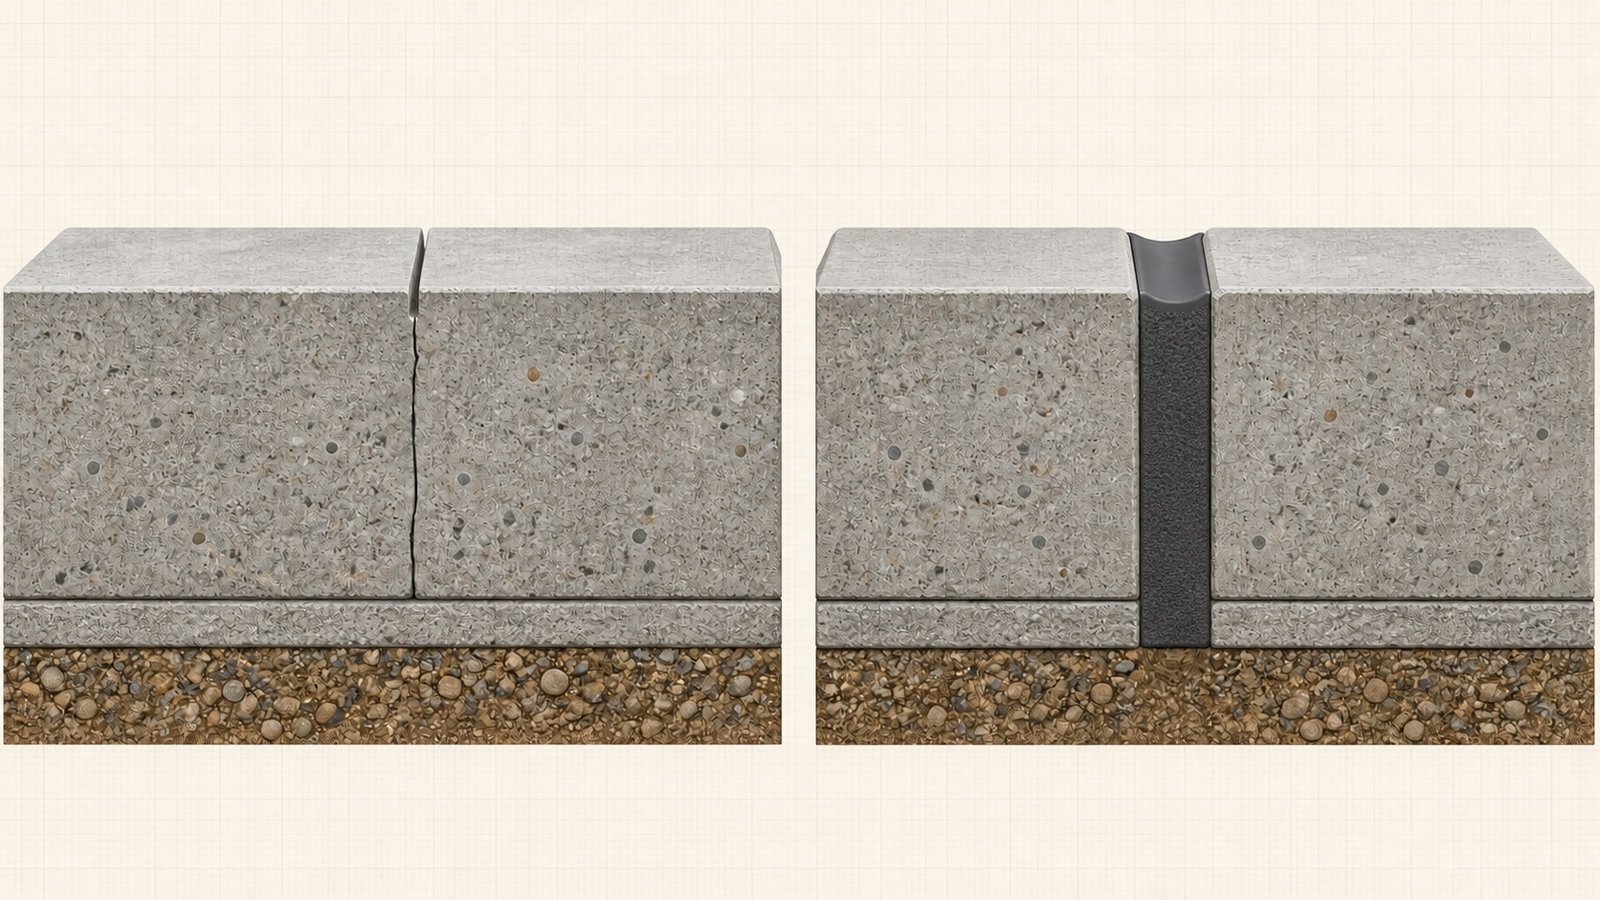
Control Joint vs Expansion Joint: How to Read the Detail
Compare concrete control, contraction, isolation and expansion joints by purpose, depth, reinforcement, materials and drawing details before estimating or repair.
Read Control Joint vs Expansion Joint: How to Read the Detail
Blog
Convert Trench Volume into an Order Quantity
Convert trench volume into cubic yards, tonnes, bags, or loads using the correct material state, supplier density, allowance, and order increment.
Read Convert Trench Volume into an Order Quantity
Blog
Cut and Fill Volume: Grid, Section and Surface Checks
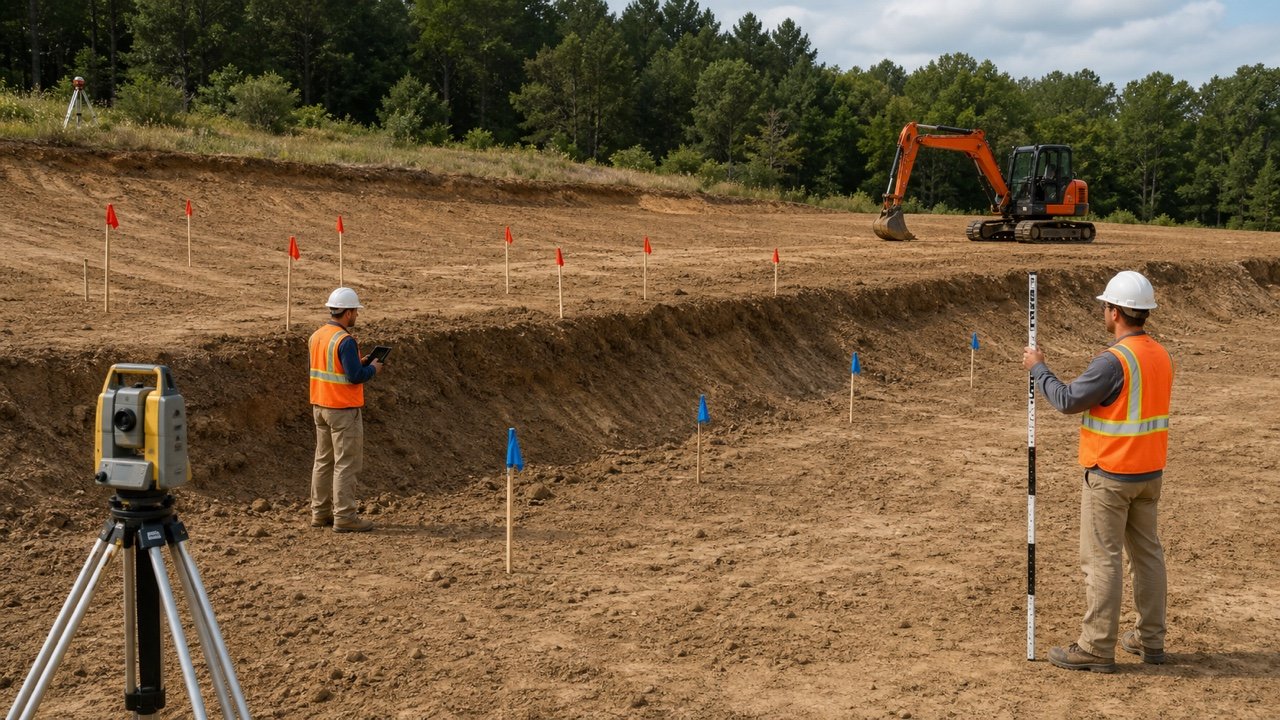
Calculate cut and fill from existing and proposed levels using simple geometry, grids, cross-sections or surfaces, with mixed-cell and quantity checks.
Read Cut and Fill Volume: Grid, Section and Surface Checks
Blog
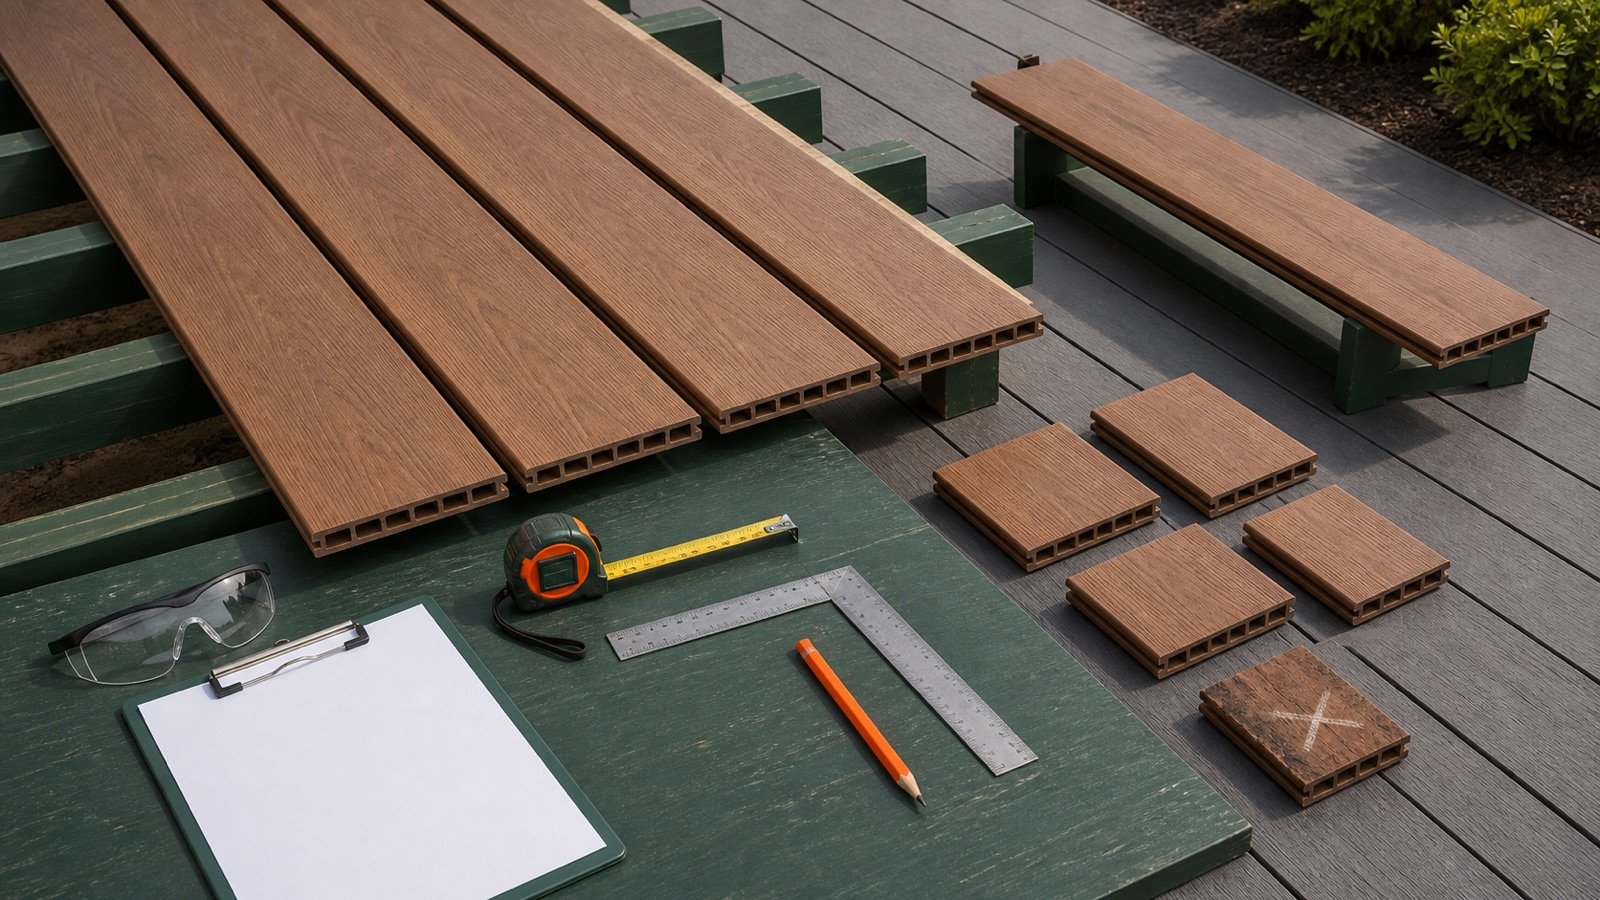
Deck Board Cut List: Stock Lengths, Joints and Offcuts
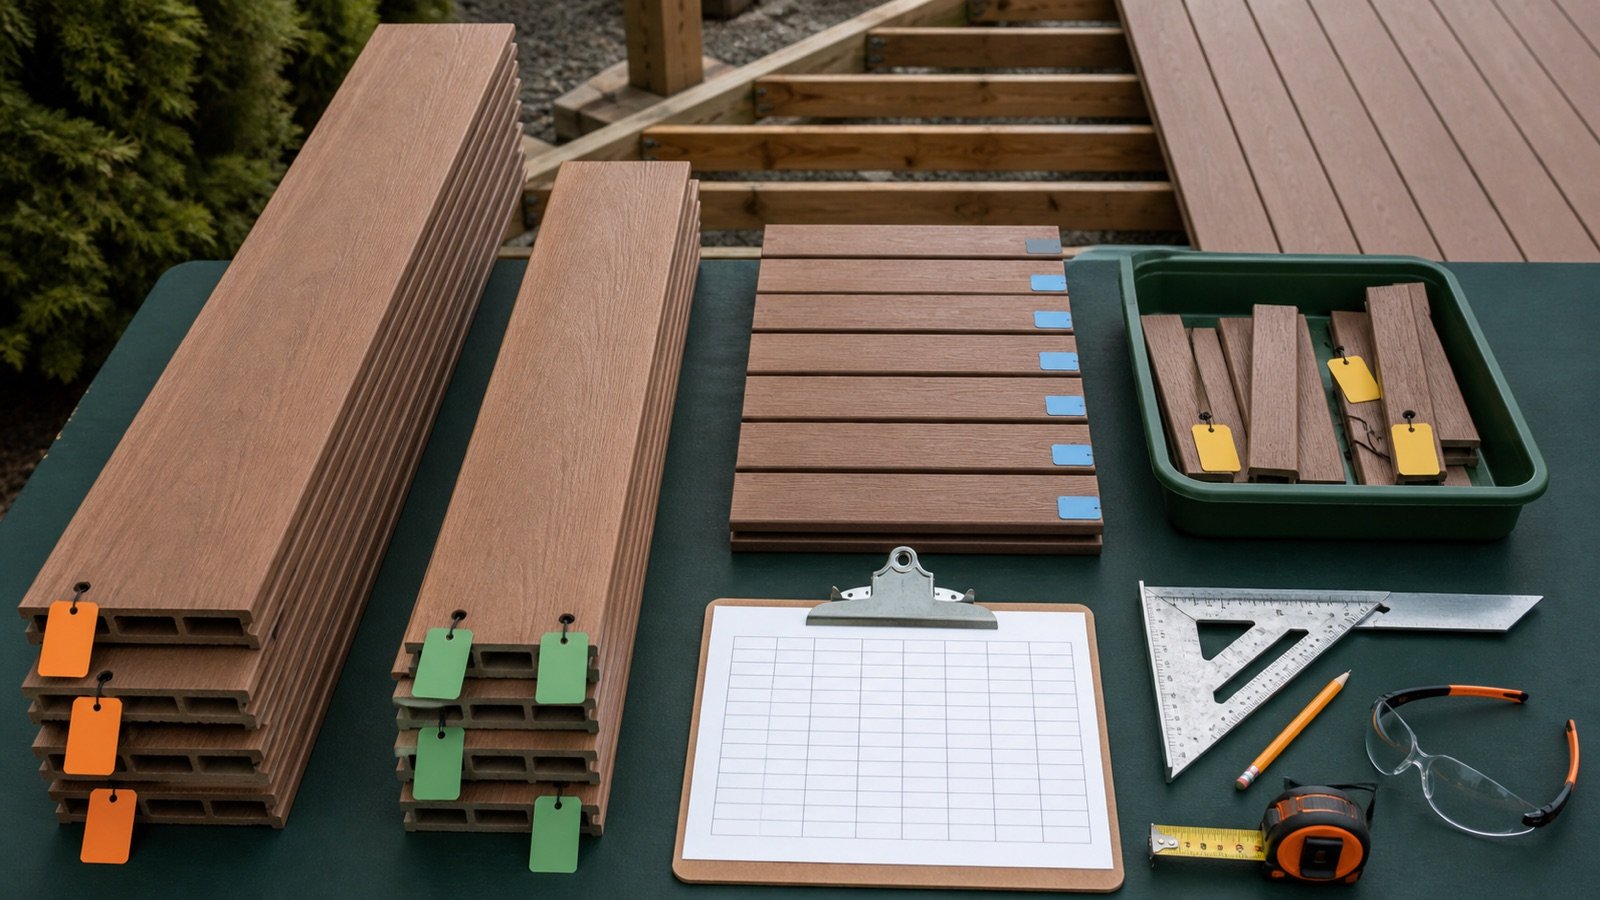
Build a deck-board cut list by assigning identified row and border pieces to confirmed stock lengths while recording cut loss, joints and reusable offcuts.
Read Deck Board Cut List: Stock Lengths, Joints and Offcuts
Blog
Deck Board Sizes and Coverage Guide
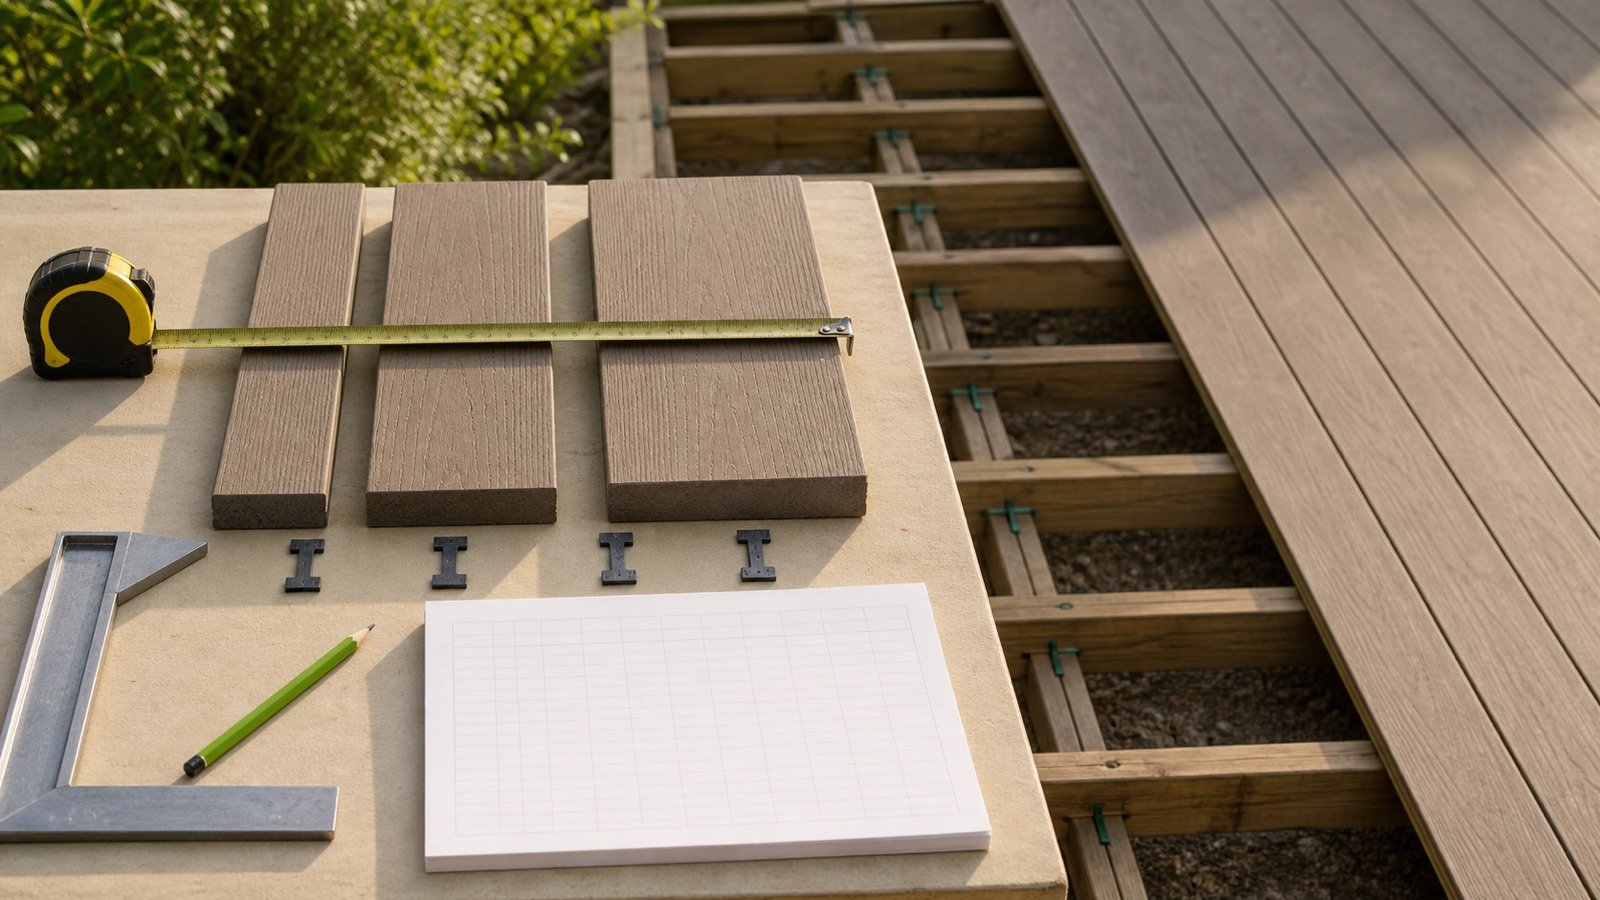
Compare named deck-board face widths and lengths, calculate face area and coverage pitch, and avoid nominal-size, gap and rounded-unit errors.
Read Deck Board Sizes and Coverage Guide
Blog
Decking Allowance Guide: Cuts, Defects and Spares
Choose extra deck boards from the cut plan, rejected-material record and spare-stock decision without counting the same loss twice.
Read Decking Allowance Guide: Cuts, Defects and Spares
Blog
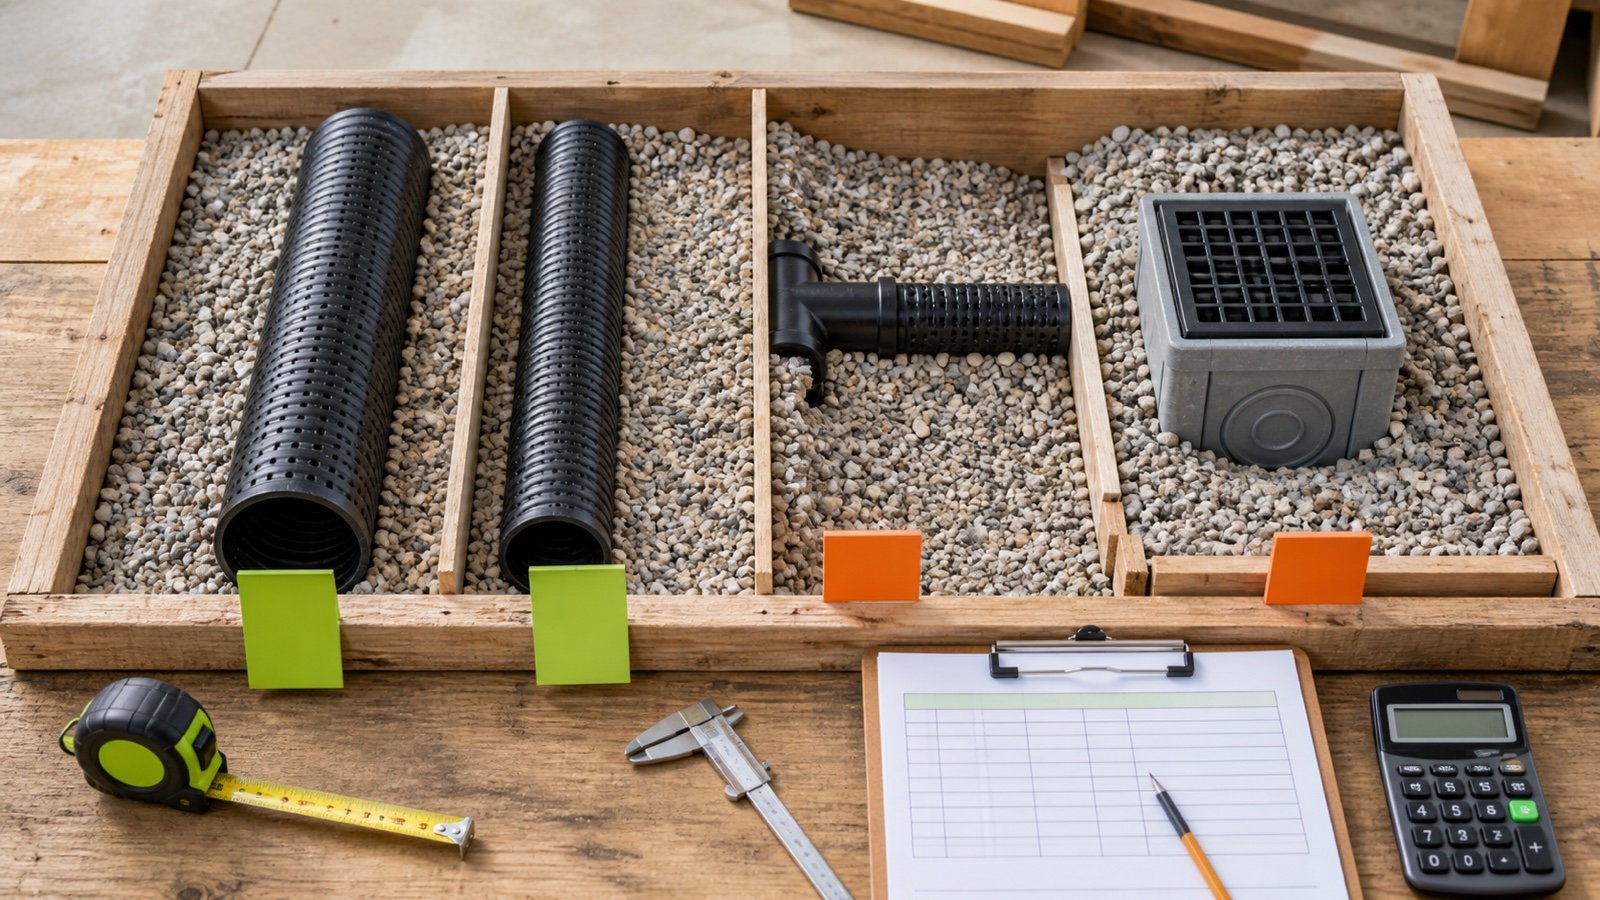
Drainage Gravel for Multiple Pipes and Structures
Calculate drainage gravel around multiple pipes, unequal run lengths, fittings and catch basins by separating straight runs from junction and structure displacement.
Read Drainage Gravel for Multiple Pipes and Structures
Blog
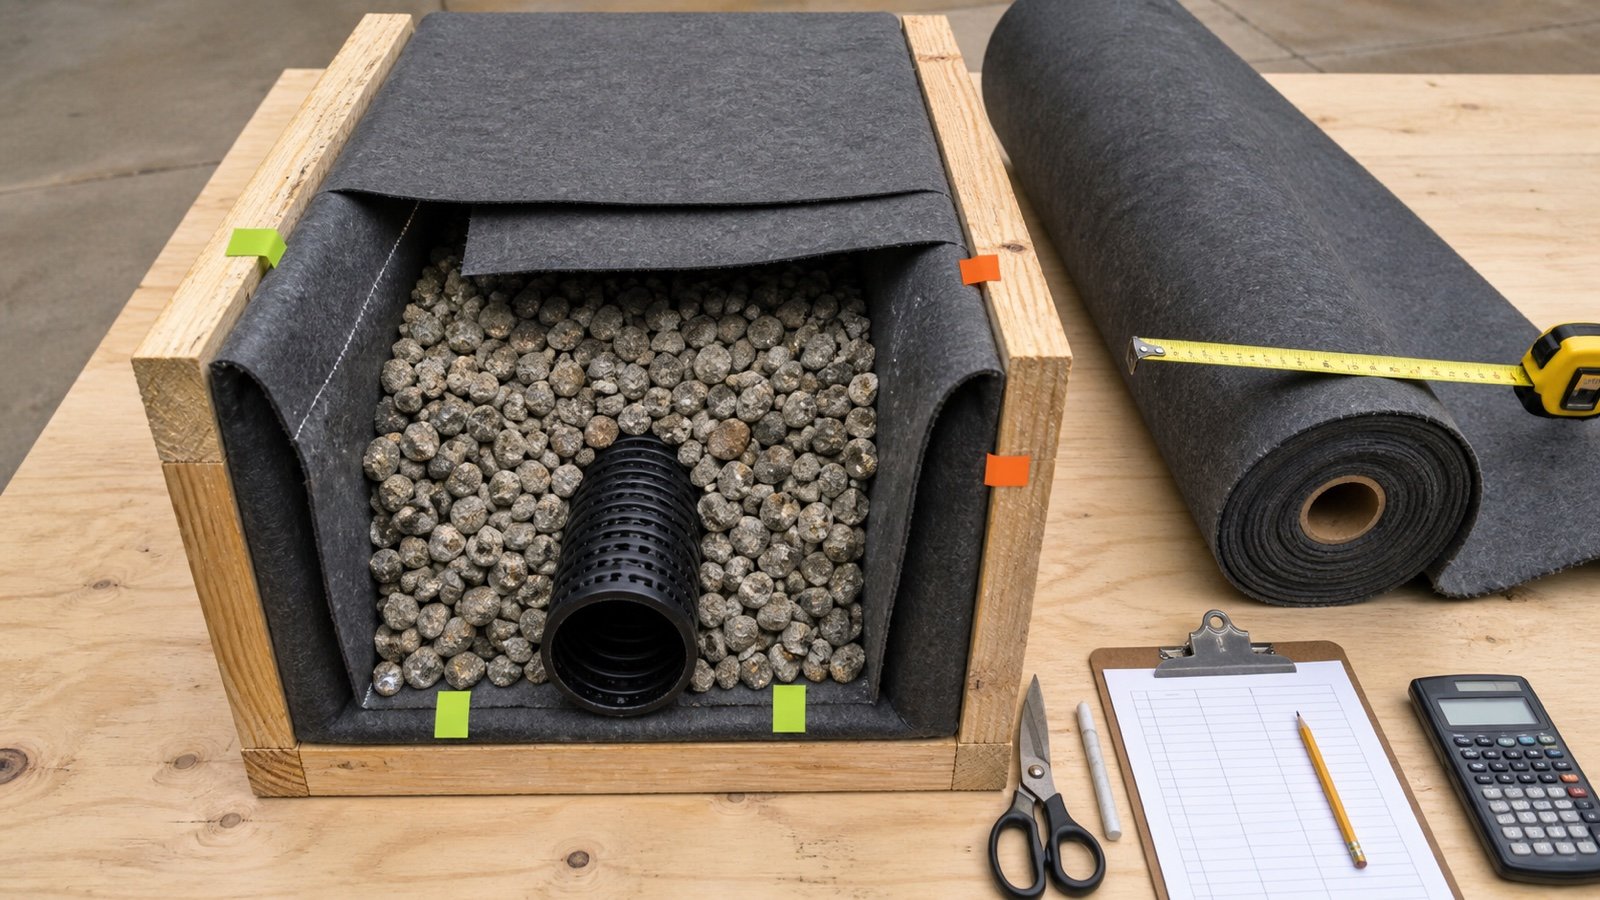
Drainage Trench Geotextile: Area, Overlaps and Rolls
Calculate drainage-trench geotextile wrap width, seam-adjusted cut lengths and whole rolls from an approved fabric layout and confirmed roll dimensions.
Read Drainage Trench Geotextile: Area, Overlaps and Rolls
Blog
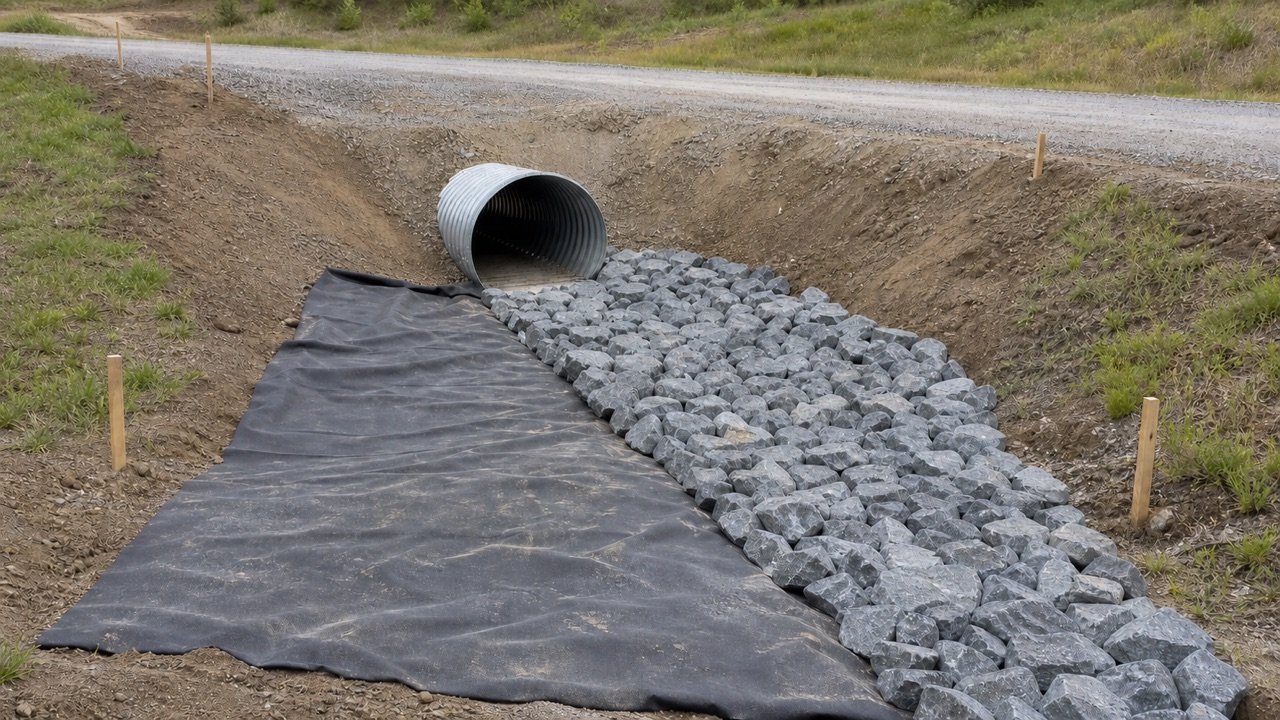
Driveway Culvert End Protection: Riprap and Geotextile Quantities
Calculate riprap apron volume, sloped geotextile area, toe-trench rock, and supplier quantities from an approved driveway culvert end detail.
Read Driveway Culvert End Protection: Riprap and Geotextile Quantities
Blog
Dry Concrete Bag vs Mixed Volume: What Changes?
Separate dry package mass, loose contents, measured water, fresh mixed yield, placed concrete and hardened concrete using named-product examples.
Read Dry Concrete Bag vs Mixed Volume: What Changes?
Blog
Drywall Corner Bead Allowance: Cuts, Damage and Spare Pieces
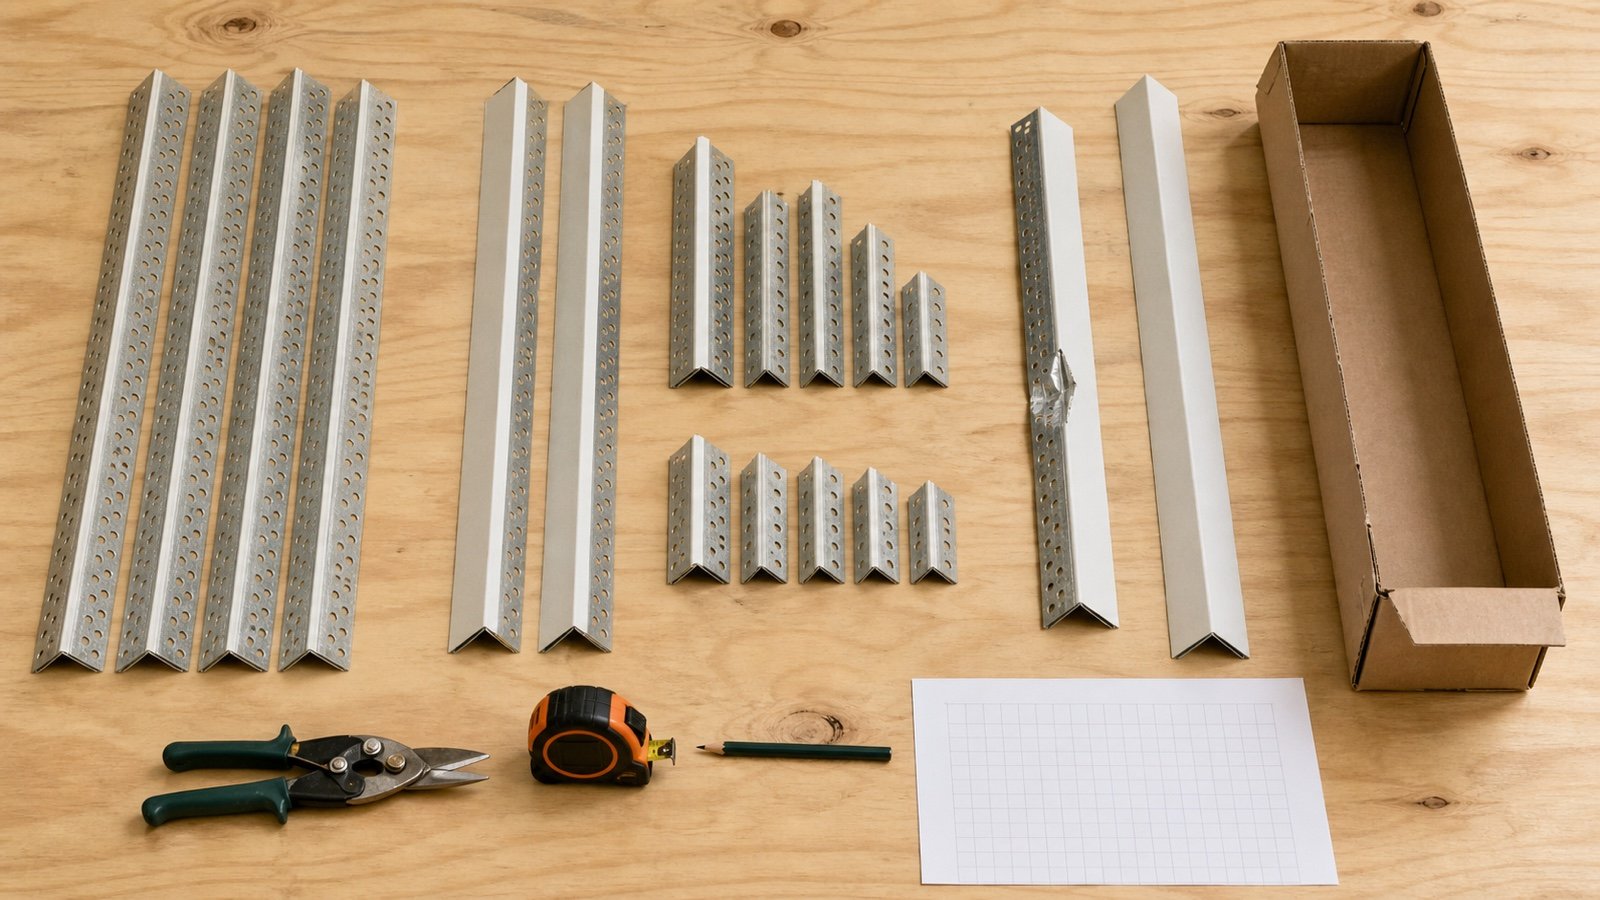
Set a drywall corner-bead allowance from the checked cut plan, then separate offcuts, damage, spare pieces, matching stock and package remainder.
Read Drywall Corner Bead Allowance: Cuts, Damage and Spare Pieces
Blog
Drywall Corner Bead Order and Return Worksheet
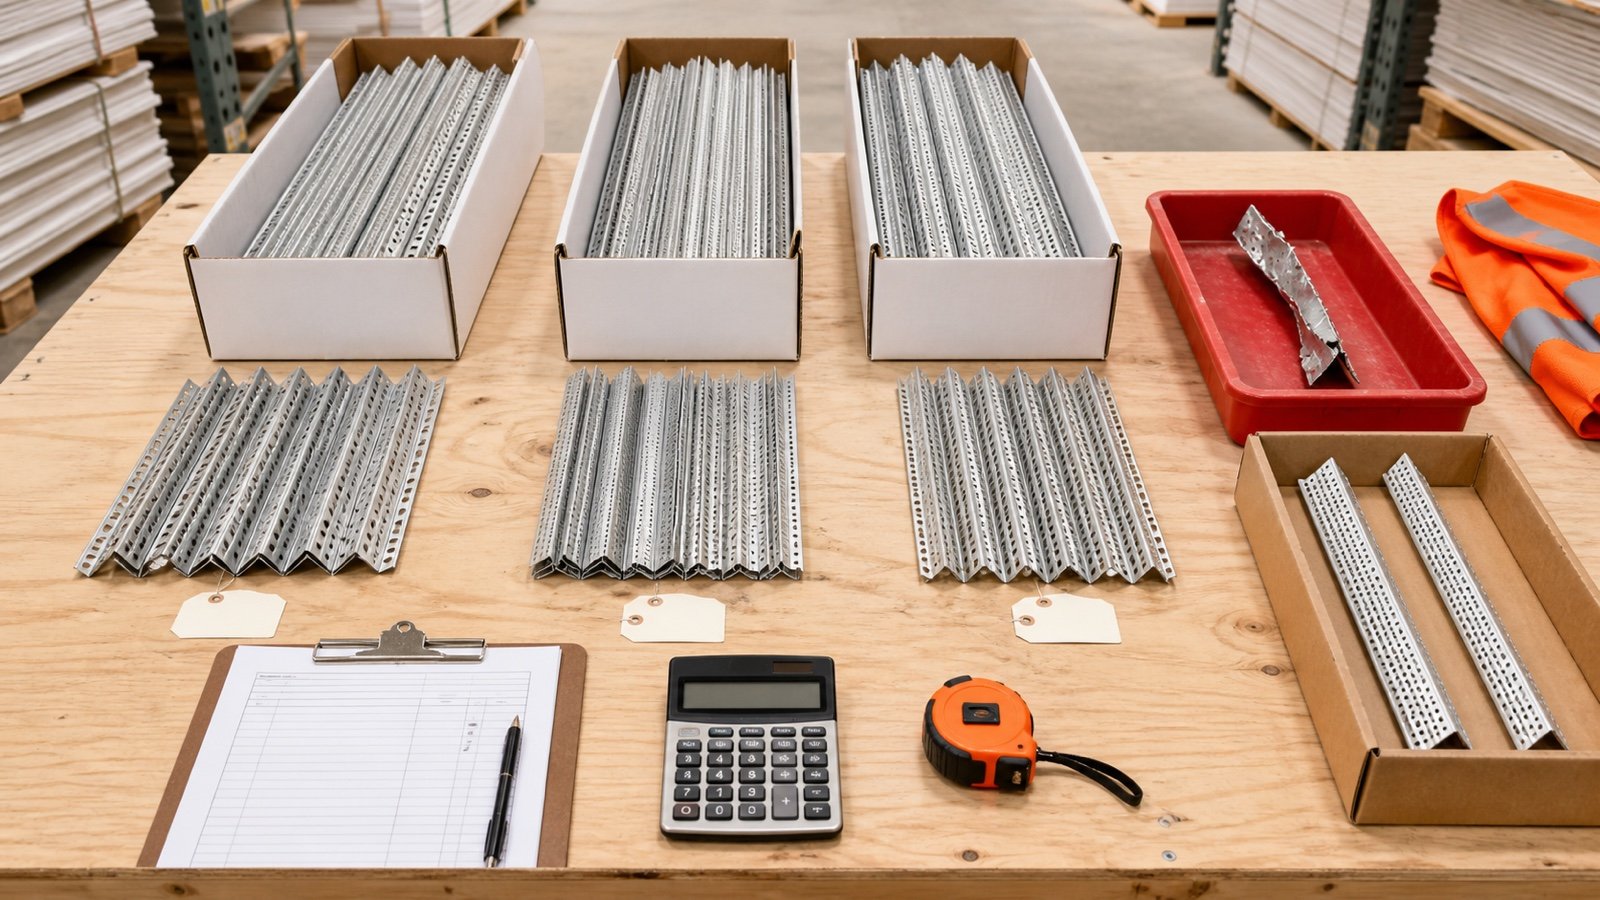
Turn a checked drywall corner-bead takeoff into supplier-ready order rows, then track packages, deliveries, rejected pieces, returns and stock.
Read Drywall Corner Bead Order and Return Worksheet
Blog
Drywall Corner Bead Types: Metal, Paper-Faced and Vinyl
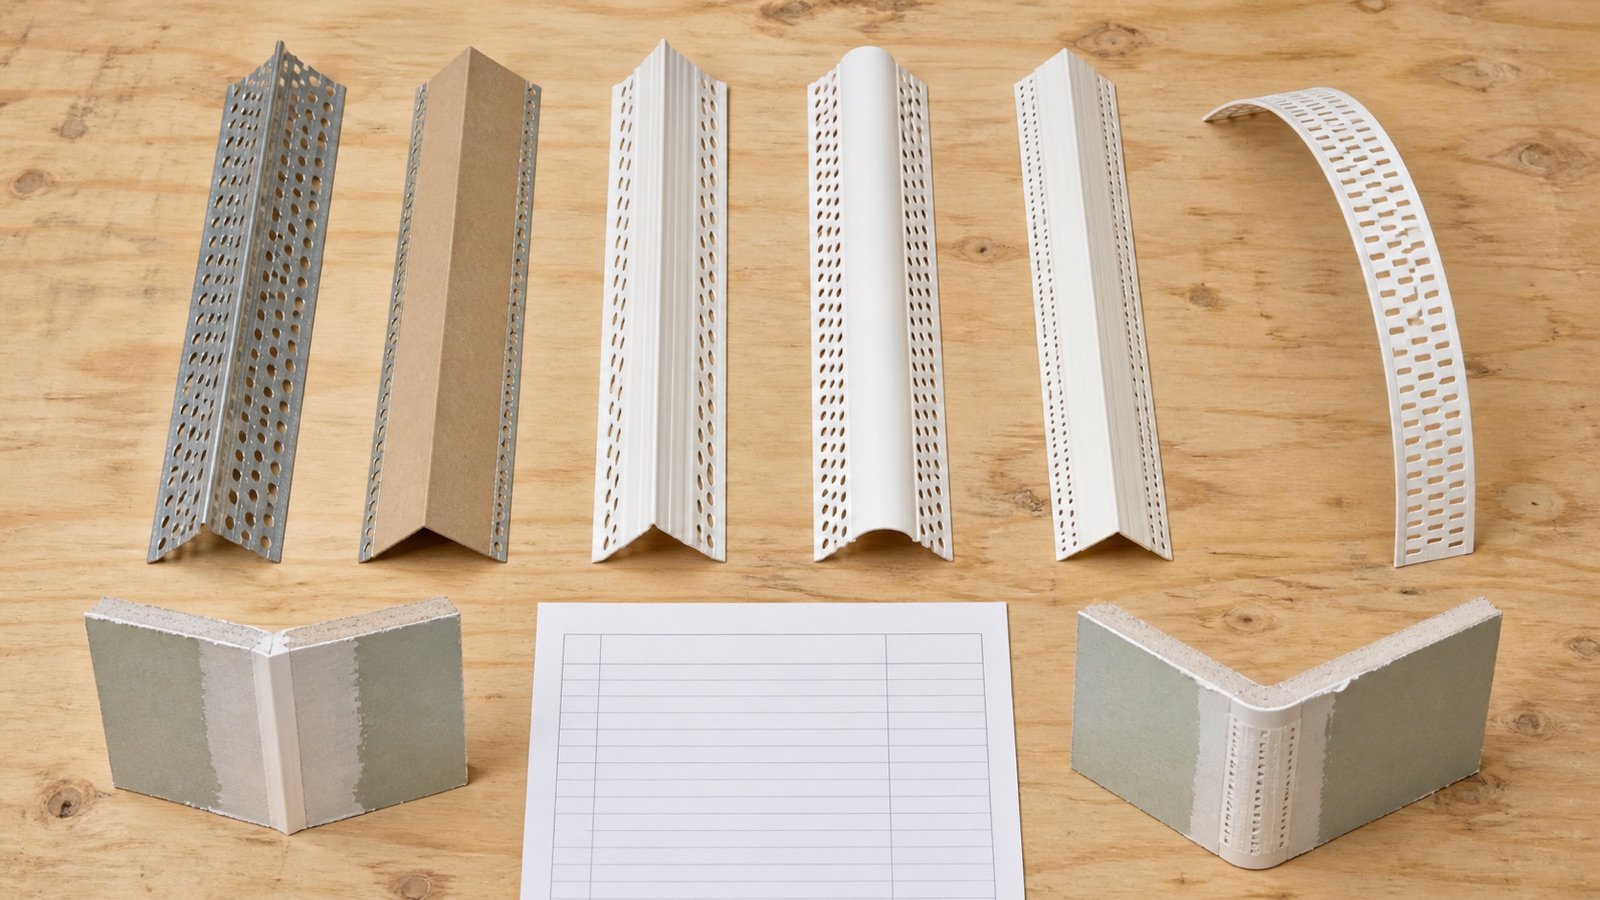
Compare drywall corner bead by material, profile, flexibility and attachment method, then separate each selected product for an accurate takeoff.
Read Drywall Corner Bead Types: Metal, Paper-Faced and Vinyl
Blog
Joint Compound Allowance and Package Rounding
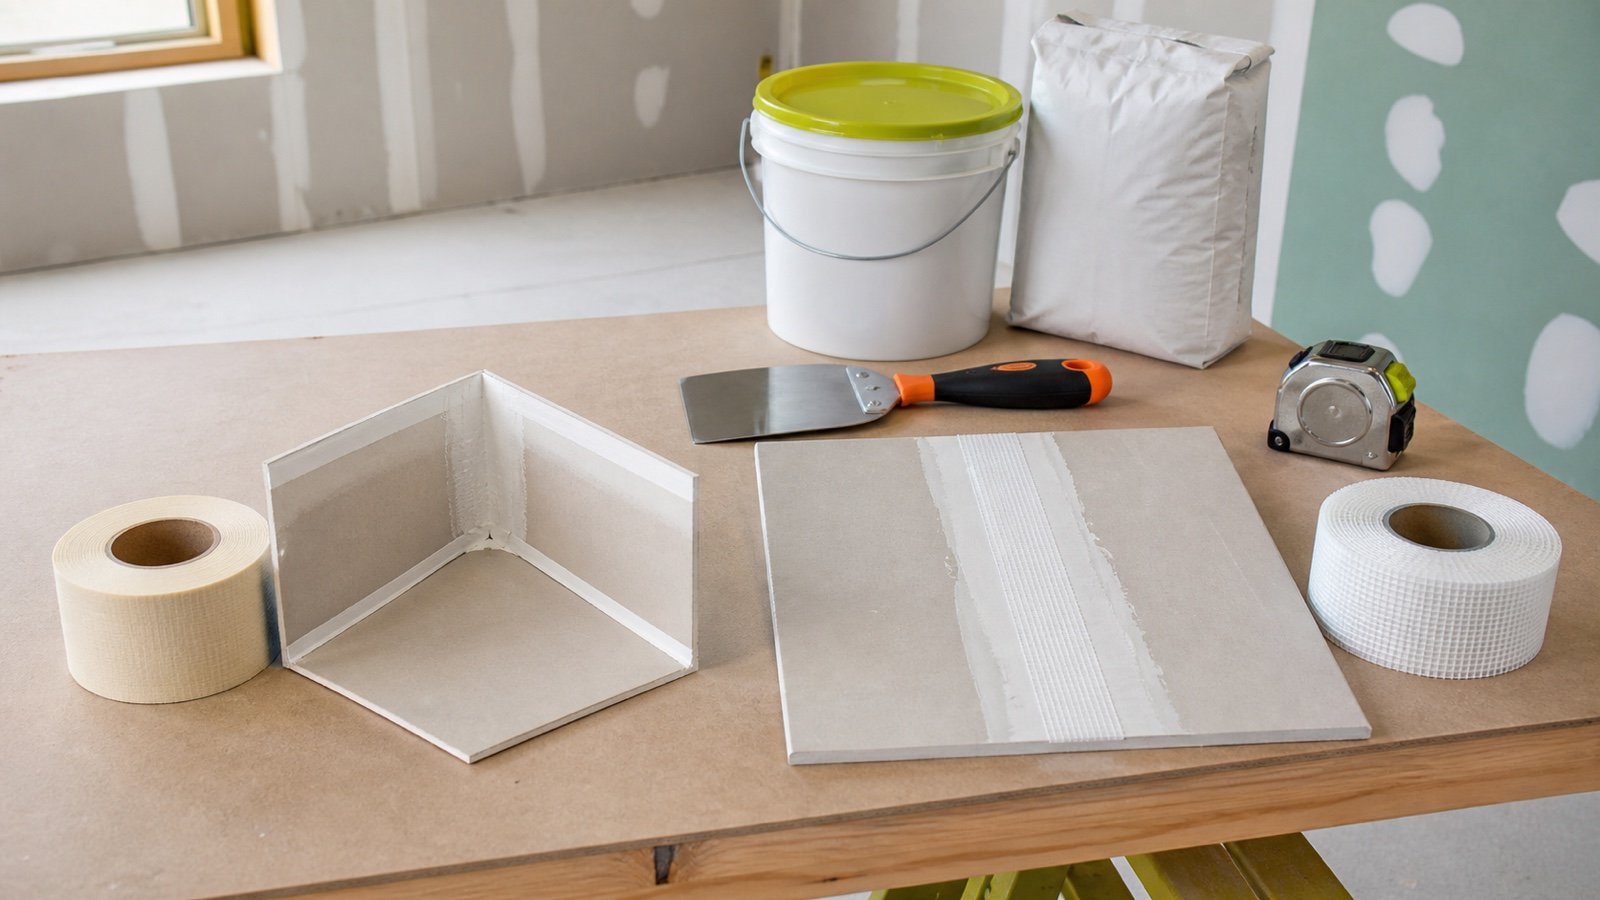
Set a documented drywall joint compound allowance, deduct verified usable stock, round to current package sizes and track the purchase remainder.
Read Joint Compound Allowance and Package Rounding
Blog
Drywall Joint Compound Coverage: Product Rates
Compare named joint-compound coverage records, check finish scope, convert rate formats and enter the right product and package values in the calculator.
Read Drywall Joint Compound Coverage: Product Rates
Blog
Joint Compound Ordering Worksheet: Pails and Bags
Build a drywall joint compound order worksheet that keeps ready-mix pails, setting-compound bags, usable stock, deliveries and field returns traceable.
Read Joint Compound Ordering Worksheet: Pails and Bags
Blog
Drywall Material Takeoff Worksheet
Build a drywall material takeoff from an approved panel layout, measured joints, the specified finish system, product coverage and current package sizes.
Read Drywall Material Takeoff Worksheet
Blog
Drywall Screw Ordering: Boxes, Weight and Matching Stock
Turn an approved drywall screw count into a package order by matching the screw specification, checking stock, verifying package labels and rounding whole boxes once.
Read Drywall Screw Ordering: Boxes, Weight and Matching Stock
Blog
Drywall Screw Size Guide: Length, Thread and Framing
Choose a drywall screw by panel stack, wood or steel framing, required penetration and approved assembly, then create a separate package order row.
Read Drywall Screw Size Guide: Length, Thread and Framing
Blog
Drywall Screw Spacing: Wall and Ceiling Schedule Guide
Read a drywall screw schedule, count support lines and fastening positions, handle partial sheets and send the approved count to the box calculator.
Read Drywall Screw Spacing: Wall and Ceiling Schedule Guide
Blog
Drywall Screw Takeoff Worksheet: Walls, Ceilings and Layers
Build a drywall screw takeoff by wall, ceiling, layer and fastener specification, reconcile exceptions, then calculate allowance, stock and boxes.
Read Drywall Screw Takeoff Worksheet: Walls, Ceilings and Layers
Blog
Drywall Sheet Sizes and Coverage Chart
Compare drywall panel widths, lengths, thicknesses and face coverage, then verify product-specific weight and availability before calculating sheets.
Read Drywall Sheet Sizes and Coverage Chart
Blog
Drywall Tape Roll Sizes and Coverage Chart
Compare named 75, 250 and 500 ft drywall tape roll records, calculate whole rolls from measured joints, and use a source-labelled area coverage chart.
Read Drywall Tape Roll Sizes and Coverage Chart
Blog
Drywall Tape Waste Allowance: How Much Extra?
Build a drywall tape allowance from measured joints, known additions, uncertain loss, usable stock and whole-roll rounding without relying on one fixed percentage.
Read Drywall Tape Waste Allowance: How Much Extra?
Blog
Drywall Waste Allowance: Cuts, Damage and Spares
Build a drywall sheet allowance from a reviewed layout, whole-sheet rounding, cut loss, delivery damage and repair stock without relying on one fixed percentage.
Read Drywall Waste Allowance: Cuts, Damage and Spares
Blog
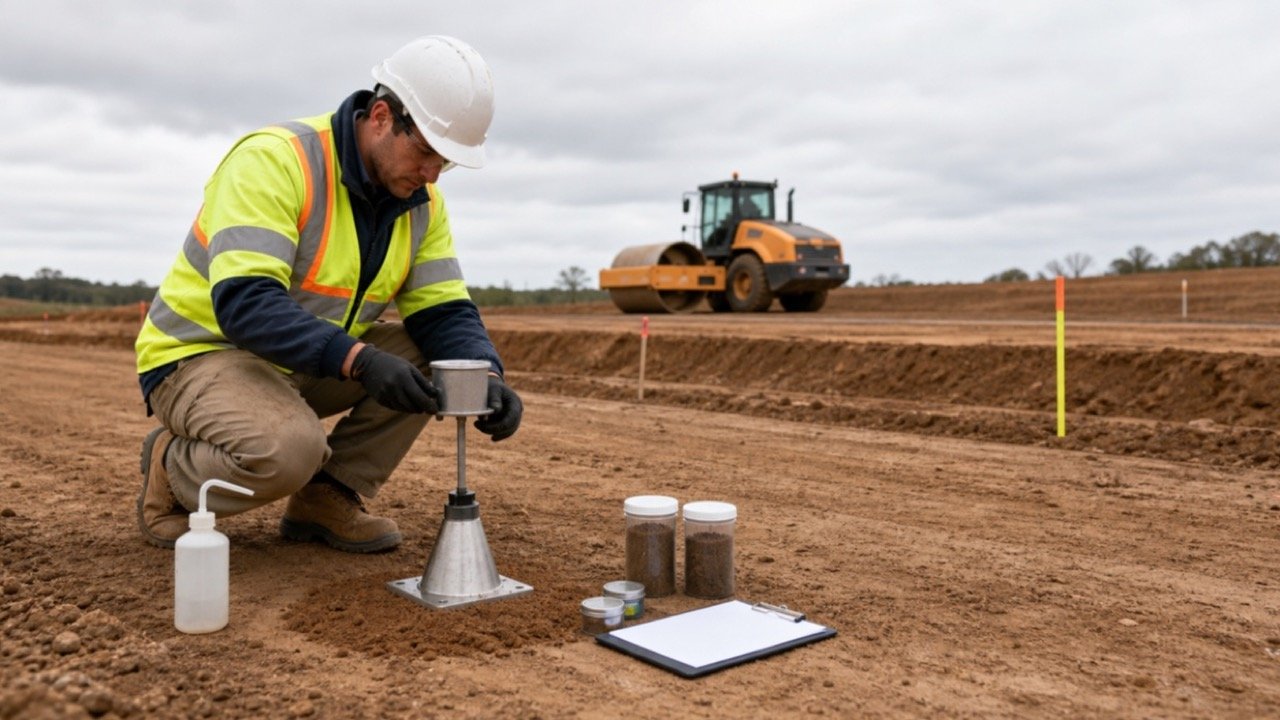
Fill Compaction Records: Density and Moisture
Read and check fill compaction records using field density, moisture, the matching lab reference, lift locations, failures and linked retests.
Read Fill Compaction Records: Density and Moisture
Blog
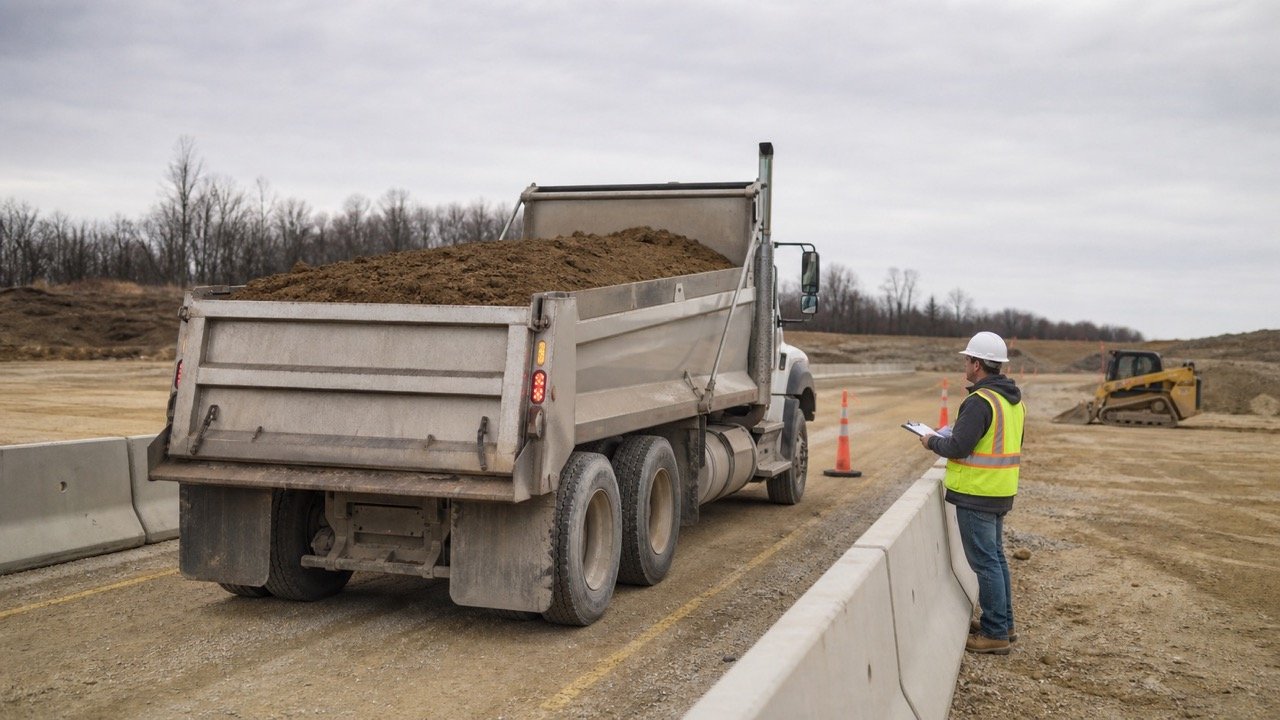
Fill Dirt Delivery Plan: Loads, Access and Tickets
Plan fill dirt loads using body volume and payload, check source and site access, control delivery records, and reconcile partial or rejected tickets.
Read Fill Dirt Delivery Plan: Loads, Access and Tickets
Blog
Fine Aggregate Angularity: Uncompacted Void Content
Calculate uncompacted void content from measure volume, net sand mass, and bulk-dry specific gravity, then check Method A, B, or C.
Read Fine Aggregate Angularity: Uncompacted Void Content
Blog
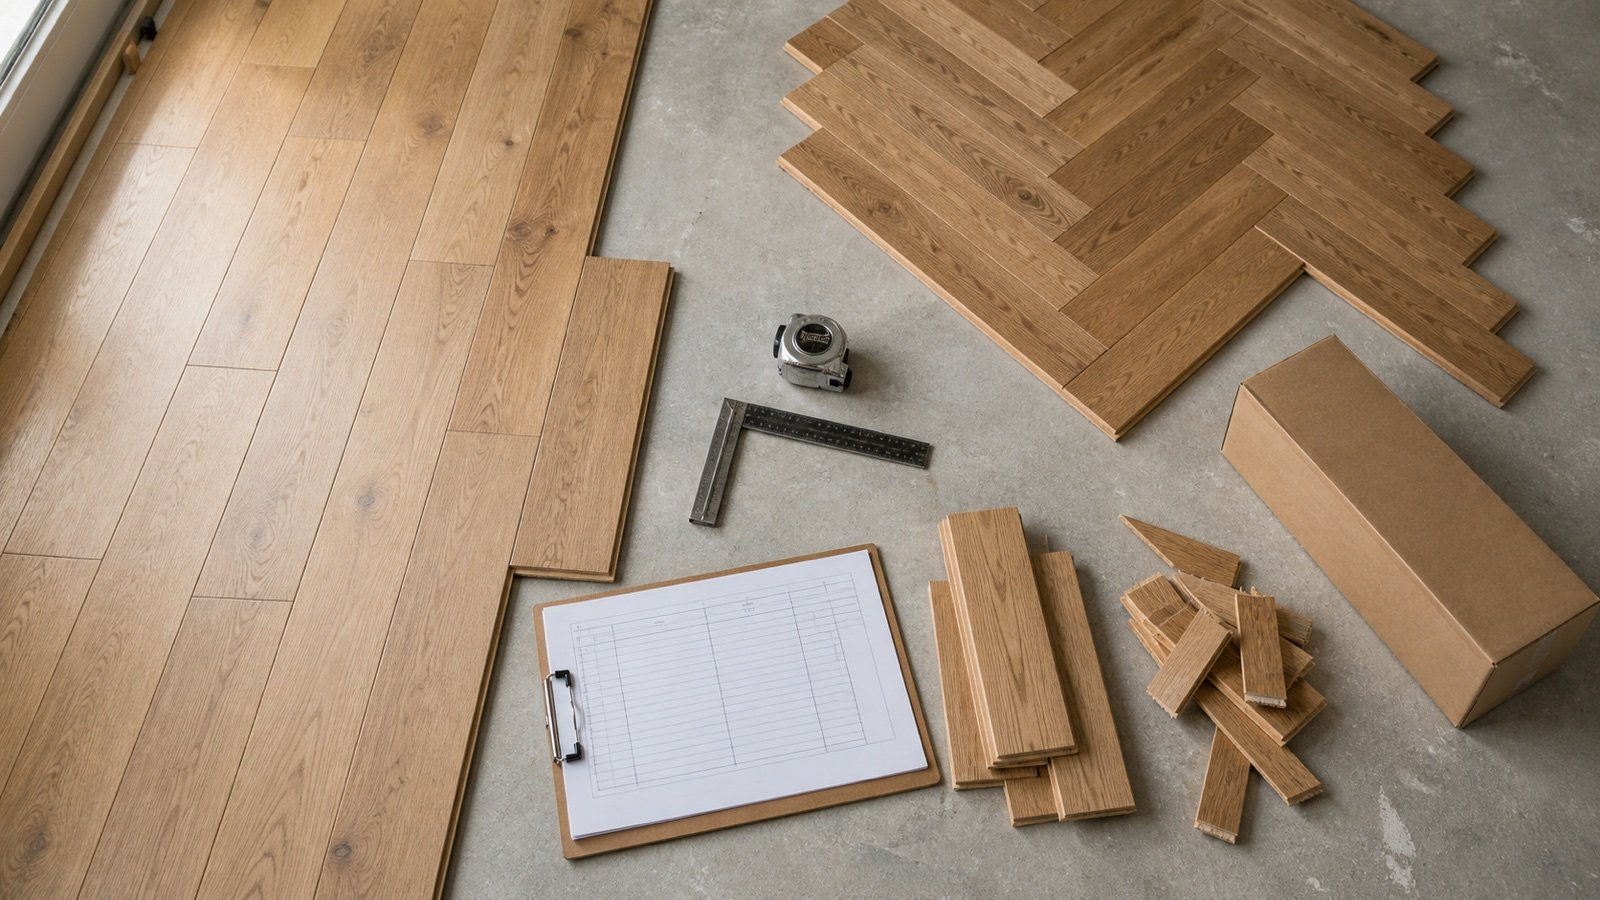
Flooring Allowance: Cuts, Layout and Spare Stock
Choose a flooring allowance from the product, layout and cut plan while keeping box surplus and repair stock separate.
Read Flooring Allowance: Cuts, Layout and Spare Stock
Blog
Flooring Box Coverage: How to Read Package Labels
Read flooring carton coverage, pieces, dimensions and SKU records before calculating whole boxes.
Read Flooring Box Coverage: How to Read Package Labels
Blog
Flooring Order Worksheet: Rooms, Boxes and Leftovers
Track flooring rooms, box orders, deliveries, rejected material, returns and retained leftovers in one checked worksheet.
Read Flooring Order Worksheet: Rooms, Boxes and Leftovers
Blog
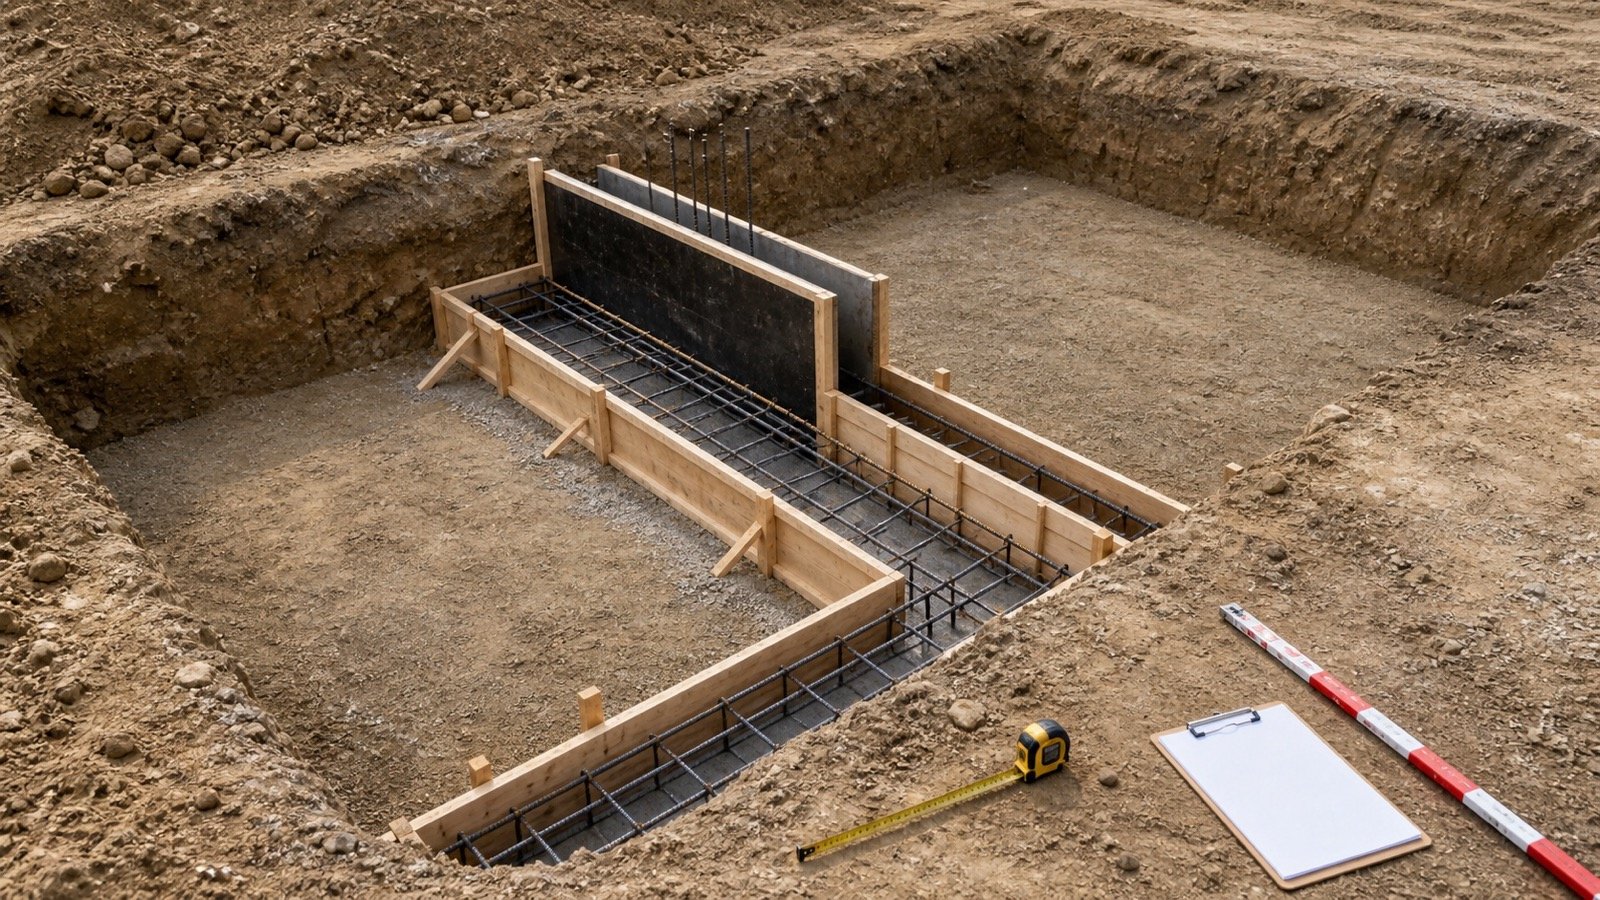
Footing Excavation vs Concrete: Net Backfill
Separate footing excavation, concrete displacement and remaining backfill with compatible boundaries, formulas, worked examples and a closed volume ledger.
Read Footing Excavation vs Concrete: Net Backfill
Blog
Footing Formwork Area: Sides, Ends and Reuse
Calculate footing formwork contact area for strip, pad and stepped sections. Include formed sides and ends, exclude earth contact, and plan reusable sets.
Read Footing Formwork Area: Sides, Ends and Reuse
Blog
French Drain Gravel: Size, Fines and Filter Checks
Check French drain gravel size, fines, gradation and filter compatibility against an approved detail and a current supplier report before ordering.
Read French Drain Gravel: Size, Fines and Filter Checks
Blog
Gravel Compaction: Loose Volume and Finished Depth
Convert compacted gravel depth to loose volume using a documented factor, checked examples, field yield, and the correct meaning of 95% compaction.
Read Gravel Compaction: Loose Volume and Finished Depth
Blog
Gravel Cost Guide: Build a Delivered Estimate
Estimate total gravel project cost from measured quantity, current supplier pricing, delivery, fees, tax, equipment, and related materials.
Read Gravel Cost Guide: Build a Delivered Estimate
Blog
Gravel Coverage Guide: Cubic Yards and Cubic Metres
Check gravel coverage by depth for cubic yards and cubic metres, then calculate unlisted depths, changing sections, and remaining project volume.
Read Gravel Coverage Guide: Cubic Yards and Cubic Metres
Blog
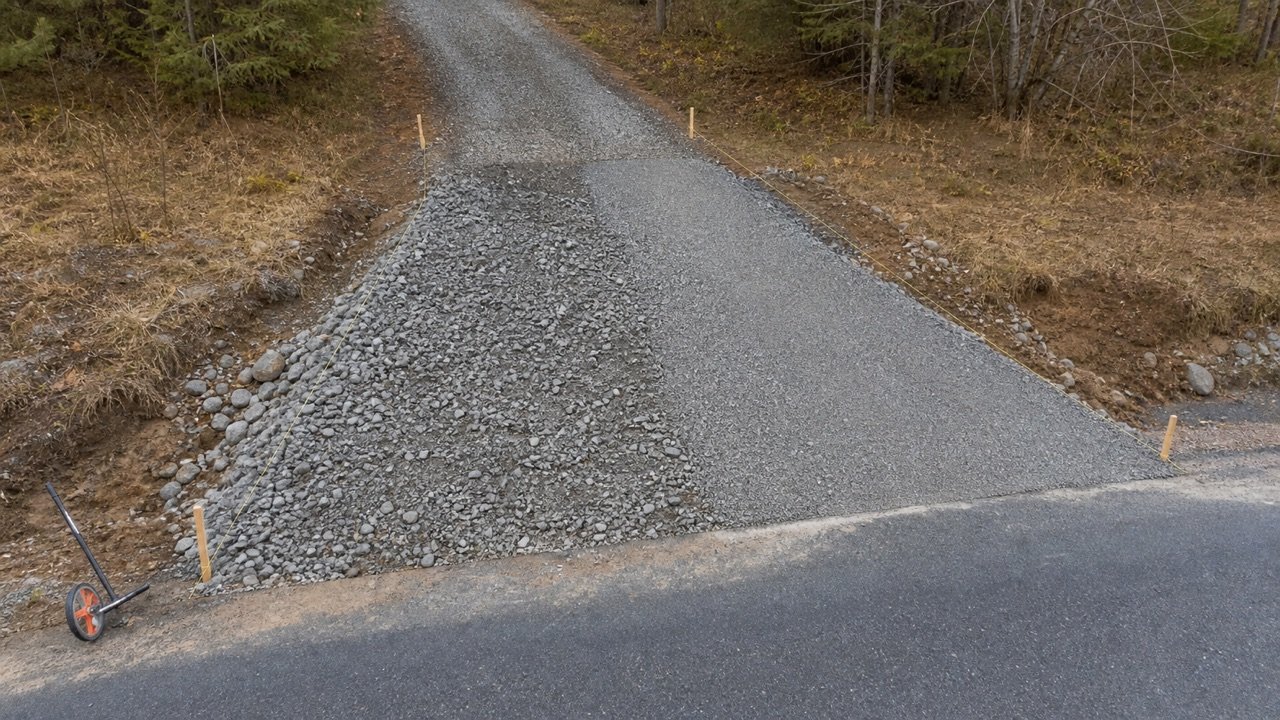
Gravel Driveway Apron Quantities
Calculate a gravel driveway apron's flared area, excavation, base and surface volumes, road tie-in, and supplier order from an approved detail.
Read Gravel Driveway Apron Quantities
Blog
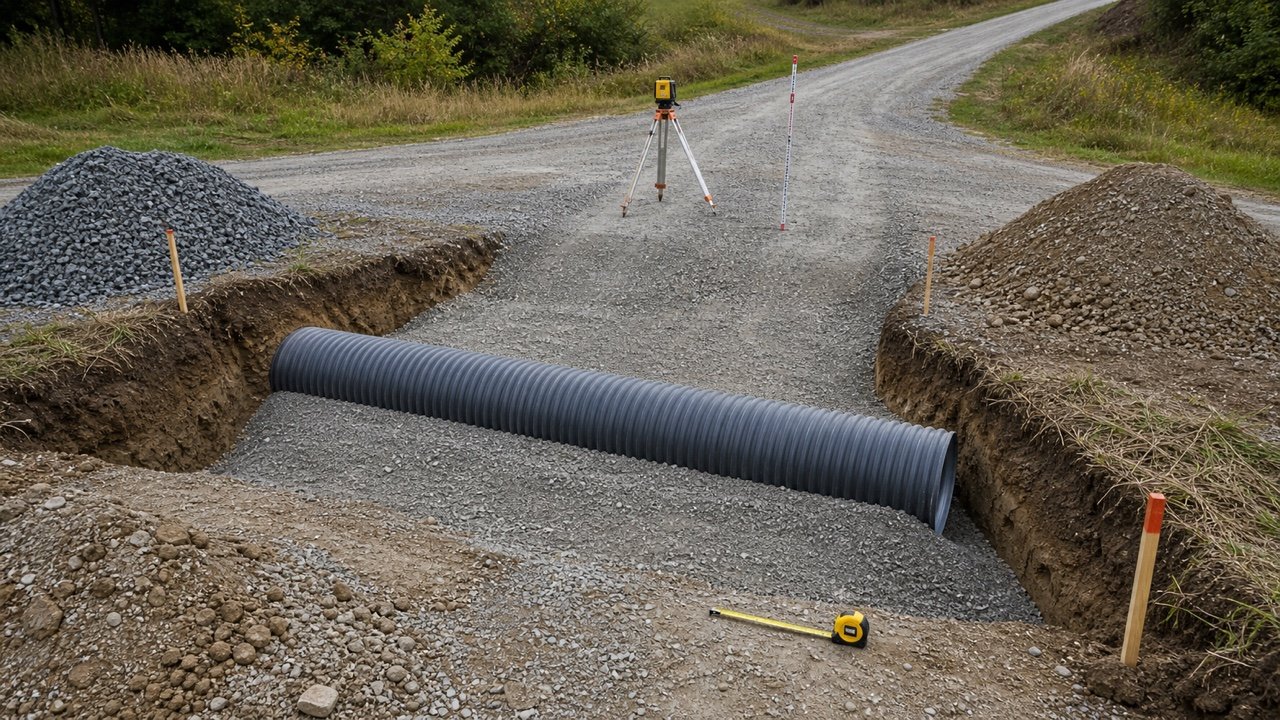
Gravel Driveway Culvert Quantities
Calculate driveway culvert excavation, bedding, pipe displacement, backfill zones, reusable spoil, and supplier order quantities from an approved detail.
Read Gravel Driveway Culvert Quantities
Blog
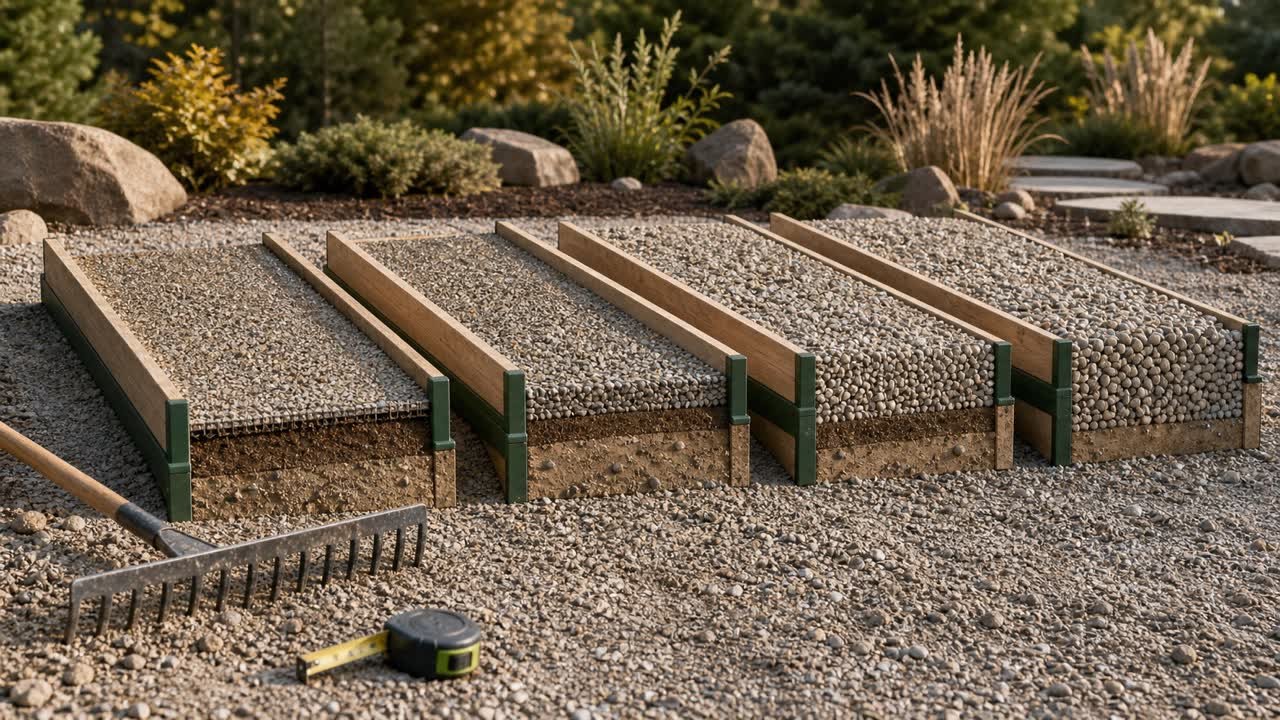
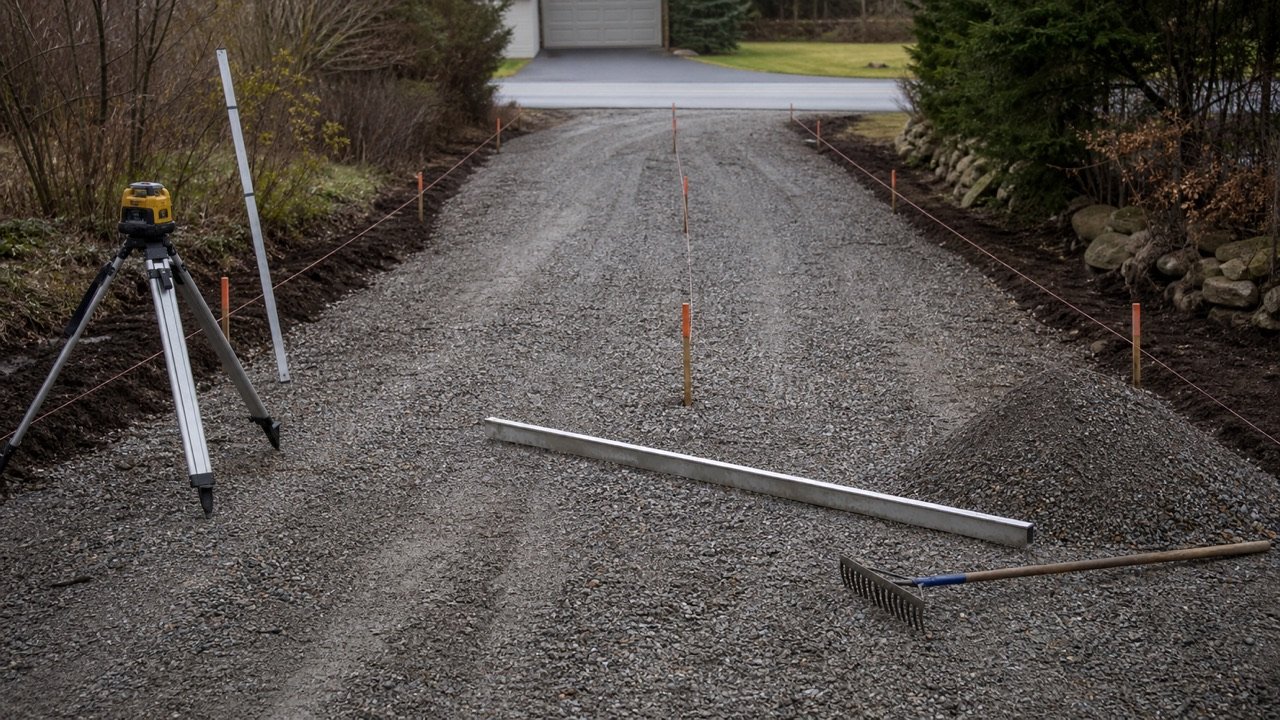
Gravel Driveway Depth: Layers and Quantities
Plan gravel driveway depth by layer, calculate compacted cubic yards or metres, and keep drainage, compaction, density, and supplier inputs separate.
Read Gravel Driveway Depth: Layers and Quantities
Blog
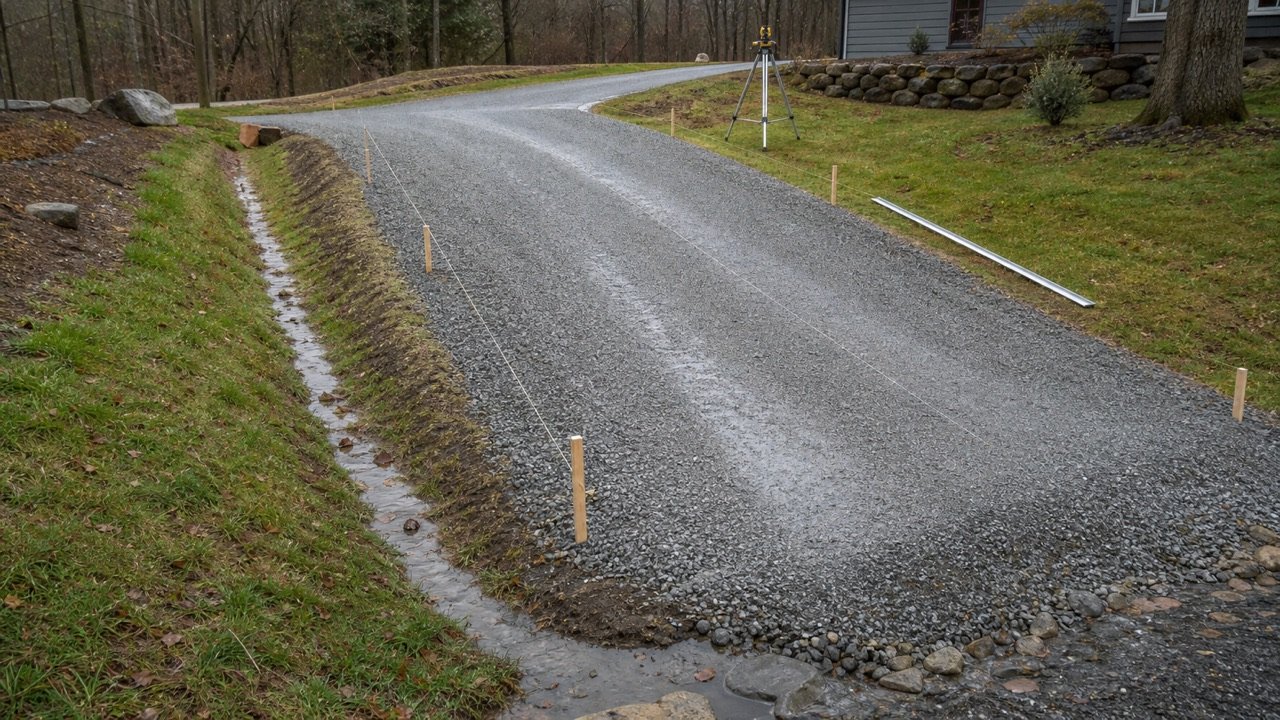
Gravel Driveway Drainage: Crossfall and Grade Checks
Measure gravel driveway crown, crossfall and longitudinal grade, calculate fall in metric or imperial units, and check the route to a stable outlet.
Read Gravel Driveway Drainage: Crossfall and Grade Checks
Blog
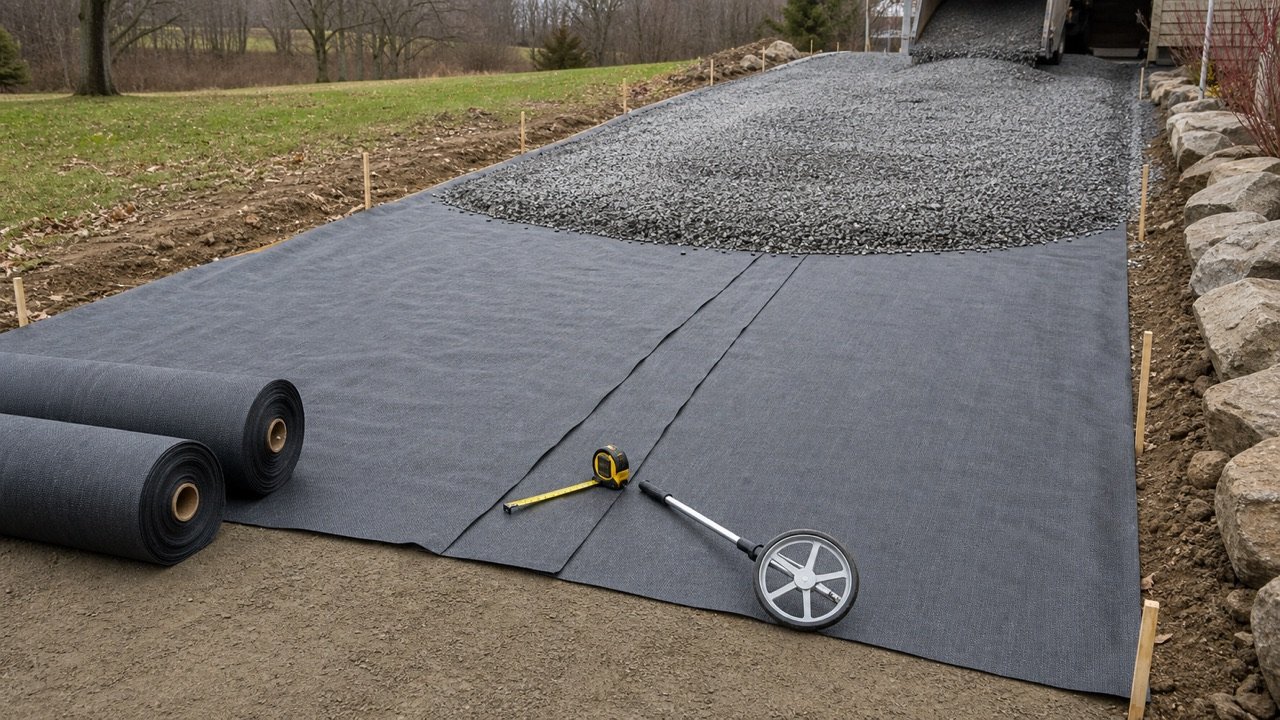
Gravel Driveway Geotextile: Area, Overlaps and Rolls
Calculate gravel driveway geotextile panels, overlaps, continuous cut lengths, patches and whole rolls without relying on gross fabric area alone.
Read Gravel Driveway Geotextile: Area, Overlaps and Rolls
Blog
Gravel Driveway Passing Bay Quantities
Calculate a gravel driveway passing bay's parallel widening, entry and exit tapers, net layer volumes, outer edge, grading, and supplier order.
Read Gravel Driveway Passing Bay Quantities
Blog
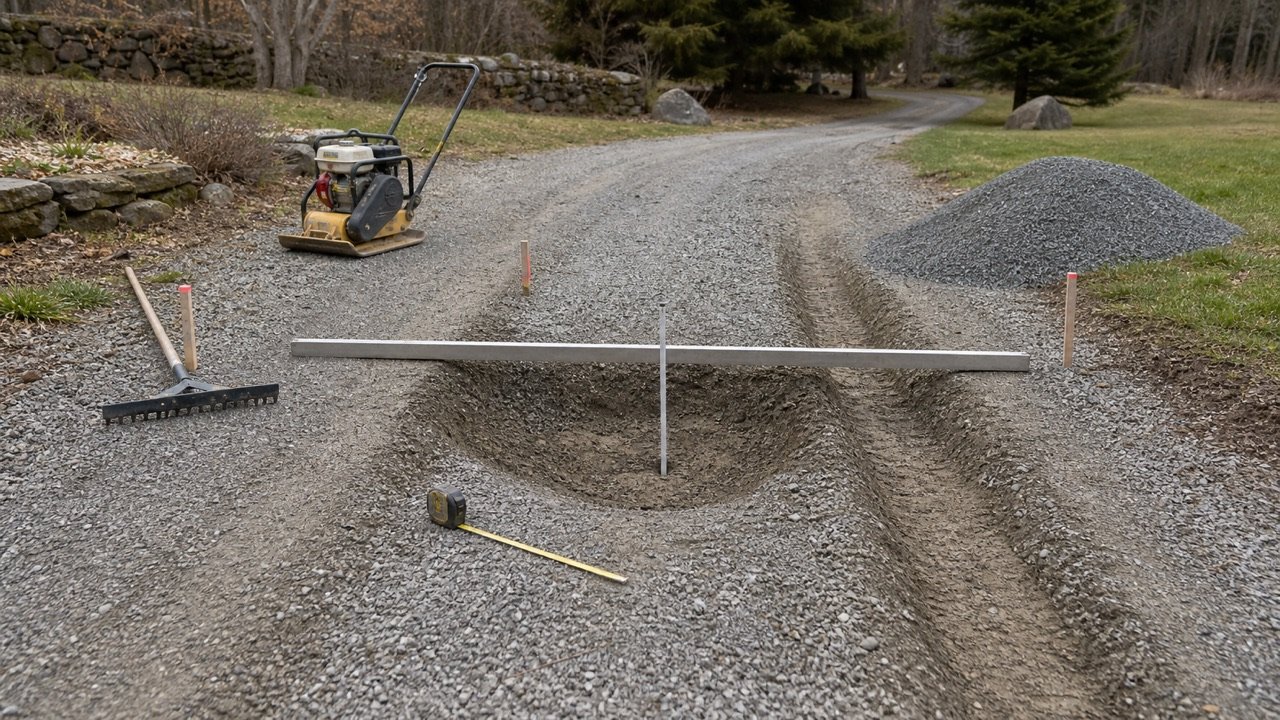
Gravel Driveway Repair: Pothole and Rut Quantities
Measure gravel driveway potholes and ruts, calculate compacted repair volume, and separate surface filling from drainage, base, and subgrade repairs.
Read Gravel Driveway Repair: Pothole and Rut Quantities
Blog
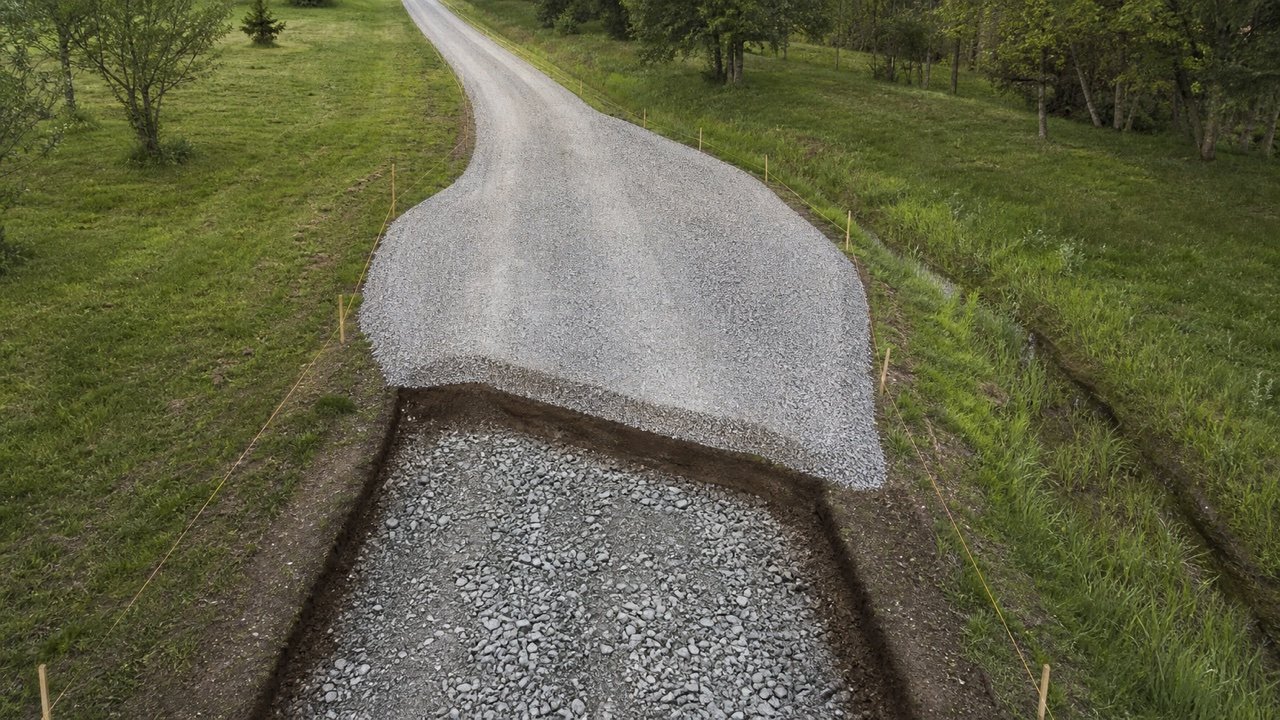
Gravel Driveway Top-Up: Resurfacing Quantities
Measure an existing gravel driveway, calculate compacted resurfacing volume, track cut and reusable gravel, and prepare a supplier-ready top-up quantity.
Read Gravel Driveway Top-Up: Resurfacing Quantities
Blog
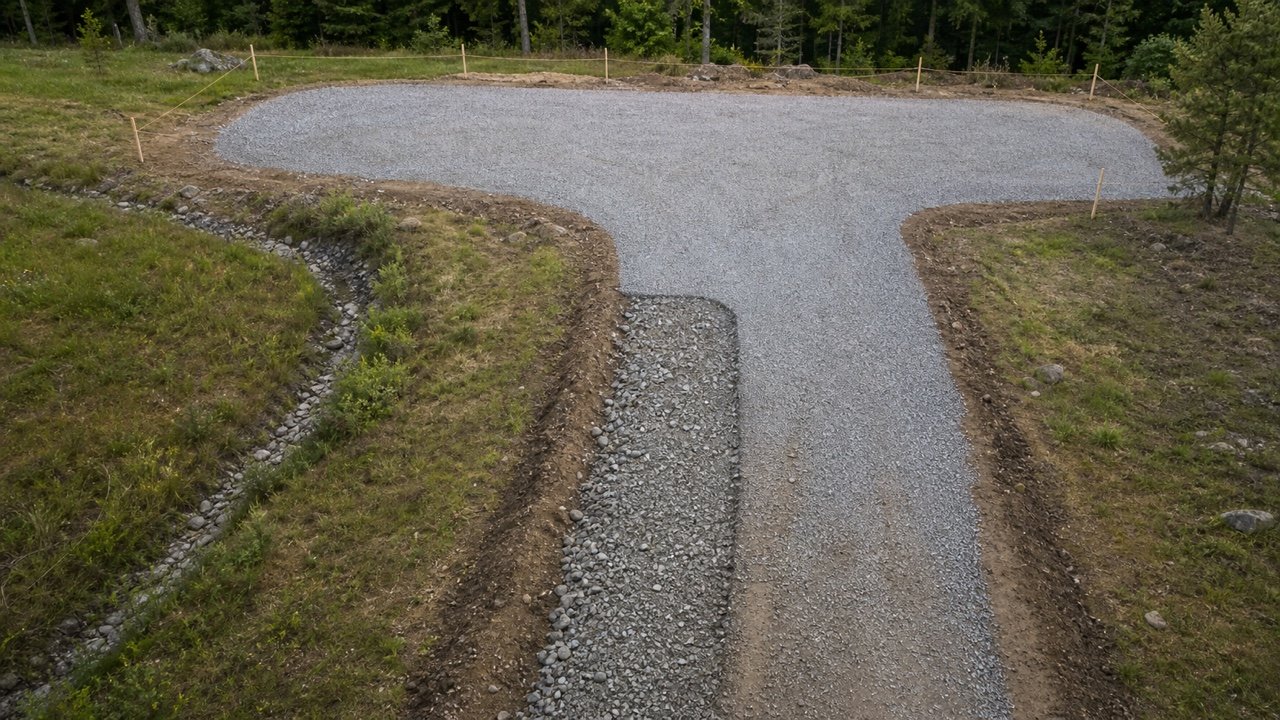
Gravel Driveway Turnaround Quantities
Calculate net gravel quantities for circular, ring, hammerhead, T, and Y driveway turnarounds, including overlaps, separate layers, curves, and grading limits.
Read Gravel Driveway Turnaround Quantities
Blog
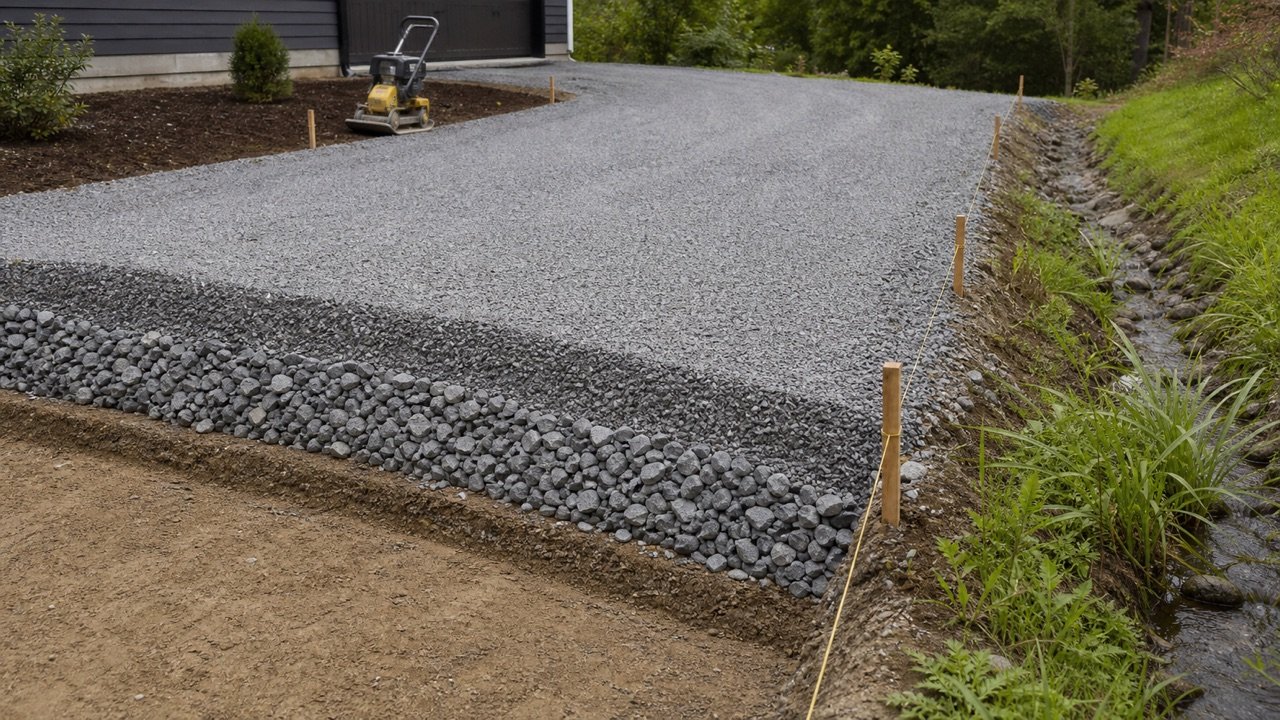
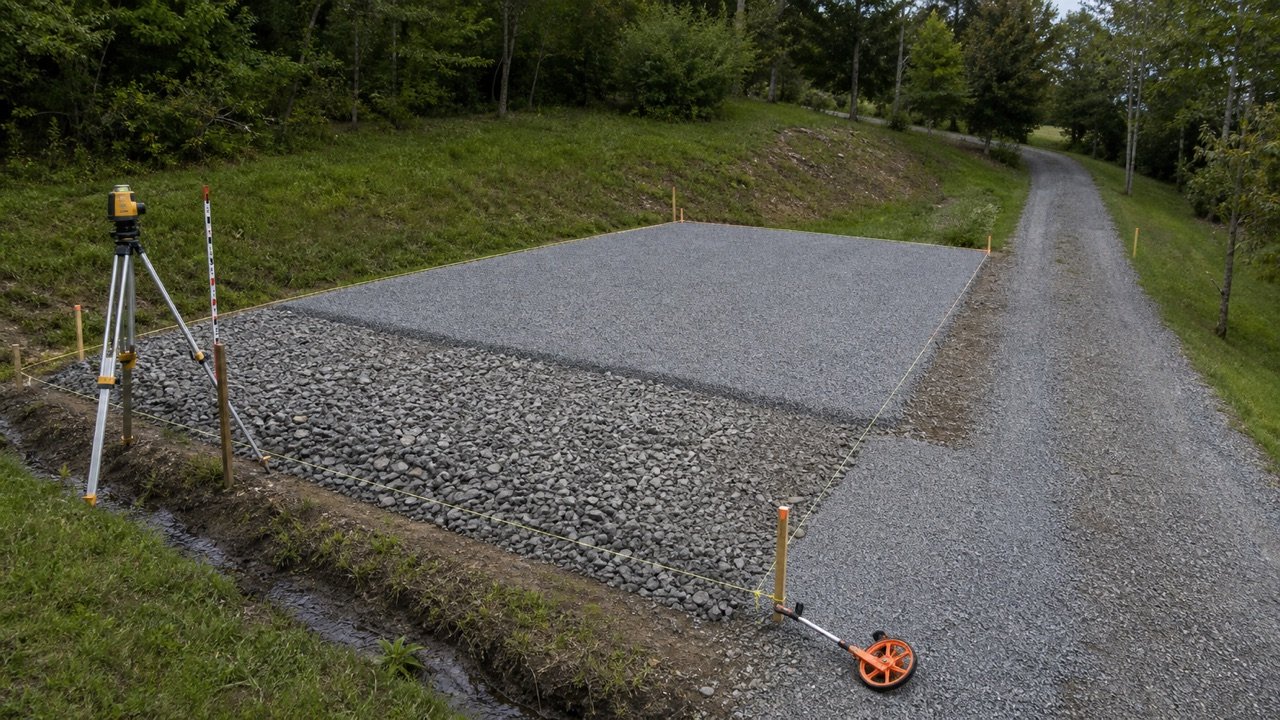
Gravel Parking Pad Quantities: Base, Surface and Sloped Fill
Calculate a gravel parking pad's net area, excavation, sloped fill, base, surface layer, drainage exclusions, and supplier order.
Read Gravel Parking Pad Quantities: Base, Surface and Sloped Fill
Blog
Grout Allowance and Package Rounding: How Much Extra to Buy
Separate grout application allowance, whole-package surplus and repair stock using product guidance, job conditions and checked package examples.
Read Grout Allowance and Package Rounding: How Much Extra to Buy
Blog
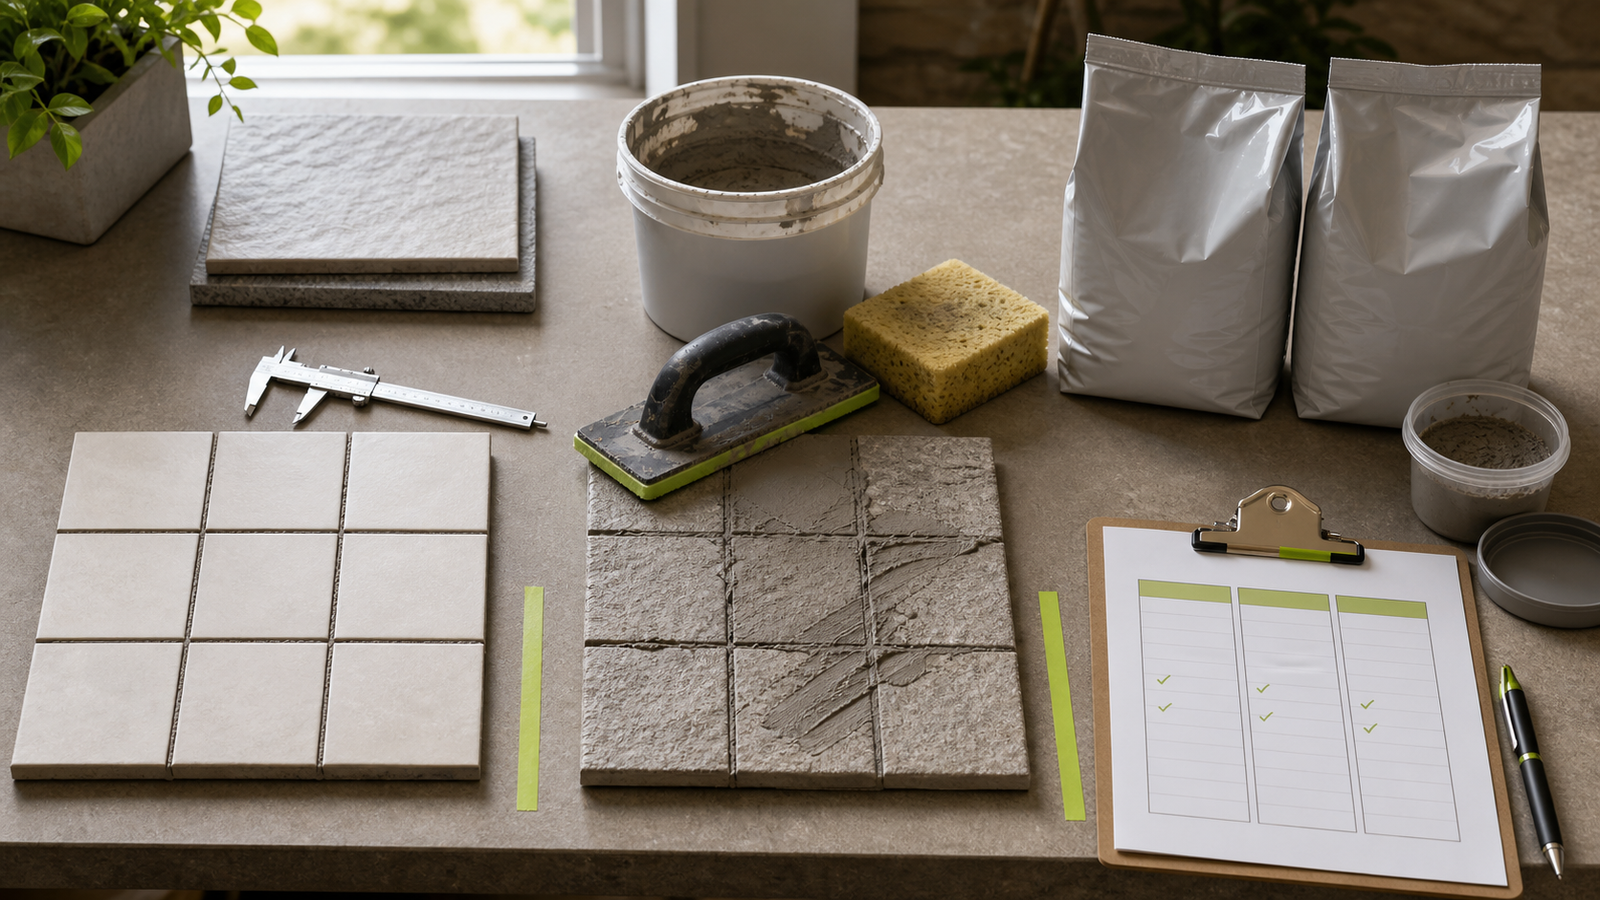
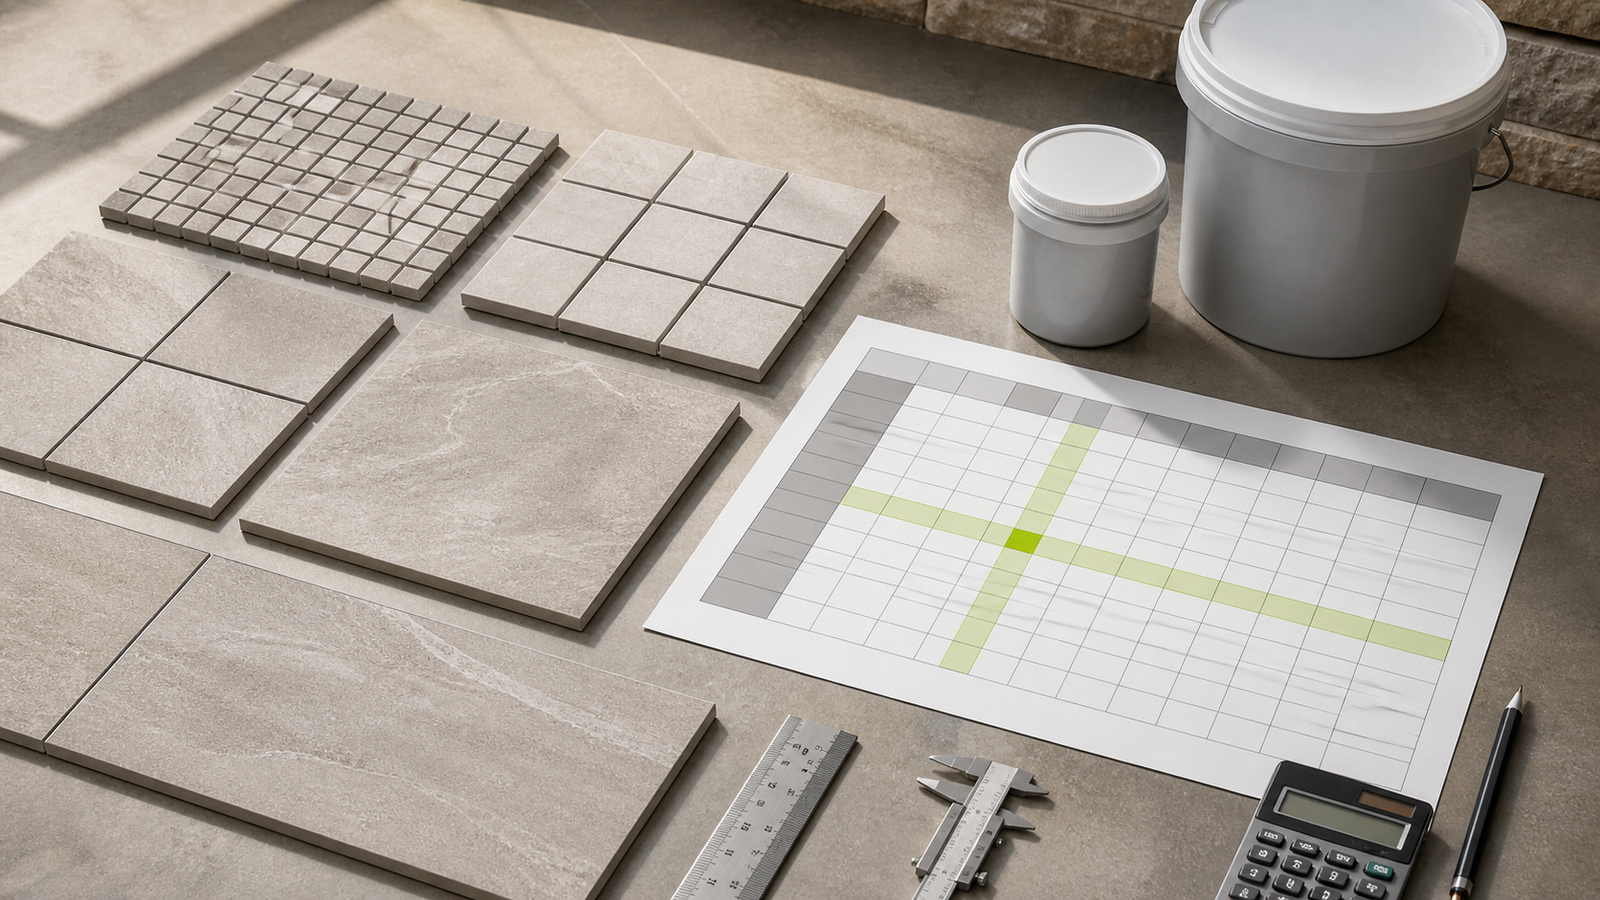
Grout Coverage Chart: Tile Size, Joint Width and Yield
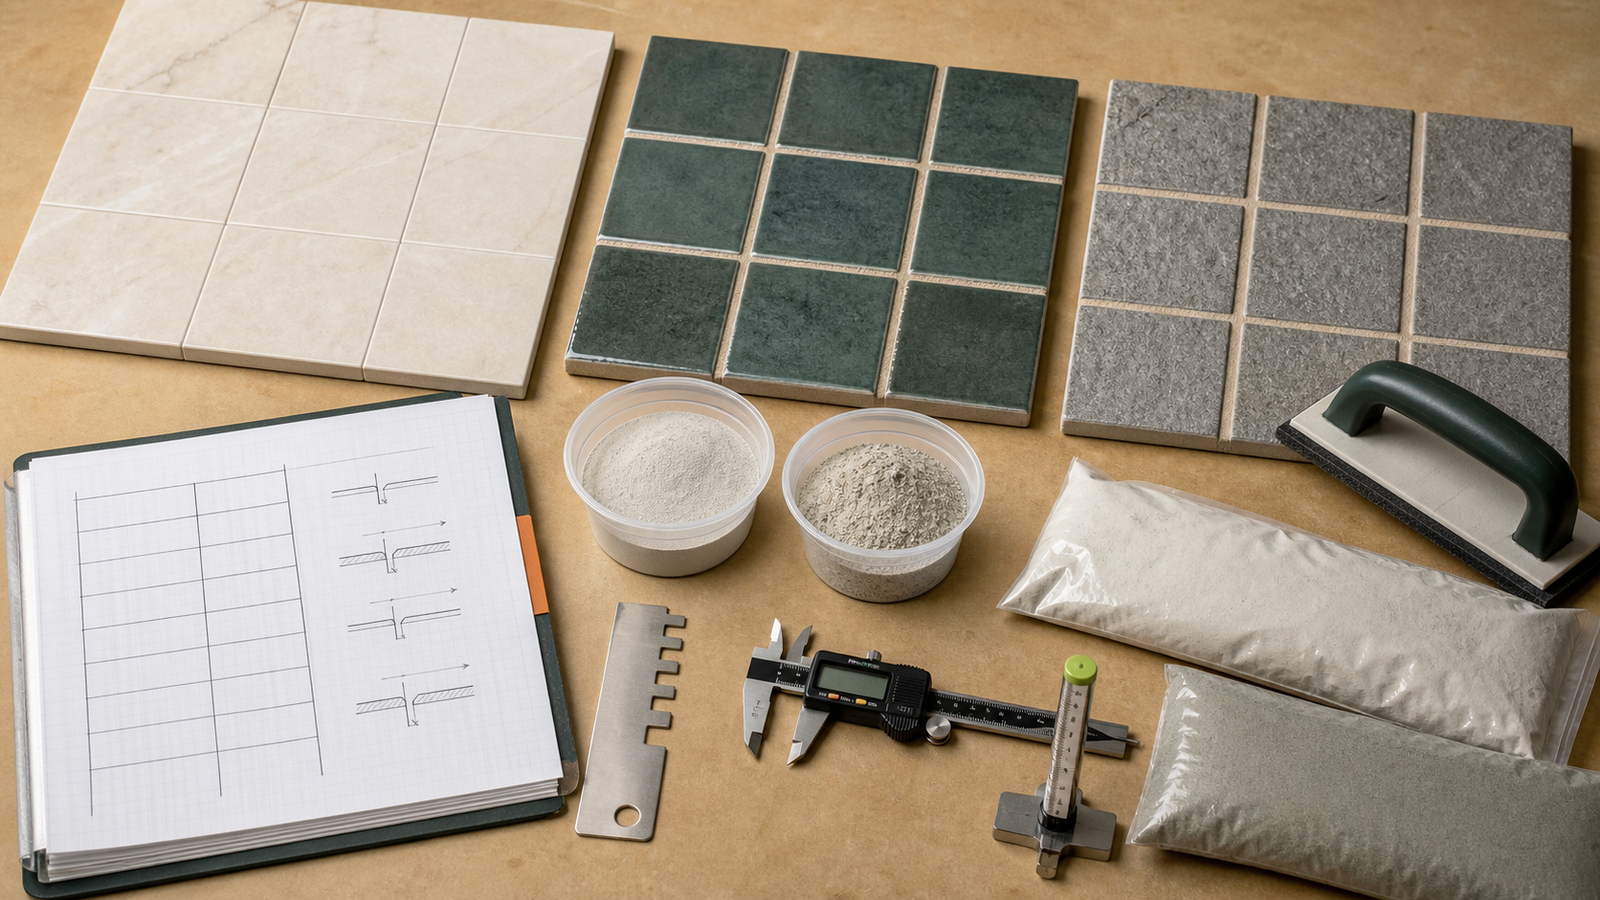
Read grout coverage charts by product, package, tile size, thickness and joint width, with checked examples and original geometry sensitivity tables.
Read Grout Coverage Chart: Tile Size, Joint Width and Yield
Blog
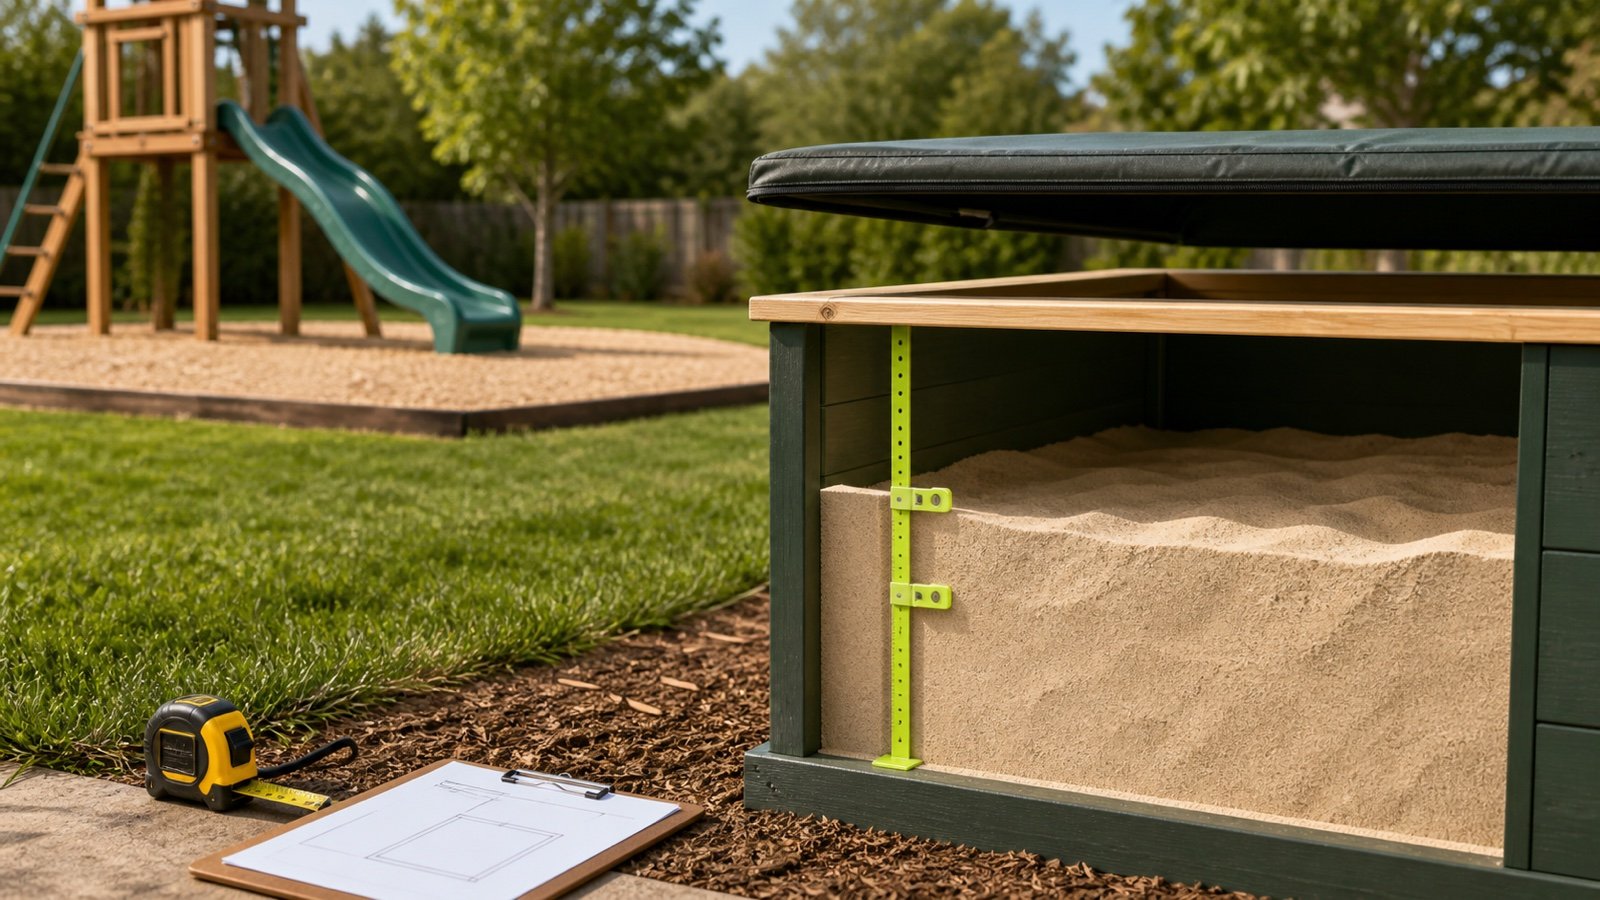
How Deep Should Play Sand Be in a Sandbox?
Choose a sandbox fill depth from the exact model instructions, separate play depth from playground impact surfacing, and calculate volume at each fill line.
Read How Deep Should Play Sand Be in a Sandbox?
Blog
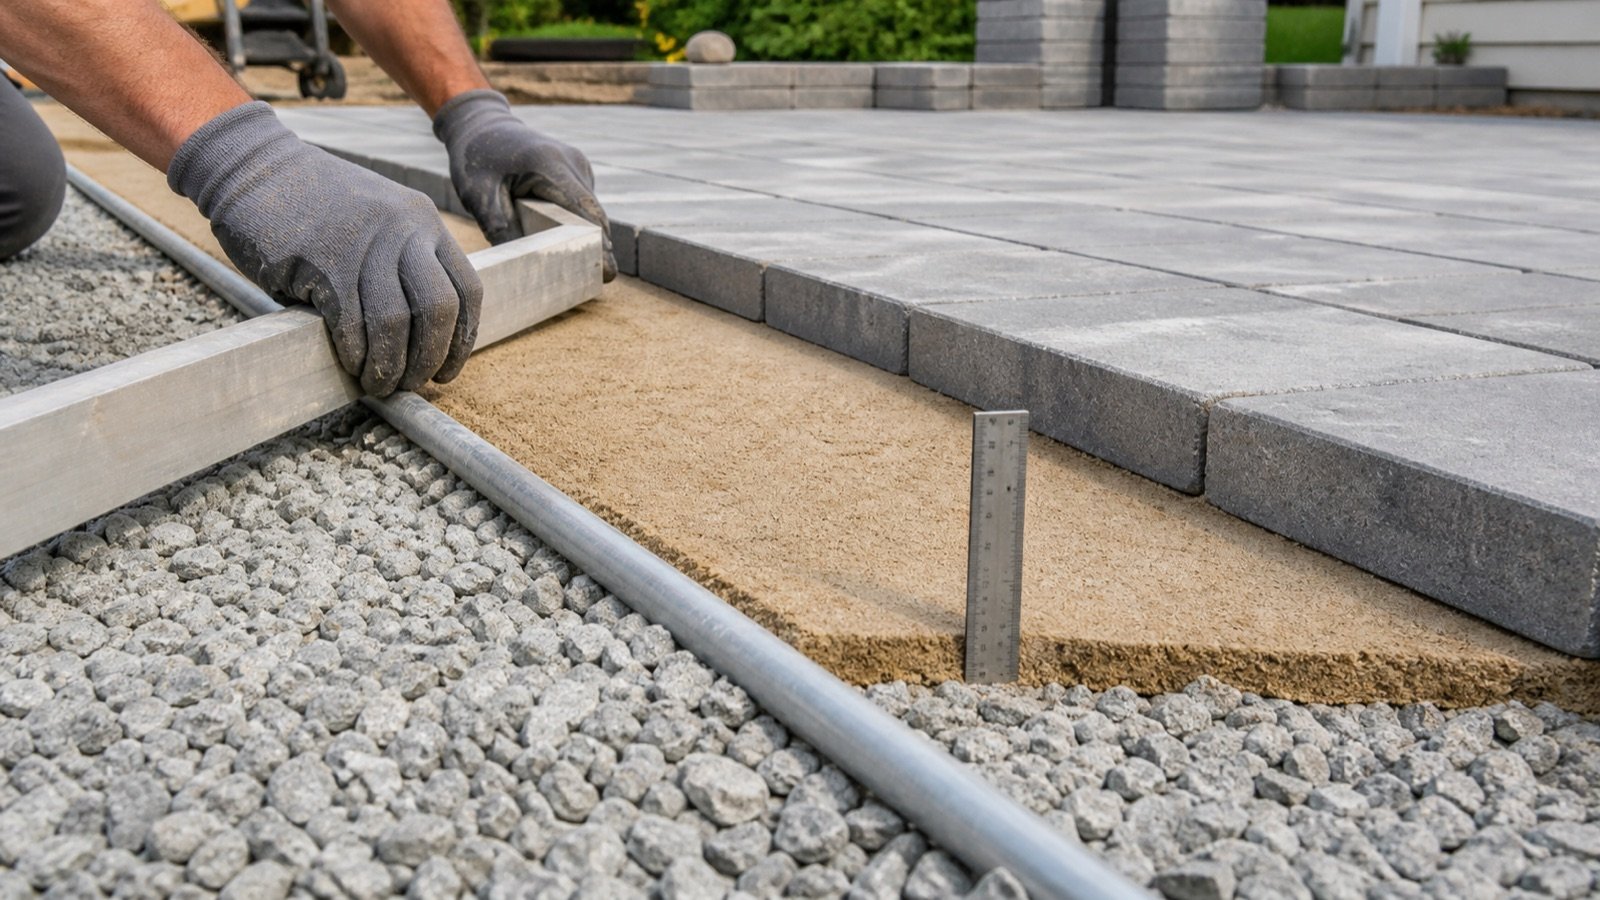
How Deep Should Sand Be Under Pavers?
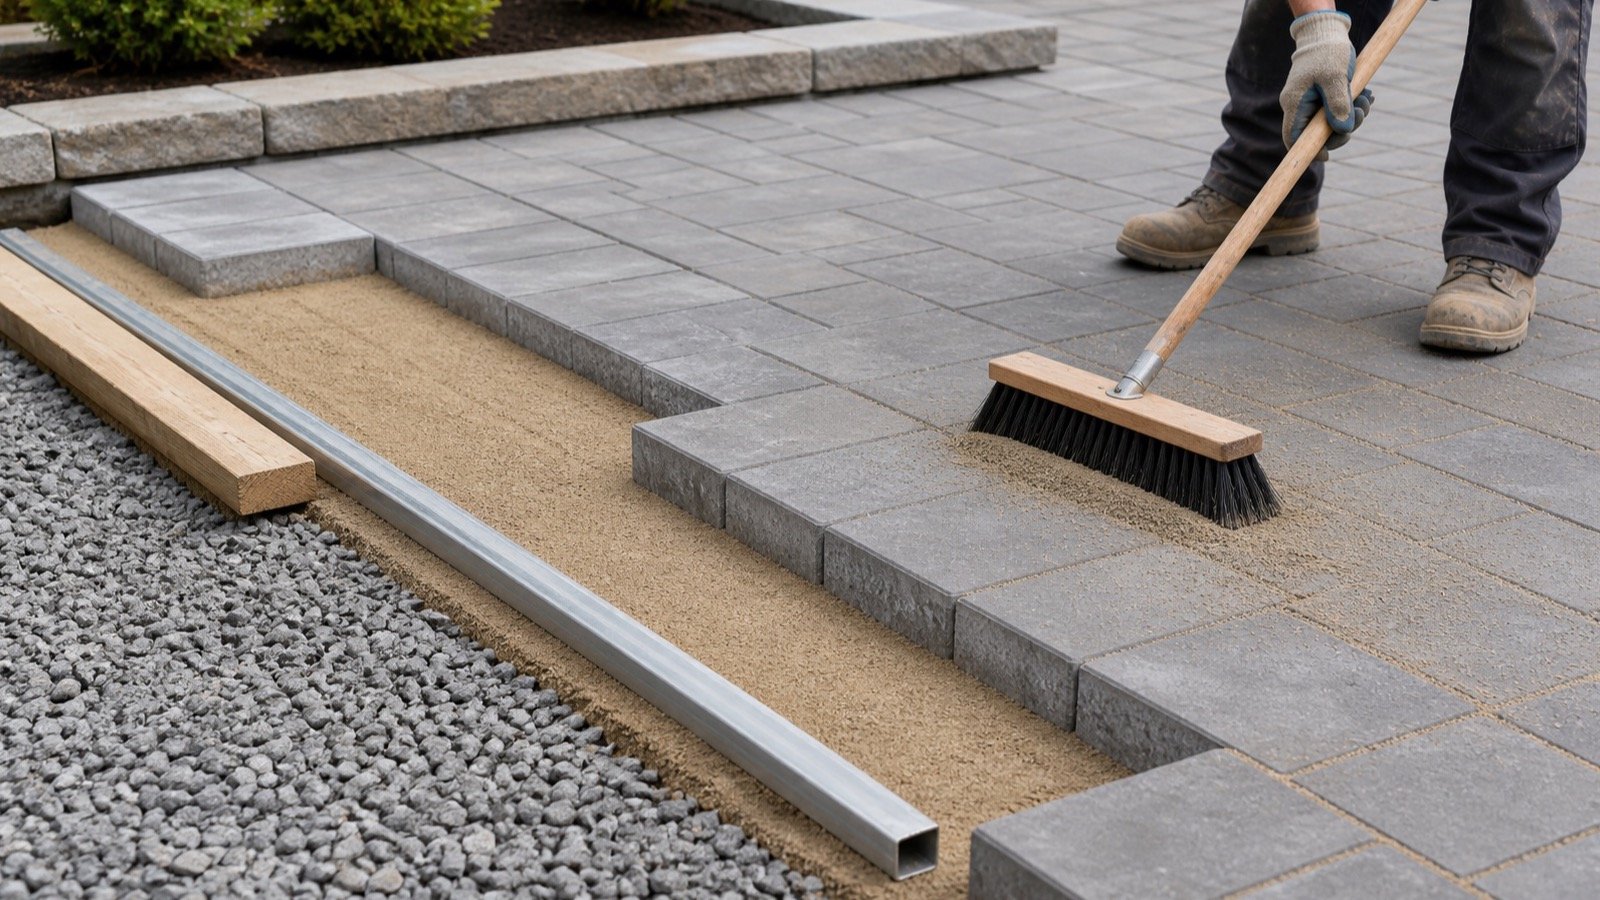
Check paver bedding-sand depth, screed state, base tolerance, paver thickness and quantity using the selected system documents and measured area.
Read How Deep Should Sand Be Under Pavers?
Blog
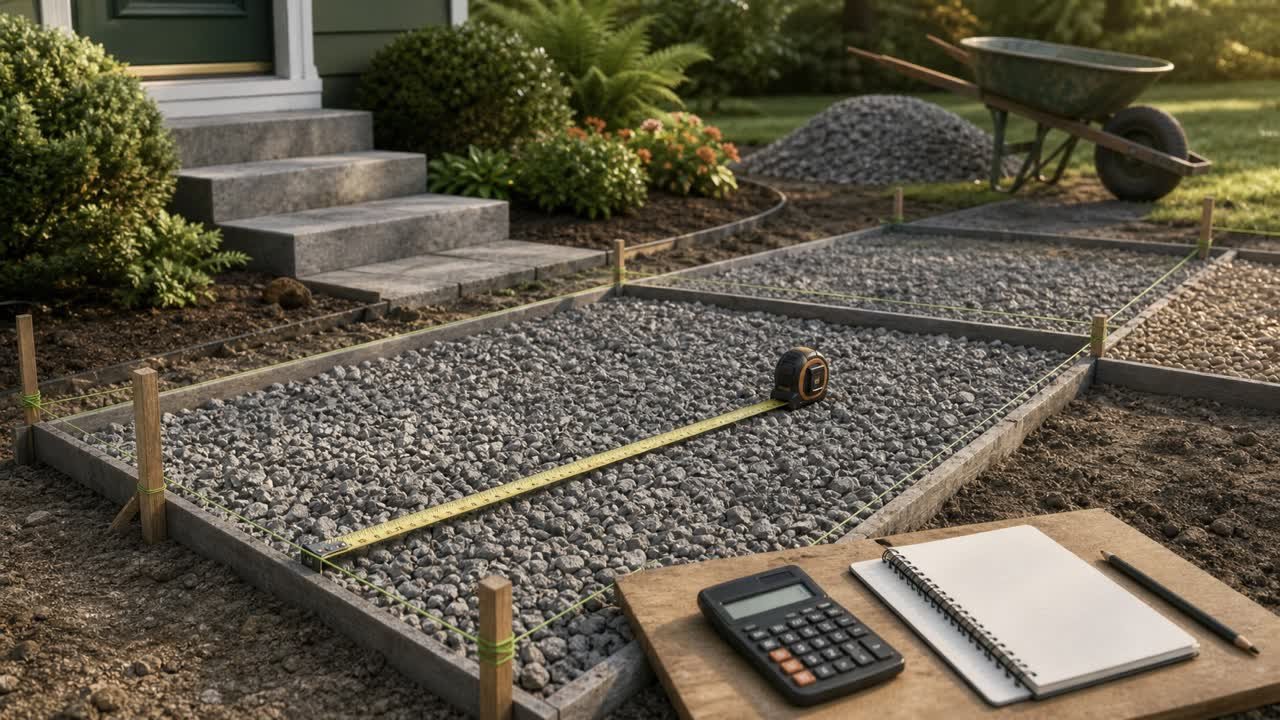
How Much Gravel Do I Need?
Calculate gravel volume from area and depth, bracket uncertain measurements, and turn the checked result into a supplier-ready order.
Read How Much Gravel Do I Need?
Blog
How Much Paint Do I Need? By Room
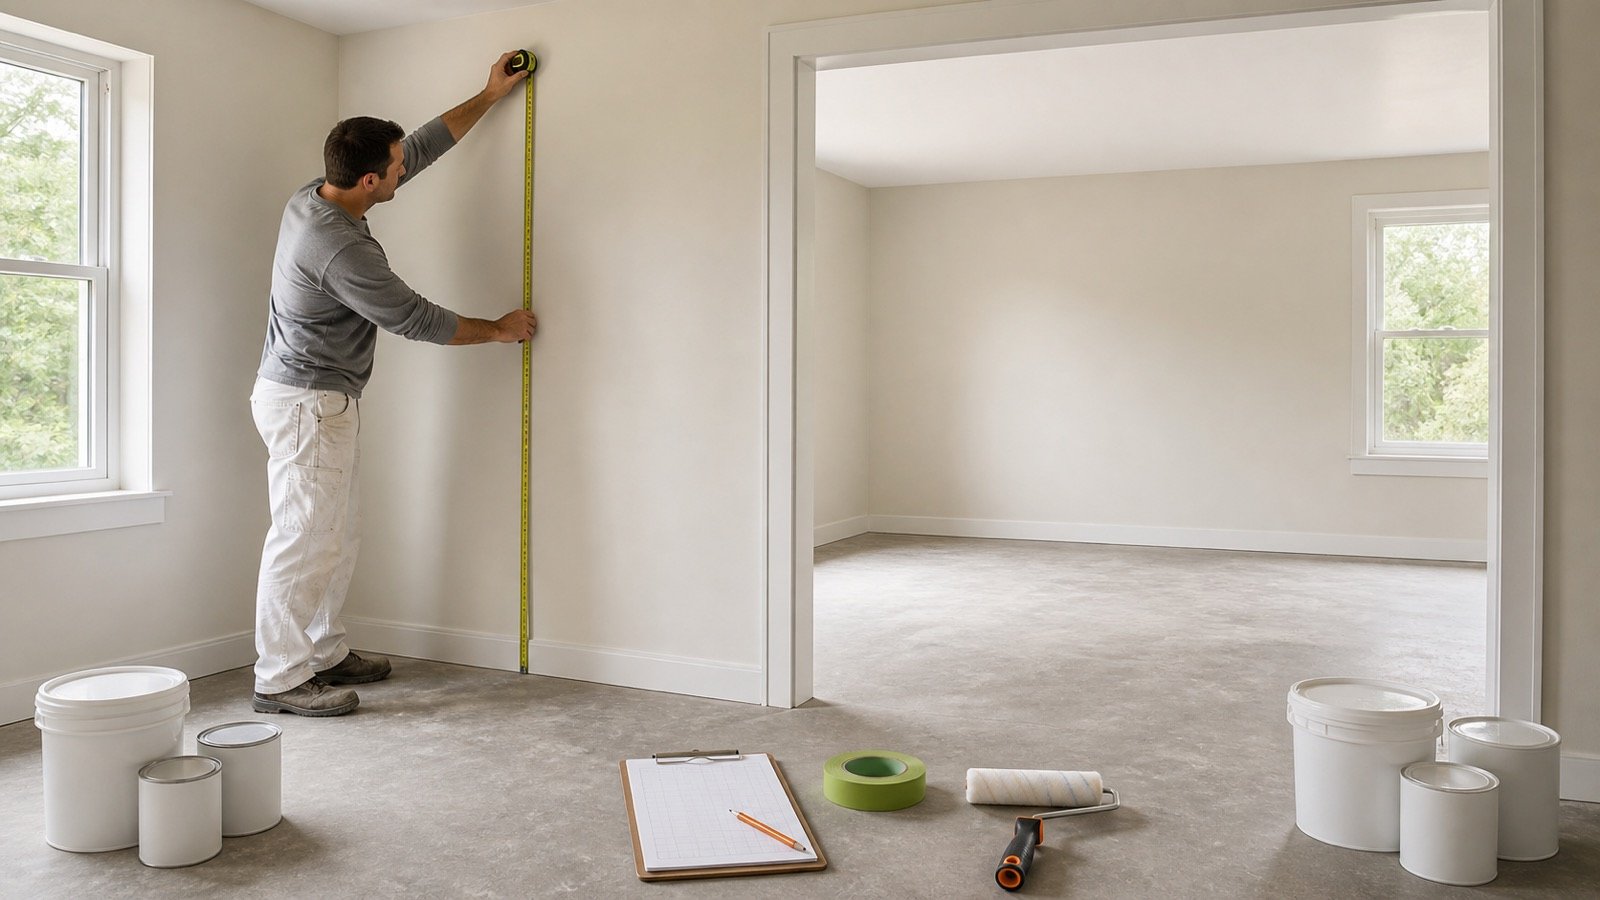
Measure walls, ceilings and openings, group rooms by paint product, calculate coated area, and round exact litres or gallons to full containers.
Read How Much Paint Do I Need? By Room
Blog
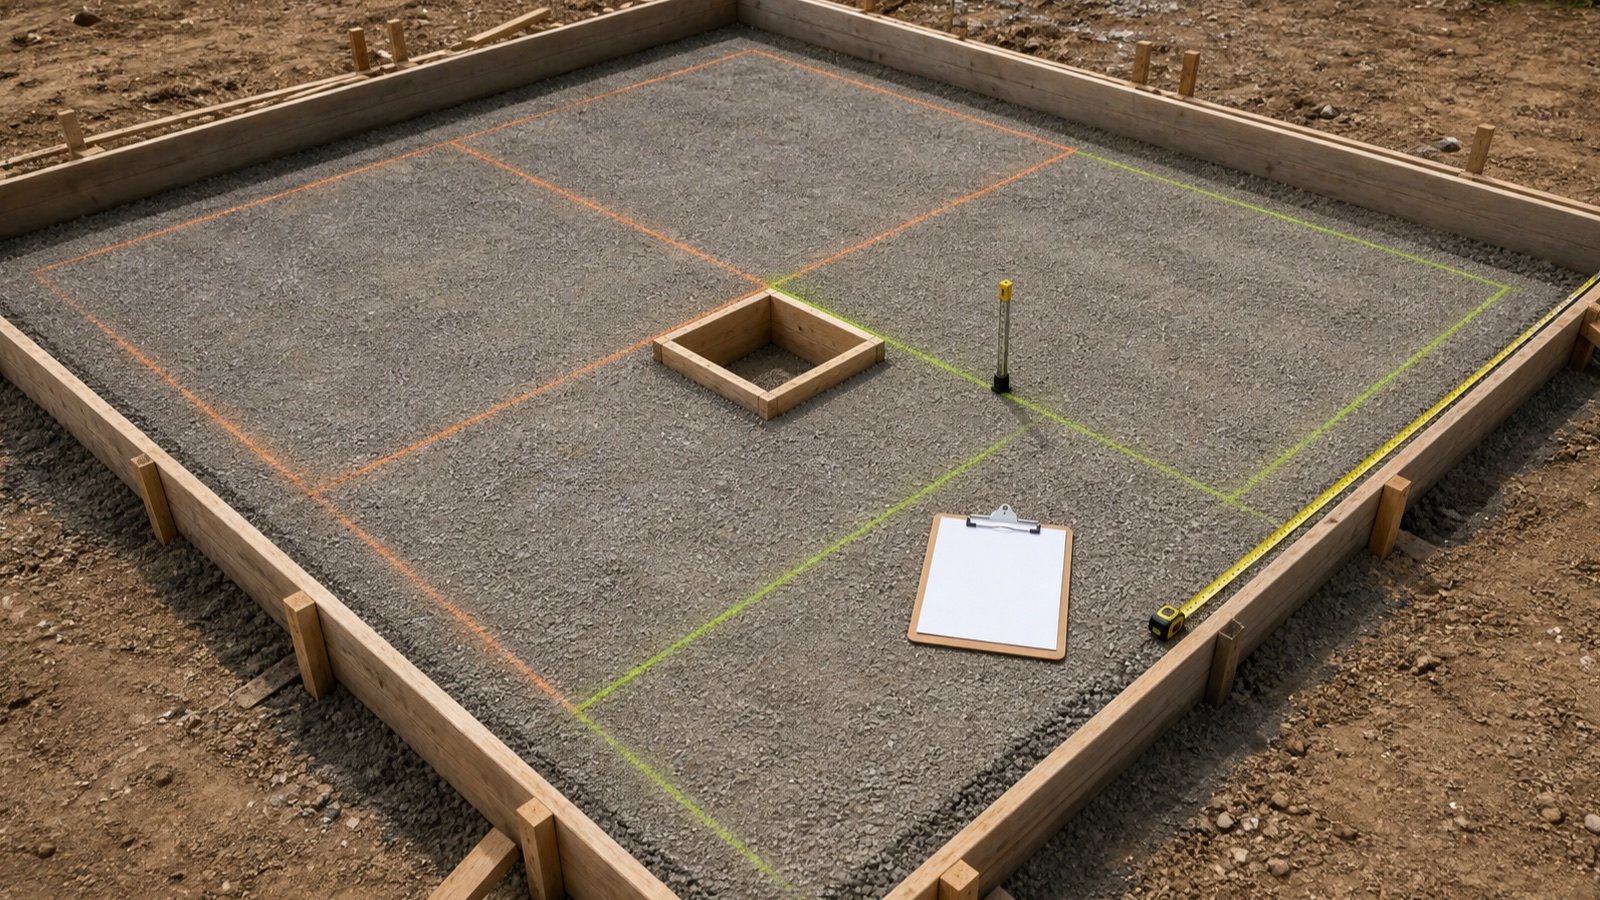
Concrete Slab Volume: Zones and Deductions
Calculate concrete slab volume from plan area and thickness, then add edge zones and subtract verified openings without double-counting concrete.
Read Concrete Slab Volume: Zones and Deductions
Blog
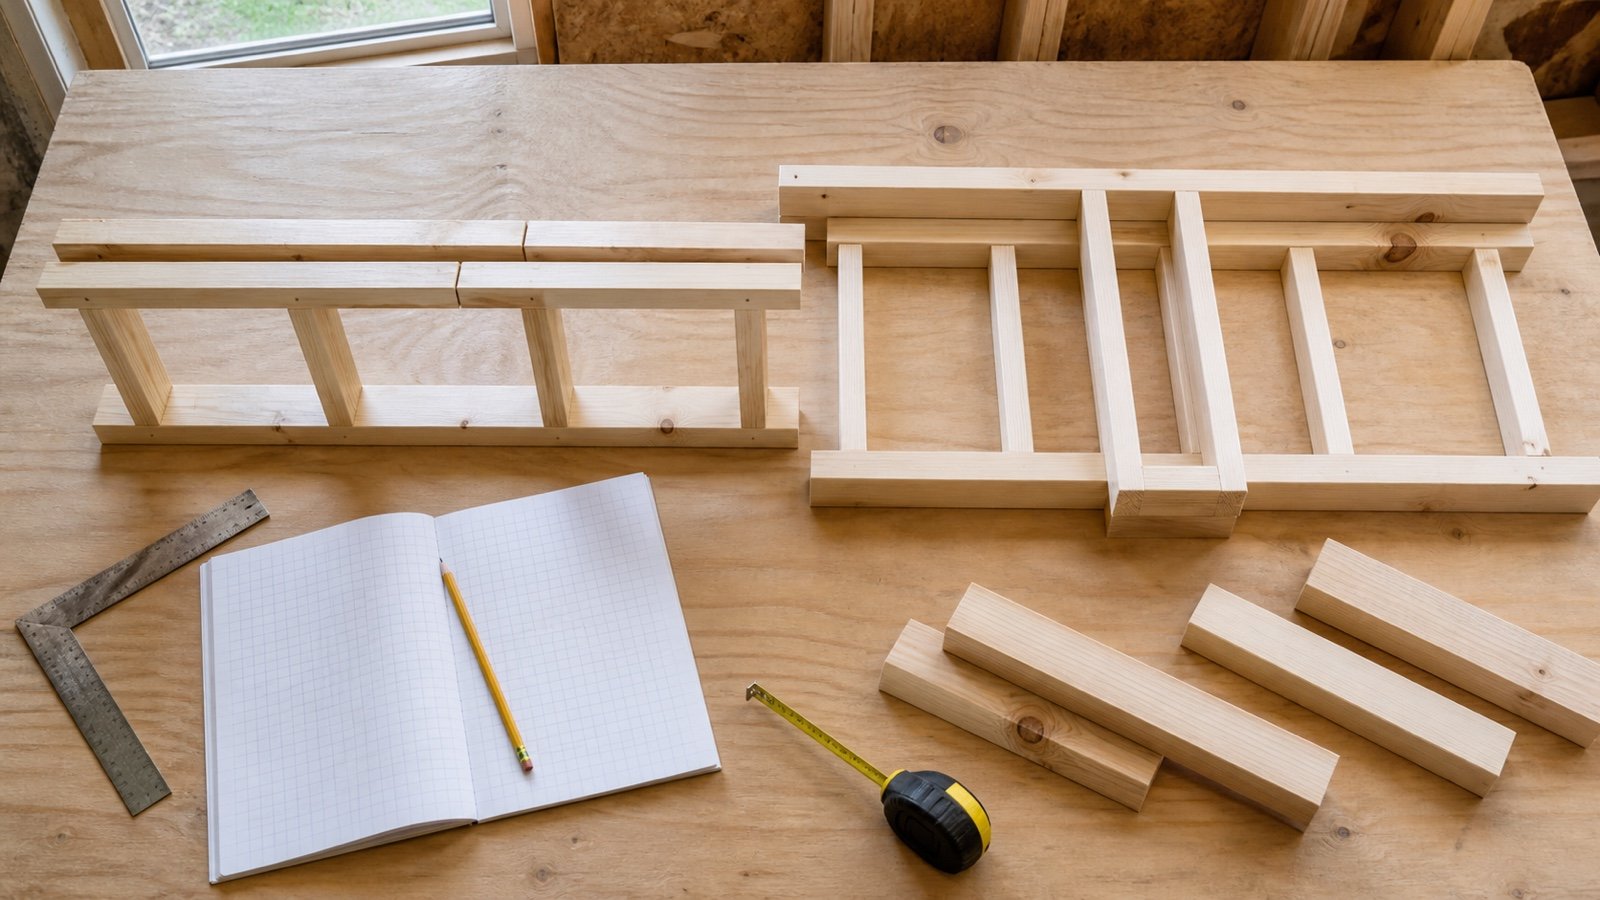
How to Lay Out Wall Studs: Spacing and Closing Bays
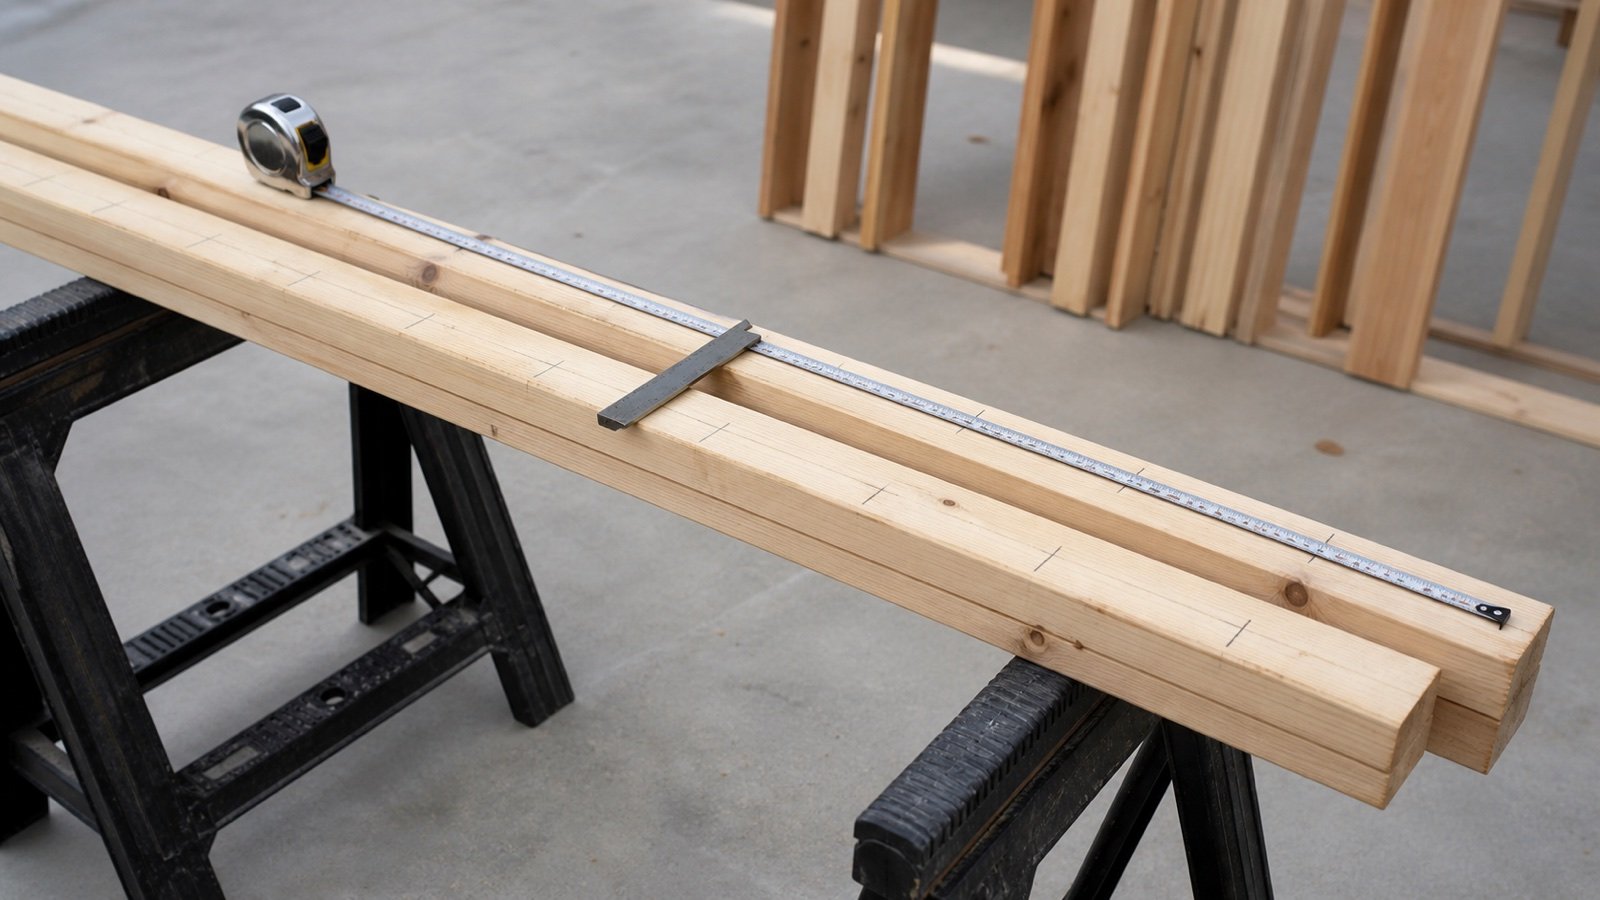
Lay out wall studs from an approved origin and on-center spacing, convert center positions to edge marks, transfer paired plates, and check the closing bay.
Read How to Lay Out Wall Studs: Spacing and Closing Bays
Blog
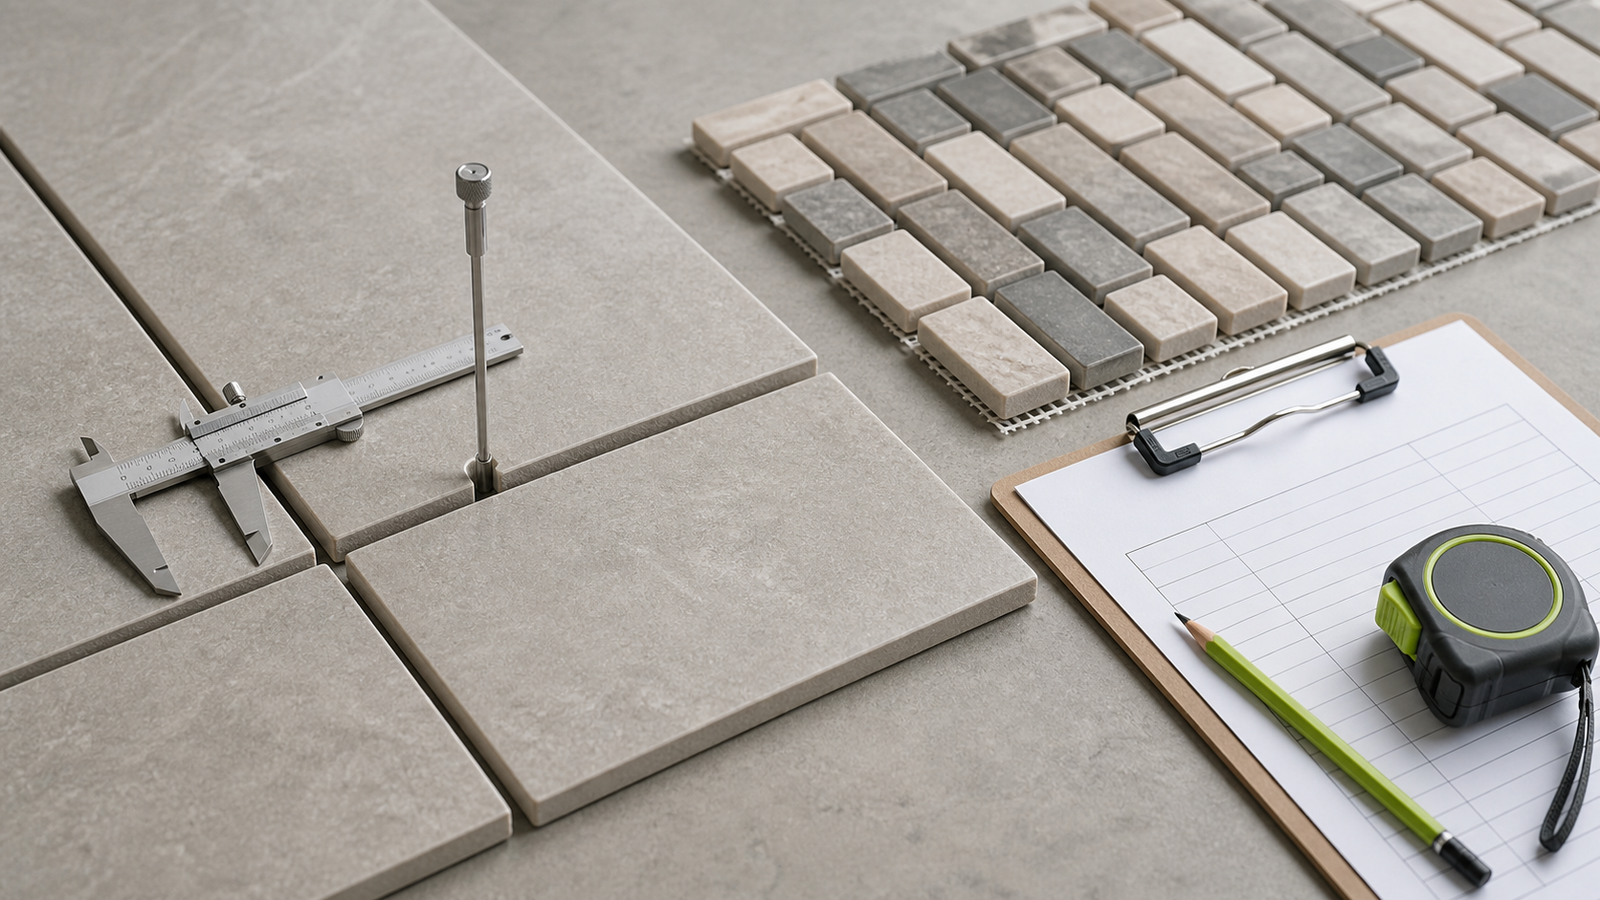
How to Measure a Patio for Pavers
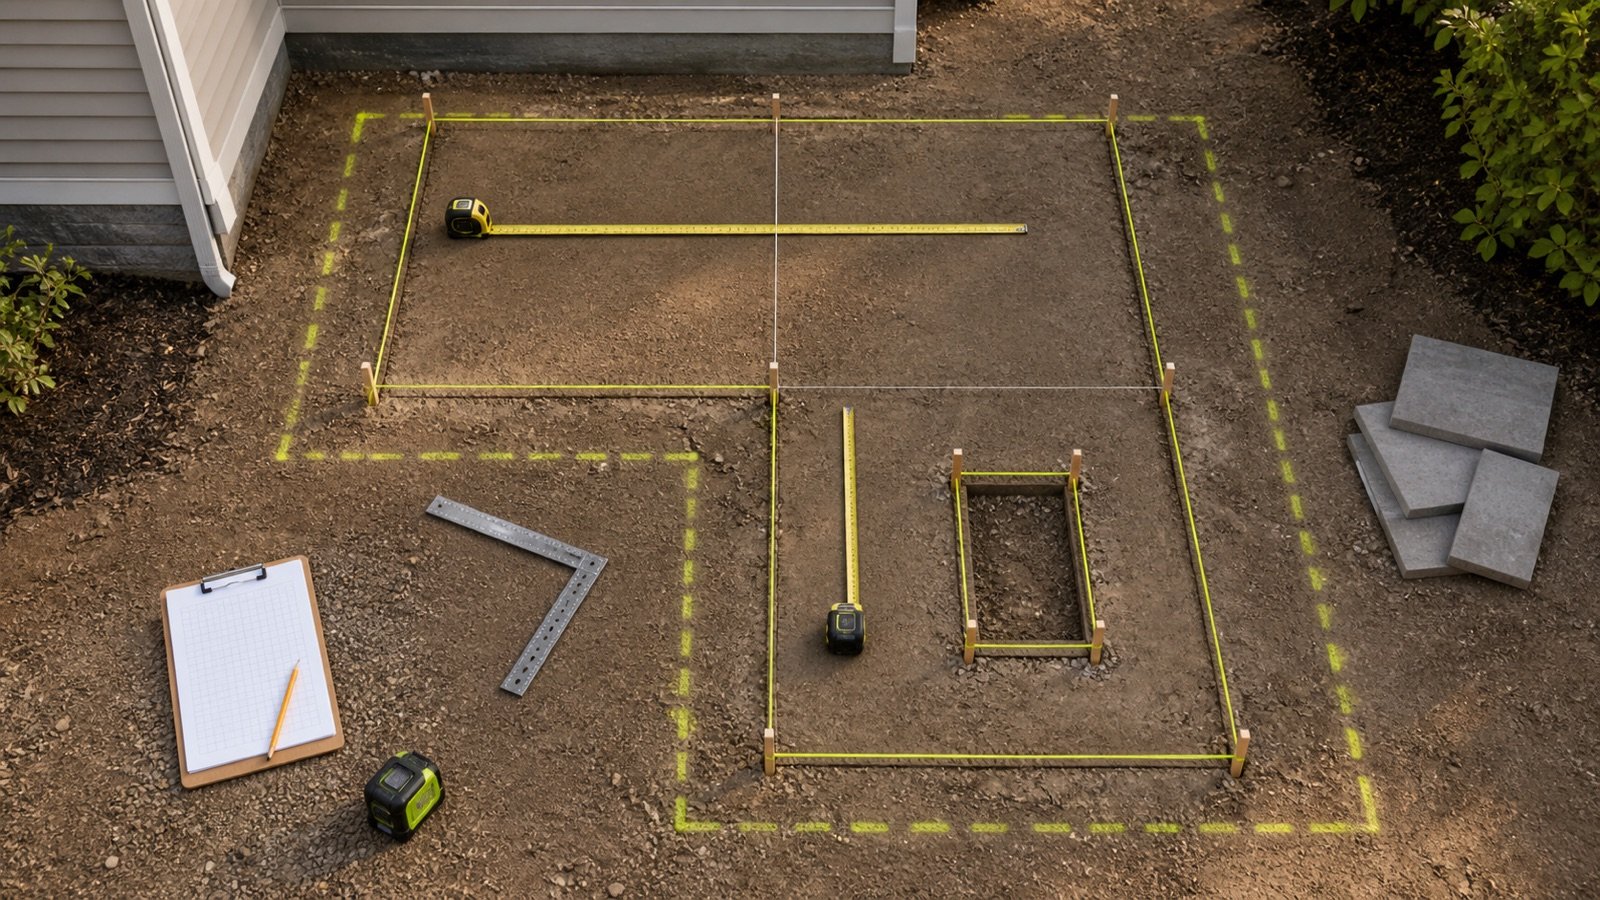
Measure a patio's finished paver edge, split irregular layouts into checked zones, subtract openings and prepare accurate calculator inputs.
Read How to Measure a Patio for Pavers
Blog
How to Measure a Sandbox for Play Sand
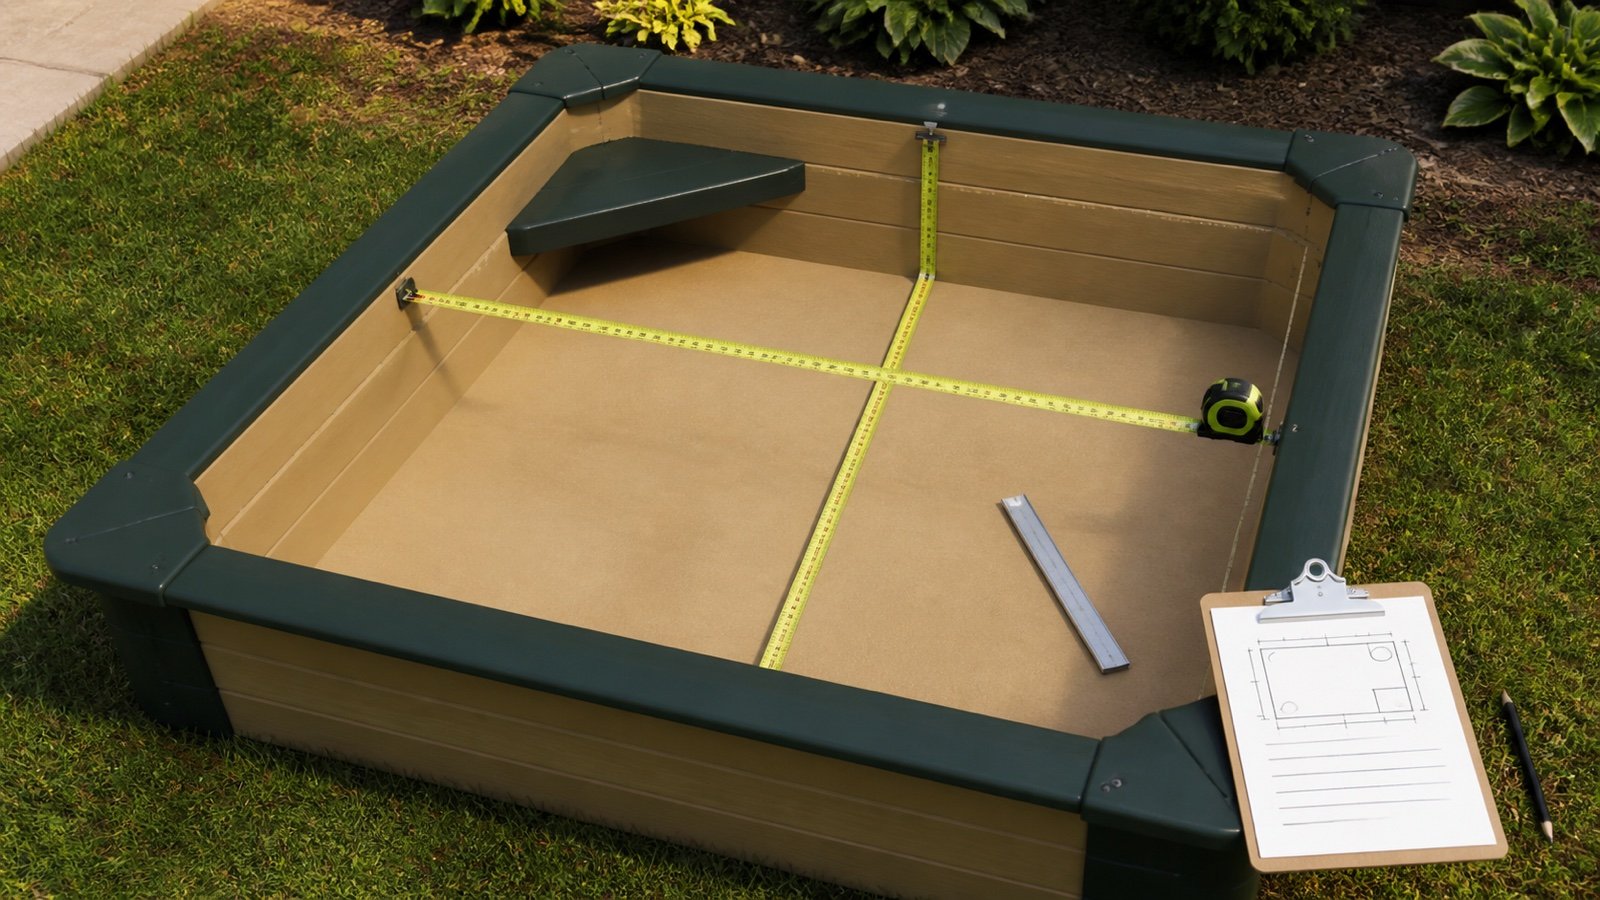
Measure a sandbox's inside length, width or diameter, target fill depth and built-in displacement before calculating play sand volume or bags.
Read How to Measure a Sandbox for Play Sand
Blog
How to Measure a Deck for Deck Boards
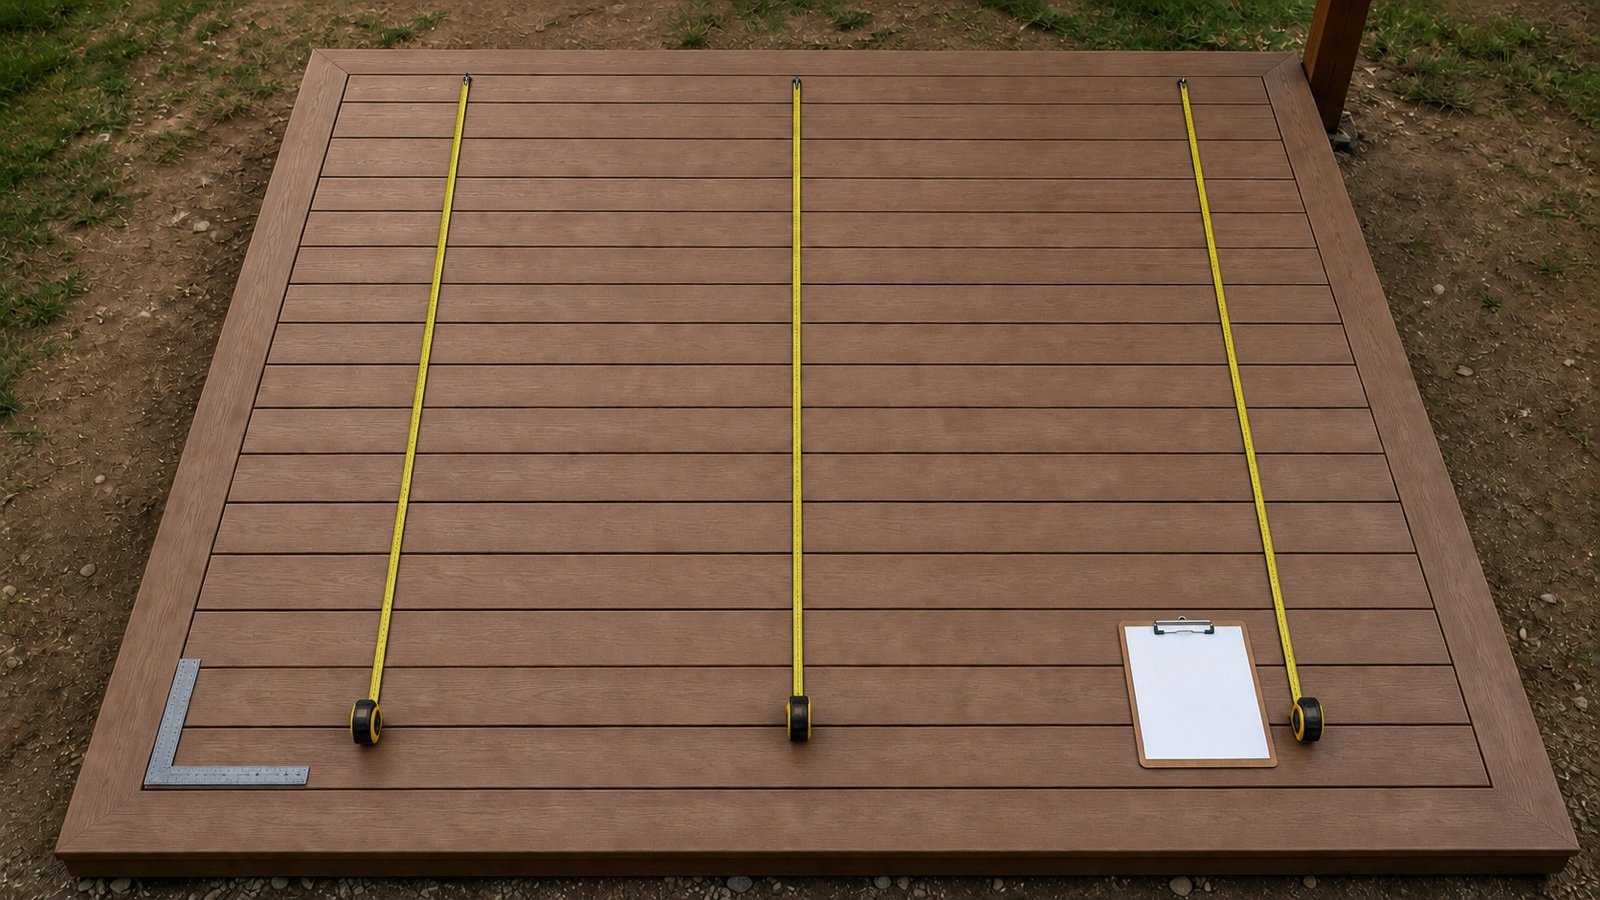
Measure deck-board run and clear field width, separate picture-frame borders and openings, audit several width stations, and prepare calculator-ready zones.
Read How to Measure a Deck for Deck Boards
Blog
How to Measure a Drainage Trench for Gravel
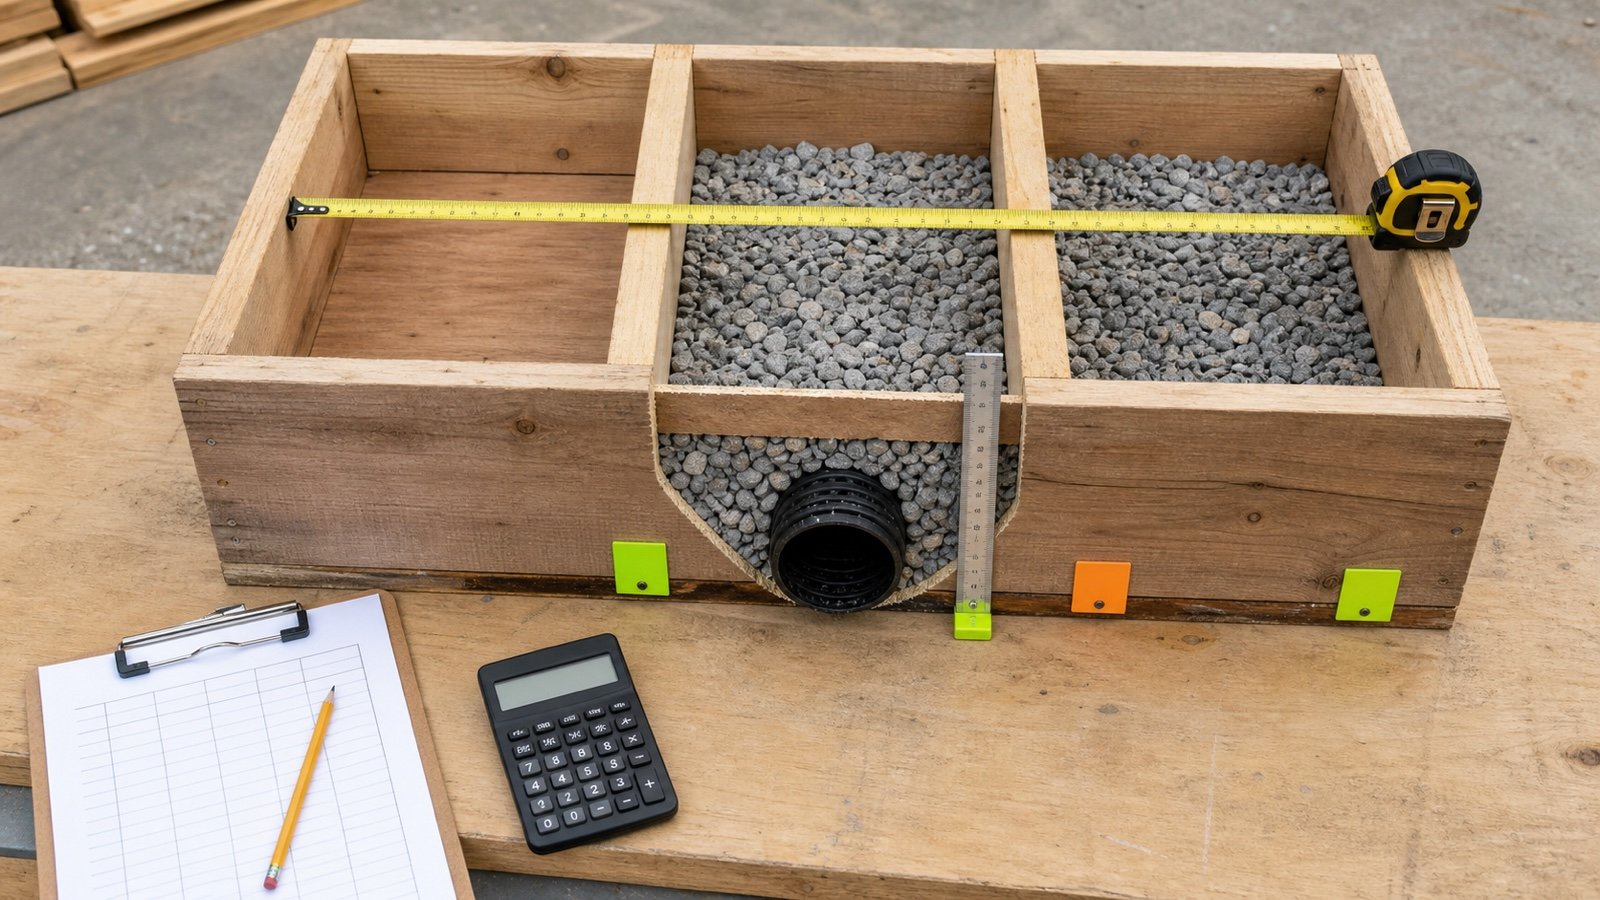
Measure drainage-gravel width, depth, route length and pipe outside diameter, then record constant or changing trench sections without hiding variations in one average.
Read How to Measure a Drainage Trench for Gravel
Blog
How to Measure Drywall Corner Bead for a Material Takeoff
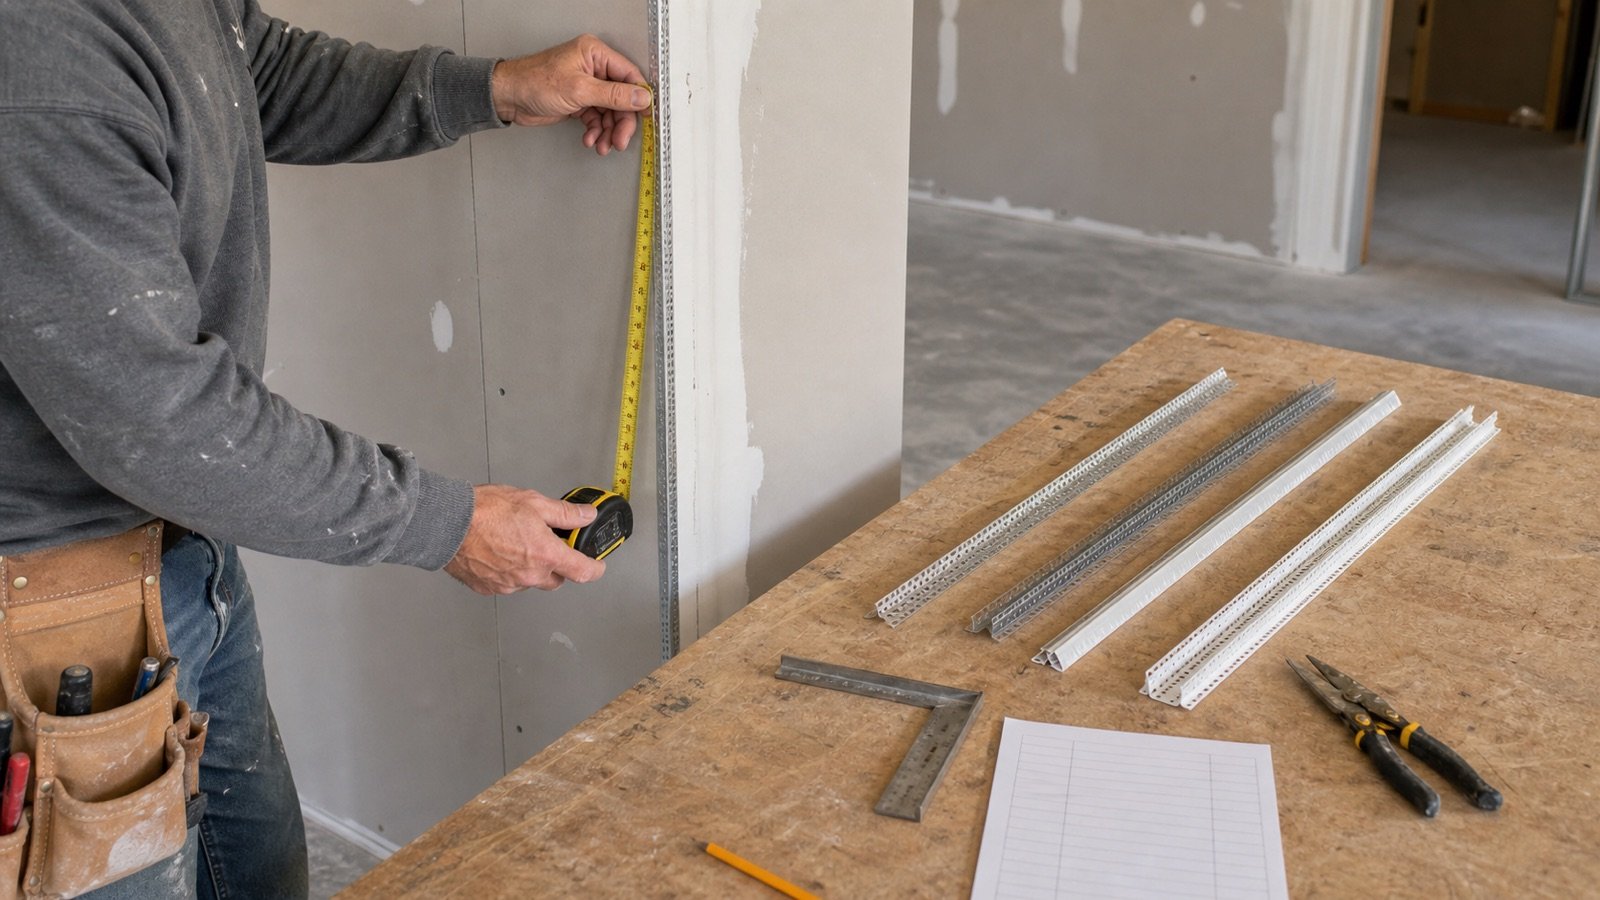
Measure drywall corner-bead runs from plans or the field, separate profiles and end conditions, build a cut ledger, and avoid undercounting stock pieces.
Read How to Measure Drywall Corner Bead for a Material Takeoff
Blog
How to Measure Drywall Joints for Tape
Measure drywall flat joints, butt joints and taped inside angles with a joint ledger, grid checks and a worked room example before calculating rolls.
Read How to Measure Drywall Joints for Tape
Blog
How to Measure Expansion Joints for Sealant and Filler
Measure straight, curved and perimeter expansion-joint runs, avoid double-counting shared edges, and separate changing profiles for a material takeoff.
Read How to Measure Expansion Joints for Sealant and Filler
Blog
How to Measure Flooring Area for Boxes
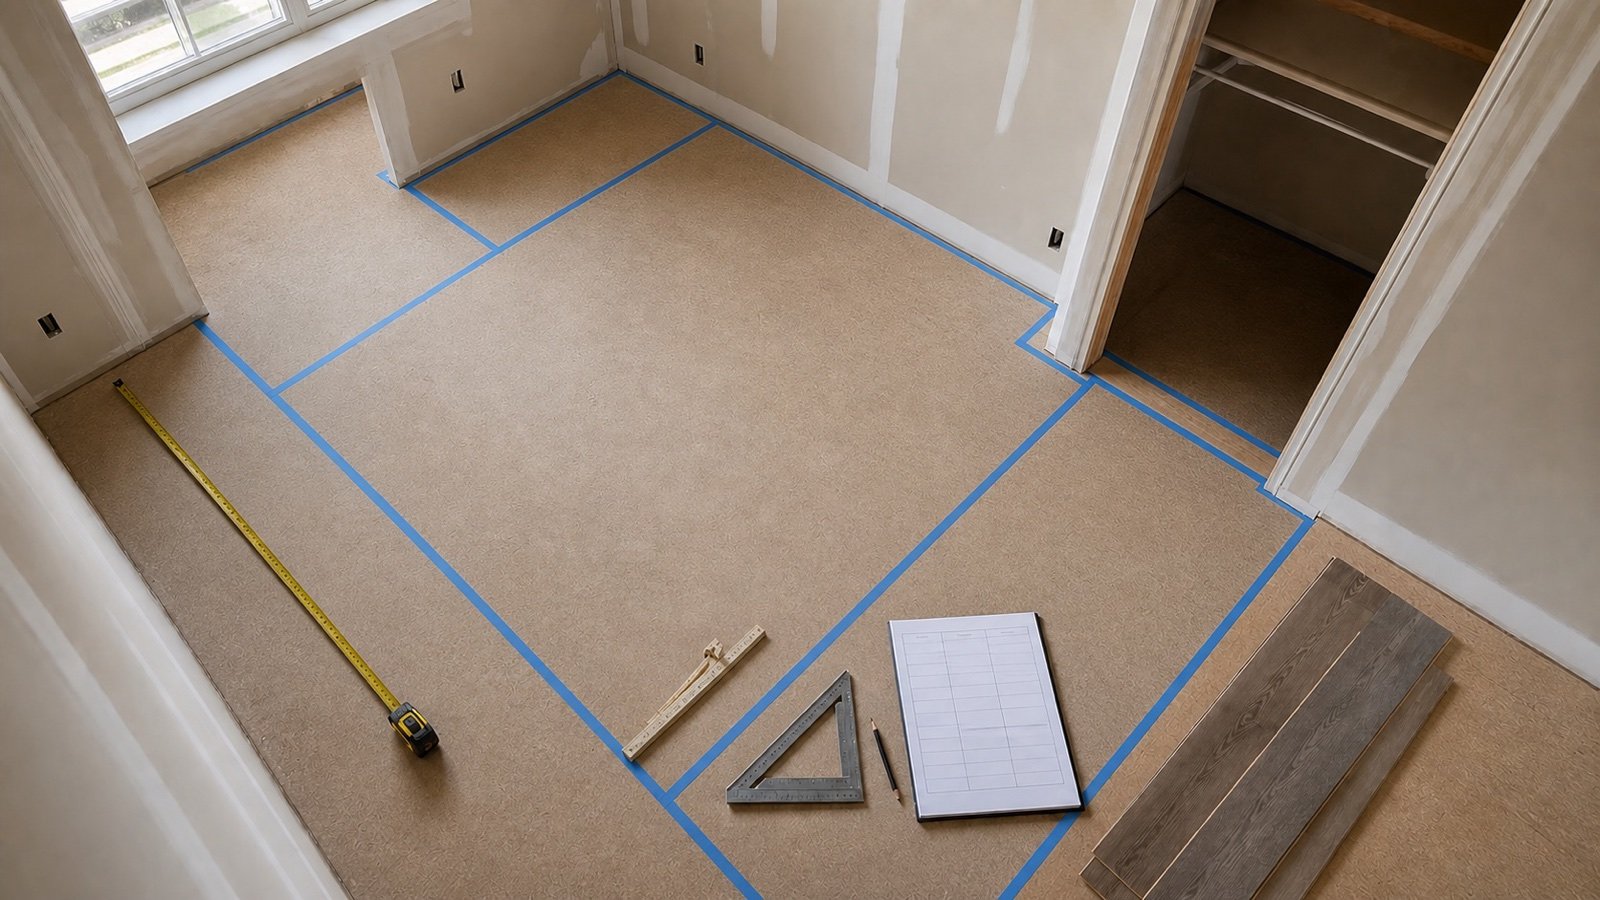
Measure rectangular, L-shaped and multi-room floors, track closets and exclusions, then hand the checked net area to a flooring box calculation.
Read How to Measure Flooring Area for Boxes
Blog
How to Measure for Floor and Wall Tile
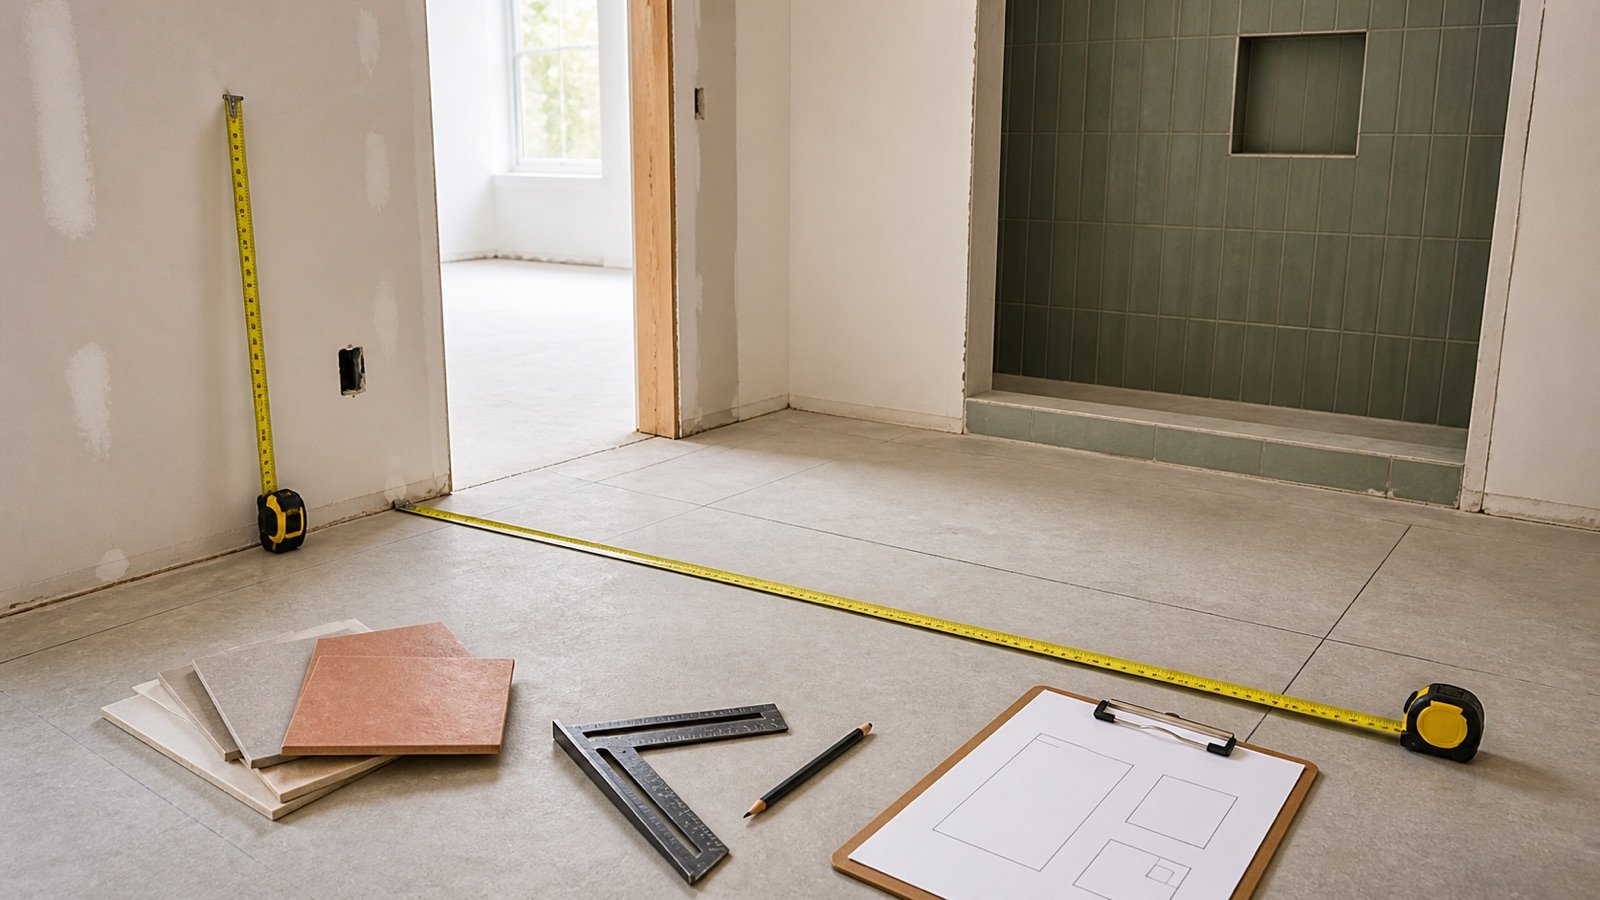
Measure tile floors, walls, openings, niches and returns with a checked surface ledger, worked examples and a clean handoff to tile and carton calculations.
Read How to Measure for Floor and Wall Tile
Blog
How to Measure Grout Joints for Coverage
Measure tiled area, individual tile size, grout-joint width and filled depth, then match those inputs to the correct manufacturer coverage row.
Read How to Measure Grout Joints for Coverage
Blog
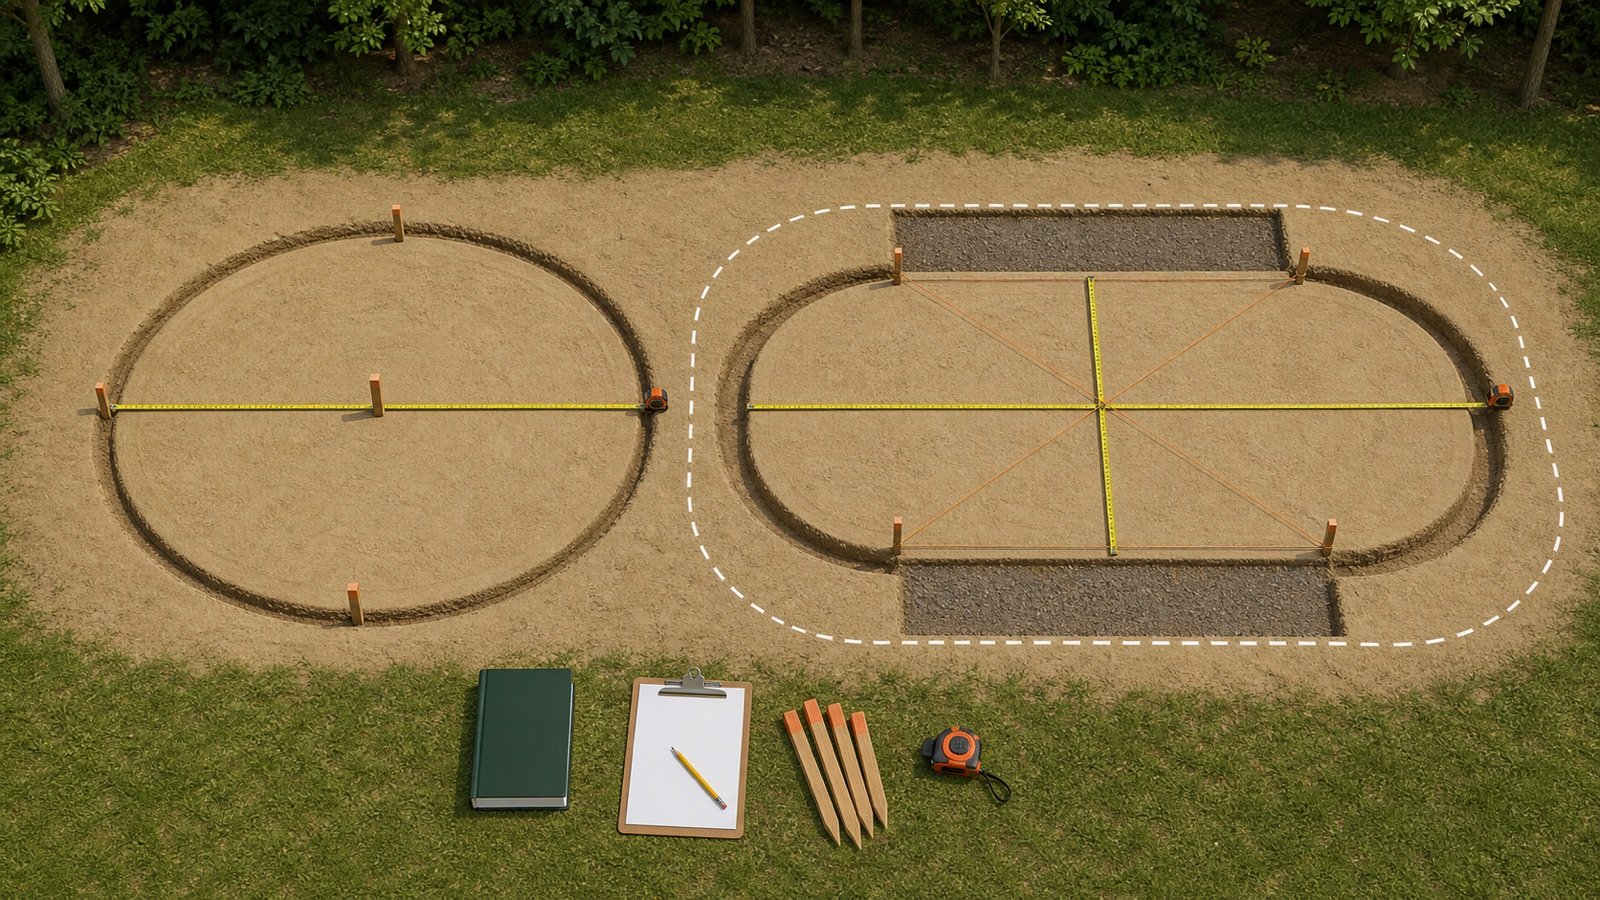
How to Measure an Above-Ground Pool Base for Sand
Measure the approved flat sand footprint for a round or racetrack-oval above-ground pool without mixing in excavation, supports, cove, or slope correction.
Read How to Measure an Above-Ground Pool Base for Sand
Blog
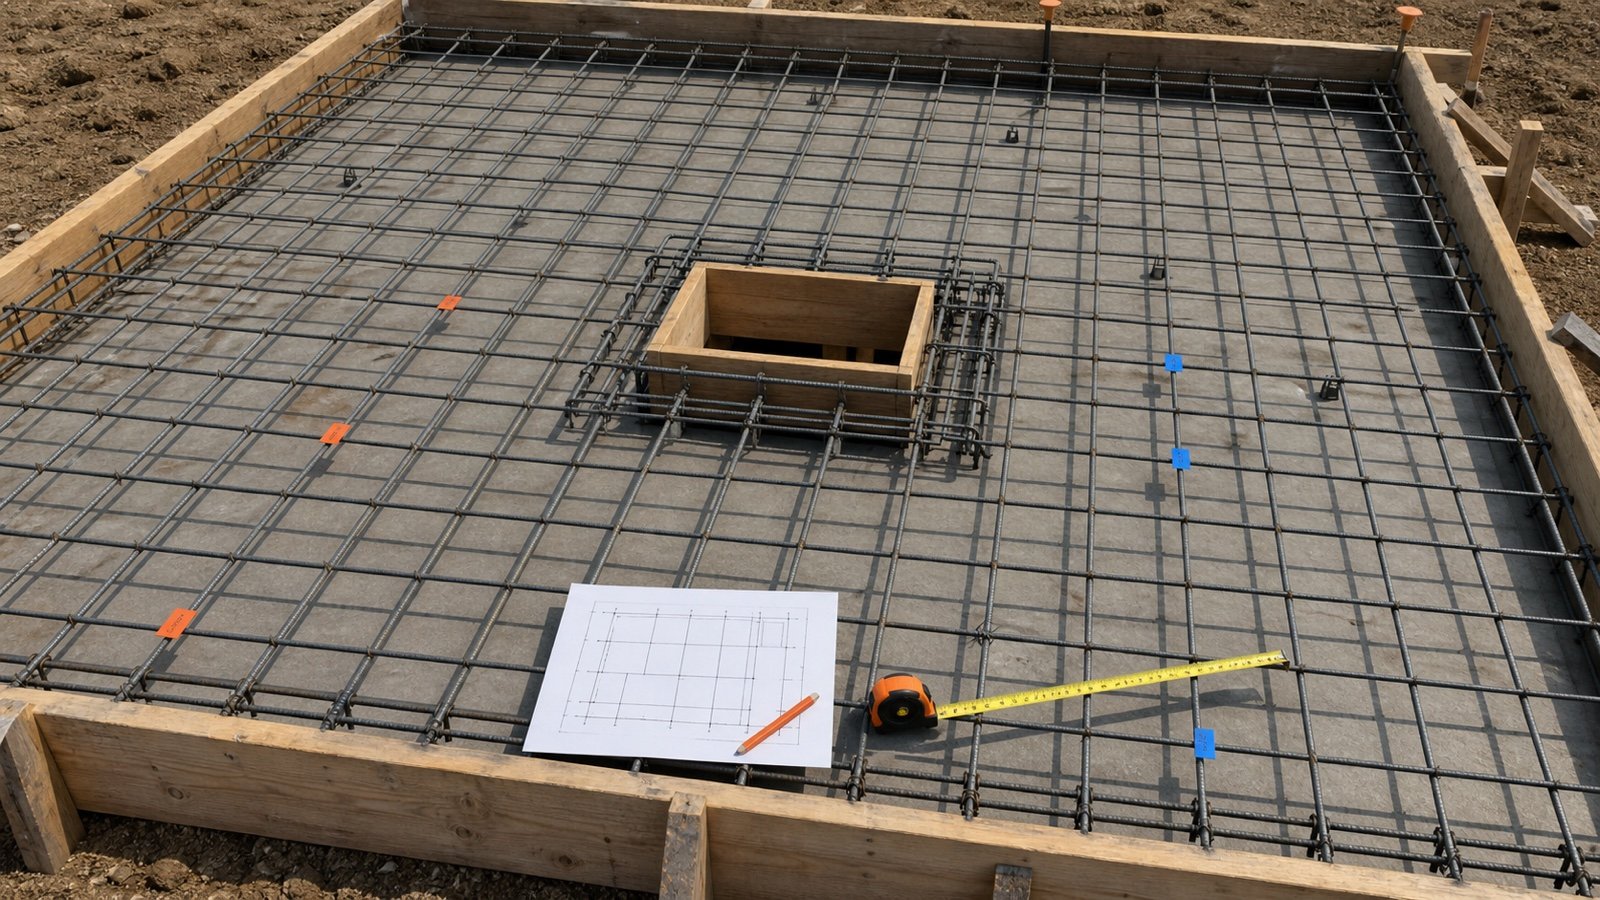
How to Measure Rebar for a Concrete Slab
Measure a concrete slab rebar layout by direction, spacing, layer and bar mark, with checked metric and imperial examples and an opening workflow.
Read How to Measure Rebar for a Concrete Slab
Blog
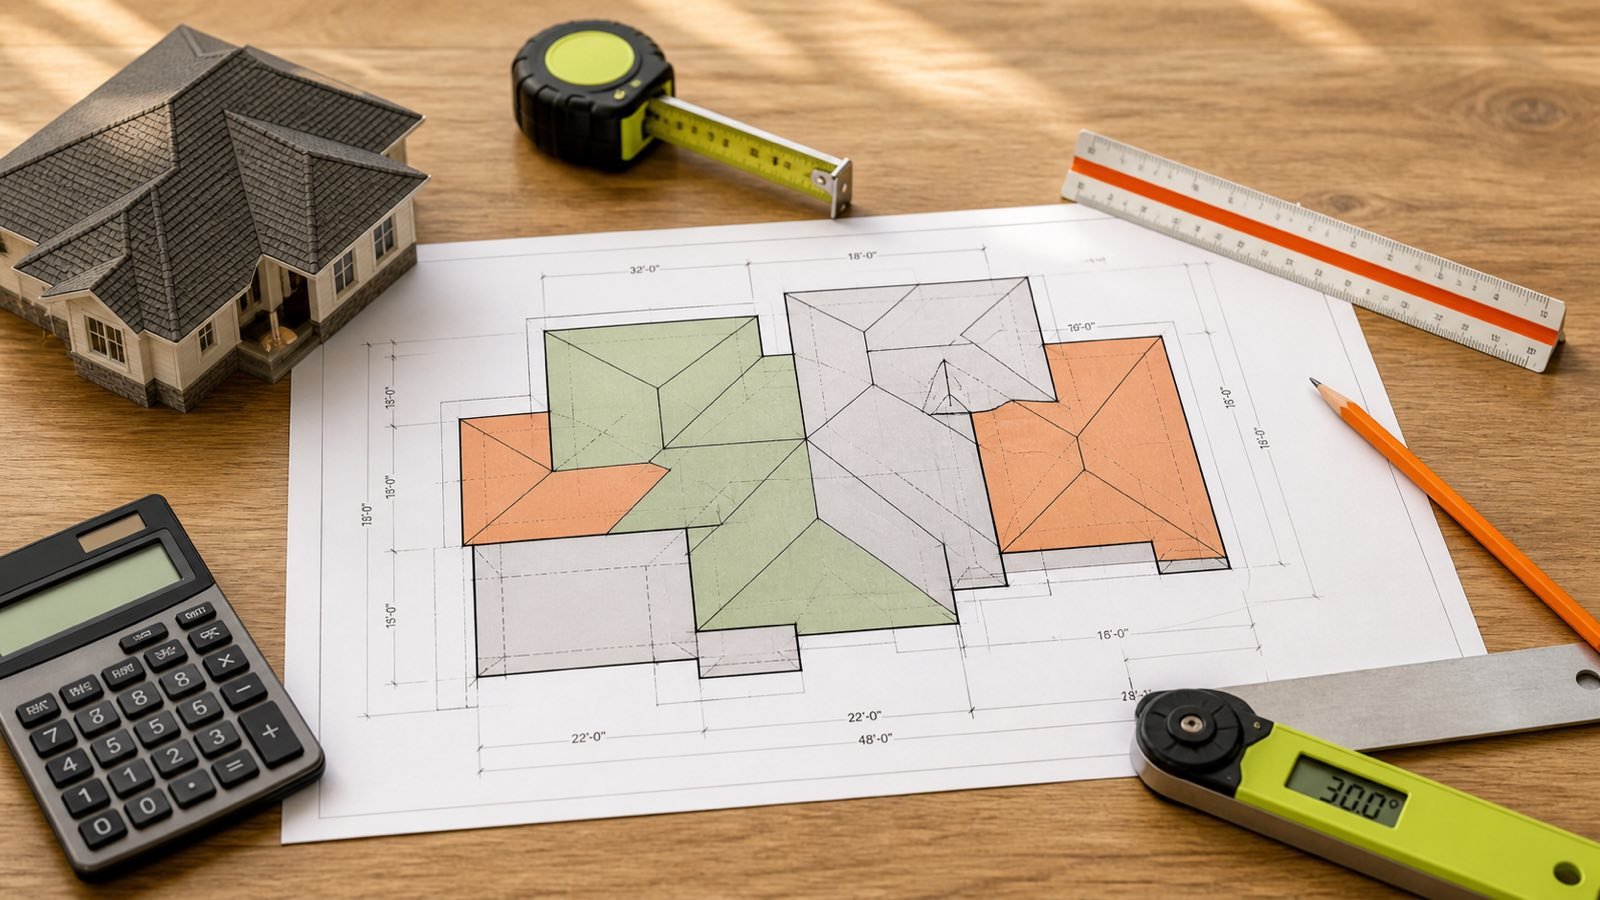
How to Measure Roof Area: Plan, Pitch and Sections
Measure roof area with checked plan sections and pitch or direct sloped faces. Record overhangs, mixed slopes, dormers and section totals.
Read How to Measure Roof Area: Plan, Pitch and Sections
Blog
How to Measure Walls and Ceilings for Drywall
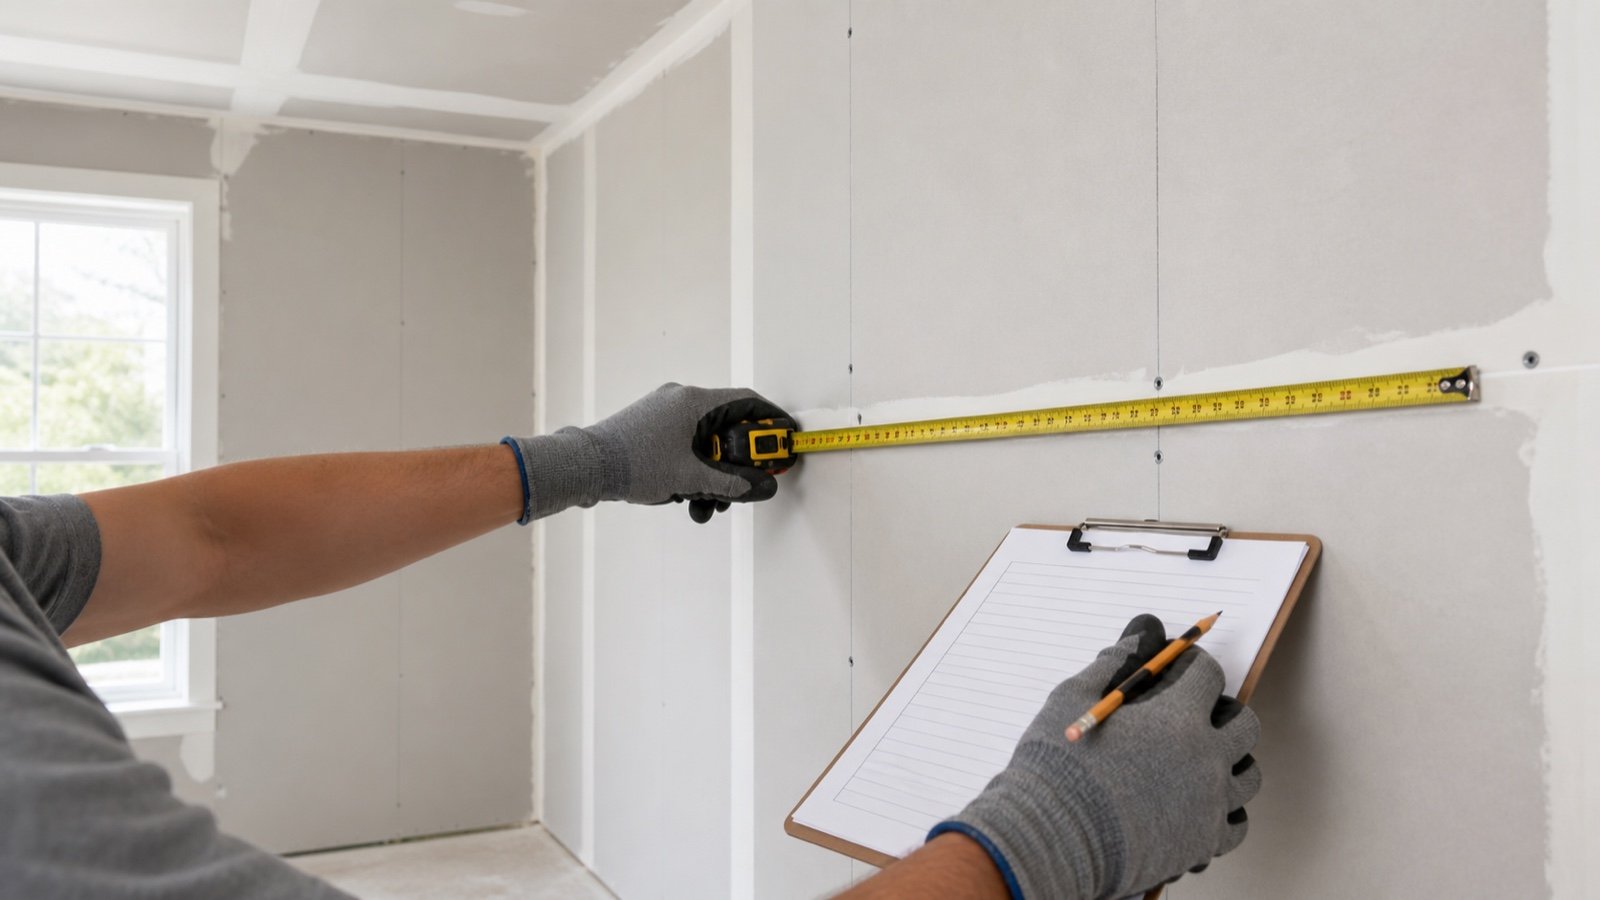
Measure drywall wall and ceiling surfaces, record real openings, check irregular areas, and prepare a surface ledger for sheet calculations.
Read How to Measure Walls and Ceilings for Drywall
Blog
How to Top Up a Sandbox with Play Sand
Measure current sandbox sand depth against the accepted fill line, total the positive deficit by zone and convert the refill volume into product-specific bags.
Read How to Top Up a Sandbox with Play Sand
Blog
Lightweight Particles in Sand: ASTM C123 Results
Calculate lightweight particles in fine aggregate from dry floating mass and the No. 50-retained test portion, then audit method and project limits.
Read Lightweight Particles in Sand: ASTM C123 Results
Blog
Masonry Mortar Allowance: Waste and Bag Rounding
Set a documented masonry mortar allowance, keep joint variation and handling loss separate, and calculate when whole-bag rounding changes the order.
Read Masonry Mortar Allowance: Waste and Bag Rounding
Blog
Masonry Mortar Ordering: Bags, Pallets and Site Stock
Turn a masonry mortar bag estimate into pallets and loose bags, then track accepted deliveries, usable stock, opened bags and unexplained variance.
Read Masonry Mortar Ordering: Bags, Pallets and Site Stock
Blog
No. 200 Sieve Wash Test for Sand: Results
Calculate material finer than the No. 200 sieve by washing, separate wash loss from the full gradation result, and check report limits.
Read No. 200 Sieve Wash Test for Sand: Results
Blog
Measuring a Trench with Changing Width and Depth
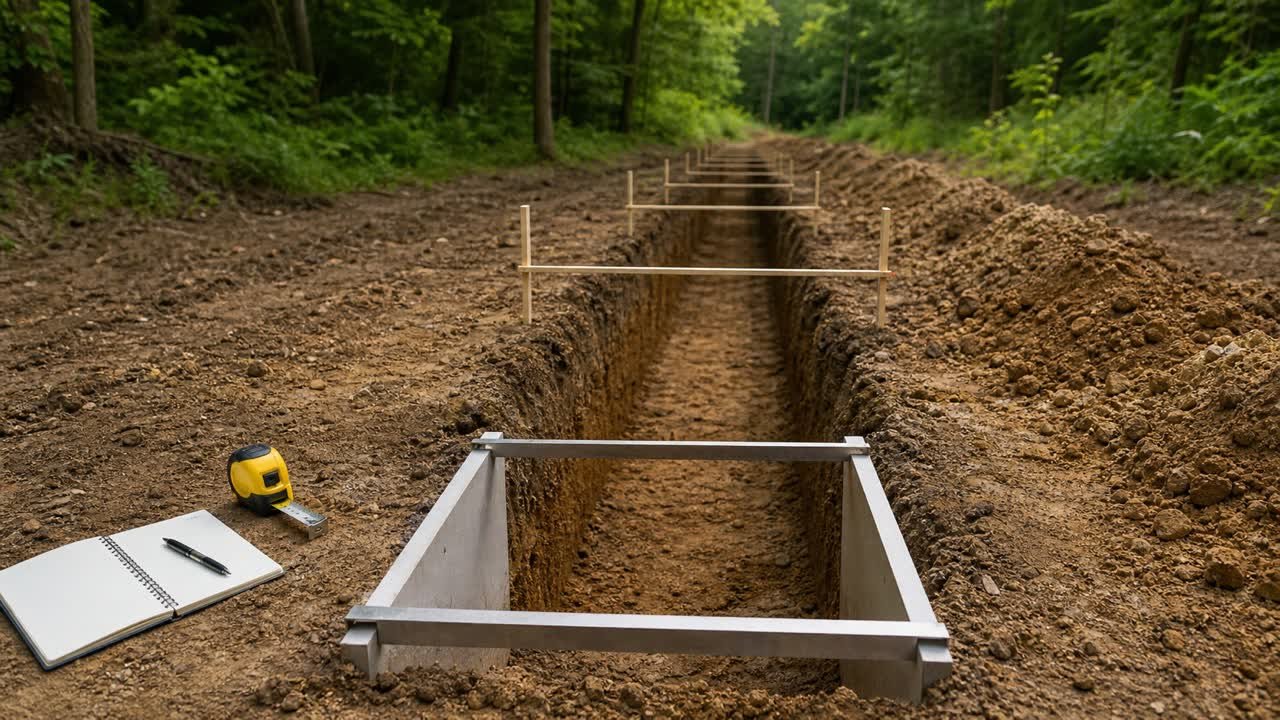
Measure a variable trench with station sections, end-area formulas, worked examples, curve checks, and a traceable field record.
Read Measuring a Trench with Changing Width and Depth
Blog
How to Measure Irregular Garden Beds for Mulch
Measure curved and changing-width mulch beds with composite shapes or width stations, then calculate net area, refresh depth and volume.
Read How to Measure Irregular Garden Beds for Mulch
Blog
Methylene Blue Test: Fine Aggregate Results
Check a fine aggregate methylene blue value by method, tested fraction, dye concentration, specimen mass, endpoint, units, and project limit.
Read Methylene Blue Test: Fine Aggregate Results
Blog
Micro-Deval Test: Fine Aggregate Abrasion Loss
Calculate fine aggregate Micro-Deval abrasion loss from initial and final dry mass, then check method, rounding, traceability, and project limits.
Read Micro-Deval Test: Fine Aggregate Abrasion Loss
Blog
Mortar Coverage per Bag: Brick and Block Yield
Check mortar coverage per bag for brick or concrete block using current named-product records, then calculate exact ratios, whole bags and rounding boundaries.
Read Mortar Coverage per Bag: Brick and Block Yield
Blog
Mortar Mix vs Masonry Cement: Bags and Sand
Identify mortar mix and masonry cement bags, check whether sand is included, and compare product-specific bag, sand and yield records without mixing systems.
Read Mortar Mix vs Masonry Cement: Bags and Sand
Blog
Mulch Bags vs Bulk: Cost, Volume and Delivery
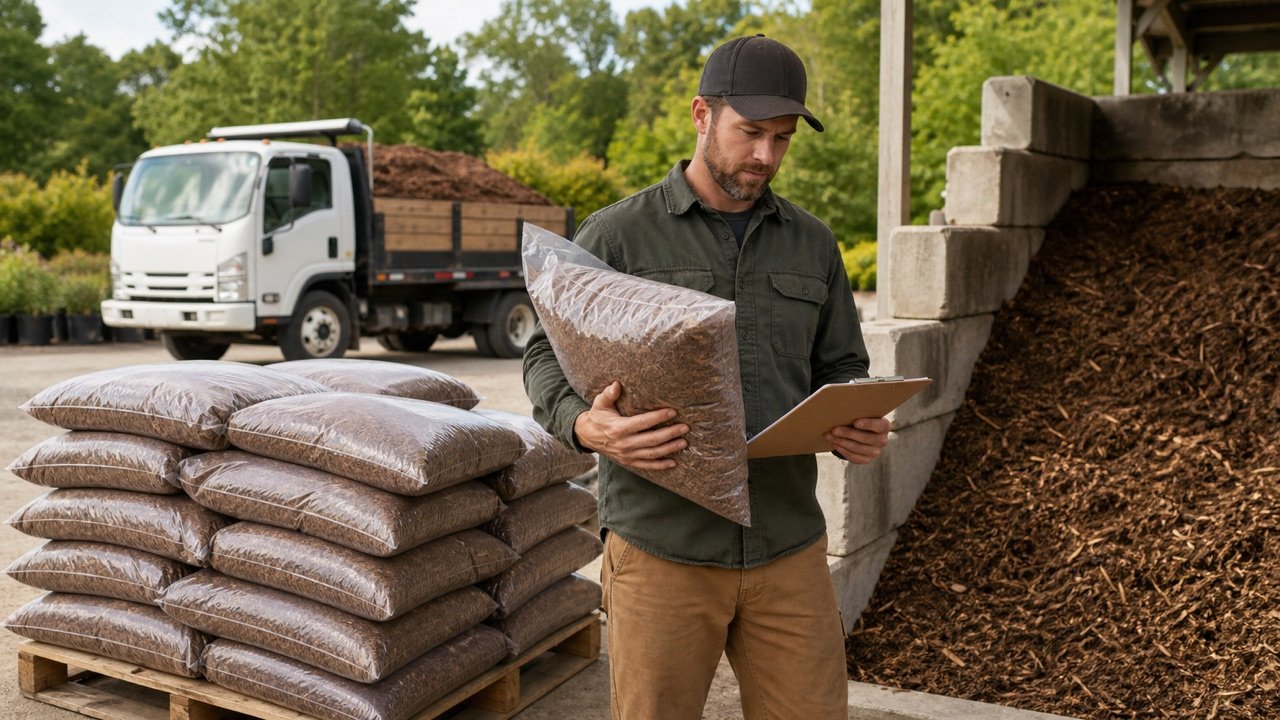
Compare bagged and bulk mulch using equal volume, current quotes, order rounding, delivery fees, access and handling checks.
Read Mulch Bags vs Bulk: Cost, Volume and Delivery
Blog
Mulch Coverage Guide: Yards, Metres and Bags
Check how much area mulch covers by depth using cubic-yard, cubic-metre and label-sized package charts, formulas and refresh examples.
Read Mulch Coverage Guide: Yards, Metres and Bags
Blog
Mulch Depth Guide: Beds, Trees and Shrubs
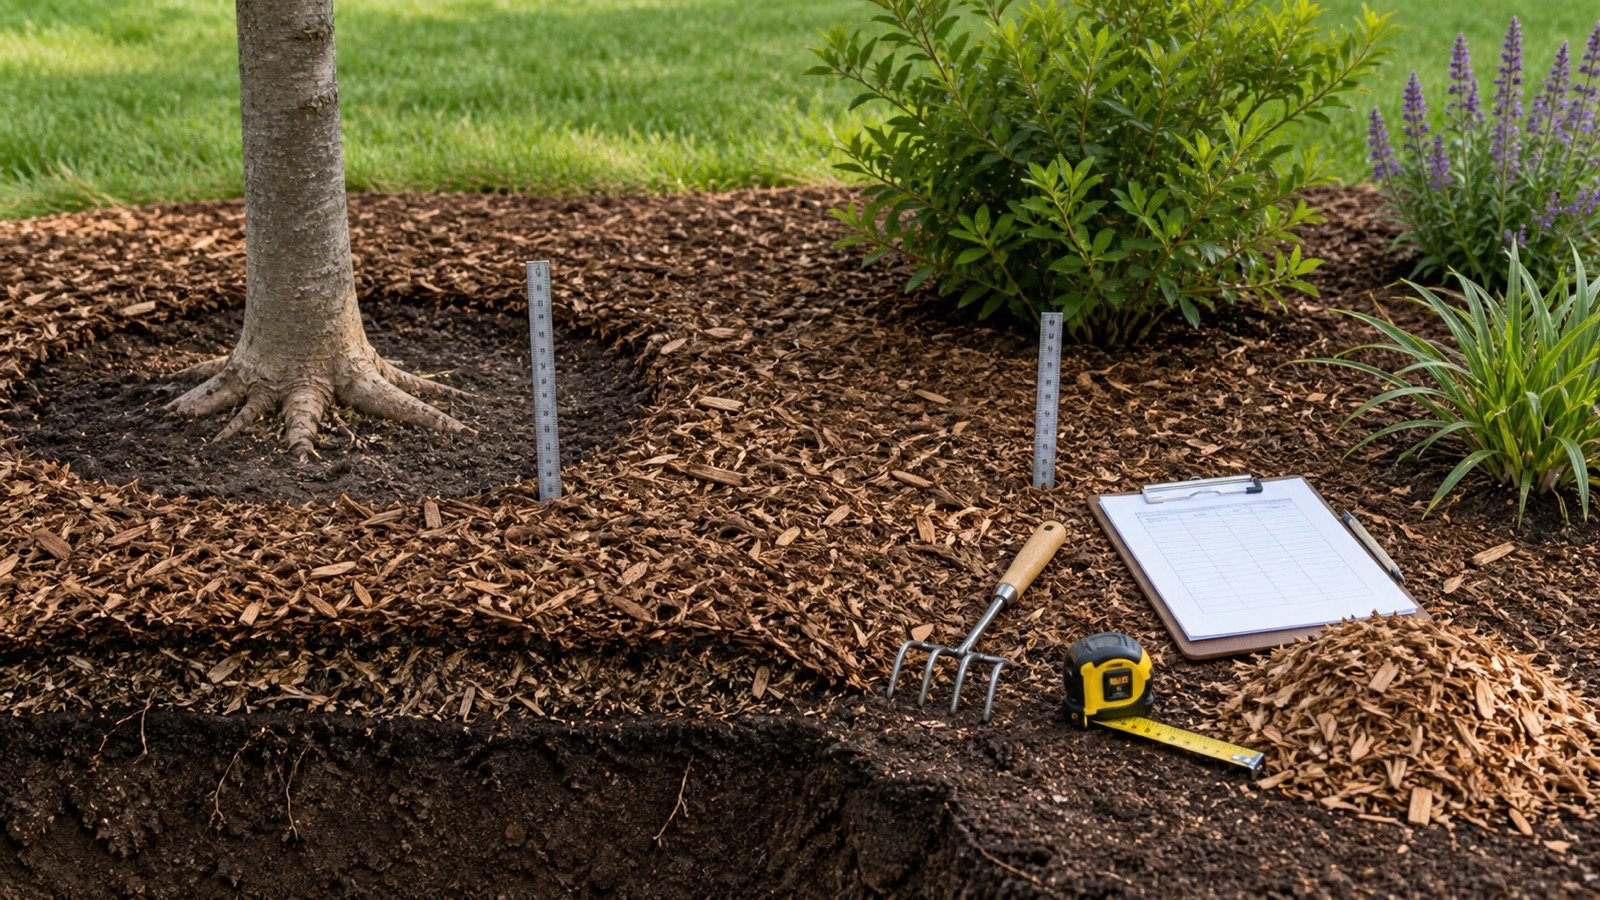
Choose a mulch depth from material, soil, plant, and local guidance, then measure the retained layer and calculate only the top-up depth still needed.
Read Mulch Depth Guide: Beds, Trees and Shrubs
Blog
Organic Impurities in Sand: Color Test Results
Interpret lighter, equal, or darker fine-aggregate color-test results, check sample and method records, and understand when ASTM C87 follow-up is needed.
Read Organic Impurities in Sand: Color Test Results
Blog
Oversized Post Hole Concrete: Extra Volume
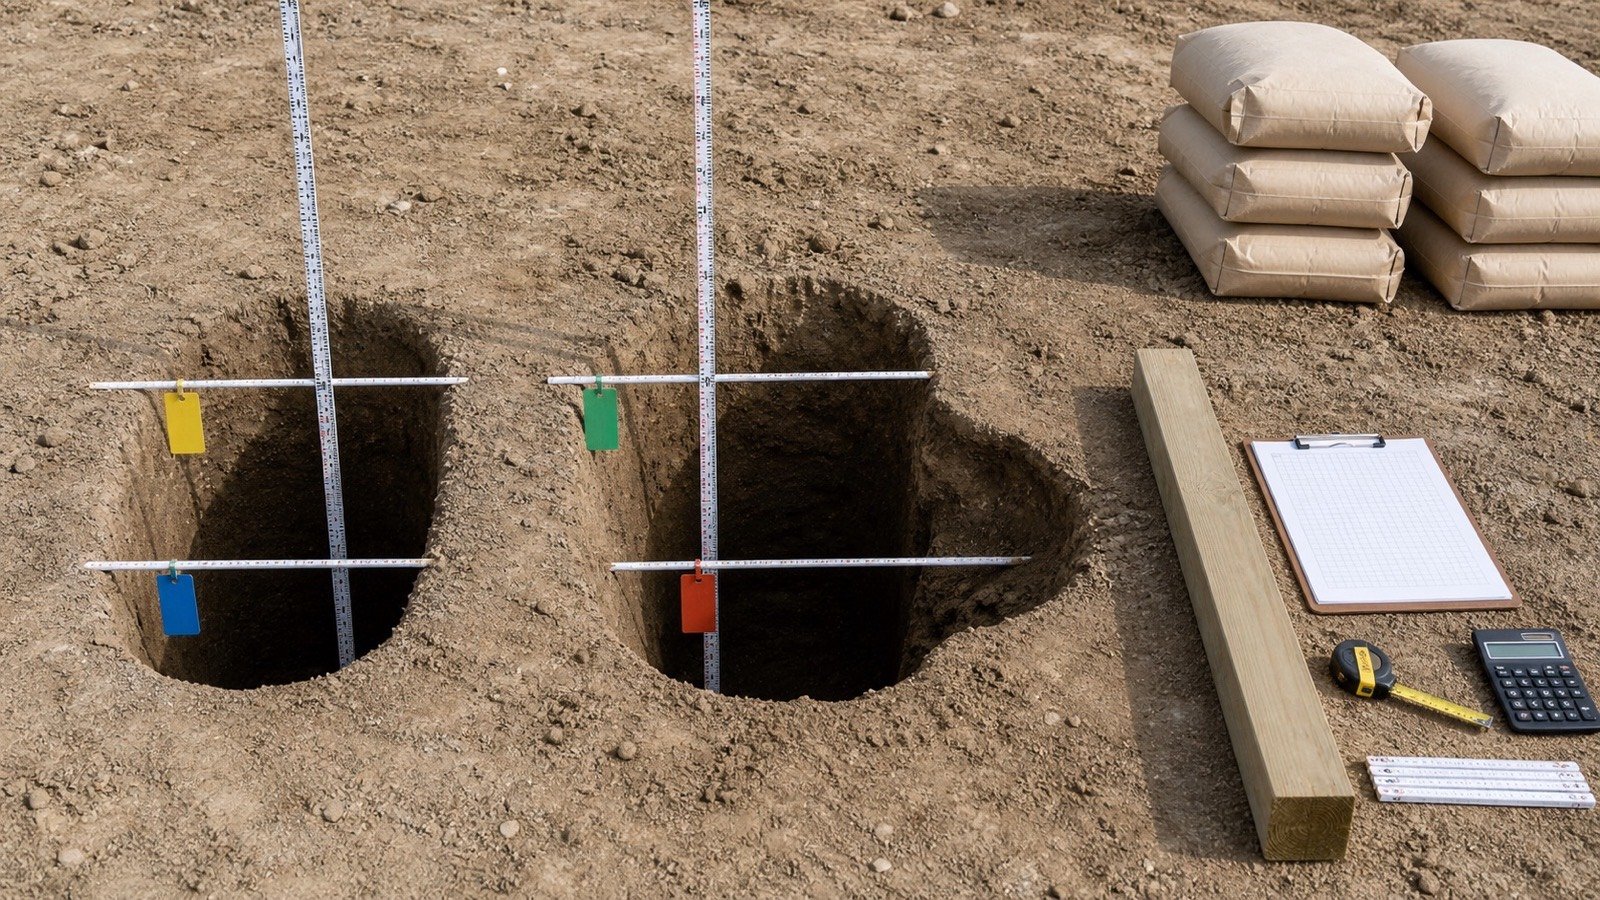
Calculate the extra concrete caused by a wider, collapsed, or irregular post hole using measured sections, checked volume differences, and current package yield.
Read Oversized Post Hole Concrete: Extra Volume
Blog
Paint Coats and Primer Guide
Plan primer and finish-paint quantities as separate product records using the approved coat count, coverage rate, surface area and container size.
Read Paint Coats and Primer Guide
Blog
Paint Container Sizes: Order Guide
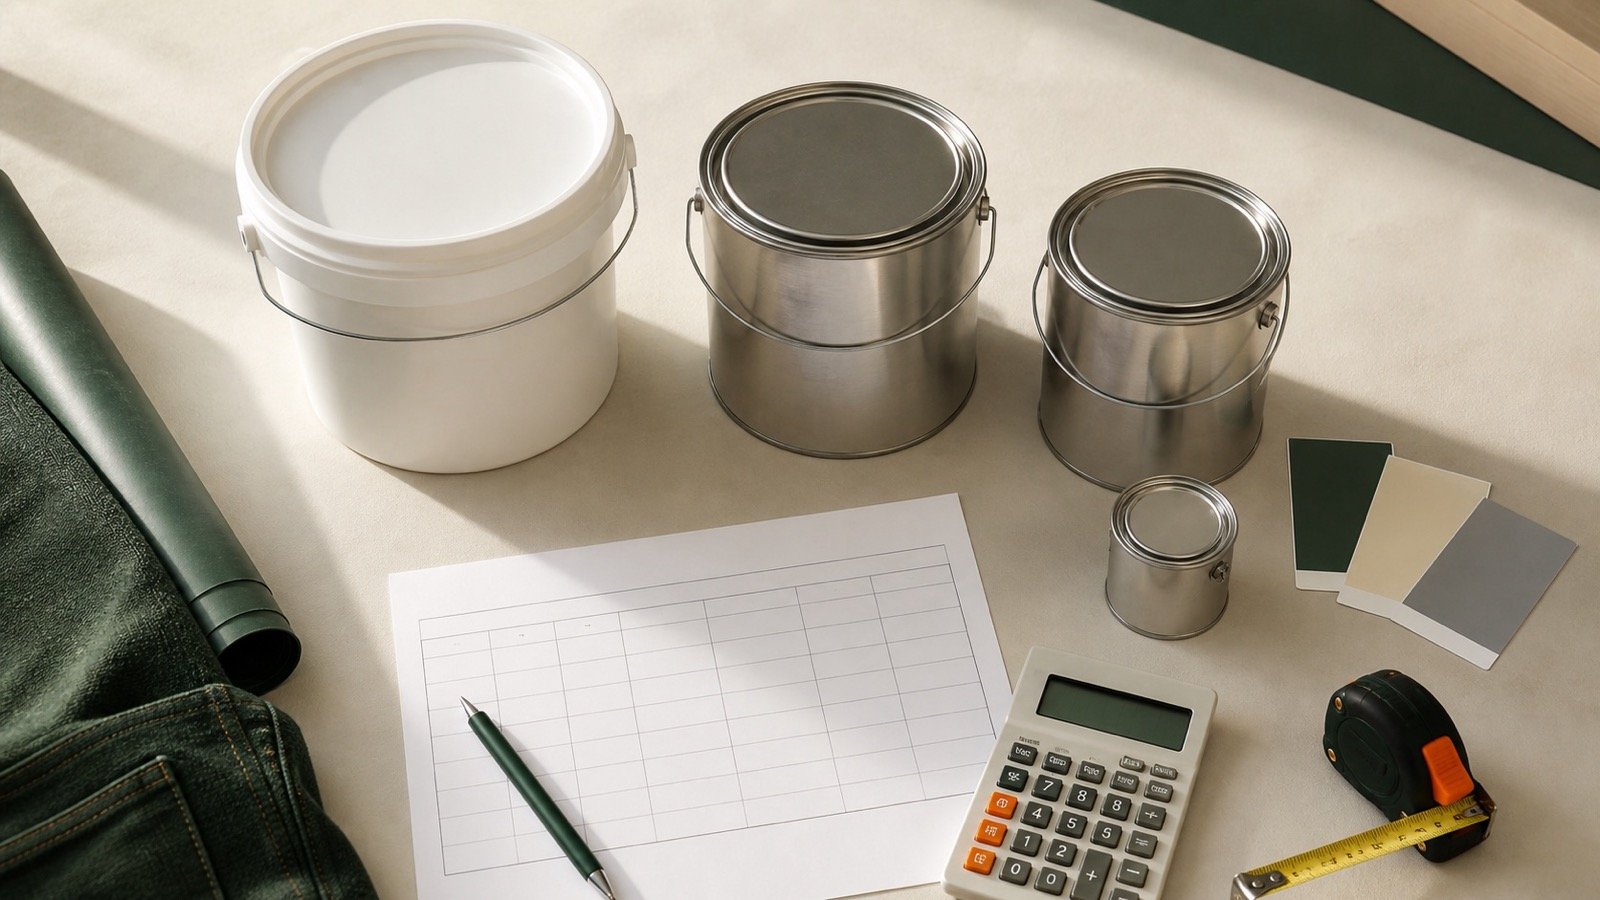
Compare current paint container sizes, round an exact volume into full cans, test mixed-size orders and record package surplus without combining unlike products.
Read Paint Container Sizes: Order Guide
Blog
Paint Coverage: Gallons and Litres
Read product paint coverage, convert ft² per US gallon and m² per litre, check coat scope, and use the rate in a paint quantity calculation.
Read Paint Coverage: Gallons and Litres
Blog
Paper vs Mesh Drywall Tape: Product and Quantity Guide
Compare paper and fiberglass mesh drywall tape by compound compatibility, joint location, roll length and separate takeoff rows using named product records.
Read Paper vs Mesh Drywall Tape: Product and Quantity Guide
Blog
Paver Allowance: Cuts, Patterns and Spare Pavers
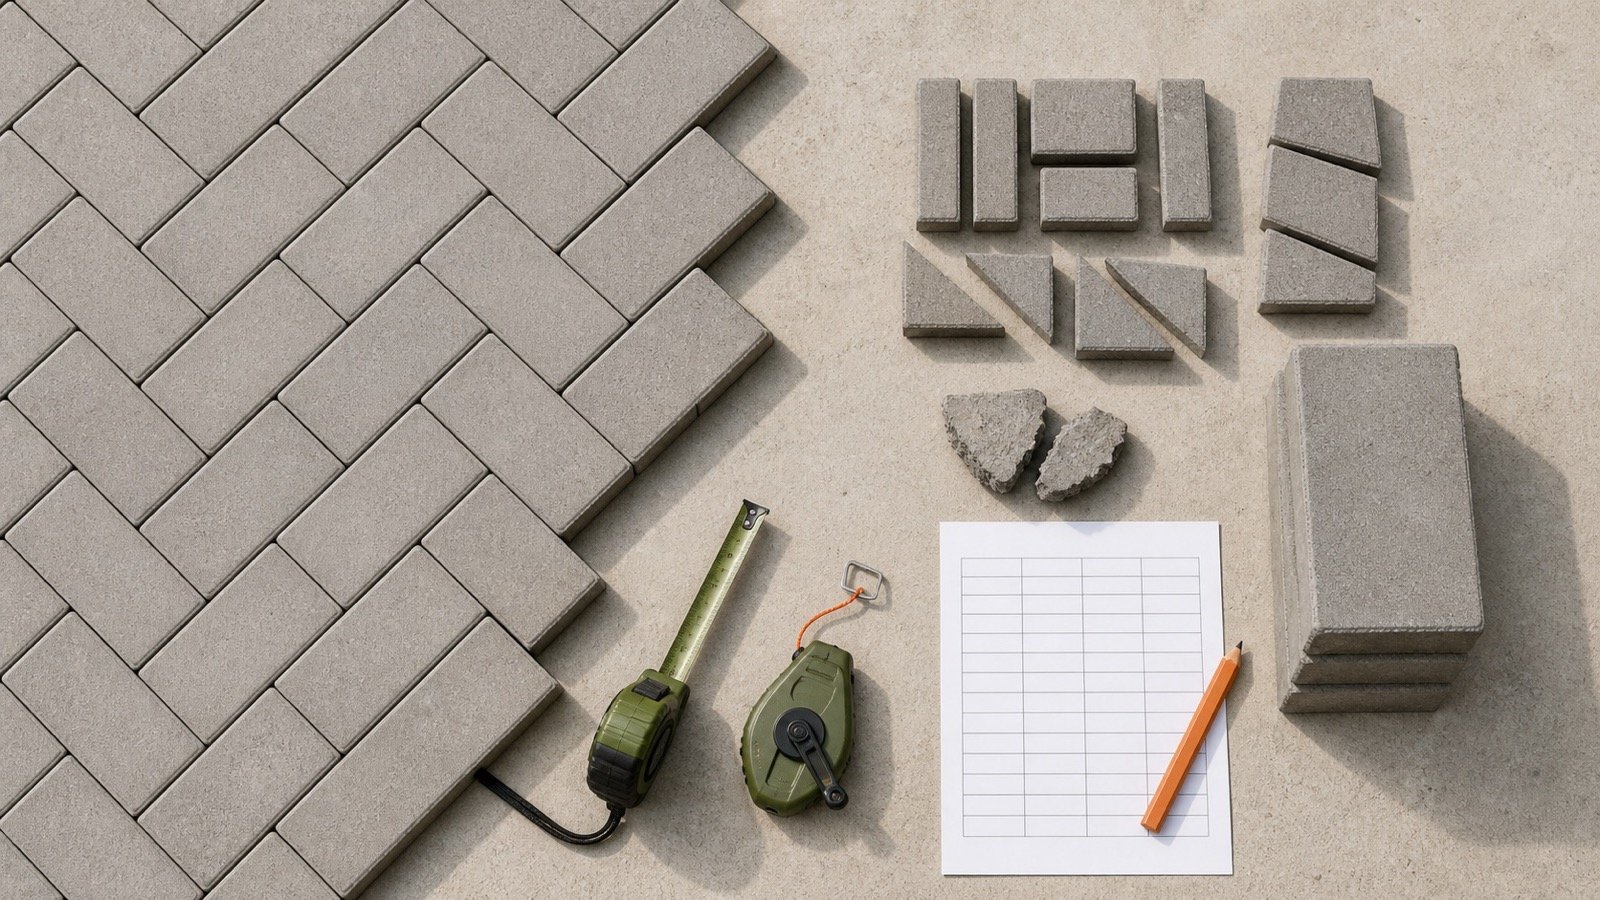
Plan extra pavers with a cut-loss, damage, spare and package-rounding worksheet. See why one waste percentage cannot fit every pattern or site.
Read Paver Allowance: Cuts, Patterns and Spare Pavers
Blog
Paver Bedding Sand vs Joint Sand: Key Differences
Compare paver bedding and joint sand by location, function, specification and quantity method before selecting products or ordering material.
Read Paver Bedding Sand vs Joint Sand: Key Differences
Blog
Paver Border Calculation: Soldier and Sailor Courses
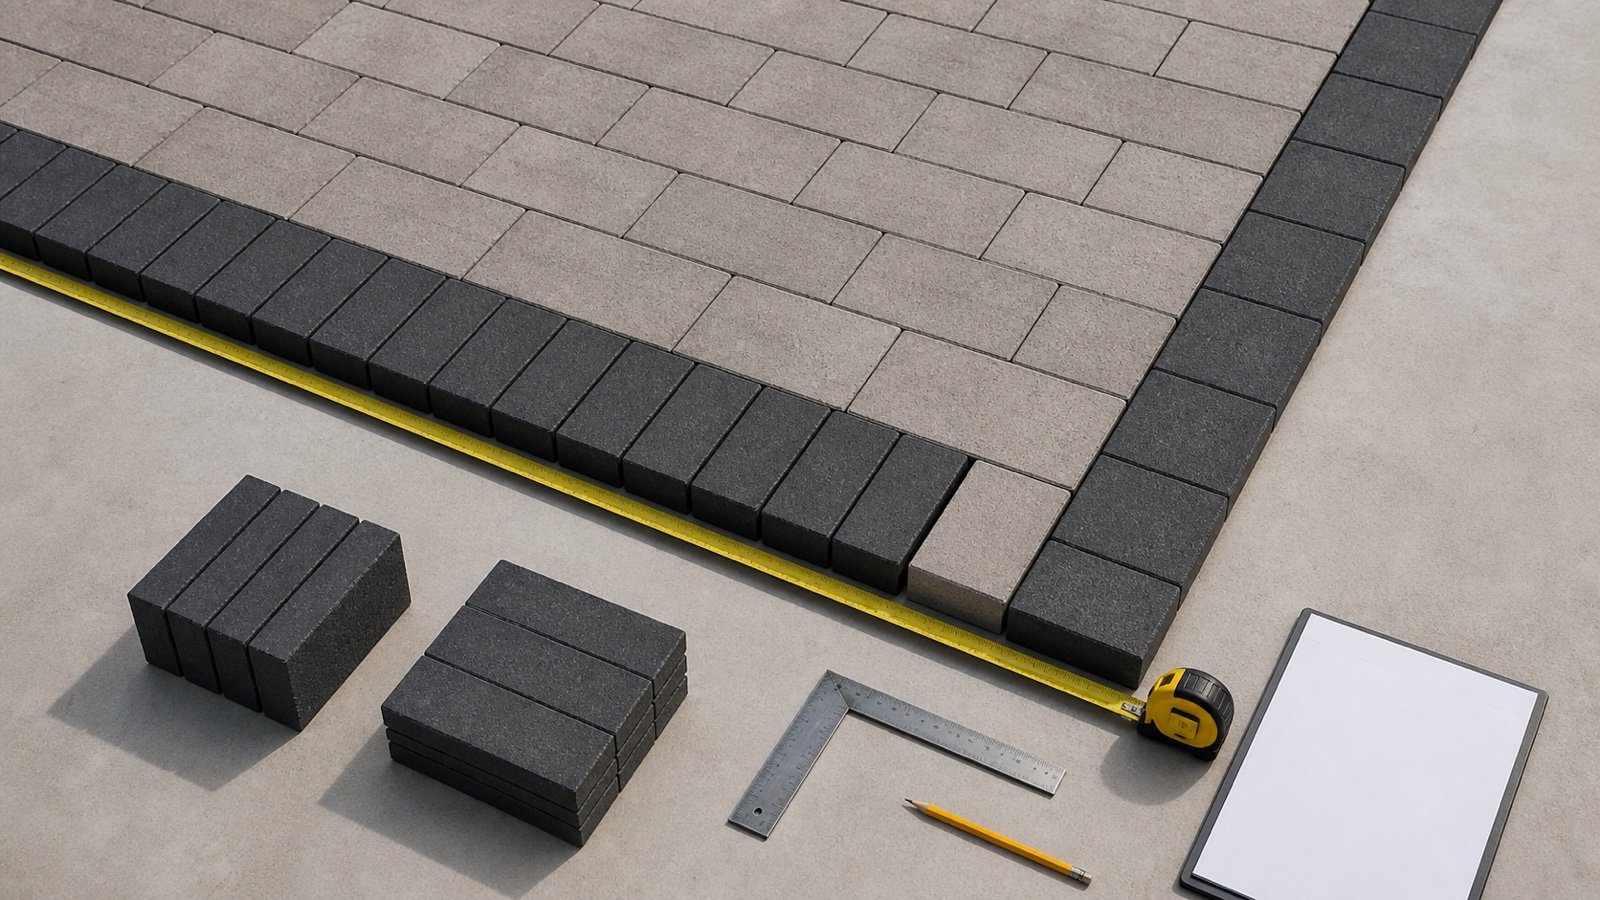
Calculate a paver border from net linear feet, laid coverage and bundle size. Check soldier and sailor orientation, corners, openings and field area.
Read Paver Border Calculation: Soldier and Sailor Courses
Blog
Paver Sizes and Coverage: Units, Bundles and Pallets
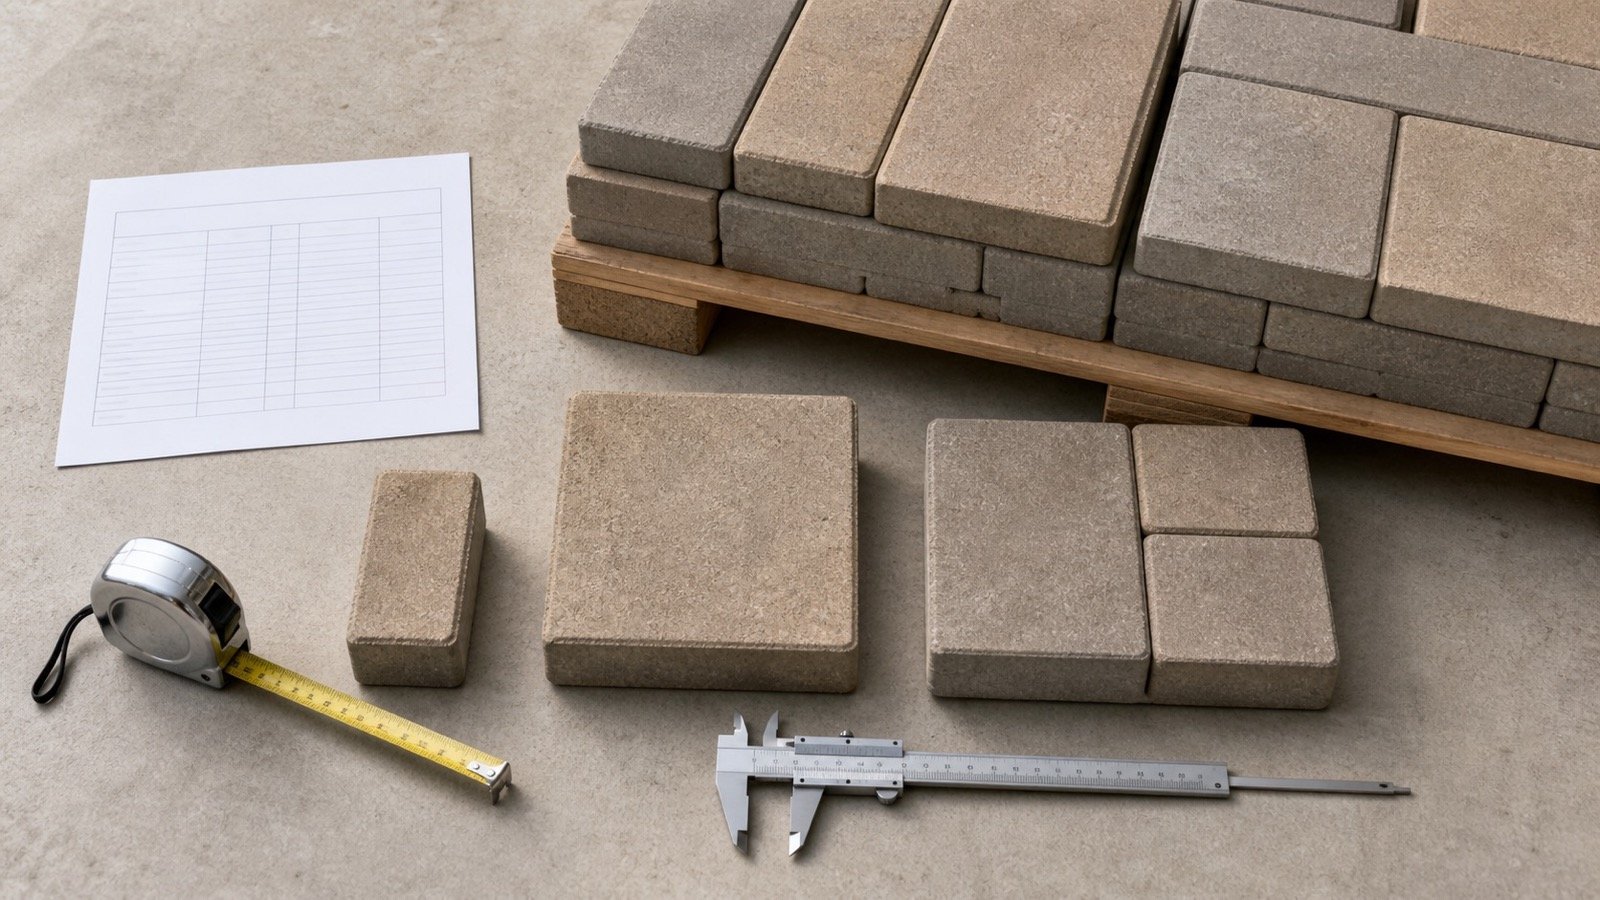
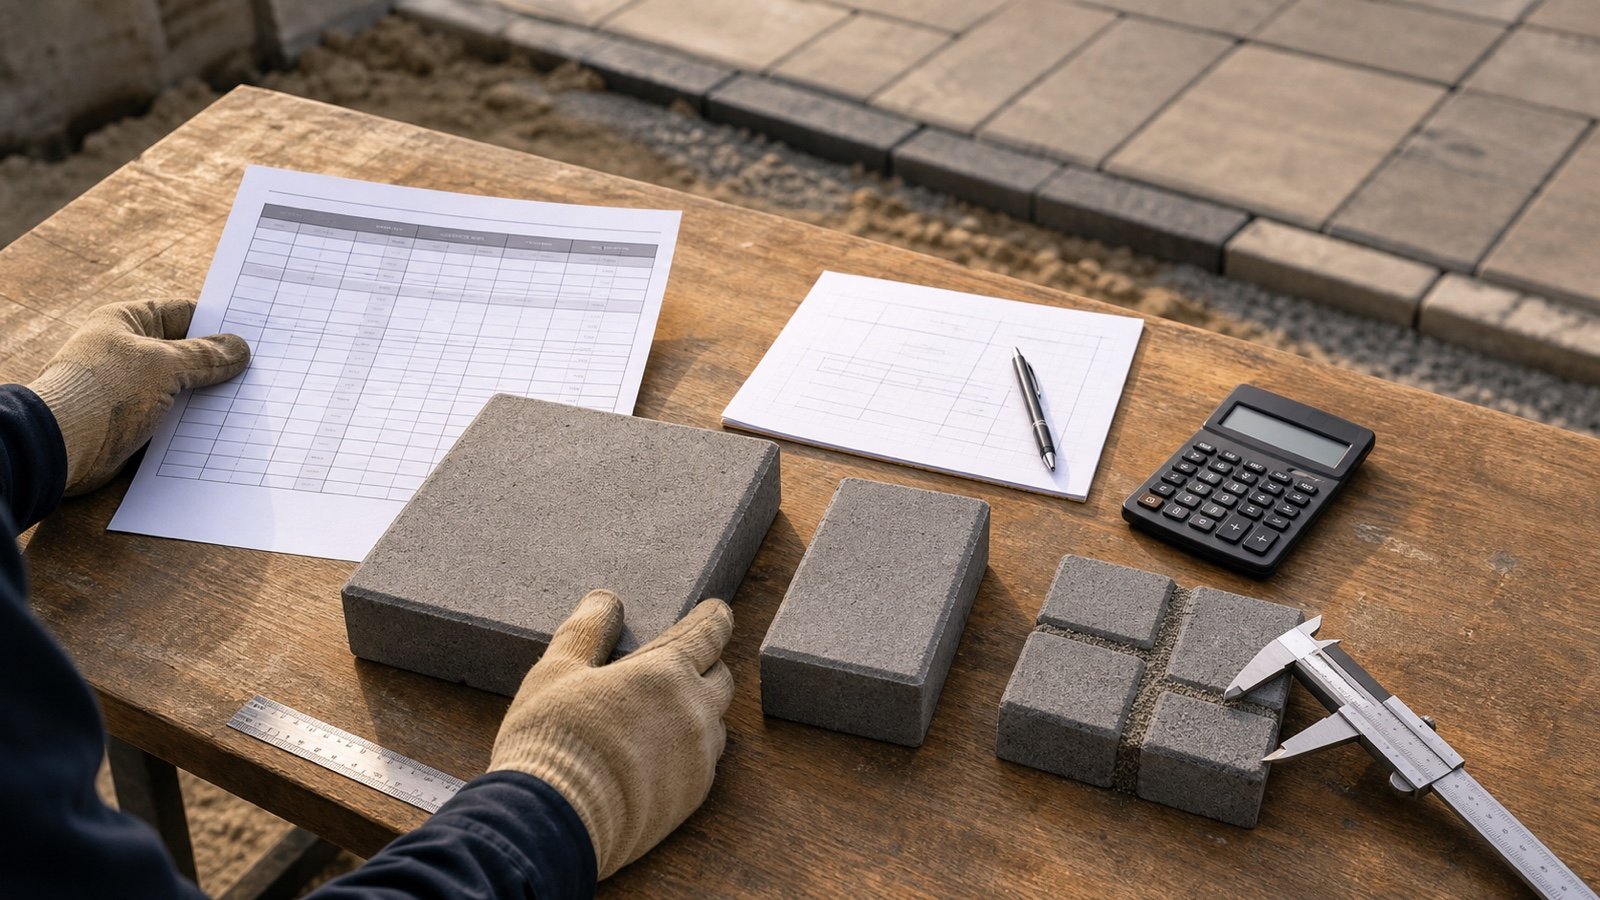
Read paver dimensions, units per square foot and bundle or pallet coverage without mixing nominal sizes, rounded fields, regions or thicknesses.
Read Paver Sizes and Coverage: Units, Bundles and Pallets
Blog
Pipe Outside Diameter vs Nominal Size
Learn which pipe diameter to use for bedding and backfill quantities, how nominal size differs from OD, and how to check pipe displacement.
Read Pipe Outside Diameter vs Nominal Size
Blog
Polymeric Sand Coverage Chart: Bag Estimates
Read polymeric-sand coverage charts by product, package, paver height and joint band, then calculate a sourced whole-bag range for each zone.
Read Polymeric Sand Coverage Chart: Bag Estimates
Blog
Polymeric Sand Joint Width and Depth Guide
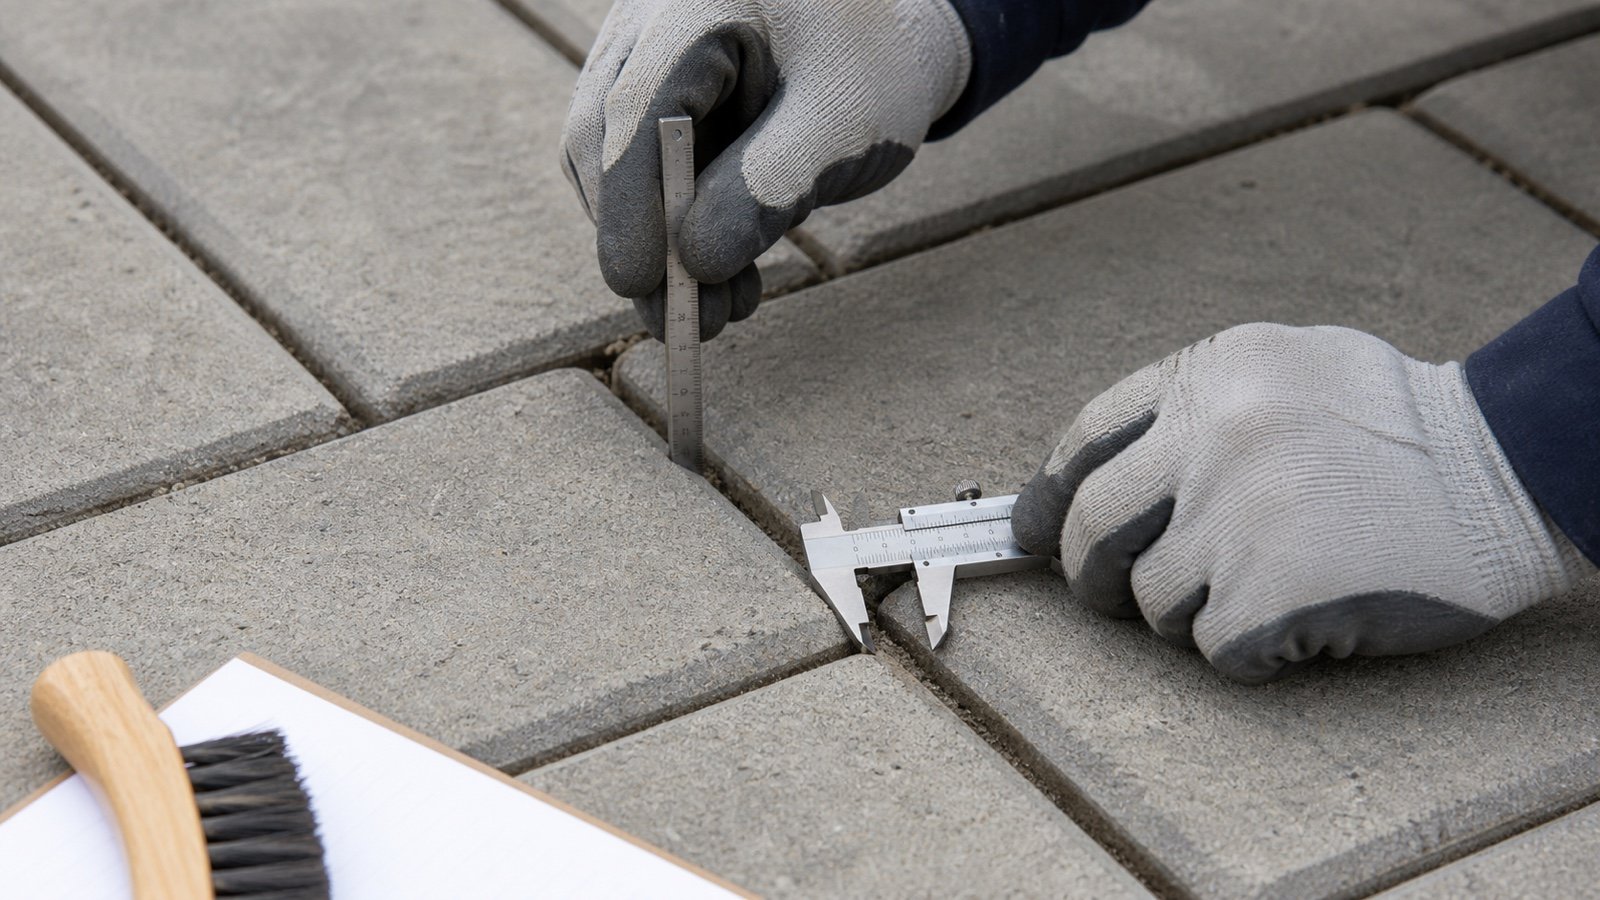
Measure paver joint width, usable depth, chamfers and changing gaps, then compare every zone with the current polymeric-sand product requirements.
Read Polymeric Sand Joint Width and Depth Guide
Blog
Pool Base Sand Depth for Above-Ground Pools
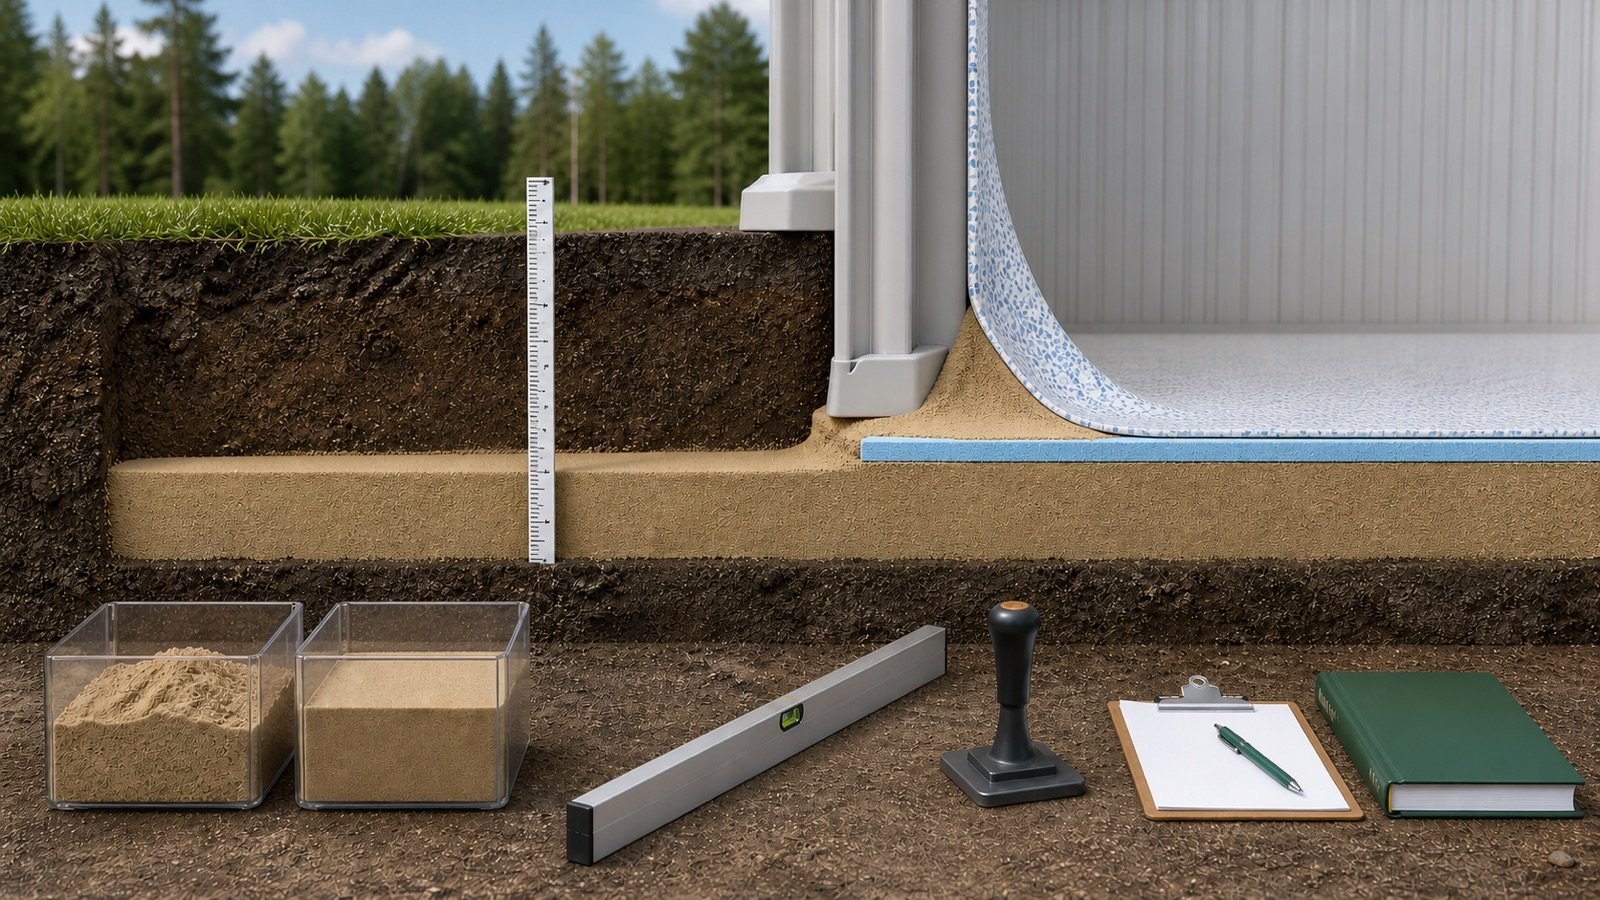
Choose an above-ground pool base depth from the exact manual, distinguish loose and compacted thickness, and keep the cove and site leveling separate.
Read Pool Base Sand Depth for Above-Ground Pools
Blog
How to Calculate Pool Cove Sand Separately
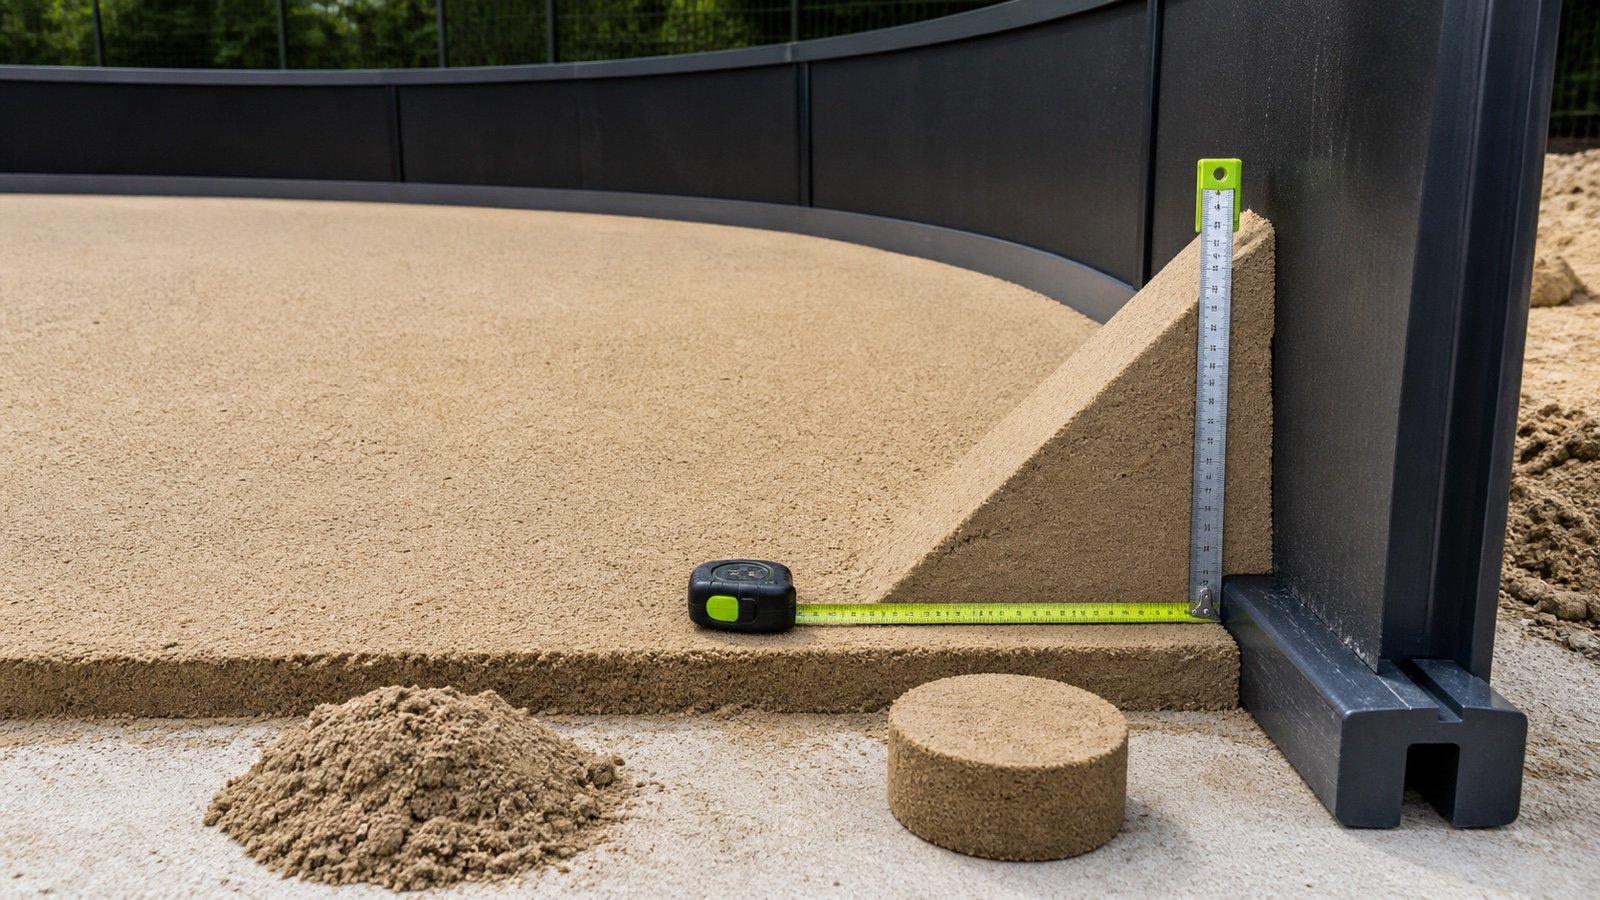
Calculate an approved pool cove from its wall perimeter and compacted cross-section, with checked round, racetrack-oval and metric examples.
Read How to Calculate Pool Cove Sand Separately
Blog
Post Displacement: Net Concrete Volume
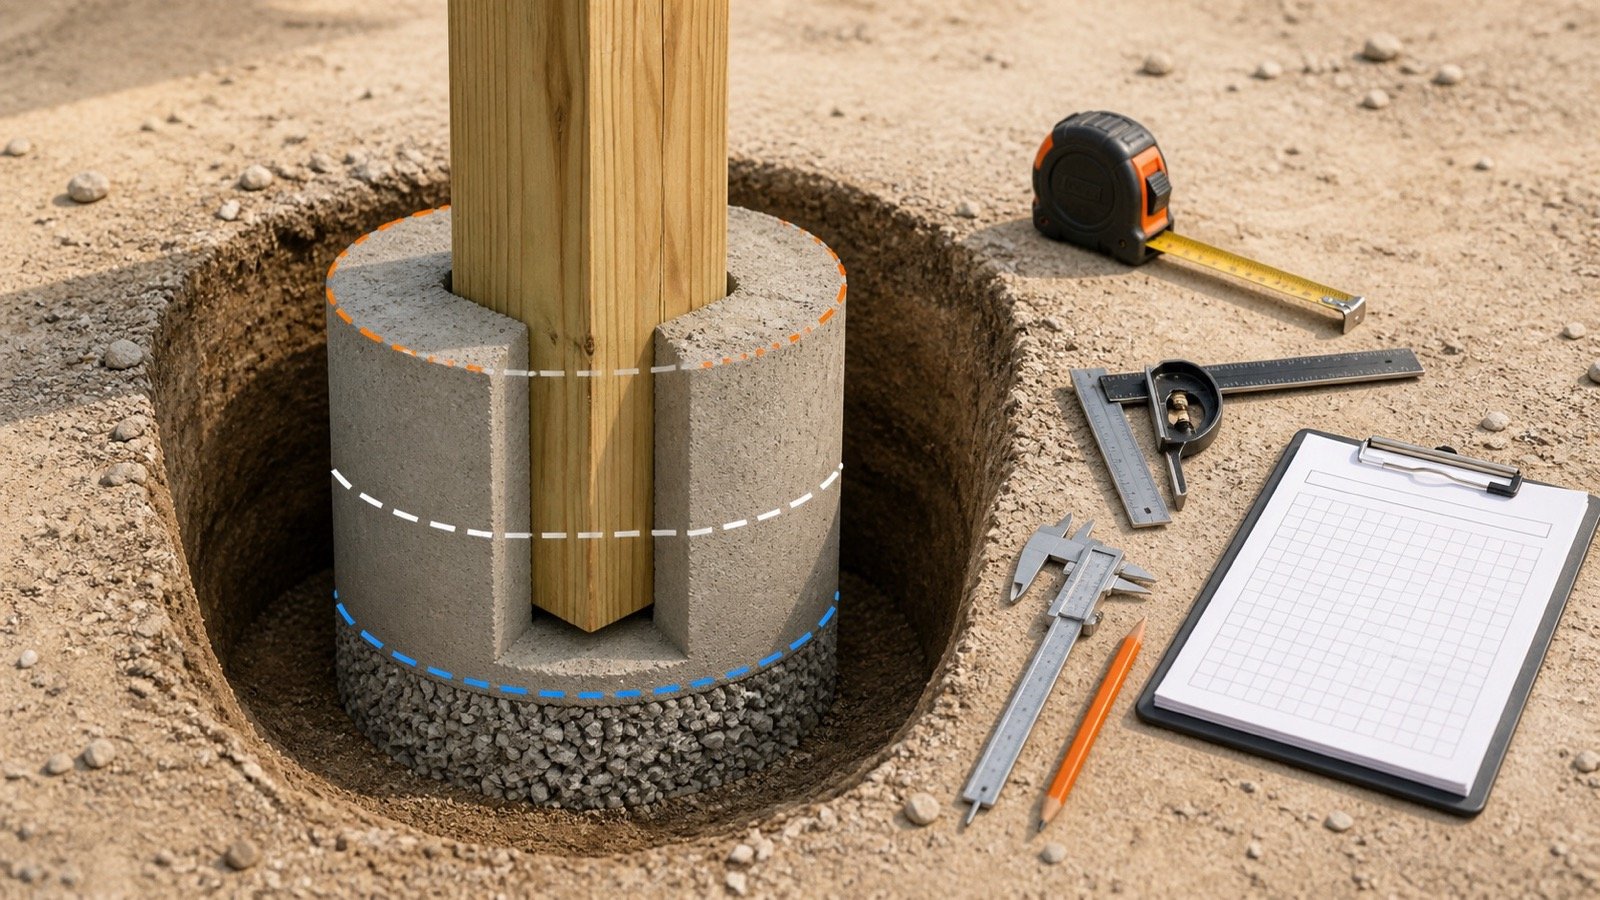
Subtract the verified part of a post, sleeve or hardware that overlaps a concrete-filled post hole, with checked metric and imperial examples.
Read Post Displacement: Net Concrete Volume
Blog
Post Hole Concrete Worksheet: Mixed Groups
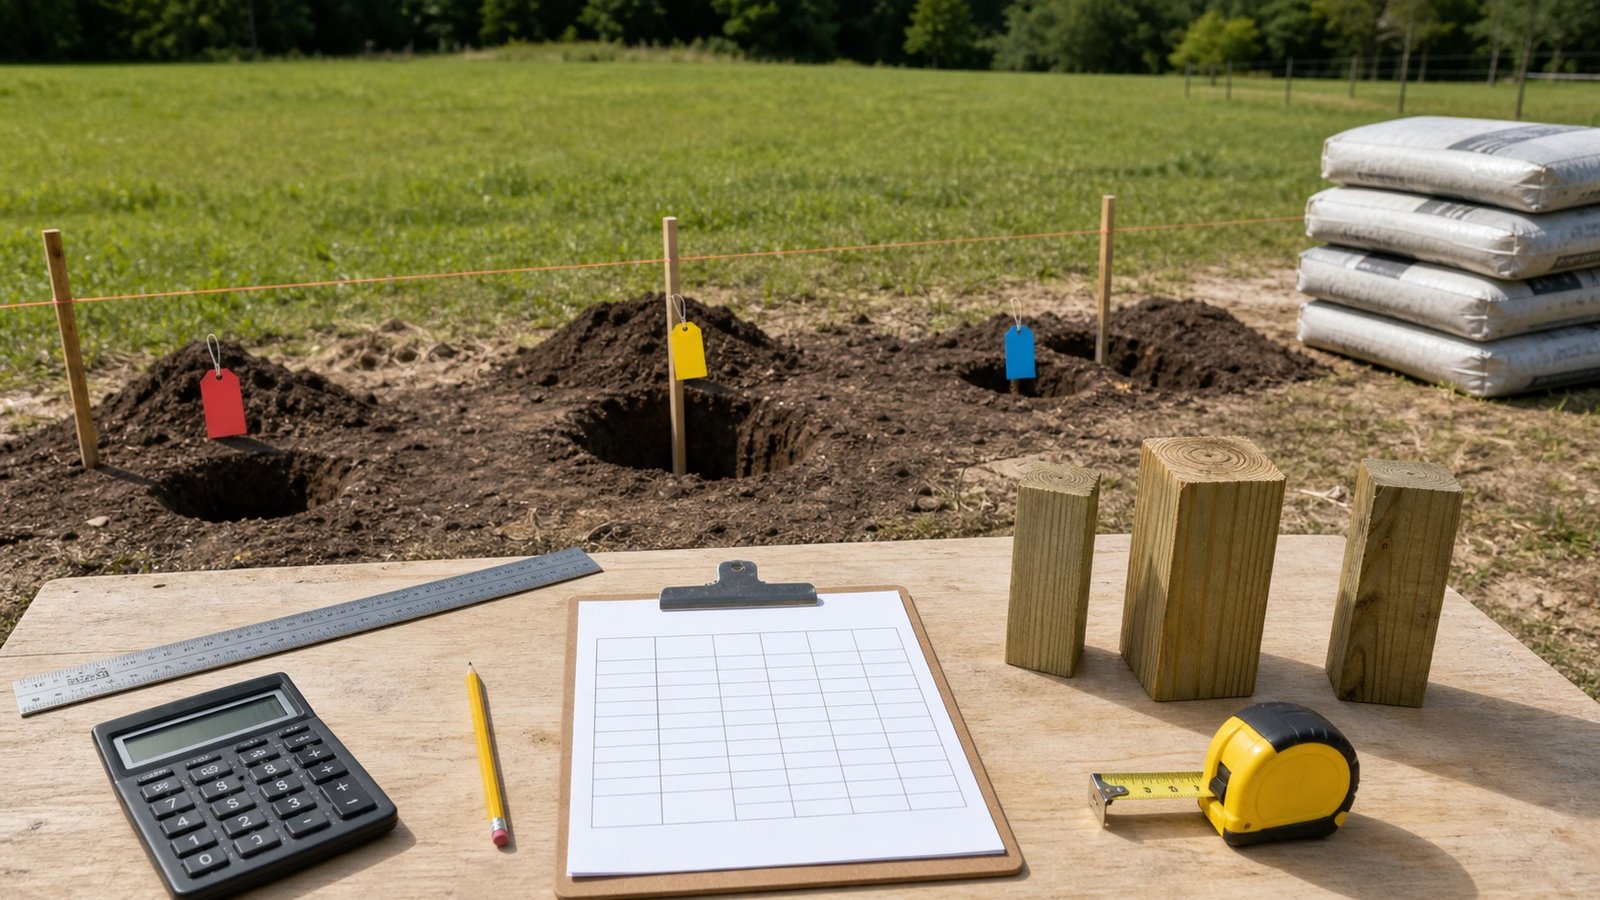
Build a checked concrete quantity schedule for line, corner, end, and gate post groups, then combine compatible volumes and round packages in the correct order.
Read Post Hole Concrete Worksheet: Mixed Groups
Blog
Ready-Mix Concrete: Cubic-Yard Ordering
Convert checked concrete geometry into a cubic-yard order while keeping allowance, supplier increments, delivered minimums and commercial charges separate.
Read Ready-Mix Concrete: Cubic-Yard Ordering
Blog
Ready-Mix Delivery: Truck Spacing
Plan ready-mix arrival and placement sequences with verified net placement rate, load-specific duration, handoff records and stop-call triggers.
Read Ready-Mix Delivery: Truck Spacing
Blog
Ready-Mix Quantity Revision: Add-On Loads
Recheck unfinished concrete geometry, confirmed future supply and supplier rounding before requesting an add-on or cleanup load.
Read Ready-Mix Quantity Revision: Add-On Loads
Blog
Ready-Mix Truck Loads: Count and Capacity
Split a confirmed ready-mix order into delivery loads using supplier-stated usable capacity, with full, final and mixed-capacity examples.
Read Ready-Mix Truck Loads: Count and Capacity
Blog
Ready-Mix vs Setting-Type Joint Compound: Quantity
Compare ready-mix and setting-type joint compound for quantity planning, package rounding, mixing records, set times and separate calculator inputs.
Read Ready-Mix vs Setting-Type Joint Compound: Quantity
Blog
Rebar Cutting List: From Bar Takeoff to Stock Bars
Build a checked rebar cutting list from approved bar marks, test stock-bar patterns, track offcuts, and avoid treating total length as an exact order count.
Read Rebar Cutting List: From Bar Takeoff to Stock Bars
Blog
Rebar Splice Takeoff: Lap Length and Coupler Counts
Count approved rebar lap and mechanical splices, calculate added lap length, track stagger zones, and keep couplers separate from bar length.
Read Rebar Splice Takeoff: Lap Length and Coupler Counts
Blog
Roof Pitch Multiplier Chart: Angles and Area Factors
Check roof pitch multipliers from 0:12 to 24:12, with angles, slope percentages and added sloped area. Use the formula for any rise and run.
Read Roof Pitch Multiplier Chart: Angles and Area Factors
Blog
Roofing Squares and Bundles: Coverage Math
Convert roof area into roofing squares and whole shingle bundles. Check product-specific bundles per square, direct coverage and package surplus.
Read Roofing Squares and Bundles: Coverage Math
Blog
Roofing Waste Allowance: Cuts and Spare Stock
Plan extra field shingles without hiding starter, ridge-cap, package-surplus or repair-stock quantities inside one roofing waste percentage.
Read Roofing Waste Allowance: Cuts and Spare Stock
Blog
Sand Bags vs Bulk: Quantity, Cost and Delivery
Compare bagged and bulk sand using product yield, supplier minimums, delivered cost, site access, handling, and order rounding.
Read Sand Bags vs Bulk: Quantity, Cost and Delivery
Blog
Sand Bulk Density and Unit Weight Calculations
Calculate loose or rodded sand bulk density from container masses and calibrated volume, check repeats, and calculate void content from compatible data.
Read Sand Bulk Density and Unit Weight Calculations
Blog
Sand Coverage Guide: Charts for Cubic Yards and Cubic Metres
See how much area one cubic yard or cubic metre of sand covers at different depths, with formulas and field checks.
Read Sand Coverage Guide: Charts for Cubic Yards and Cubic Metres
Blog
Sand Equivalent Test: Formula and Results
Calculate a sand equivalent value from sand and clay readings, check method-specific rounding, audit a report, and compare it with the correct project limit.
Read Sand Equivalent Test: Formula and Results
Blog
Sand Moisture Content: Wet and Dry Mass Calculations
Calculate sand moisture content from wet and dry masses, remove container tare, convert batch mass, and separate total moisture from absorption and surface water.
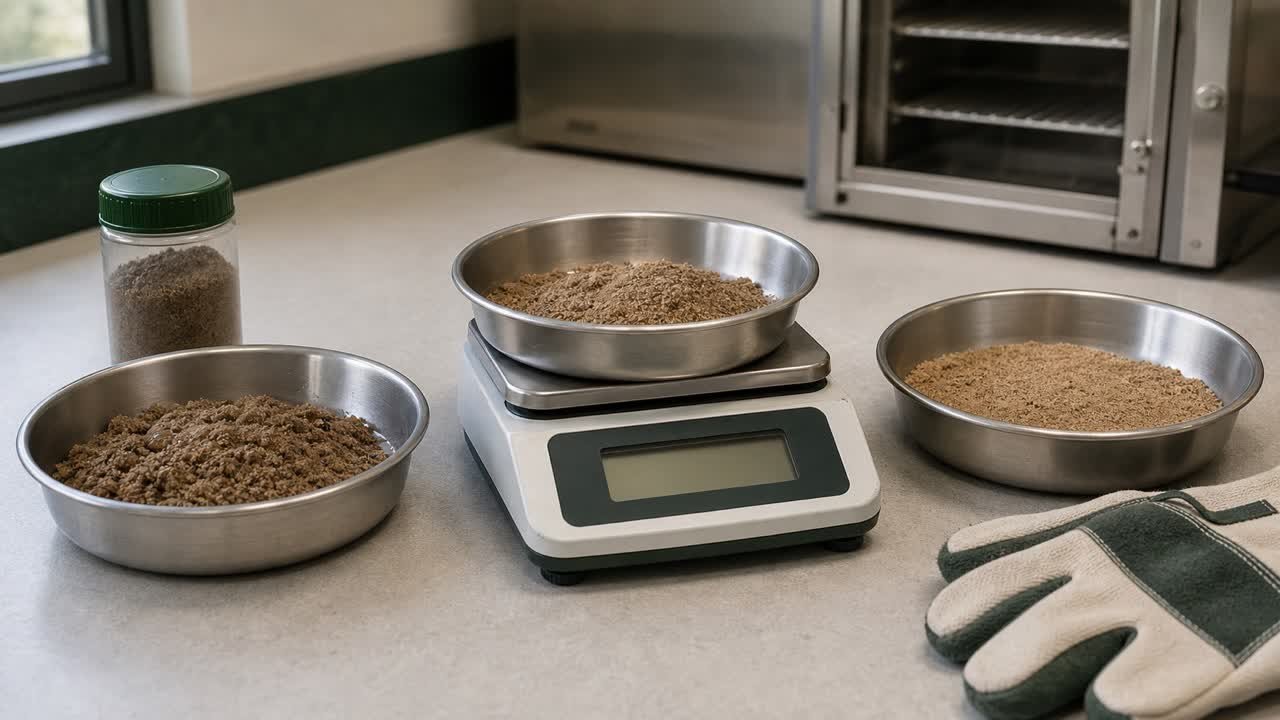
Read Sand Moisture Content: Wet and Dry Mass Calculations
Blog
Sand Sampling: Stockpiles, Belts and Deliveries
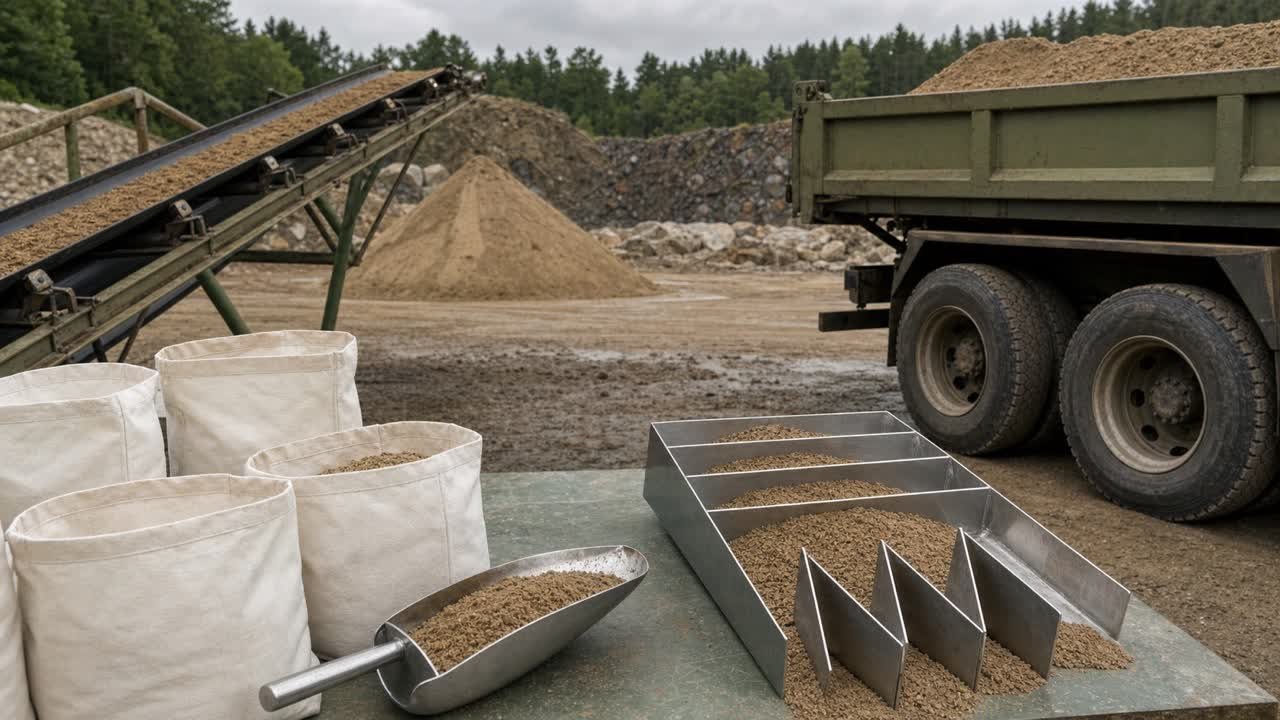
Collect, reduce and label a representative sand sample from a stockpile, stopped belt, flowing stream or delivery without losing fines or traceability.
Read Sand Sampling: Stockpiles, Belts and Deliveries
Blog
Sand Sieve Analysis: Reading Test Results
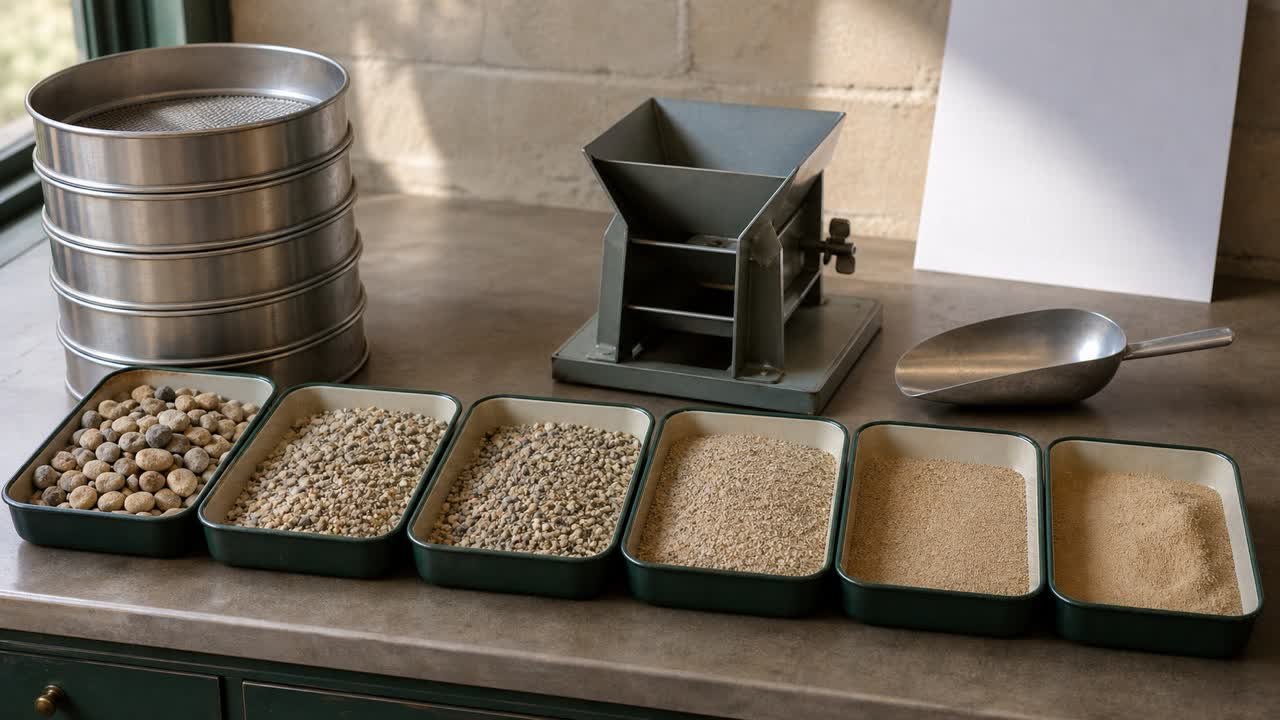
Read a sand sieve analysis using retained mass, percent passing, gradation curves, fineness modulus, wash-fines checks, and a worked report.
Read Sand Sieve Analysis: Reading Test Results
Blog
Sand Soundness Test: Sodium vs Magnesium
Calculate fine-aggregate sulfate soundness loss by size fraction, reproduce a weighted result, and keep sodium and magnesium limits separate.
Read Sand Soundness Test: Sodium vs Magnesium
Blog
Sand Specific Gravity and Absorption Calculations
Calculate fine aggregate bulk OD, bulk SSD and apparent specific gravity plus absorption from A, B, C and S pycnometer masses.
Read Sand Specific Gravity and Absorption Calculations
Blog
Sand for Above-Ground Pools: What to Use
Compare manufacturer-approved pool-base materials, check masonry sand and rock-dust limits, separate filter sand, and prepare a supplier acceptance record.
Read Sand for Above-Ground Pools: What to Use
Blog
Sanded vs Unsanded Grout: Joint Width and Coverage
Choose sanded, unsanded or another compatible grout from the exact joint range, tile surface and product data before calculating package coverage.
Read Sanded vs Unsanded Grout: Joint Width and Coverage
Blog
Sealant Coverage per Tube: Joint Width and Depth Chart
Check theoretical sealant coverage per cartridge or sausage by joint width and depth, then plan whole packages without hiding field loss.
Read Sealant Coverage per Tube: Joint Width and Depth Chart
Blog
Stepped Footing Volume: Sections
Calculate stepped footing concrete from non-overlapping run sections, shown transition solids and verified deductions with checked metric and imperial examples.
Read Stepped Footing Volume: Sections
Blog
Stockpile Volume: Formulas and Survey Checks
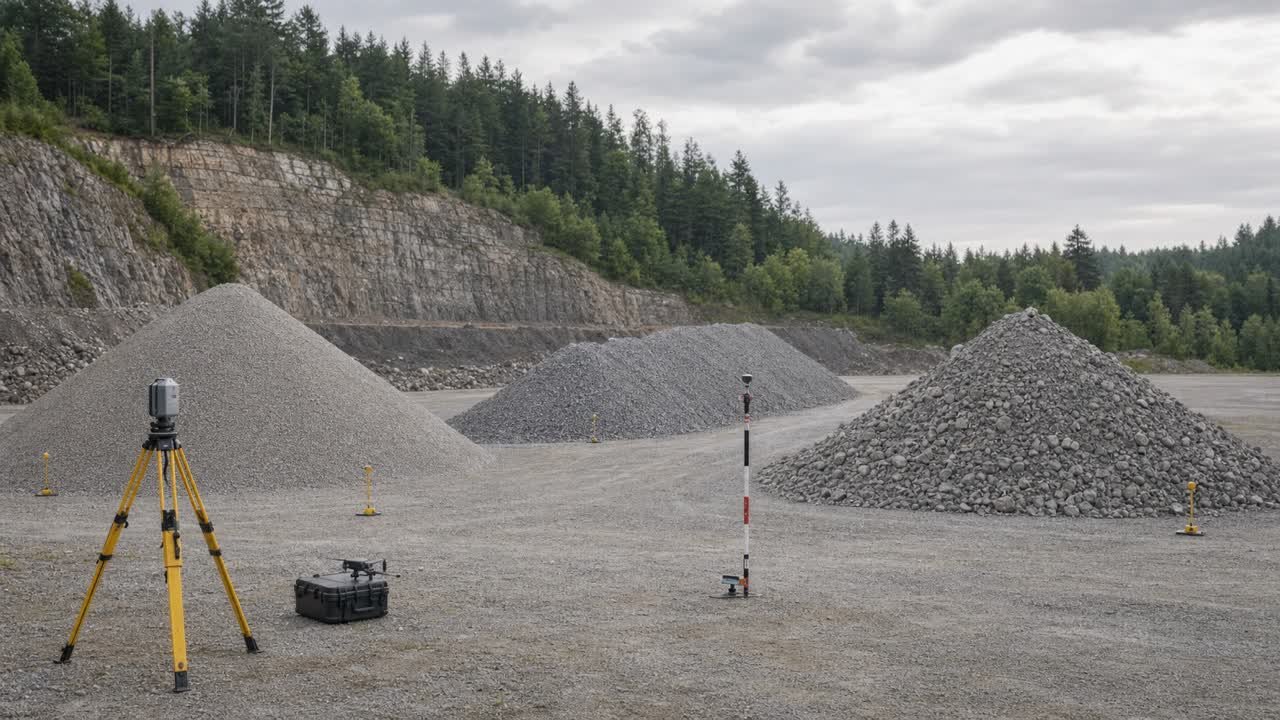
Measure cone, windrow, flat-top, and irregular stockpiles with checked formulas, base-surface choices, examples, and survey record requirements.
Read Stockpile Volume: Formulas and Survey Checks
Blog
Strip Footing Length: Centreline and Clear Runs
Measure strip-footing length from centreline, outside, inside or clear-run dimensions without double-counting corners, T-junctions, crossings or changed-width sections.
Read Strip Footing Length: Centreline and Clear Runs
Blog
Thickened Edge Slab Volume: Sections
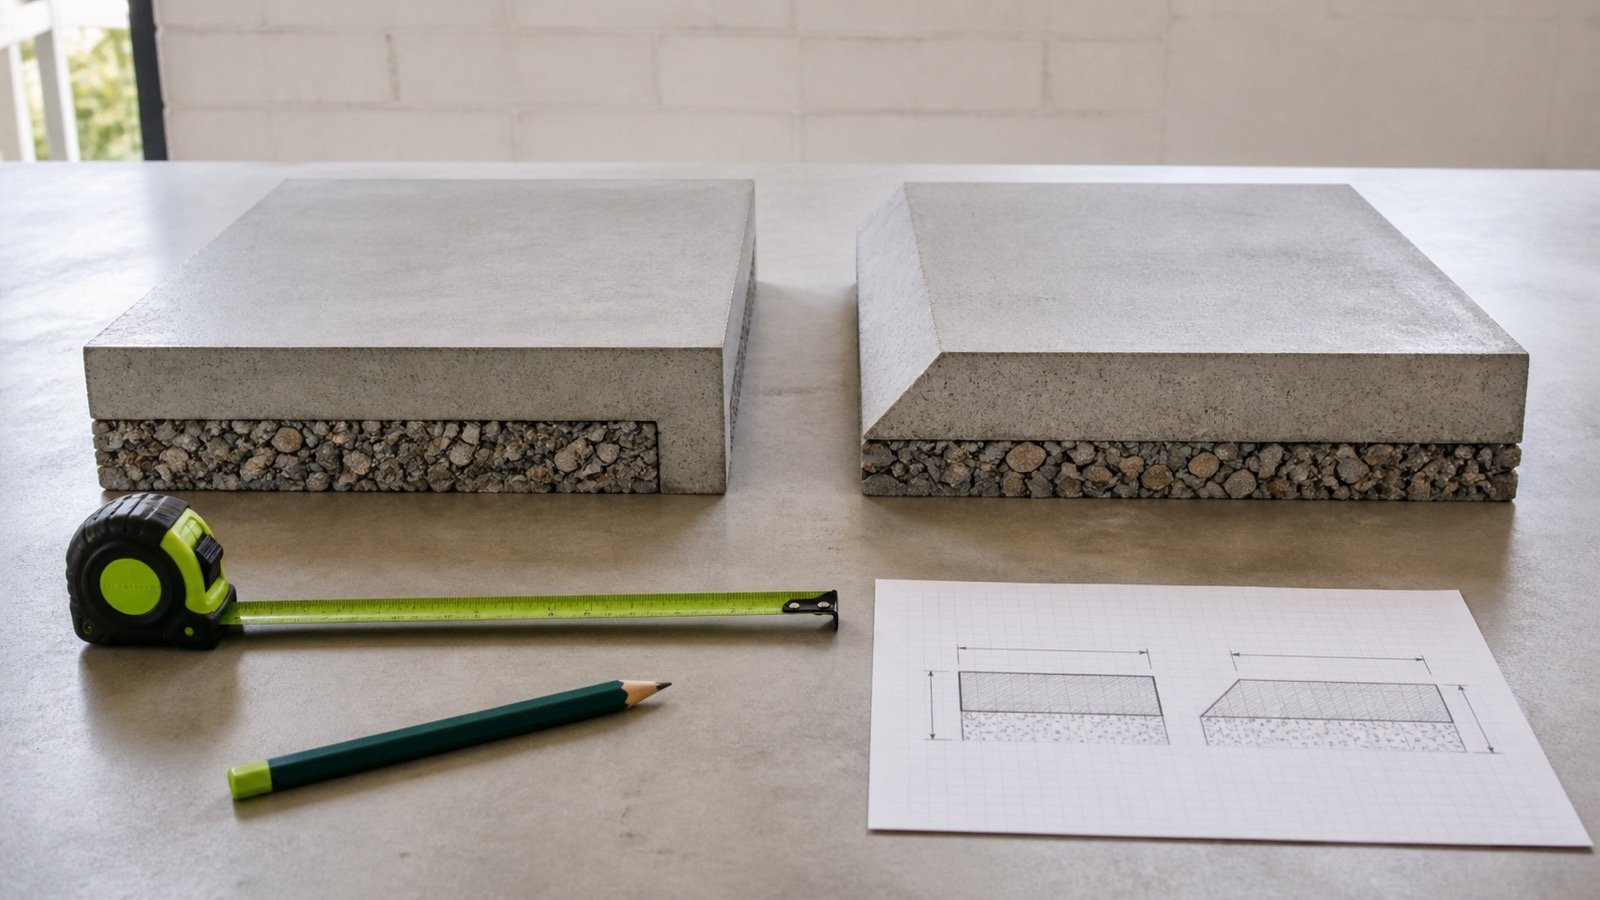
Calculate additional concrete below a uniform slab for square and sloped thickened edges, with exact corner and partial-run checks.
Read Thickened Edge Slab Volume: Sections
Blog
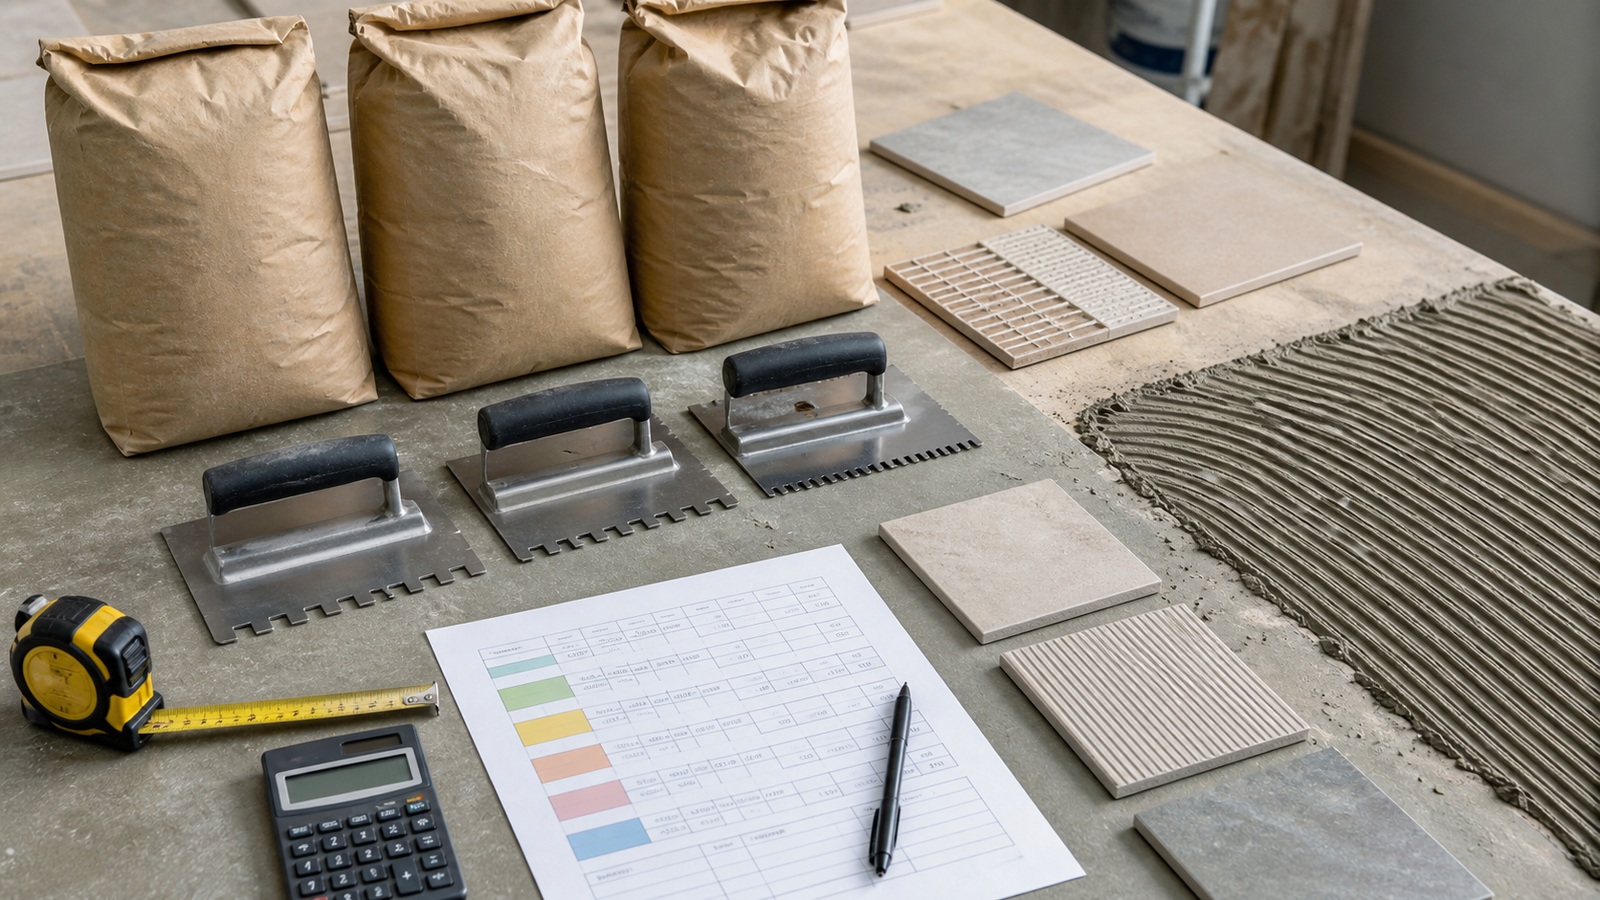
Tile Adhesive Allowance: Back-Buttering & Extra Bags
Plan extra tile adhesive for back-buttering and site variation without double counting, then separate the allowance from whole-bag surplus.
Read Tile Adhesive Allowance: Back-Buttering & Extra Bags
Blog
Tile Adhesive Consumption Rate: kg/m² to Bags
Convert a product-specific tile adhesive consumption rate from kg/m² to material mass and whole bags, with range, trowel and product-state checks.
Read Tile Adhesive Consumption Rate: kg/m² to Bags
Blog
Tile Adhesive Coverage per Bag: Trowel Guide
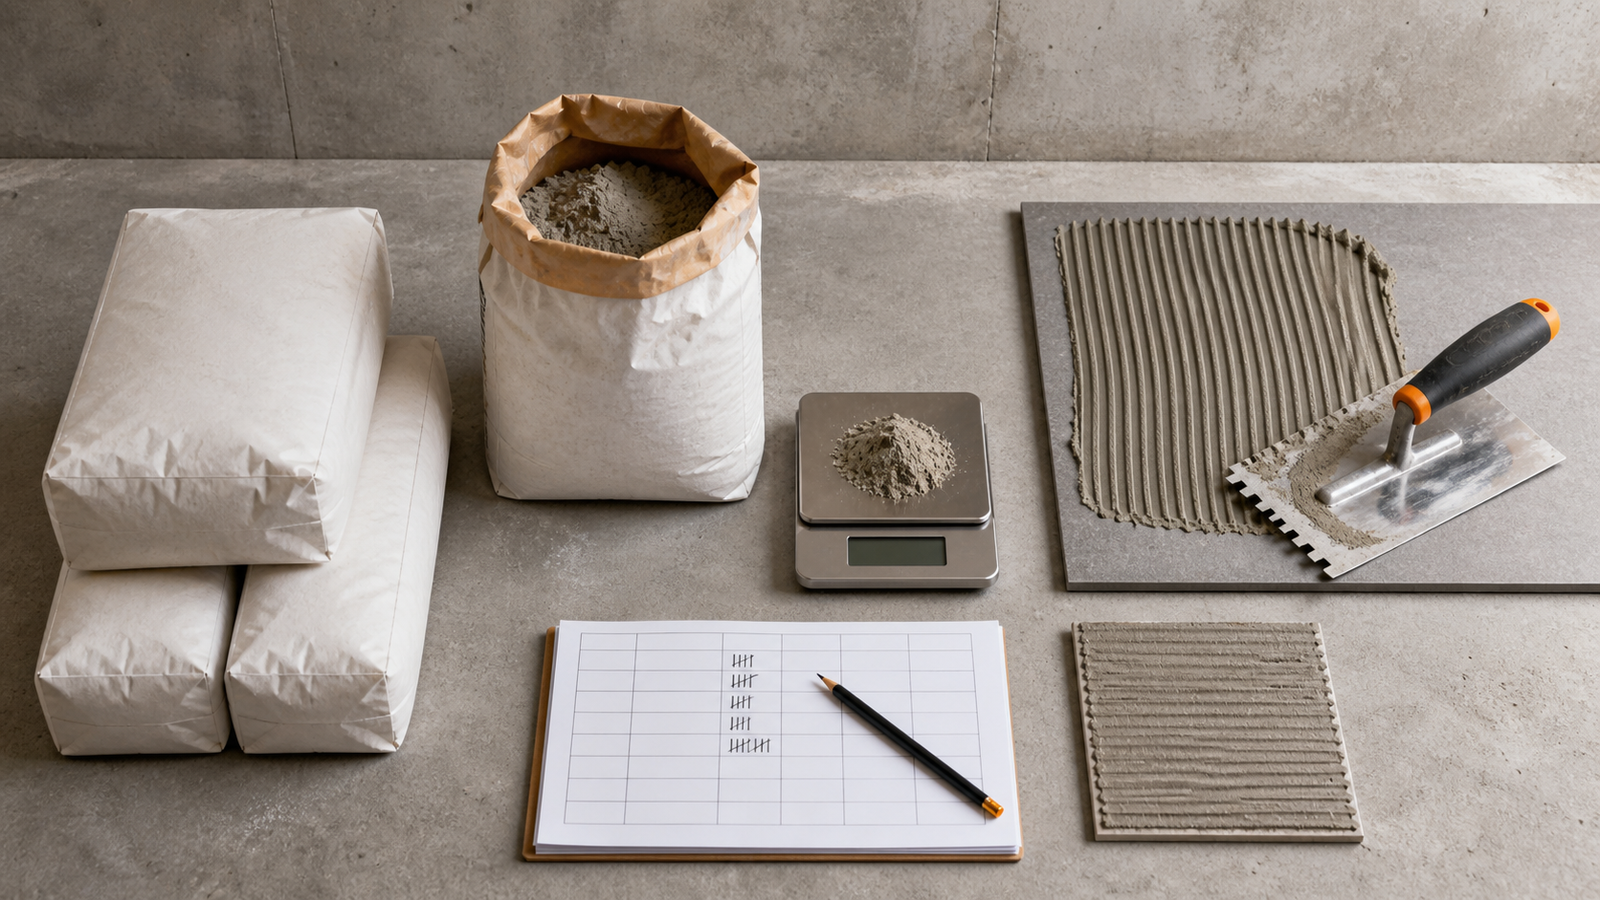
Check tile adhesive coverage per bag by product, package and trowel, calculate both ends of a published range, and convert compatible area to whole bags.
Read Tile Adhesive Coverage per Bag: Trowel Guide
Blog
Tile Adhesive Mixing Ratio: Water and Batches
Calculate product-specific mixing water for full or permitted partial tile adhesive batches, then plan mixing, maturing and usable batch time.
Read Tile Adhesive Mixing Ratio: Water and Batches
Blog
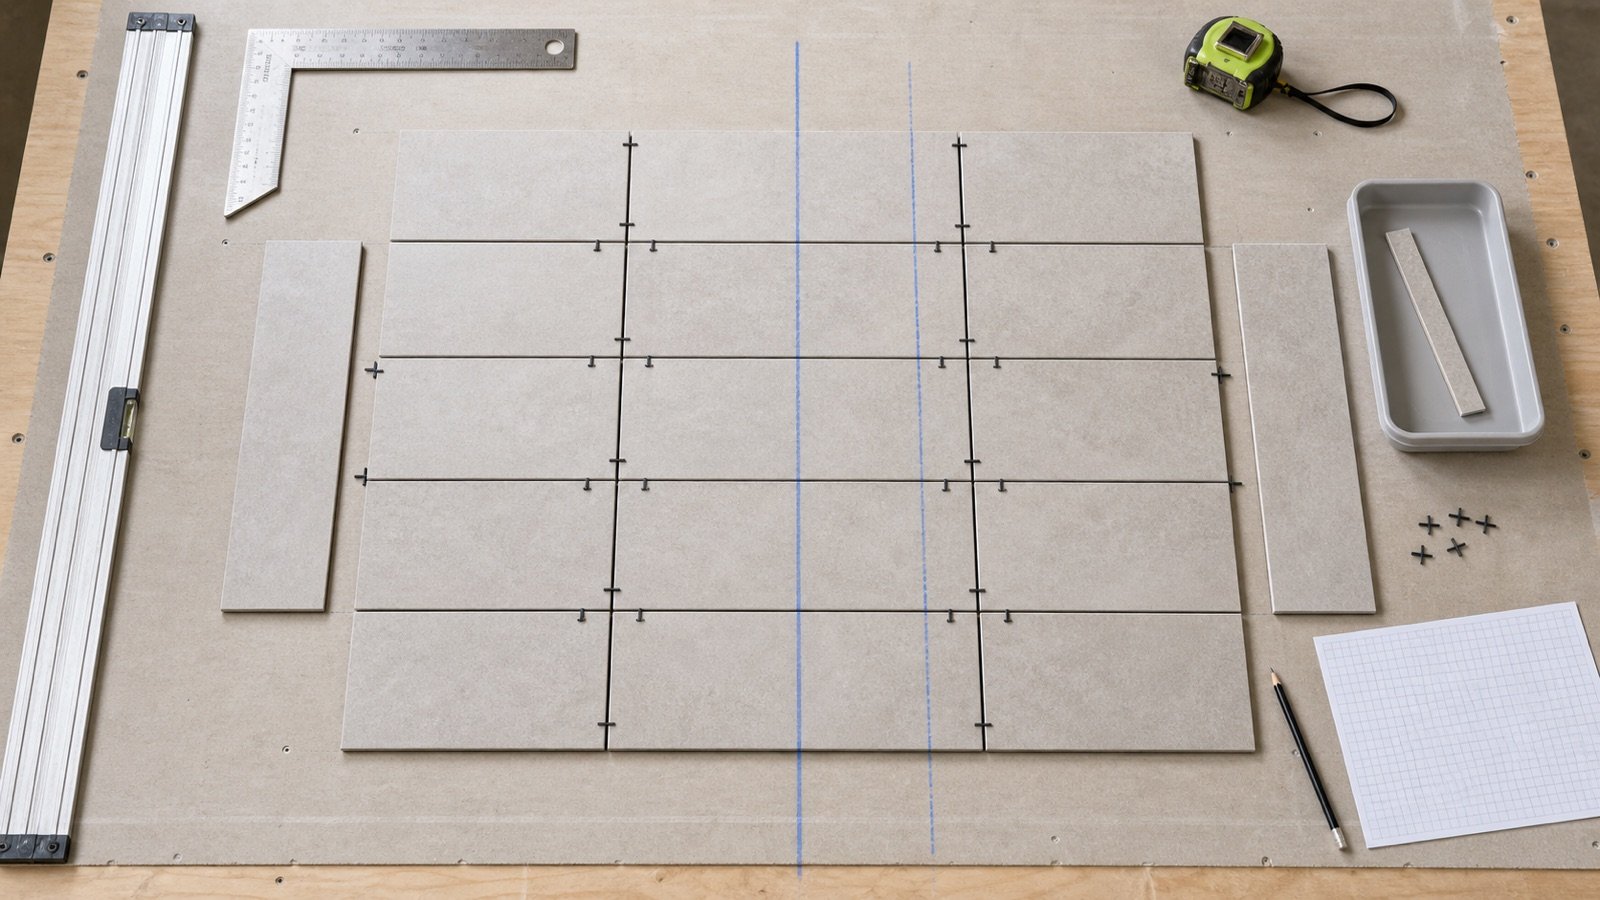
Tile Layout: Start Lines and Cuts
Compare tile start lines, joint modules and balanced edge cuts with checked metric and imperial examples, field checks and product limits.
Read Tile Layout: Start Lines and Cuts
Blog
Tile Sizes and Carton Coverage
Separate nominal tile size, actual dimensions, installed module, pieces per box and carton coverage with checked metric and manufacturer examples.
Read Tile Sizes and Carton Coverage
Blog
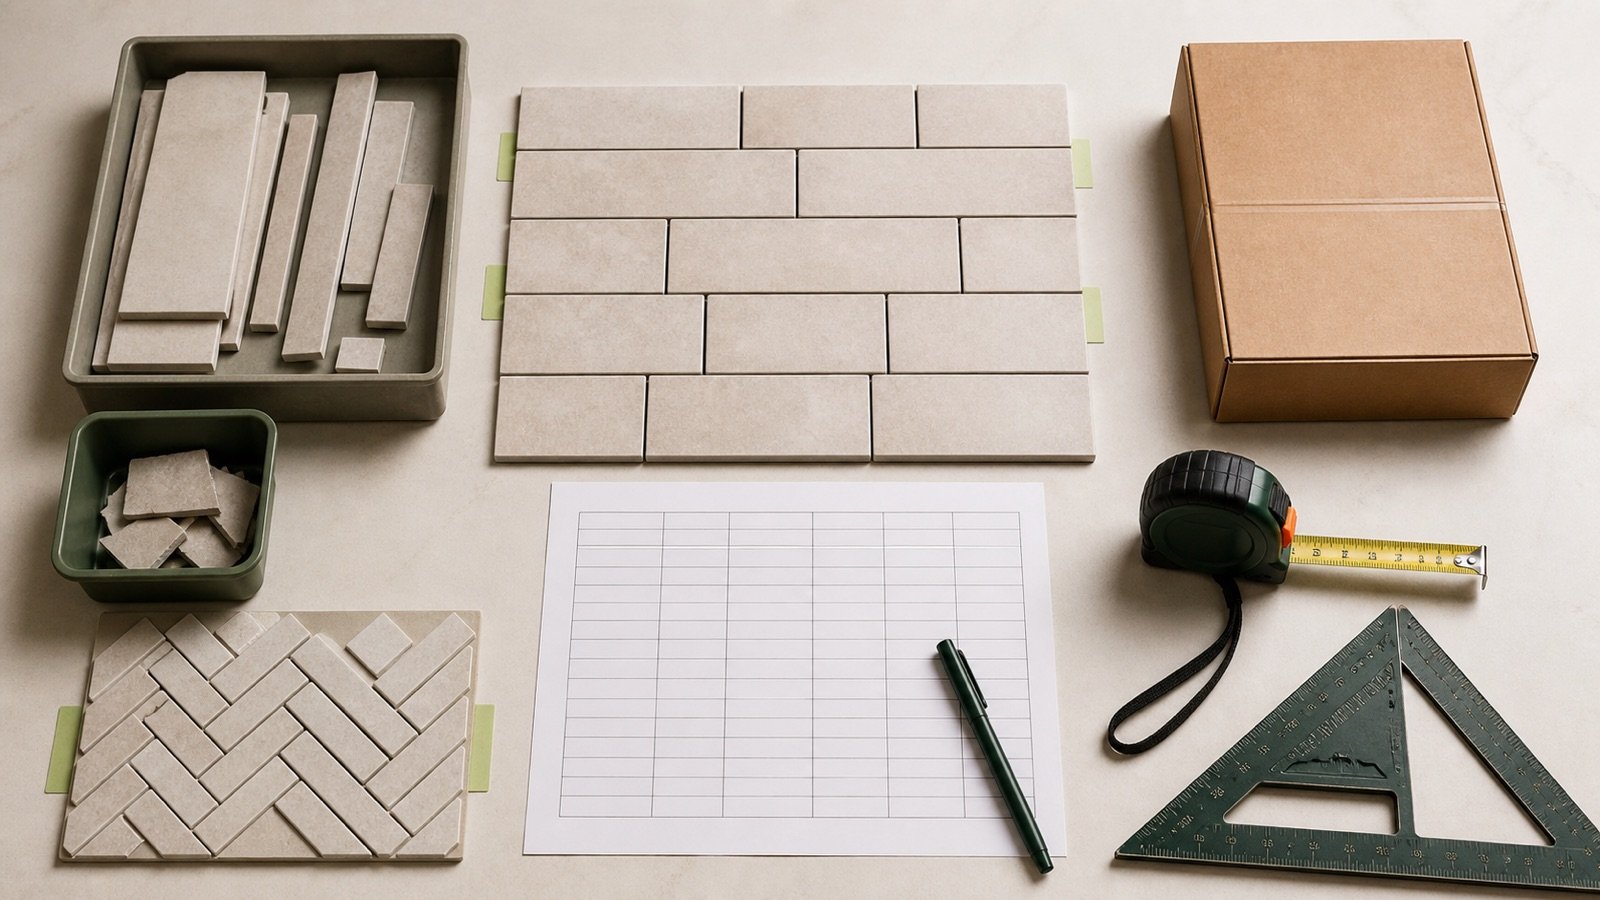
Tile Waste: Cuts and Spare Stock
Choose and record extra tile for cuts, handling and repairs, then separate the project allowance from full-carton surplus with checked examples.
Read Tile Waste: Cuts and Spare Stock
Blog
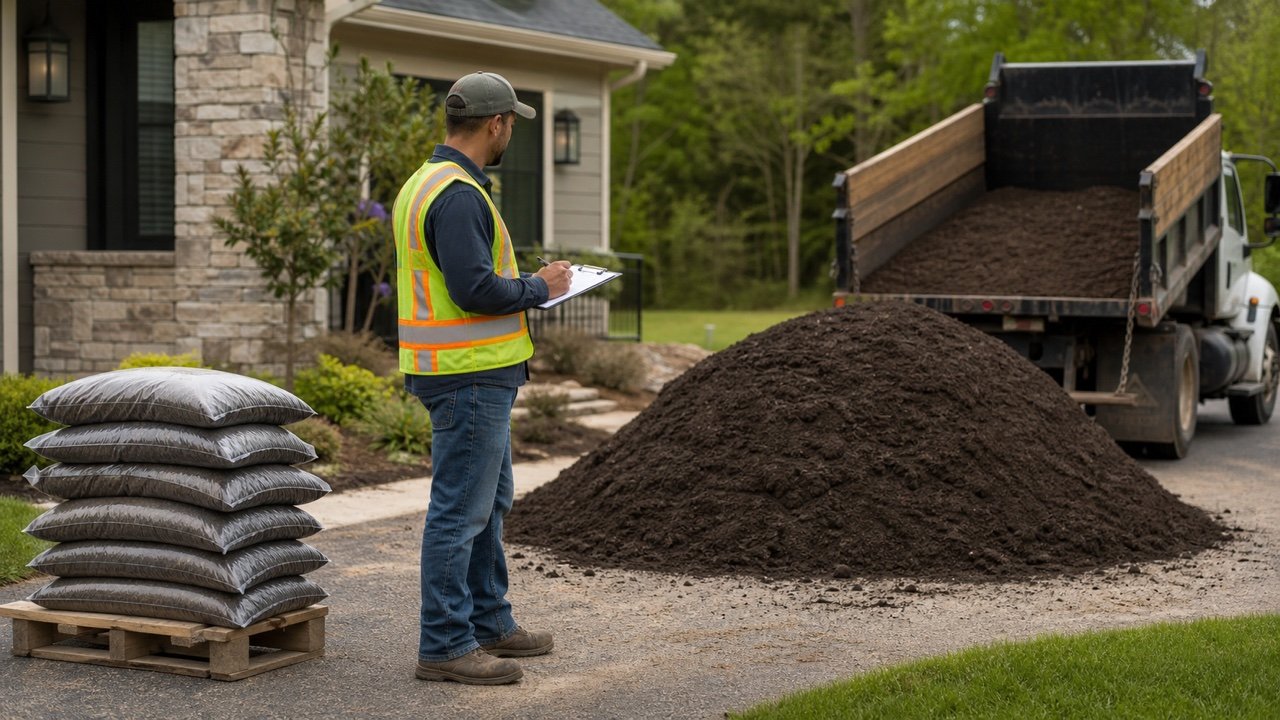
Topsoil Bags vs Bulk: Cost, Volume and Delivery
Compare bagged and bulk topsoil using equal accepted volume, current quotes, supplier rounding, fees, access, handling and delivery checks.
Read Topsoil Bags vs Bulk: Cost, Volume and Delivery
Blog
Topsoil Bulk Density: Weight and Delivery Checks
Convert topsoil volume to weight with a product- and state-matched bulk density, then check supplier tickets, moisture, payload and delivery records.
Read Topsoil Bulk Density: Weight and Delivery Checks
Blog
How Deep Should Topsoil Be for Lawns and Beds?
Choose a project-specific topsoil depth for lawns and planting beds, account for suitable existing soil, and calculate placed volume without a universal default.
Read How Deep Should Topsoil Be for Lawns and Beds?
Blog
Topsoil Settlement: Finished-Grade and Refill Checks
Calculate a documented topsoil settlement adjustment, verify finished elevation and depth, diagnose low spots, and plan local refill quantities.
Read Topsoil Settlement: Finished-Grade and Refill Checks
Blog
Trench Backfill Volume: Pipe and Bedding Deductions
Calculate net trench backfill after deducting pipe displacement, bedding or pipe-zone material, encasement, and other permanent volumes.
Read Trench Backfill Volume: Pipe and Bedding Deductions
Blog
Trench Depth from Ground and Invert Levels
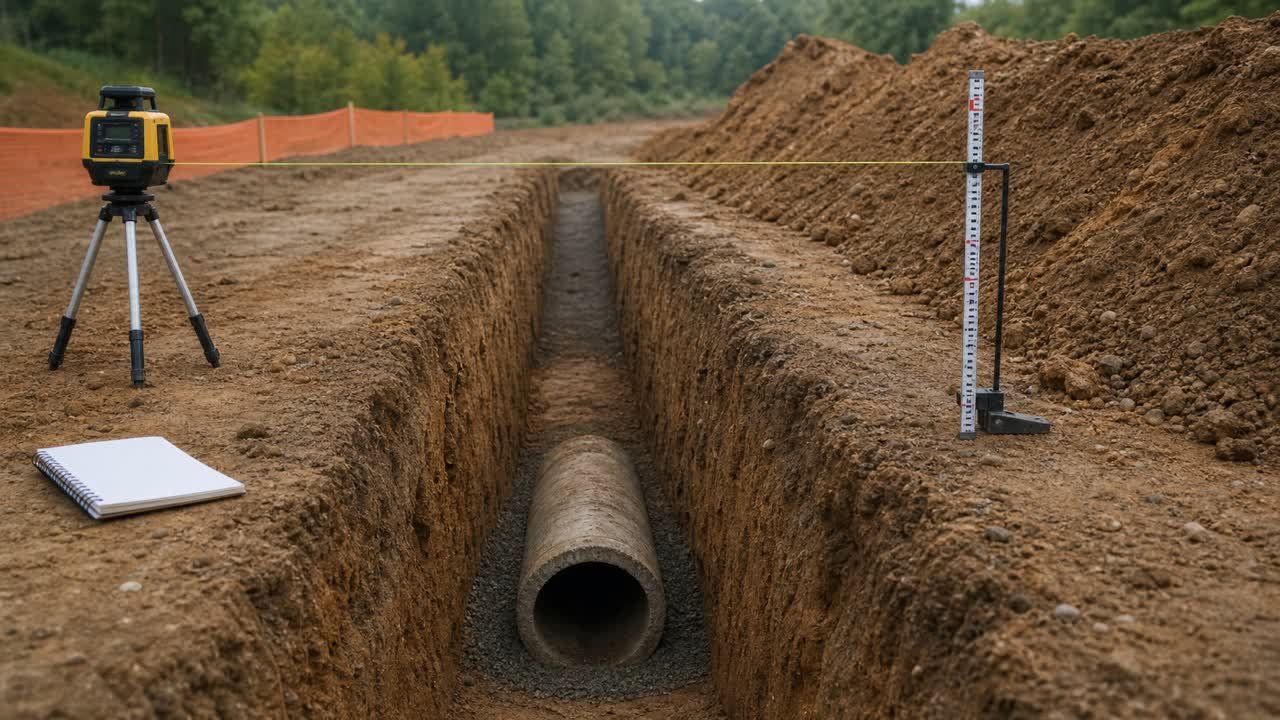
Calculate depth to pipe invert and full trench depth from surface elevation, verified pipe dimensions, bedding, and formation level.
Read Trench Depth from Ground and Invert Levels
Blog
Trench Overbreak: Design vs Actual Excavation Volume
Compare design and actual trench excavation volumes, calculate measured overbreak, and keep pay quantity, swell, and backfill separate.
Read Trench Overbreak: Design vs Actual Excavation Volume
Blog
Trench Spoil Balance: Reuse, Import and Export
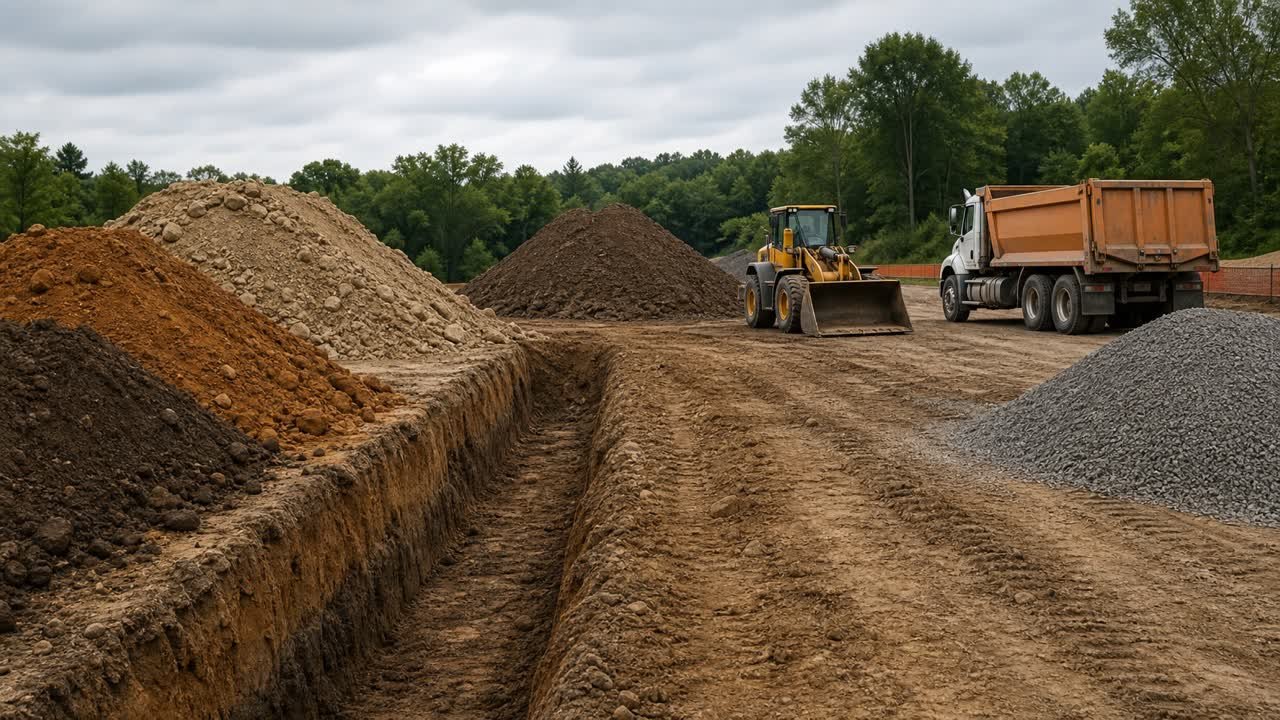
Balance trench excavation against approved reused backfill, excluded material, compacted demand, loose imports, and loose spoil exports.
Read Trench Spoil Balance: Reuse, Import and Export
Blog
Trench Volume per Linear Foot or Metre
Calculate trench excavation per linear foot or metre with checked formulas, rate tables, section totals, examples, and limits.
Read Trench Volume per Linear Foot or Metre
Blog
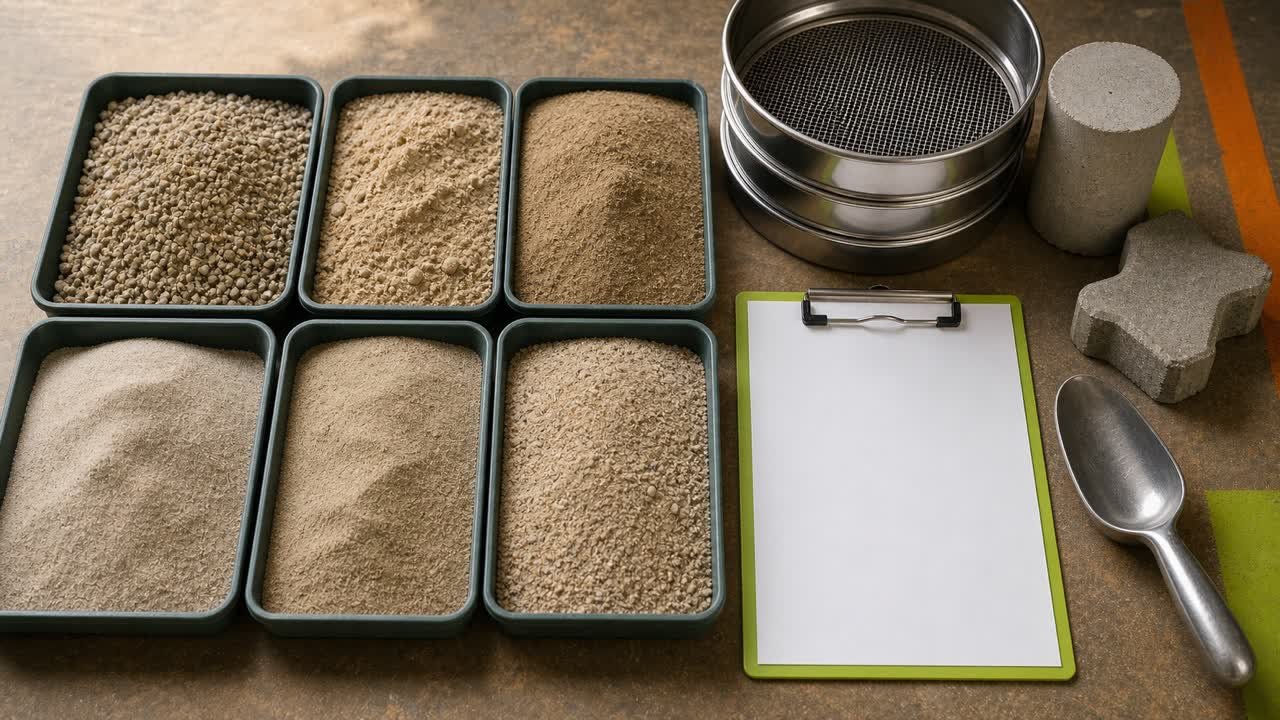
Types of Sand for Construction: Selection and Specification Guide
Compare concrete, masonry, fill, manufactured, paver, and play sand using specifications, product data, and supplier records.
Read Types of Sand for Construction: Selection and Specification Guide
Blog
Wall Plate Ordering: Stock Lengths and Cut Lists
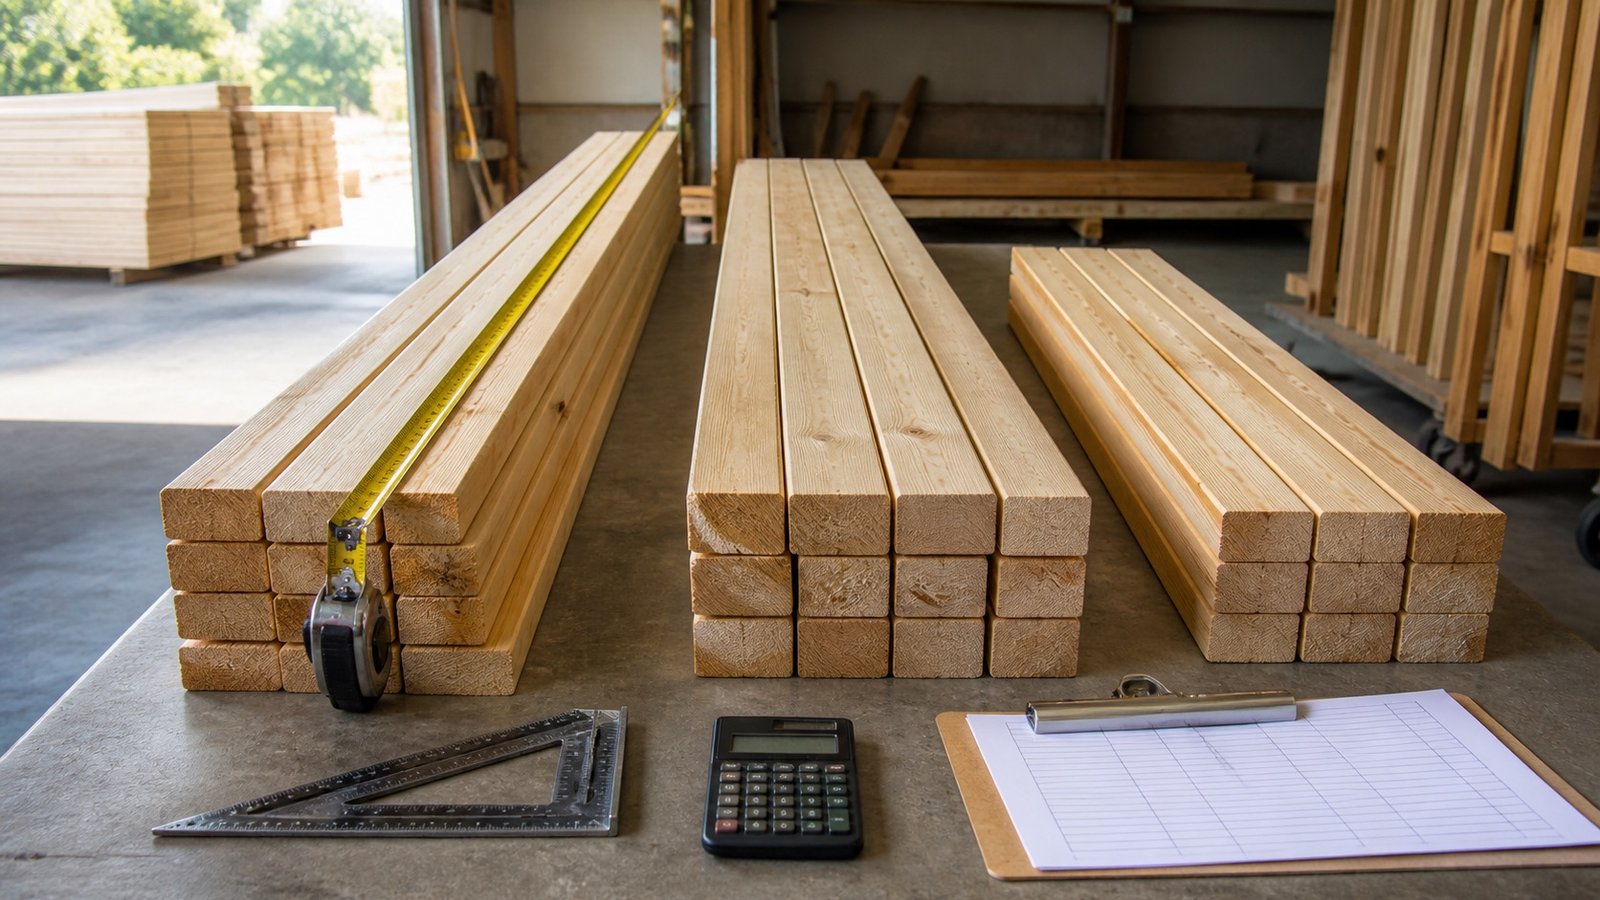
Turn a checked wall-plate length into supplier-ready product rows, feasible stock cuts, whole-piece orders and a delivery receiving record.
Read Wall Plate Ordering: Stock Lengths and Cut Lists
Blog
Wall Plate Splices, Laps and Intersections: Takeoff Guide
Measure wall-plate splice, lap and intersection details without double counting, then check layer records, stock lengths and required segments.
Read Wall Plate Splices, Laps and Intersections: Takeoff Guide
Blog
Wall Plate Takeoff Worksheet: Runs and Layers
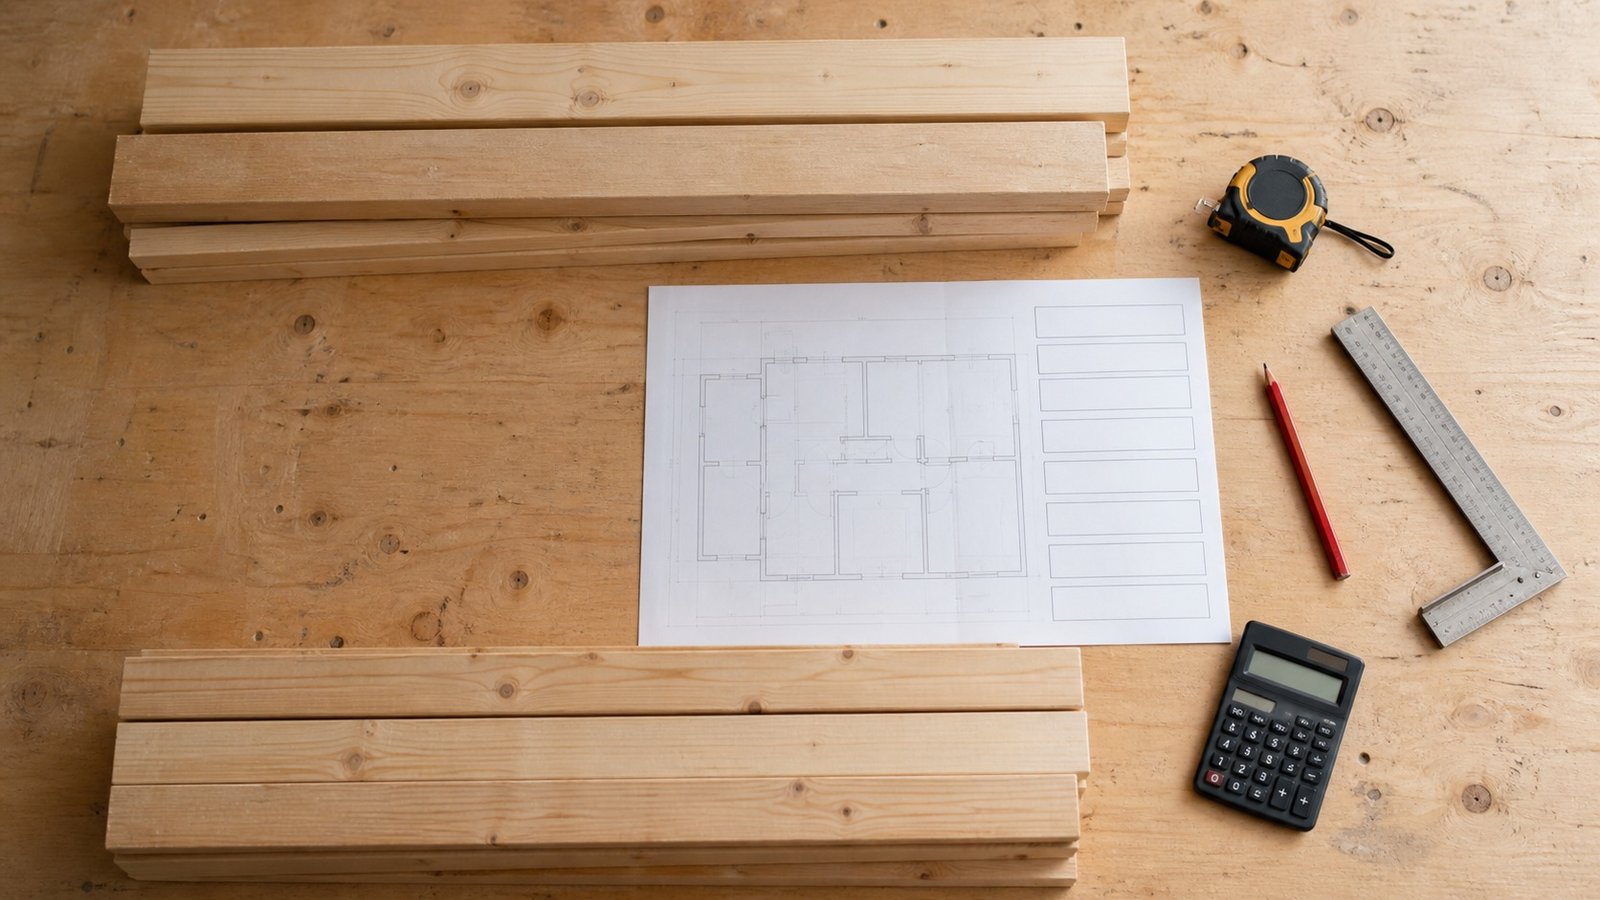
Prepare a wall-by-wall plate takeoff with separate bottom and top rows, checked deductions, detail additions, product groups and stock-length handoff.
Read Wall Plate Takeoff Worksheet: Runs and Layers
Blog
Wall Stud Ordering Guide: Length and Grade
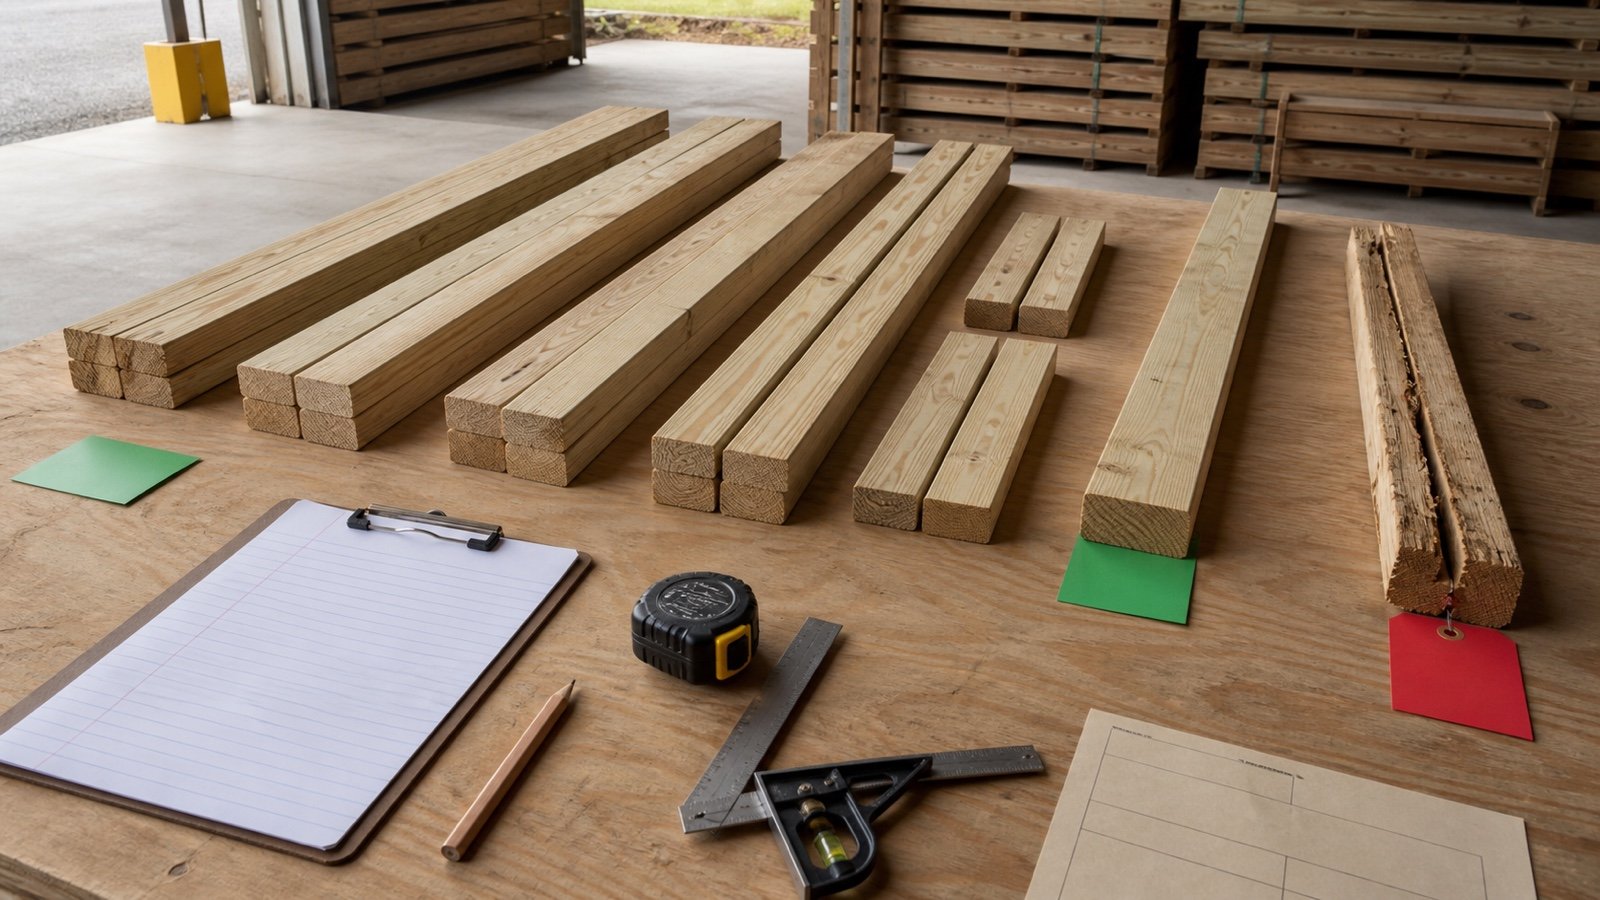
Turn a checked wall-stud takeoff into supplier order rows for length, size, grade, species, seasoning, allowance, matching stock and delivery checks.
Read Wall Stud Ordering Guide: Length and Grade
Blog
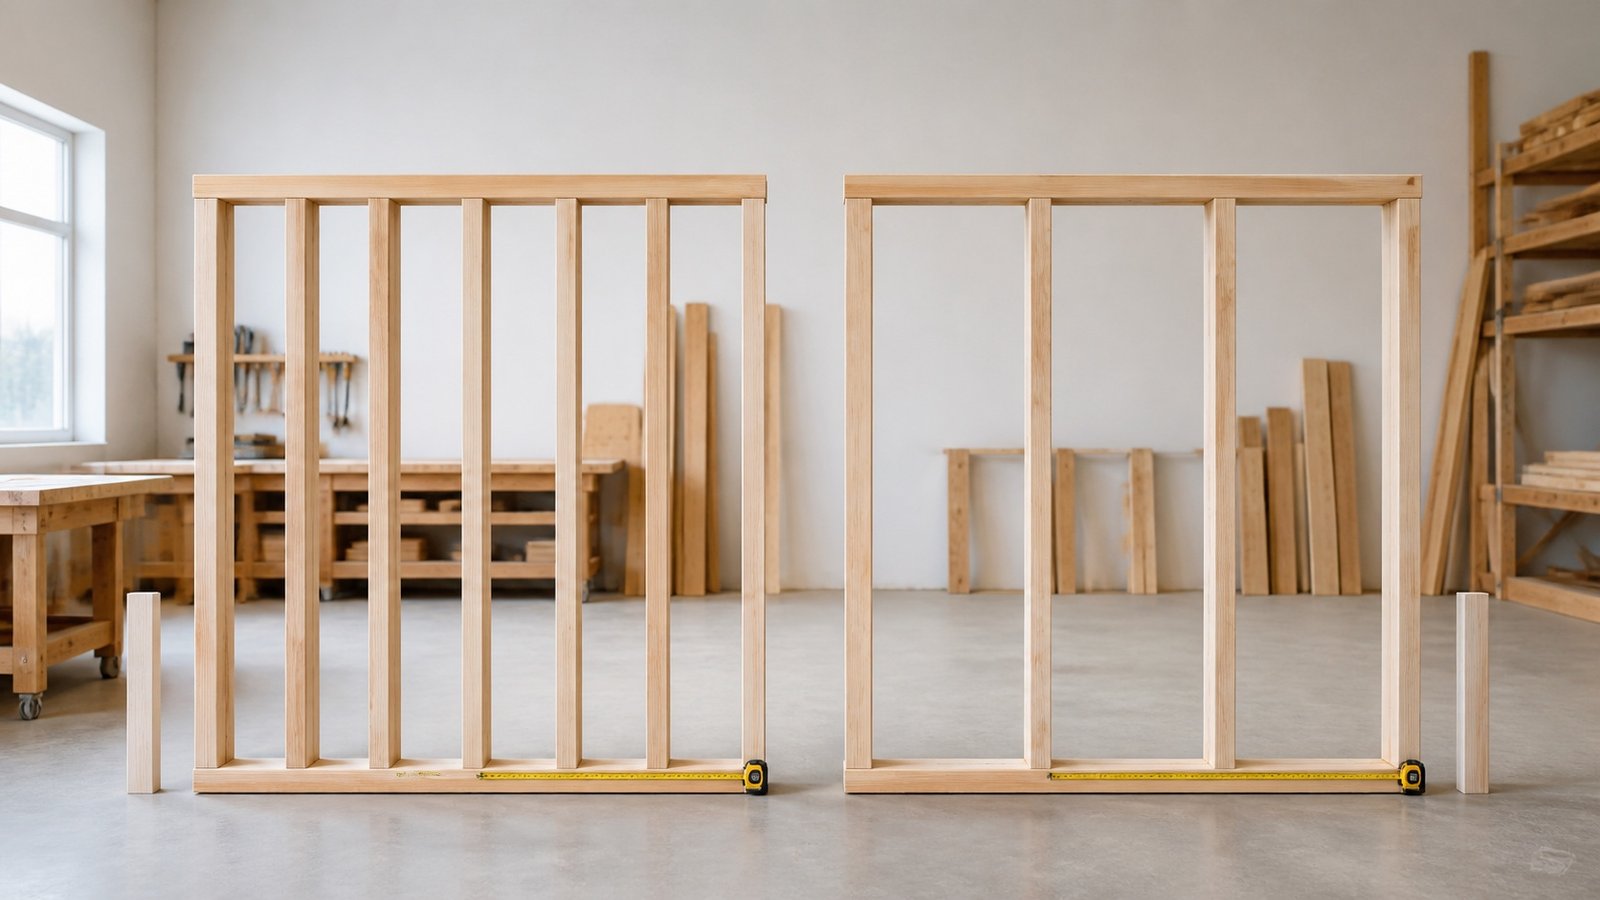
Wall Stud Spacing Guide: 16 or 24 Inches On Center?
Compare 16-inch and 24-inch wall stud spacing, check structural and gypsum limits, calculate field-stud counts, and keep metric modules separate.
Read Wall Stud Spacing Guide: 16 or 24 Inches On Center?
Blog
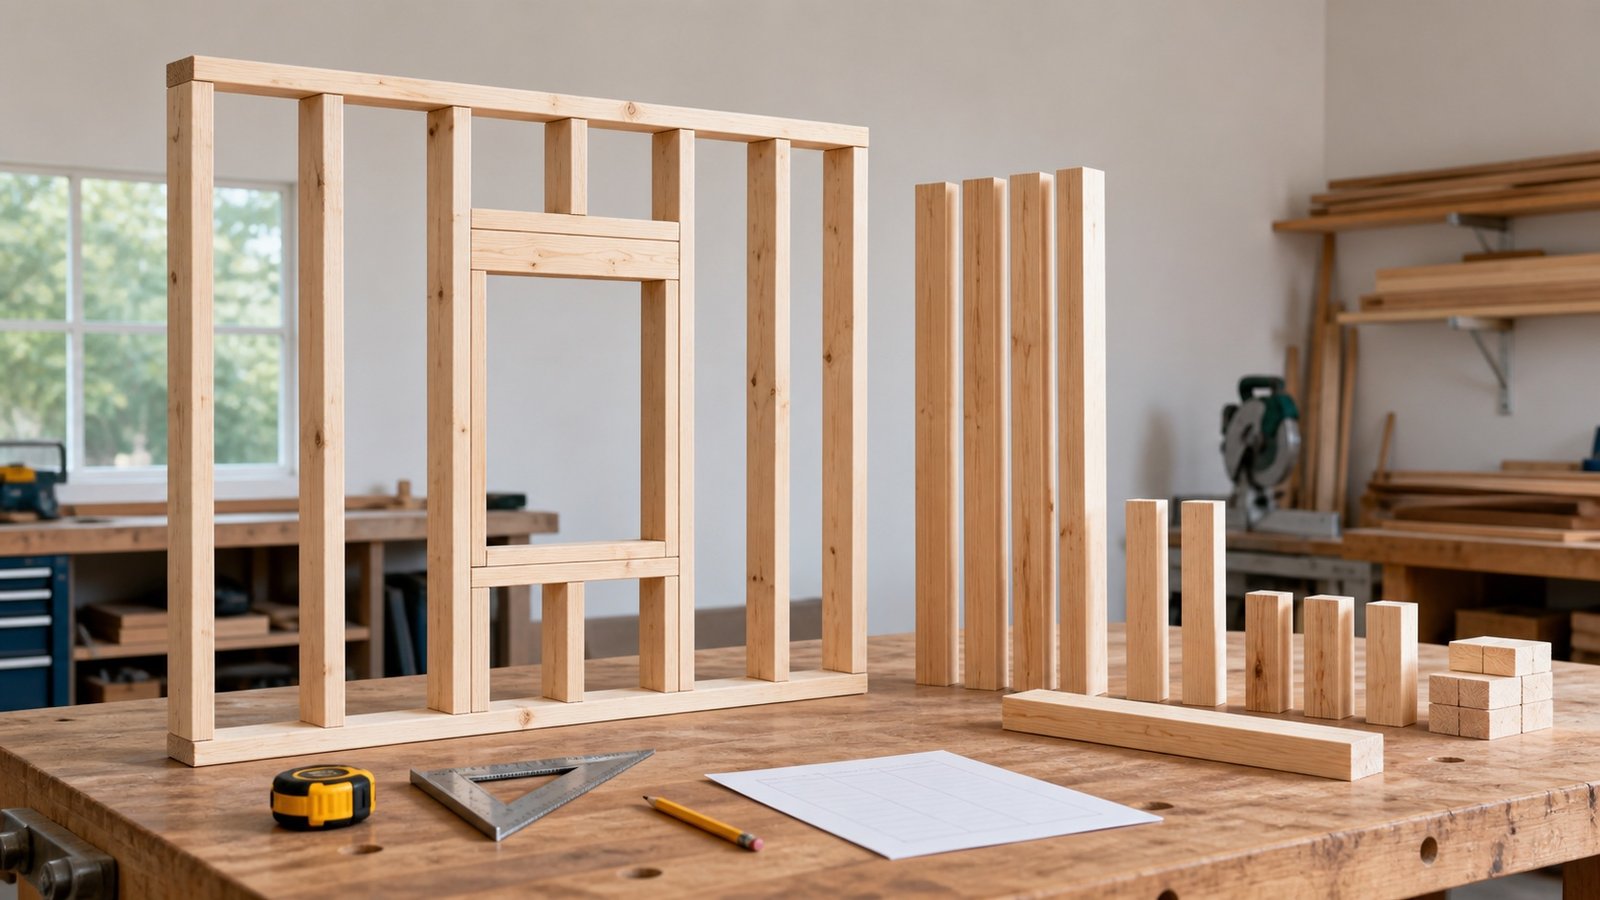
Wall Stud Takeoff Worksheet for Openings
Build a wall-by-wall stud takeoff that reconciles field positions, openings, corners, intersections, backing, short pieces, allowance and usable stock.
Read Wall Stud Takeoff Worksheet for Openings
Blog
What Sand Should You Use in a Sandbox?
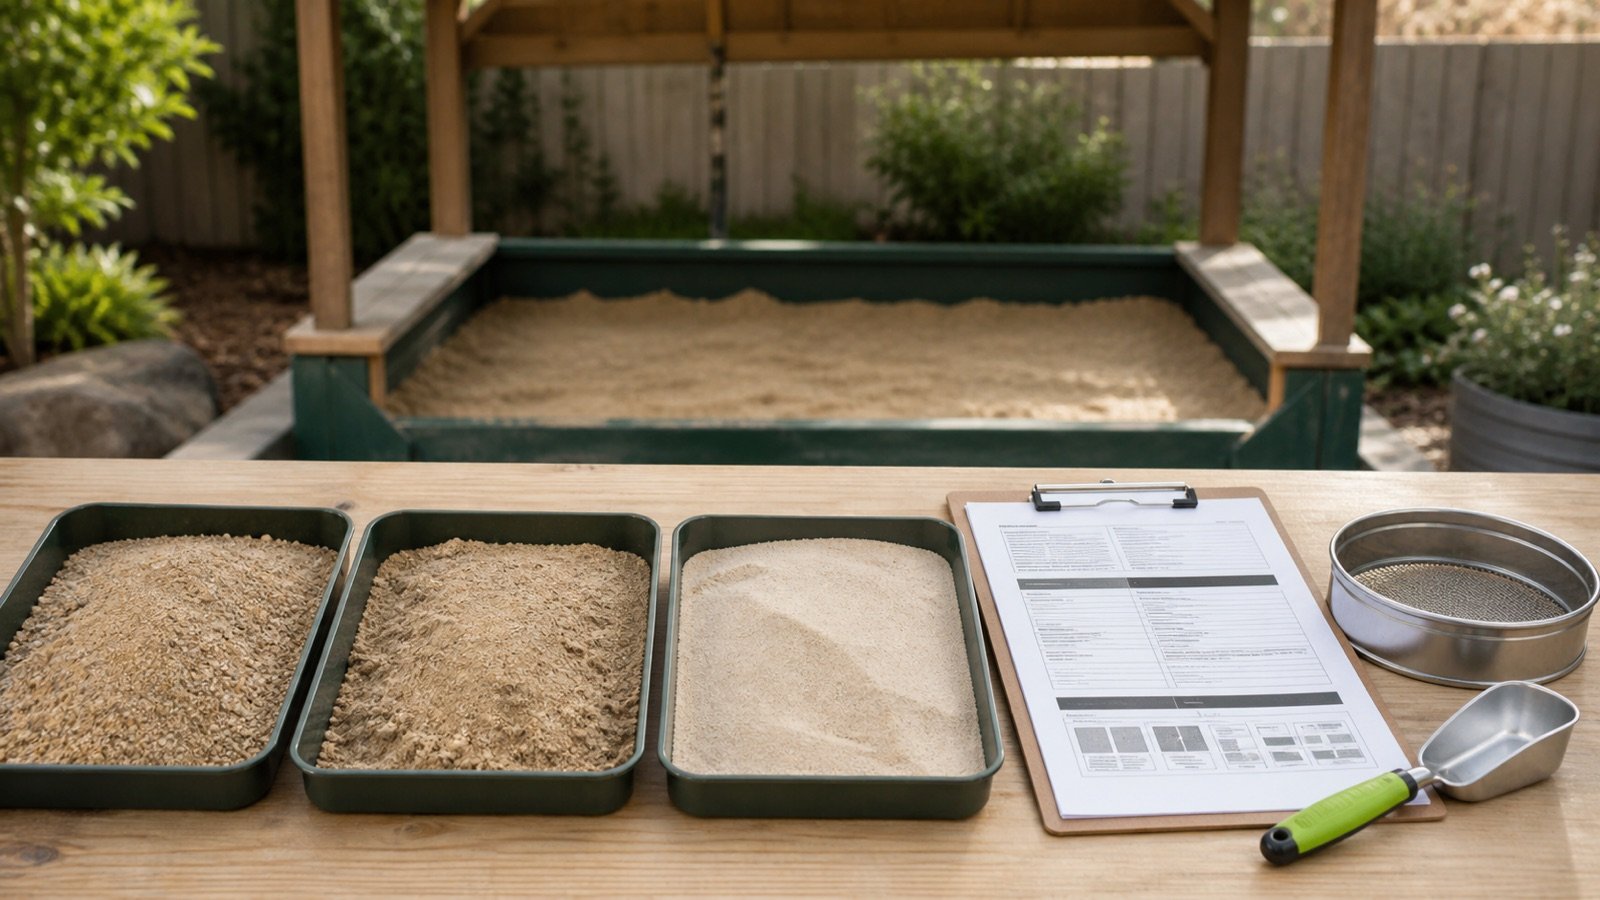
Choose sandbox sand from the exact product label, intended-use statement, data sheet and SDS, then carry the product's own package basis into the quantity estimate.
Read What Sand Should You Use in a Sandbox?