Blog
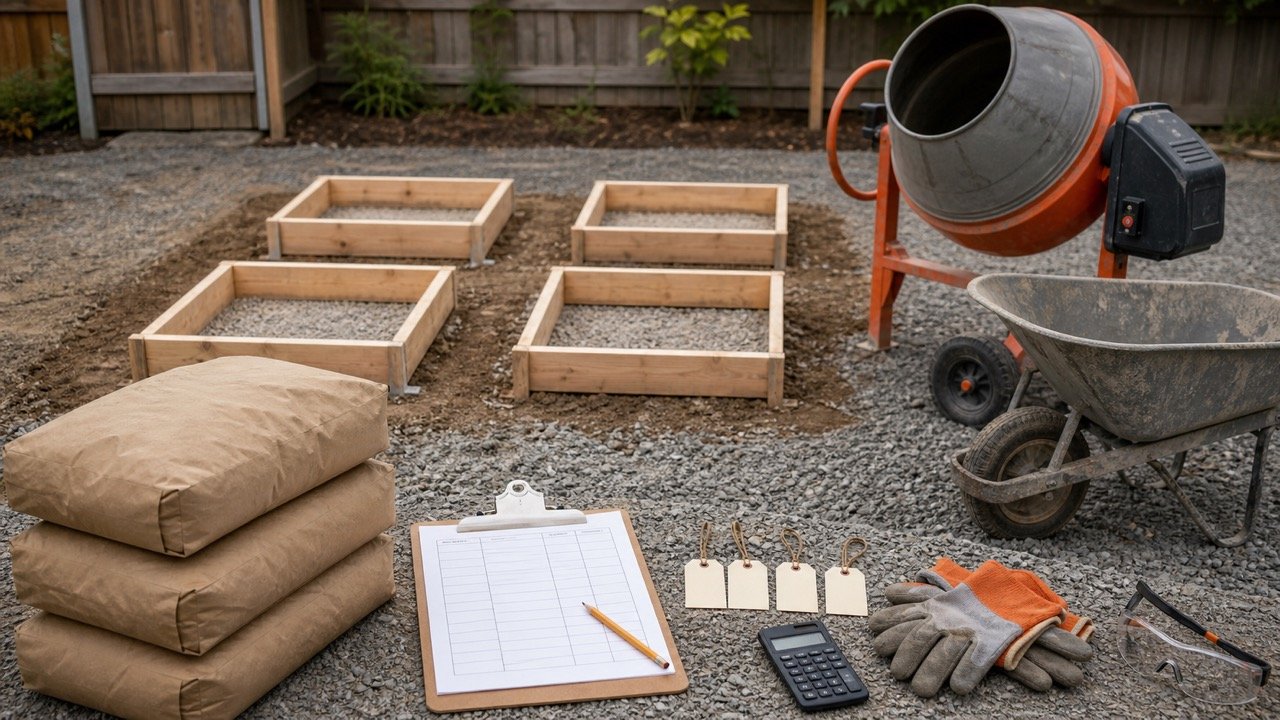
Concrete Bag Rounding: Whole Bags by Pour
Round concrete bags in the correct order, decide which pours can share one total, and track allowance, supplier increments, partial packages and surplus.
Read Concrete Bag Rounding: Whole Bags by Pour
Blog
Concrete Bag Yield Chart: Product and Bag Count
Compare dated manufacturer yields for named concrete mixes, convert cubic feet to litres, and calculate exact or whole bags per cubic yard from the selected product.
Read Concrete Bag Yield Chart: Product and Bag Count
Blog
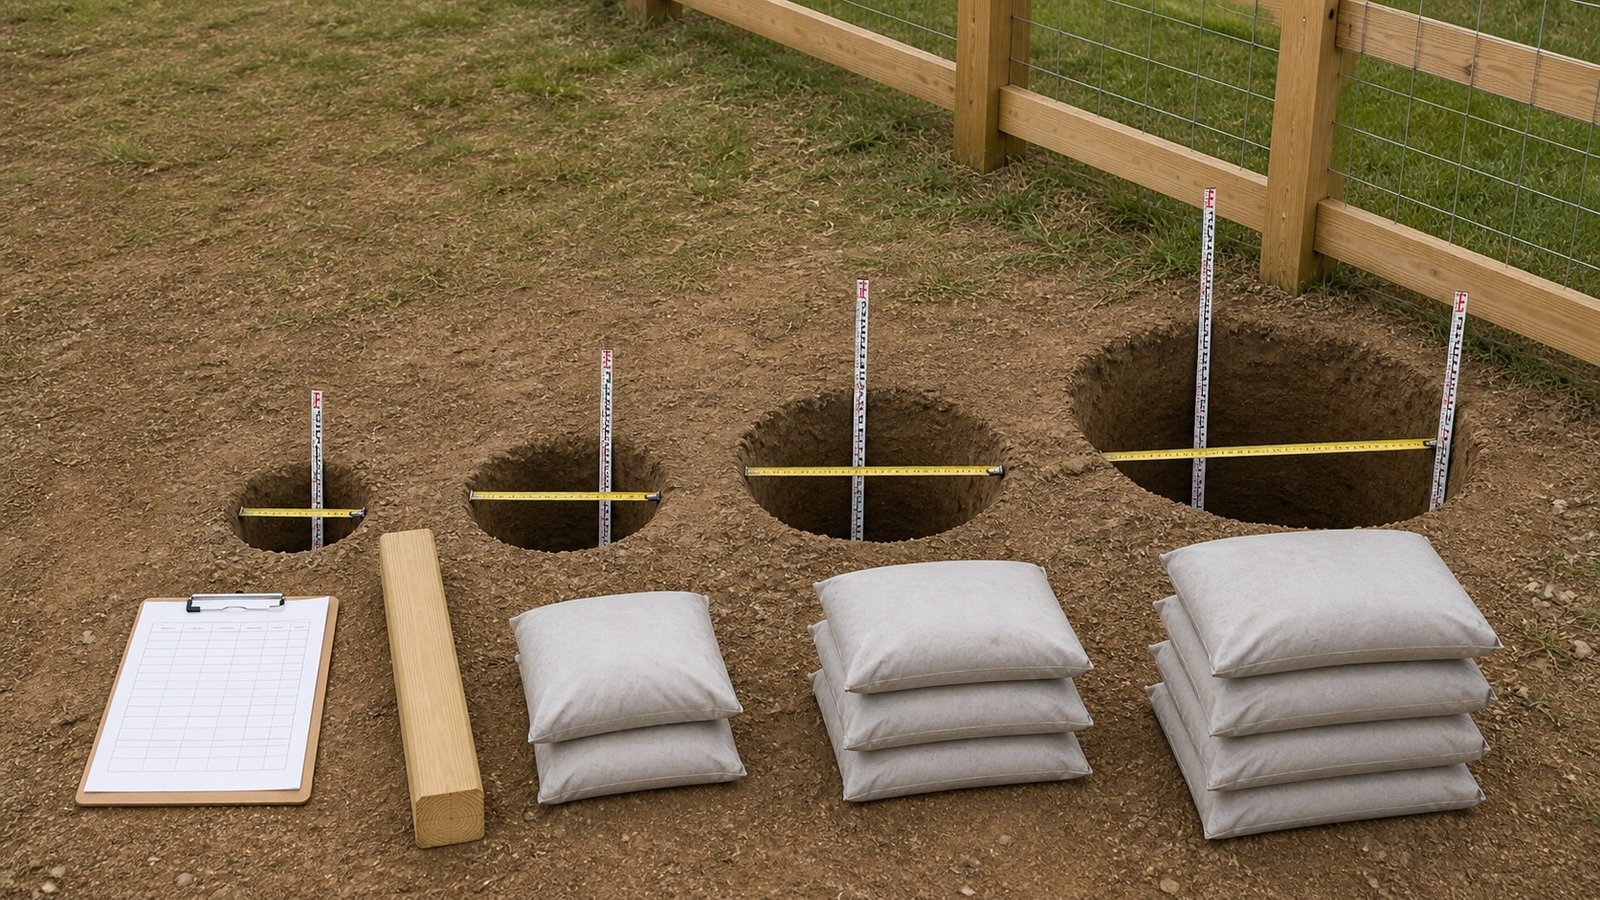
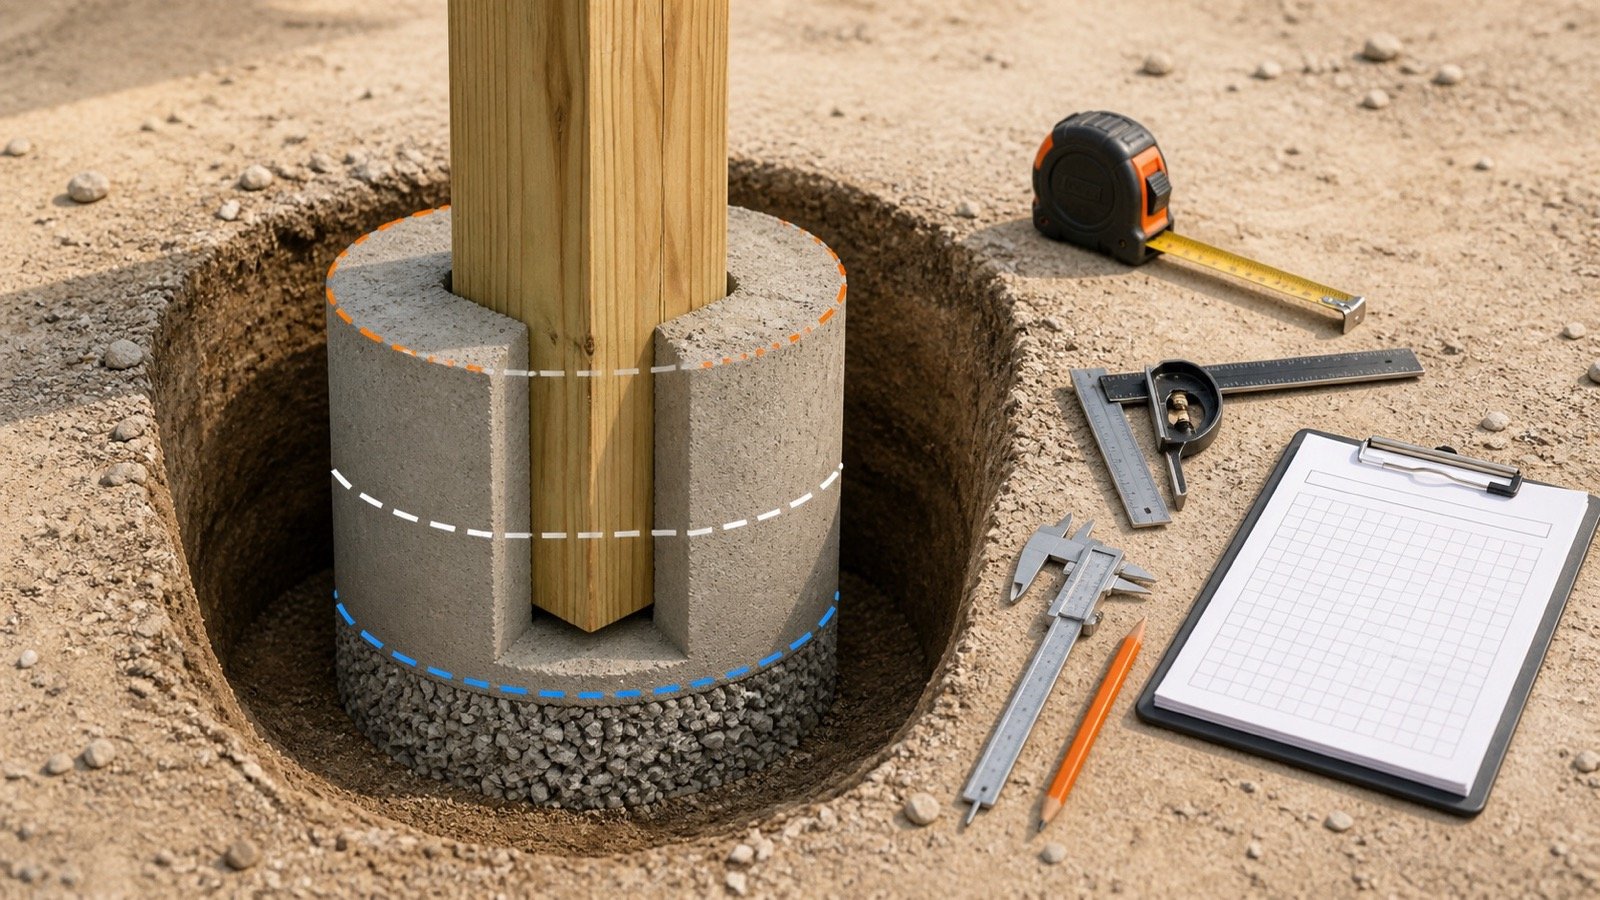
Concrete Bags per Post Hole Chart: Diameter and Depth
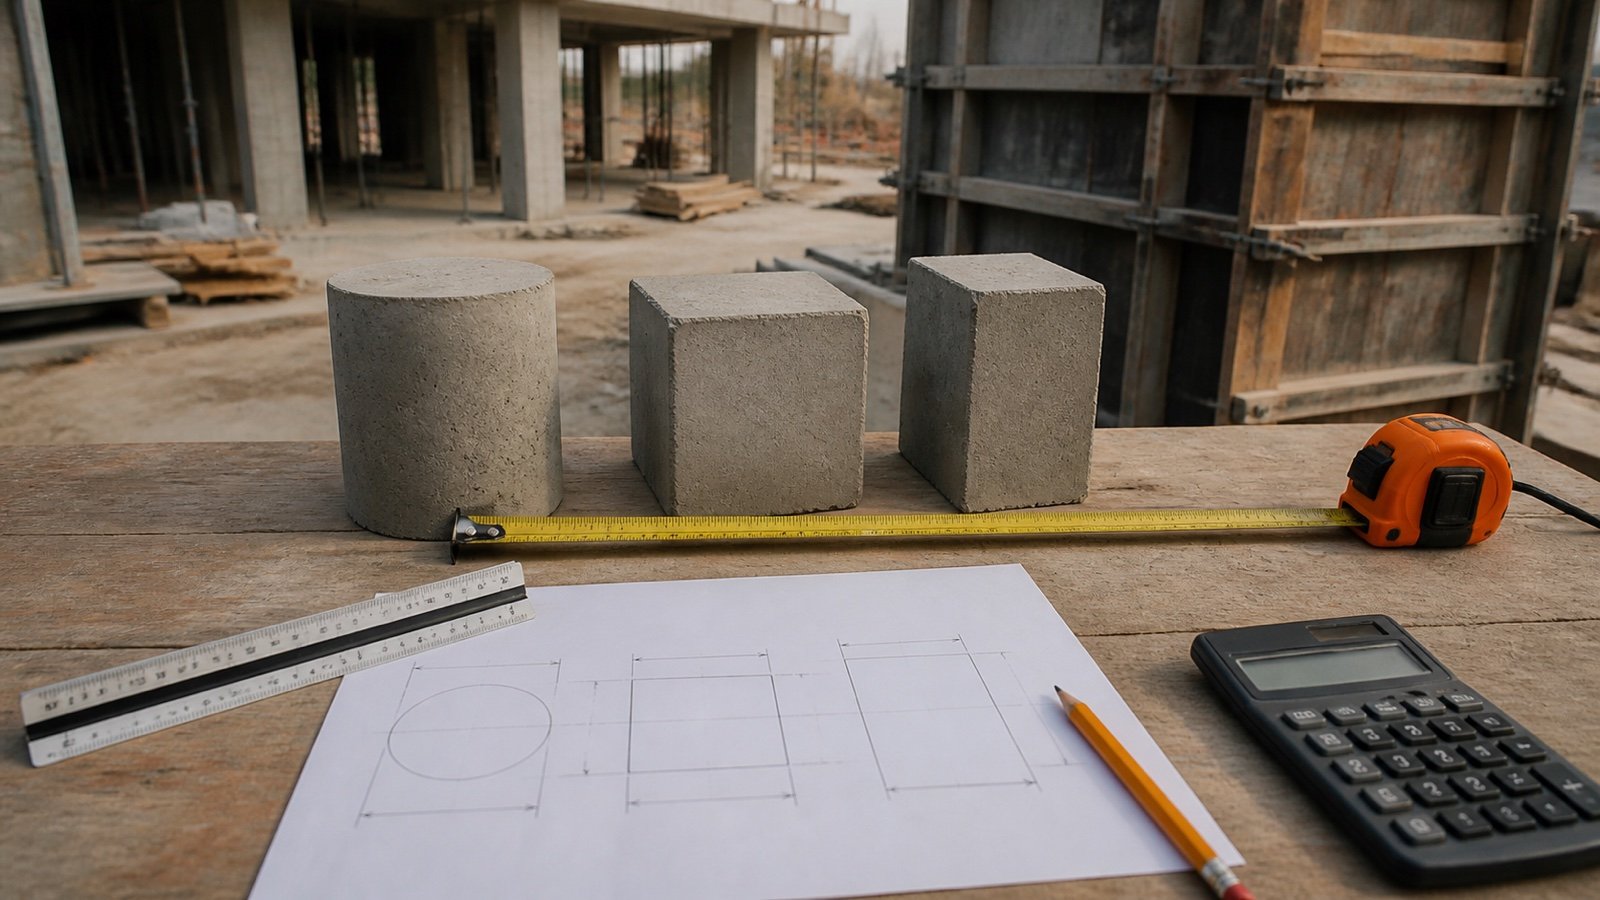
Use checked imperial and metric post-hole charts to compare net concrete volume and whole bags by diameter, depth, measured post size, and current product yield.
Read Concrete Bags per Post Hole Chart: Diameter and Depth
Blog
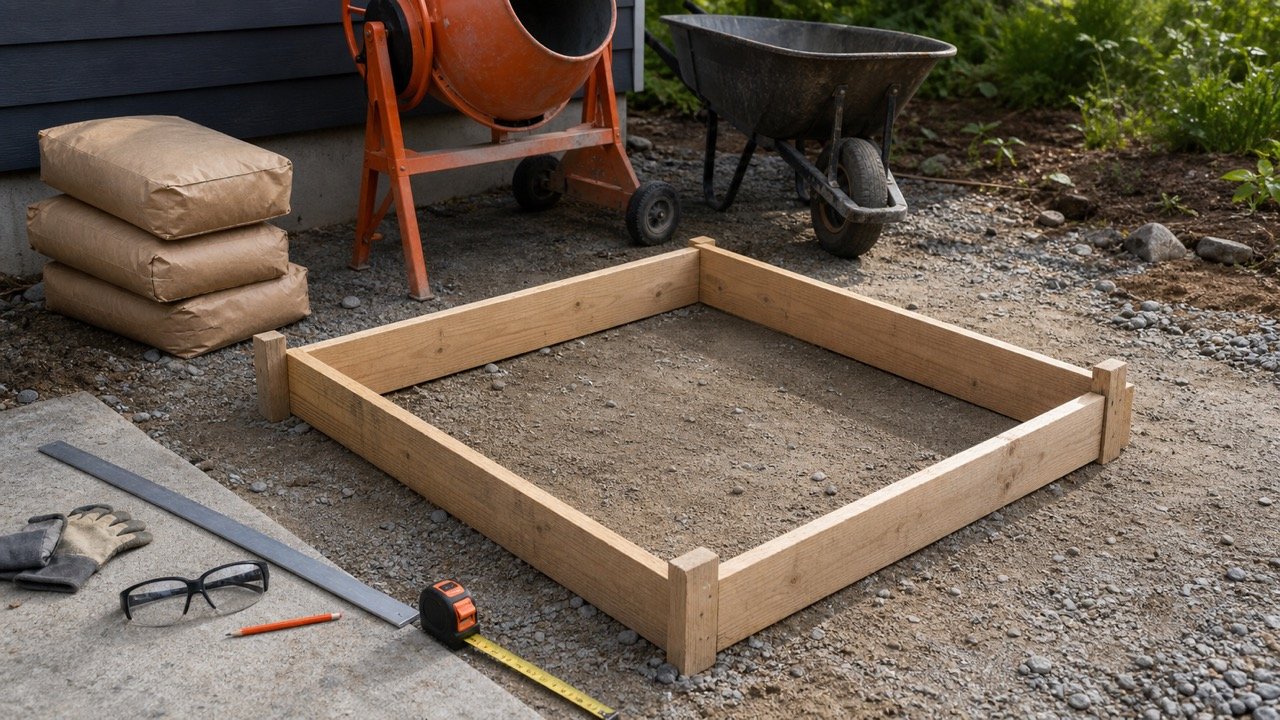
Concrete Bags for Small Slabs: Worked Examples
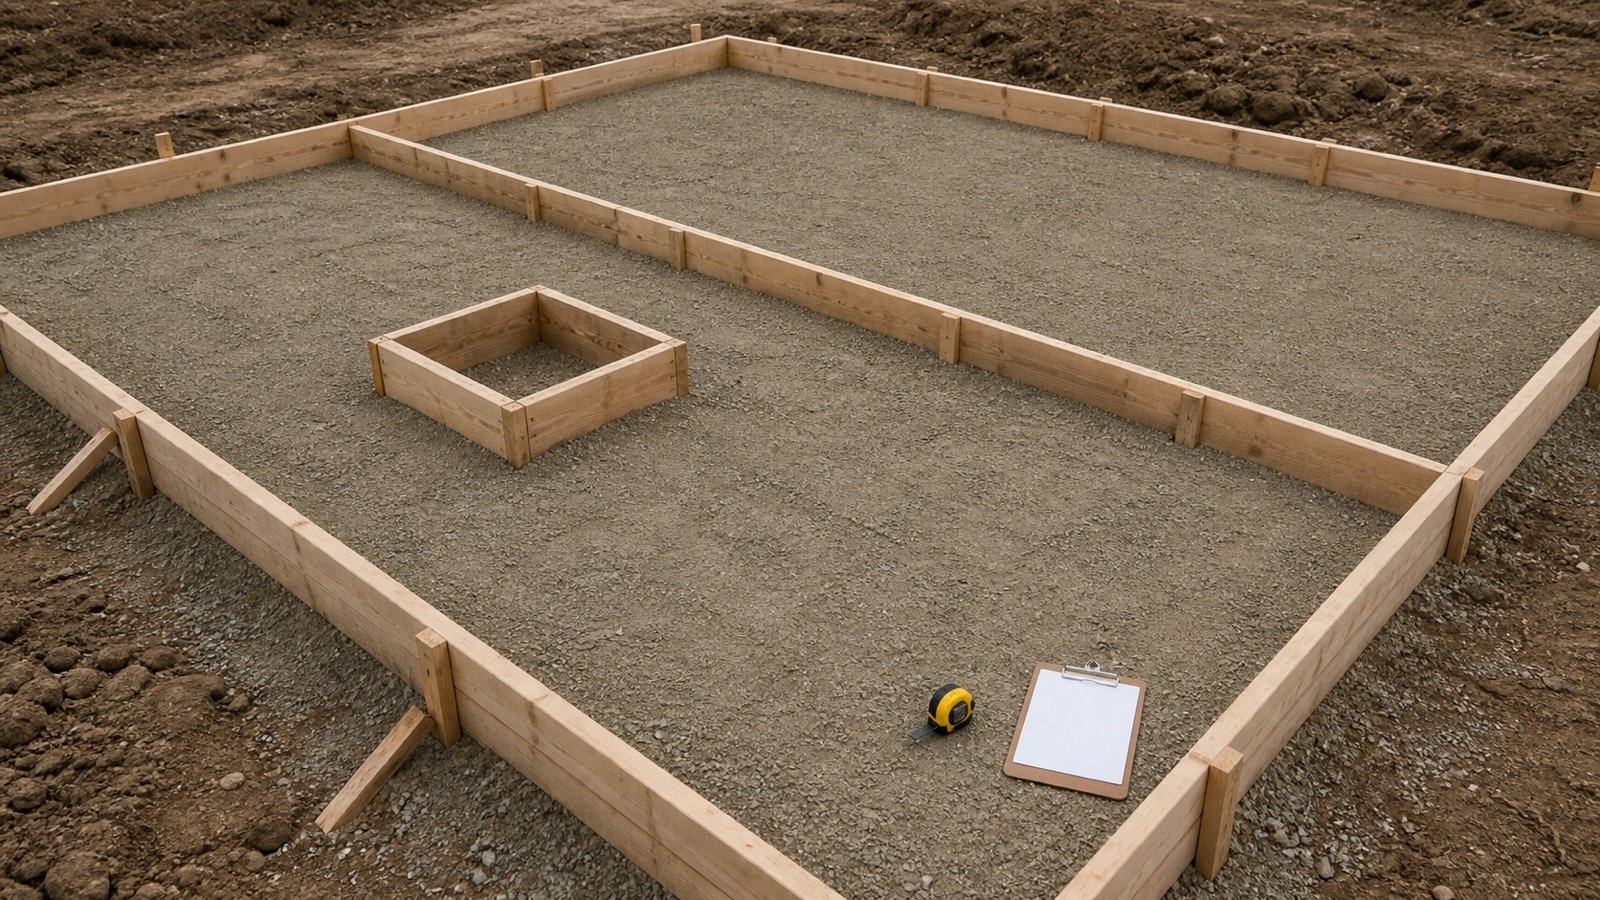
Calculate concrete bags for small rectangular slabs with transparent U.S. and metric examples, optional allowance, thickness changes and a thickened band.
Read Concrete Bags for Small Slabs: Worked Examples
Blog
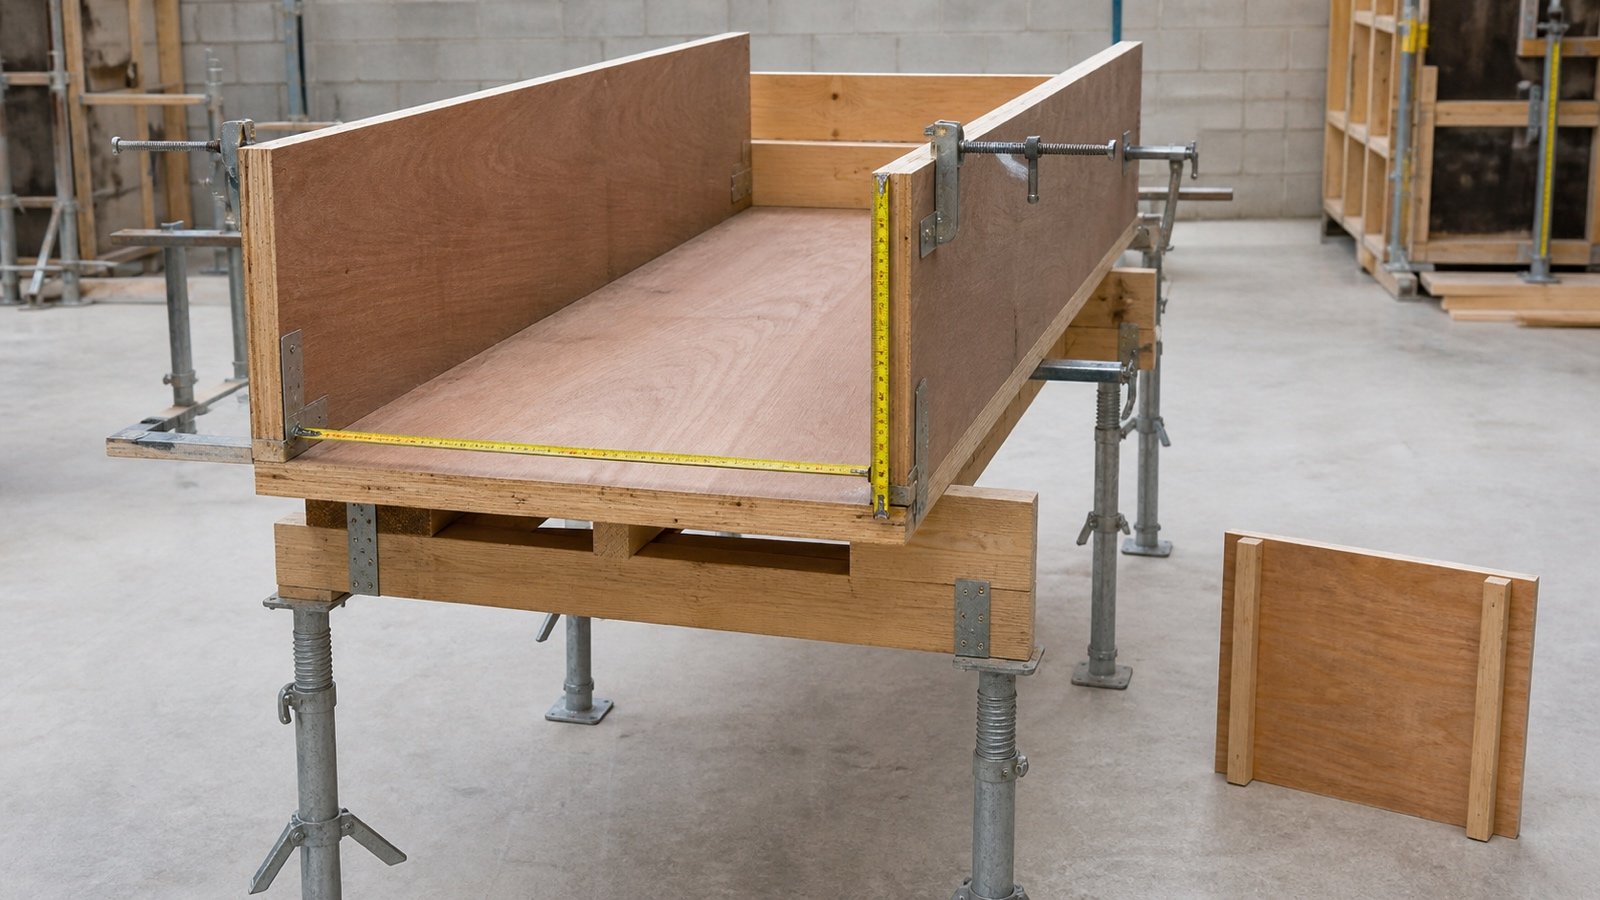
Concrete Beam Formwork Area: Sides and Soffit
Calculate concrete beam formwork area face by face, including soffits, sides, attached-beam drops, formed ends, intersections, and checked examples.
Read Concrete Beam Formwork Area: Sides and Soffit
Blog
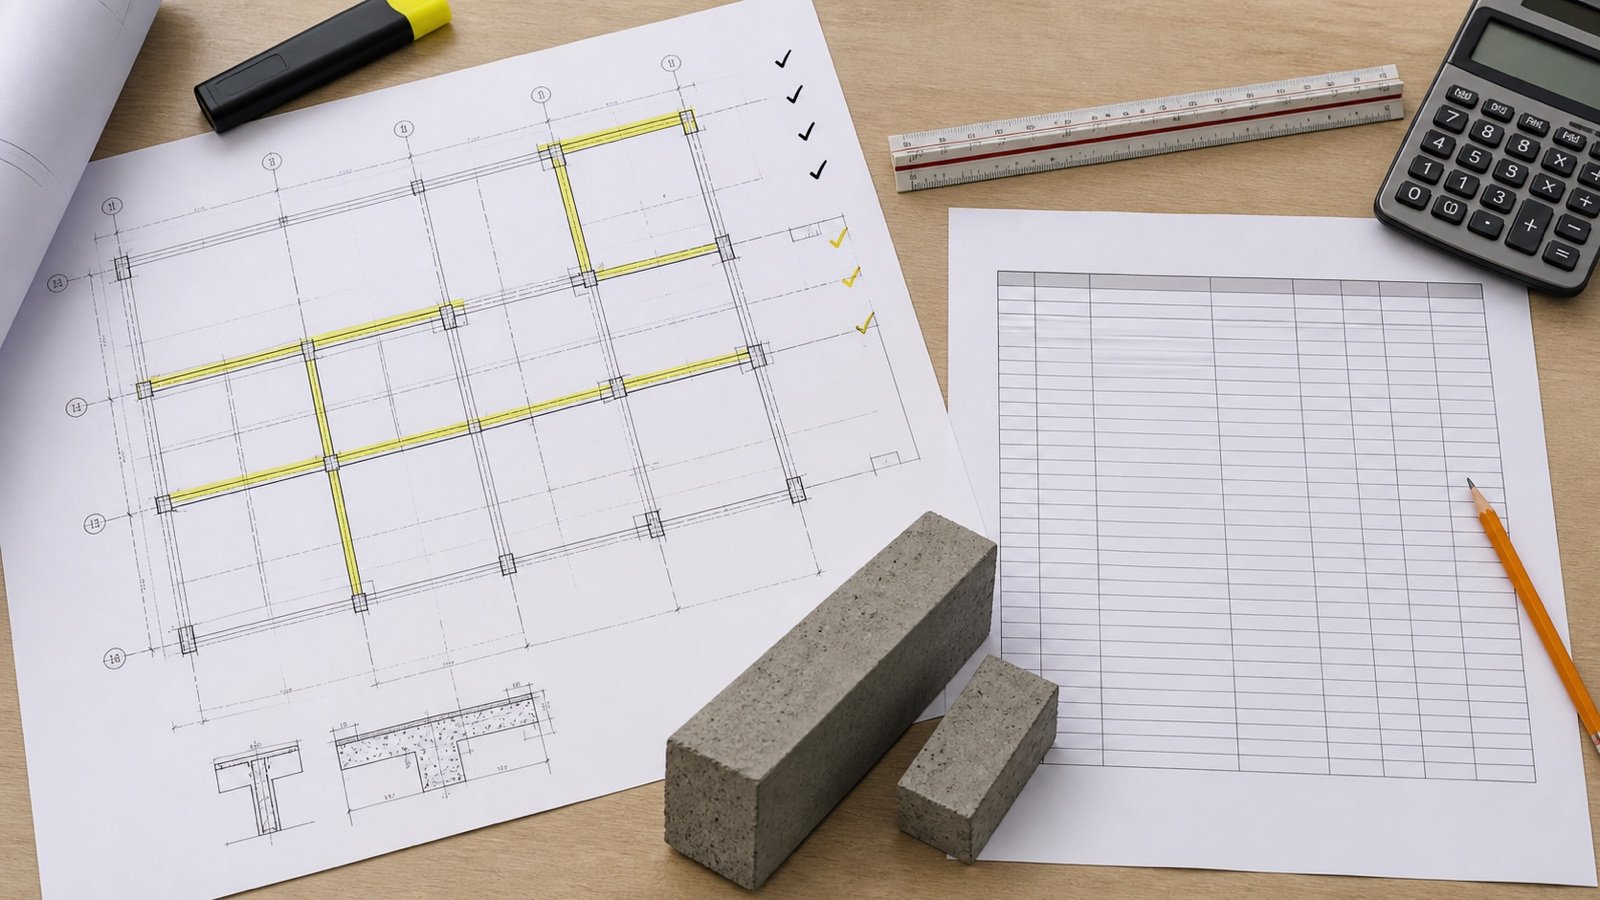
Concrete Beam Quantity Takeoff: Worked Schedule
Prepare a concrete beam quantity takeoff from current plans and schedules, with section ownership, grouped formulas, a worksheet, and checked examples.
Read Concrete Beam Quantity Takeoff: Worked Schedule
Blog
Concrete Beam Shapes: Haunches, Steps and Tapers
Calculate concrete volume for stepped, haunched and straight tapered beams with checked examples, boundary rules and a double-taper accuracy test.
Read Concrete Beam Shapes: Haunches, Steps and Tapers
Blog
Concrete Beam Volume Chart: Metres and Feet
Use checked rectangular concrete beam volume rates per metre and per foot, then calculate mixed beam schedules without hiding rounding or slab overlap.
Read Concrete Beam Volume Chart: Metres and Feet
Blog
Concrete Block Mortar: Yield and Bag Planning
Plan mortar from a checked CMU schedule and the selected product's current coverage, keep allowance and whole-bag rounding visible, and reconcile observed use.
Read Concrete Block Mortar: Yield and Bag Planning
Blog
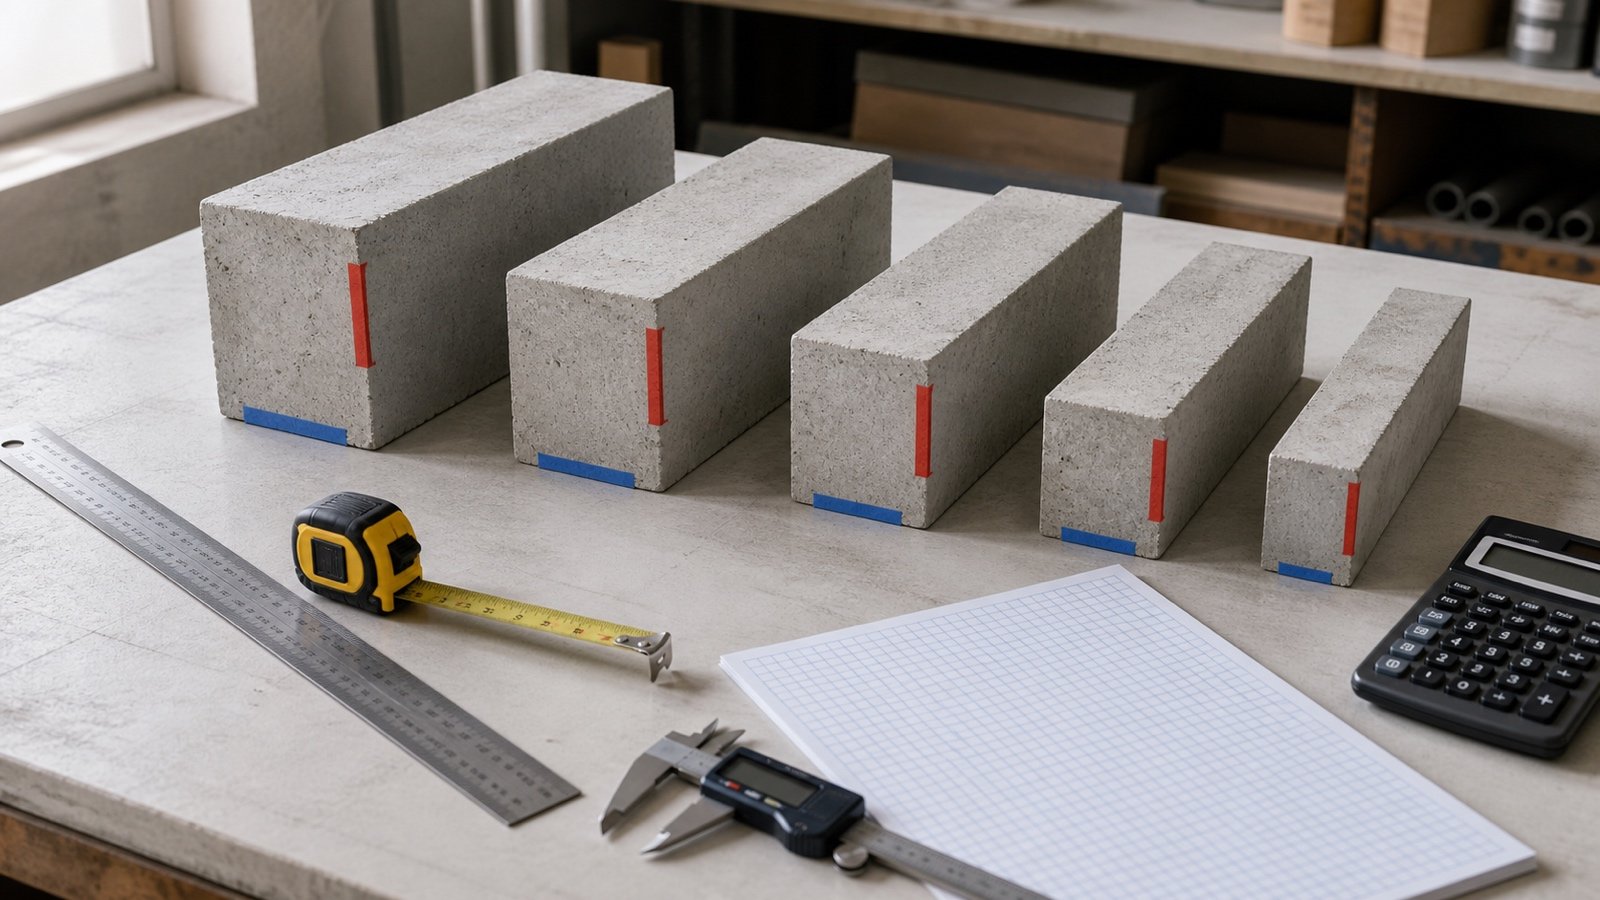
Concrete Block Sizes: Nominal vs Actual
Read concrete masonry unit sizes in width, height and length order, separate nominal, specified and actual dimensions, and choose the correct face module for a block count.
Read Concrete Block Sizes: Nominal vs Actual
Blog
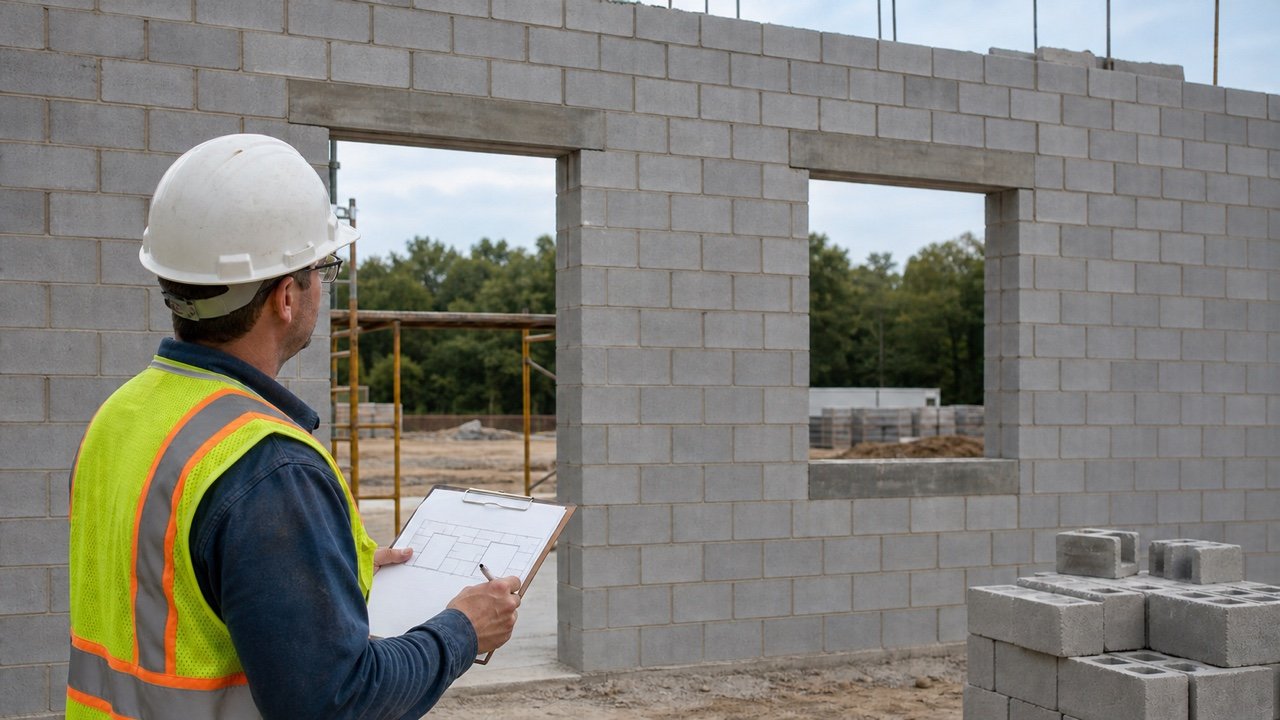
Concrete Block Wall Layout: Openings and Net Area
Deduct masonry openings from gross wall area, check their size and position against the verified CMU module, and hand the result to a traceable unit schedule.
Read Concrete Block Wall Layout: Openings and Net Area
Blog
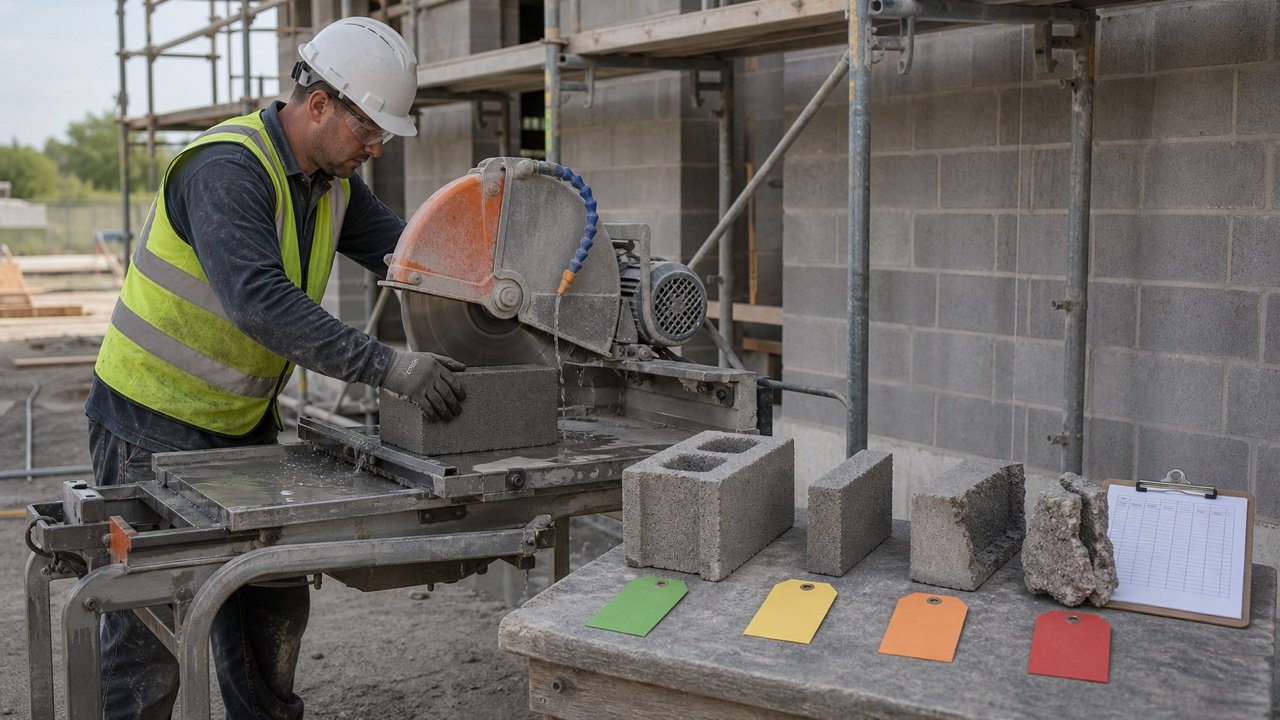
Concrete Block Waste: Cuts, Offcuts and Reconciliation
Plan a documented CMU allowance, separate supplier rounding from actual loss, schedule cut-source units and offcuts, and reconcile delivered block stock.
Read Concrete Block Waste: Cuts, Offcuts and Reconciliation
Blog
Concrete Column Formwork Area: Faces and Reuse
Calculate rectangular and round concrete column formwork area, adjust contact faces at intersections, and separate gross measured work from reusable form sets.
Read Concrete Column Formwork Area: Faces and Reuse
Blog
Concrete Column Quantity Takeoff: Schedule and Worked Example
Prepare a concrete column quantity takeoff from current plans and schedules, with clear level boundaries, grouped formulas, a worksheet, and a checked example.
Read Concrete Column Quantity Takeoff: Schedule and Worked Example
Blog
Concrete Column Shapes: Pedestals and Tapers
Calculate stepped pedestals, rectangular and round column tapers, capitals, attached projections, and chamfer deductions without double-counting concrete.
Read Concrete Column Shapes: Pedestals and Tapers
Blog
Concrete Column Volume Chart by Shape
Use concrete column volume charts per foot or metre, compare round and square sections, and calculate rectangular and mixed column schedules.
Read Concrete Column Volume Chart by Shape
Blog
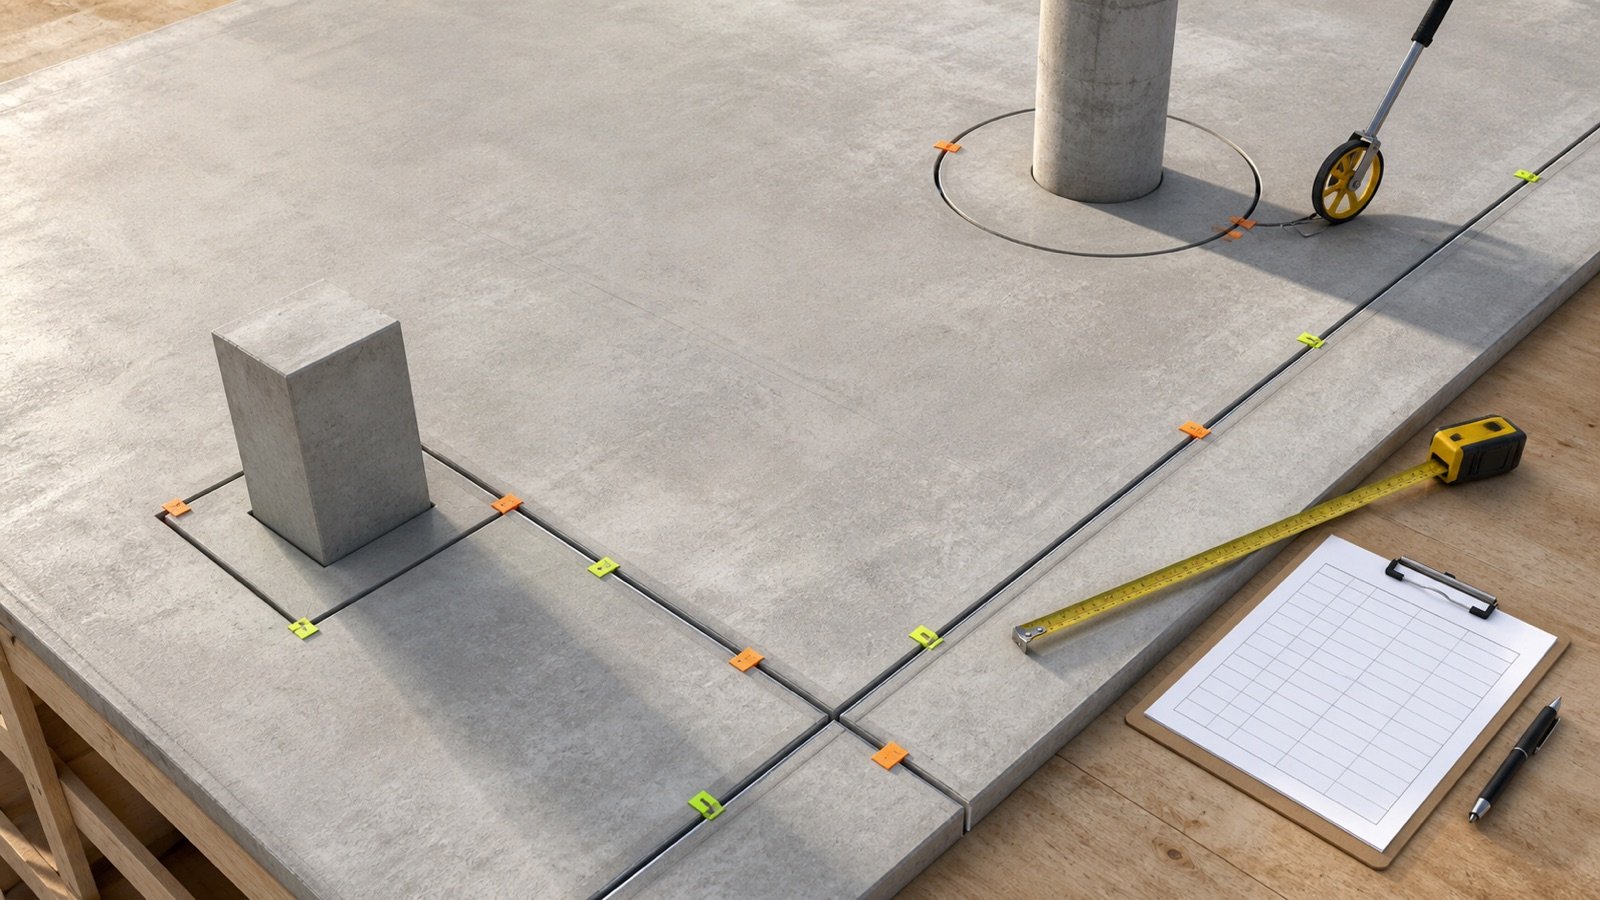
Expansion Joint Filler, Backer Rod and Sealant
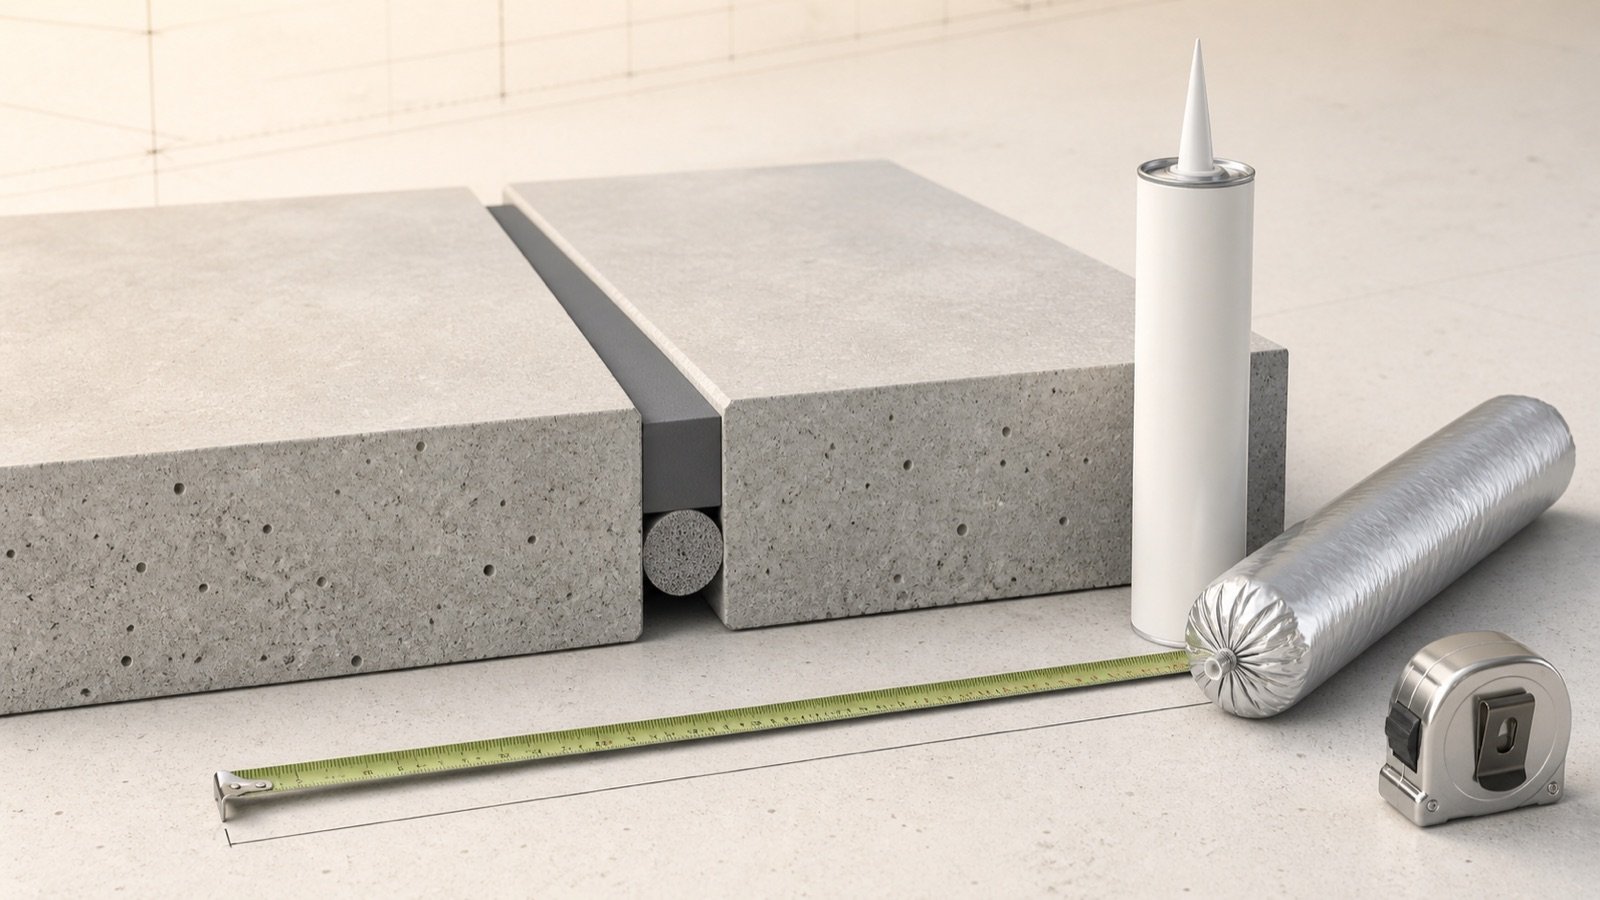
Identify concrete expansion joint filler, backer rod, bond breaker, primer and sealant, then build a product-specific material schedule and takeoff.
Read Expansion Joint Filler, Backer Rod and Sealant
Blog
Concrete Footing Volume: Strip, Pad and Steps
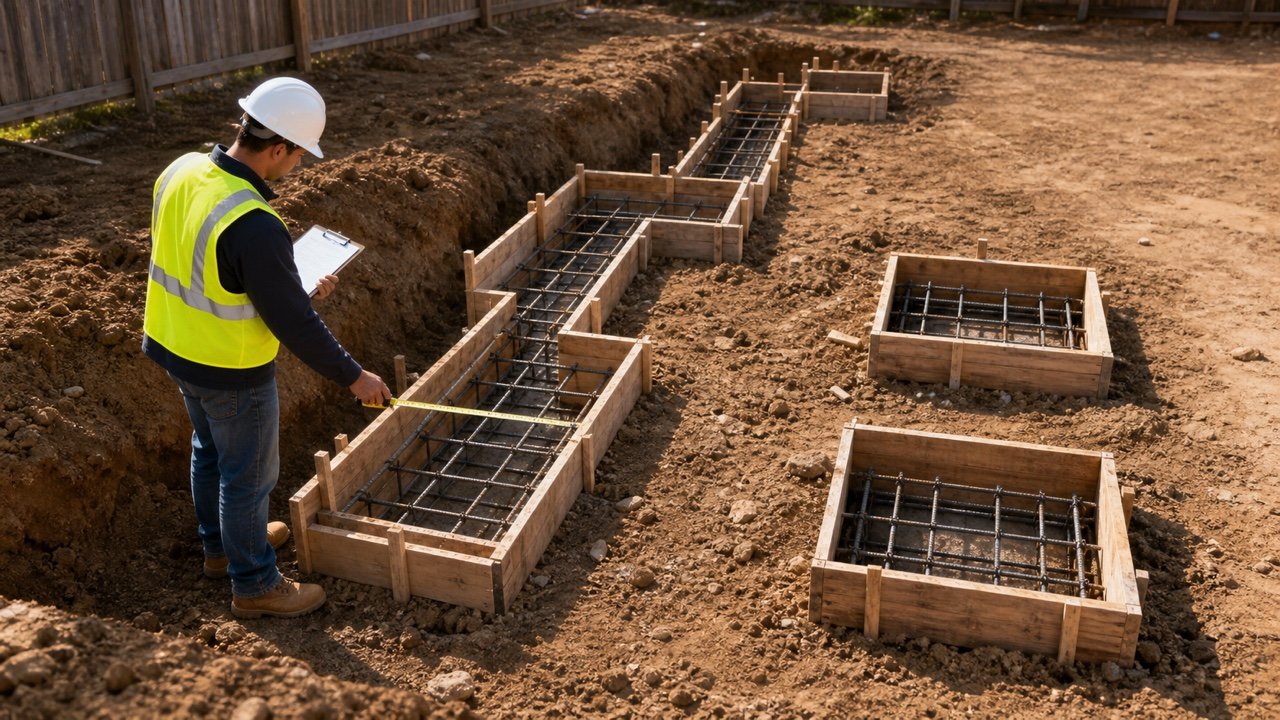
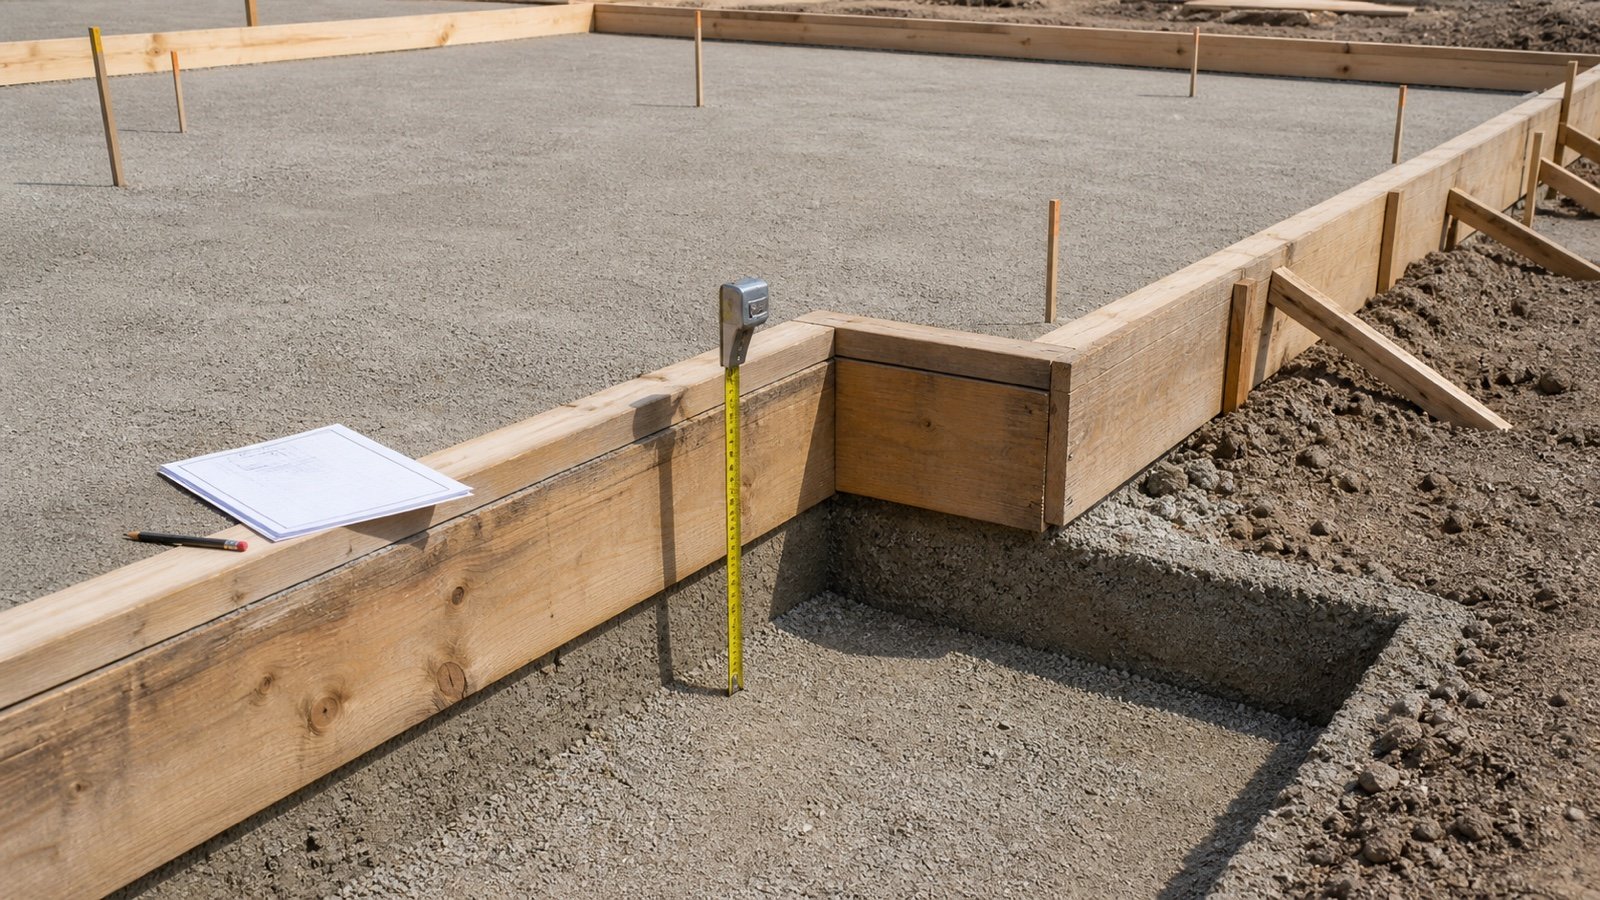
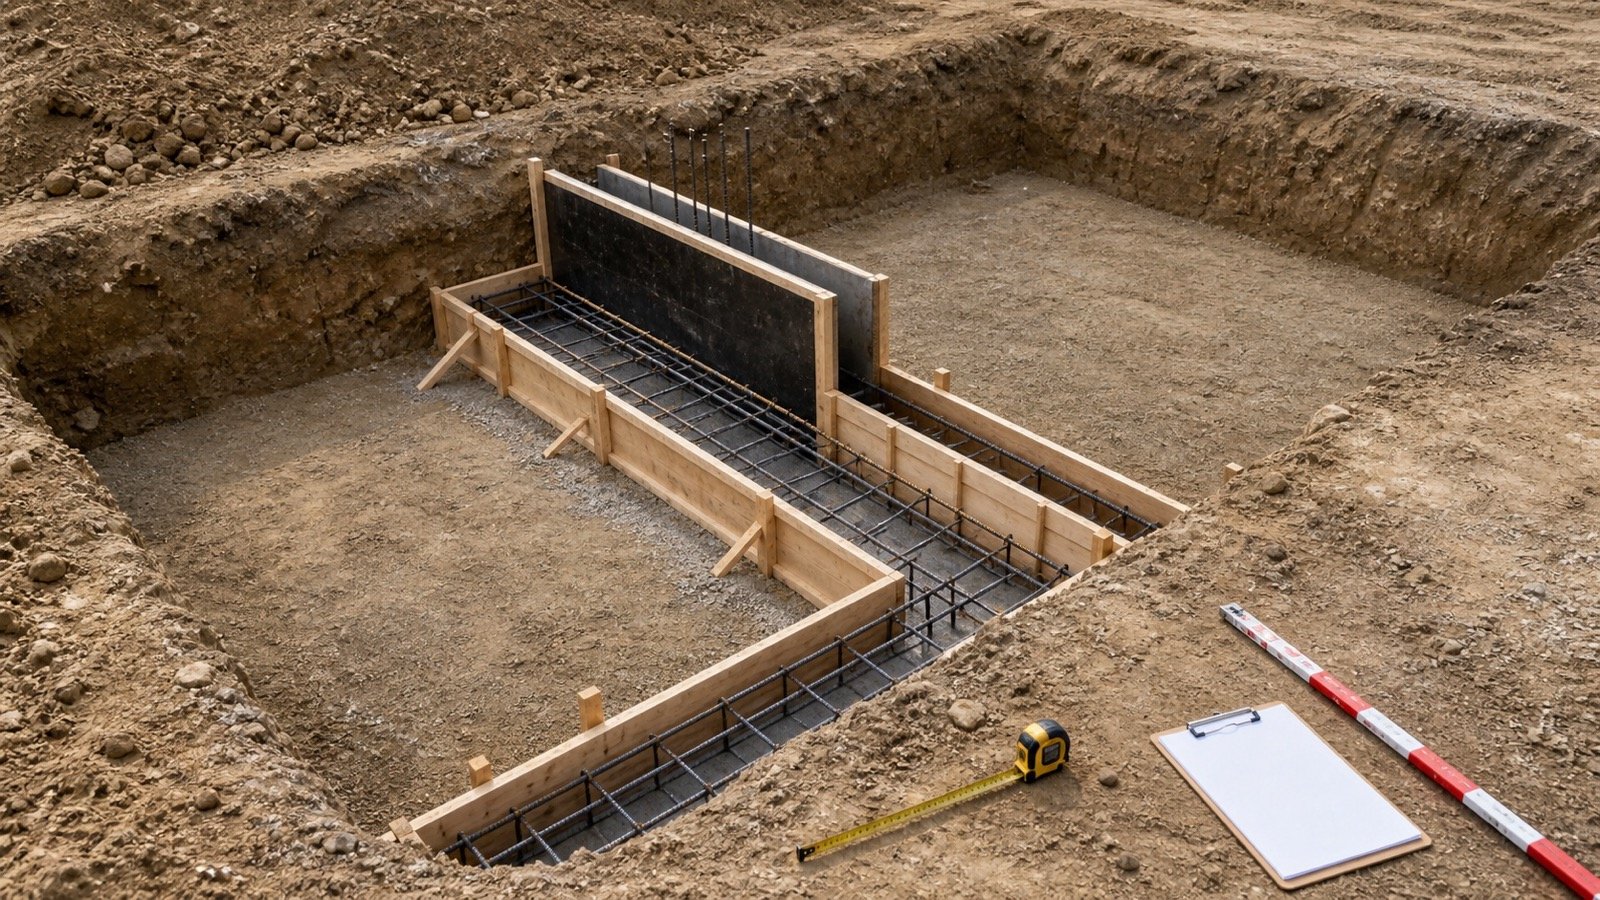
Calculate concrete volume from approved strip, pad and stepped footing dimensions, check corner overlaps, and prepare a measured quantity for ordering.
Read Concrete Footing Volume: Strip, Pad and Steps
Blog
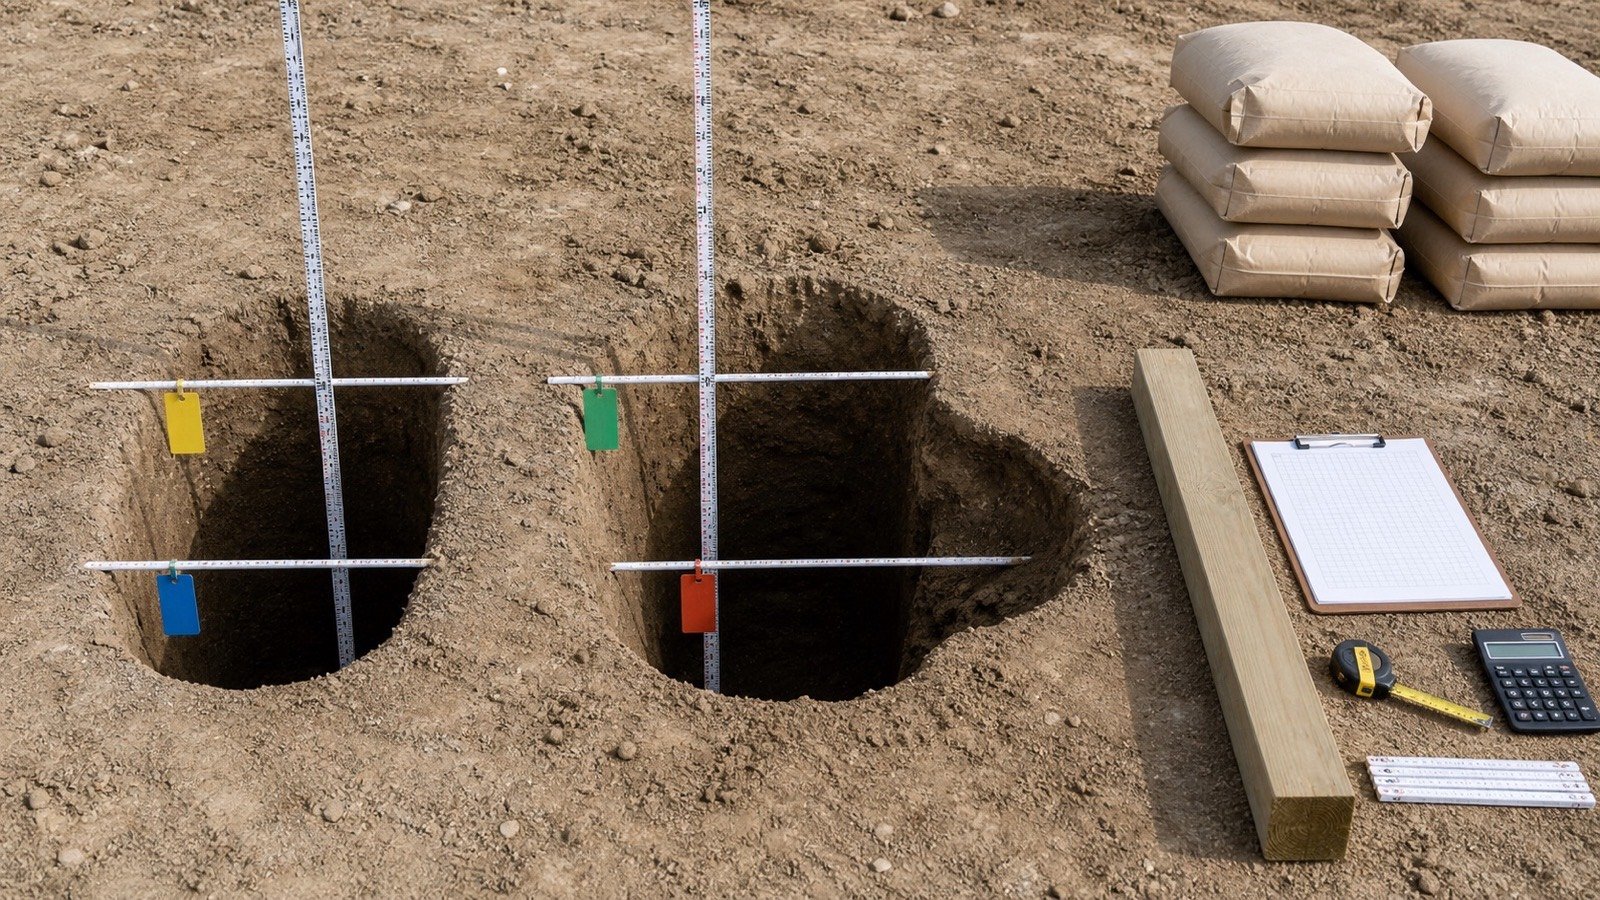
Concrete Post Hole Volume: Round, Square and Tapered
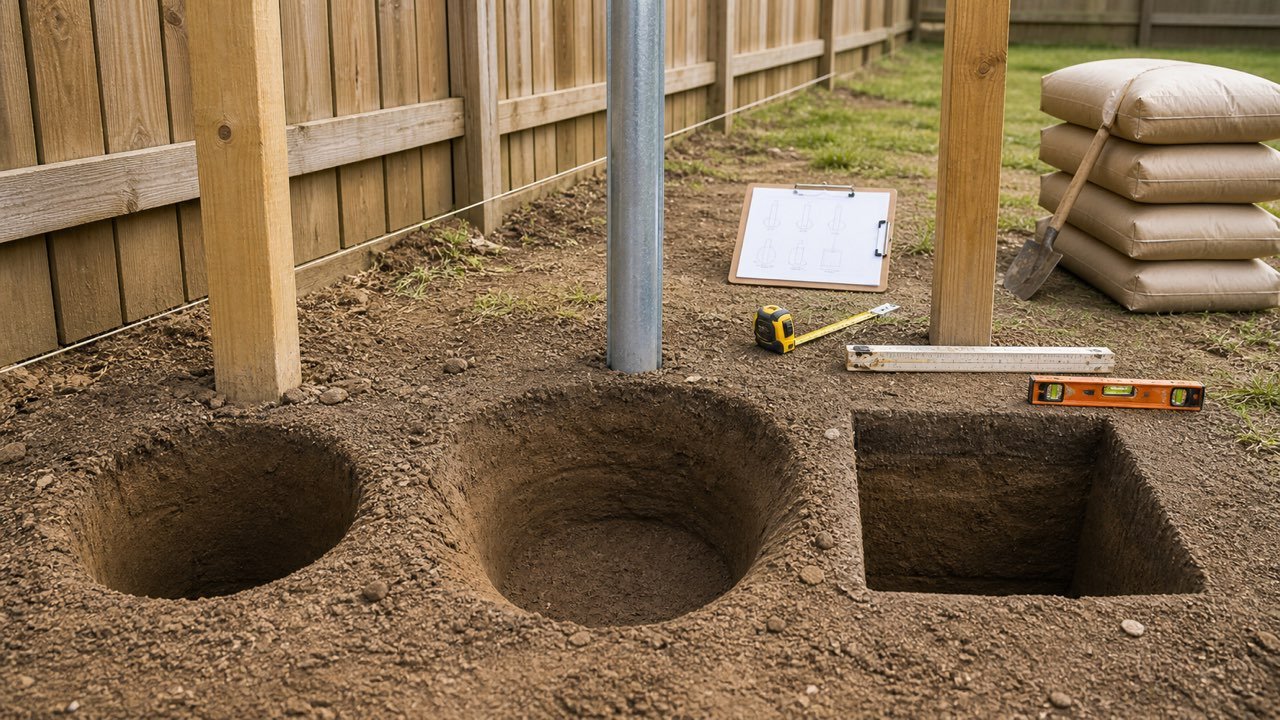
Calculate net concrete volume for straight or tapered post holes, deduct embedded posts, group different holes, and convert the total to bags.
Read Concrete Post Hole Volume: Round, Square and Tapered
Blog
Concrete Slab Formwork Area: Edges and Stop Ends
Calculate concrete slab formwork area for perimeter edges, blockouts, stop ends and suspended soffits with metric and imperial examples.
Read Concrete Slab Formwork Area: Edges and Stop Ends
Blog
Concrete Slab Thickness: Drawings and Field Checks
Check concrete slab thickness from current drawings, loads and field boundaries, then calculate how each thickness change affects concrete volume.
Read Concrete Slab Thickness: Drawings and Field Checks
Blog
Concrete Wall Formwork Area: Faces and Openings
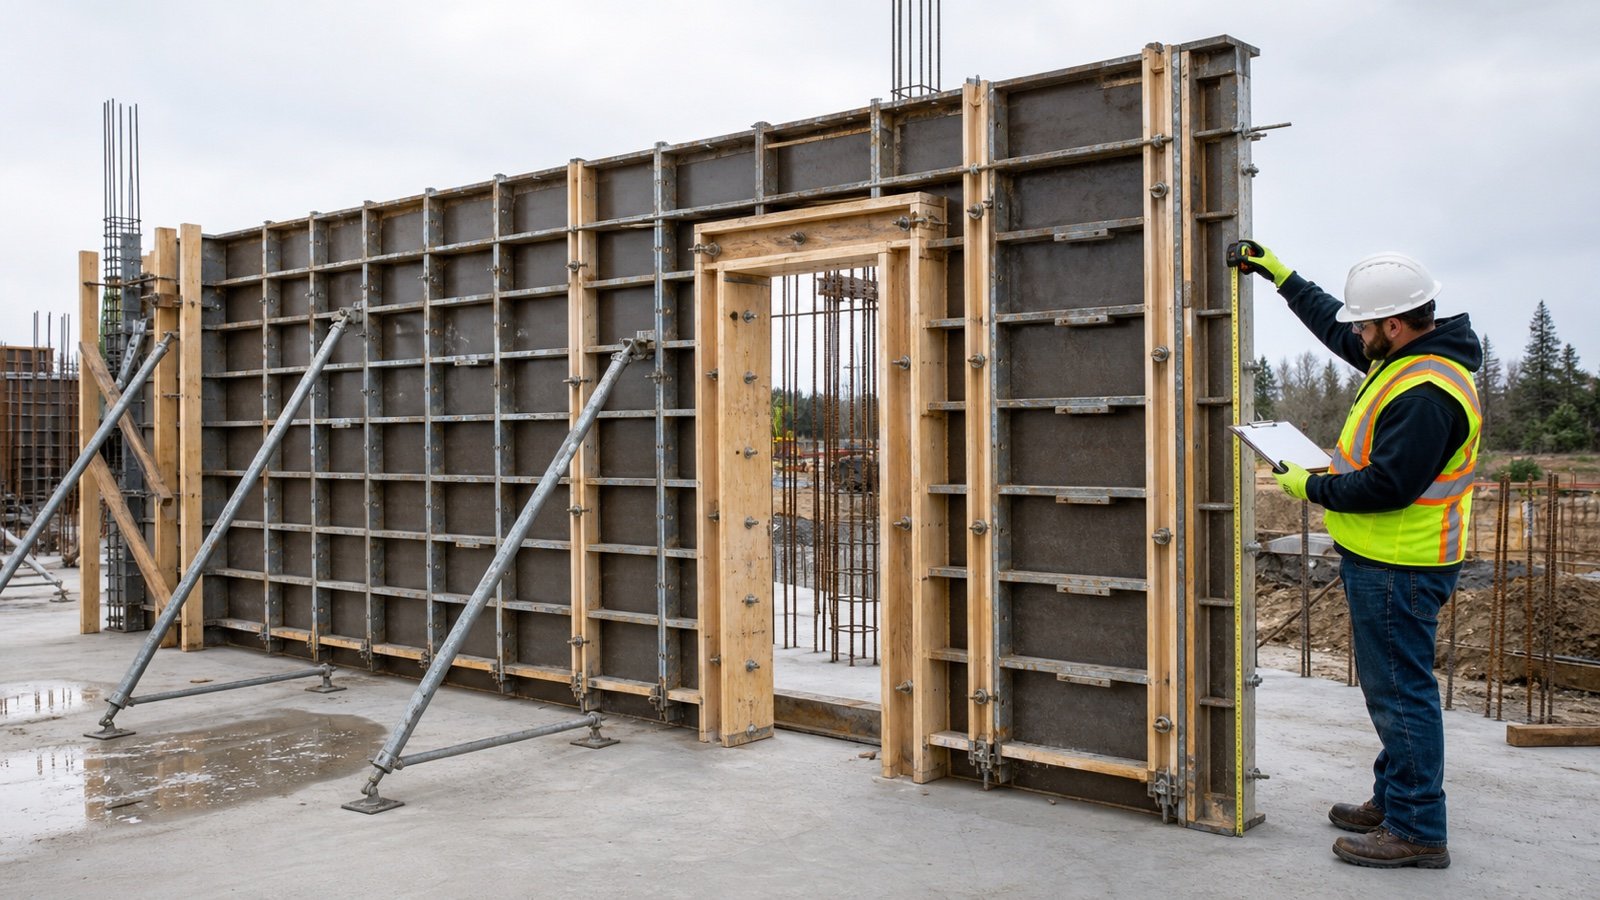
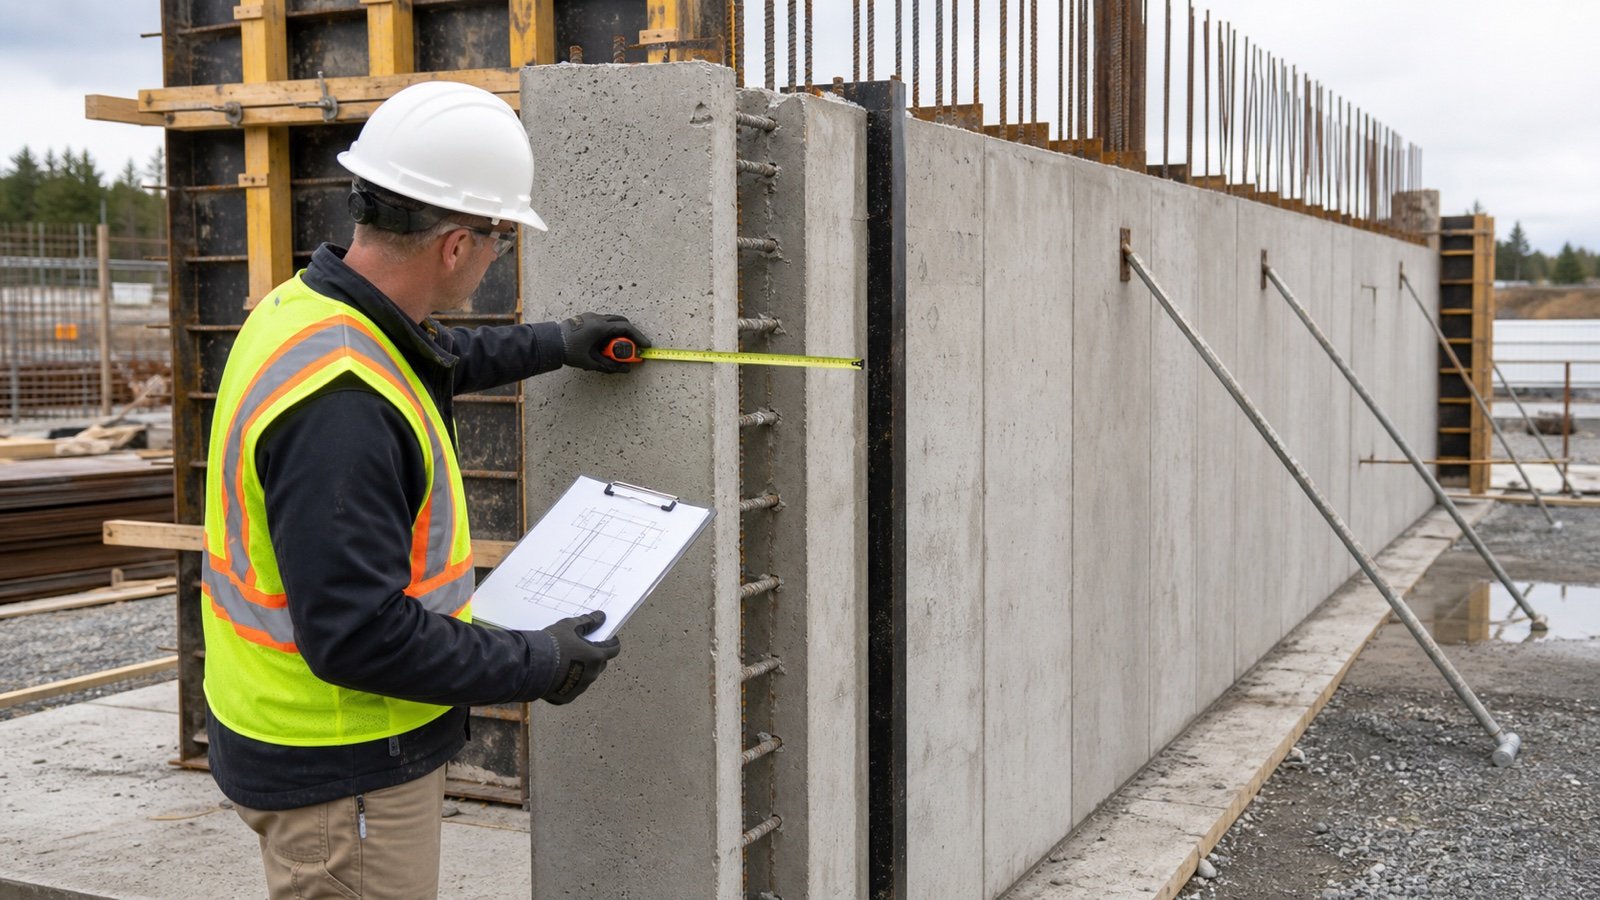
Calculate concrete wall formwork area for one or two formed faces, then schedule opening deductions, reveals, stop ends, joints, and reuse separately.
Read Concrete Wall Formwork Area: Faces and Openings
Blog
Concrete Wall Takeoff: Zones and Openings
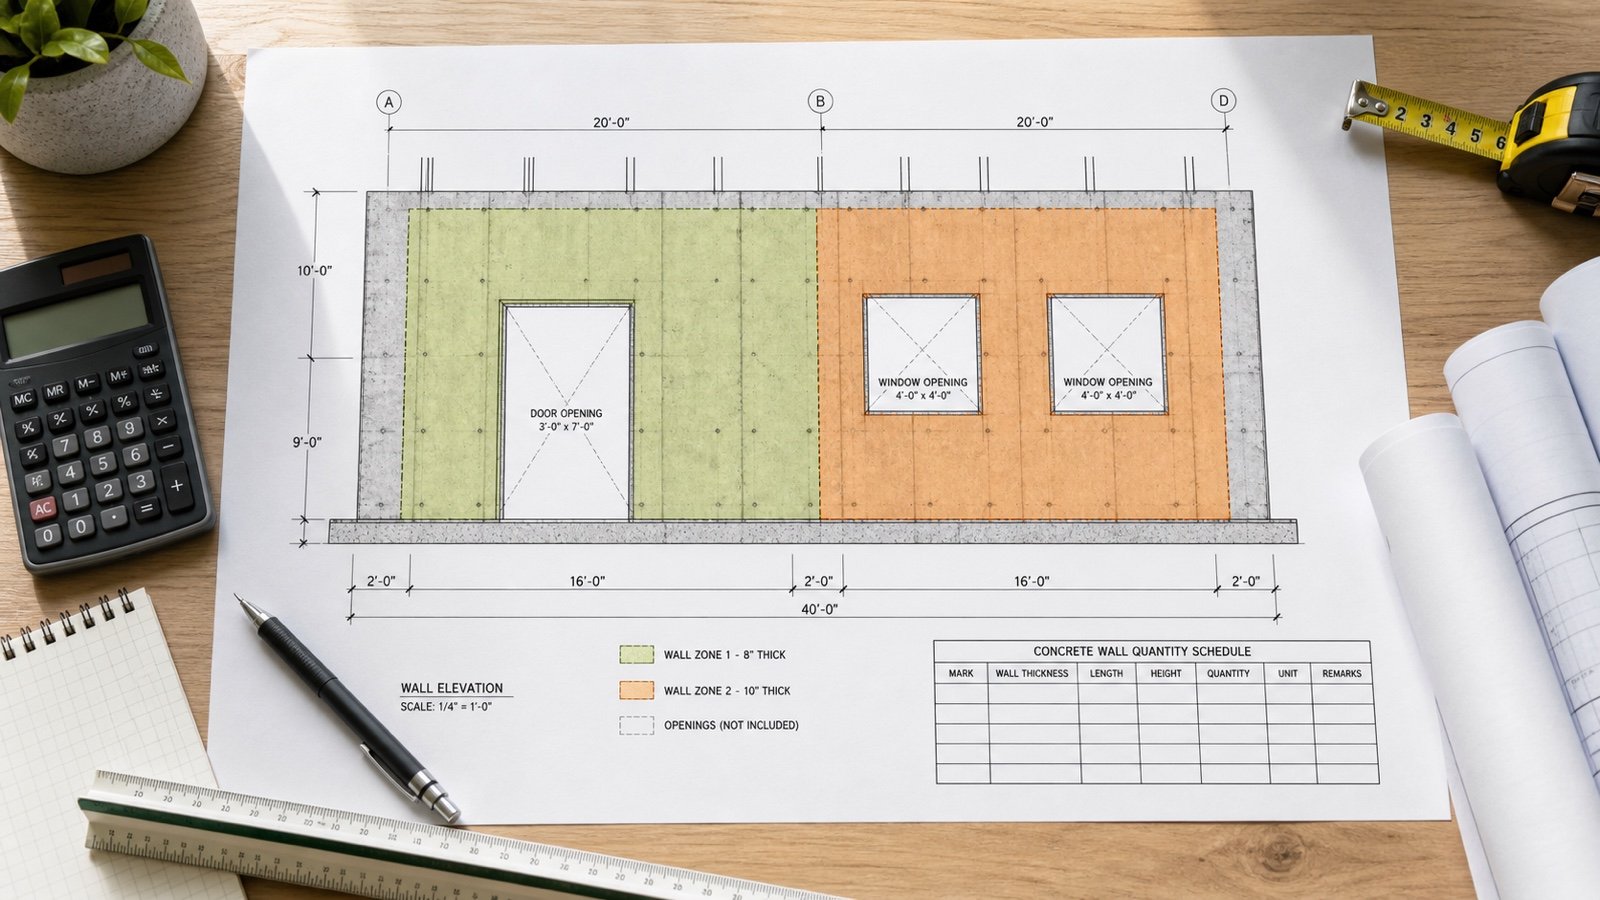
Prepare a concrete wall quantity takeoff from current drawings, with wall zones, opening deductions, checked metric and imperial examples, and a reviewable schedule.
Read Concrete Wall Takeoff: Zones and Openings
Blog
Concrete Wall Shapes: Steps, Pilasters and Tapers
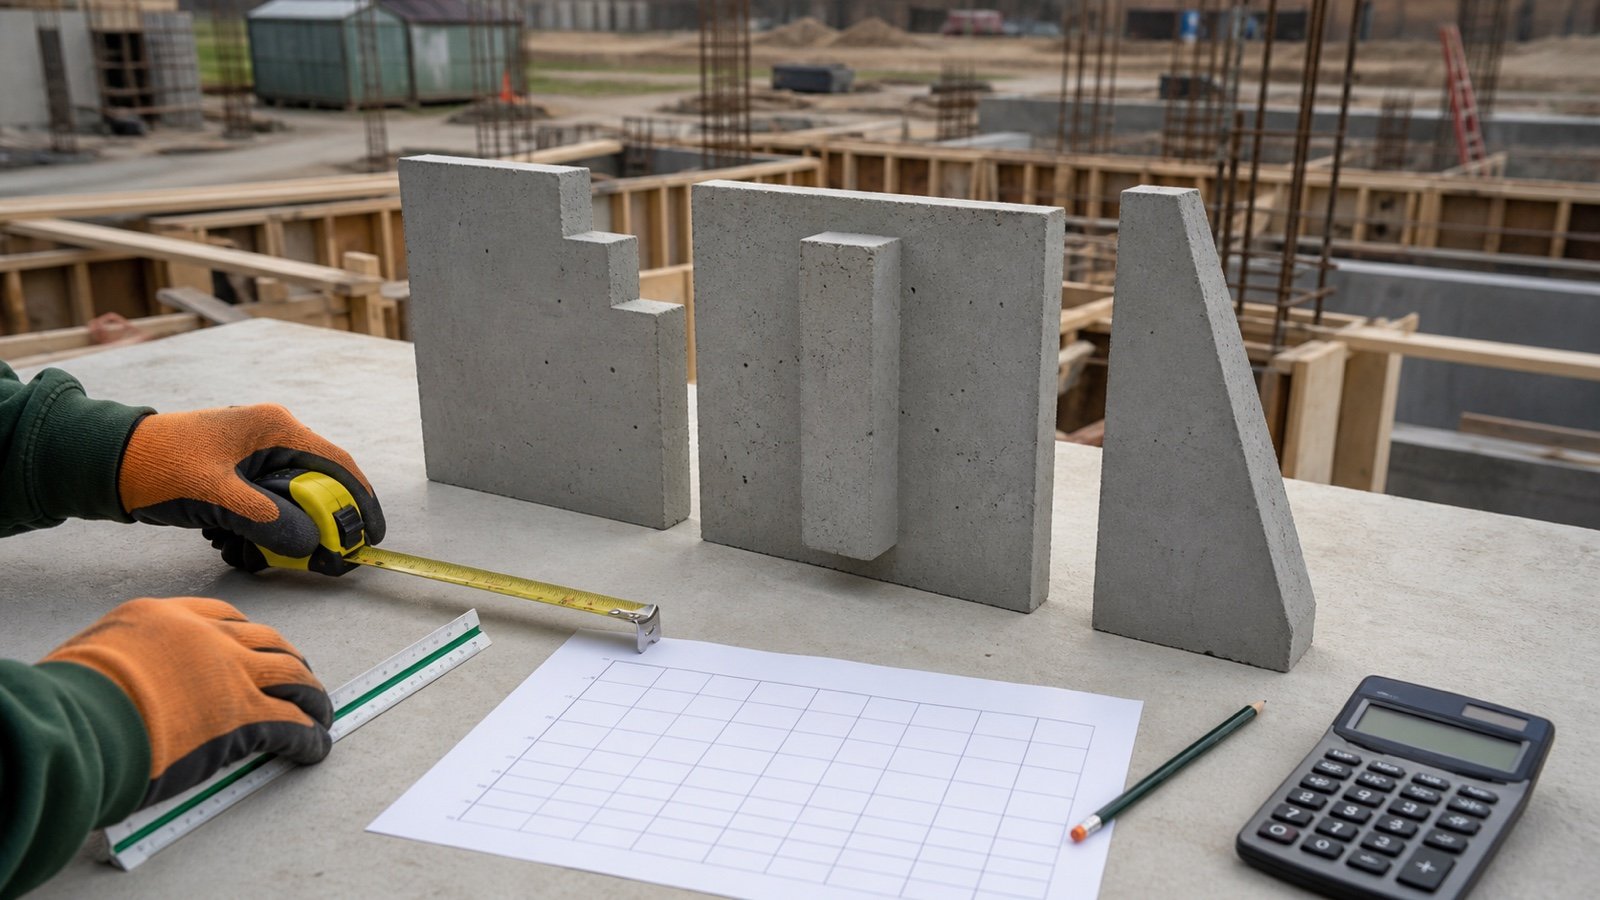
Calculate concrete wall steps, pilaster projections, linear tapers, battered sections, and concentric curves without double-counting shared volume.
Read Concrete Wall Shapes: Steps, Pilasters and Tapers
Blog
Concrete Wall Thickness: Drawings and Field Checks
Find the approved concrete wall thickness in plans, schedules, sections, ICF details, and field records before calculating volume or checking formwork.
Read Concrete Wall Thickness: Drawings and Field Checks
Blog
Control Joint vs Expansion Joint: How to Read the Detail
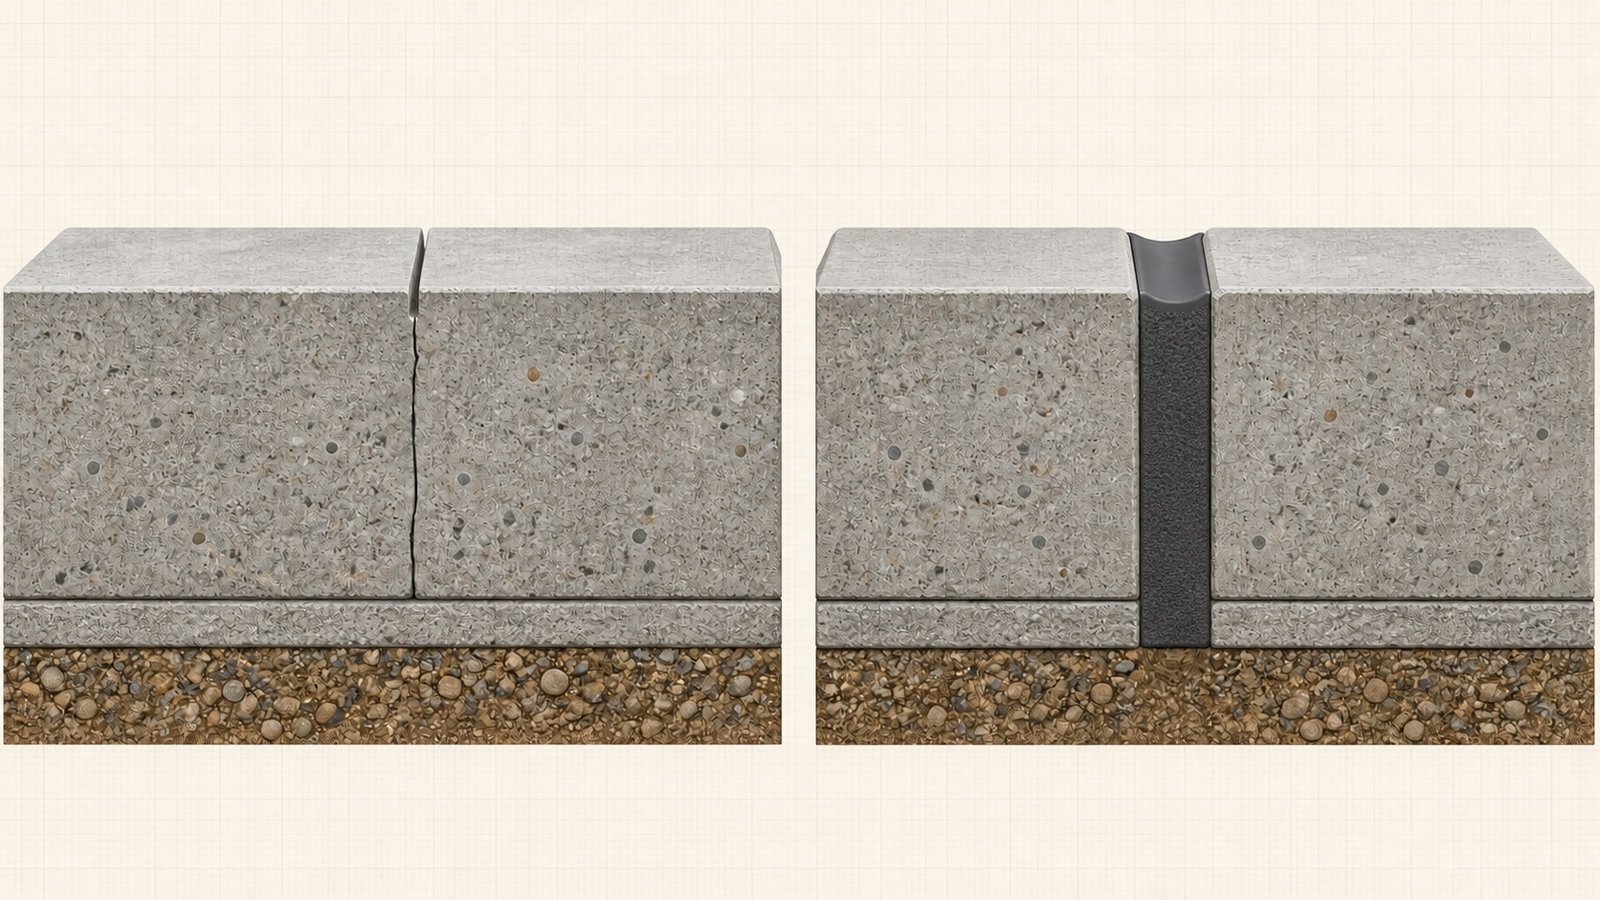
Compare concrete control, contraction, isolation and expansion joints by purpose, depth, reinforcement, materials and drawing details before estimating or repair.
Read Control Joint vs Expansion Joint: How to Read the Detail
Blog
Dry Concrete Bag vs Mixed Volume: What Changes?
Separate dry package mass, loose contents, measured water, fresh mixed yield, placed concrete and hardened concrete using named-product examples.
Read Dry Concrete Bag vs Mixed Volume: What Changes?
Blog
Footing Excavation vs Concrete: Net Backfill
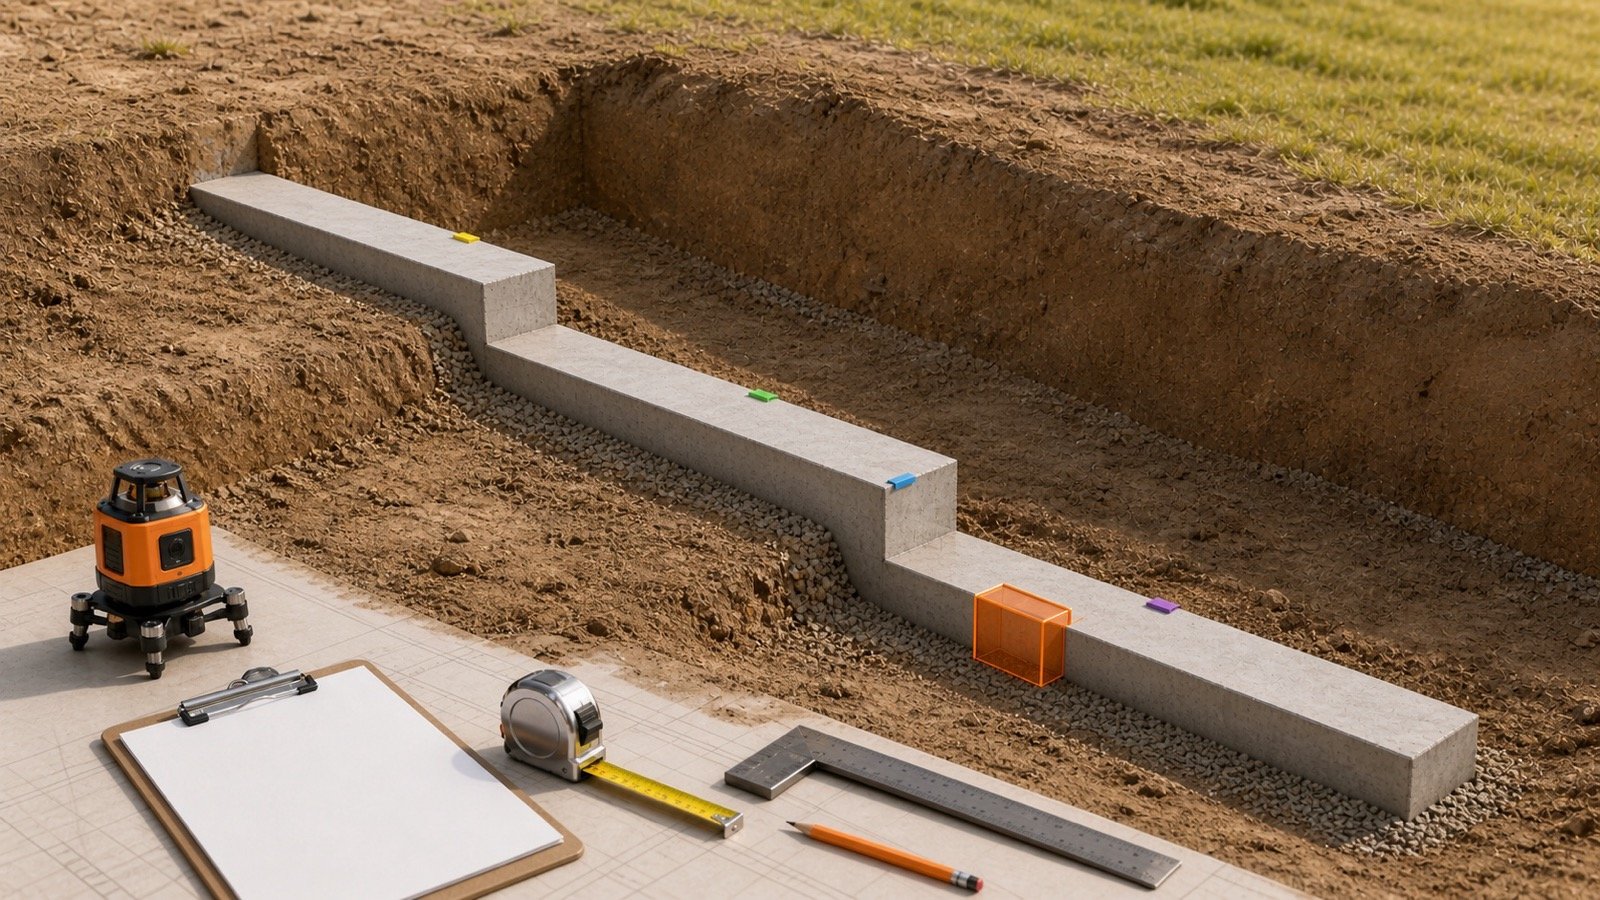
Separate footing excavation, concrete displacement and remaining backfill with compatible boundaries, formulas, worked examples and a closed volume ledger.
Read Footing Excavation vs Concrete: Net Backfill
Blog
Footing Formwork Area: Sides, Ends and Reuse
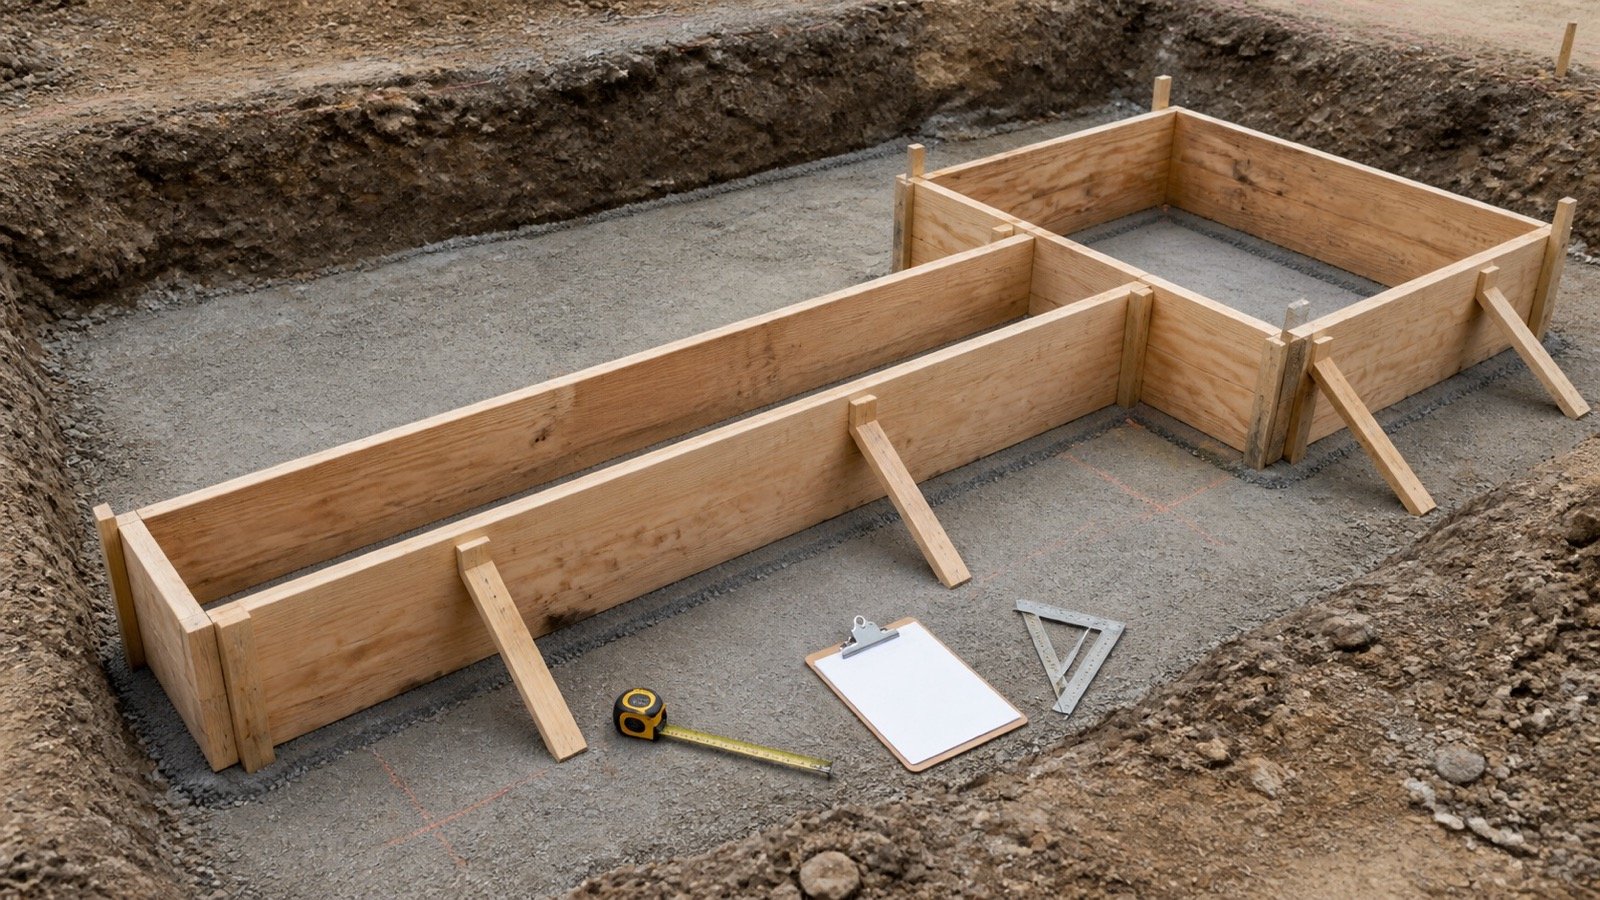
Calculate footing formwork contact area for strip, pad and stepped sections. Include formed sides and ends, exclude earth contact, and plan reusable sets.
Read Footing Formwork Area: Sides, Ends and Reuse
Blog
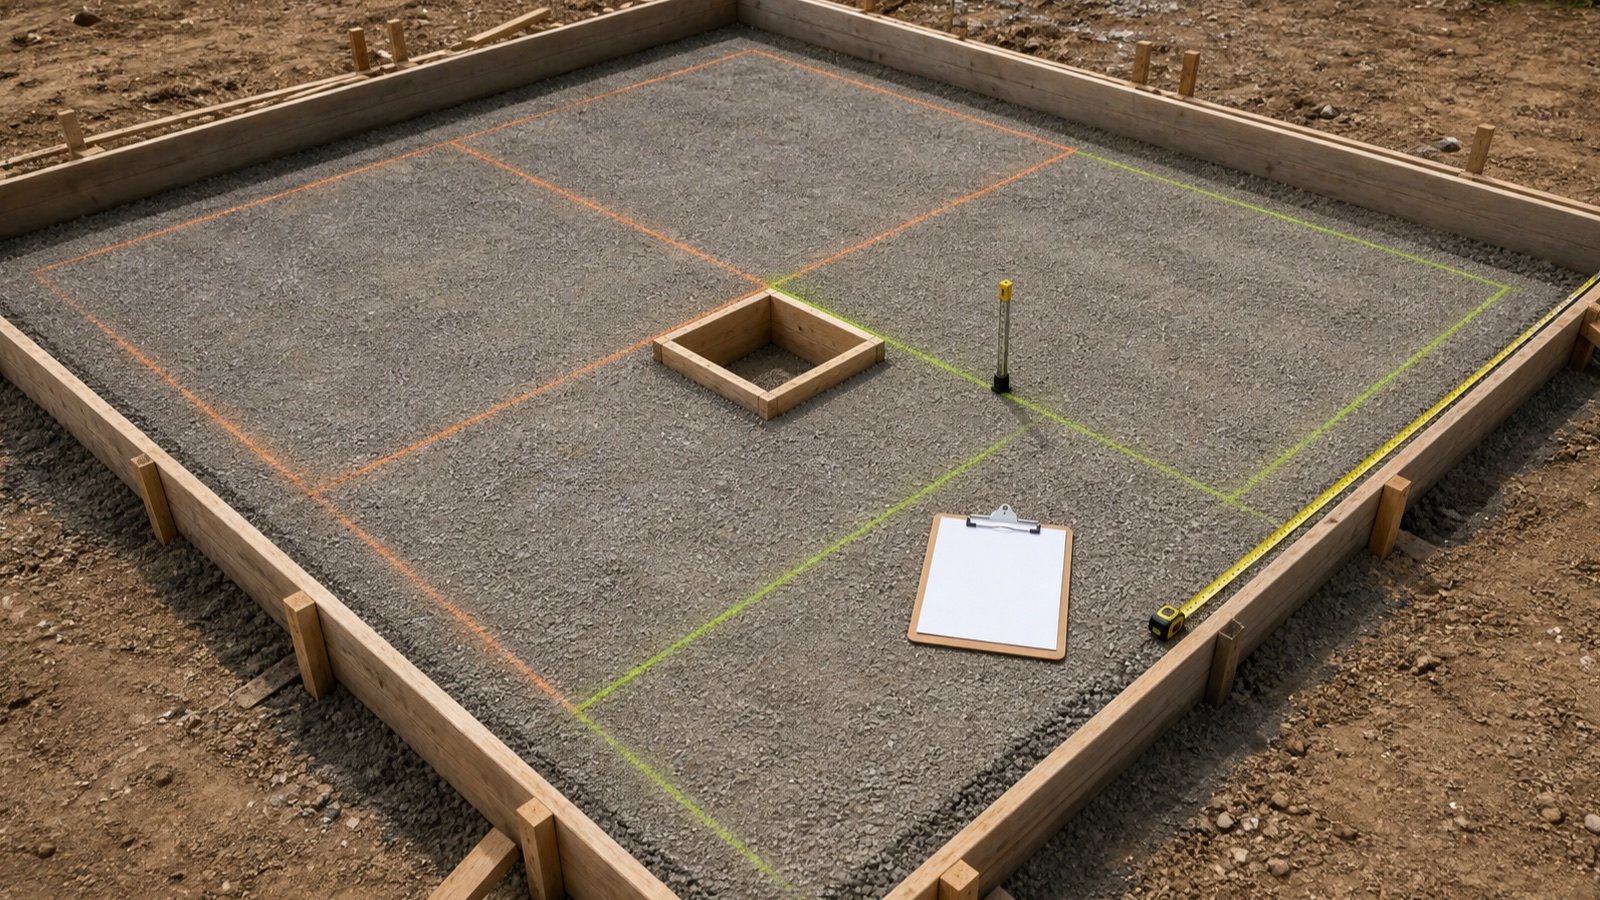
Concrete Slab Volume: Zones and Deductions
Calculate concrete slab volume from plan area and thickness, then add edge zones and subtract verified openings without double-counting concrete.
Read Concrete Slab Volume: Zones and Deductions
Blog
How to Measure Expansion Joints for Sealant and Filler
Measure straight, curved and perimeter expansion-joint runs, avoid double-counting shared edges, and separate changing profiles for a material takeoff.
Read How to Measure Expansion Joints for Sealant and Filler
Blog
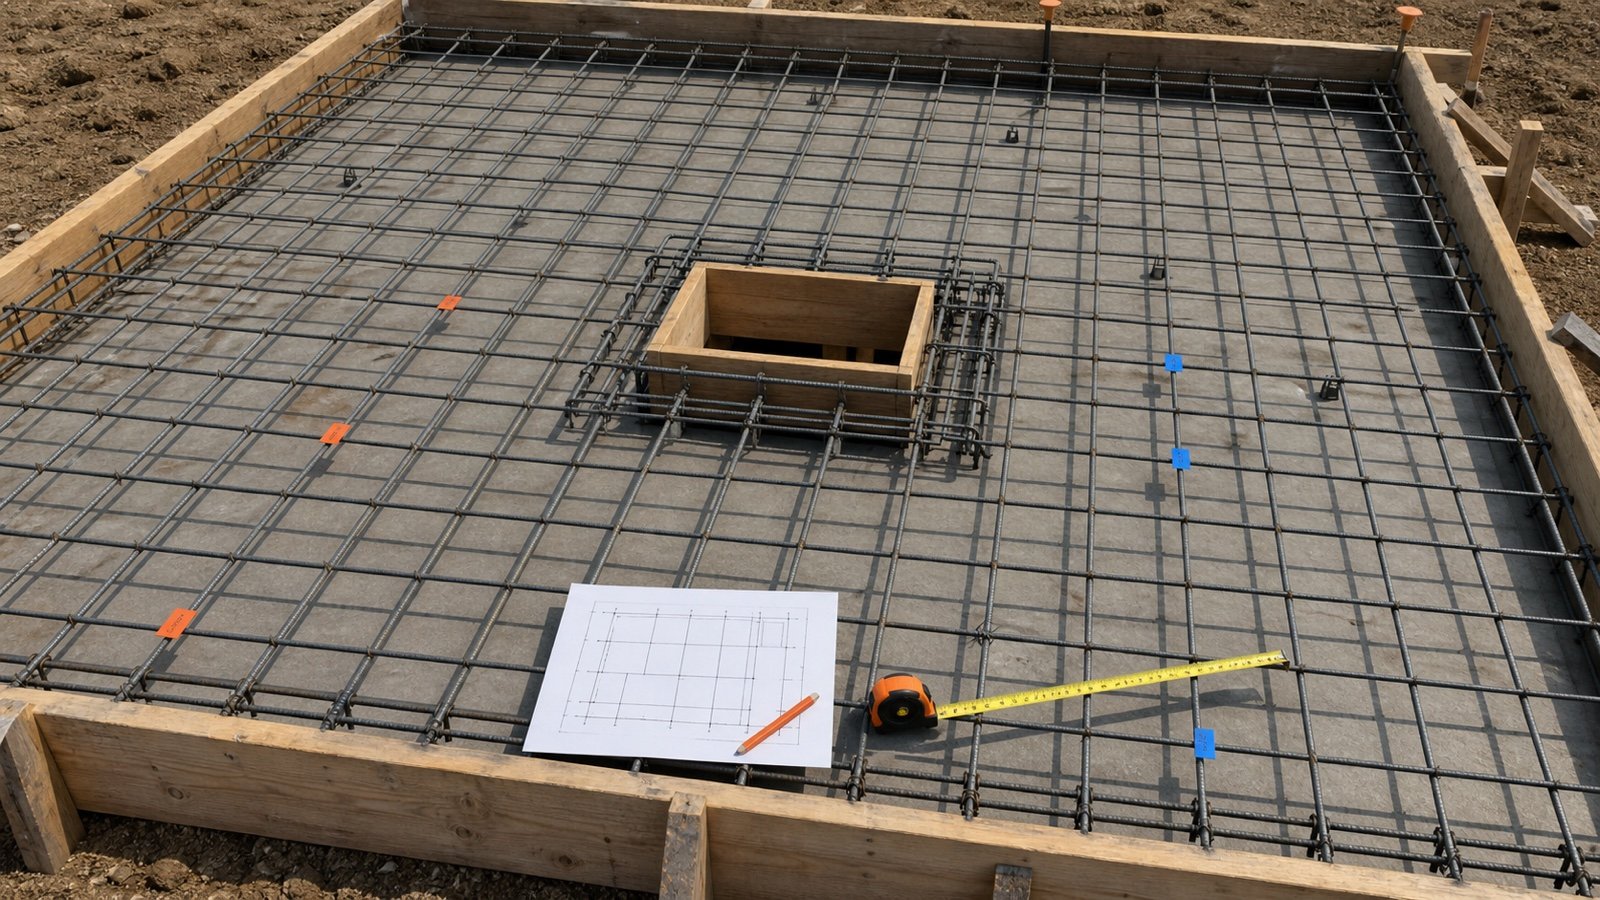
How to Measure Rebar for a Concrete Slab
Measure a concrete slab rebar layout by direction, spacing, layer and bar mark, with checked metric and imperial examples and an opening workflow.
Read How to Measure Rebar for a Concrete Slab
Blog
Oversized Post Hole Concrete: Extra Volume
Calculate the extra concrete caused by a wider, collapsed, or irregular post hole using measured sections, checked volume differences, and current package yield.
Read Oversized Post Hole Concrete: Extra Volume
Blog
Post Displacement: Net Concrete Volume
Subtract the verified part of a post, sleeve or hardware that overlaps a concrete-filled post hole, with checked metric and imperial examples.
Read Post Displacement: Net Concrete Volume
Blog
Post Hole Concrete Worksheet: Mixed Groups
Build a checked concrete quantity schedule for line, corner, end, and gate post groups, then combine compatible volumes and round packages in the correct order.
Read Post Hole Concrete Worksheet: Mixed Groups
Blog
Ready-Mix Concrete: Cubic-Yard Ordering
Convert checked concrete geometry into a cubic-yard order while keeping allowance, supplier increments, delivered minimums and commercial charges separate.
Read Ready-Mix Concrete: Cubic-Yard Ordering
Blog
Ready-Mix Delivery: Truck Spacing
Plan ready-mix arrival and placement sequences with verified net placement rate, load-specific duration, handoff records and stop-call triggers.
Read Ready-Mix Delivery: Truck Spacing
Blog
Ready-Mix Quantity Revision: Add-On Loads
Recheck unfinished concrete geometry, confirmed future supply and supplier rounding before requesting an add-on or cleanup load.
Read Ready-Mix Quantity Revision: Add-On Loads
Blog
Ready-Mix Truck Loads: Count and Capacity
Split a confirmed ready-mix order into delivery loads using supplier-stated usable capacity, with full, final and mixed-capacity examples.
Read Ready-Mix Truck Loads: Count and Capacity
Blog
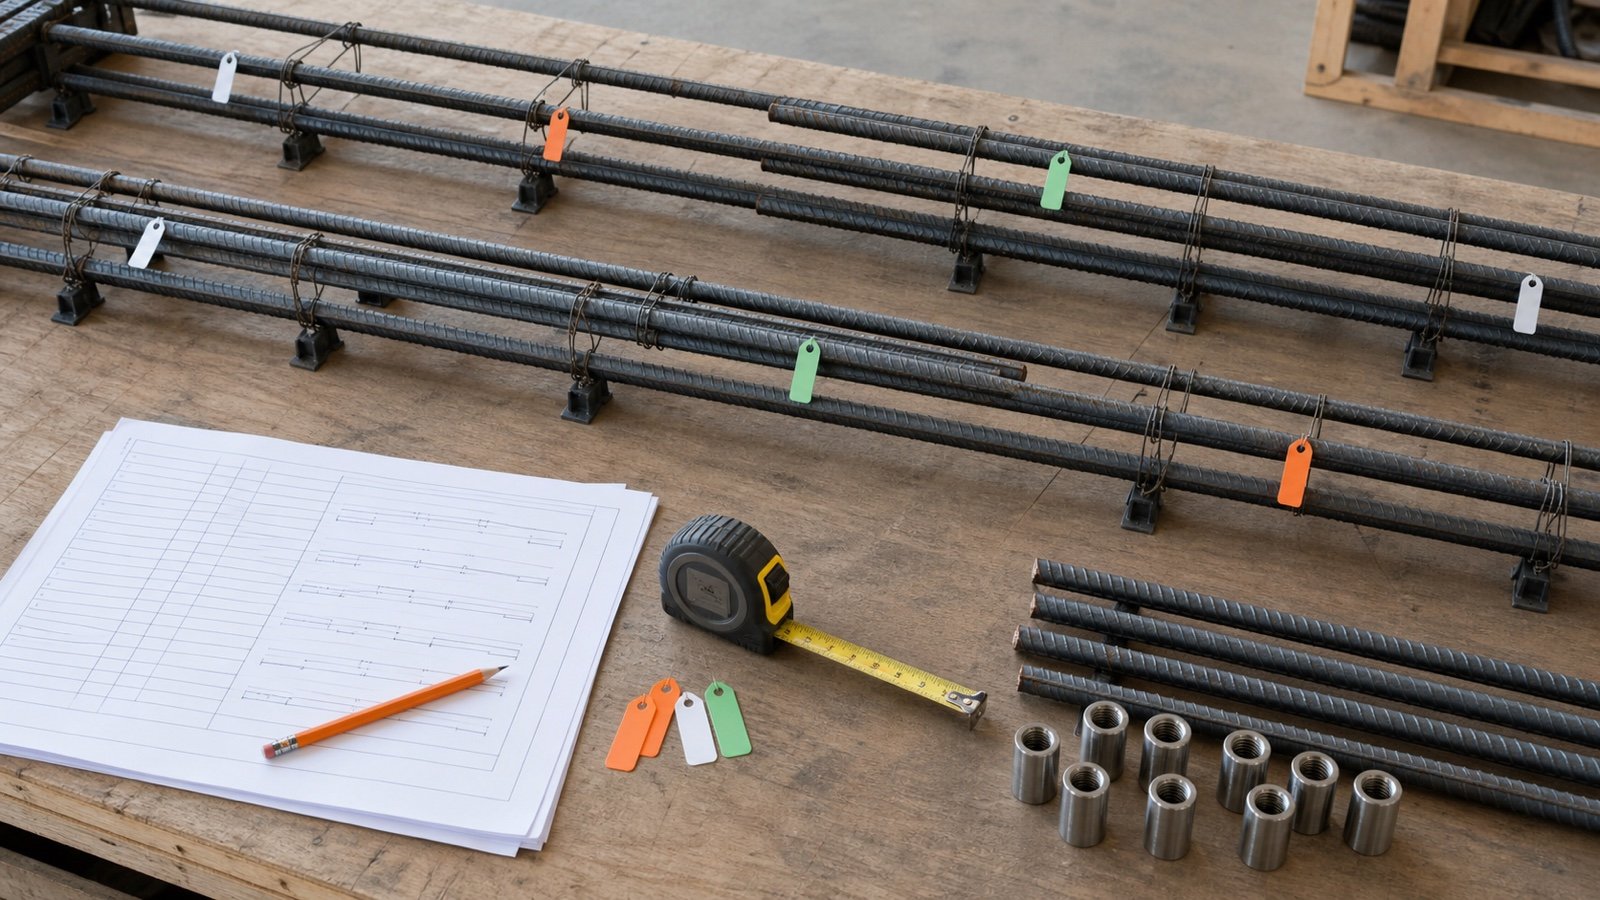
Rebar Cutting List: From Bar Takeoff to Stock Bars
Build a checked rebar cutting list from approved bar marks, test stock-bar patterns, track offcuts, and avoid treating total length as an exact order count.
Read Rebar Cutting List: From Bar Takeoff to Stock Bars
Blog
Rebar Splice Takeoff: Lap Length and Coupler Counts
Count approved rebar lap and mechanical splices, calculate added lap length, track stagger zones, and keep couplers separate from bar length.
Read Rebar Splice Takeoff: Lap Length and Coupler Counts
Charts
Rebar Size and Weight Chart: #3 to #18
Check #3 to #18 U.S. rebar nominal diameter, area, weight per foot, weight per metre, and soft-metric designation, with calculation examples and limits.
Read Rebar Size and Weight Chart: #3 to #18
Blog
Sealant Coverage per Tube: Joint Width and Depth Chart
Check theoretical sealant coverage per cartridge or sausage by joint width and depth, then plan whole packages without hiding field loss.
Read Sealant Coverage per Tube: Joint Width and Depth Chart
Blog
Stepped Footing Volume: Sections
Calculate stepped footing concrete from non-overlapping run sections, shown transition solids and verified deductions with checked metric and imperial examples.
Read Stepped Footing Volume: Sections
Blog
Strip Footing Length: Centreline and Clear Runs
Measure strip-footing length from centreline, outside, inside or clear-run dimensions without double-counting corners, T-junctions, crossings or changed-width sections.
Read Strip Footing Length: Centreline and Clear Runs
Blog
Thickened Edge Slab Volume: Sections
Calculate additional concrete below a uniform slab for square and sloped thickened edges, with exact corner and partial-run checks.
Read Thickened Edge Slab Volume: Sections