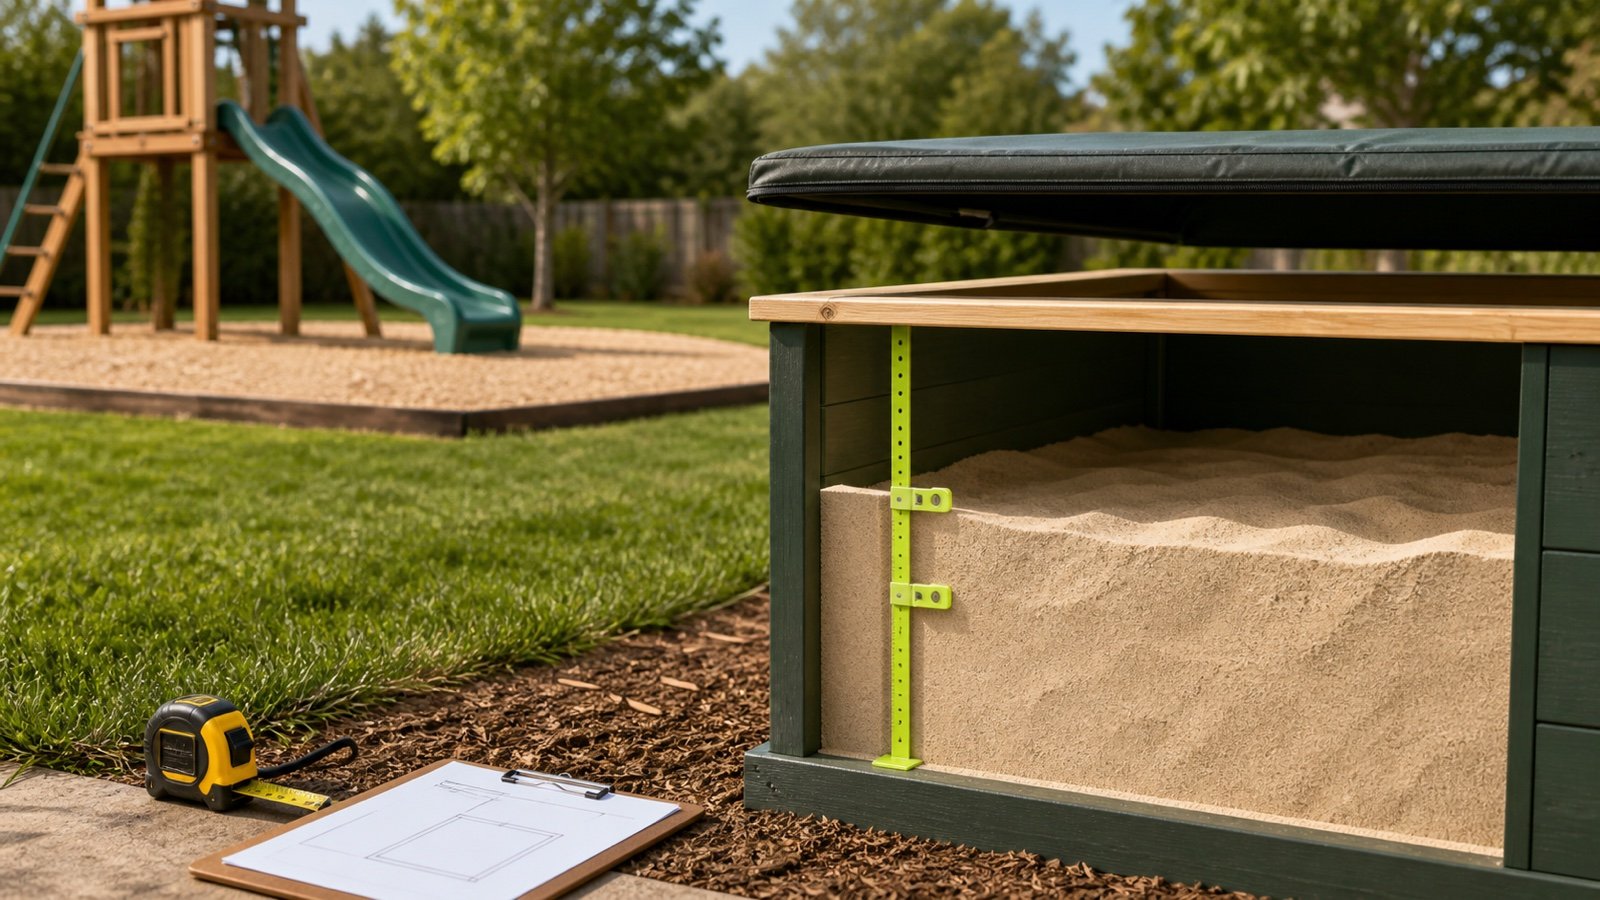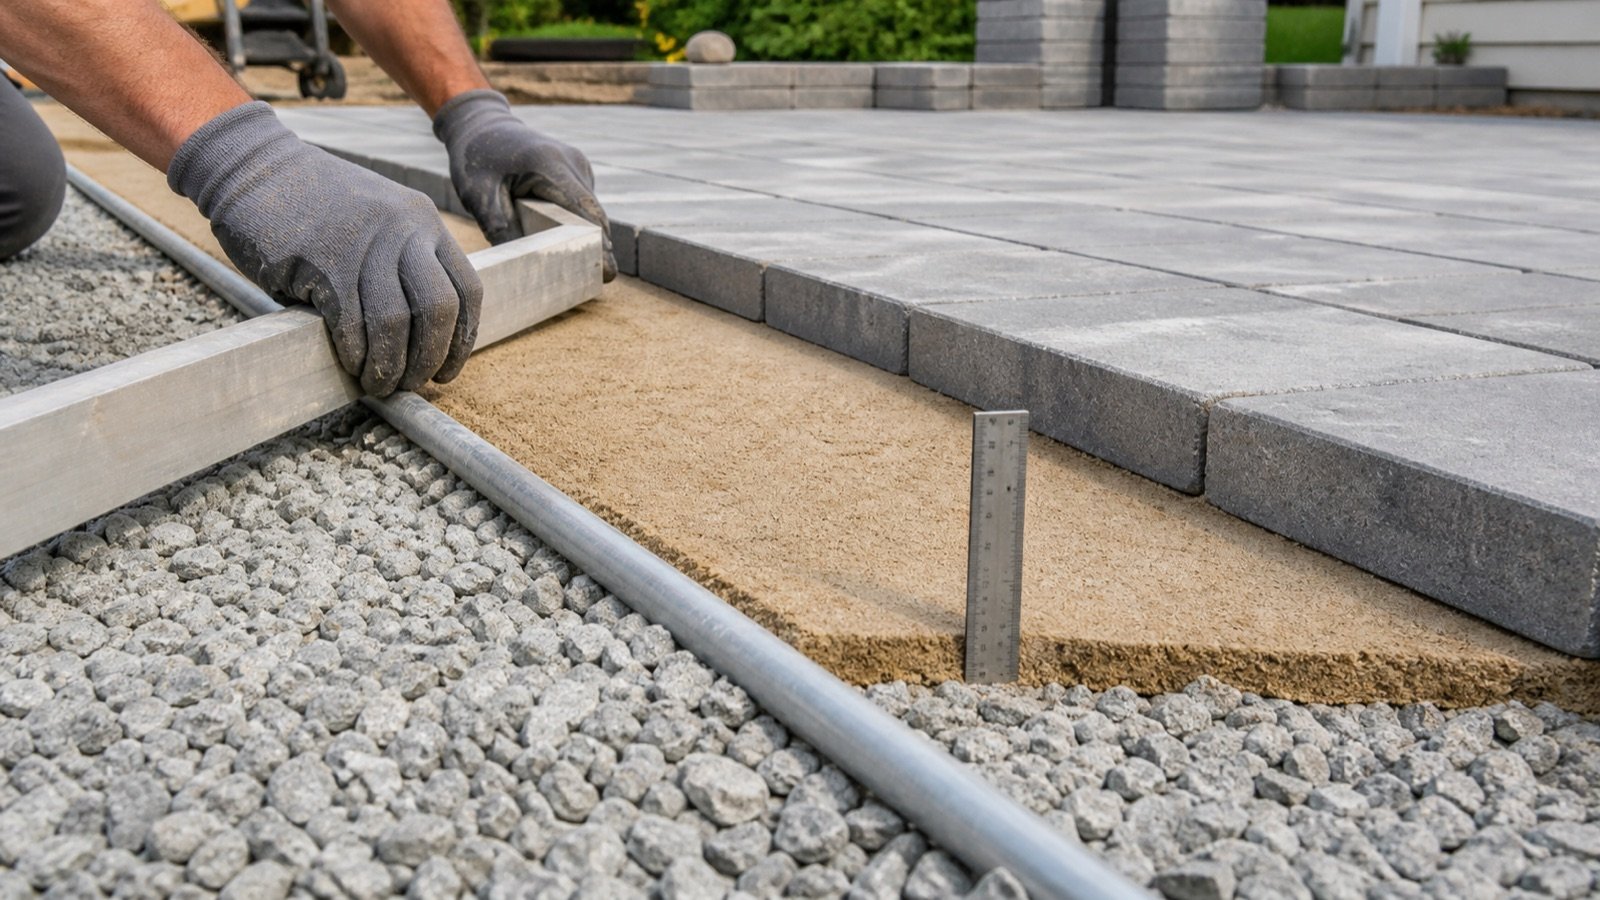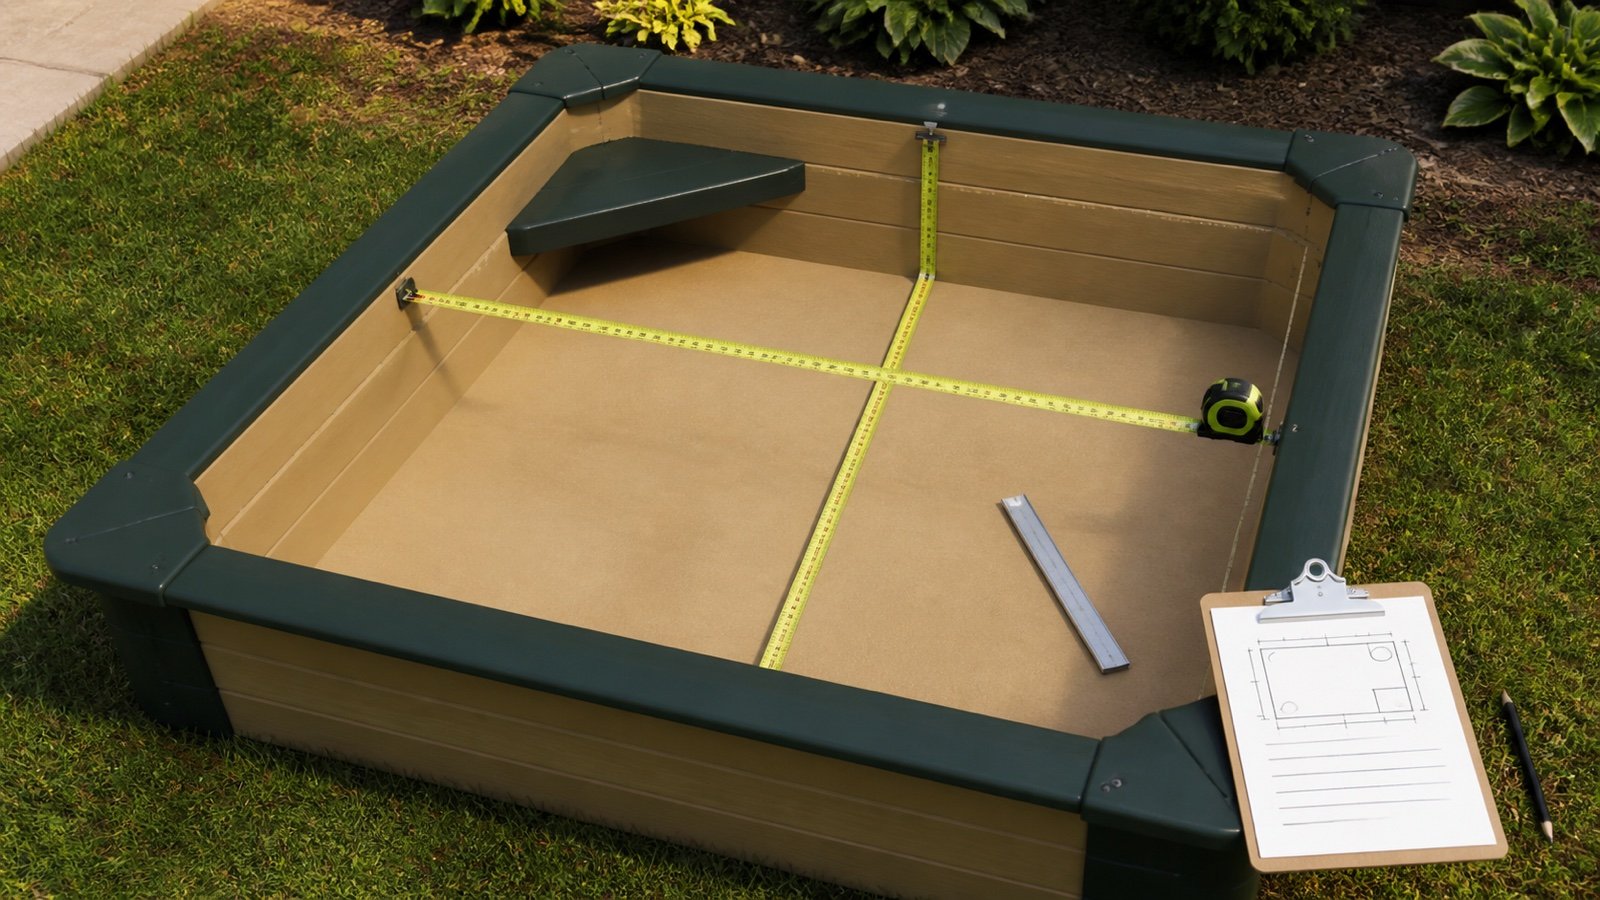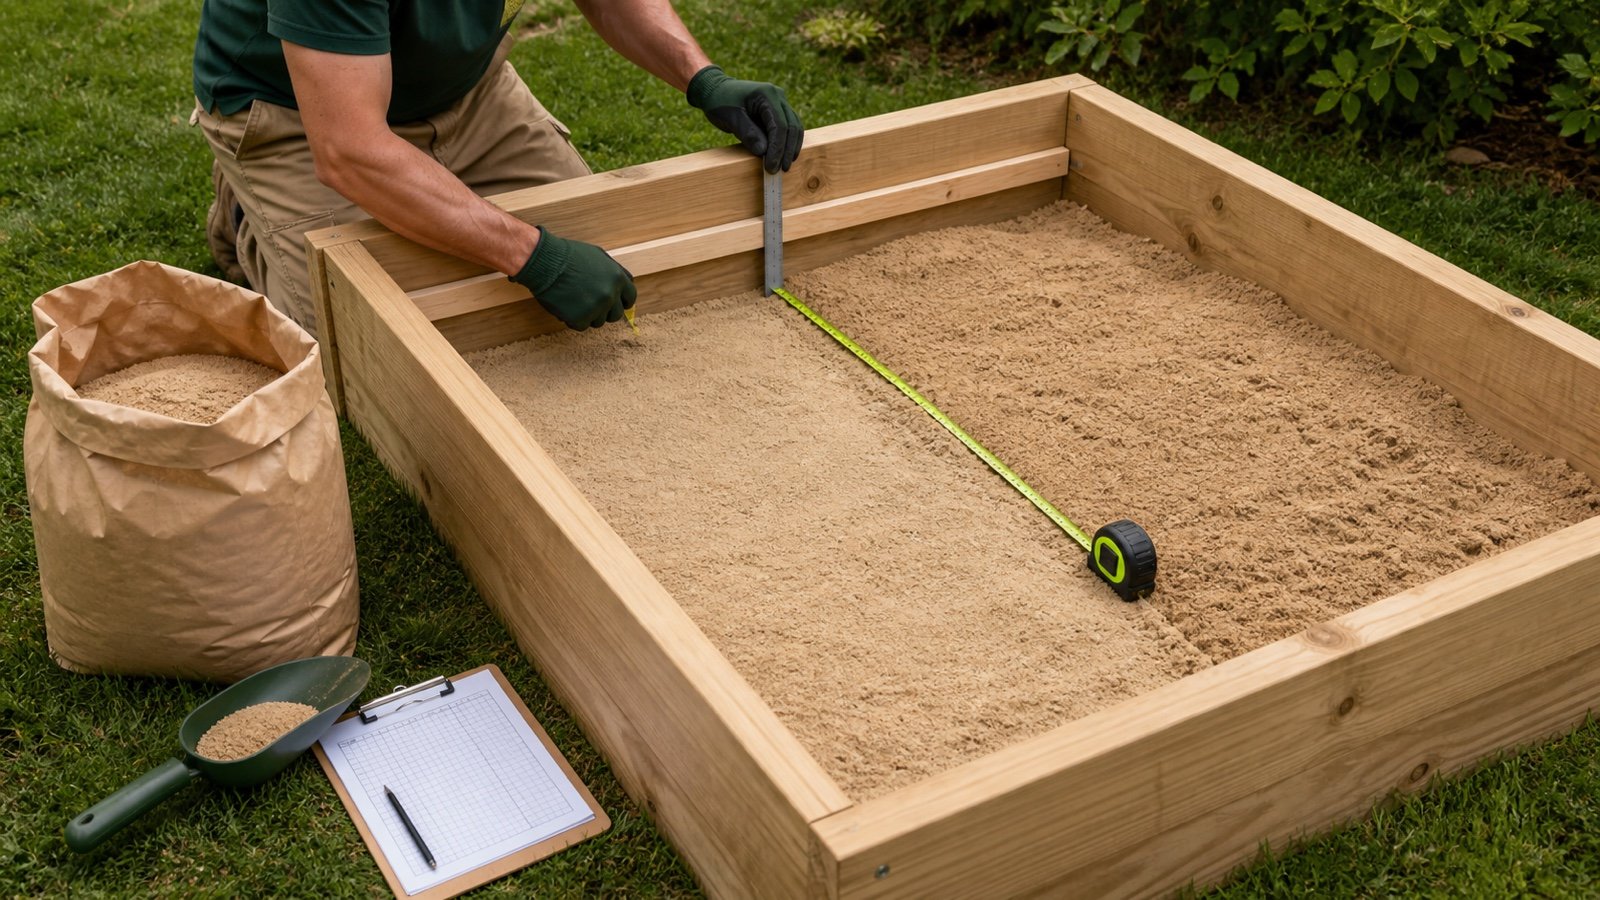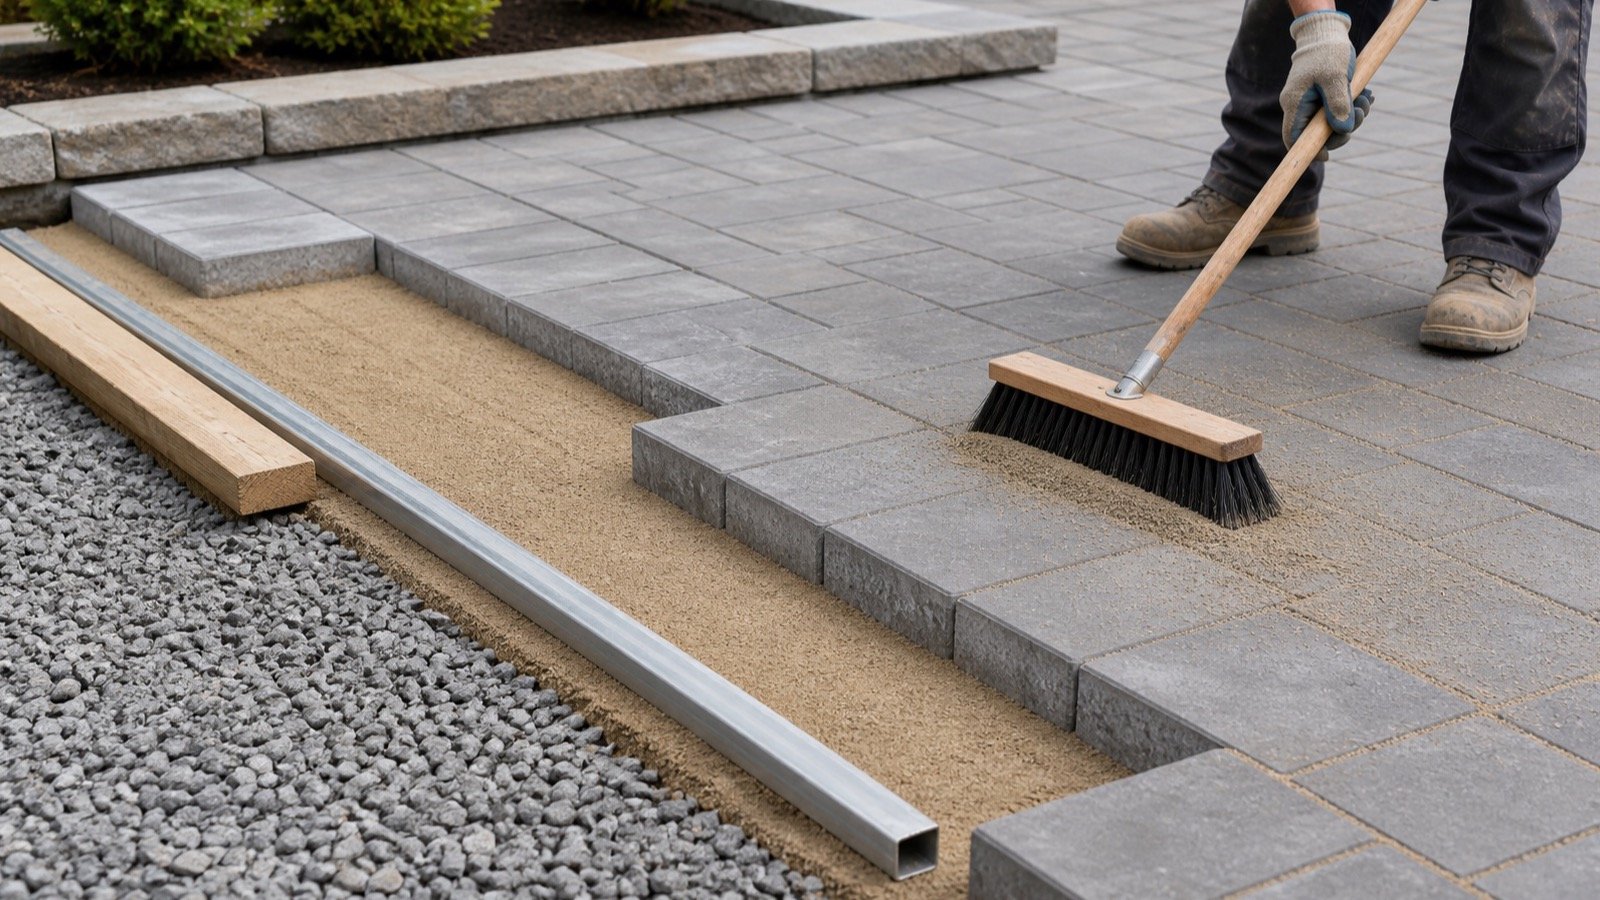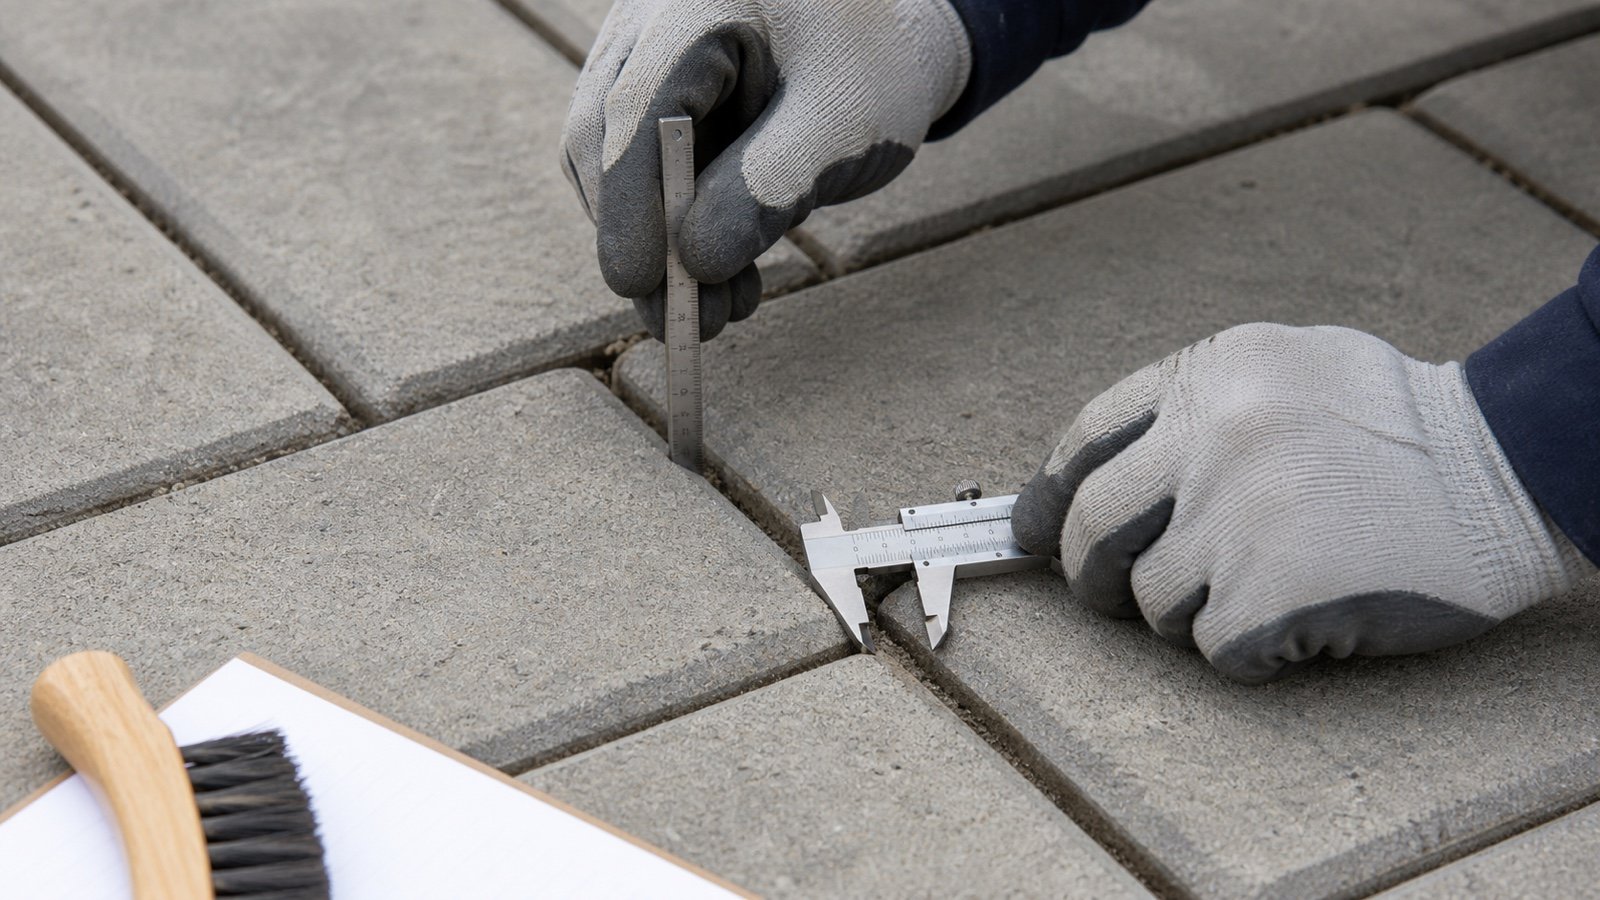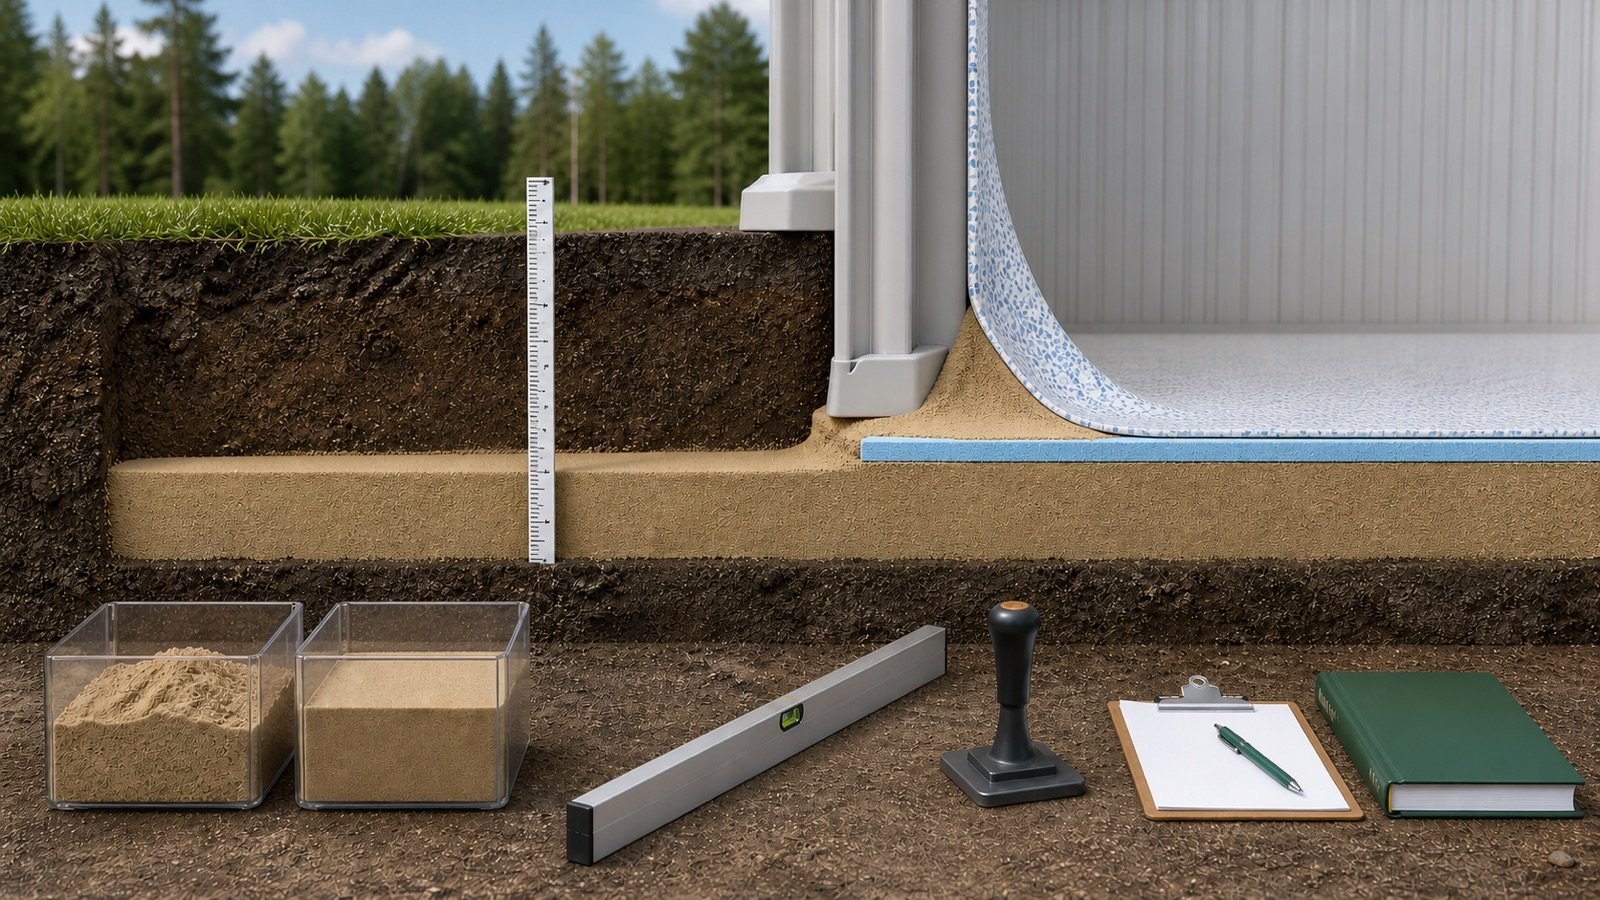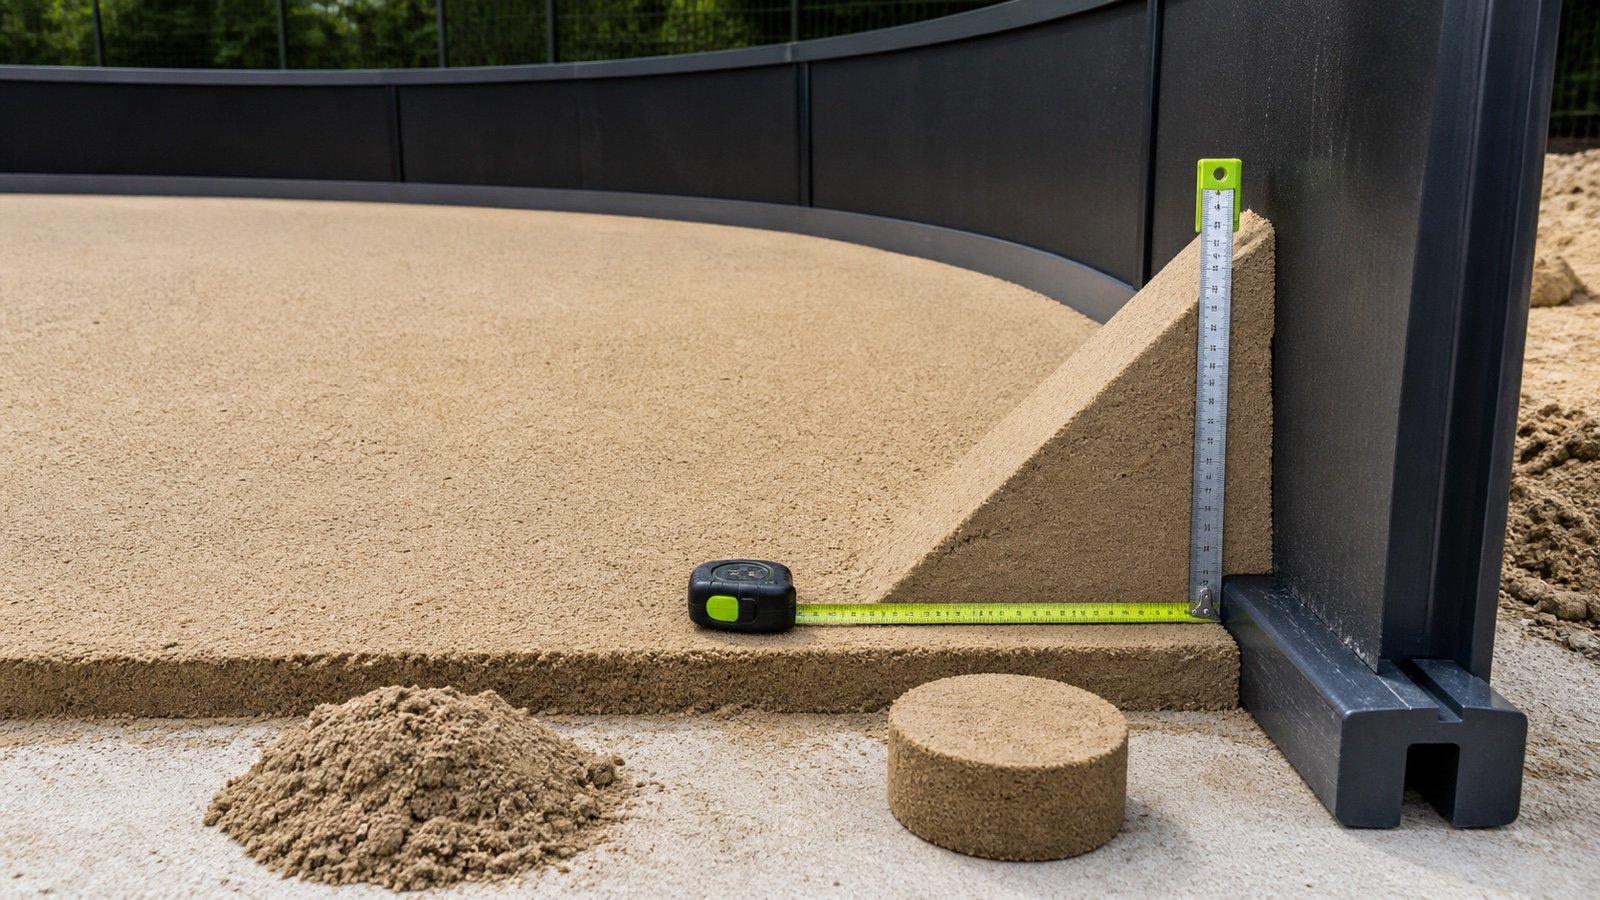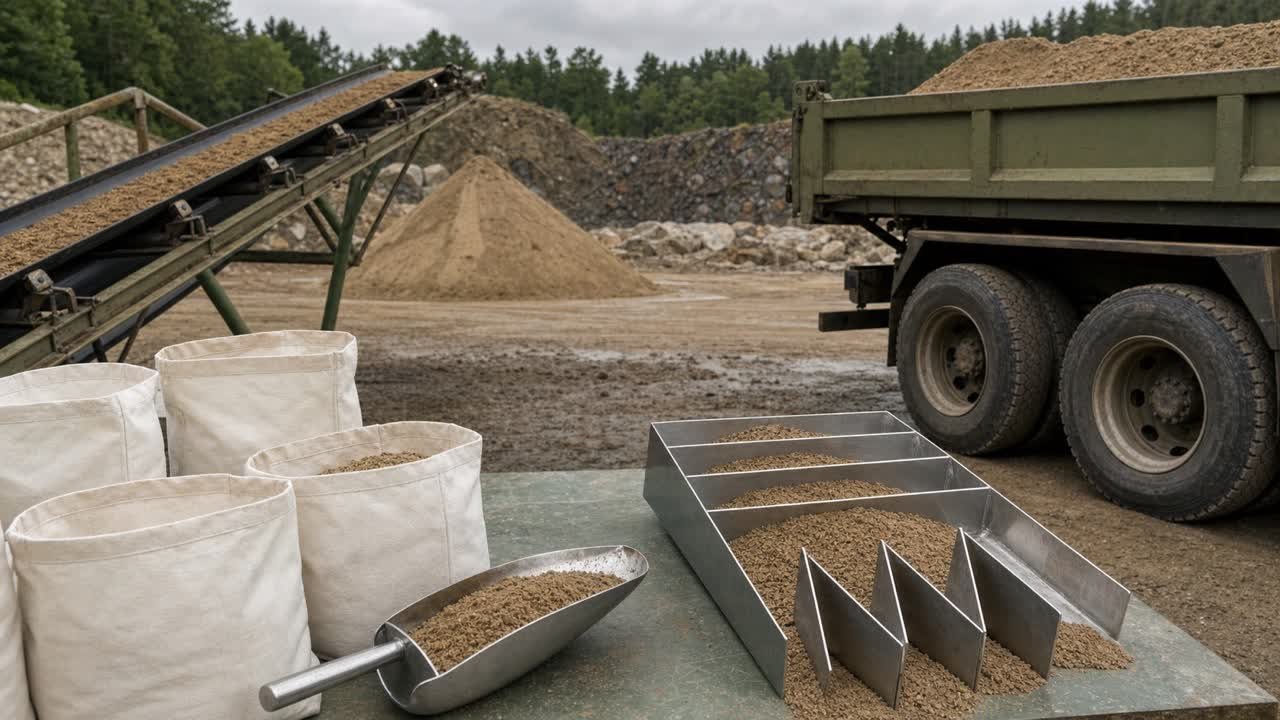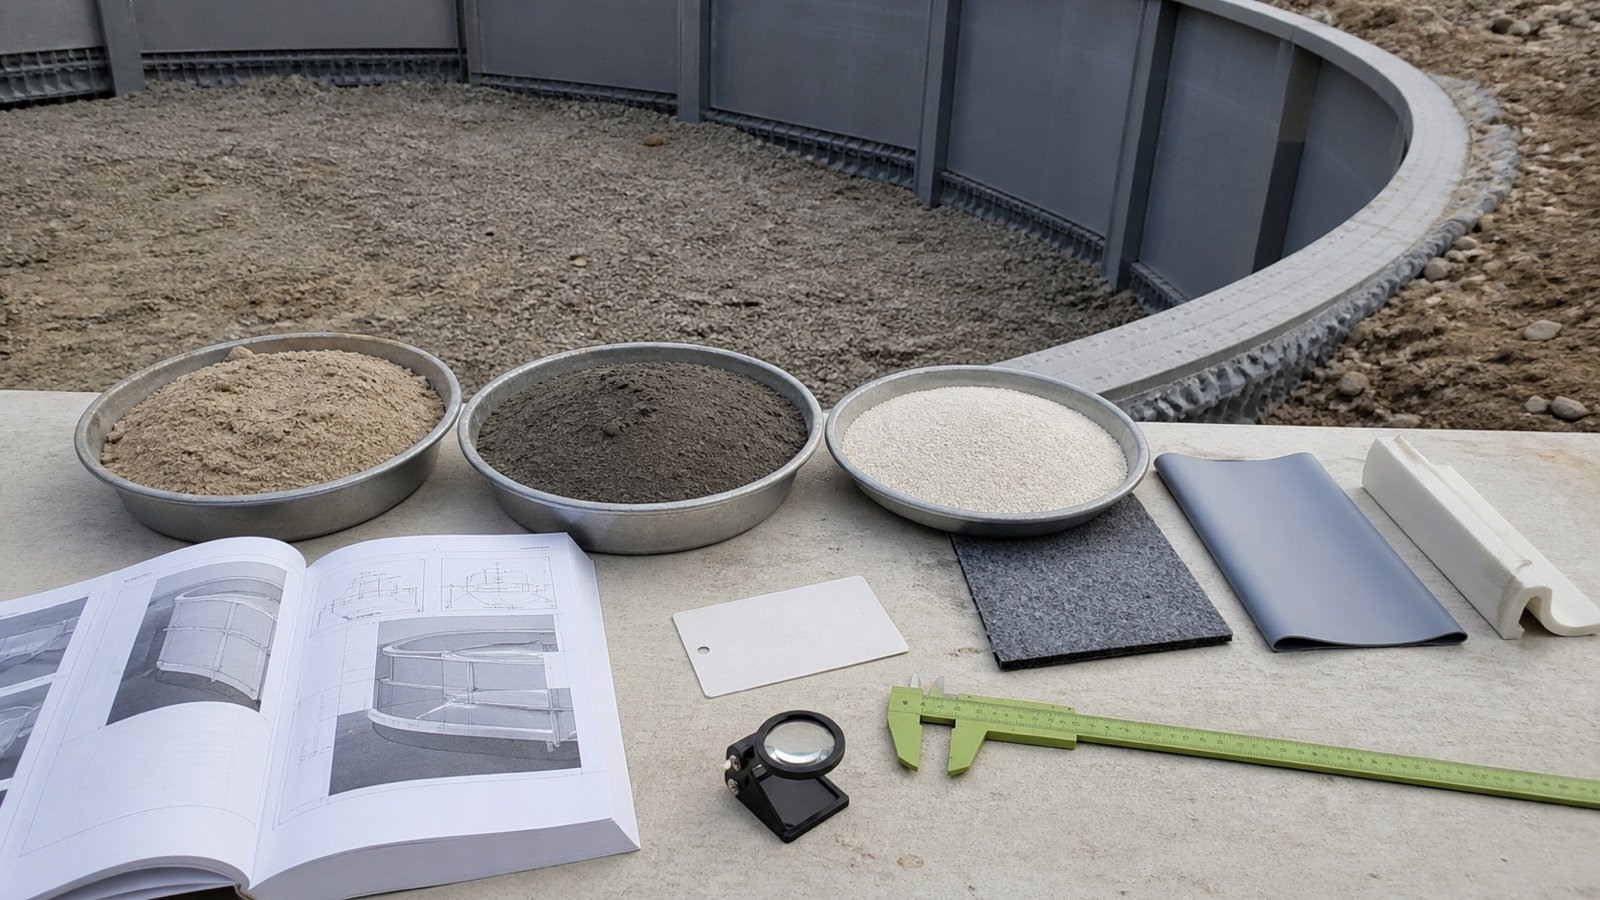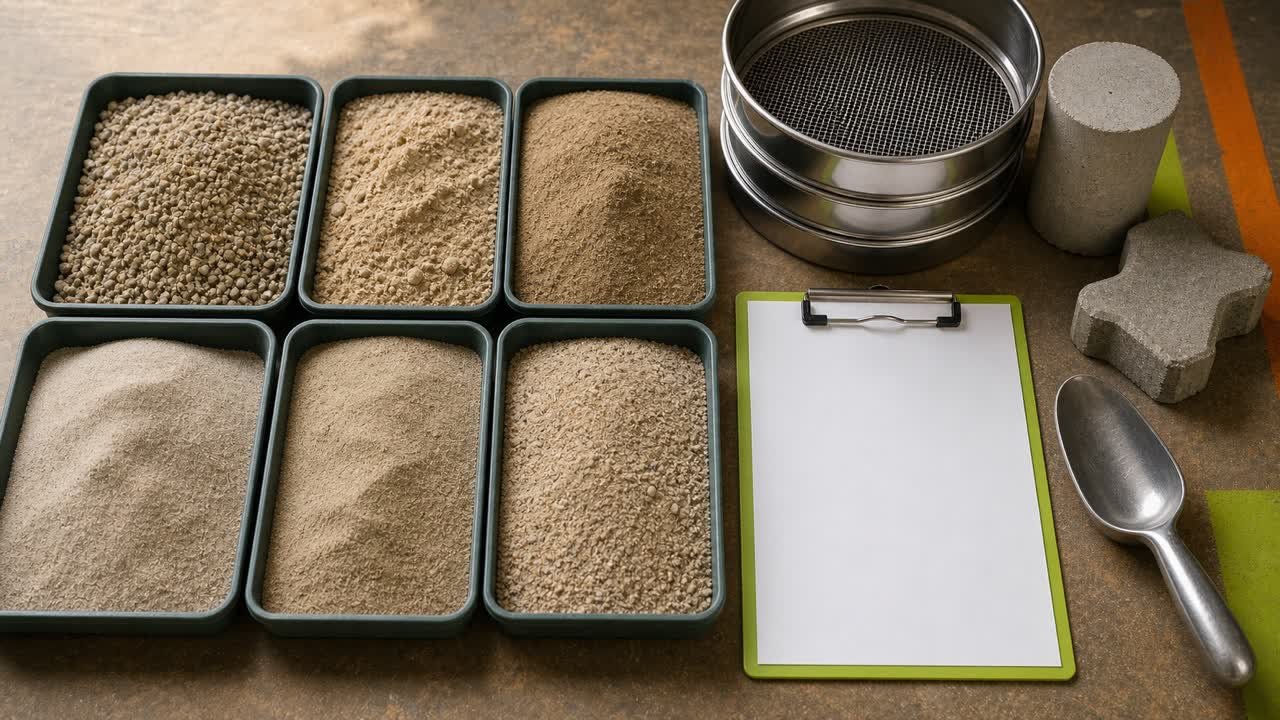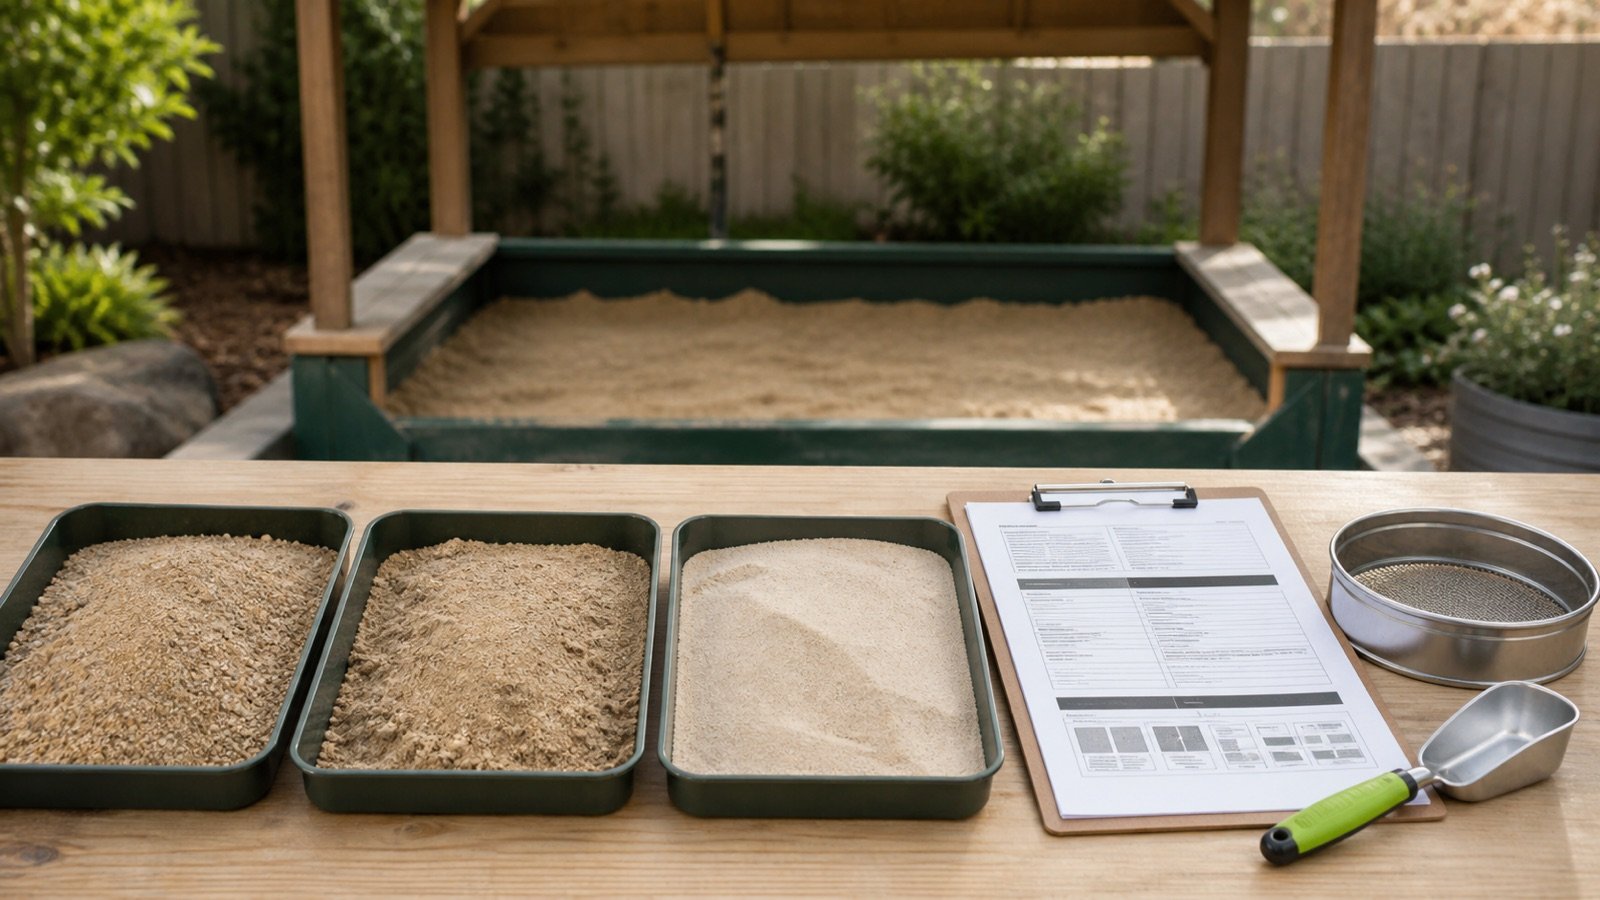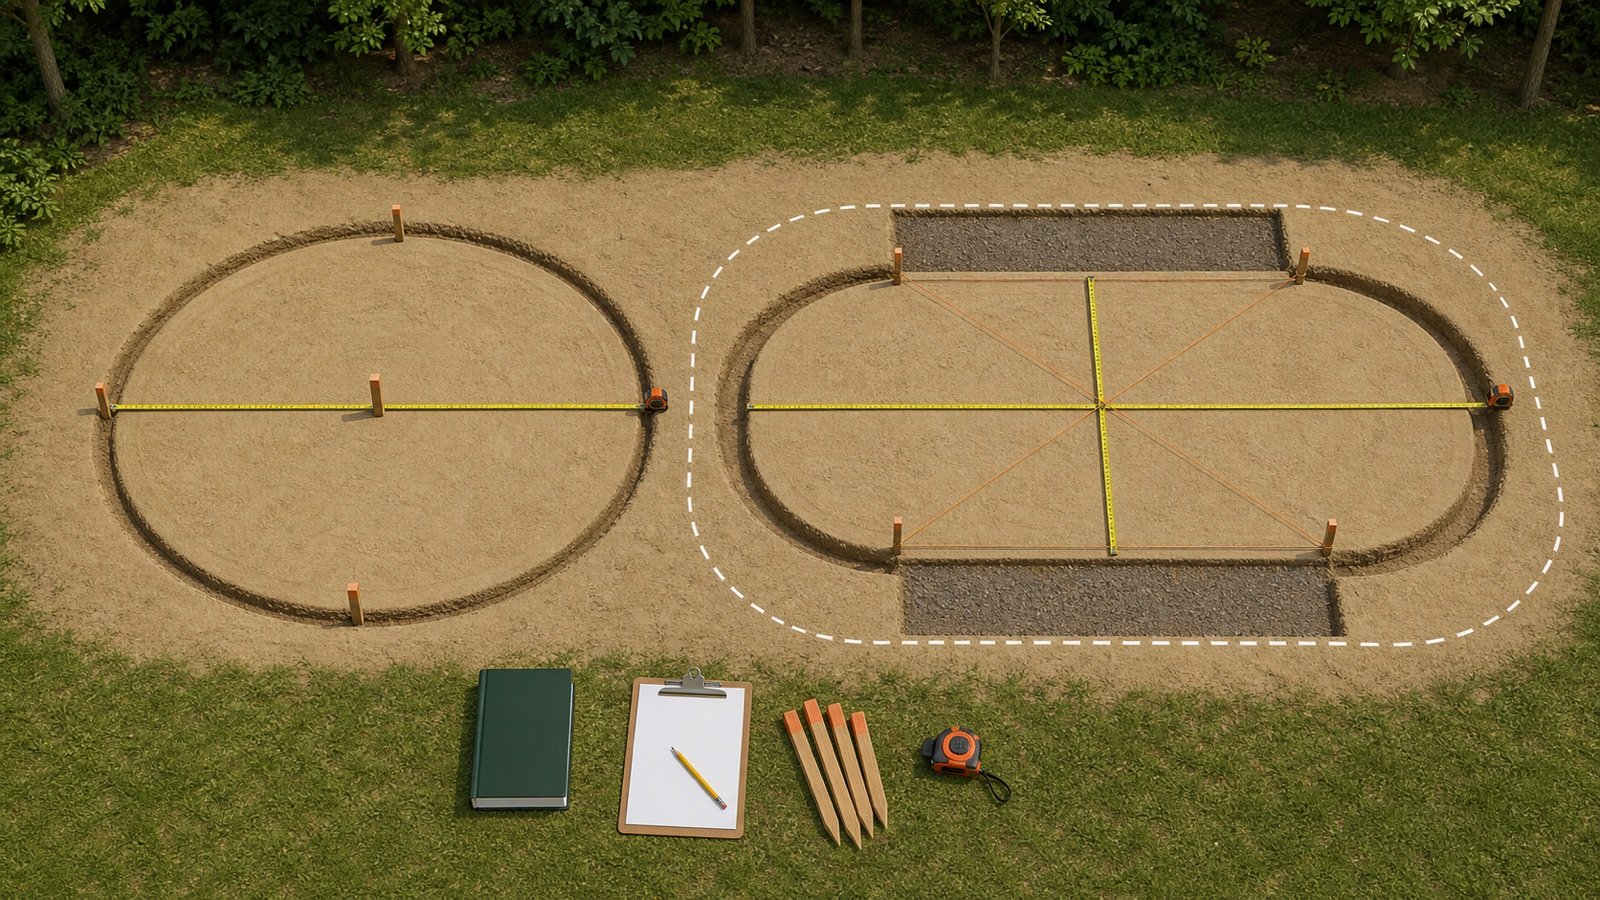
The most useful pool-base measurement is the outline that receives one approved, uniform sand layer. The outside of the posts, the full cleared site, support trenches and a wall cove can follow different boundaries.
Find the exact pool model and current installation manual before stretching a tape. Record the manual revision, base material, footprint and depth beside the measurements so the quantity can be checked later.
Which measurements belong in a pool-base sand calculation?
Use the approved flat-base footprint and the stated uniform layer depth. A round footprint needs its full diameter. A racetrack oval needs its total length and total width, provided the plan has a straight middle and 2 semicircular ends.
Keep the larger level site, working clearance, blocks, A-frames, straps, trenches, cove and filter media out of that entry. Add a zone only when the current pool instructions place it inside the same material layer at the same depth.
Manufacturers use different foundations. Radiant's cited oval manual specifies one sand-base detail, while Bestway's cited manual says sand must not create a level base. The exact model instructions control the measurement.
Which pool boundaries need separate records?
| Boundary | What it describes | Pool-base calculator treatment |
|---|---|---|
| Approved flat-base footprint | The area receiving one uniform permitted layer | Use as the calculator shape or stated area |
| Level site or cleared work area | The wider stable area required around the pool | Keep separate from the inner layer |
| Support excavation | Trenches, blocks, channels, A-frames, buttresses or straps | Calculate from the system drawing by material and zone |
| Cove | The transition at the wall and floor | Exclude from the flat layer; use the approved cove detail |
| Deck or access clearance | Space for circulation, equipment or later construction | Do not add to the pool-base area |
| Filter media | Material inside the filter vessel | Use the filter model manual, not the pool footprint |
Radiant's Metric Oval Installation Manual R8 gives a clear system-specific example. It calls for a level, solid site extending 2 ft beyond the pool area, then shows a larger excavation for blocks, A-frames and supports. The same manual gives a separate sand quantity and layer detail inside the pool. Those outlines serve different tasks.
What should you collect before measuring?
Bring the current installation manual, plan revision, tape, stakes, string, marker, field sketch and a checked level or laser when the responsible installer uses one. Radiant's cited oval manual lists a 100 ft tape, laser or transit and string among its installation tools.
| Record | Entry to make | Check |
|---|---|---|
| Pool identity | Manufacturer, exact model, size and serial or product code | Match the manual to the supplied components |
| Instruction source | Manual title, revision and page or drawing | Confirm it is the current document for the model |
| Base definition | Material, inner boundary and permitted depth | Keep slope correction and cove outside the entry |
| Geometry | Round, racetrack oval, rectangle or stated area | Compare the field shape with the drawing |
| Measurements | Raw readings, units, repeats and discrepancies | Resolve differences before choosing one input |
| Separate zones | Supports, trenches, pads, cove and work area | Give each zone its own material and dimensions |
How do you measure a round pool base?
Locate the accepted centre and measure the full approved diameter through it. Repeat the diameter in at least 2 other directions and keep every reading.
- Mark the centre from the installation layout or accepted wall-track controls.
- Run the tape in a straight line through the centre to the 2 opposite base limits.
- Record the full diameter, unit and boundary used.
- Rotate the tape and repeat the reading across other directions.
- Resolve any spread that exceeds the accepted layout tolerance.
- Enter the approved diameter in the Pool Base Sand Calculator.
Round area = π × (diameter ÷ 2)²
Do not measure from the outside of one post to the outside of the opposite post when the sand layer ends at another line. The wall, bottom rail, posts and excavation can have different radii. CARVIN's cited round guide gives model-specific foundation radii, which shows why the nominal pool label alone may not define the material boundary.
Can circumference check the diameter?
A circumference reading can provide a secondary check only when the tape follows the same true circular boundary. Divide circumference by π to estimate diameter.
Checked diameter = measured circumference ÷ π
Posts, protruding rails, an incomplete layout or a loose tape can lengthen that route. Keep the direct diameter as the primary field record unless the controlling instructions use another method.
How do you measure a racetrack-oval pool base?
Measure total length along the long centreline and total width across the short centreline. Confirm that the plan has straight parallel sides joined by 2 semicircular ends before selecting the racetrack option.
- Establish the long baseline from the manufacturer drawing.
- Mark the 2 end centres or the equivalent layout controls named in the manual.
- Measure the overall length between the approved end limits.
- Measure the overall width through the centre and repeat it at checked stations.
- Check the straight middle length: total length minus total width.
- Check diagonals, arcs, blocks and trench controls by the exact installation drawing.
- Record support zones outside the flat-base footprint on separate lines.
Racetrack area = (total length − total width) × total width + π × (total width ÷ 2)²
Radiant's cited oval manual establishes a long side, checks the rectangular control area with equal diagonals, and swings half-circle arcs from stated points. It then lays out model-specific trenches and support components. Use that process only for the pool system and dimensions it governs.
Why can an ellipse give the wrong oval area?
An ellipse curves along its full perimeter. A racetrack oval has straight sides and 2 semicircular ends, so the same total length and width produce different areas.
For a 30 ft × 15 ft racetrack, the straight middle is 15 ft long. Its area is 15 × 15 + π × 7.5² = 401.7146 ft². An ellipse with the same overall dimensions has an area of π × 15 × 7.5 = 353.4292 ft².
| Shape model | Area | Volume at an example 2 in depth |
|---|---|---|
| Racetrack oval | 401.7146 ft² | 66.9524 ft³ |
| Ellipse | 353.4292 ft² | 58.9049 ft³ |
| Difference | 48.2854 ft² | 8.0476 ft³, or 0.2981 yd³ |
The 2 in depth tests the arithmetic. It does not recommend a base depth. A plan with changing radii, offset ends or another proprietary outline needs manufacturer-stated area or a separate checked takeoff.
How much can a diameter error change the sand quantity?
Round area grows with the square of the radius, so a 1 ft diameter difference affects more than a 1 ft strip. Recheck the boundary before adding an allowance.
A 24 ft round footprint covers 452.3893 ft². At an example 2 in uniform depth, it holds 75.3982 ft³, or 2.7925 yd³. A 25 ft diameter at the same depth holds 3.0301 yd³.
The 1 ft diameter difference adds about 0.2376 yd³ in this fixture. An allowance cannot identify which diameter belongs to the pool.
How do you record the approved base depth?
Copy the uniform finished layer depth from the current manual or approved project detail. Record the value, unit, material state, drawing location and any tolerance stated by the controlling source.
Measure depth checks from the approved level supporting surface to the accepted top of the layer. Do not average a sloping site into a deeper sand input. Bestway's cited manual requires a flat, stable site and says sand must not create a level base for that system. CARVIN's cited guide tells the installer to excavate the high side instead of building the low side and sets its own foundation controls.
Depth readings can verify the installed layer under the named procedure. They do not approve the earthwork, compaction or pool support.
How should an existing pool site be measured?
Use the model records and an approved inspection plan before disturbing an existing pool. Do not enter, crawl under or dismantle a filled, unstable or partly supported pool to collect a dimension.
Keep retained usable material separate from the full design quantity. Contamination, migration, settlement, drainage, liner condition and past repairs can change what remains suitable. The calculator can report the full approved layer, while a responsible person determines what can stay and what must be replaced.
Which measurement mistakes change the result?
- Using the nominal pool label without confirming the approved base boundary.
- Measuring outside posts or rails when the flat layer ends at the wall track.
- Entering the full cleared or level site as pool-base area.
- Including buttress, A-frame, block or trench excavation in one uniform sand layer.
- Treating every oval as an ellipse.
- Using total oval length as the straight middle length.
- Measuring a round diameter beside the centre instead of through it.
- Hiding different diameter or width readings by choosing the largest one.
- Using sand to average or correct site slope.
- Adding cove material without an approved cross-section and permitted product.
- Copying a depth from another brand, model or online calculator.
- Rounding dimensions before area and volume are calculated.
- Entering filter-media mass as a pool-base quantity.
What should the completed measurement record contain?
- Project address, pool manufacturer, exact model, size and product identifier.
- Manual title, revision, date, page and drawing used.
- Approved base material, footprint definition and uniform depth.
- Sketch with centreline, baseline, labeled stakes and measurement boundary.
- Raw diameter, length, width, diagonal and repeated readings with units.
- Selected geometry and the reason it matches the plan.
- Separate level site, support, trench, block, cove and clearance zones.
- Unresolved slope, drainage, soil, permit or utility questions.
- Calculator input, measured result, preparer, checker and correction notes.
Use the Sand Bags vs Bulk guide after the measured volume is accepted and the supplier identifies the permitted product. The general Sand Calculator handles other uniform sand layers. Return to the Sand Material Planning hub for published tools, charts and guides.
Safety, permit and installation limits
Confirm permits, setbacks, drainage, electrical requirements and utility-location rules before excavation. United States readers can use 811 Before You Dig to find the applicable state contact. Notice periods and mark validity depend on the state.
This measurement guide does not design a pool foundation, approve sand, set excavation depth, evaluate soil, specify drainage, place supports or replace the current installation manual. Control access around stakes and strings. Stop work when the ground, excavation, pool structure or electrical condition is unsafe.
The calculation methodology explains the site's unit and fixture checks. Report a measurement, formula or source issue through the corrections route.
Sources and source scope
- Radiant Metric Oval Installation Manual R8: one oval system's site extension, baseline, diagonal and arc layout, support excavation, trenches, blocks and sand-base detail.
- Bestway Pool Manual S-S-004972: one model family's flat and stable site requirements and warning against using sand to create a level base.
- CARVIN Equinox Round Above Ground Pool User's Guide: one round system's model-specific foundation radius, permitted material, level, drainage and high-side excavation instructions.
- NIST Handbook 44 (2026), Appendix C: exact area and volume unit relationships used in the fixtures.
- 811 Before You Dig: United States utility-location contacts and state-specific notice records.
Source scope: each manufacturer source governs its named pool system and does not set a universal material, depth, footprint or installation method. NIST supports the unit relationships, and 811 Before You Dig supports the U.S. locate handoff. The current manual for the exact pool, approved project documents, permits, local rules, site conditions and responsible qualified people control the work.
Review note: Saleem Sial owns the research and editorial record. Source retrieval, PDF review, geometry fixtures, editorial review, build validation, link crawl, schema review and rendered QA form the internal publication gate. Waseem Sial, External Reviewer and Engineer, is listed for ongoing external review; no completed external-review date is claimed.