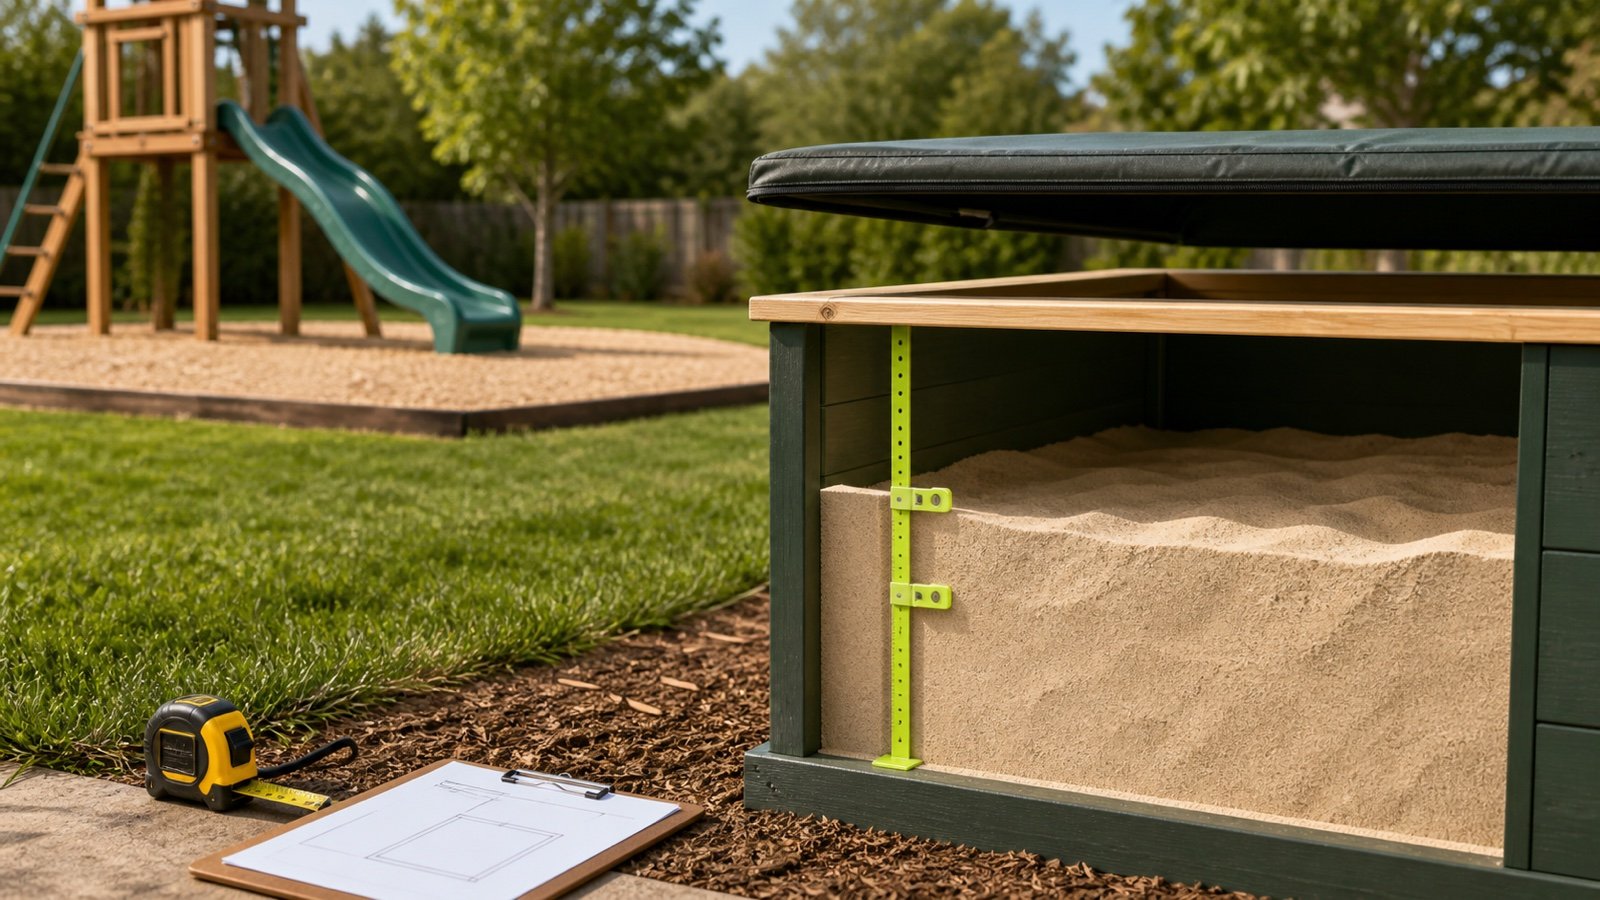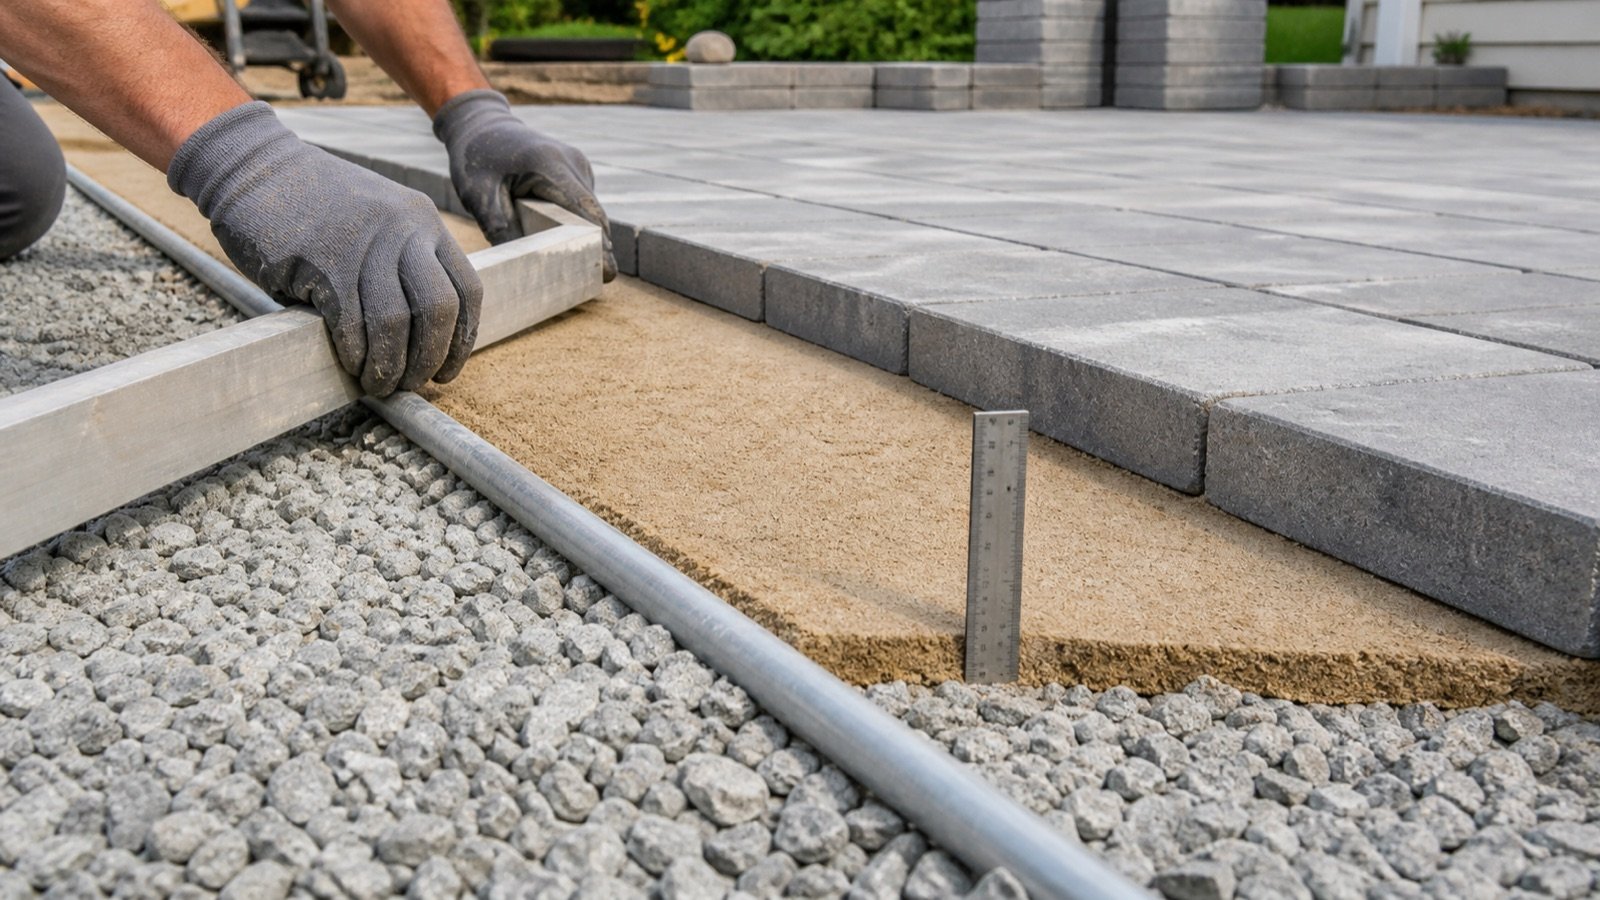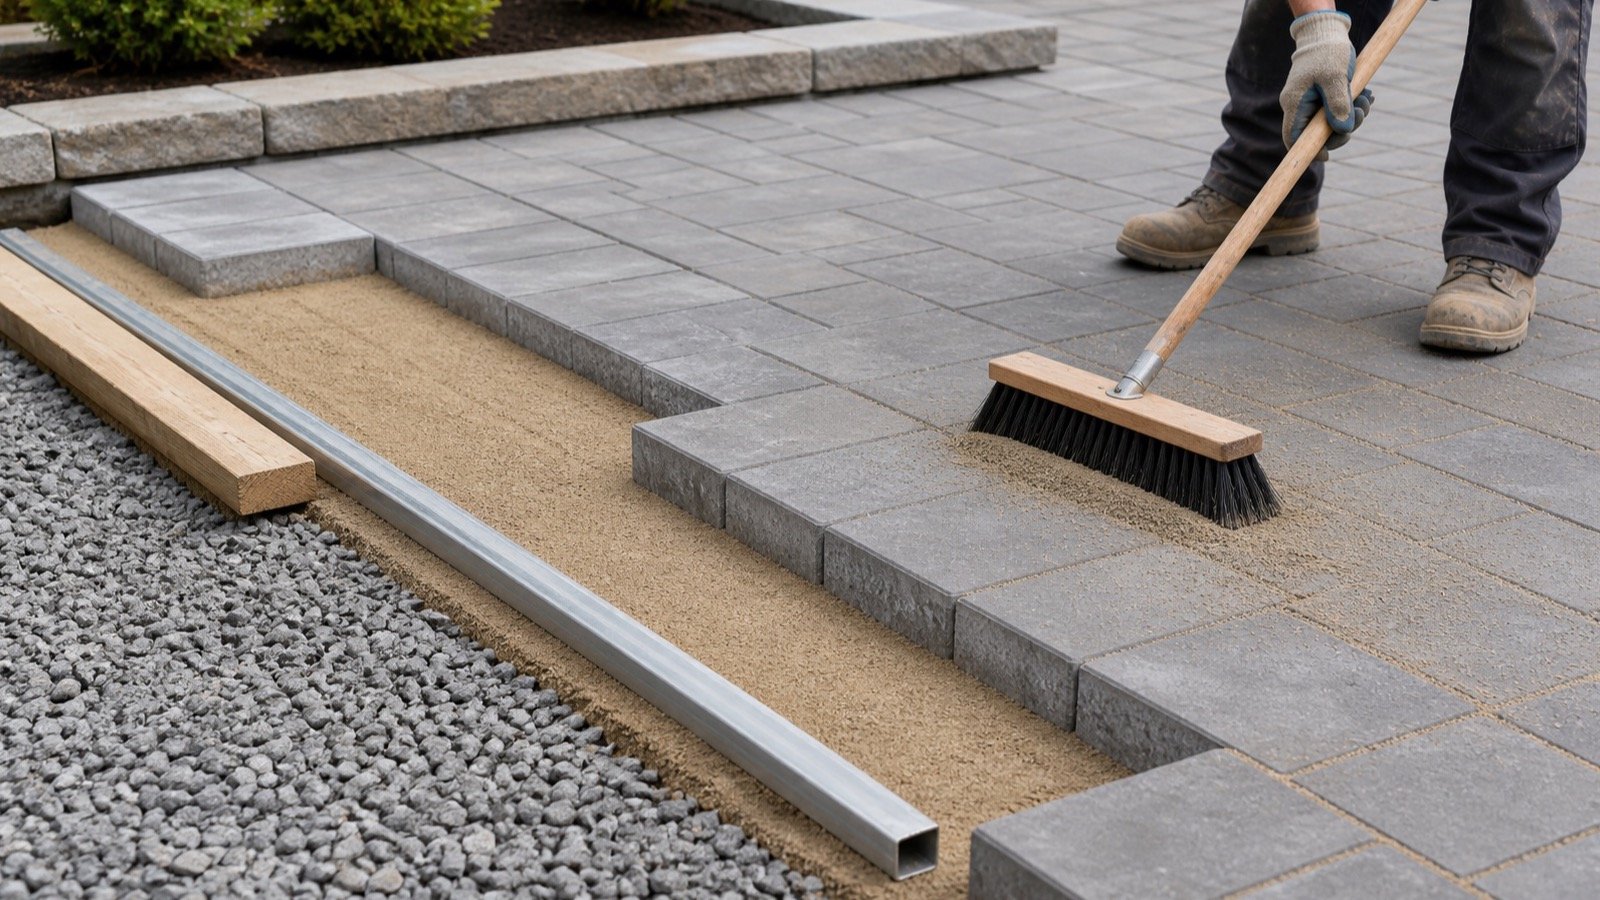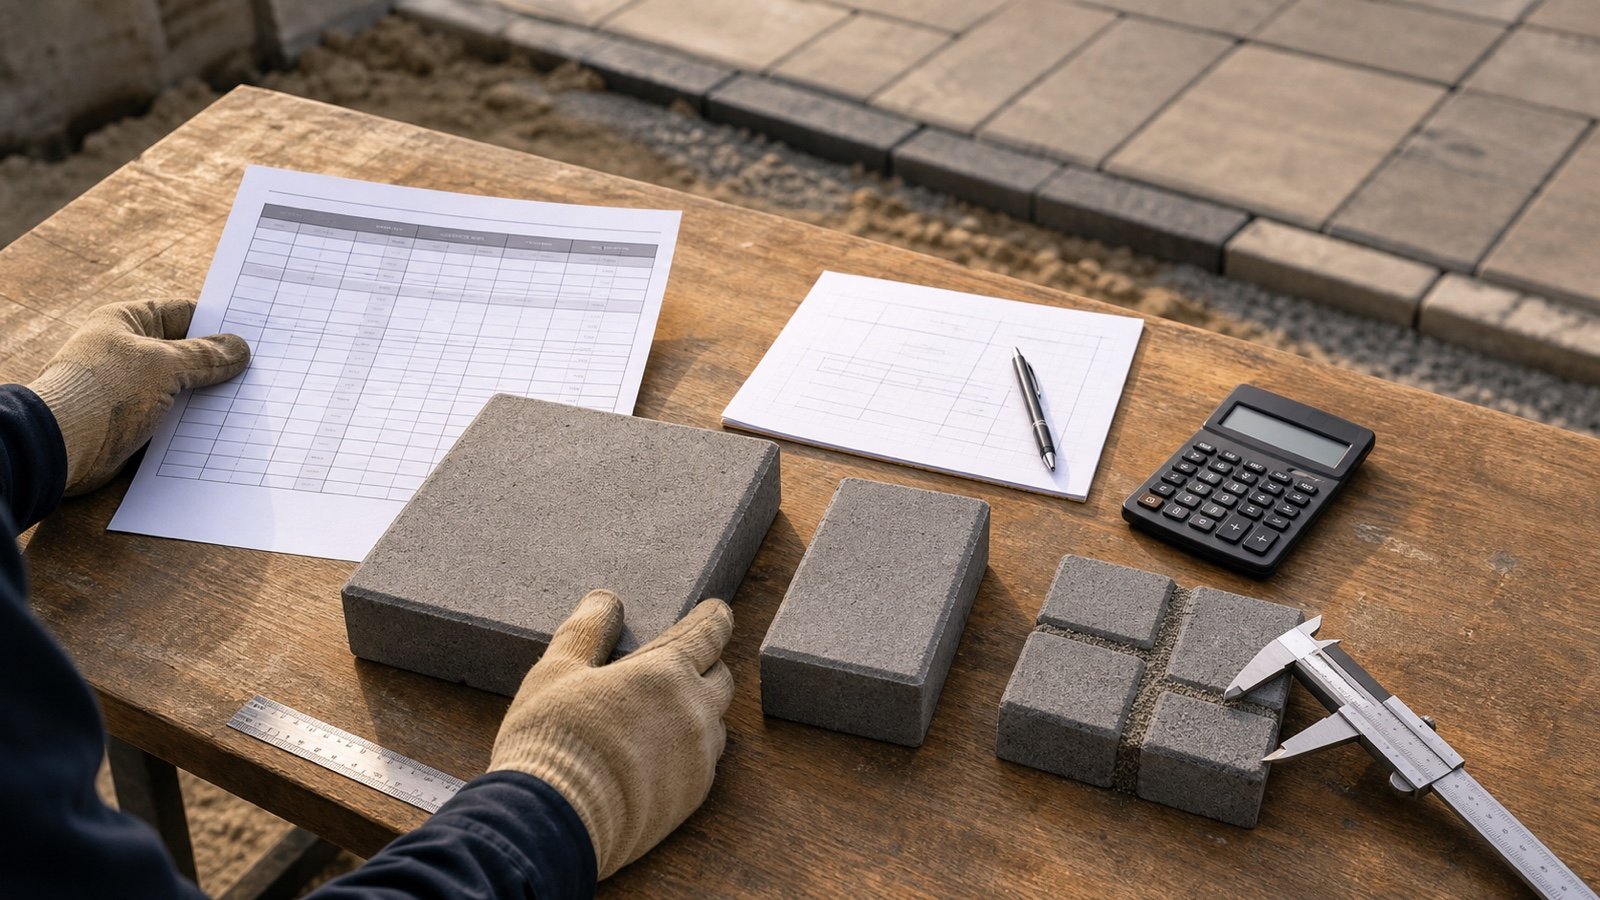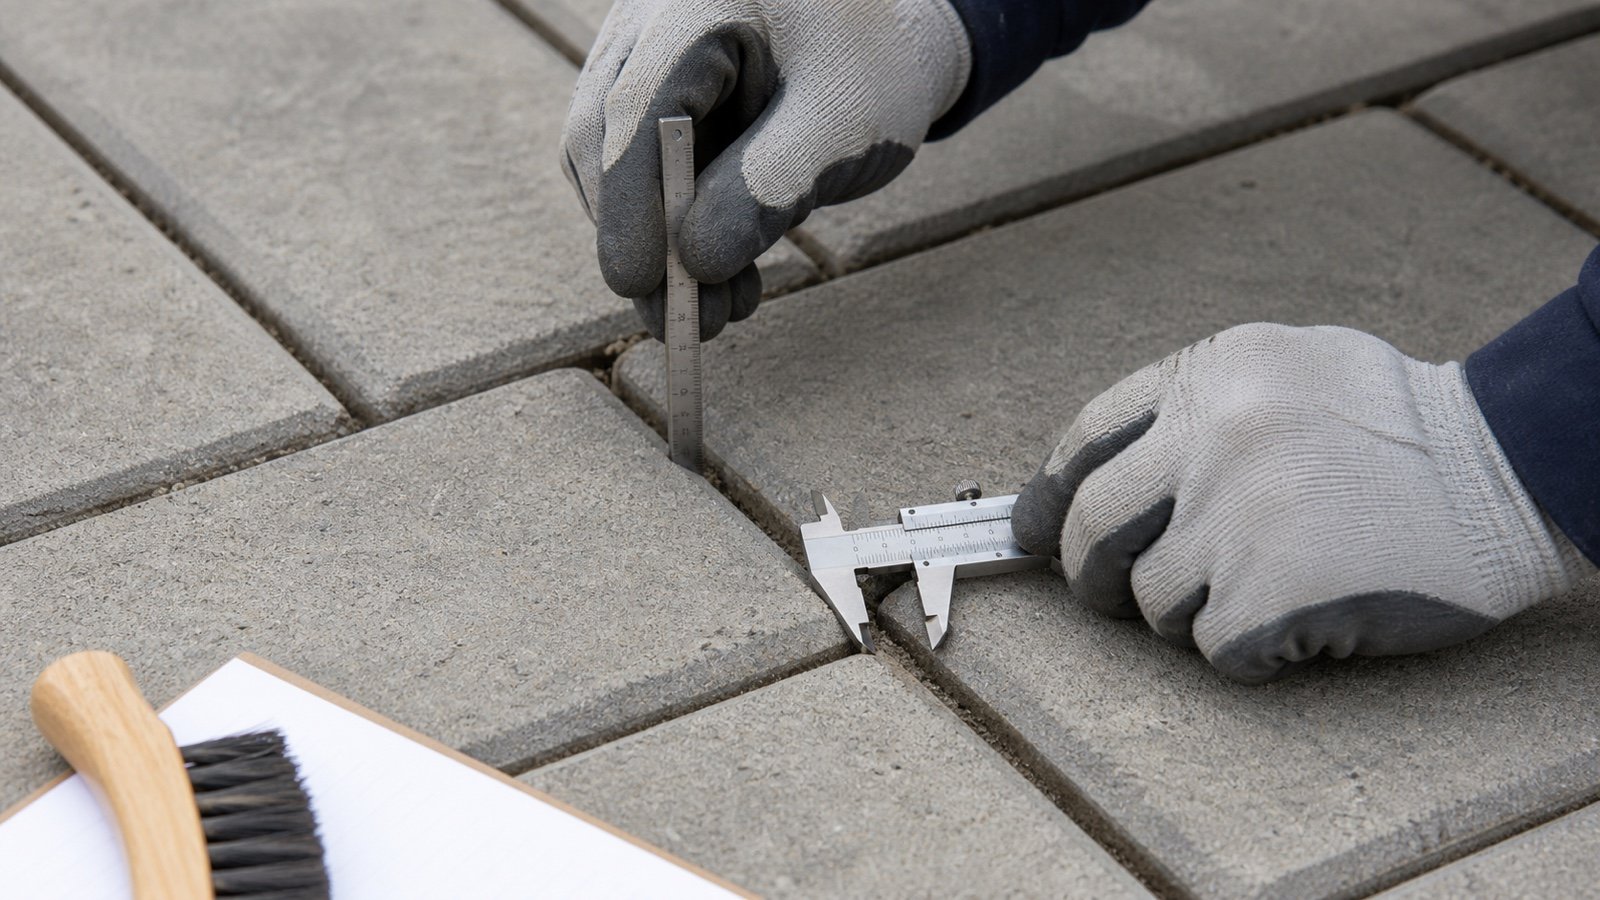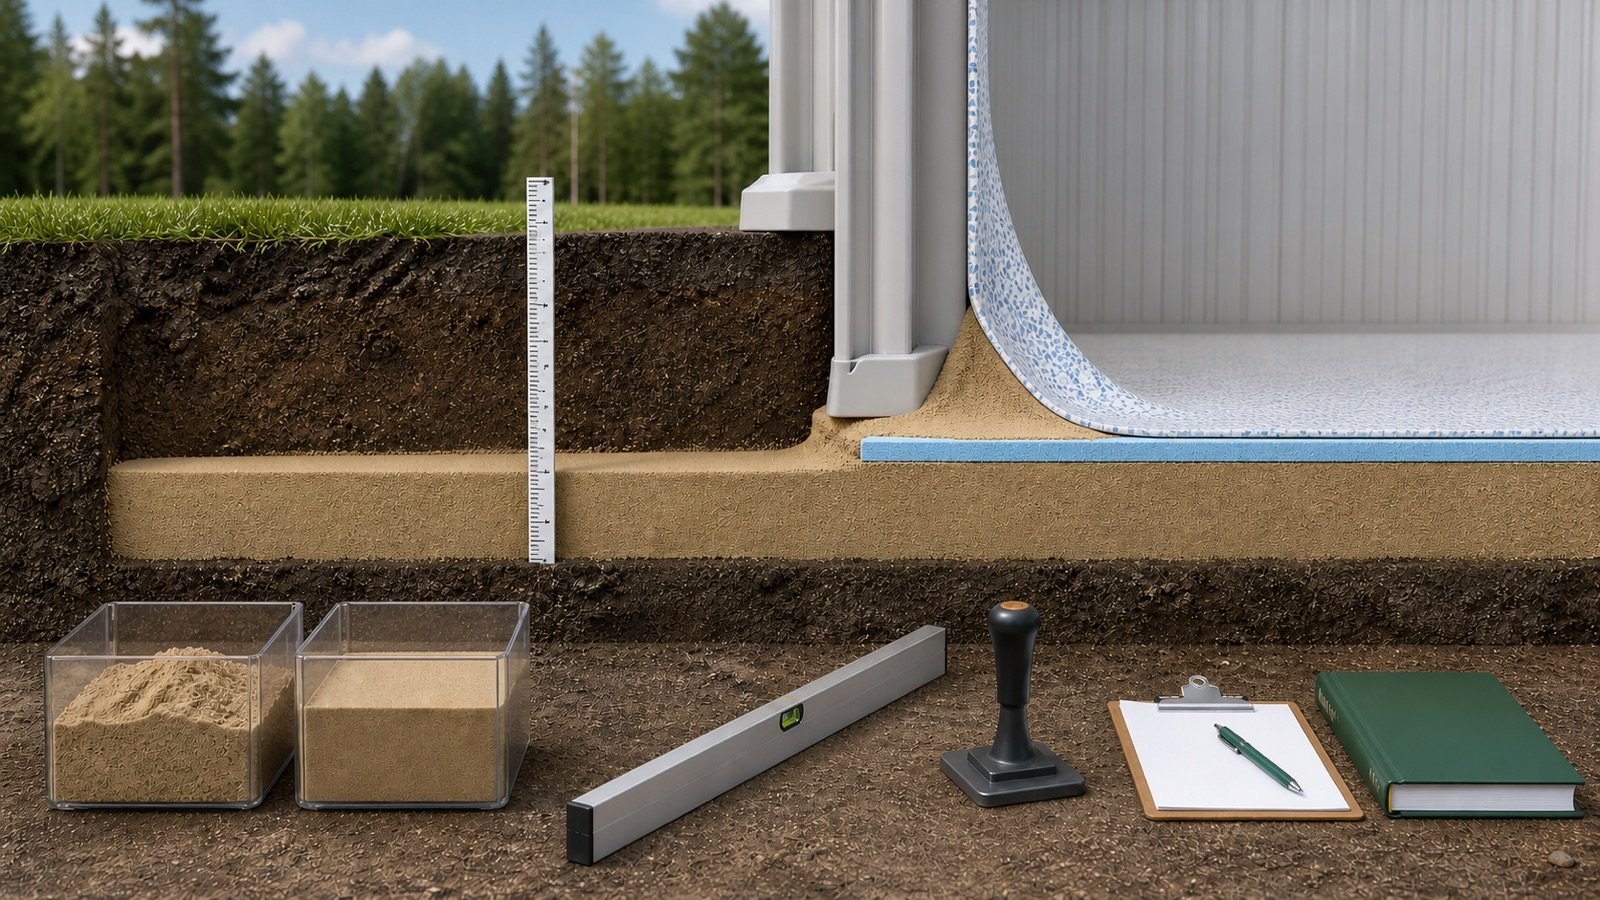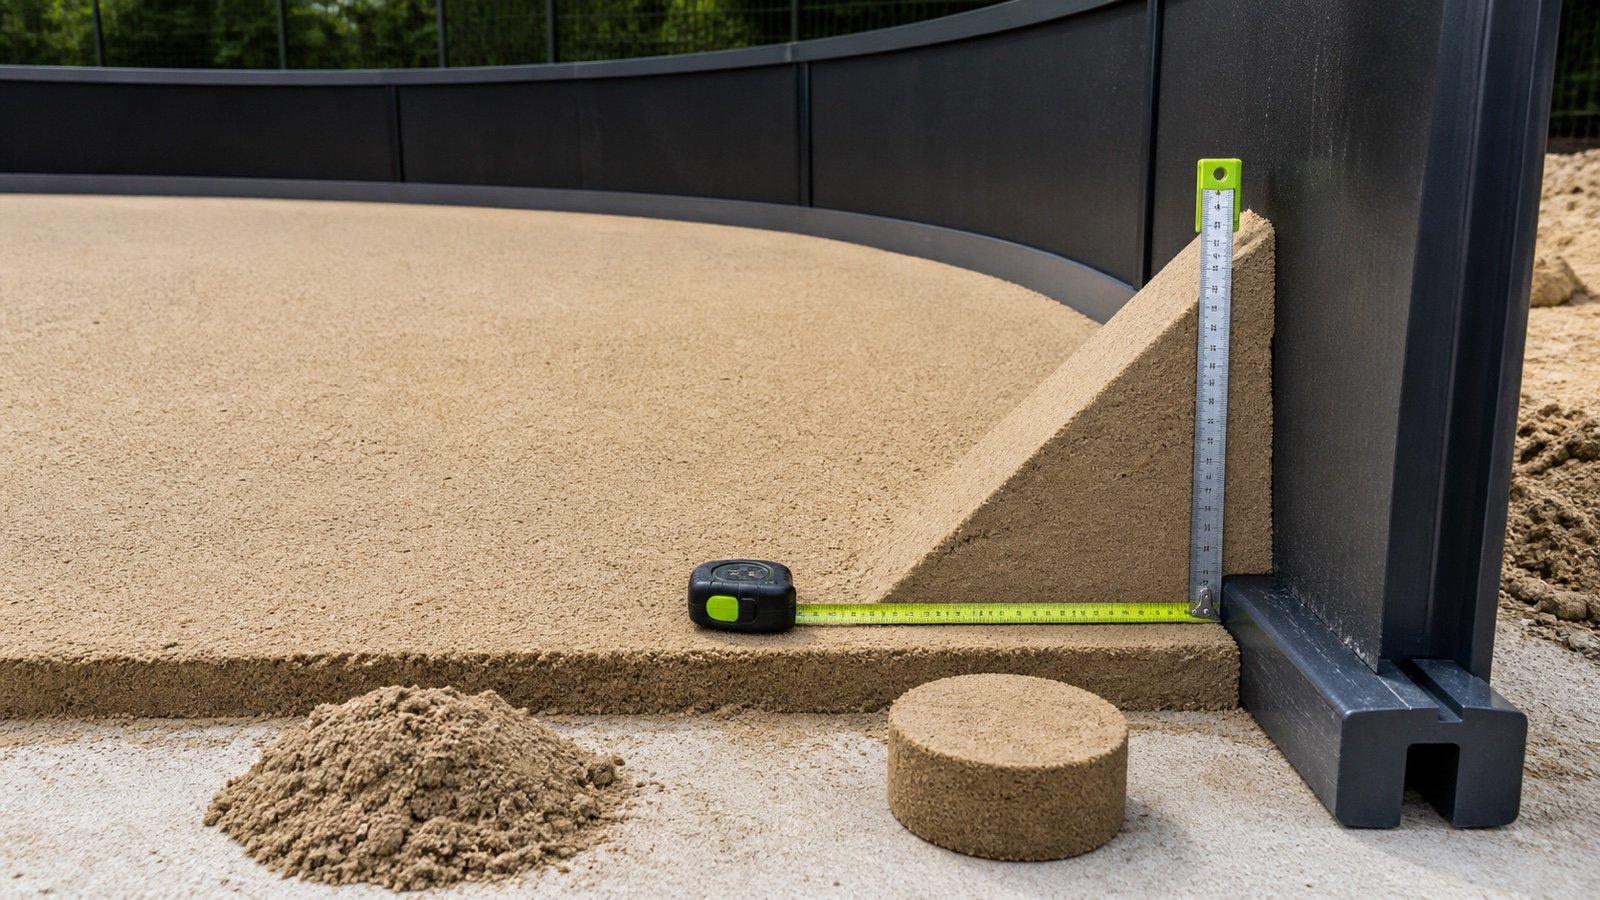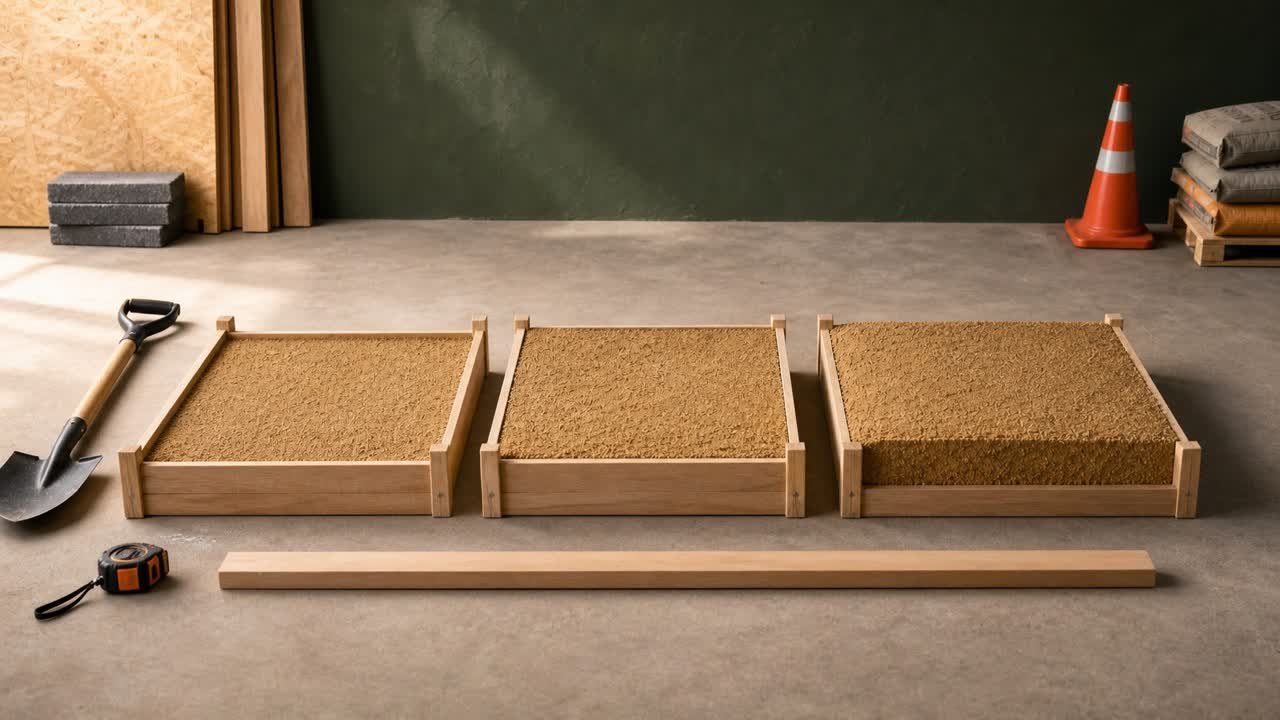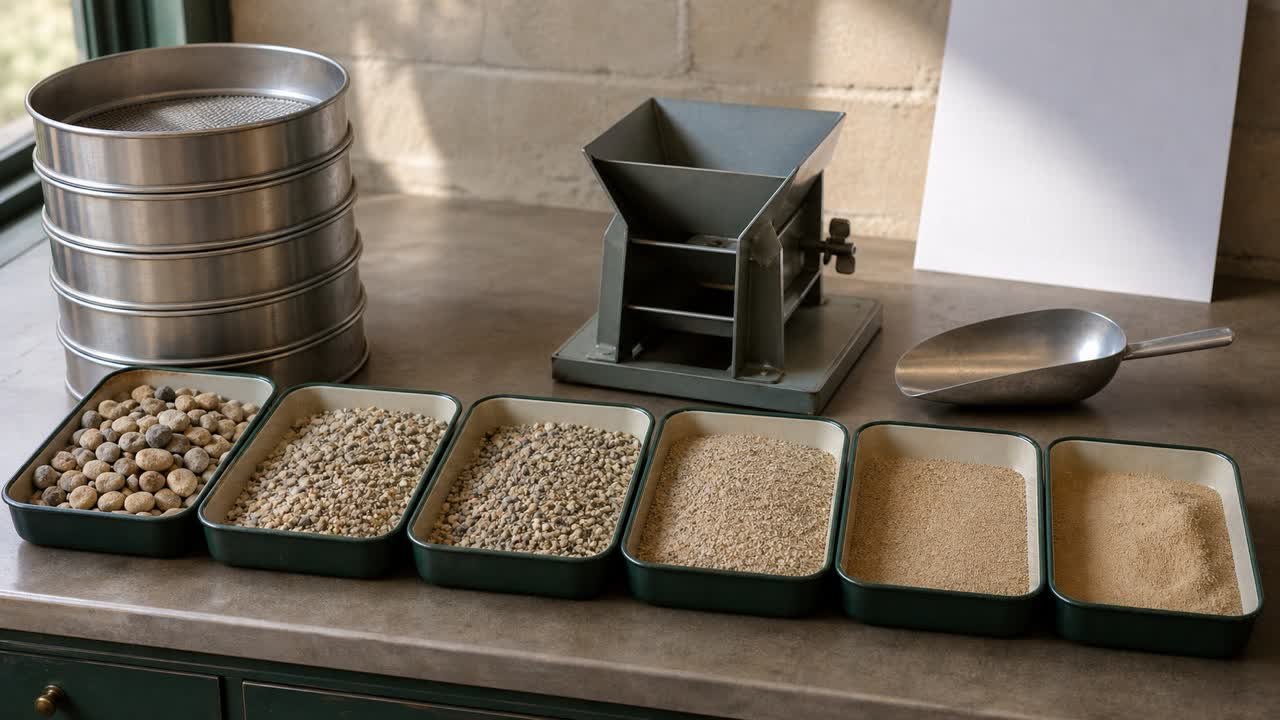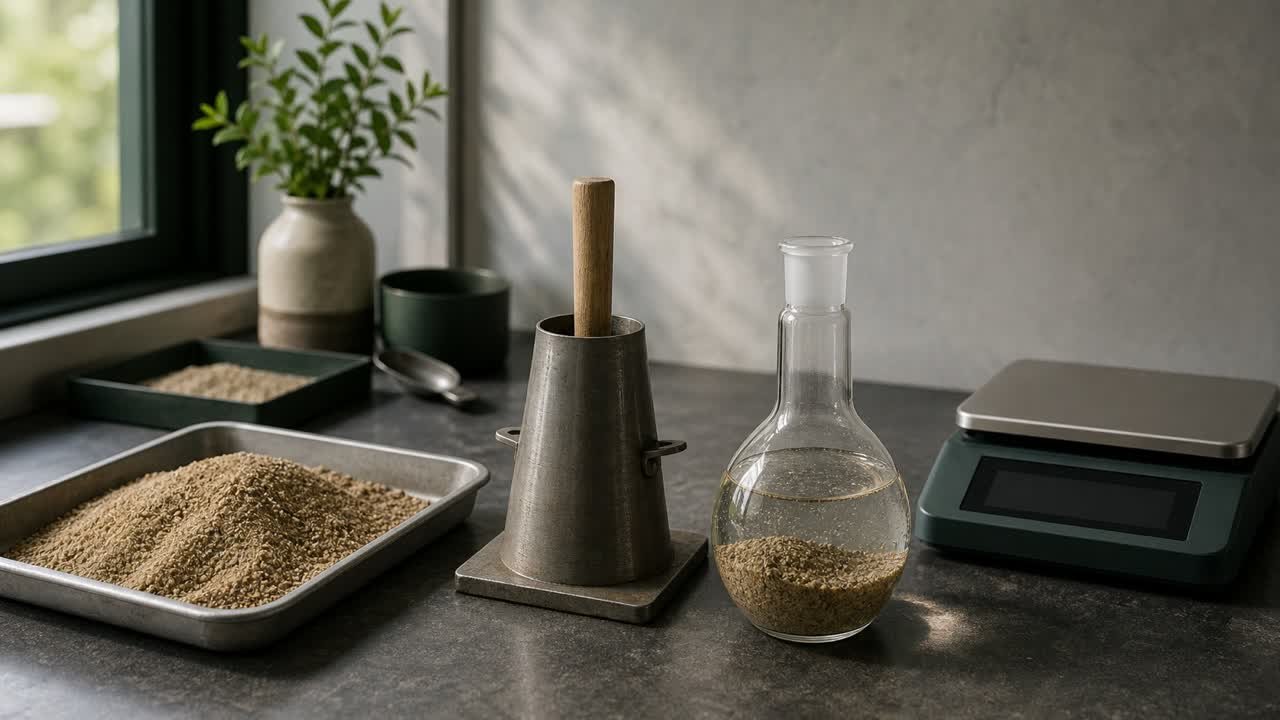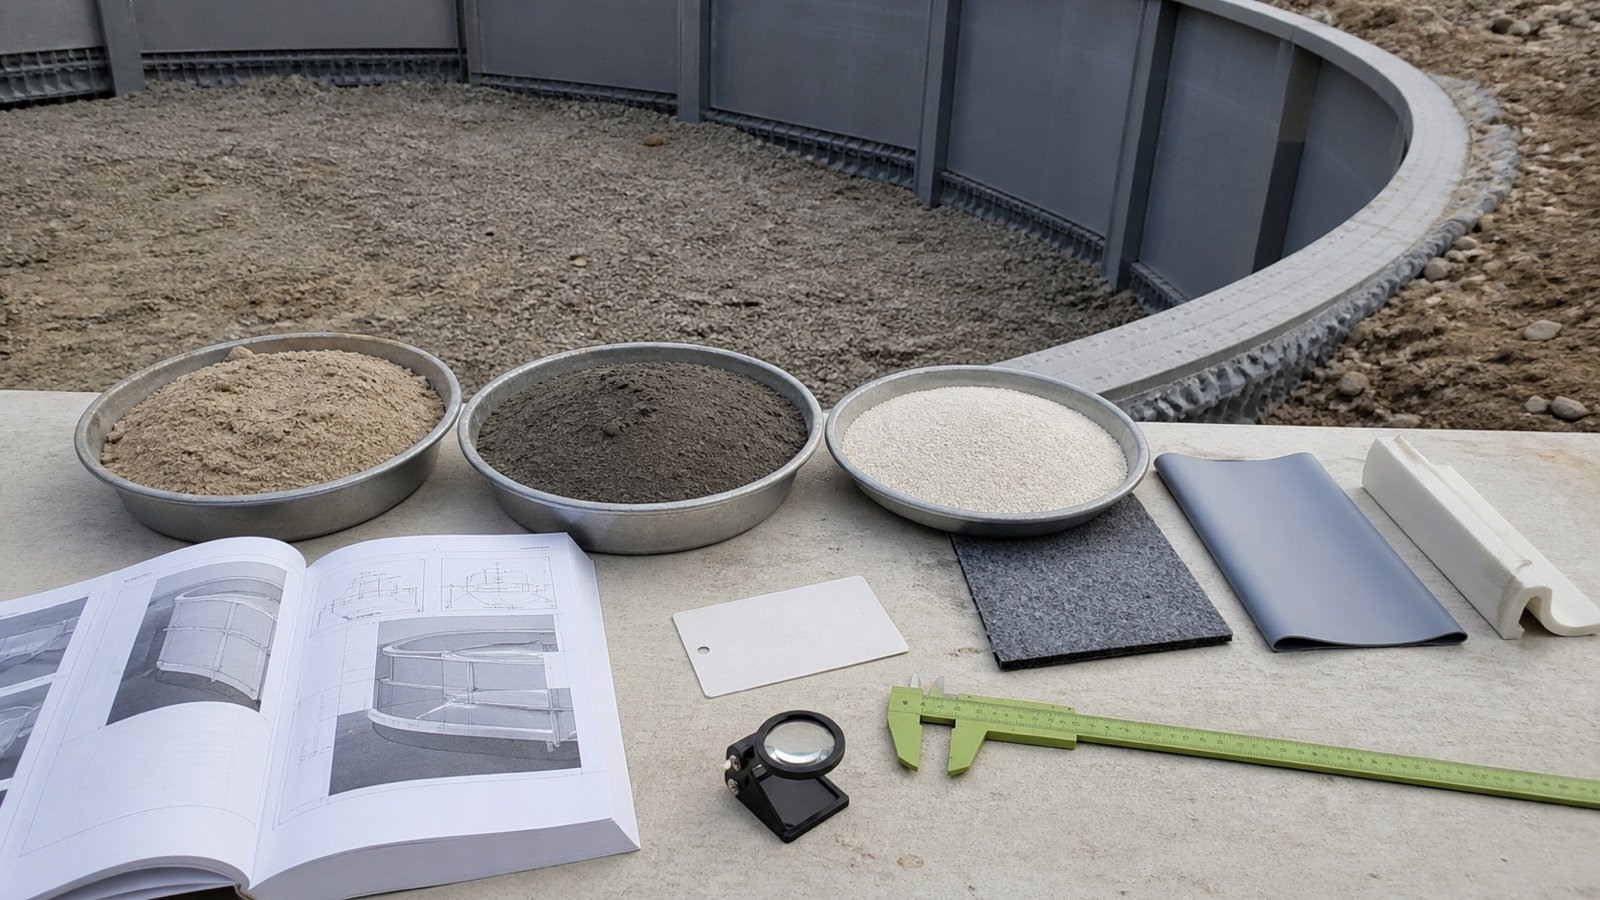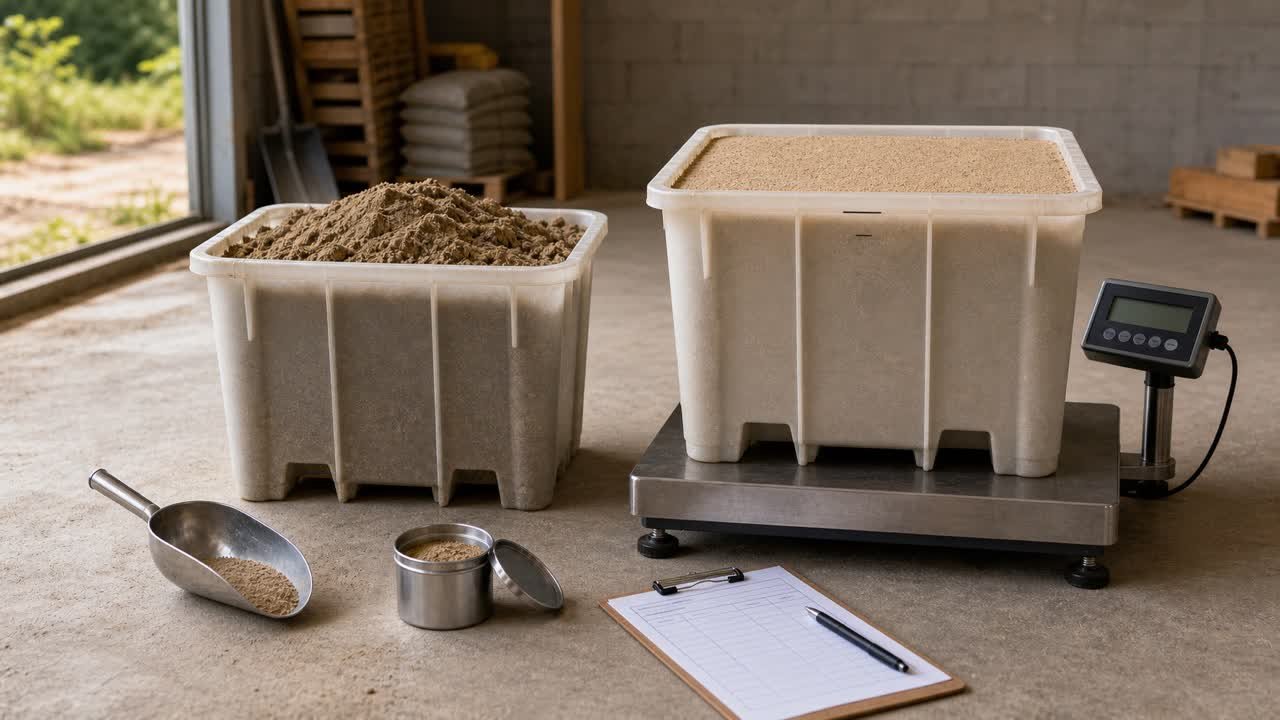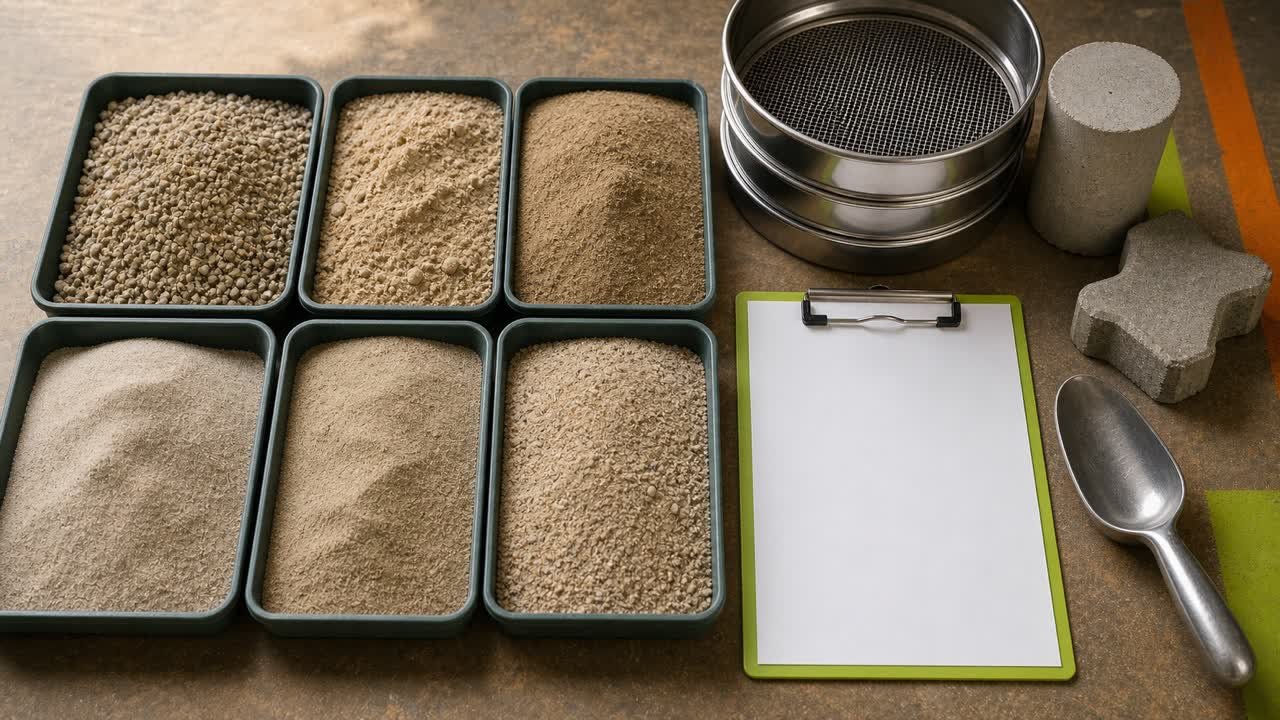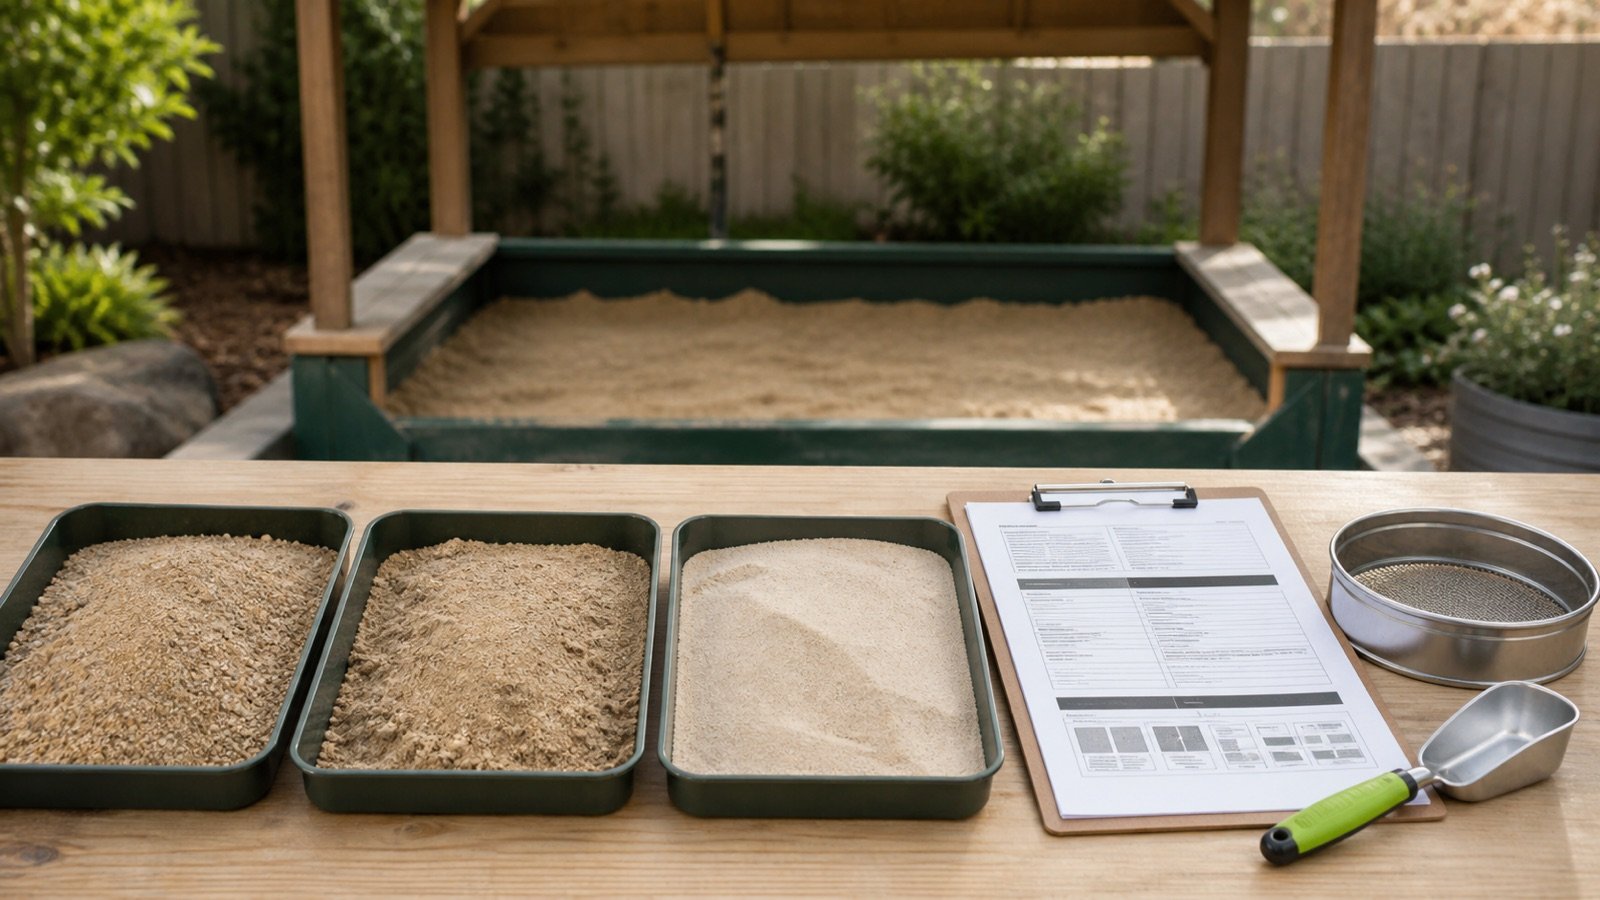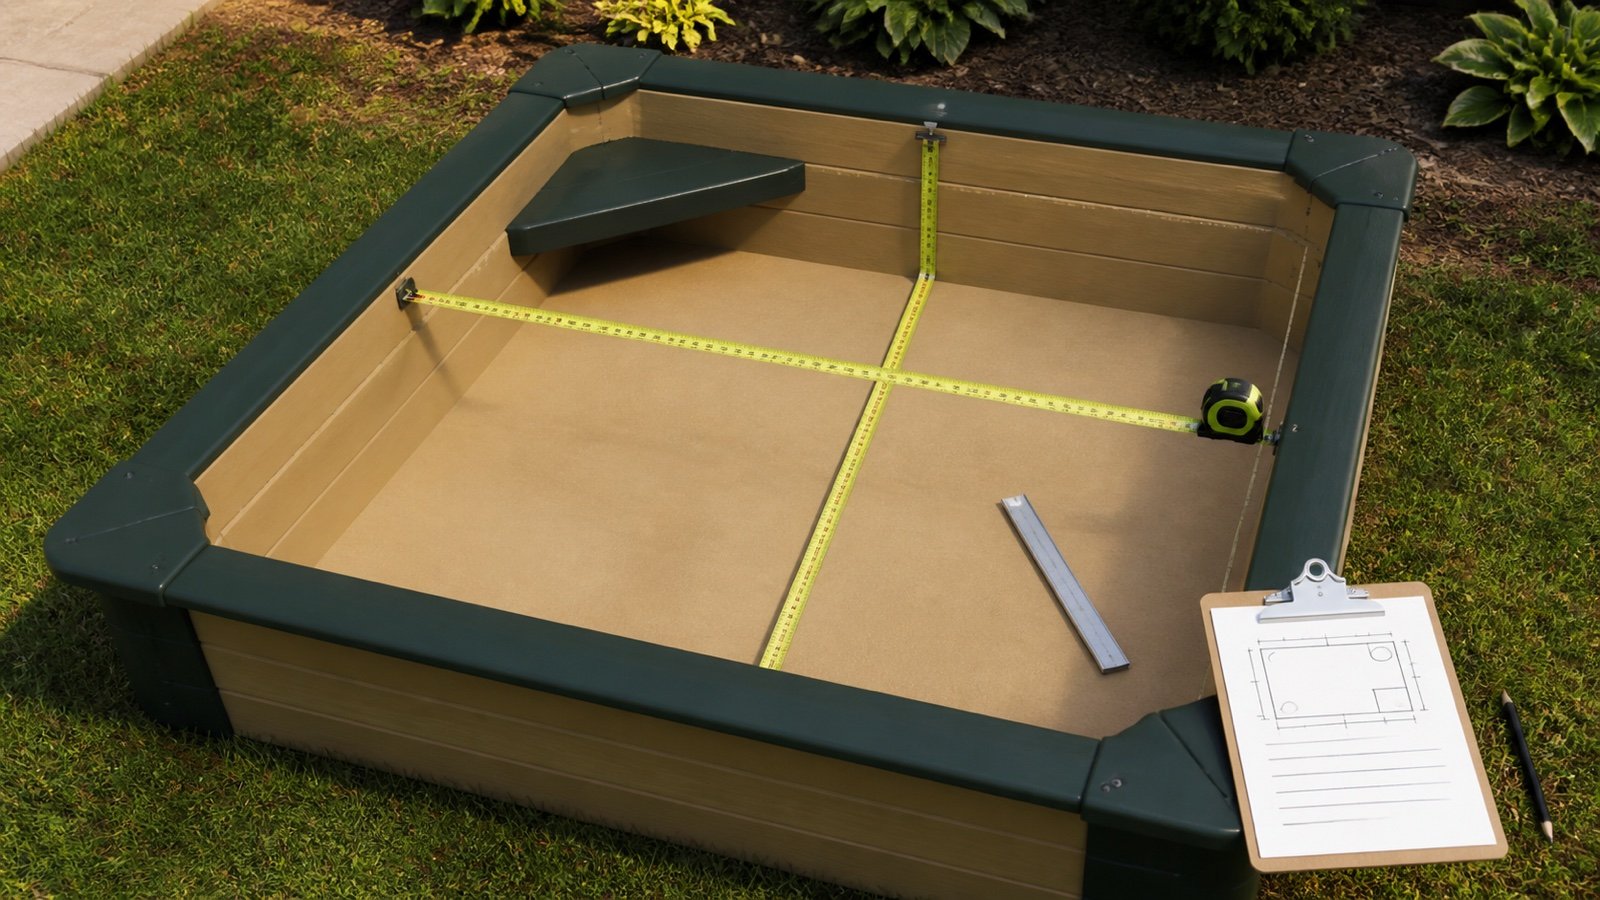
A useful sand estimate starts with the empty space inside the sandbox. Outside product dimensions can include wall thickness, a wide rim, handles or seats, so they can overstate the space that sand will fill.
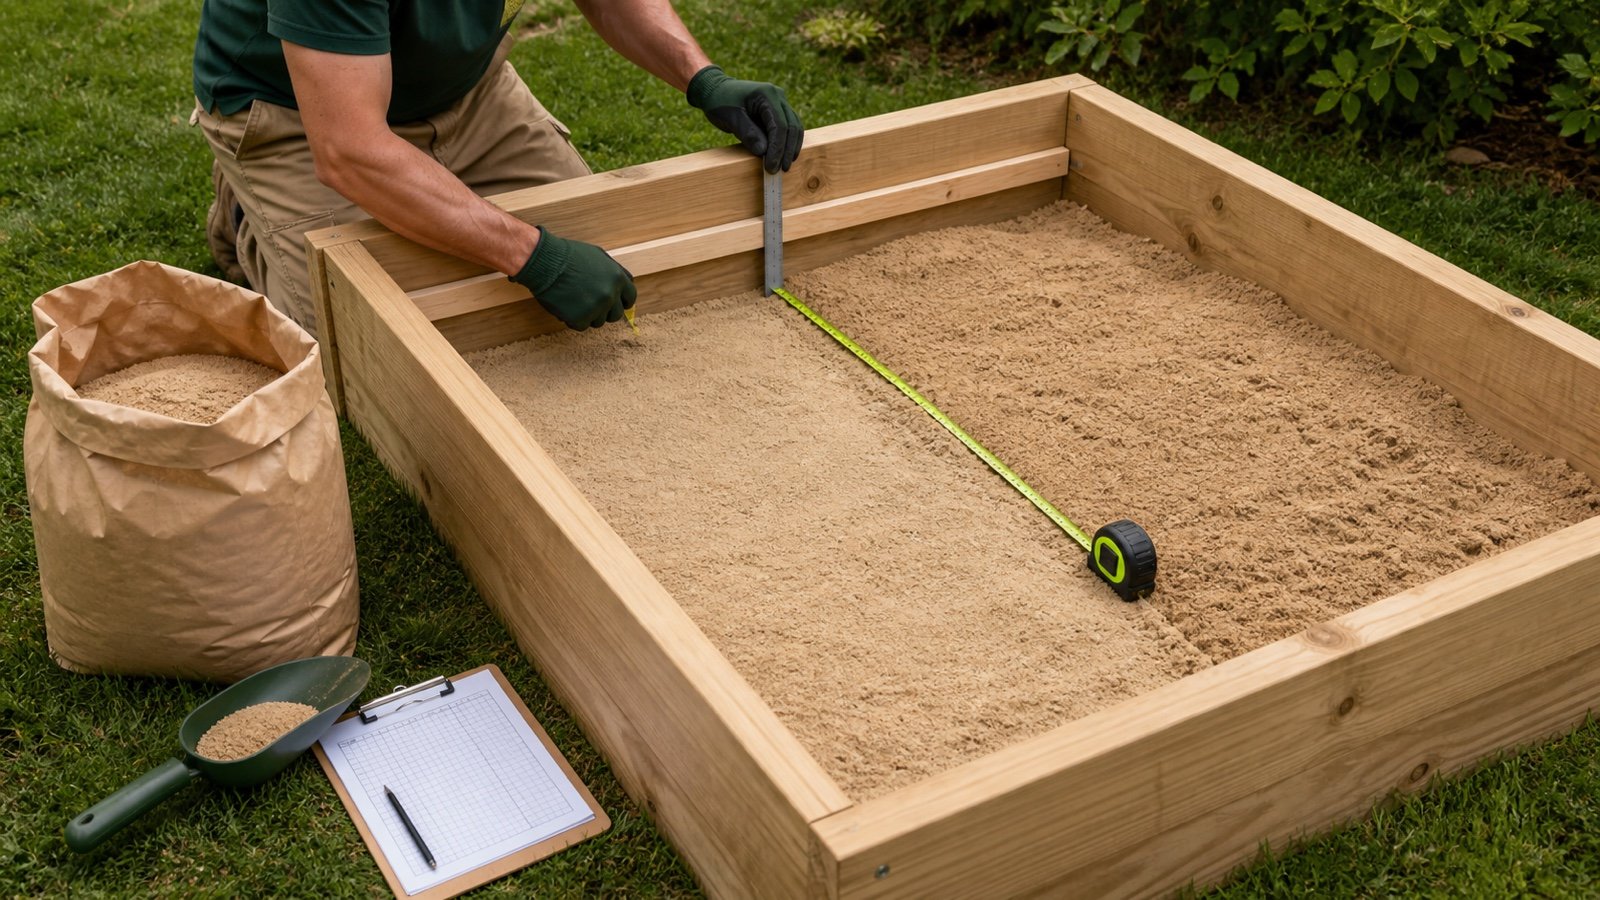
Use a tape, straightedge and field sketch. Mark the intended sand surface before you measure depth, then keep that fill line separate from the full wall height.
What measurements do you need for a sandbox sand calculation?
Record the inside length and width for a rectangular box, or the inside diameter for a round box. Add the vertical target fill depth, units and the volume of any permanent seat, step or center feature below the fill line.
Record the inside wall height from the same floor datum when you want the calculator to report a fill percentage. A manufacturer-stated sand capacity can replace field geometry for a named molded product when the inside shape cannot be measured reliably.
Put the tape against the inside faces. Measure target depth from the usable floor to the intended sand surface. Keep the outside footprint, rim width and unused space above the sand out of the volume entry.
| Record | Where to measure | Calculator use |
|---|---|---|
| Shape | Usable inside footprint | Rectangle, round or known area |
| Length and width | Between opposite inside faces | Rectangular area |
| Diameter | Straight through the center between inside faces | Round area |
| Target fill depth | Vertically from usable floor to marked sand surface | Net fill volume |
| Inside wall height | From the same floor datum to the lowest retaining edge | Optional fill percentage |
| Built-in feature | Volume below the target fill line | Displacement deduction |
| Maker capacity | Exact model manual or product page | Check or direct quantity for a molded product |
What should you collect before measuring?
Bring a rigid or locking tape, straightedge, small level, removable marker or painter's tape, pencil and a simple plan sketch. Find the exact model name and current manufacturer instructions when the sandbox was sold as a kit.
- Remove toys, loose sand and debris that block the inside faces or floor.
- Check whether a liner, drainage mat or retained layer changes the usable floor datum.
- Choose one unit system for the raw record.
- Label every reading as inside, outside, floor, fill line or wall top.
- Keep repeated readings instead of replacing them with an unmarked average.
A manufacturer's capacity statement can settle a difficult molded shape. Step2 states that its named Naturally Playful Sand Table holds up to 80 lb of sand. That figure belongs to that model and fill condition.
How do you measure a rectangular sandbox?
Measure between the inside faces at the level where sand will sit. Take length and width near the floor and again near the target fill line when the walls lean outward or inward.
- Mark the target fill line on 2 or more walls.
- Measure the inside length near the floor, then repeat it on the other side.
- Measure the inside width at both ends.
- Repeat length and width at the fill line when the walls taper.
- Measure the vertical depth from the usable floor to the fill line at several points.
- Sketch every permanent feature that crosses the fill zone.
Rectangular volume = inside length × inside width × target fill depth
This formula describes a rectangular prism with a consistent footprint. A strongly tapered box needs a maker capacity, a checked tapered-shape formula or smaller measured zones.
Why should you repeat the dimensions?
Wooden boxes can rack out of square, and molded walls can bow. Two length readings and 2 width readings show whether one rectangular entry describes the space.
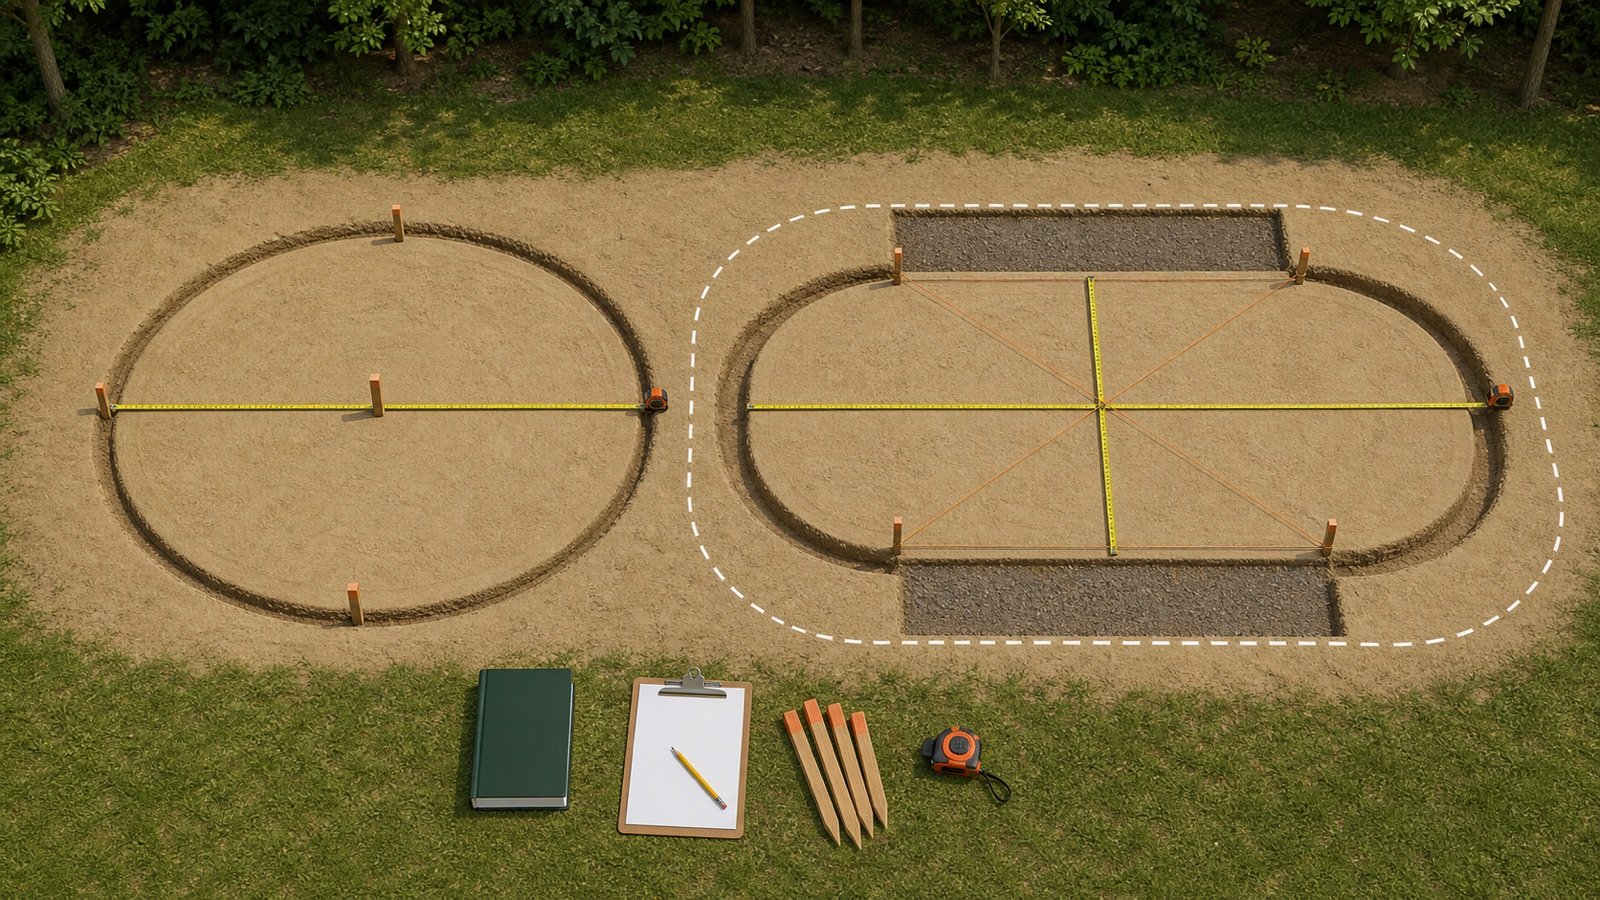
Measure both diagonals when a square or rectangle seems distorted. Equal diagonals support a rectangular layout when the opposite sides also match. Different diagonals are a reason to keep the raw shape sketch and divide the floor into checked zones.
How do you measure a round sandbox?
Measure the full inside diameter through the center. Repeat it in at least 2 directions because a molded shell can be slightly oval or bowed.
- Mark the target fill line.
- Find the center of the usable circular floor.
- Run the tape straight through that point between opposite inside faces.
- Rotate the tape and record 2 more diameters.
- Measure the vertical fill depth from the floor to the marked line.
Round volume = π × (inside diameter ÷ 2)² × target fill depth
A tape that passes beside the center gives a chord, which is shorter than the diameter. Reposition the tape until the reading is the longest straight inside span across the circle, then check it in another direction.
How should you measure tapered or molded sandbox walls?
Record the inside footprint at the floor and again at the target fill line. A single top measurement overstates a box that narrows toward the floor.
Use the exact model's stated capacity when the container has curved corners, sloped walls, seats, channels and an uneven floor. If no capacity exists, divide the space into simple zones only where the boundaries can be measured and checked.
| Observed inside shape | Preferred record | Limit |
|---|---|---|
| Straight rectangular walls | Inside length × width × depth | Check squareness and consistent footprint |
| Round vertical wall | Inside diameter and depth | Diameter must pass through the center |
| Simple circular taper | Floor diameter, fill-line diameter and vertical depth | Use a checked circular-frustum calculation |
| Irregular in-ground area | Measured plan area or simple plan zones | Depth changes need separate zones |
| Molded table with seats and channels | Exact maker capacity | Capacity applies only to the named model |
For a simple circular shell with straight sloping sides, the lower inside diameter is D1, the diameter at the fill line is D2, and the vertical fill depth is H.
Circular tapered volume = π × H × (D1² + D1 × D2 + D2²) ÷ 12
Use that formula only for a circular frustum. Lobes, seats, curved wall profiles and changing floor levels fall outside its geometry.
How do you set and measure the target fill line?
Choose the intended sand surface from the exact product instructions, project requirements and responsible adult's use plan. Mark that level on the inside wall, then measure vertically from the usable floor.
The wall height is a separate reading. Measure from the same floor datum to the lowest edge that controls retention. A raised corner or decorative rim does not increase the usable retaining height around the rest of the box.
Do not copy a universal fill depth from an online table. The cited manufacturer documents describe named products, and the CPSC home-playground handbook does not set a universal sandbox sand depth. The box design, age range, supervision plan, cover, drainage and manufacturer instructions can change the decision.
What if the floor is uneven?
Take a grid of vertical readings to the same level fill line. Divide the footprint into zones where depth is reasonably consistent, then calculate each zone separately.
Write the number of readings, their positions and the selected zone depths on the sketch. A single deepest reading applied to the whole footprint can materially overstate volume.
How do you deduct seats, steps and center features?
Deduct only the part of each permanent feature that occupies space below the target fill line. Record its footprint, height within the fill zone and shape.
Full-depth rectangular seat displacement = seat length × seat width × target fill depth
A seat that ends below the fill line displaces only its own height. A sloping or hollow feature needs its actual external volume within the fill zone. Do not deduct removable toys, buckets or temporary forms from the purchase calculation.
Worked example: 4 ft square sandbox
A sandbox measures 4 ft by 4 ft between its inside faces. The marked fill line is 4 in above the usable floor. Convert 4 in to feet before multiplying.
4 in ÷ 12 = 0.333333 ft
4 ft × 4 ft × 0.333333 ft = 5.333333 ft³
NIST Handbook 44 states that 27 ft³ equals 1 yd³ and 1 ft³ equals 28.316846592 L. The result is 0.197531 yd³ or about 151.02 L.
Sakrete's cited Natural Play Sand sheet uses the same 4 ft × 4 ft × 4 in example. It rounds 4 in to 0.33 ft and prints 5.28 ft³, then divides by its named 0.5 ft³ package yield to give 11 bags. Keeping the exact 4/12 conversion gives 5.333333 ft³, and it also rounds up to 11 of those named 0.5 ft³ packages.
Use the current package yield printed for the product you will buy. QUIKRETE's cited sheet states a 50 lb size for Premium Play Sand but does not state a cubic-foot yield on that sheet.
Worked example: sandbox with a built-in seat
A rectangular sandbox measures 2.0 m by 1.2 m inside. The fill depth is 0.15 m. One rectangular corner seat measures 0.35 m by 0.30 m and occupies the full depth from floor to fill line.
| Step | Calculation | Result |
|---|---|---|
| Gross floor area | 2.0 × 1.2 | 2.400 m² |
| Seat footprint | 0.35 × 0.30 | 0.105 m² |
| Net floor area | 2.400 − 0.105 | 2.295 m² |
| Net fill volume | 2.295 × 0.15 | 0.34425 m³ |
| Litres | 0.34425 × 1,000 | 344.25 L |
The same result comes from gross volume minus seat volume: 0.36000 m³ − 0.01575 m³ = 0.34425 m³. This deduction applies because the seat occupies the full 0.15 m fill depth.
What should the completed measurement record contain?
Keep enough detail for another person to reproduce the calculator inputs. A note containing only 4 × 4 × 4 can lose the boundary, unit and depth meaning.
- Sandbox maker, model and instruction or product-page date when available.
- Sketch of the usable inside footprint and target fill line.
- Shape selected for calculation and the reason it matches.
- Raw inside length, width or diameter readings with units.
- Floor-level and fill-line readings for tapered walls.
- Vertical depth readings and their positions.
- Inside wall height from the same floor datum.
- Built-in feature dimensions and vertical extent below the fill line.
- Manufacturer-stated capacity and the exact model it covers.
- Unresolved bowed walls, changing depth, damaged liner or drainage questions.
- Preparer, checker, calculation date and later corrections.
Enter the accepted measurements in the Play Sand Calculator. It can use a rectangular, round or known-area footprint, deduct permanent displacement and keep supplier density or package yield as user inputs.
Which measurement mistakes change the result?
- Using outside dimensions from the carton as usable inside space.
- Measuring across a wide rim instead of between the inside faces.
- Using full wall height as target sand depth.
- Measuring a round chord beside the center and calling it the diameter.
- Using the fill-line footprint for a strongly tapered box without measuring the floor.
- Ignoring seats, steps or center features below the fill line.
- Deducting removable toys from the purchase quantity.
- Mixing feet, inches, metres and centimetres inside one formula.
- Rounding each dimension before the volume calculation.
- Using one depth across a visibly uneven floor.
- Assuming every 50 lb or 25 kg bag has the same volume.
- Transferring a maker capacity from one model to another.
- Adding an allowance before resolving a measurement discrepancy.
Product, site and safety limits
Use material sold and instructed for the intended sandbox. QUIKRETE describes its named Premium Play Sand as washed and screened for children's sandboxes. Sakrete describes its named Natural Play Sand as screened and washed, tells users to cover it against contamination, and says to use it outdoors or with adequate ventilation. Follow the current label and safety data for the product you buy.
The CPSC home-playground handbook tells readers to locate sandboxes away from swings or separate the activities with a guardrail or barrier. The handbook does not approve a particular fill depth, sand product, drainage layer or sandbox structure.
Quantity measurement does not inspect structural condition, drainage, contamination, fall protection or supervision. Stop using a damaged box or exposed sharp component and follow the maker's current instructions and applicable local requirements.
What should you do after the measurements are checked?
Use the Play Sand Calculator to calculate net volume and packages. Confirm the current product's package volume or supplier density before treating the output as an order.
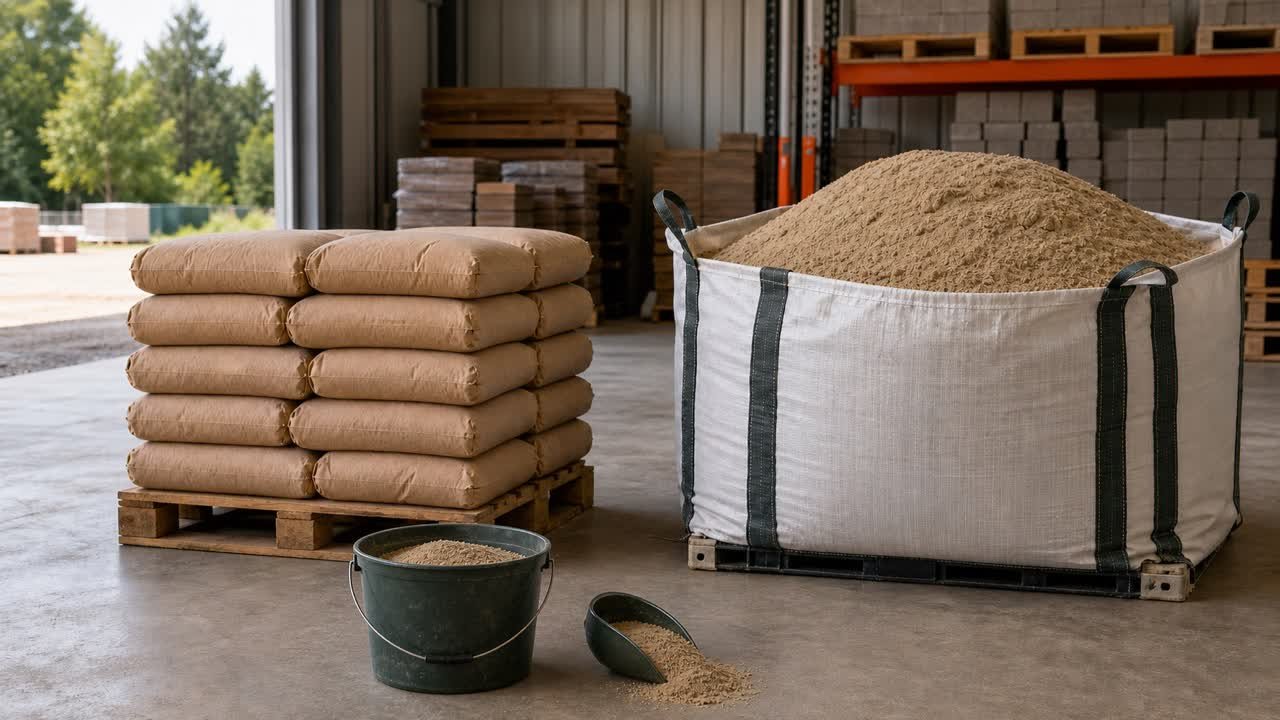
The Sand Bags vs Bulk guide covers selling-unit and delivery decisions after volume is accepted. Return to the Sand Material Planning hub for other published sand tools and guides.
The calculation methodology explains unit and fixture checks. Report a measurement, formula or source issue through the corrections route.
Sources and source scope
- Sakrete Natural Play Sand Technical Data: rectangular coverage method, named package yield, worked example and handling instructions.
- QUIKRETE Sand and Gravel Products Data Sheet: product description, sandbox use, washed and screened condition, damp-use note and stated 50 lb package size.
- Step2 Naturally Playful Sand Table: up to 80 lb sand capacity for one named molded table.
- CPSC Outdoor Home Playground Safety Handbook: home-playground siting guidance for sandboxes near moving equipment.
- NIST Handbook 44 (2026), Appendix C: unit relationships used in the worked fixtures.
Source scope: each manufacturer source governs its named product. Sakrete supports one coverage example and package yield. QUIKRETE supports a product description and mass label, not a package volume. Step2 supports one model capacity. CPSC supports the cited siting point, and NIST supports unit relationships. The current sandbox instructions, product label, site conditions and responsible adult control the project.
Review note: Saleem Sial owns the research and editorial record. Live SERP review, source retrieval, geometry fixtures, unit checks, editorial review, build validation, link crawl, schema review and rendered QA form the internal publication gate. Waseem Sial, External Reviewer and Engineer, is listed for ongoing external review; no completed external-review date is claimed.