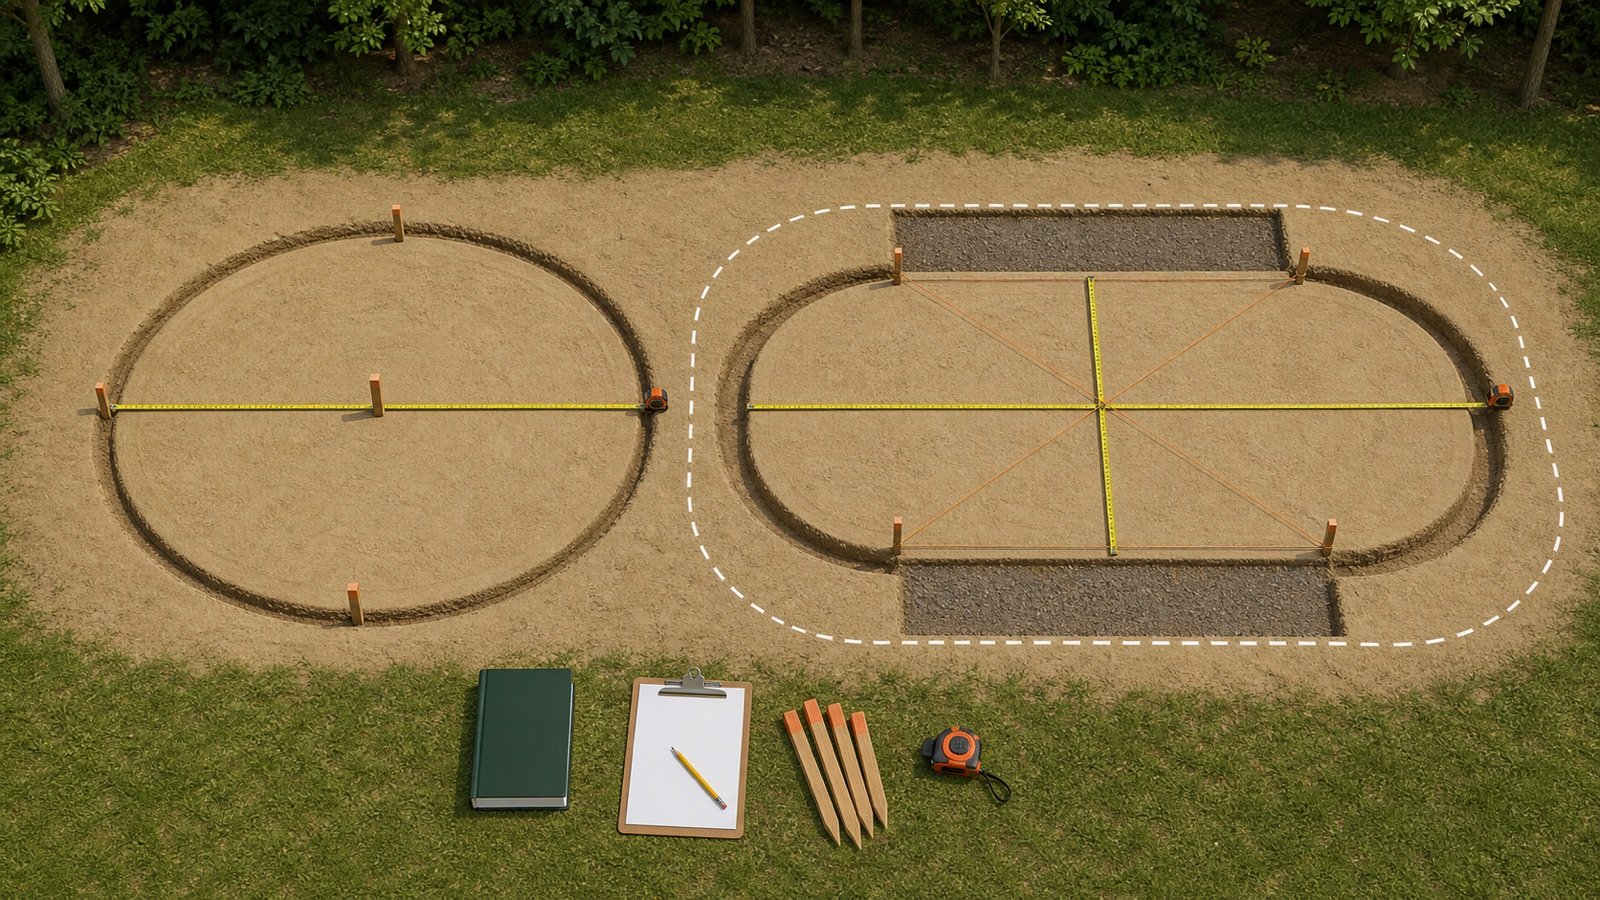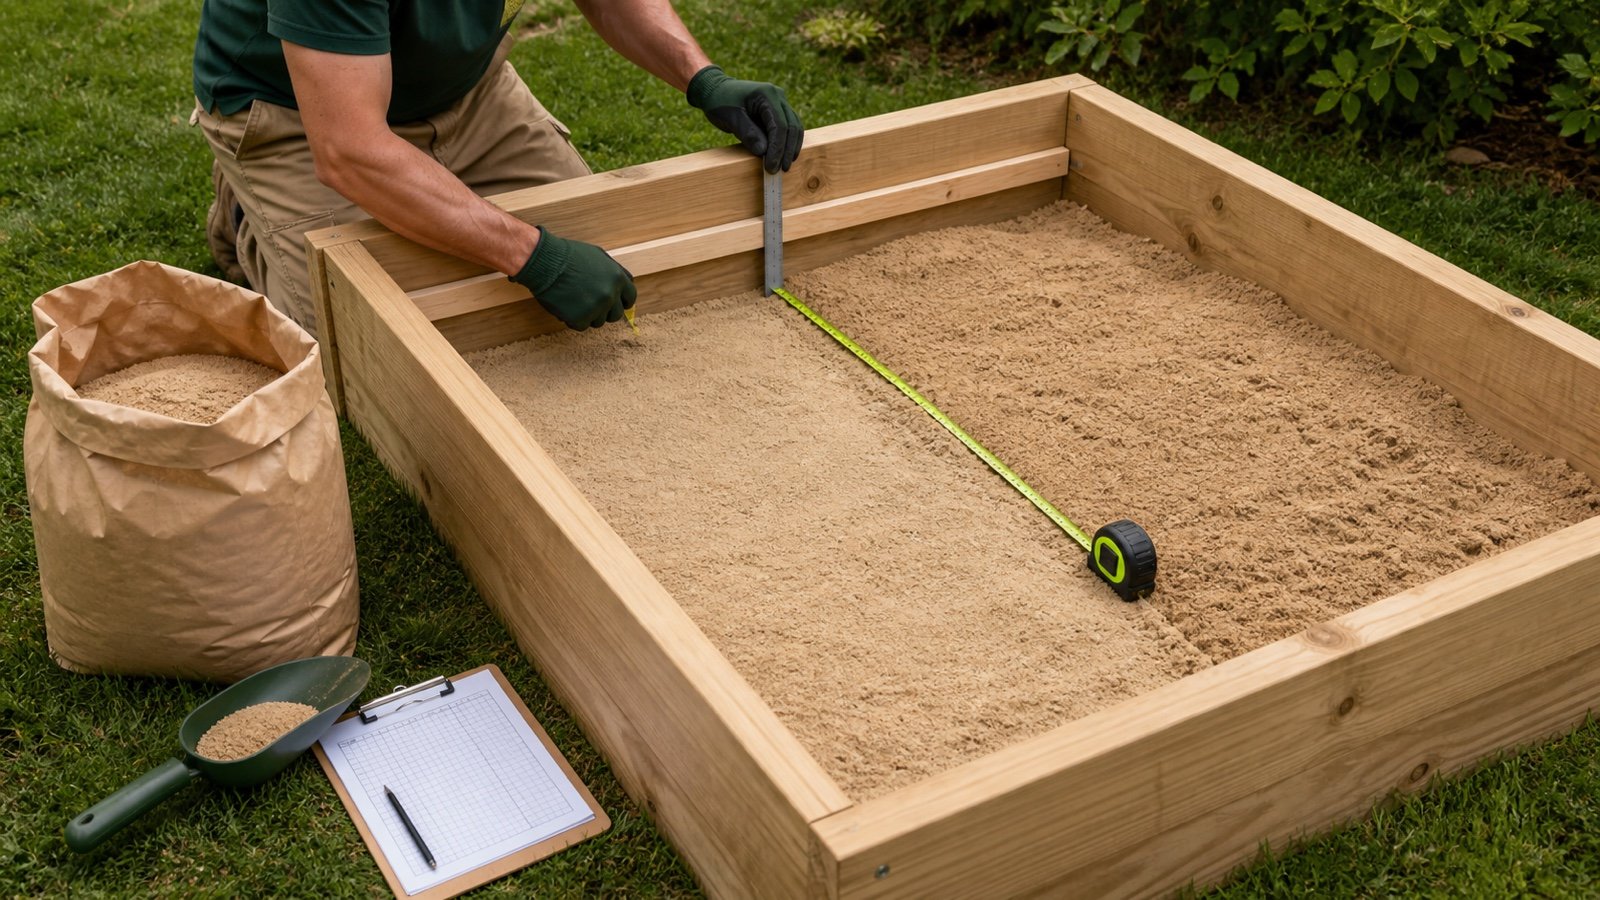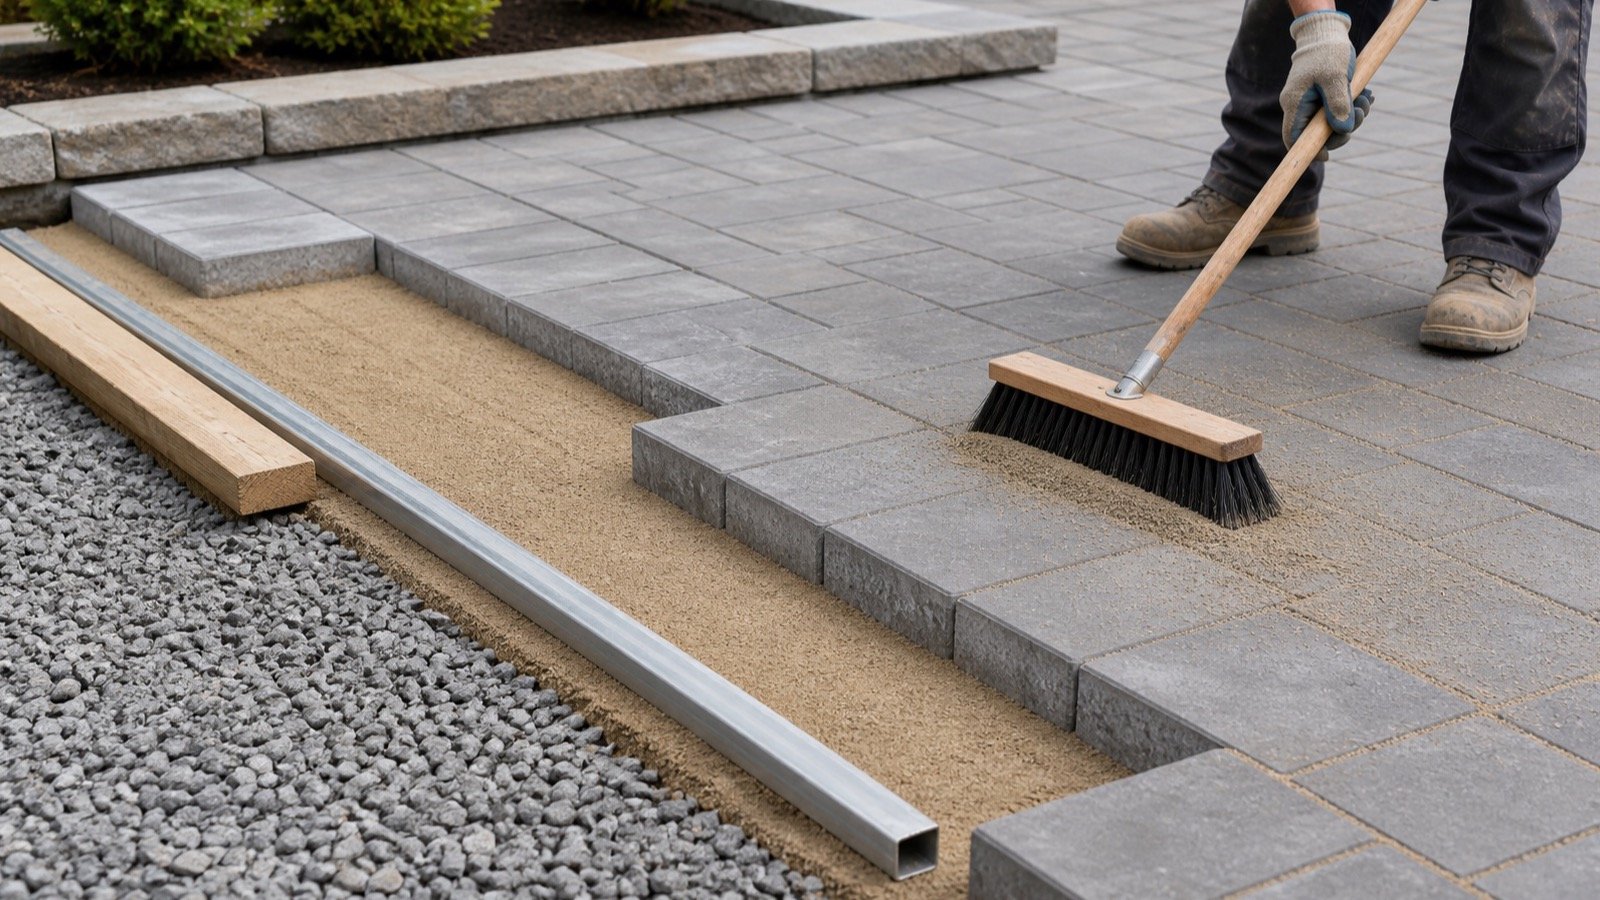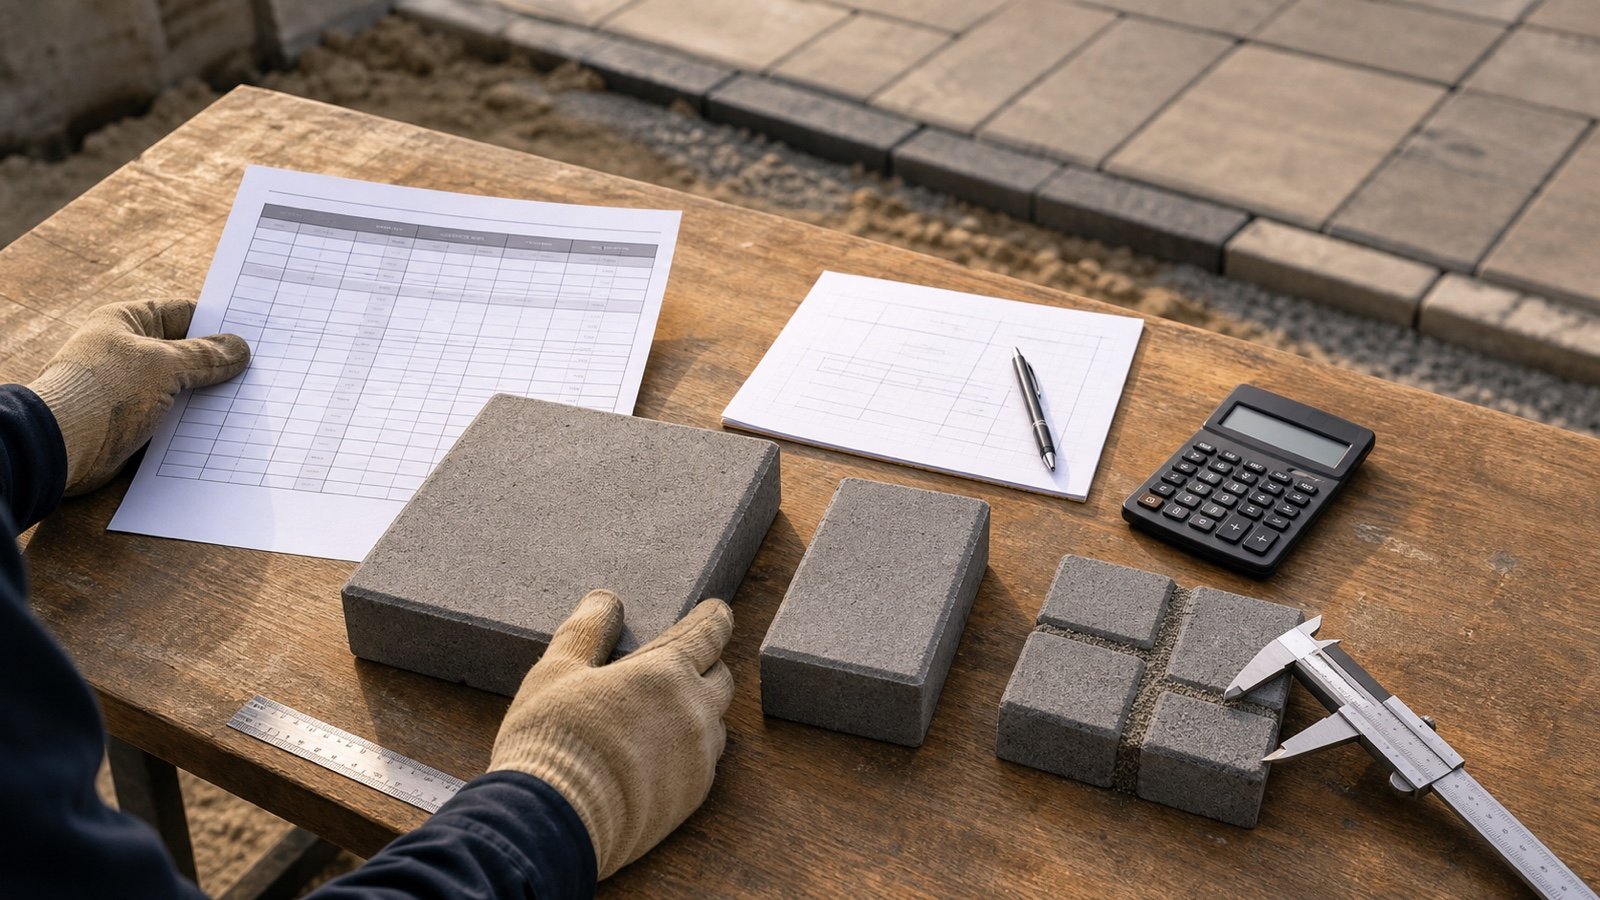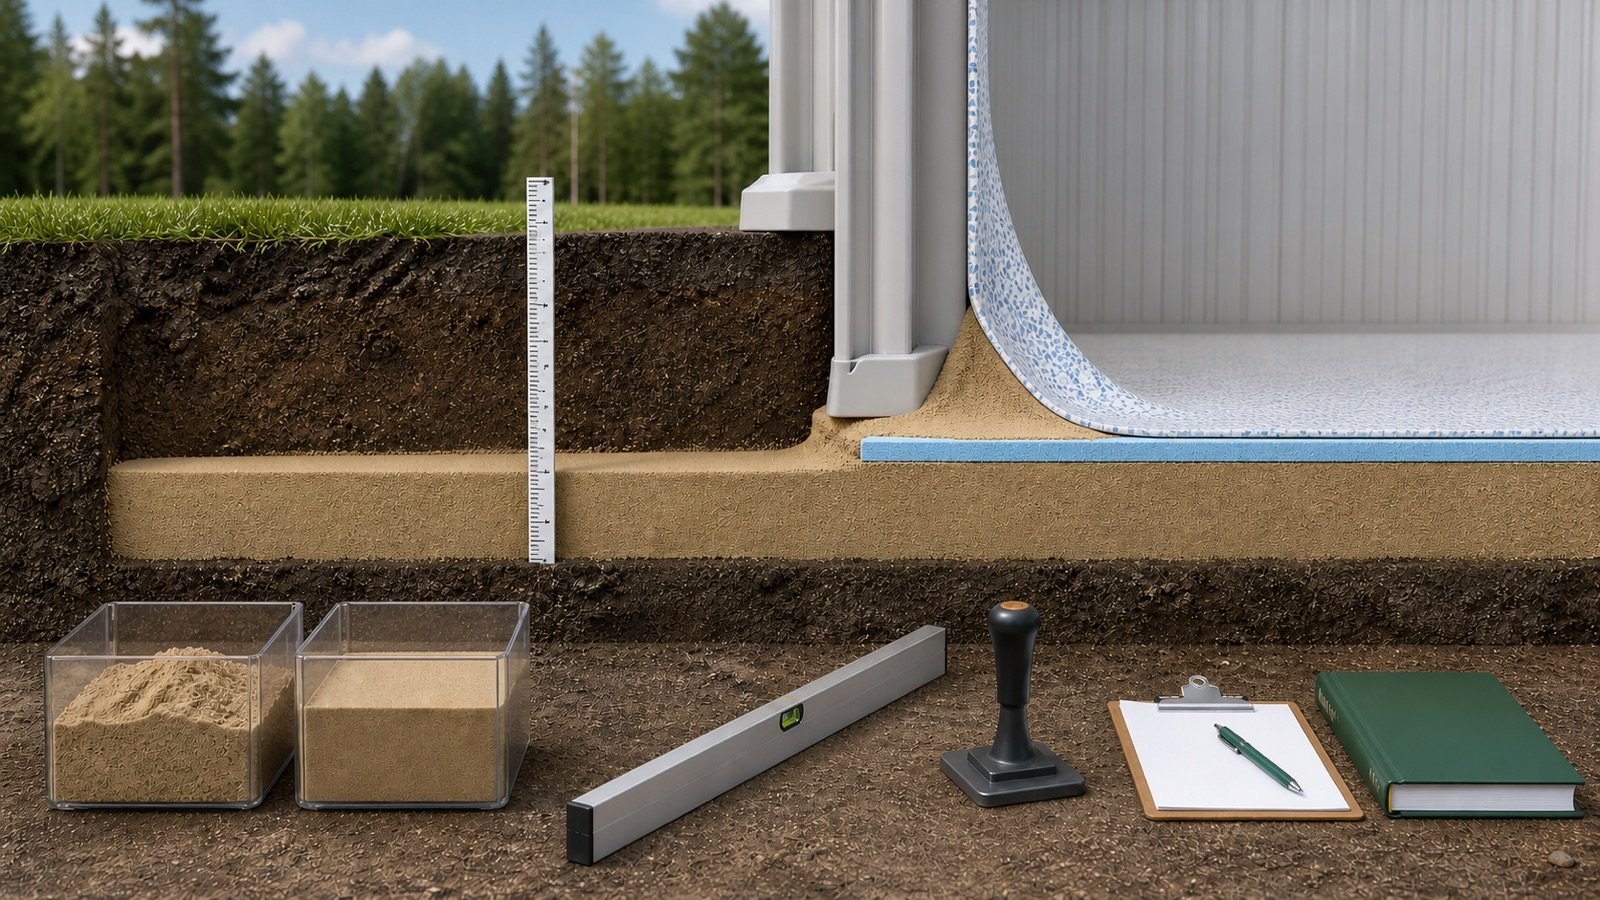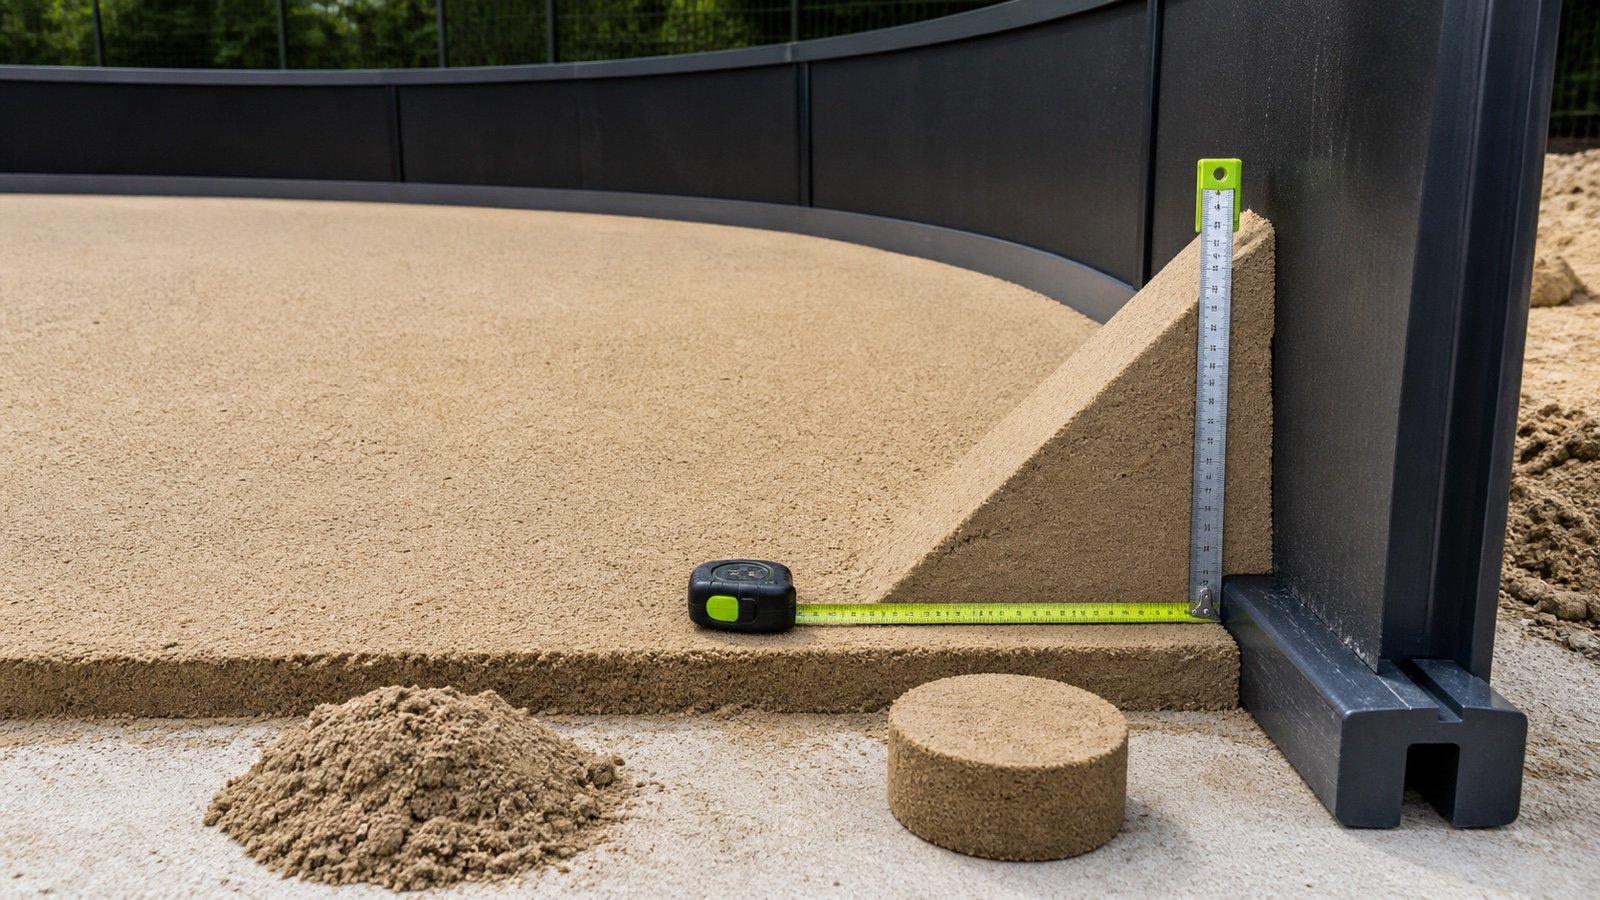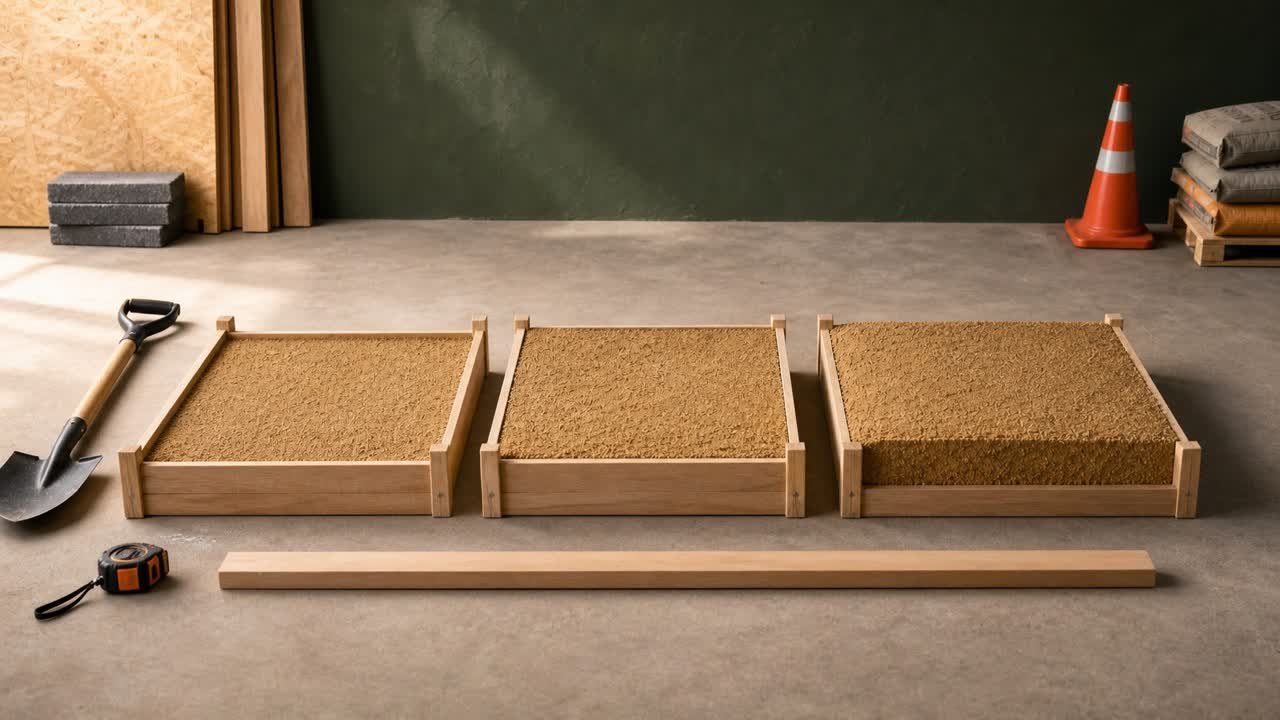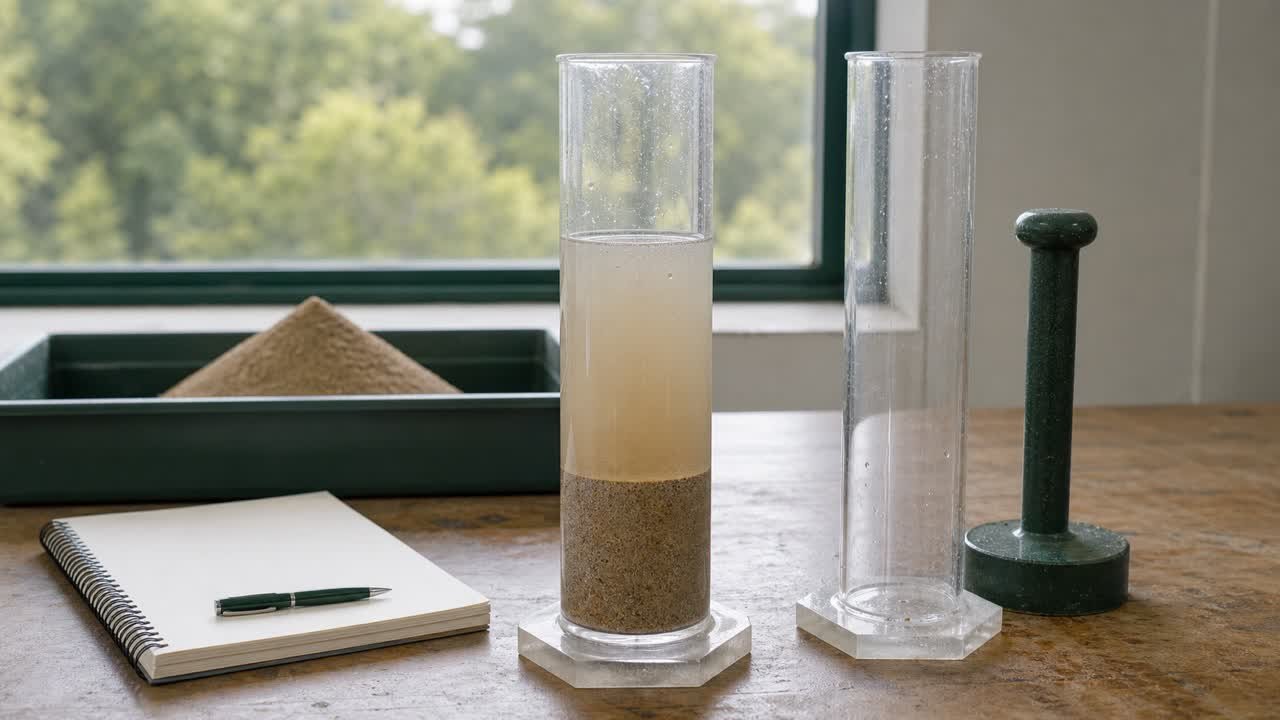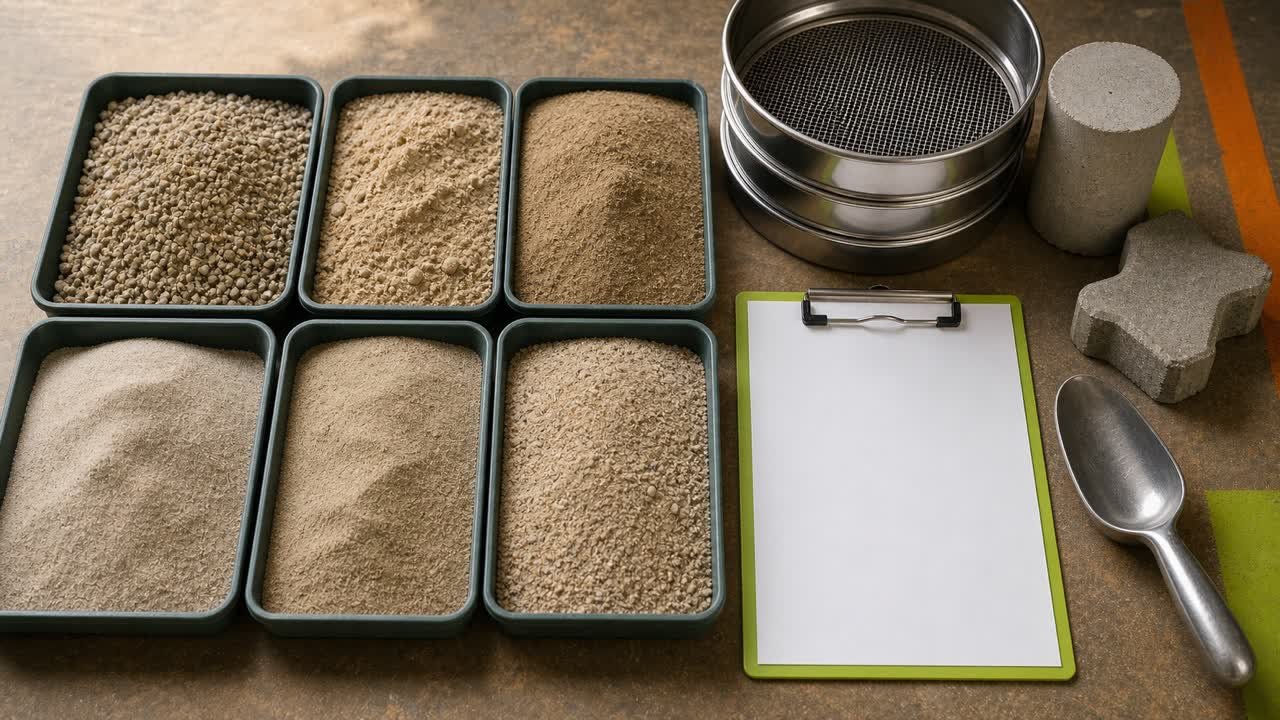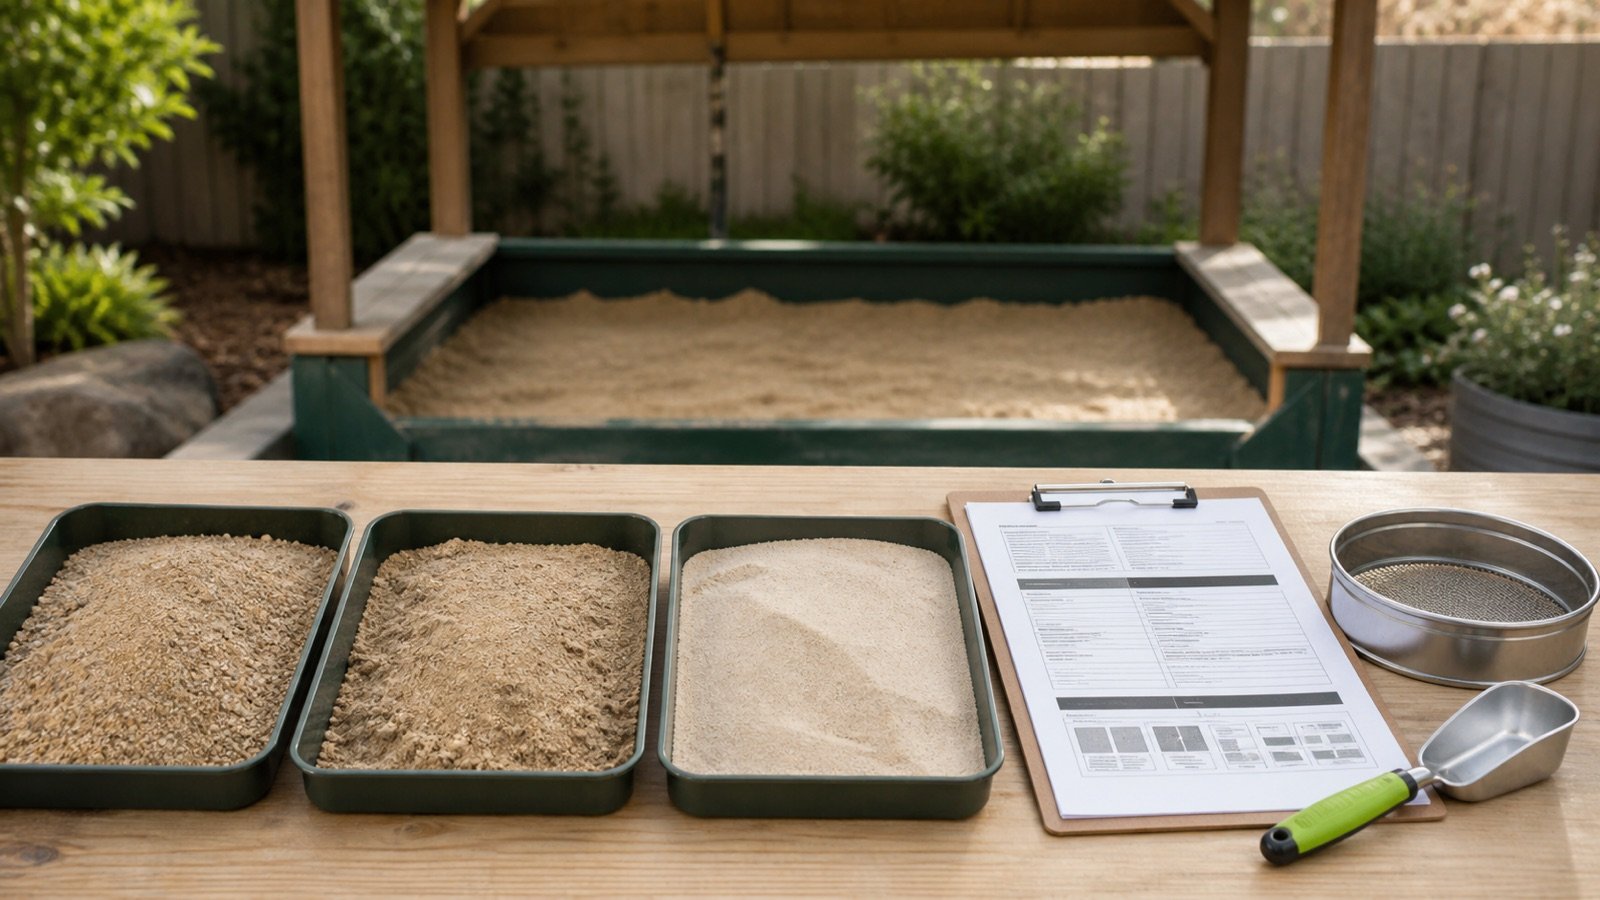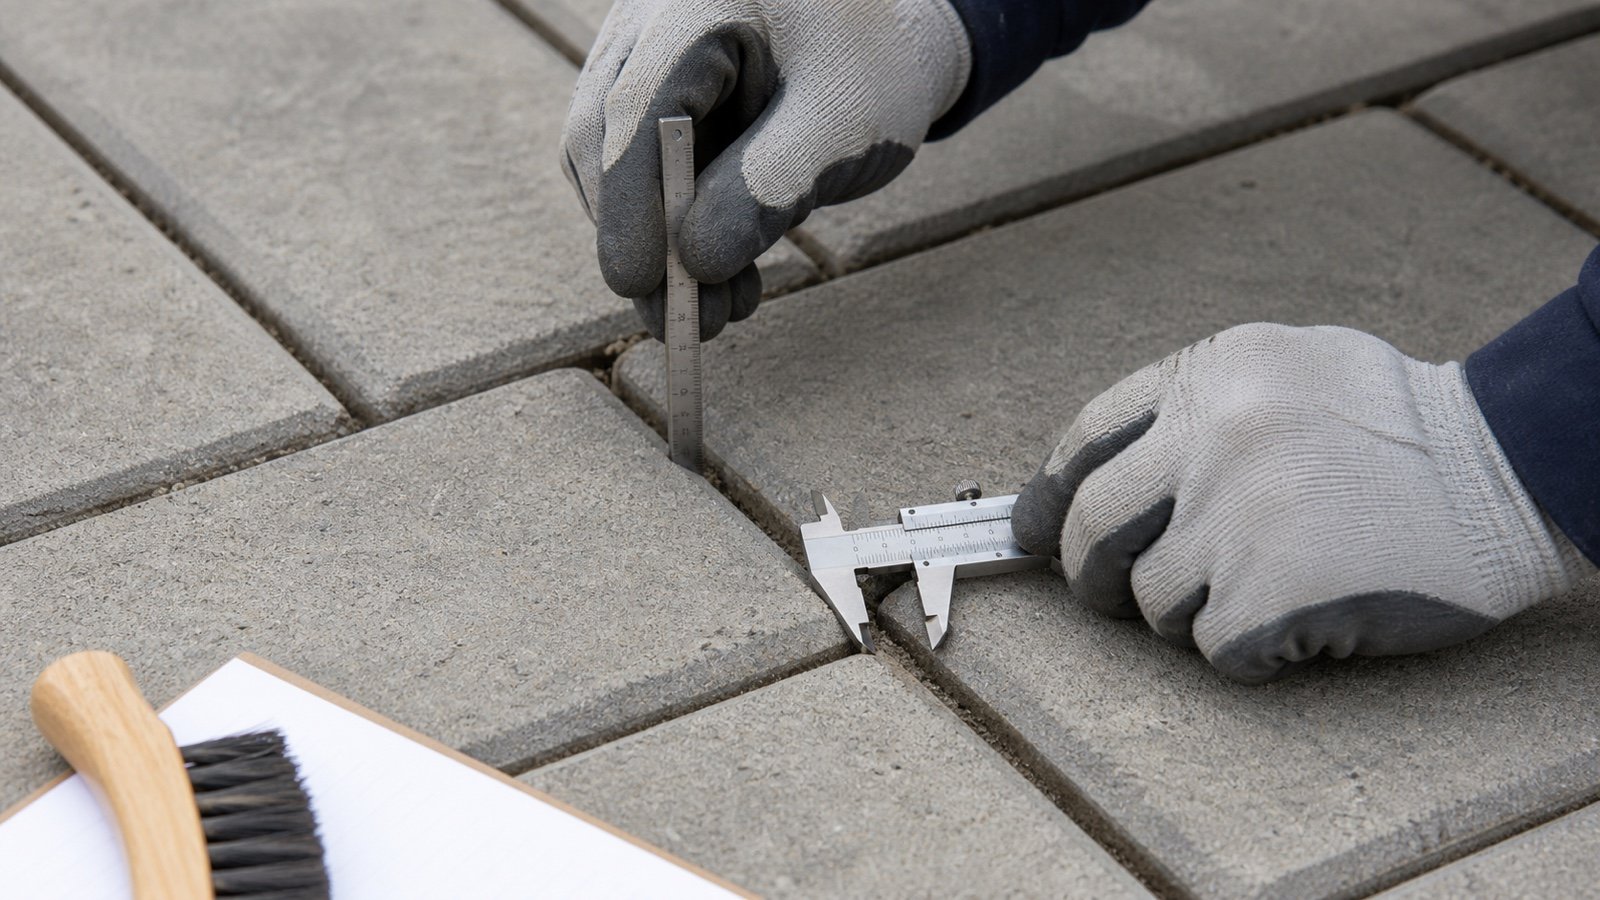
Polymeric-sand coverage starts with the joint, not the patio area. Measure the clear opening and usable fill depth before selecting a product or copying a bag-coverage number.
Paver edges, chamfers, borders, cuts, repairs, and decorative grooves can produce several joint conditions on one project. Record the full range so one incompatible location does not disappear inside an average.
What joint width and depth does polymeric sand need?
The joint must fit the current instructions for the exact product, paver, application, and market. There is no single width or depth that applies to every polymeric sand.
The reviewed manufacturer records show why. Techniseal SMARTSAND, Polybind Sand, and Sakrete PermaSand publish different minimum widths and different maximum widths. Two of those reviewed records specify a minimum 1.5 in, about 38-40 mm, depth, while each retains its own surface, paver, weather, cleaning, activation, and curing conditions.
A passing average cannot correct a joint that falls outside the selected product's minimum or maximum. Record each failed point and resolve it before using that product's coverage.
What exactly should you measure?
Measure the clear joint width available to the material and the usable vertical fill depth to the required finished product level. Keep the visible top opening, chamfer, existing fill, and paver thickness as separate observations.
| Record | Measurement | Why it matters |
|---|---|---|
| Clear joint width | Gap between opposing paver faces at the product's required reference | Screen against the selected product's minimum and maximum |
| Top opening | Visible gap at the upper edges | A chamfer can make this wider than the clear joint below |
| Usable fill depth | Prepared joint bottom or accepted remaining interface to required finished level | Screen depth and select the applicable coverage condition |
| Finished recess | Distance below the paver top or chamfer reference required by the product | Prevents depth from being measured to the wrong endpoint |
| Paver thickness | Bottom-to-top unit dimension | Useful context, but not automatic proof of usable joint depth |
| False joint | Molded groove that does not continue through the unit layout | Requires separate identification and product instructions |
How do you measure clear joint width?
Use a suitable caliper, feeler gauge, or checked measuring tool at the reference named by the selected product. Do not measure only across the widest top of a beveled edge.
- Identify field pavers, borders, curves, cuts, steps, slabs, and repaired areas as separate zones.
- Clean loose surface debris without changing the joint condition being assessed.
- Measure across opposing faces at several points along each representative joint.
- Record the minimum and maximum in each zone, plus the location of every outlier.
- Repeat at intersections and beside cuts where gaps often change.
- Compare every reading with one current product record.
CMHA PAV-TEC-002-22 uses consistent 1/16-3/16 in, or 2-5 mm, joints in its conventional interlocking-concrete-pavement method and explains that spacer bars help maintain a minimum space for joint sand. That system value describes the cited pavement method. It does not replace a proprietary joint product's own limits.
Why can a chamfer change the reading?
A chamfer is the beveled upper edge of a paver. Two chamfered units can create a wide V-shaped opening at the surface while the clear space below is narrower.
Record the visible top opening and the lower clear width separately. The Polybind sheet reviewed for this guide also sets its finished product level below the top of the paver or below the chamfer, showing that the top reference and filled joint geometry are not interchangeable.
Use the exact cross-section and wording for the selected paver and joint product. A photograph of the top opening alone may not show the controlling width or fill endpoint.
How do you measure usable joint depth on new paving?
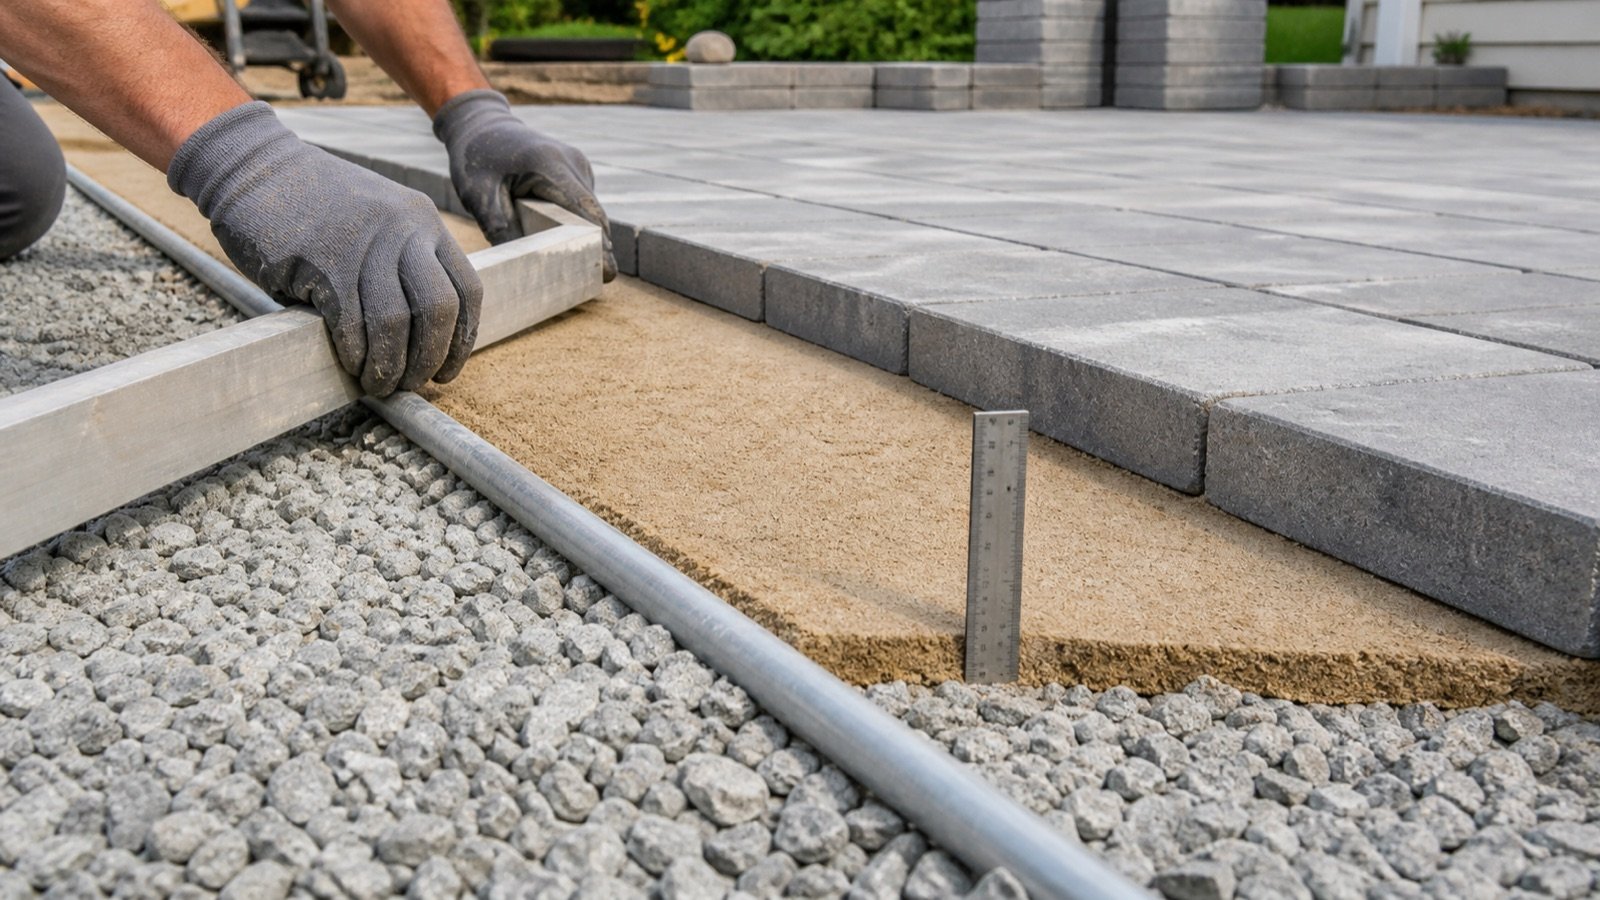
Measure from the verified bottom of the open joint to the finished level required by the selected product. Confirm that the probe reaches the intended joint space rather than resting on a spacer, bridge of sand, debris, or an irregular edge.
- Confirm the pavers and pavement system permit the selected joint product.
- Inspect the empty joint before fill hides the bottom condition.
- Place a slim depth probe vertically without forcing it into the bedding.
- Record several depths in each zone, including borders and cut units.
- Subtract or otherwise account for the required finished recess only as the product instructions direct.
- Keep the shallowest usable depth and its location in the acceptance record.
Do not enter paver thickness as joint depth without checking the actual geometry. Spacer features, bedding migration, debris, a closed lower joint, and the specified finished level can change the usable fill space.
How do you check depth when re-jointing existing pavers?
Follow the selected product's existing-pavement preparation method, then measure the prepared space. A ruler from the surface to unknown old material does not prove that the new product has the required depth or a compatible interface.
The reviewed Polybind Sand sheet requires careful removal of old joint material to provide at least its stated 1.5 in depth, while warning against disturbing the bedding. Its cross-section shows the joint filled with that named product rather than another material used as a filler beneath it.
- Record loose, hard, contaminated, damp, or mixed existing fill.
- Check rocking pavers, settlement, open edges, washout, and bedding loss before refilling.
- Use the product-approved removal and cleaning method.
- Measure the remaining prepared depth at several points.
- Resolve areas that cannot be cleaned to the required condition.
- Do not hide an unresolved shallow area with a general waste allowance.
Can an average width or depth pass the zone?
No. An average summarizes the readings but does not prove that every location meets a minimum or maximum.
Suppose prepared depths are 42, 39, 31, and 40 mm. Their average is 38 mm:
(42 + 39 + 31 + 40) ÷ 4 = 38 mm
A product requiring at least 38 mm still fails this dimensional screen at the 31 mm point. Record the average for estimating if it is useful, but keep the minimum for compatibility and corrective work.
How much can product joint limits differ?
The reviewed examples span different width limits, so a product name and document revision belong beside every dimension. The table is a comparison of source records, not a product recommendation.
| Product record | Reviewed joint width | Reviewed minimum depth | Scope note |
|---|---|---|---|
| Techniseal SMARTSAND, March 2023 | 1/16-1 in (1.6-25 mm); sheet describes 1/16-3/8 in as ideal and intersecting spaces up to 1 in | 1.5 in (4 cm) | Named product and document; all listed application conditions still apply |
| Polybind Sand, revision 24/01/2022 | 1/8-1 in (3-25 mm) | 1.5 in (38 mm) | Named product; includes its own finished-level and repair instructions |
| Sakrete PermaSand, retrieved 2026-08-07 | 1/4-1.5 in (6.4-38 mm) | Use current exact product instruction | Named product; reviewed sheet separately addresses false joints |
Recheck the current technical data for the exact package and market before work. A revised formula, renamed product, regional sheet, paver type, or application can change the applicable record.
How do you screen a mixed-width project?
Compare every representative reading with the same selected product range. Split the work into zones when the paver or joint geometry changes.
Consider widths of 2, 3, 5, and 8 mm with a usable depth of 40 mm. Against the reviewed dimensions, all 4 widths and the depth fall inside the Techniseal SMARTSAND dimensional limits. The 2 mm location falls below the reviewed Polybind minimum. The 2, 3, and 5 mm locations fall below the reviewed Sakrete minimum width.
| Reviewed product record | Width result | Depth result | Decision |
|---|---|---|---|
| Techniseal SMARTSAND, March 2023 | 2, 3, 5, and 8 mm inside reviewed range | 40 mm meets reviewed minimum | Dimensional screen passes; check every other condition |
| Polybind Sand, revision 24/01/2022 | 2 mm below reviewed minimum | 40 mm meets reviewed minimum | Zone fails as measured |
| Sakrete PermaSand, retrieved 2026-08-07 | 2, 3, and 5 mm below reviewed minimum | Not determined by this comparison | Zone fails width screen as measured |
This fixture checks dimensions only. It does not approve any product or installation. Surface type, slope, drainage, traffic, weather, moisture, cleaning, activation, cure, local instructions, and project requirements remain separate gates.
What are false joints and why do they need a separate check?
False joints are molded grooves that resemble joints but do not form the same continuous gap between separate units. Count and inspect them separately because their depth, cleaning, wetting, and material behavior can differ.
The reviewed Sakrete PermaSand sheet permits false joints at least 3/8 in, or 9.5 mm, deep within that named product's procedure and adds specific care for cleaning and wetting. That statement does not make 3/8 in a general minimum for real joints or another polymeric product.
When should the patio be divided into measurement zones?
Create a new zone whenever paver geometry, joint condition, product coverage basis, or repair preparation changes. One total area can contain several valid bag-coverage rows.
- Field pavers and a contrasting border use different unit sizes.
- Curves and fan patterns create wedge-shaped joints.
- Cut pieces beside walls, drains, or steps have wider gaps.
- Slabs and small-format pavers share the same project.
- Existing areas retain different amounts of old joint material.
- Settled or rocking areas need repair before joint filling.
- False joints appear in only one paver style.
Record area, minimum width, maximum width, shallowest usable depth, paver, product, coverage row, and unresolved conditions for each zone.
How do measurements connect to polymeric-sand coverage?
Use the selected product's current coverage for the accepted paver and joint geometry. Coverage can change with paver size or shape, joint width, joint depth, compaction, and package size.
Planning area = measured zone area × (1 + documented area allowance % ÷ 100)
Whole bags = ceiling(planning area ÷ current product coverage per bag)
Keep every coverage input with its source, bag size, market, revision, and access date. If the project has 3 geometry zones, calculate 3 bag lines before adding whole packages. Use the Polymeric Sand Coverage Chart guide to record the product, package, paver, joint band, and coverage range. The Paver Sand Calculator accepts current product coverage instead of imposing a universal polymeric-sand yield.
Which measurement mistakes change the result?
- Measuring only the widest chamfer opening.
- Taking one reading in the middle of a uniform-looking field.
- Averaging away one narrow, wide, or shallow location.
- Calling paver thickness the usable joint depth.
- Measuring to loose debris or unknown existing fill.
- Forcing a probe into bedding and recording the disturbed depth.
- Combining fields, borders, curves, cuts, and repairs under one coverage row.
- Treating a false joint as a full joint without product confirmation.
- Copying dimensions from a different product, market, or old revision.
- Using extra bags to compensate for unresolved compatibility.
What should the joint measurement record contain?
| Field | Entry |
|---|---|
| Project zone | Plan reference, measured area, field, border, curve, cut, or repair |
| Paver | Manufacturer, product, size, thickness, surface, chamfer, and false-joint details |
| Joint width | Reference point, tool, reading locations, minimum, maximum, and outliers |
| Usable depth | Preparation state, bottom reference, finished-level reference, minimum, and outliers |
| Existing condition | Old fill, contamination, movement, settlement, bedding loss, edges, and drainage |
| Selected product | Exact name, package, market, document title, revision, access date, and dimensional limits |
| Screen result | Each failed point, corrective decision, remeasurement, and approval record |
| Quantity handoff | Accepted zone area, applicable coverage row, allowance reason, and whole bags |
Use the Paver Bedding Sand vs Joint Sand guide to confirm the material's role. The paver bedding-depth guide covers the separate layer below the pavers, and the Sand Bags vs Bulk guide covers selling units. Browse the Sand Material Planning hub for published sand tools and records.
What construction and safety limits apply?
This guide supports measurement, dimensional screening, and quantity planning. It does not approve a joint product, design the pavement, repair movement, verify drainage, set slopes, select edge restraints, or replace current project and manufacturer instructions.
Use governing drawings, specifications, permits, the exact paver and joint-product documents, site conditions, local requirements, and responsible professionals. Cutting concrete pavers and handling dry silica-containing material can create respirable crystalline silica. U.S. construction workplaces should follow applicable OSHA requirements and the employer's exposure-control process.
Sources and source scope
- CMHA PAV-TEC-002-22, Construction of Interlocking Concrete Pavements: consistent joint-width and spacer-bar context in its conventional interlocking-concrete-pavement method.
- Polybind Sand Technical Data Sheet, revision 24/01/2022: named-product width, minimum depth, chamfer and finished-level references, and existing-pavement preparation.
- Sakrete PermaSand Technical Data Sheet: named-product width, false-joint condition, coverage dependencies, and package-specific example.
- Techniseal SMARTSAND Technical Data Sheet, March 2023: named-product joint width and minimum depth.
- OSHA Respirable Crystalline Silica in Construction: U.S. occupational hazard and control context.
Source scope: CMHA supports only the stated conventional pavement context. Each manufacturer document supports only its named product, market, revision, and stated conditions. OSHA supports the named U.S. workplace context. Current project documents, paver and product instructions, site conditions, local requirements, safety controls, and responsible people govern the work.
Review note: Saleem Sial owns the research and editorial record. Source extraction, document rendering, measurement fixtures, editorial review, build validation, link crawl, schema review, and rendered QA form the internal publication gate. Waseem Sial, External Reviewer and Engineer, is listed for ongoing external review; no completed review date is claimed.