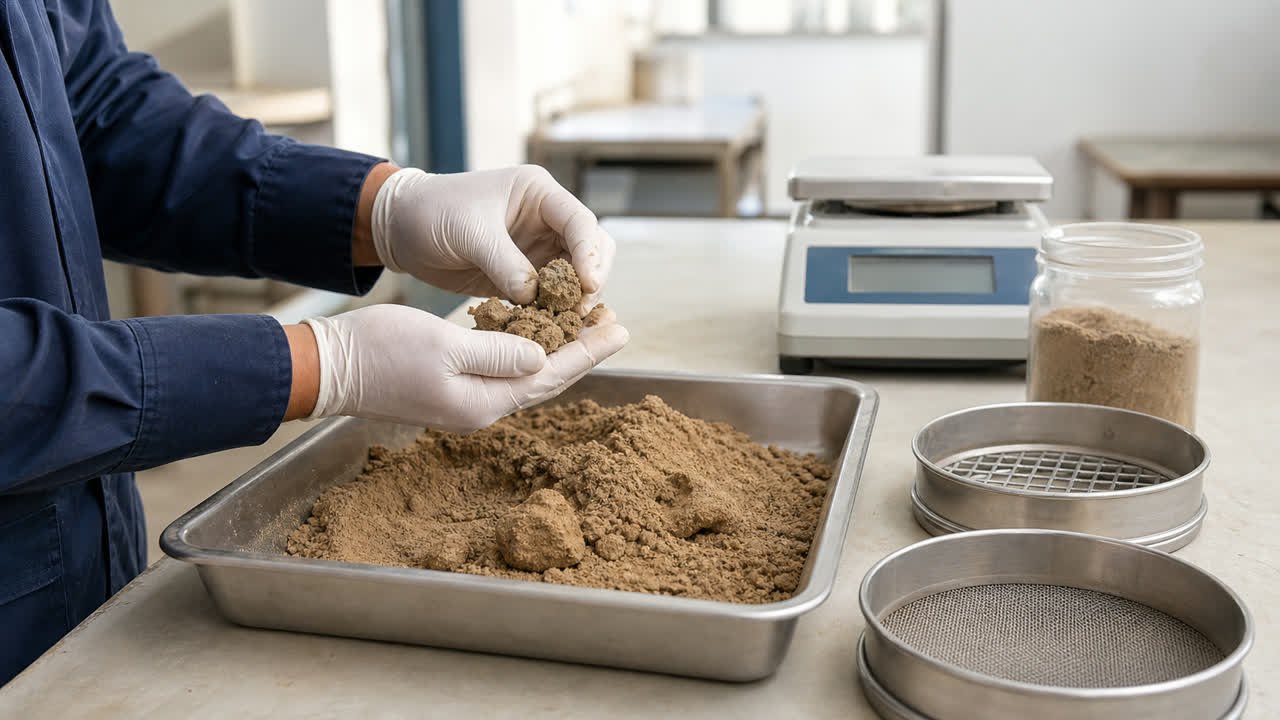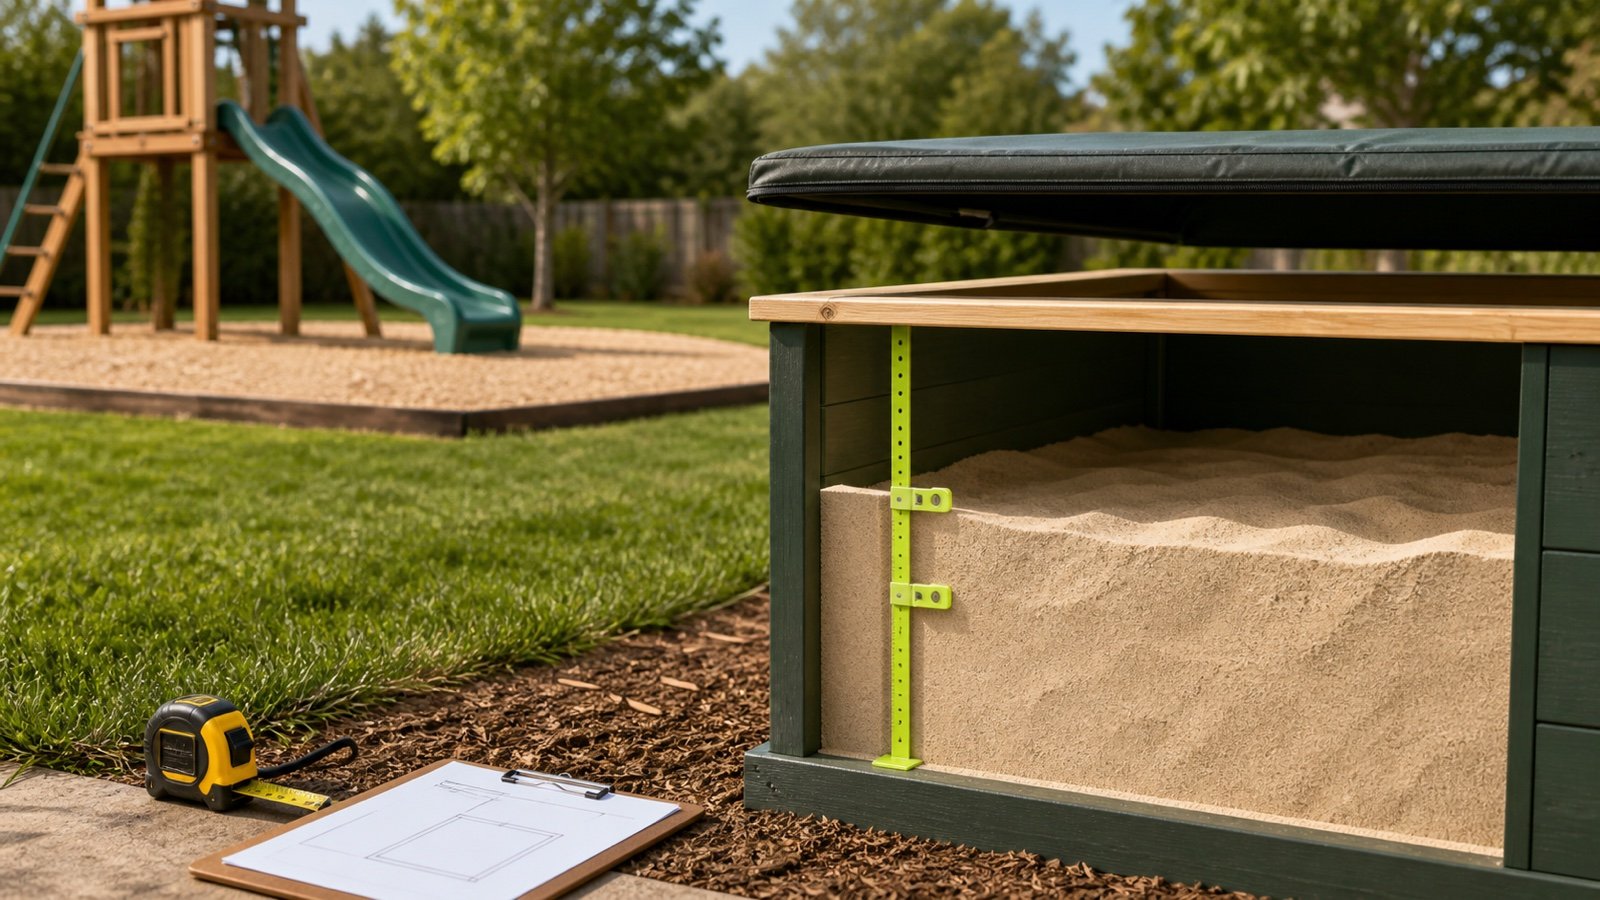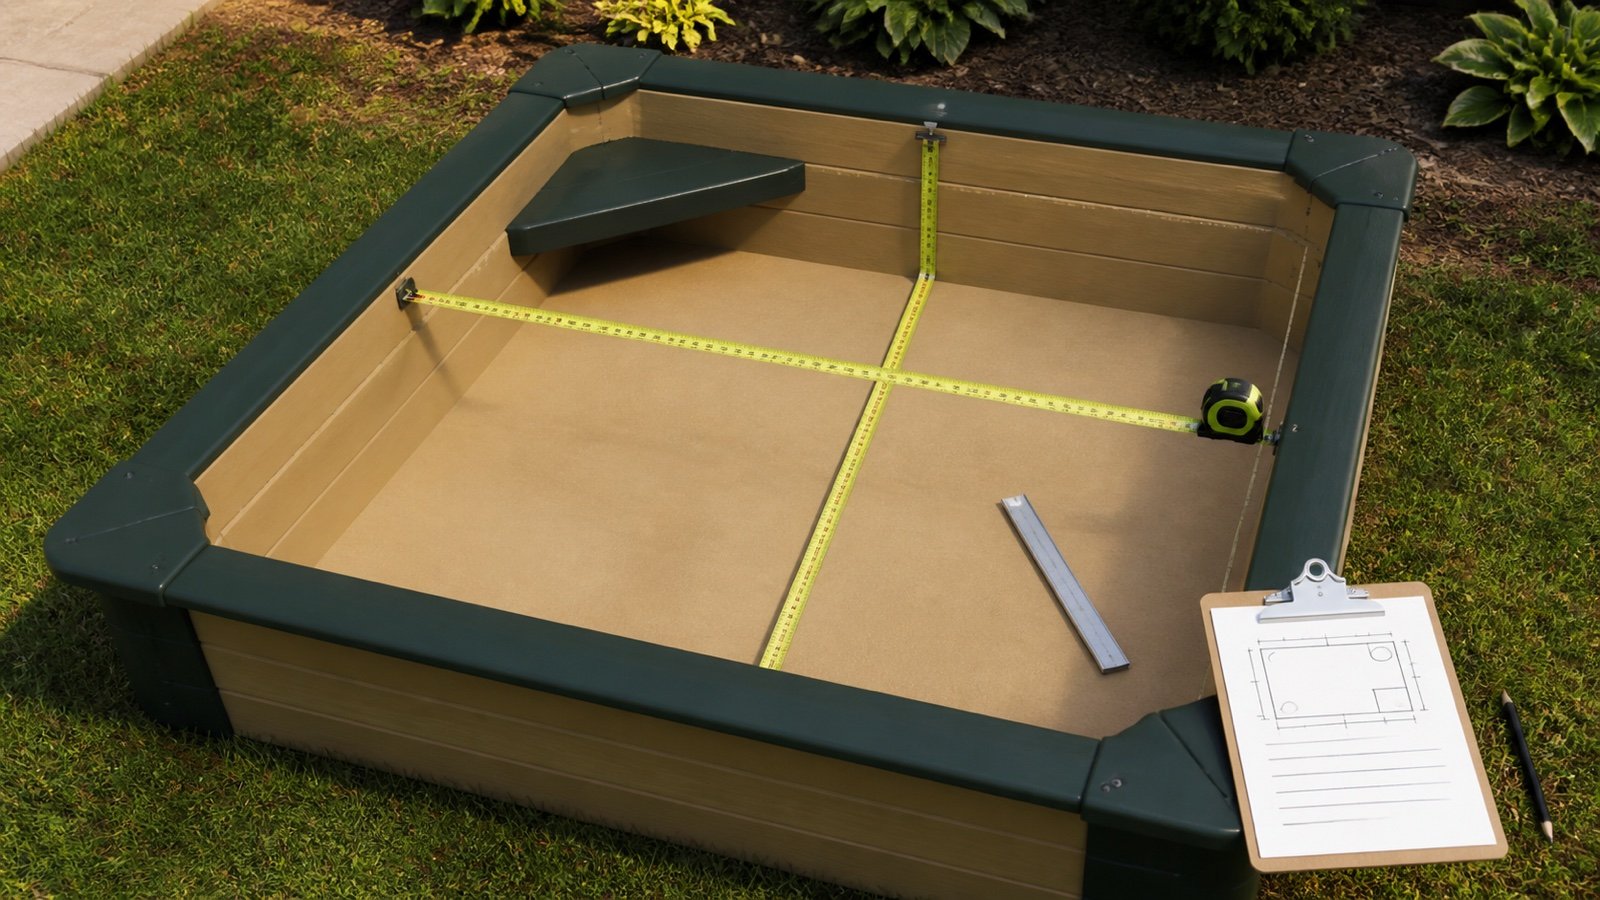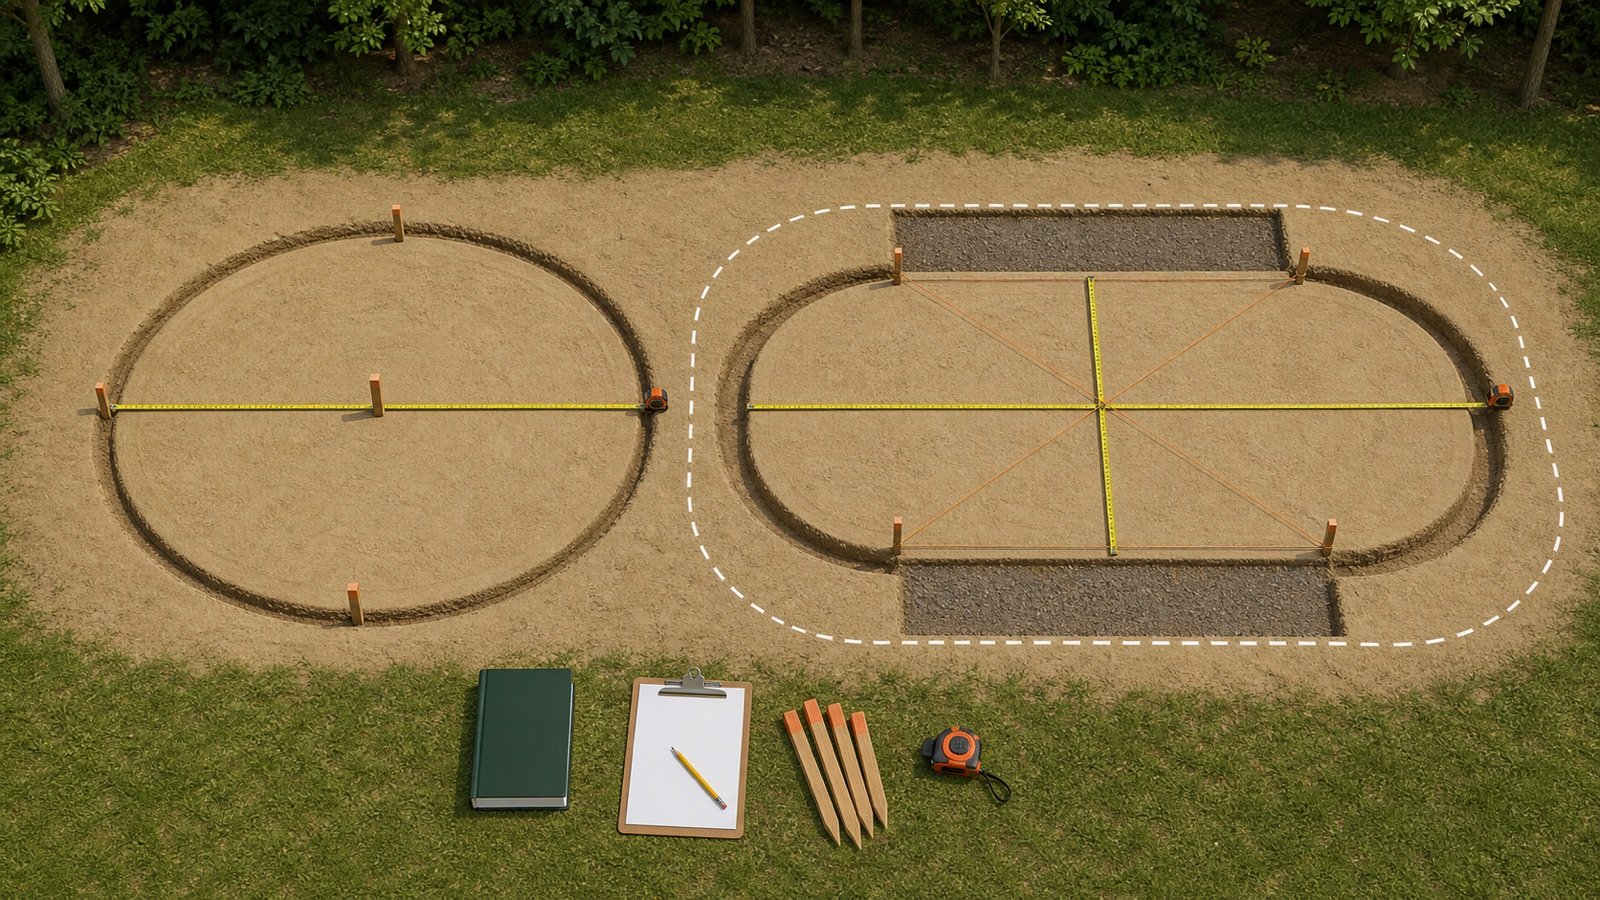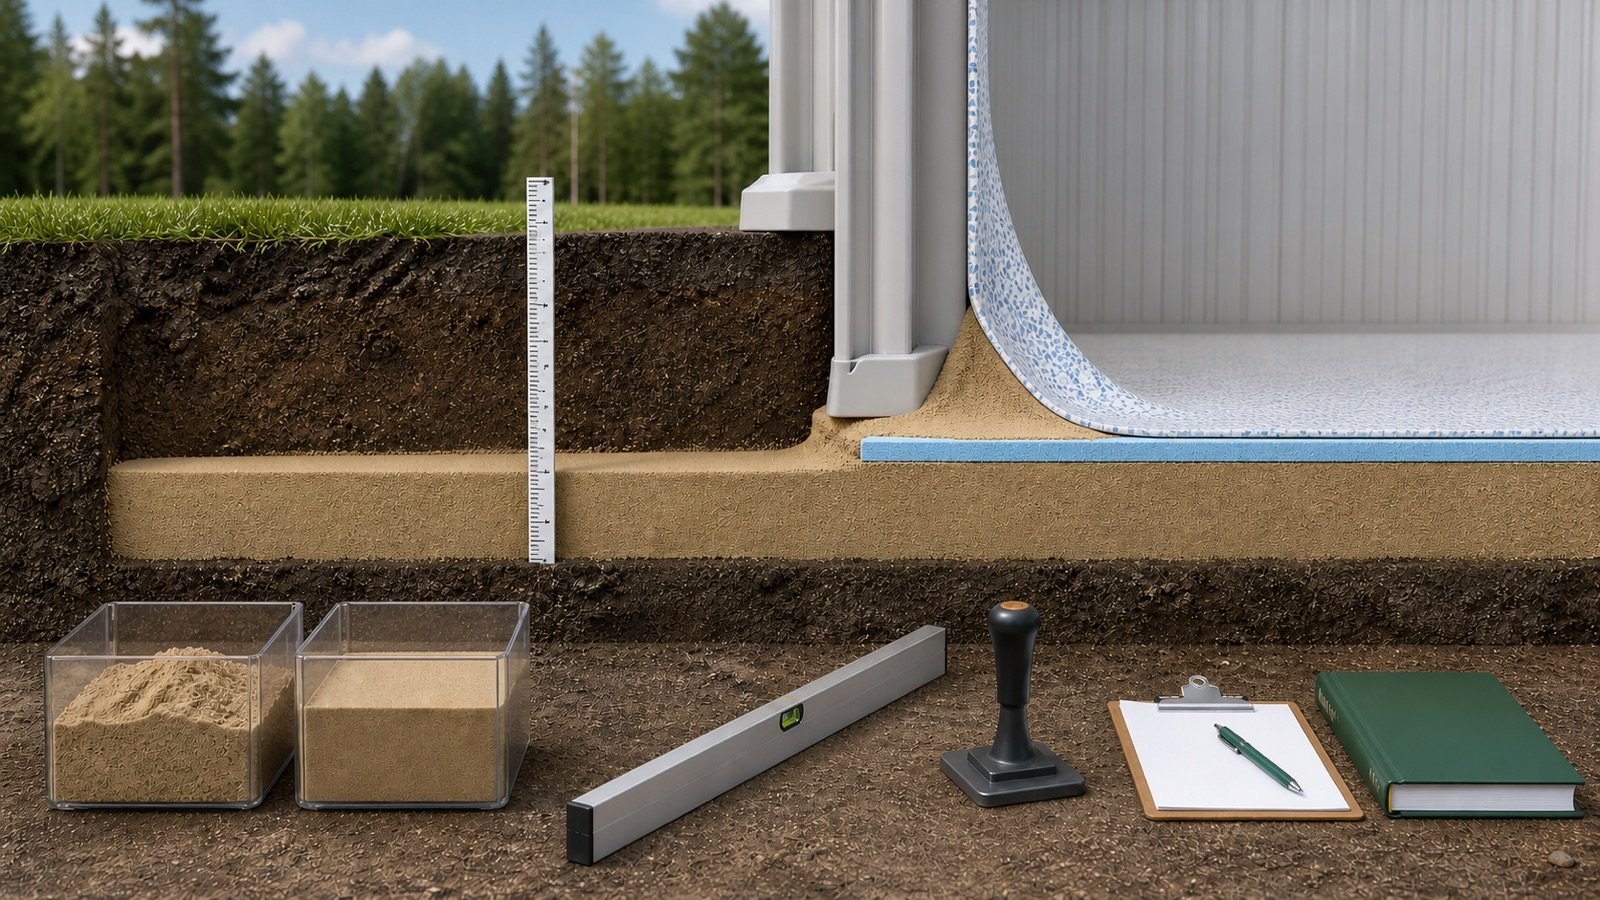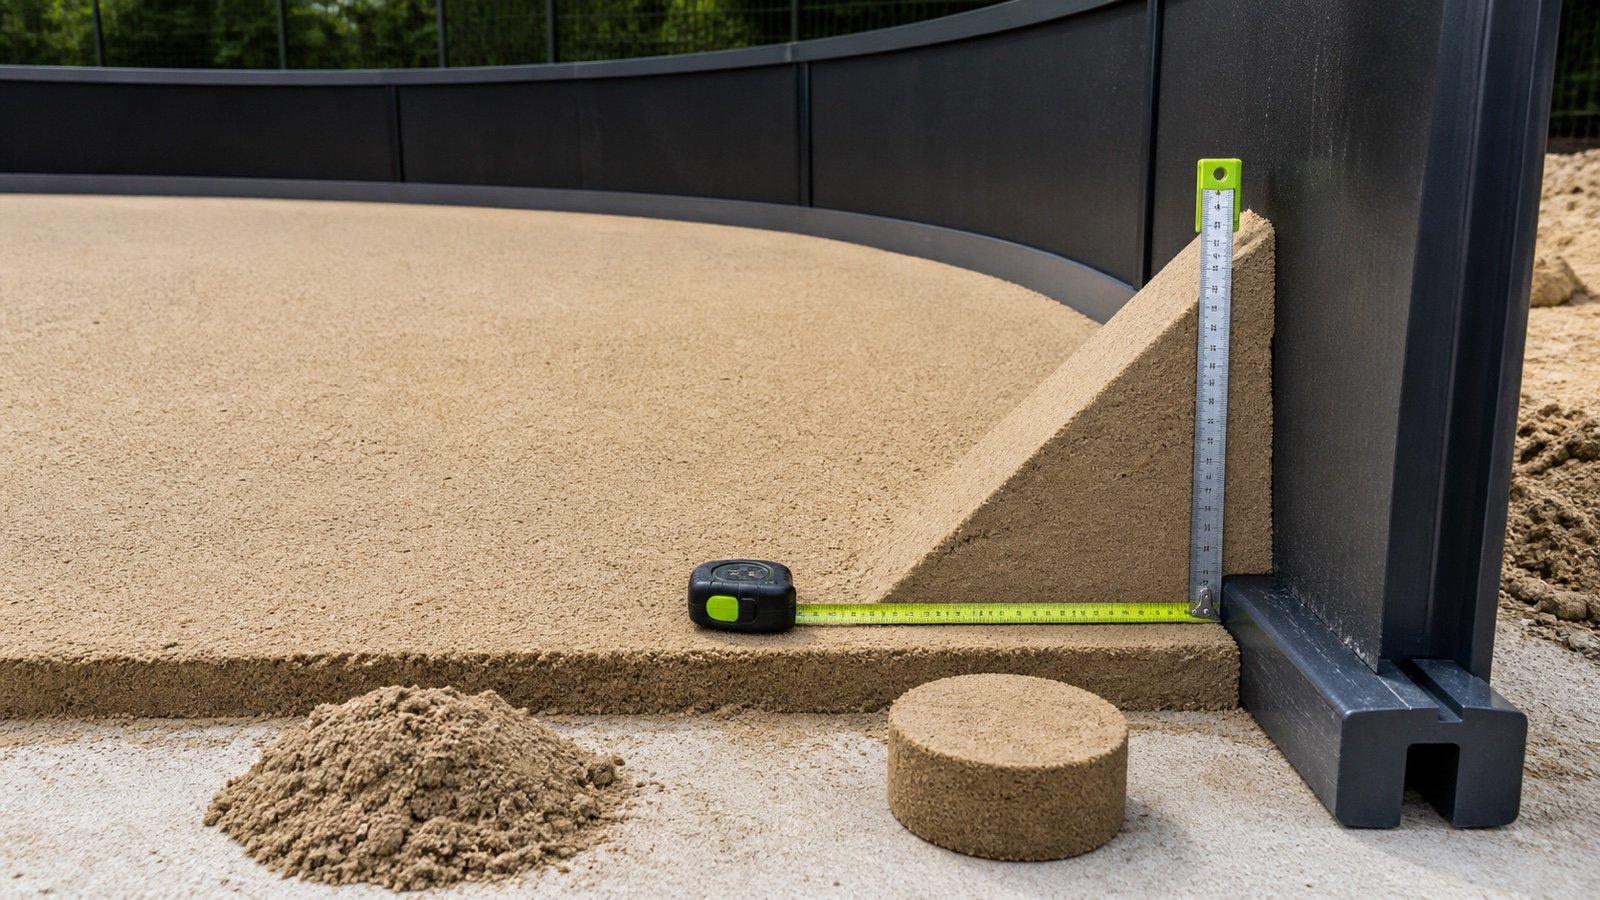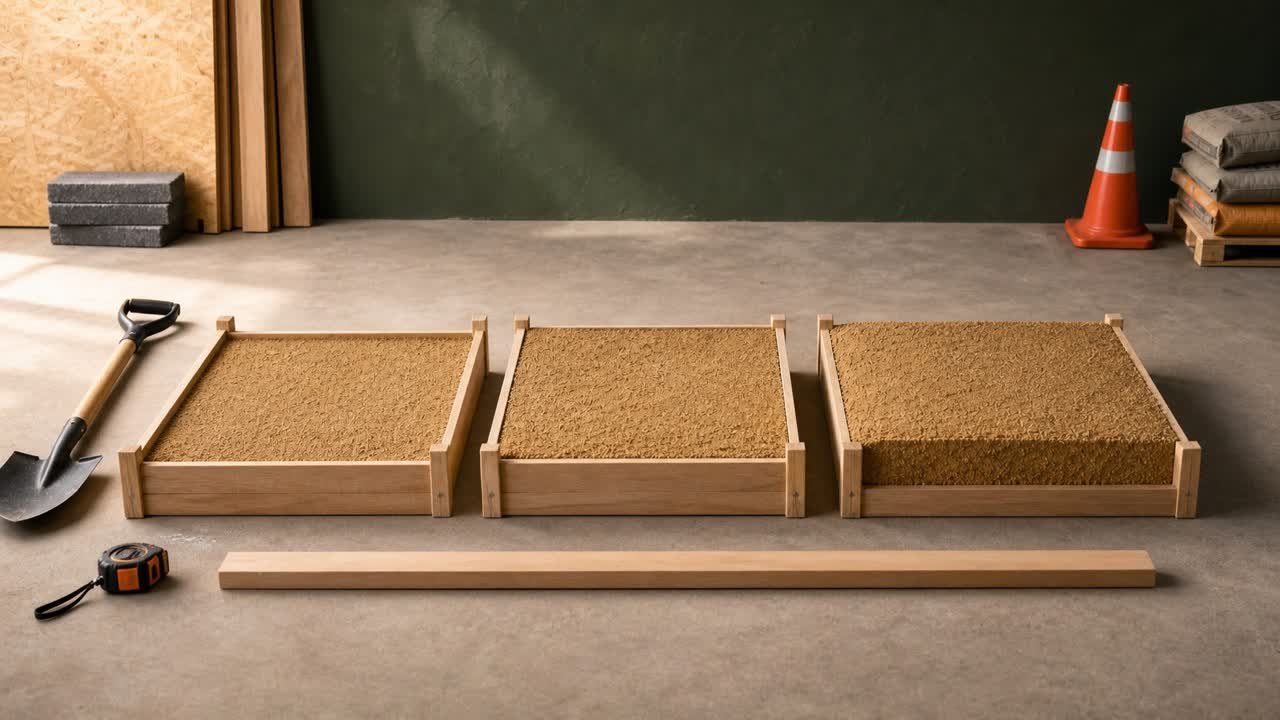
Paver bedding depth affects material quantity and finished elevation. The number belongs to a named pavement system and a defined material state, such as an uncompacted screeded layer.
Record the paver type, bedding product, base surface, selected depth, compaction method, and finished elevation before ordering sand. Use the Paver Sand Calculator after that depth has been confirmed.
How deep should sand be under pavers?
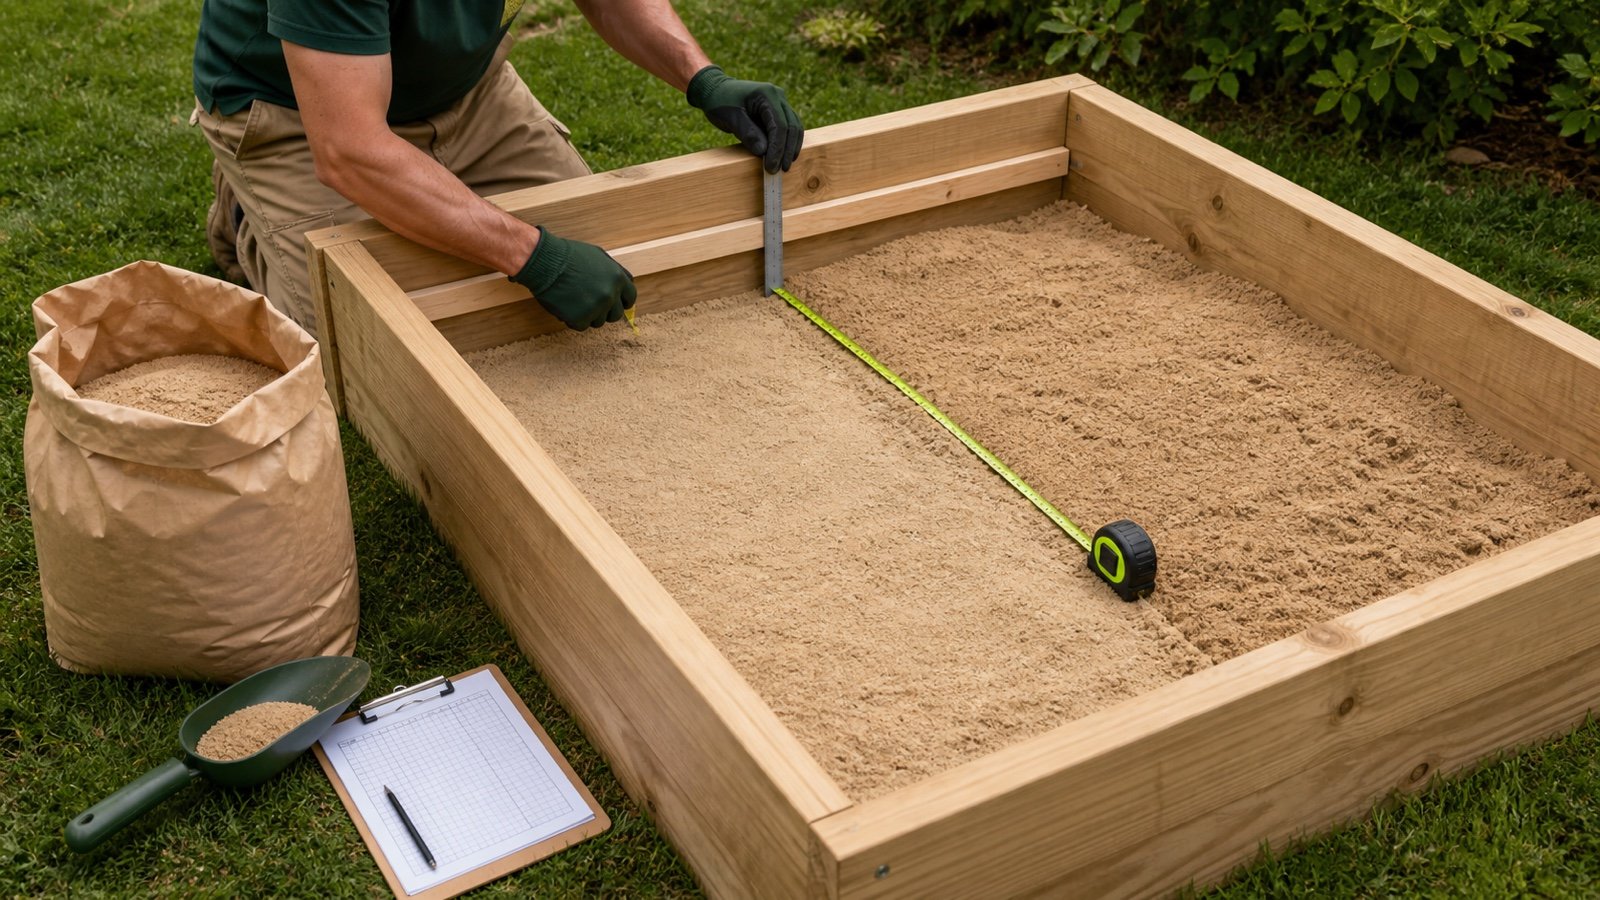
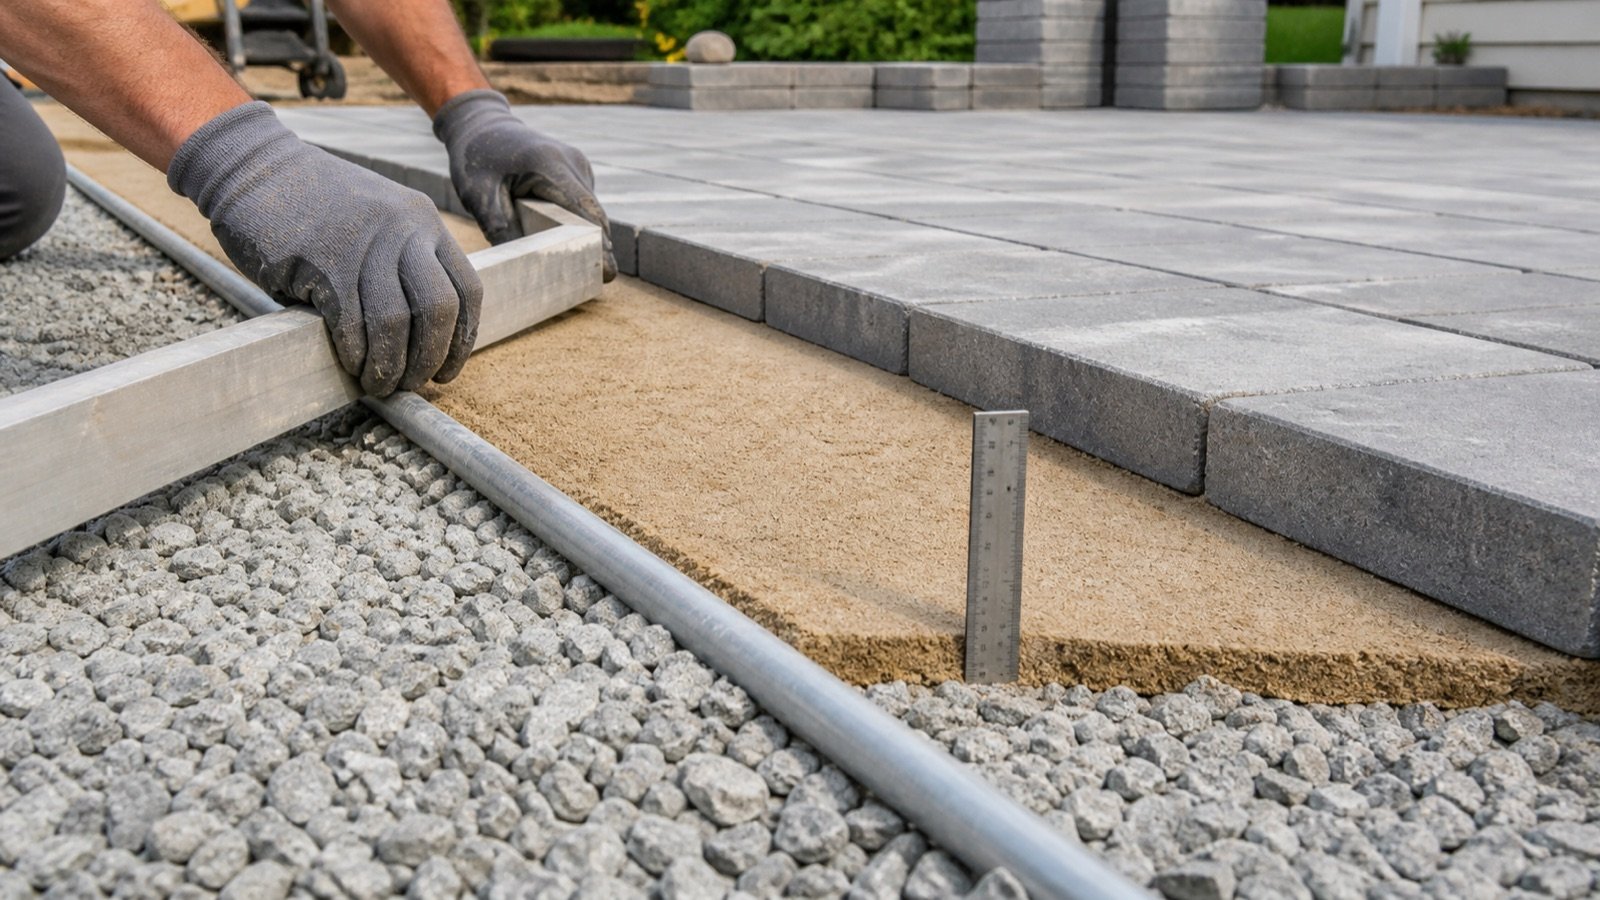
For the conventional sand-set interlocking concrete pavement covered by CMHA PAV-TEC-002-22, bedding sand is spread and screeded to a nominal uncompacted thickness of 1 in, or 25 mm. Apply that value only when the selected system and project documents use the same construction method.
Other paver systems can use another bedding material, depth, placement state, or installation method. Check the current drawing, specification, paver manufacturer's instructions, and applicable local requirements before treating 1 in as the project value.
Repair base depressions and high spots before bedding sand is spread. CMHA guidance says bedding sand should not compensate for an uneven base because that variation can appear at the paver surface.
What does a 1 in bedding depth describe?
It describes a nominal uncompacted screeded layer in the cited CMHA interlocking-concrete-pavement method. It is not the compacted aggregate-base depth, paver thickness, joint-sand depth, excavation depth, or final surface elevation.
| Record | Where it is measured | Source to keep |
|---|---|---|
| Finished base elevation | Top of the accepted compacted base | Drawing, specification, survey or field acceptance |
| Uncompacted screed depth | Top of base to top of freshly screeded bedding | Pavement-system detail and installation requirement |
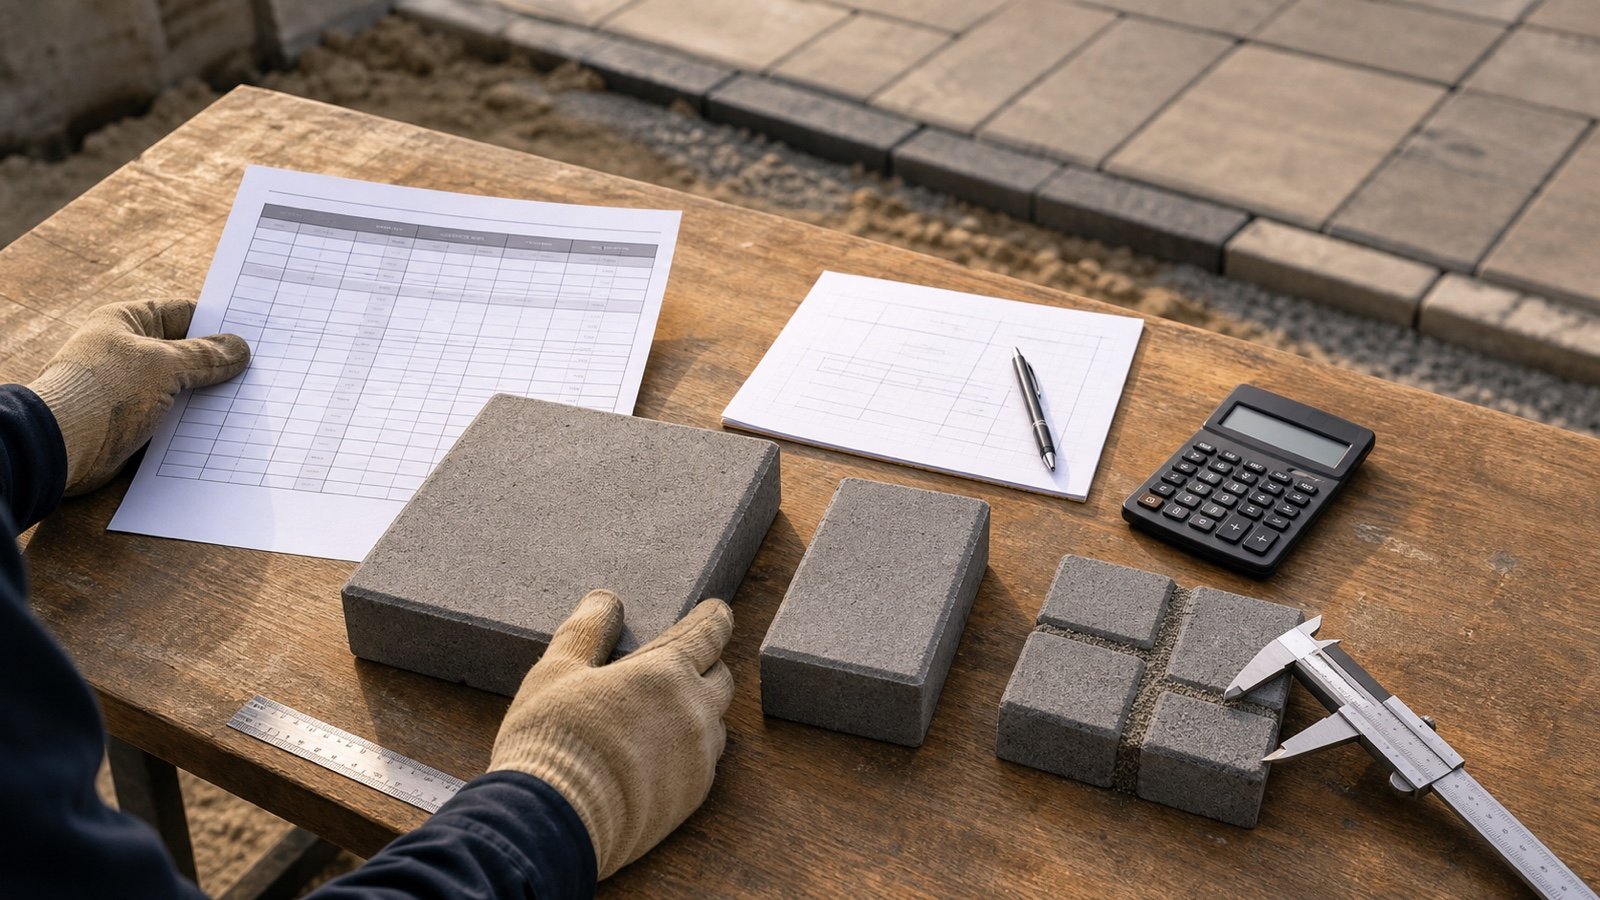
| Paver thickness | Bottom to top of the selected paving unit | Current product data and checked delivery |
| Expected seating or consolidation | Change as pavers are compacted into the bedding | System procedure, local material and project mock-up |
| Finished surface elevation | Top of installed pavers after the required sequence | Drawing, benchmark, edge, inlet and tolerance record |
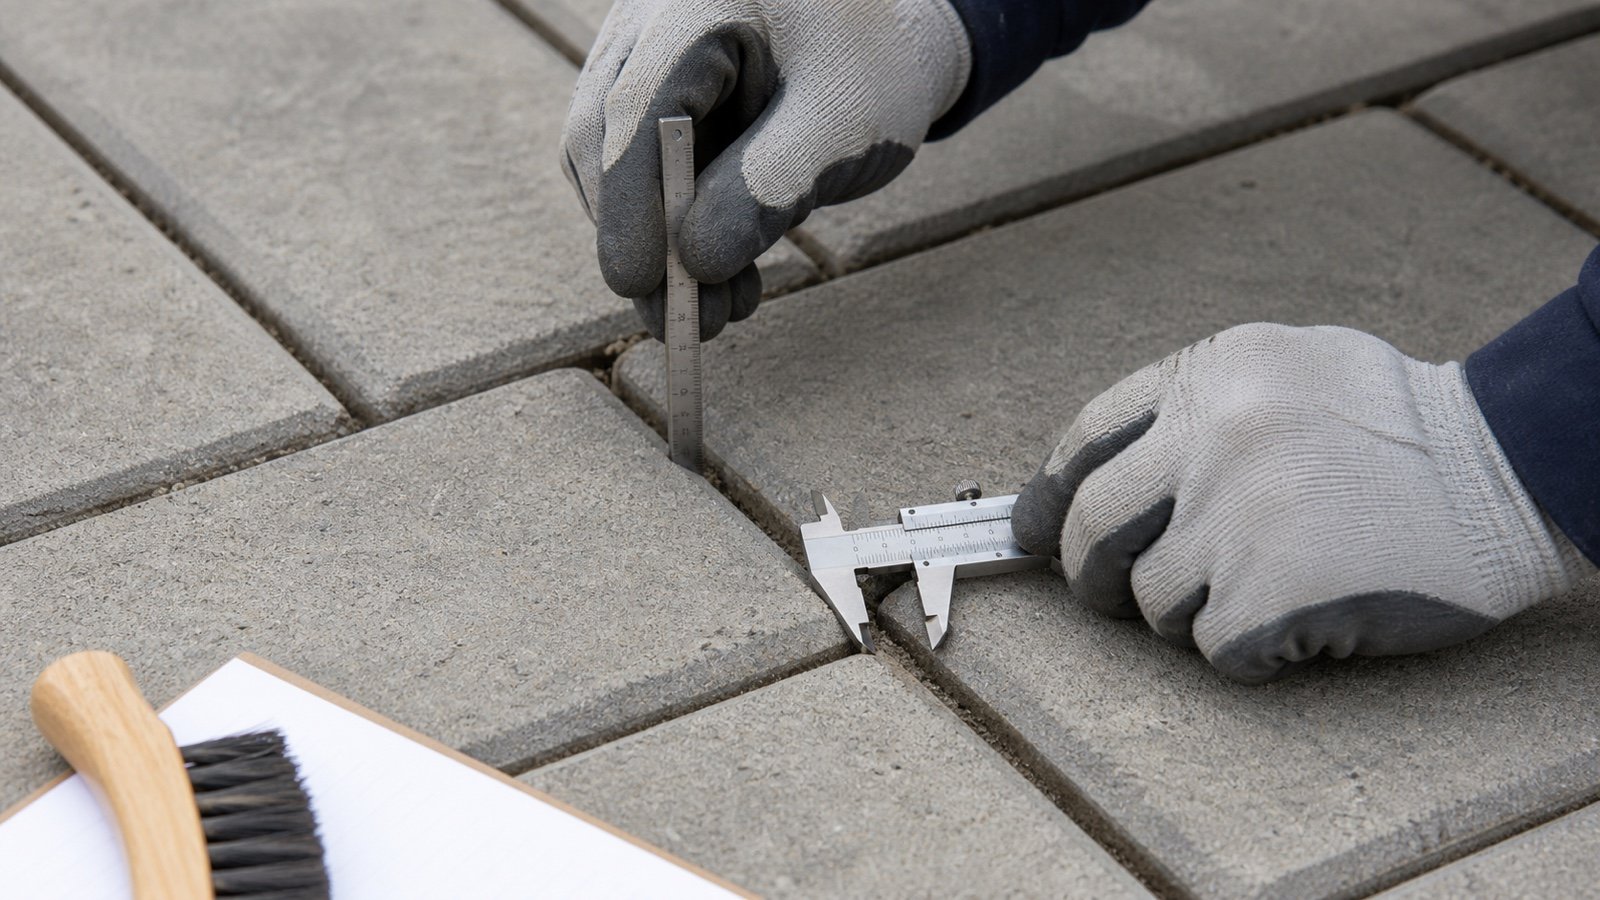
| Joint fill depth | Within the spaces between pavers | Joint product and paver-system instructions |
Write the material state beside every dimension. A note that says only “sand = 1 in” leaves the estimator and installer to guess where and when that measurement applies.
How do you select the project bedding depth?
Start with the most specific applicable document. Resolve a conflict before the quantity sheet or screed setup is approved.
- Identify the pavement family: conventional interlocking units, slabs, grids, permeable units, a proprietary panel system, heated pavement, mortar set, bituminous set, or another assembly.
- Record the exact paver product, thickness, intended traffic, base system, bedding product, and jurisdiction.
- Read the project drawing and specification for the bedding depth and whether it is loose, screeded, pre-compacted, or compacted.
- Check the current paver and system installation documents for compatible materials and sequencing.
- Record how the project establishes base elevation, finished elevation, edges, drainage structures, and expected seating.
- Use a project mock-up or approved trial when the procedure calls for one.
- Enter the accepted uncompacted quantity depth in the calculator and retain the source.
A supplier's product name can help locate a material. The project documents decide whether that material and depth fit the assembly.
How do base elevation, paver thickness and seating fit together?
The finished base sits below the target paver surface by the paver thickness plus the initial bedding layer, adjusted for the supported seating or consolidation value and any separate edge relationship in the project detail.
Base-to-finished difference = paver thickness + uncompacted bedding depth − supported seating
Keep edge or drainage-structure offsets on another line. They describe the final paver surface relative to a curb, inlet, collar, threshold, channel, or adjoining pavement. Folding that offset into “sand depth” hides the elevation decision.
Mechanical-installation example from CMHA scope
CMHA PAV-TEC-015-21 gives a mechanical-installation example with 80 mm pavers, nominal 25 mm uncompacted bedding, and a typical 5 mm consolidation allowance. Before a separate edge offset, those 3 inputs give 100 mm from base to finished paver surface:
80 mm + 25 mm − 5 mm = 100 mm
The same CMHA example then includes a separate 5 mm surface-above-curb allowance and reports a base surface 95 ± 5 mm below the finished pavement elevation. Its text says exact consolidation varies with local sands and is determined in the mock-up. Use these numbers to understand the record, not as automatic residential defaults.
How much bedding sand does the selected depth require?
Multiply paved area by the selected uncompacted bedding depth. Keep the geometric volume separate from supplier-state conversion, allowance, package yield, density, and order rounding.
Metric volume in m³ = area in m² × depth in mm ÷ 1,000
Imperial volume in ft³ = area in ft² × depth in in ÷ 12
Imperial volume in yd³ = volume in ft³ ÷ 27
| Selected depth | Cubic metres | Litres |
|---|---|---|
| 20 mm | 0.20 m³ | 200 L |
| 25 mm | 0.25 m³ | 250 L |
| 30 mm | 0.30 m³ | 300 L |
| 40 mm | 0.40 m³ | 400 L |
| Selected depth | Cubic feet | Cubic yards |
|---|---|---|
| 0.75 in | 6.25 ft³ | 0.231 yd³ |
| 1.00 in | 8.333 ft³ | 0.309 yd³ |
| 1.25 in | 10.417 ft³ | 0.386 yd³ |
| 1.50 in | 12.5 ft³ | 0.463 yd³ |
These tables show geometry at entered depths. They do not recommend every listed depth. Use the Sand Coverage Guide for additional volume-to-area conversions and the Sand Bags vs Bulk guide for purchasing-unit checks.
How should the base be checked before screeding?
Check the compacted base against the elevation, slope, density, surface tolerance, drainage, and edge-restraint requirements in the accepted documents. The bedding layer follows that finished surface.
- Confirm the benchmark and target finished-paver elevations.
- Check the base with the specified straightedge, level, laser, or survey method.
- Mark high and low areas outside the accepted tolerance.
- Repair and recompact the base with the approved base material and method.
- Recheck the repaired area before placing bedding sand.
- Inspect perimeter gaps and utility interfaces where bedding material could migrate.
CMHA PAV-TEC-002-22 states that uneven bedding caused by inconsistent base compaction or grading can reflect through to the surface. A thicker patch of bedding changes both elevation and consolidation behavior.
How do you screed a uniform bedding layer?
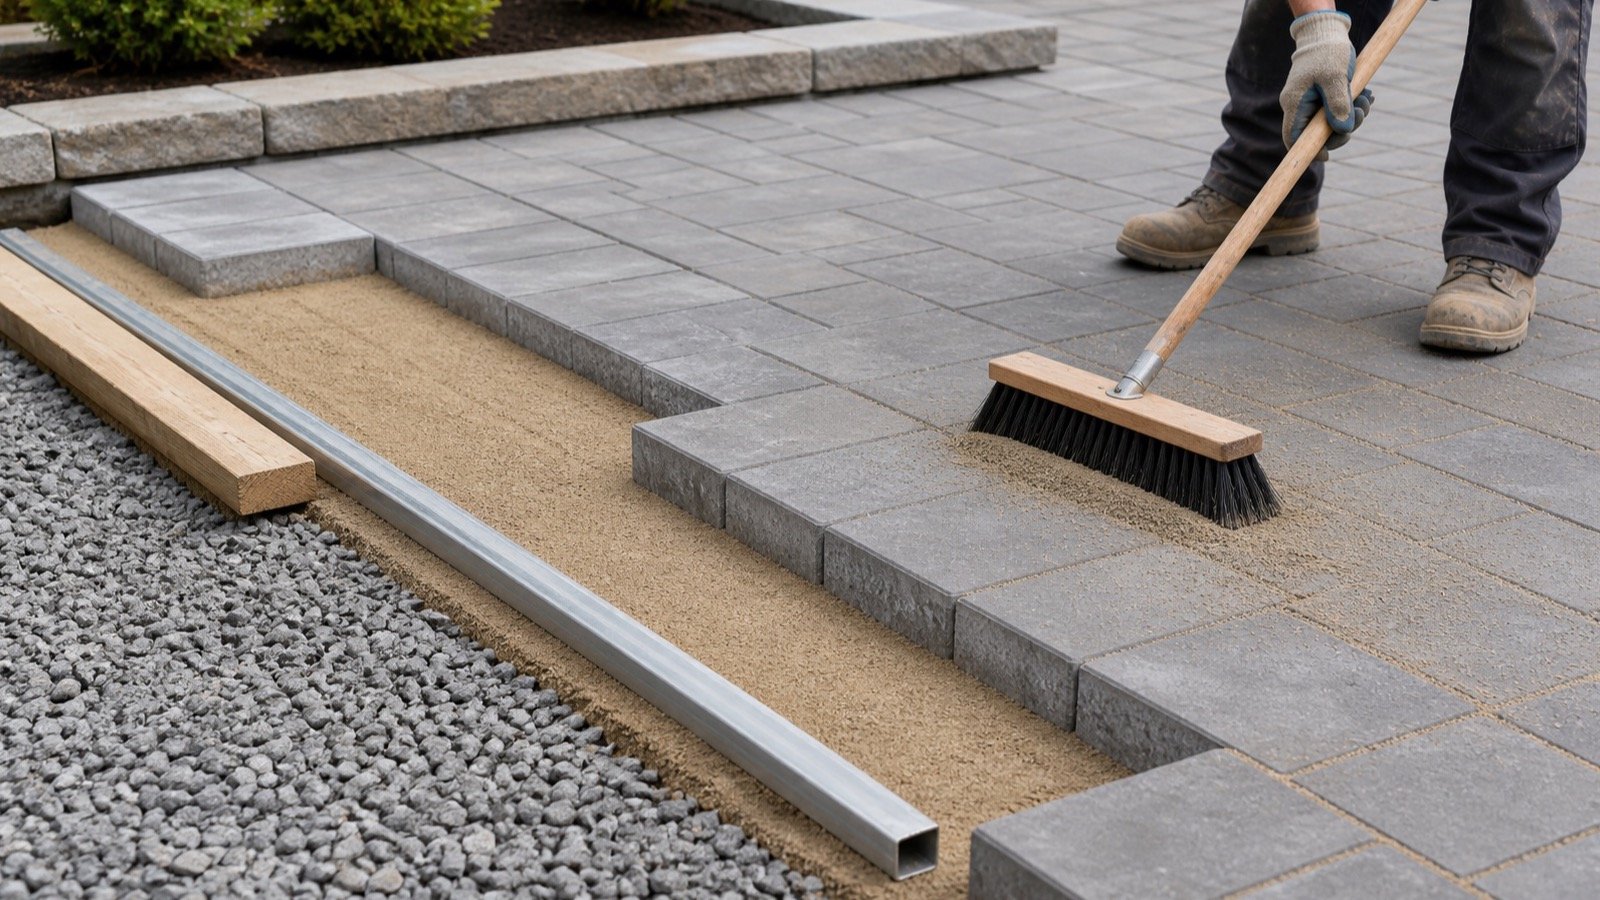
Set straight screed rails or pipes from checked control points at the required elevation. Spread the selected bedding material, then pull a straight strike board across the rails without moving or sagging them.
Remove the rails and fill their voids with the same bedding sand as the work proceeds. Protect the screeded area from foot traffic, equipment, rain, saturation, displacement, segregation, and premature consolidation before pavers cover it.
Work in an area the crew can cover without leaving a large exposed bed. PAV-TEC-002-22 says screeded sand should remain undisturbed, while PAV-TEC-015-21 identifies saturation, displacement, segregation, and consolidation as damage conditions in its mechanical-installation scope.
Why does a mock-up matter?
A mock-up connects the local bedding material, paver, compactor, passes, base, and crew procedure to the required finished elevation. It provides a checked seating value instead of an internet assumption.
- Build the trial over a base accepted by the project process.
- Record base elevation, screed elevation, bedding state, moisture condition, paver thickness, and initial paver surface.
- Apply the specified joint-filling and compaction sequence.
- Measure final paver elevation and surface tolerance.
- Calculate the observed seating and compare it with the planned value.
- Resolve an out-of-tolerance result before the production area continues.
PAV-TEC-015-21 states that the exact consolidation amount varies with local sands and is determined in a mock-up. Its typical 5 mm example remains a starting record within that document's scope.
What should you do when the bedding layer is too deep?
Stop and identify the cause. A low base, wrong control elevation, moved rail, incorrect paver thickness, disturbed screed, or changed system can create an apparent need for extra sand.
Repair a base error at the base using the approved material and compaction method. Recheck the surface before bedding resumes. Keep a field change record when the drawing, paver, edge, threshold, or drainage elevation changes.
What should you do when the bedding layer is too shallow?
Check the base and elevation controls before adding sand. A high base, wrong rail level, thicker paver, or measurement from the wrong reference can reduce the available bedding space.
Resolve the controlling geometry through the project process. Removing required base thickness or reducing bedding depth without approval can change the assembly represented by the documents.
Does every paver system use bedding sand?
No. Some systems use open-graded aggregate, mortar, bituminous material, proprietary panels, pedestals, concrete support, or another bedding course. Slabs, concrete grids, conventional interlocking pavers, permeable pavers, heated assemblies, and roof applications can use different records.
Identify the system before applying a sand depth. A value taken from one assembly cannot approve another assembly, even when both surfaces are called pavers.
How should wet or disturbed screed be handled?
Follow the selected system's procedure and inspect the affected area before placing pavers. Frozen or saturated bedding sand falls outside the installation condition stated in PAV-TEC-002-22.
PAV-TEC-015-21 says damaged bedding in its scope may require replacement. Record the weather, limits of affected work, condition, corrective method, inspection, and approval. Raking or topping the surface without checking the underlying state can leave variable depth or density.
Common paver bedding-depth mistakes
- Calling a nominal uncompacted screed depth a compacted finished thickness.
- Using bedding sand to fill low spots in the compacted base.
- Adding paver thickness, bedding depth, base depth, and edge offset under one “sand” label.
- Copying a 1 in or 30 mm value without identifying the paver system and market.
- Using a mechanical-installation consolidation example as a fixed residential deduction.
- Setting rails from an unchecked curb, threshold, or existing slab.
- Walking or driving over finished screed before paver placement.
- Leaving screeded sand exposed to rain or allowing its moisture condition to vary by area.
- Ordering from bag weight without a current package volume yield.
- Adding an allowance to hide an unresolved depth or base-elevation problem.
What should the bedding-depth record contain?
- Project, area ID, drawing, detail, specification, revision, date, and preparer.
- Pavement family, paver product, thickness, traffic condition, base system, and bedding product.
- Finished base elevation, slope, surface tolerance, inspection, and repair record.
- Selected bedding depth, material state, source document, and units.
- Screed-rail method, control points, work-area limits, weather, and protection.
- Mock-up paver, sand, compactor, passes, initial elevation, final elevation, and observed seating.
- Finished surface, edges, thresholds, inlets, channels, adjacent surfaces, and accepted offsets.
- Measured area, geometric bedding volume, supplier-state factor, product yield, order increment, and final order.
The Paver Bedding Sand vs Joint Sand guide separates the 2 material roles and quantity methods. The Types of Sand for Construction guide covers broader specification checks. Return to the Sand Material Planning hub for published calculators, charts, and quantity records.
What construction and safety limits apply?
This guide supports measurement and quantity planning. It does not design the pavement, base, drainage, slope, edge restraint, traffic capacity, frost protection, accessibility, threshold, heated system, or compaction procedure.
Use the governing drawings, specifications, permits, current product instructions, local requirements, site conditions, and responsible professionals. Cutting concrete pavers and handling dry silica-containing material can create respirable crystalline silica. For U.S. construction workplaces, follow the applicable OSHA requirements, employer exposure-control plan, equipment controls, housekeeping methods, product safety data, and protective equipment.
Sources and source scope
- CMHA PAV-TEC-002-22, Construction of Interlocking Concrete Pavements: nominal uncompacted bedding depth, material and moisture condition, base-repair boundary, screeding, rail removal, and surface protection in its stated conventional ICP scope.
- CMHA PAV-TEC-015-21, A Guide for the Specification of Mechanically Installed Interlocking Concrete Pavements: nominal uncompacted depth, typical consolidation example, mock-up, base repair, bedding protection, and field-control context for mechanical installation.
- NIST Guide to the SI, Appendix B.8: cubic-foot and cubic-yard relationships used in the quantity table.
- OSHA Respirable Crystalline Silica in Construction: U.S. occupational scope for dust-producing construction work.
Source scope: The CMHA documents support the stated conventional and mechanical interlocking-concrete-pavement examples. They do not set one bedding depth or consolidation value for every paver assembly. NIST supports unit conversion, and OSHA supports the named U.S. workplace context. Project documents, current system and product information, site conditions, local requirements, safety controls, and responsible people govern the work.
Review note: Saleem Sial owns the research and editorial record. Source checks, quantity fixtures, editorial review, build validation, link crawl, schema review, and rendered QA form the internal publication gate. Waseem Sial, External Reviewer and Engineer, is listed for ongoing external review; no completed review date is claimed.