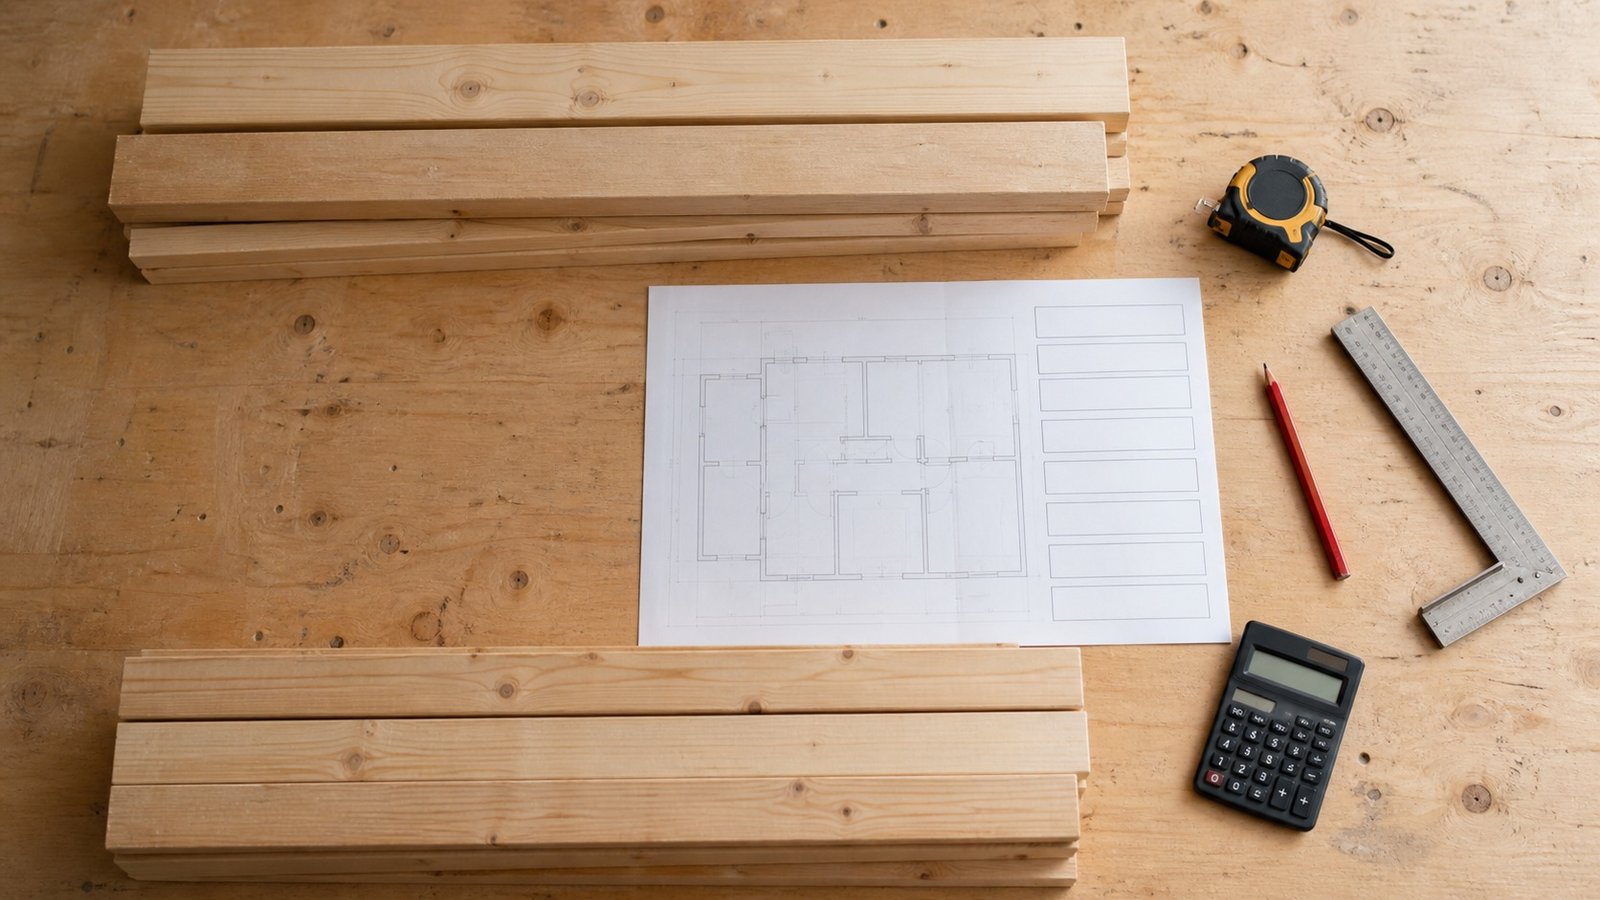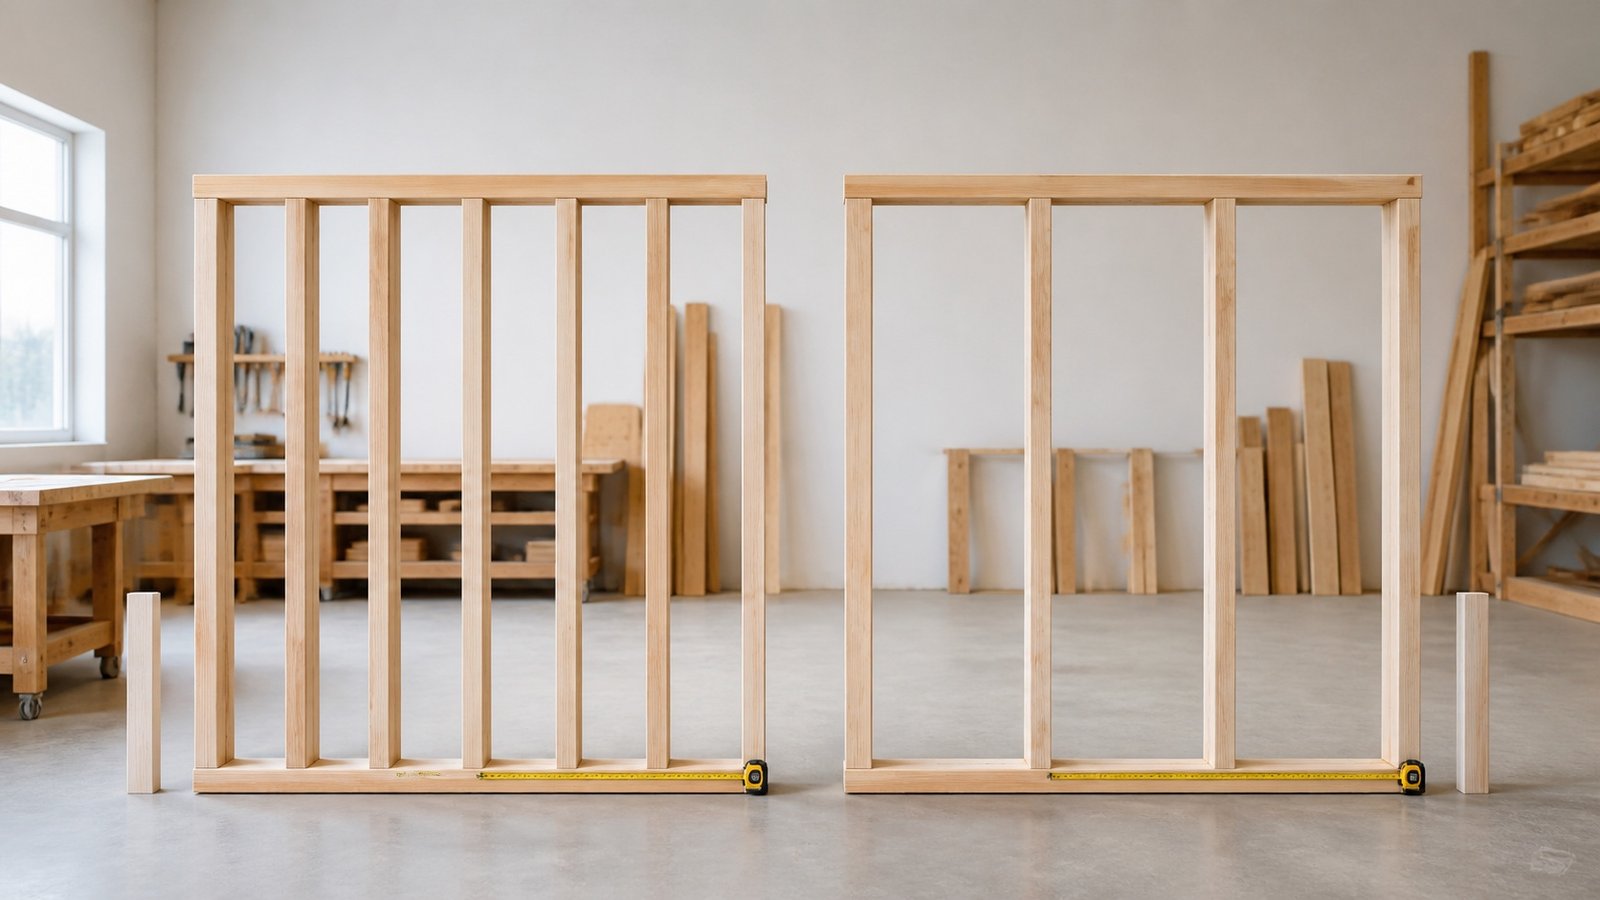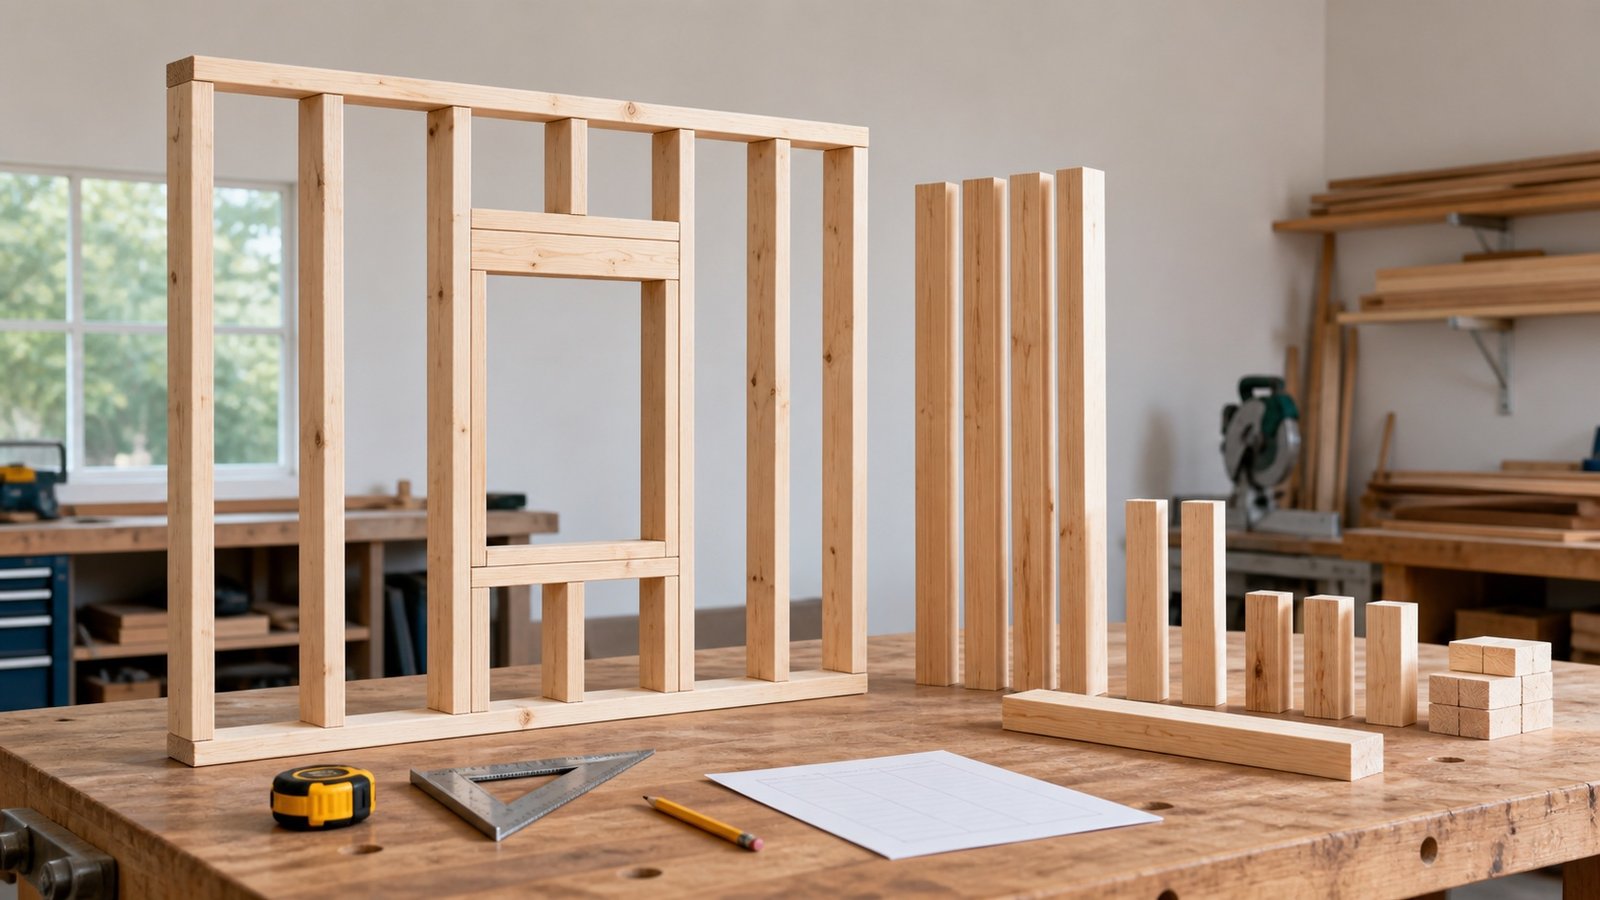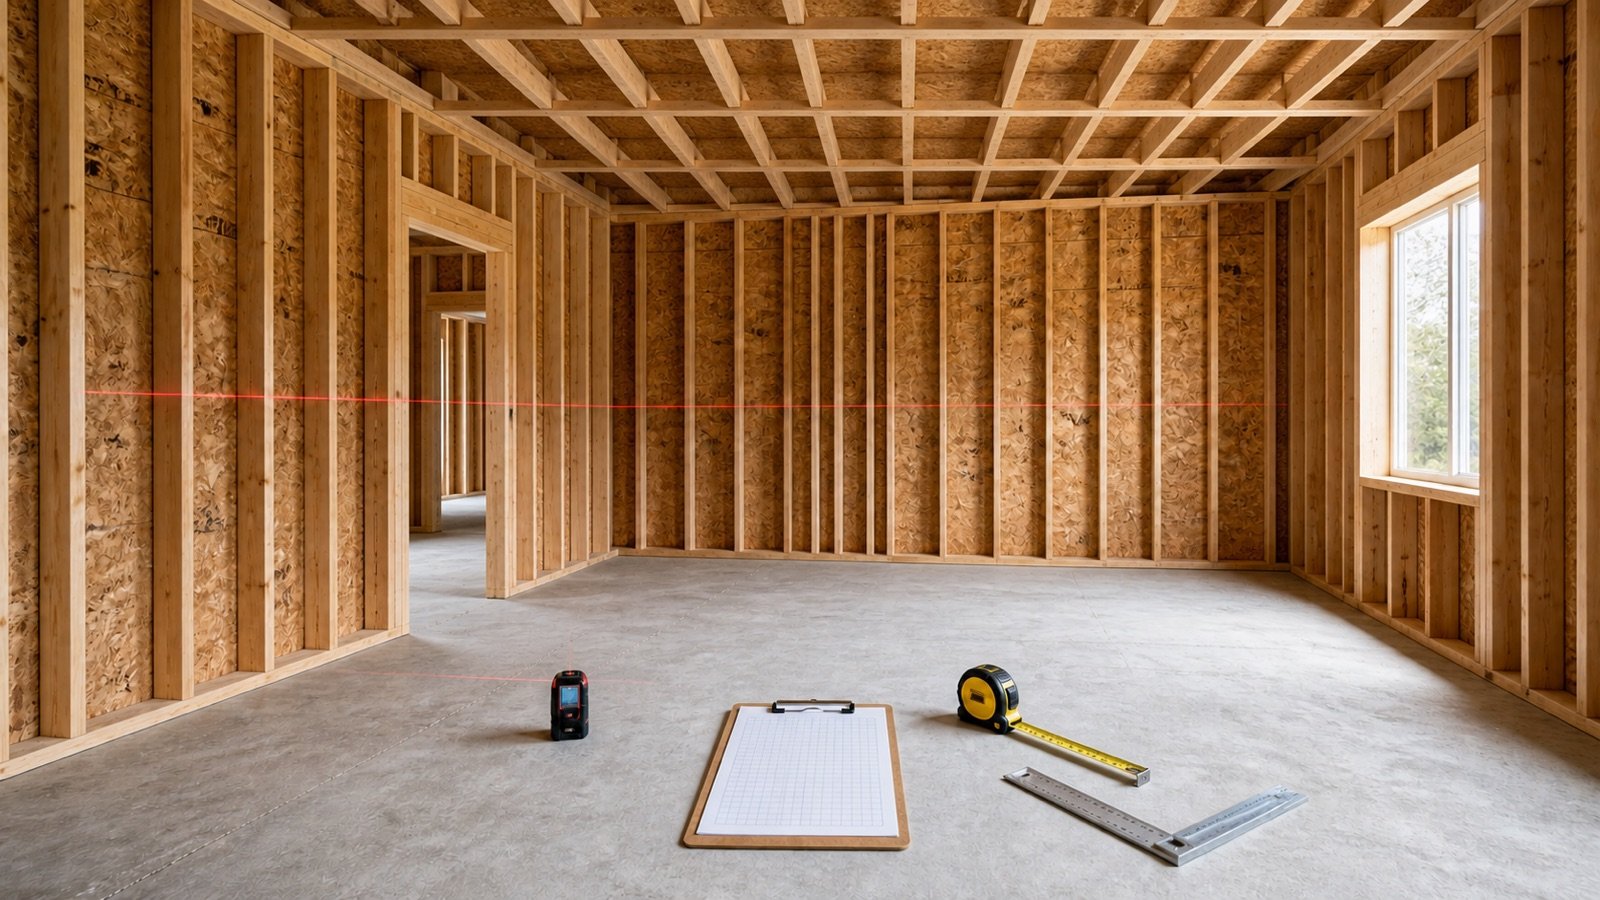
Drywall measurements need more detail than one room-area total. Each wall keeps its own length and height, each ceiling zone keeps its own dimensions, and every opening stays tied to the surface where it occurs.
A surface ledger preserves those details before sheet dimensions, panel direction or allowance enter the calculation. It also gives another person enough information to check the takeoff.
How do you measure walls and ceilings for drywall?
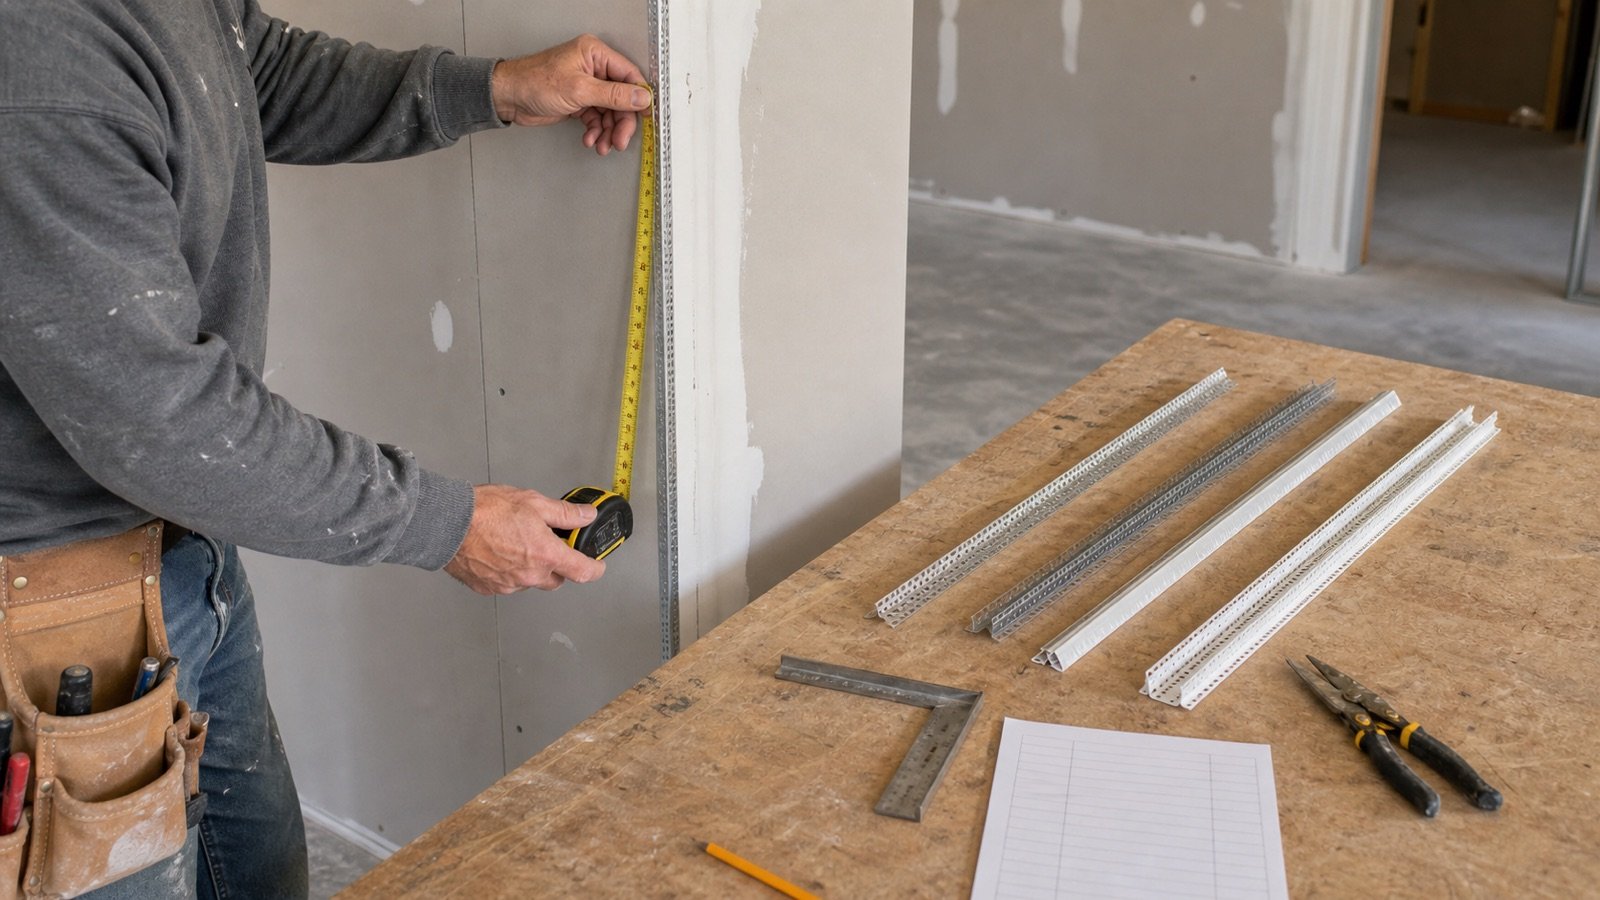
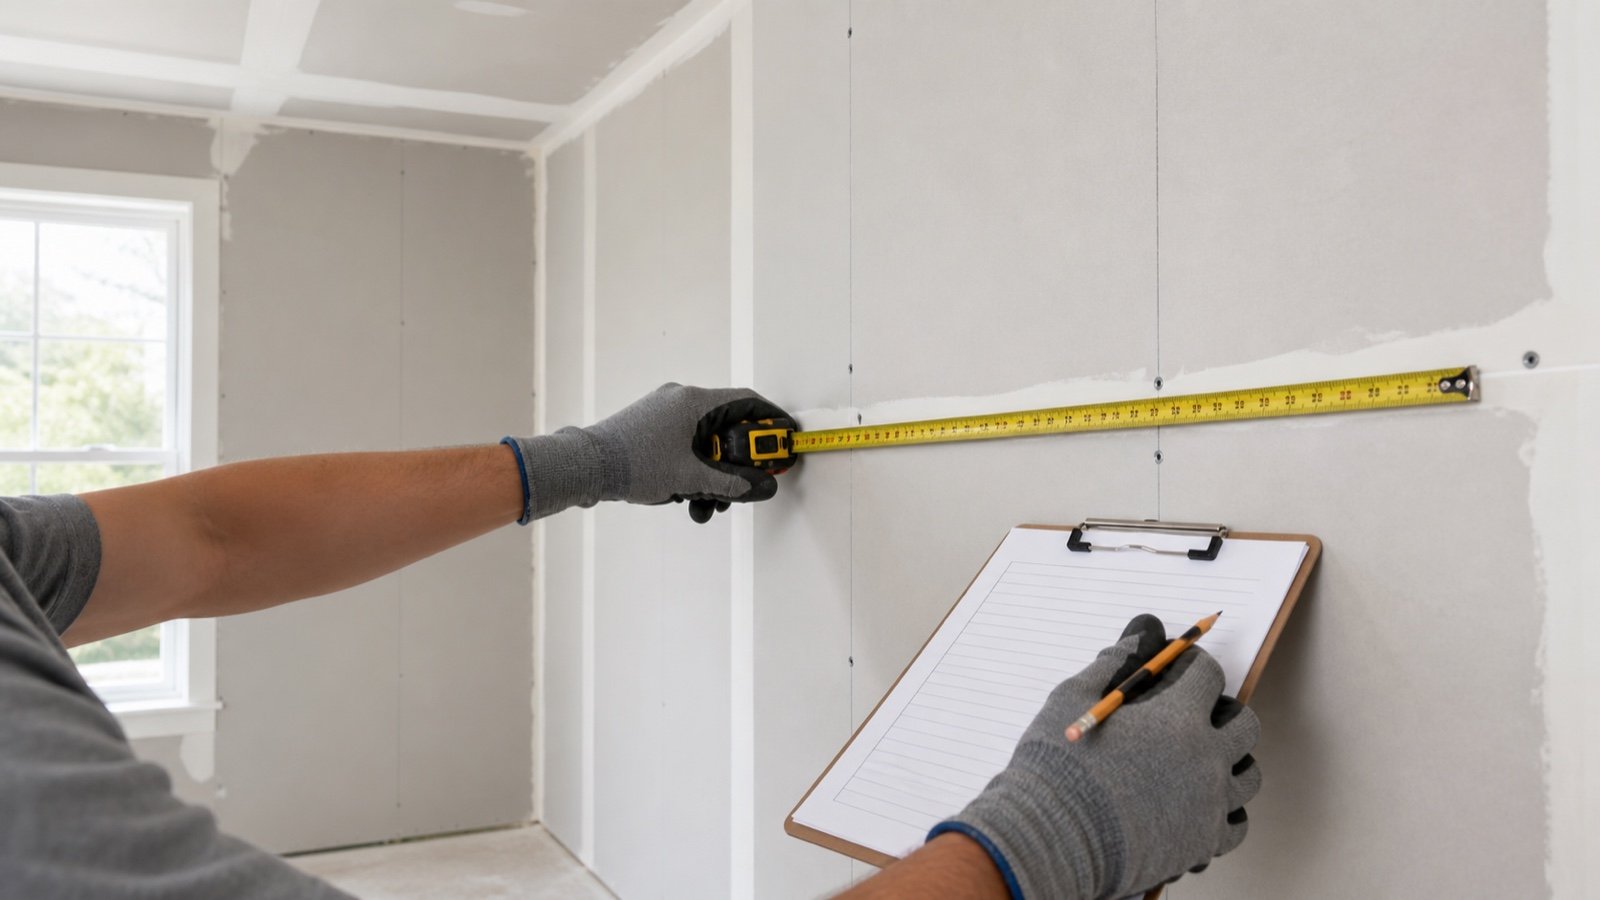
Sketch the room, assign an ID to every wall and ceiling zone, and measure each rectangular surface separately. For a wall, record horizontal length and height. For a flat ceiling, record its 2 plan dimensions.
Measure large openings instead of using standard door or window deductions. Keep gross area, opening area and net area on separate lines, then send each accepted rectangular surface to the Drywall Calculator.
After the finished board area and compound product are known, send the accepted area to the Drywall Joint Compound Calculator with the product's published coverage and package size.
A 117 ft² wall and another shape with the same area can require different sheet grids. Keep length and height with the area result.
What should you collect before measuring?
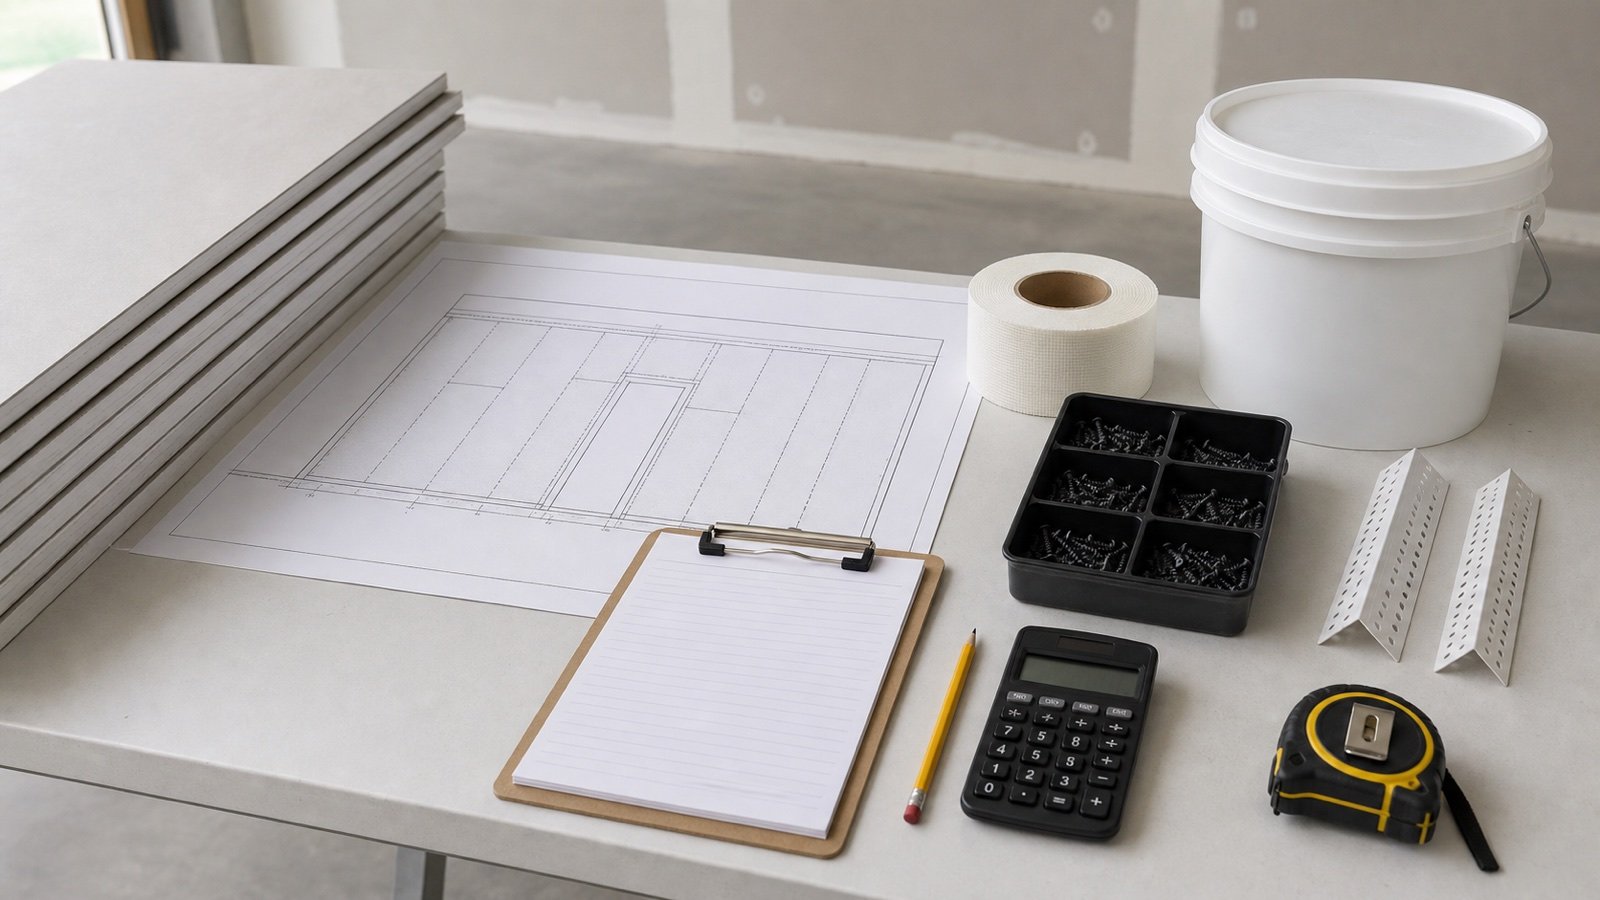
Start with the current drawings, room schedule, wall types, reflected ceiling plan and listed or tested assembly details available for the project. Field measurements should use the same room names, grid lines and surface references.
- Current drawing revision and room or zone ID.
- Which wall faces and ceiling areas will receive panels.
- Panel type and layer changes shown by the approved documents.
- Door, window, access-panel and service-opening references.
- Finished-floor, framing or other stated measurement baseline.
- Tape measure or checked laser, pencil, straightedge, square and field ledger.
- A safe way to obtain overhead measurements without overreaching.
Confirm whether dimensions come from approved drawings, verified framing or an existing finished room. Label the source. Mixing plan dimensions with field dimensions without a record makes discrepancies difficult to resolve.
How should the surface ledger be organised?
Give each physical surface one row unless all dimensions, openings, faces, layers, products and layout assumptions repeat. A useful row can be recalculated without returning to the room.
| Field | What to record | Why it matters |
|---|---|---|
| Surface ID | Room and wall elevation or ceiling-zone reference | Keeps openings and results traceable |
| Length | Accepted horizontal or plane length | Preserves sheet-grid columns |
| Second dimension | Wall height or ceiling width | Preserves sheet-grid rows |
| Opening groups | Measured width, height, quantity and position | Separates area deduction from cutting |
| Faces | Which side or sides receive panels | Prevents a partition face from being missed or doubled |
| Layers | Required layers by face and product | Keeps assembly quantities separate |
| Source | Drawing revision or field-measurement date | Shows which dimensions were used |
| Status | Accepted, requires recheck or outside rectangular method | Stops unresolved geometry entering the order |
How do you measure a rectangular wall?
- Name the wall from a stable plan direction or elevation reference.
- Measure its horizontal panel boundary at the top and bottom.
- Measure height near both ends and at an intermediate position when the frame may vary.
- Record every reading before choosing the accepted rectangle or segmented shape.
- Measure large rectangular openings and their positions from stable edges.
- Note soffits, returns, steps and other areas that need separate rows.
- Calculate gross area as accepted length × accepted height.
- Subtract only the measured opening groups included by the chosen estimating method.
The public British Columbia carpenter training module warns that field conditions may not be plumb or level. Its 3 mm (1/8 in) reduction belongs to fitting an individual panel into an opening. Do not subtract that fitting clearance from the room's wall length or height.
If top and bottom lengths or repeated heights differ, keep the readings. Resolve whether the surface can be represented by one rectangle, needs measured segments or requires a panel layout. An unexplained average can move the error into sheet fit.
How do you measure a flat ceiling?
Measure a flat rectangular ceiling in 2 directions along its accepted panel boundary. Record the ceiling as its own surface even when its dimensions match the floor.
Walls, bulkheads, beams, ceiling steps and access openings can change the actual boundary. Split the ceiling where its plane, level, product, layer, framing direction or accepted layout changes.
USG J371 tells readers to measure the ceiling with the same area process used for walls. The instruction supports quantity-area measurement in that guide. It does not approve a ceiling panel, framing spacing, application direction or tested assembly for another project.
How should sloped or irregular ceilings be recorded?
Measure a sloped ceiling along the true panel plane. A horizontal floor projection is shorter than the sloped surface, and an average room height cannot recover the plane area.
| Condition | Measurement treatment | Calculator handoff |
|---|---|---|
| Single flat rectangle | Measure length and width | One rectangular surface |
| Two roof slopes | Measure each true plane separately | One entry per accepted rectangular plane |
| Step or bulkhead | Measure face, underside and returns | Separate surface rows |
| Triangle or trapezoid | Record base, height and all panel-boundary dimensions | Area check only; use a reviewed segmented layout |
| Curve | Use approved radius, arc and layer requirements | Outside the rectangular calculator |
| Unknown or inaccessible plane | Mark unresolved and obtain a safe verified measurement | Do not order from an assumption |
A geometric area formula can check coverage, but sheet quantity still depends on panel dimensions, joints, cut positions and reuse. Keep irregular geometry outside the rectangular grid until a layout resolves it.
Which door and window openings should you record?
Record every opening that affects layout. For area subtraction, use the project method and the measured dimensions of non-overlapping openings instead of fixed standard sizes.
USG J371's estimating section subtracts large openings such as doorways and picture windows. It says not to deduct small electrical boxes and pipe fittings in that method. A small penetration still needs a position and cut record during installation.
This creates 2 useful records. Opening area can reduce net coverage, while opening position controls cuts, edges and joints. A 21 ft² doorway does not prove that 21 ft² of ordered sheet material disappears.
| Opening record | Area ledger | Layout record |
|---|---|---|
| Large door or window | Measured width × height | Exact offsets and framing boundary |
| Small box or pipe penetration | Follow the stated estimating method | Record position for the cut |
| Full-height opening | Can divide one wall into separate surface sections | Preserve each remaining run length |
| Irregular opening | Segment into measured shapes | Prepare a checked panel layout |
| Overlapping opening records | Correct before totaling | Avoid double subtraction |
How are gross and net drywall areas checked?
Gross area is the sum of accepted surface rectangles. Opening area is the sum of measured opening groups. Net measured area is gross area minus those openings.
Gross surface area = length × wall height or ceiling width × identical surfaces
Opening area = Σ(opening width × opening height × opening quantity)
Net measured area = gross surface area − measured opening area
Calculate in one unit system. NIST Handbook 44 gives exact relationships of 1 ft = 0.3048 m and 1 in = 25.4 mm. Convert the dimensions before multiplication and round the reported result once.
Worked example: 4 walls and a flat ceiling
A rectangular room measures 13 ft × 10 ft with 9 ft walls. Wall A contains one measured 3 ft × 7 ft door. Wall B contains one measured 4 ft × 3 ft window.
| Surface | Dimensions | Gross area | Opening area | Net area |
|---|---|---|---|---|
| Wall A | 13 ft × 9 ft | 117 ft² | 21 ft² door | 96 ft² |
| Wall B | 10 ft × 9 ft | 90 ft² | 12 ft² window | 78 ft² |
| Wall C | 13 ft × 9 ft | 117 ft² | 0 ft² | 117 ft² |
| Wall D | 10 ft × 9 ft | 90 ft² | 0 ft² | 90 ft² |
| Ceiling | 13 ft × 10 ft | 130 ft² | 0 ft² | 130 ft² |
| Ledger total | 5 separate surfaces | 544 ft² | 33 ft² | 511 ft² |
For uniform wall height, the wall-only perimeter check is 2 × (13 + 10) × 9 = 414 ft². The 4 wall rows also total 414 ft² before openings. This agreement checks the arithmetic.
Keep the 13 ft and 10 ft wall lengths in the ledger. Sending one 414 ft² wall to a sheet calculator would erase the real wall boundaries and produce an unusable rectangular grid.
Worked metric example with one opening
One wall measures 5 m × 2.7 m. Its measured opening is 900 mm × 2,100 mm.
- Gross area: 5 × 2.7 = 13.5 m².
- Opening dimensions in metres: 0.9 × 2.1.
- Opening area: 0.9 × 2.1 = 1.89 m².
- Net measured area: 13.5 − 1.89 = 11.61 m².
Enter 5 m and 2.7 m as the surface dimensions and 900 mm × 2,100 mm as the opening. The calculator can then preserve the wall shape while reporting the net area and rectangular sheet grids.
How should faces and multiple layers be counted?
Identify which face of each partition receives panels and how many layers the approved assembly requires. A physical wall area does not reveal whether one face, both faces or several layers belong in the quantity.
Create separate schedule lines when products or layers differ. A 100 ft² partition with one panel layer on each face represents 200 ft² of panel face coverage before openings. If an approved side requires 2 layers, keep those layers visible rather than applying an unexplained multiplier to the room total.
Layer direction, joints, fasteners and tested assembly details remain outside this measurement guide. Use the current approved documents and named manufacturer's instructions.
When can identical surfaces share one calculator entry?
Use the identical-surface quantity only when the surfaces have the same length, height or second dimension, opening groups, panel dimensions, faces, layers and accepted grid basis.
Two 12 ft × 8 ft blank walls may share an entry. If one wall has a door, another has a window or either wall differs in length, calculate it separately. Similar area is not enough.
Which measurement mistakes change the takeoff?
- Using floor area as wall area.
- Combining the room perimeter into one sheet grid.
- Recording one wall height where the frame varies.
- Using horizontal ceiling projection for a sloped plane.
- Using average height for a stepped or vaulted surface.
- Applying fixed door and window deductions instead of measured openings.
- Subtracting overlapping opening groups twice.
- Removing a small penetration from area and assuming a sheet disappears.
- Mixing plan and field dimensions without recording the source.
- Counting both faces or multiple layers without a visible schedule line.
- Combining surfaces that use different products or assemblies.
- Rounding feet, inches, metres or millimetres before area multiplication.
What should be checked before the measurements become an order?
- Every wall and ceiling zone has a unique ID and an inbound drawing or sketch reference.
- Repeated measurements agree or the differences are resolved.
- Gross area, opening area and net area are shown separately.
- Large openings have measured dimensions and positions.
- Small penetrations remain visible as cut conditions.
- Faces, layers, product changes and panel dimensions match current approved records.
- Irregular or sloped areas have a segmented placement review.
- Each calculator result remains tied to its source surface.
- Allowance, offcut reuse, supplier increments and spare stock have stated reasons.
- A reviewer can reproduce the totals and identify unresolved conditions.
Safety and project limits
Use a laser from floor level or a 2-person tape method where it avoids unnecessary access at height. Stop if a ceiling dimension cannot be reached safely and obtain suitable equipment or qualified help.
For workplace ladder use, OSHA's Portable Ladder Safety QuickCard covers inspection, stable and level support, use for the designed purpose, 3-point contact while climbing and top-step limits. A site plan, local law or another jurisdiction can require more.
This guide does not inspect framing, select panels, design a fire or sound assembly, approve ceiling support, place joints, calculate fasteners or authorize installation. Confirm current drawings, specifications, product documents, permits, codes and authority requirements.
Return to the Drywall planning hub for the current workflow. The calculation methodology explains unit and rounding checks, and the corrections route accepts a formula or source issue.
Sources and source scope
- USG Sheetrock Brand Installation and Finishing Guide J371 supports its wall and ceiling area method, treatment of large and small openings, panel coverage arithmetic and planning context. It does not approve another product or current local assembly.
- BC Carpenter Apprenticeship Program Level 4, Competency I-5 supports checking conditions that may not be plumb or level and recording measurements for panel fitting. Its individual-panel fitting clearance is not a room-area deduction.
- NIST Handbook 44 (2026), Appendix C supports the exact unit relationships used in the examples. It does not select drywall products or layouts.
- OSHA Portable Ladder Safety QuickCard supports the stated workplace ladder precautions. It is not a complete project safety plan.
Source scope: USG supports its named estimating and installation context. The BC module supports trade-training measurement checks. NIST supports unit relationships, and OSHA supports its occupational ladder scope. These sources do not select a product, assembly, panel direction, allowance, supplier or installer for another project.
Review note: Saleem Sial owns the research and editorial record. Source checks, independent fixtures, editorial review, build validation, link crawl, schema review and rendered QA form the internal publication gate. Waseem Sial, External Reviewer and Engineer, is listed for ongoing external review; no completed review date is claimed.