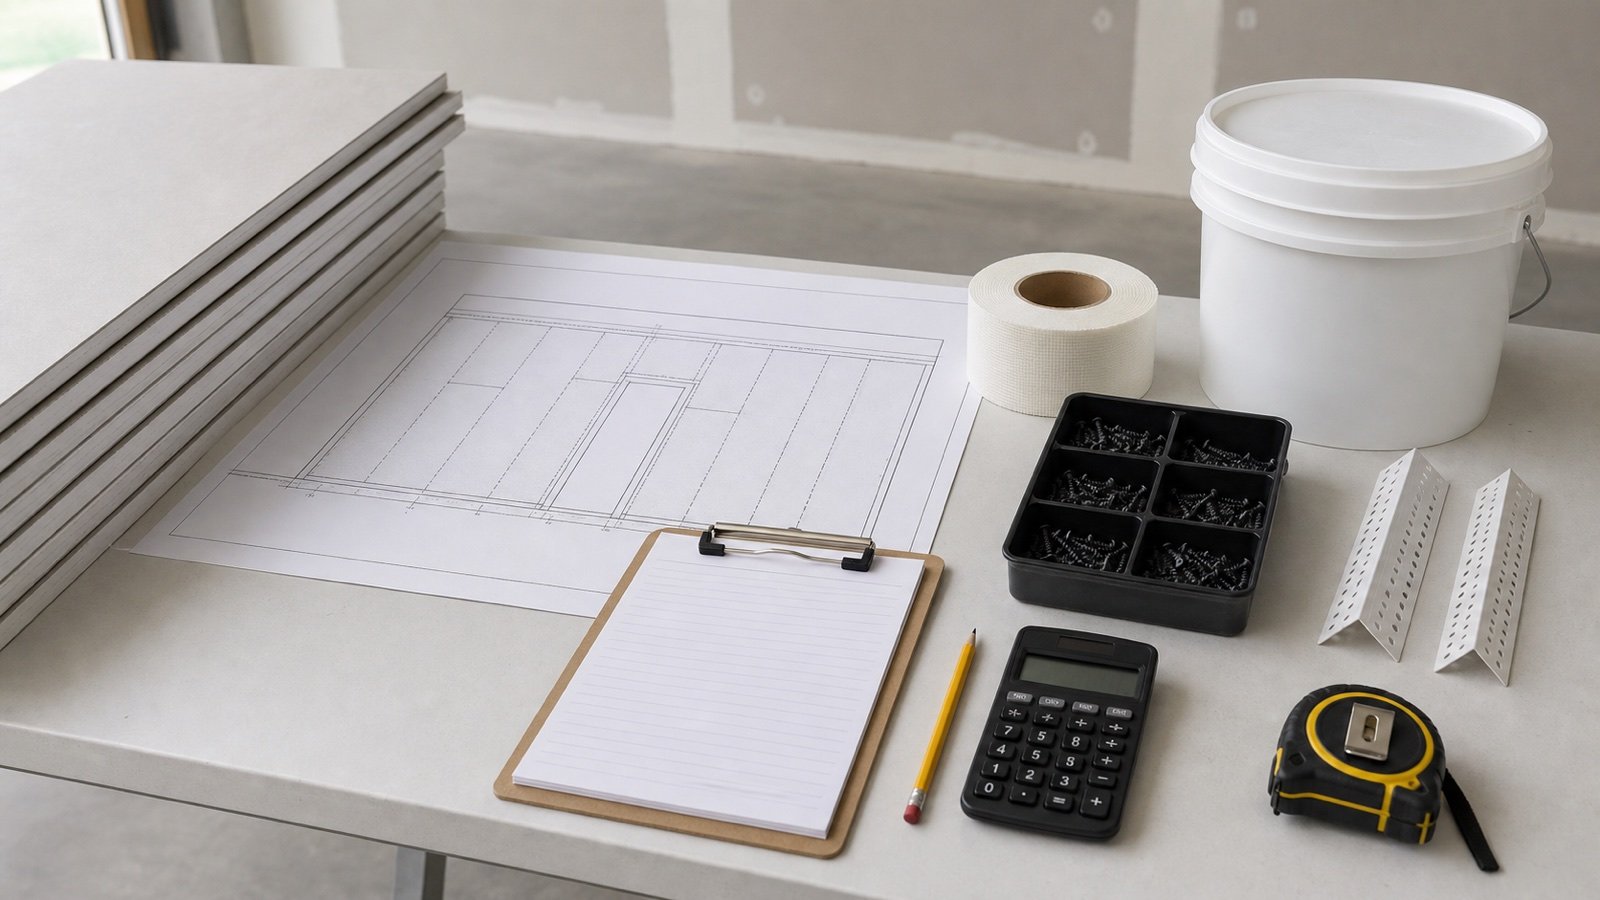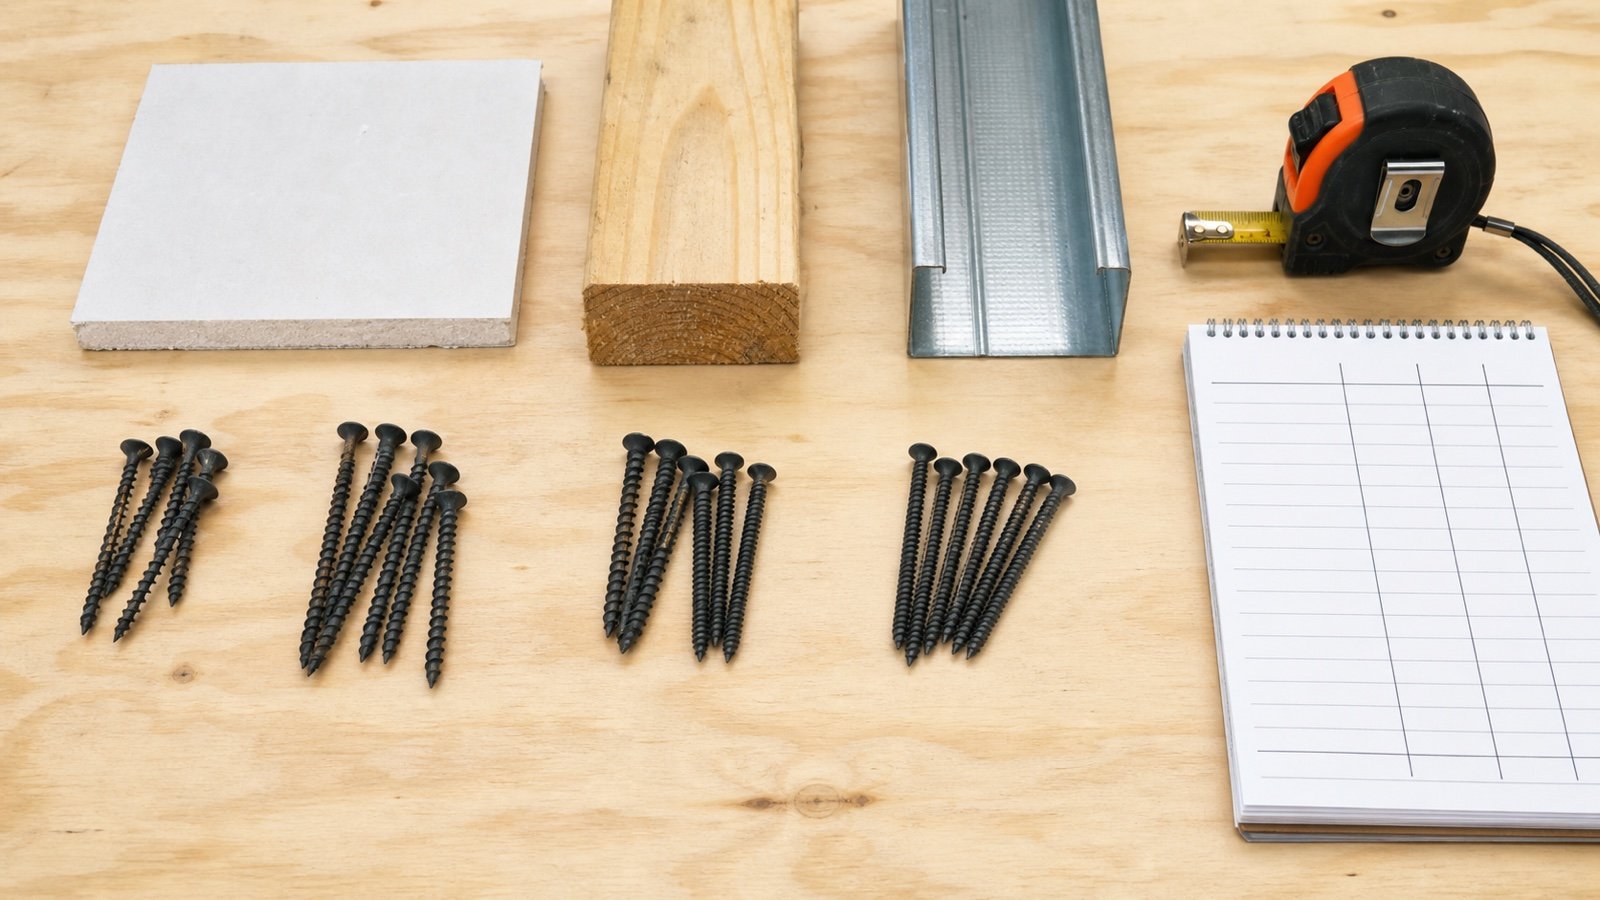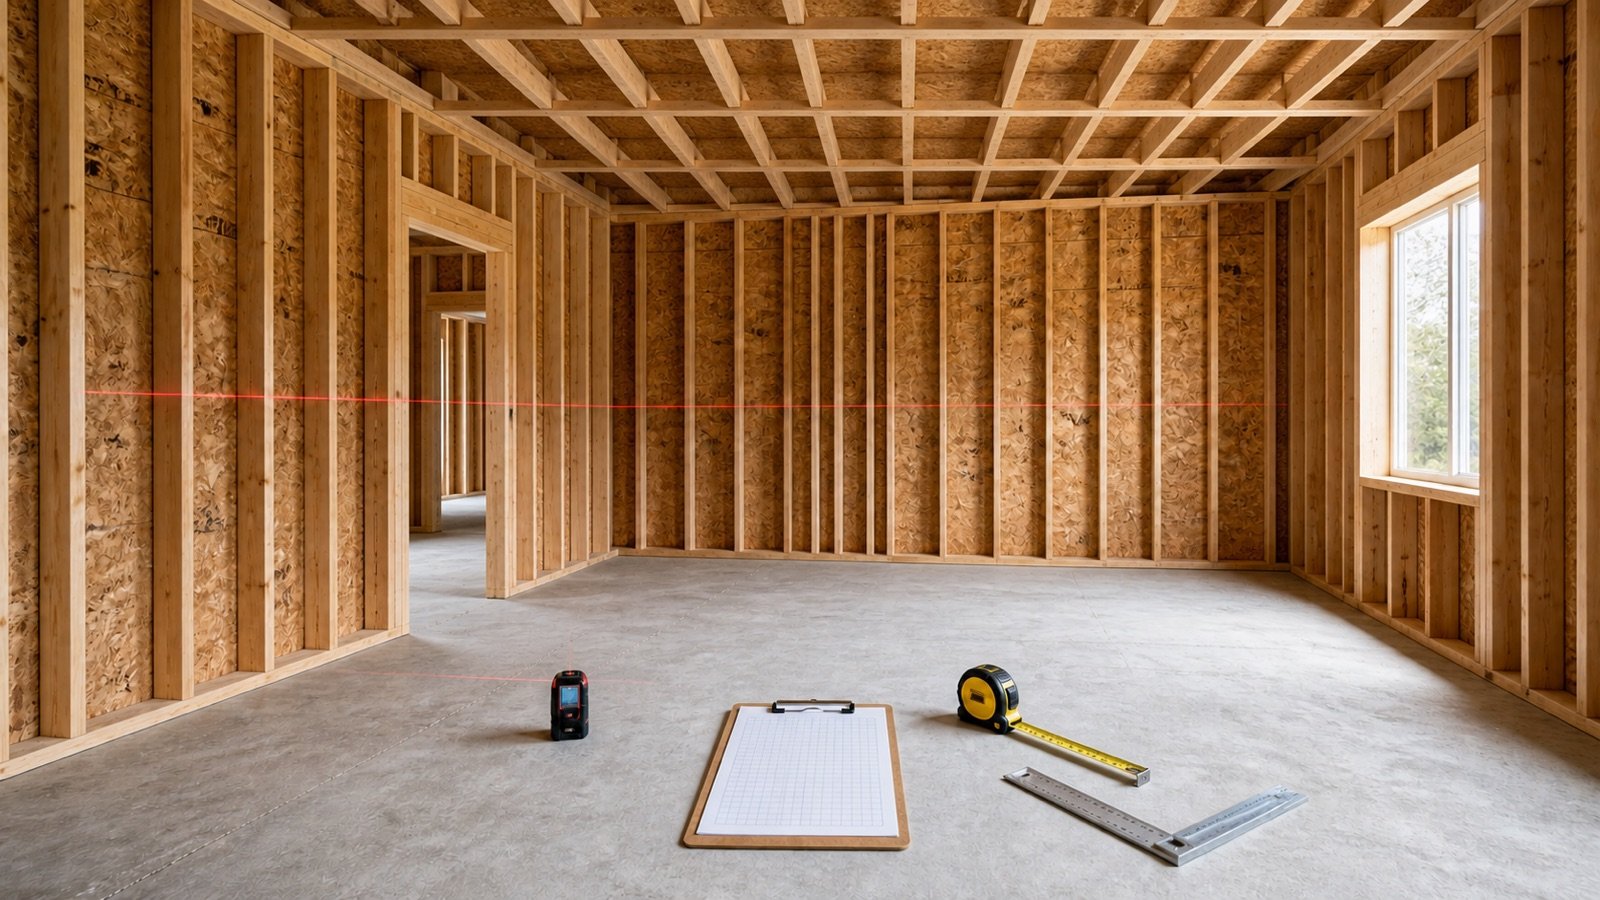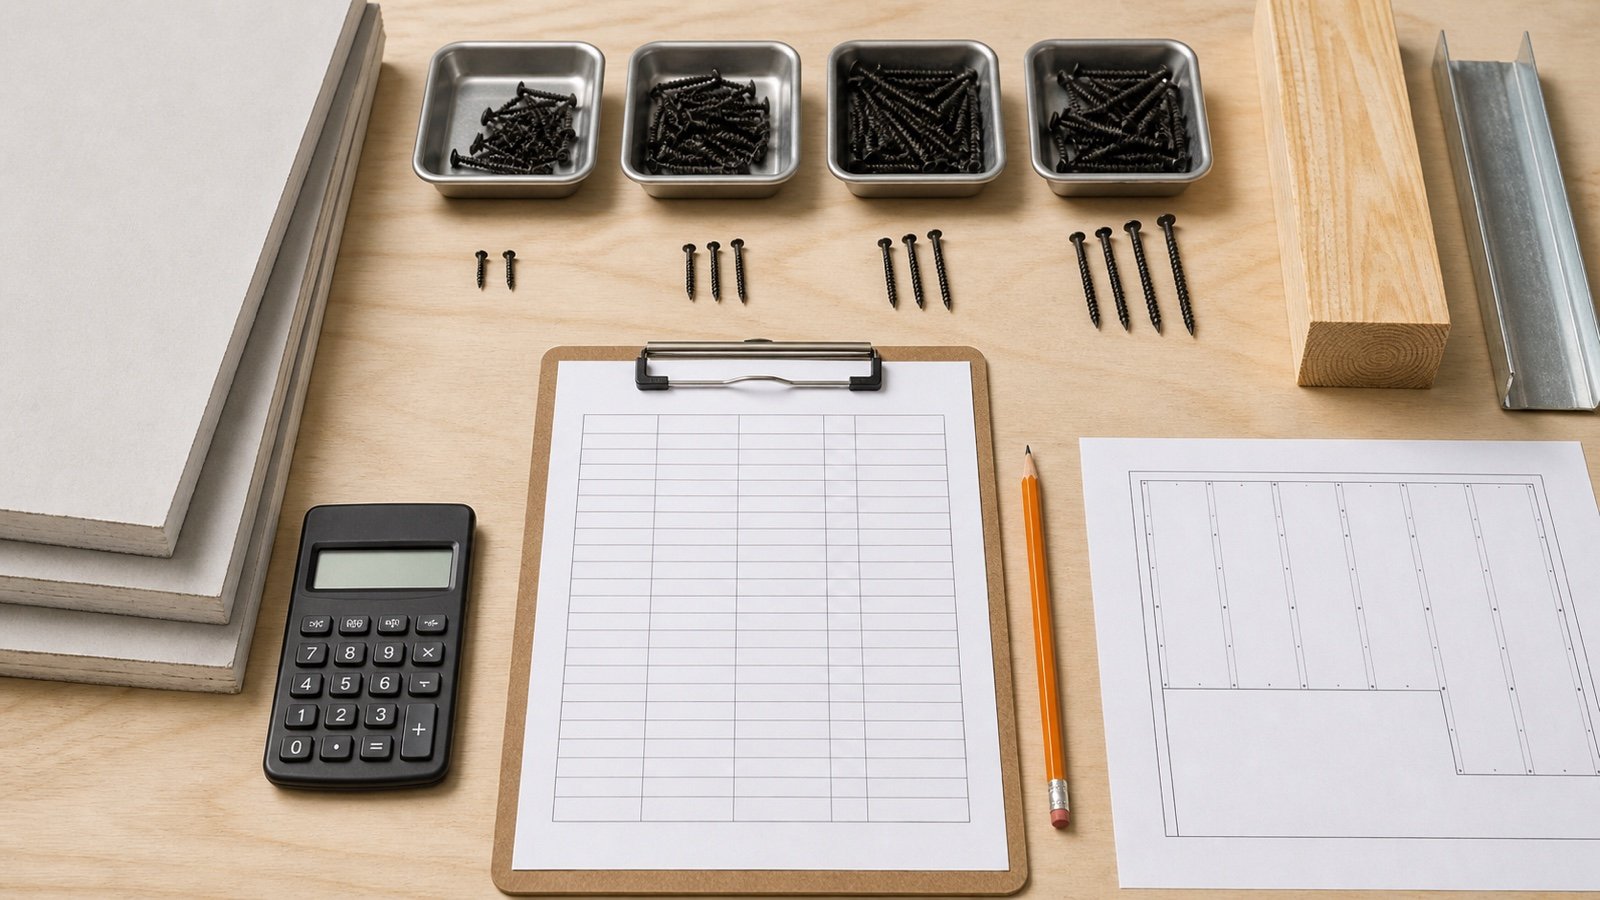
A drywall screw takeoff should show where every count came from. Separate walls, ceilings, layers and special details before adding allowance or converting the result to boxes.
The worksheet below accepts 2 counting methods. Use repeated-panel rows when one reviewed pattern repeats without change. Use direct-count rows for partial sheets, openings, soffits and other details that need their own marked positions.
How do you prepare a drywall screw takeoff?
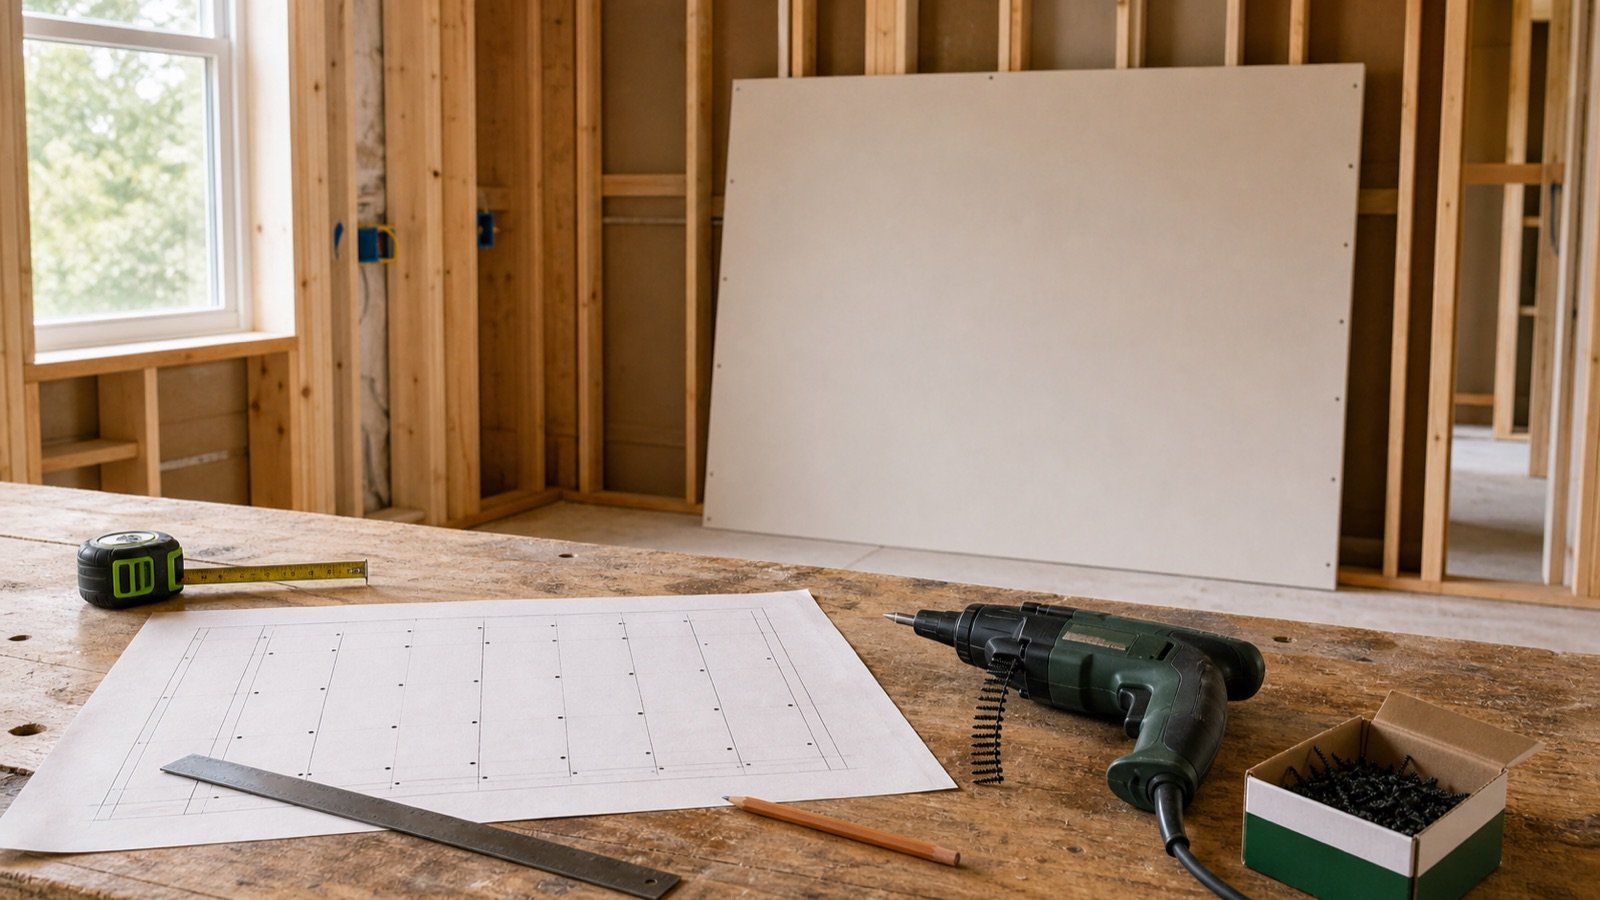
Start with an approved panel layout and fastening schedule. Create one row for each location, layer and complete screw specification, count the fastening positions, reconcile exceptions, then send only matching subtotals to the calculator.
- Record the drawing, assembly and revision.
- Name the wall, ceiling or detail and its panel layer.
- Copy the approved screw specification and fastening pattern.
- Choose repeated-panel or direct-count method.
- Count exceptions and shared edges once.
- Check the subtotal against the marked layout.
- Combine rows only when every screw field matches.
- Calculate allowance, usable stock and whole boxes.
Do not let a package size, leftover stock or preferred estimating rate decide the fastening schedule. Those purchasing inputs belong after the approved base count.
Which columns belong in the worksheet?
The worksheet needs enough detail for another person to reproduce the quantity. A single total cannot reveal a missed ceiling, duplicate shared edge or mixed screw length.
| Column | Record | Check |
|---|---|---|
| Location | Level, room, wall, ceiling or detail ID | Matches the current drawing |
| Assembly and layer | Wall type, listed design and base or face layer | Uses the layer-specific schedule |
| Panel layout | Panel size, orientation, support lines and partial pieces | Matches the elevation |
| Screw specification | Type, standard, size, length, head, point and coating | Matches the approved system |
| Counting method | Repeated panel or direct count | Fits the actual geometry |
| Base count | Calculated positions before allowance | Whole number tied to marks |
| Exceptions | Openings, patches, returns and special details | Added once under the same screw |
| Revision status | Added, removed, unchanged or superseded | Prevents stacking old and new counts |
When should you use a repeated-panel count?
Use it when several panels share the same dimensions, orientation, support pattern, layer and approved fastener schedule. Multiply the checked count for one panel by the number of matching panels.
Repeated-panel subtotal = matching panels × approved screws per panel
Example: 18 full wall panels use one reviewed 28-screw pattern. Their subtotal is 18 × 28 = 504 screws. The number 28 belongs to that declared pattern and does not set a general screws-per-sheet rule.
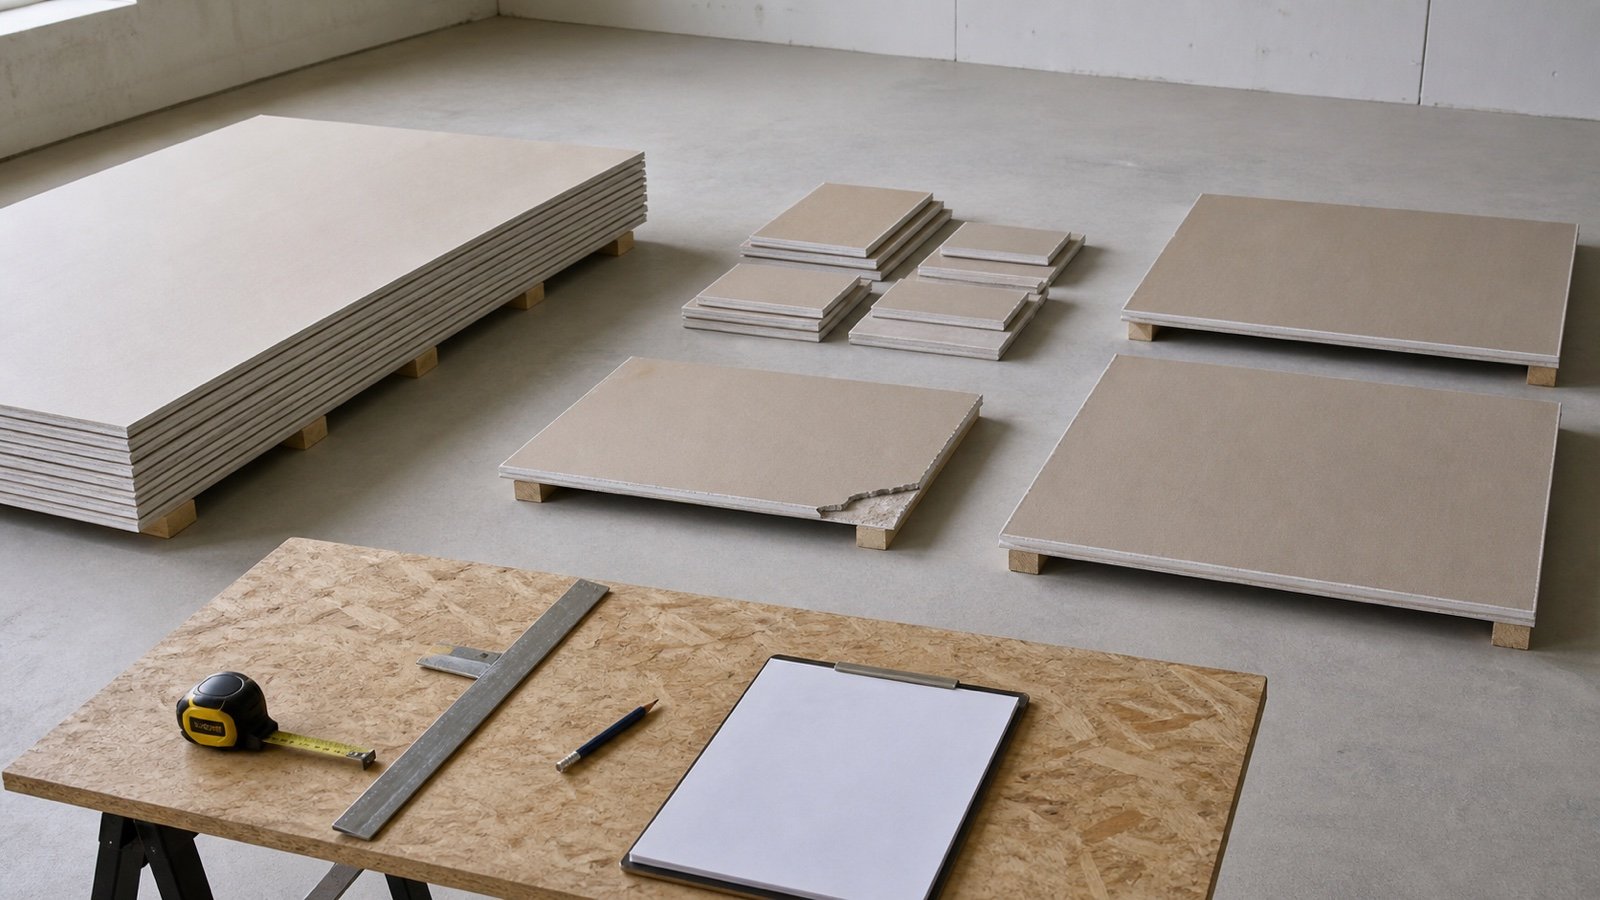
Move partial sheets, opening cuts and different layers to separate rows. Prorating a 28-screw full-panel count by area can miss supports, endpoints and detail fasteners.
When should you use a direct count?
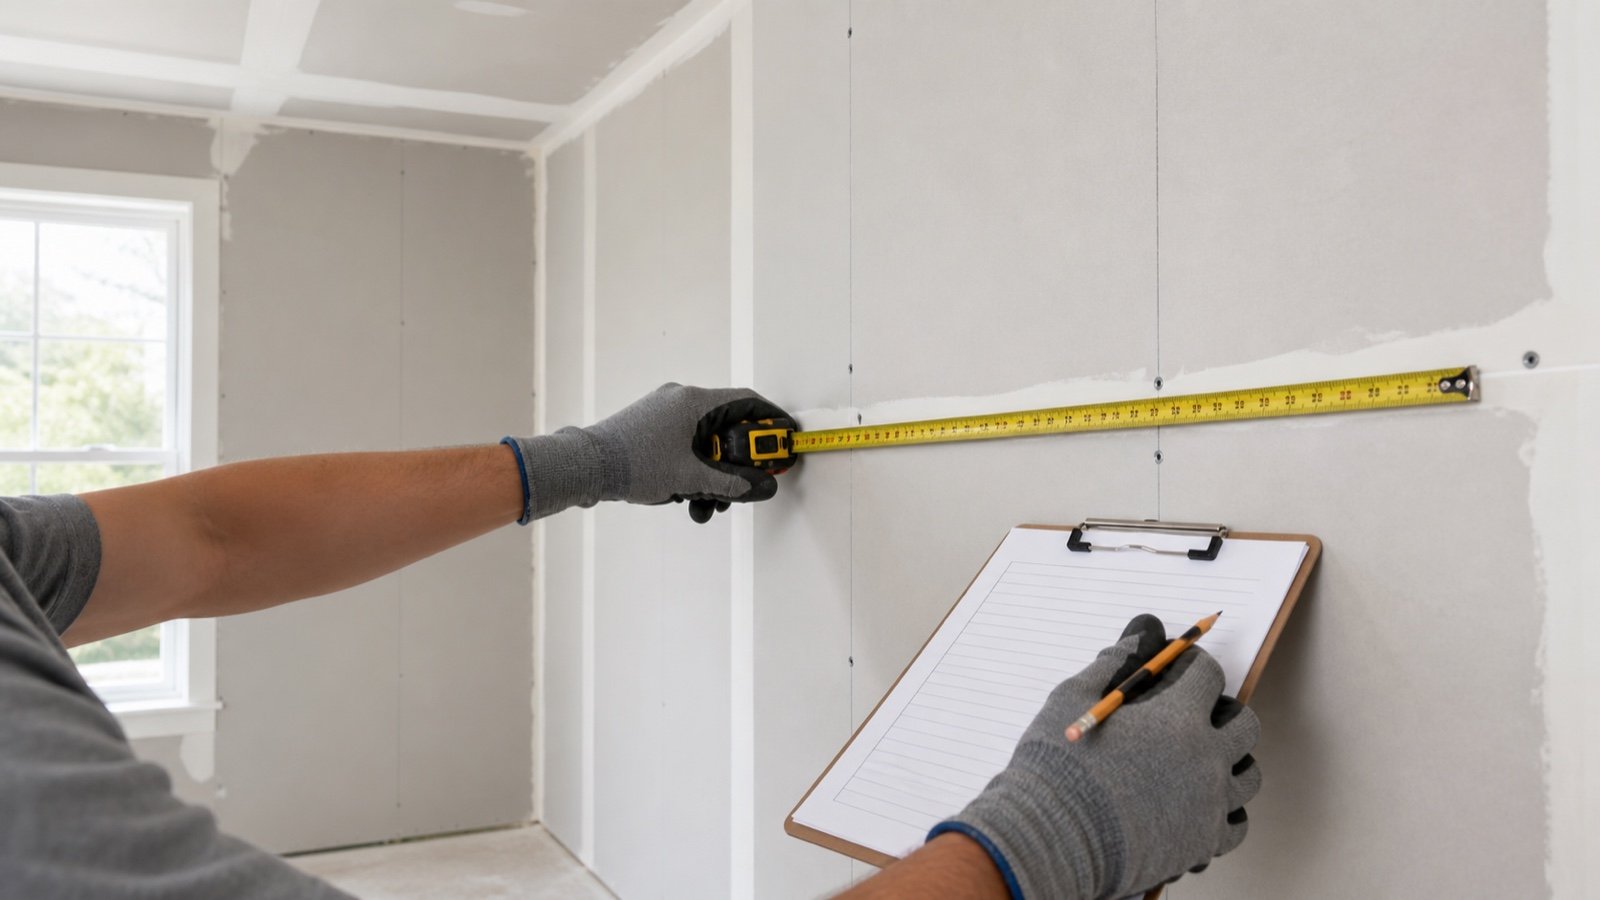
Use direct count when the elevation has irregular pieces or several fastening details. Mark each accepted position on the drawing and total the marks under one screw specification.
Direct-count subtotal = sum of marked fastening positions
Example: one return has 24 marked positions, an opening detail has 16 and 2 patches have 9 each. The direct count is 24 + 16 + 9 + 9 = 58 screws.
The drywall screw spacing guide explains how to turn support lines and an accepted interval into marked positions. The drywall screw size guide defines the purchase-row identity.
How do you combine repeated and direct counts?
Add them only when they use the same complete screw specification and approved condition. Keep the arithmetic visible so exceptions cannot disappear inside a rounded rate.
Base screw count = repeated-panel subtotal + matching direct-count exceptions
Using the examples above, the base count is 504 + 58 = 562 screws. If the direct details require another screw length or type, create another subtotal instead of adding 58.
| Row | Method | Arithmetic | Subtotal |
|---|---|---|---|
| Wall type W1, face layer | Repeated panel | 18 × 28 | 504 |
| W1 returns and openings | Direct count | 24 + 16 + 9 + 9 | 58 |
| Matching W1 base | Reconciled | 504 + 58 | 562 |
How should shared edges be counted?
Assign each installed fastening position to one worksheet row. The drawing can show panel boundaries while the ledger records the physical fastener once.
Define the ownership rule before counting. One method assigns a shared support line to the panel on its left or below. Another counts the installed line in a separate joint row. Use one method throughout the elevation and check the total against the marked positions.
A panel-by-panel count can duplicate a shared line if each panel includes both boundaries. A rate based on net area can hide the same problem in the opposite direction by ignoring extra backing and opening details.
How do walls, ceilings and layers stay separate?
Create separate rows whenever the application, support spacing, panel orientation, adhesive method, layer or screw specification changes. The 2024 IRC Table R702.3.5 contains different application rows, and Section R702.3.5.1 separates wood and cold-formed steel conditions.
- Keep wall and ceiling schedules separate.
- Keep wood and steel framing separate.
- List base and face layers under their approved assembly rows.
- Separate resilient channel, furring and direct attachment.
- Keep garage ceilings and other special construction under their own details.
- Separate screws by length, Type, standard, point, head or coating.
National Gypsum states that its broad materials calculator excludes waste and directs readers to installation instructions. That boundary supports a 2-stage workflow: establish the technical count, then apply a documented purchasing allowance.
How do you audit a revised takeoff?
Compare the old and new drawing rows instead of replacing the grand total. Record added, removed and unchanged quantities so the revision delta can be checked.
Revised base count = previous accepted count + additions − removals
Example: an accepted base has 562 screws. A revised opening adds 12 positions and a deleted return removes 24. The revised base is 562 + 12 − 24 = 550 screws.
| Change | Count | Evidence |
|---|---|---|
| Previous accepted base | 562 | Superseded worksheet revision |
| Added opening detail | +12 | Revision cloud and marked positions |
| Deleted return | −24 | Deleted elevation and old direct row |
| Revised base | 550 | Checked current worksheet |
How does the takeoff become a box order?
Send each checked matching subtotal to the Drywall Screw Calculator. Add only an approved allowance, deduct verified usable stock with the same specification and enter the count printed on the current box.
For a declared example, enter 550 direct-count screws, a documented 5% allowance, 100 matching screws in stock and 250 screws per box. The calculator rounds allowance up: ceiling(550 × 5%) = 28. Planning need is 578, purchase need is 478, and the order is 2 boxes with 22 screws remaining after the planned use.
Do not apply the sheet allowance again to screw rows. Panel cut loss, fastener handling allowance and box-rounding remainder answer different questions.
Which worksheet errors change the order?
- Using one screws-per-square-foot rate for mixed walls and ceilings.
- Counting full panels before checking orientation and supports.
- Prorating partial panels by area.
- Counting both sides of a shared support line twice.
- Multiplying one layer's count by the number of layers.
- Combining wood and steel screws.
- Adding revision totals without removing superseded rows.
- Deducting stock by color or approximate length.
- Converting screw weight to pieces from an unrelated product.
- Applying allowance before the technical base count closes.
What must be checked before release?
- Confirm the current drawings, assemblies and product documents.
- Check every location and layer against the panel layout.
- Verify the screw specification and fastening schedule.
- Recount direct exceptions and shared-edge ownership.
- Reconcile revisions and remove superseded rows.
- Combine only identical screw specifications.
- Document allowance and matching stock.
- Confirm the current package count and supplier availability.
- Record preparer, checker and release date.
The drywall material takeoff worksheet coordinates screws with panels, tape, compound and trim. Return to the Drywall planning hub for the full cluster.
Quantity planning does not approve an assembly or installation. Project drawings, listed assemblies, manufacturer instructions, the adopted local code and qualified project professionals control the work.
Sources and source scope
- 2024 International Residential Code, Section R702.3.5 and R702.3.5.1 supports the stated US model-code condition separation and fastener requirements. Check the adopted local edition and amendments.
- National Gypsum Drywall Materials Calculator supports its visible waste exclusion and installation-instruction boundary.
- National Gypsum installation tips supports the stated wood and steel penetration checks and face-paper setting warning.
Source scope: these sources explain why condition rows must remain separate. They do not approve the worked counts, select the 5% allowance, verify stock or establish a current box size.
Review note: Saleem Sial owns the research and editorial record. Source checks, arithmetic fixtures, editorial review, build validation, link crawl, schema review and rendered QA form the internal publication gate. Waseem Sial, External Reviewer and Engineer, is listed for ongoing external review; no completed review date is claimed.