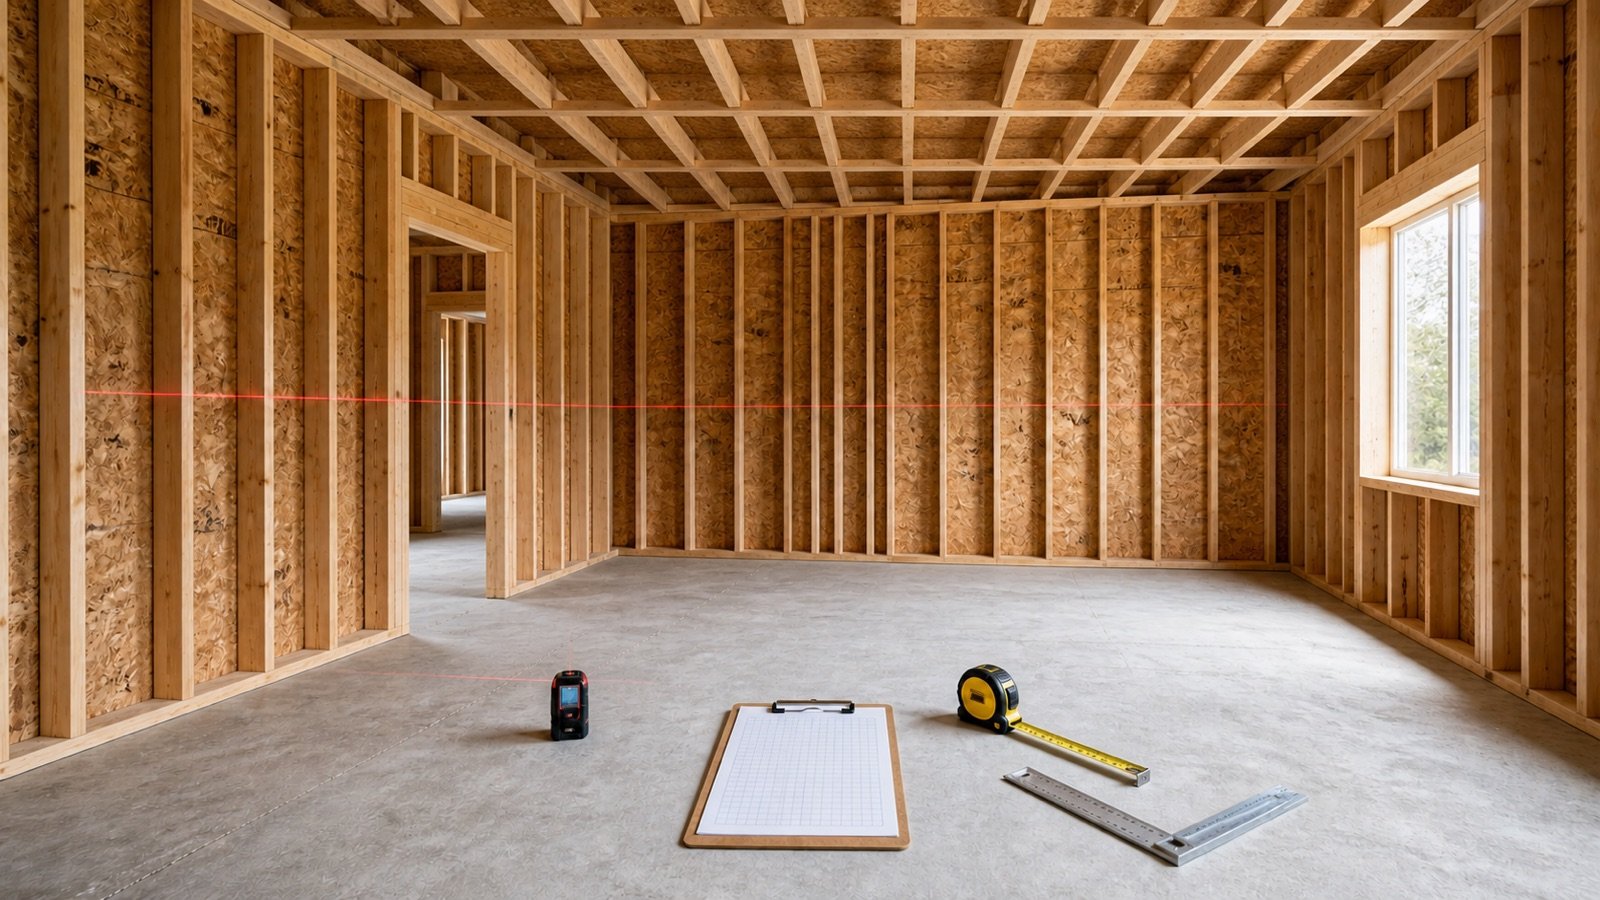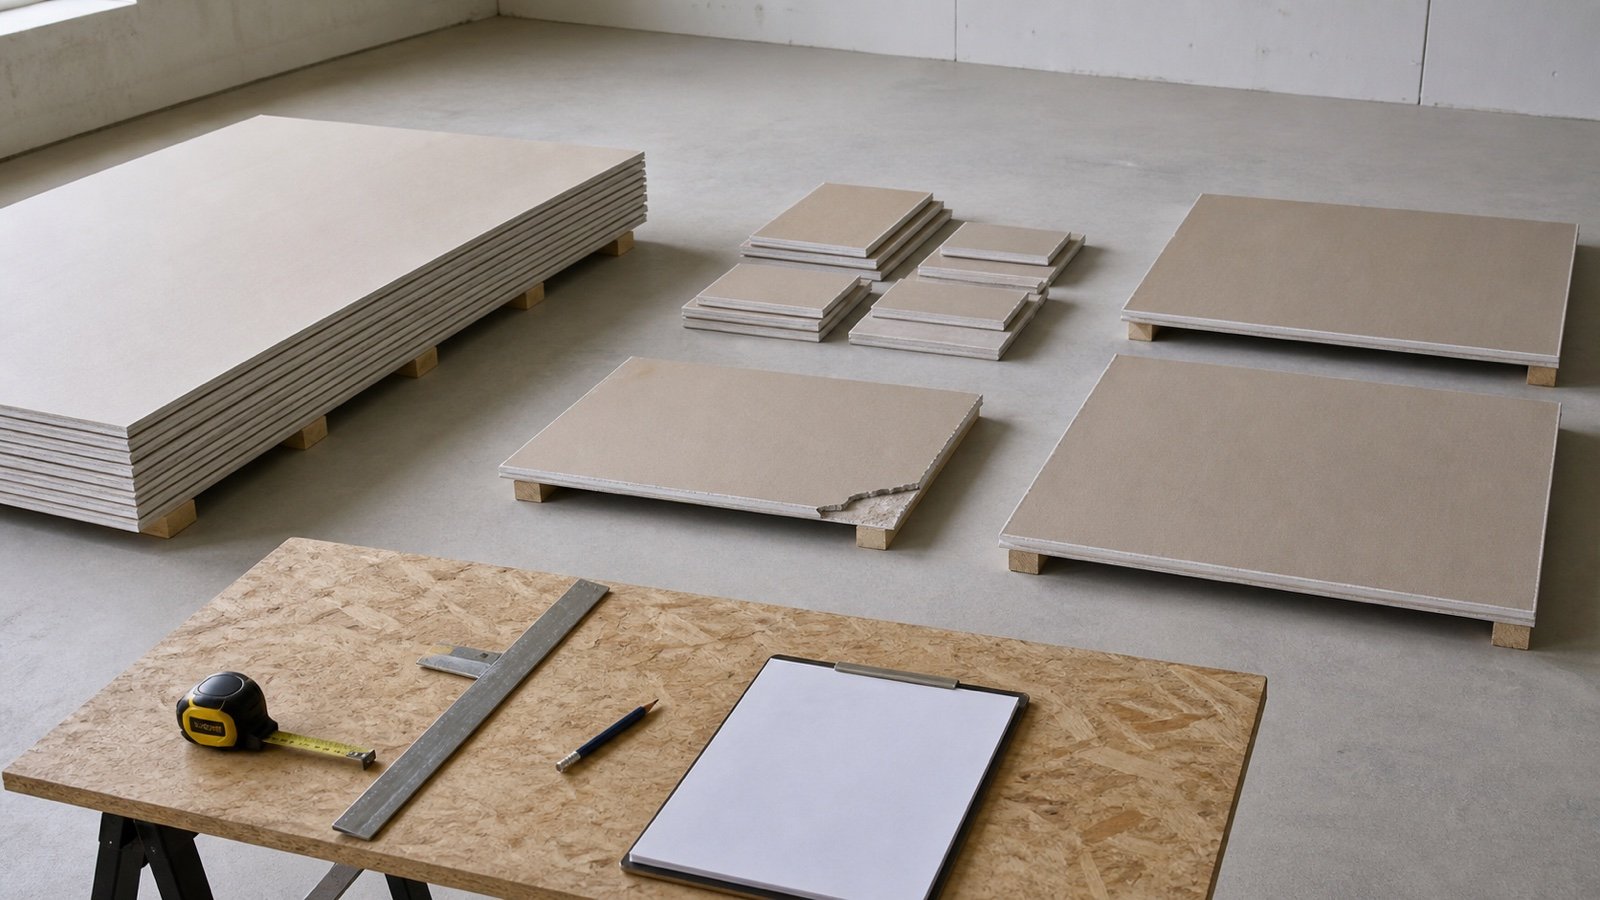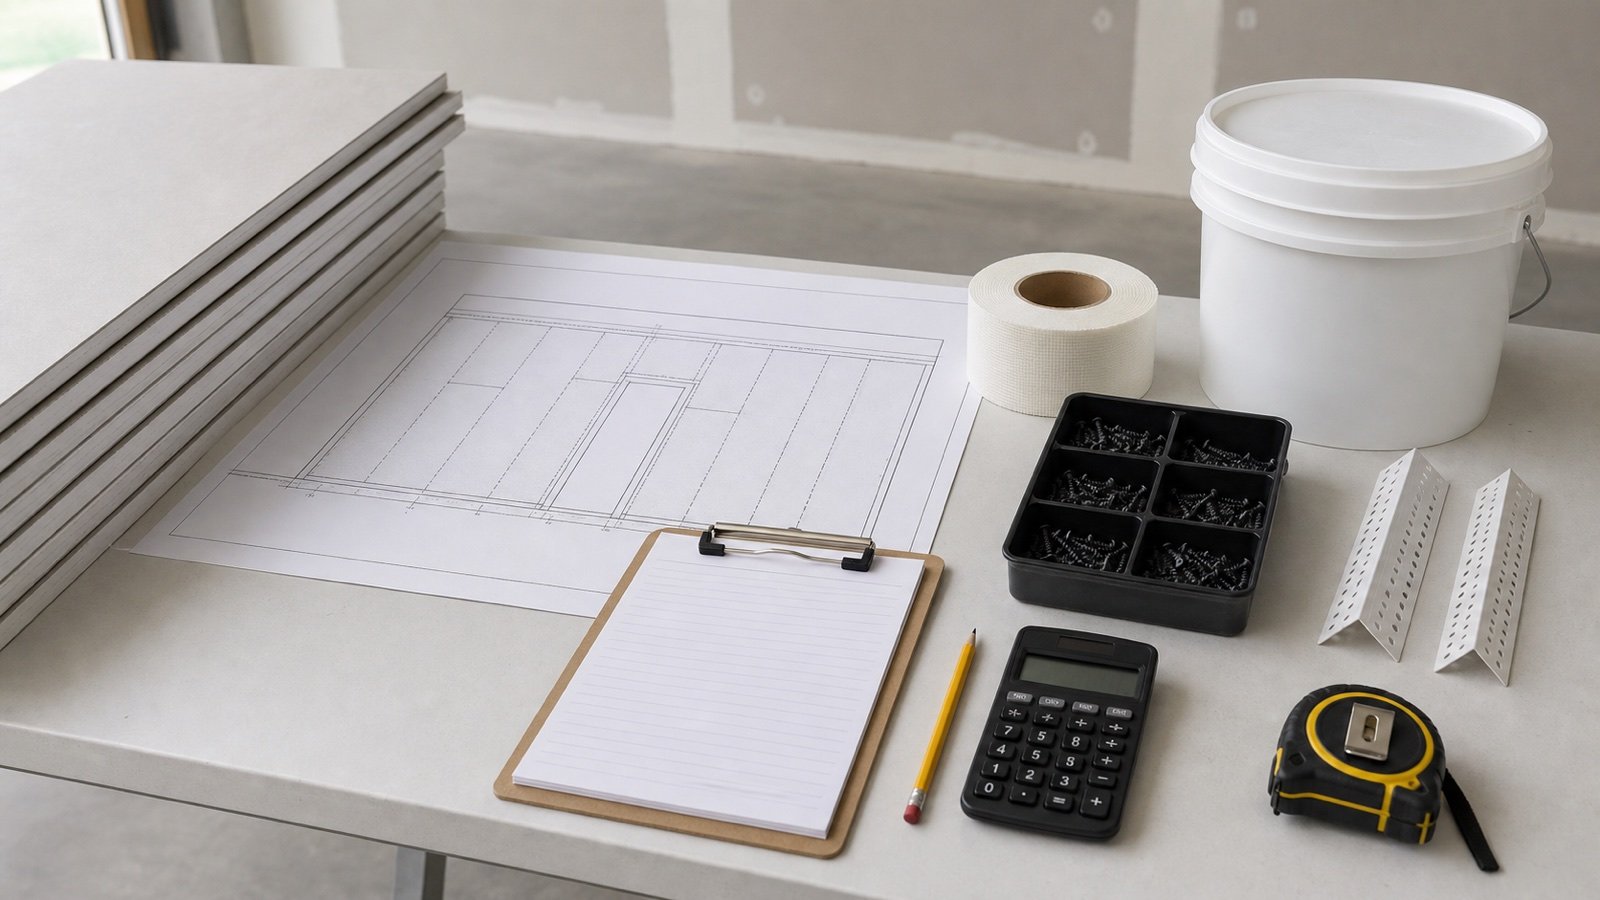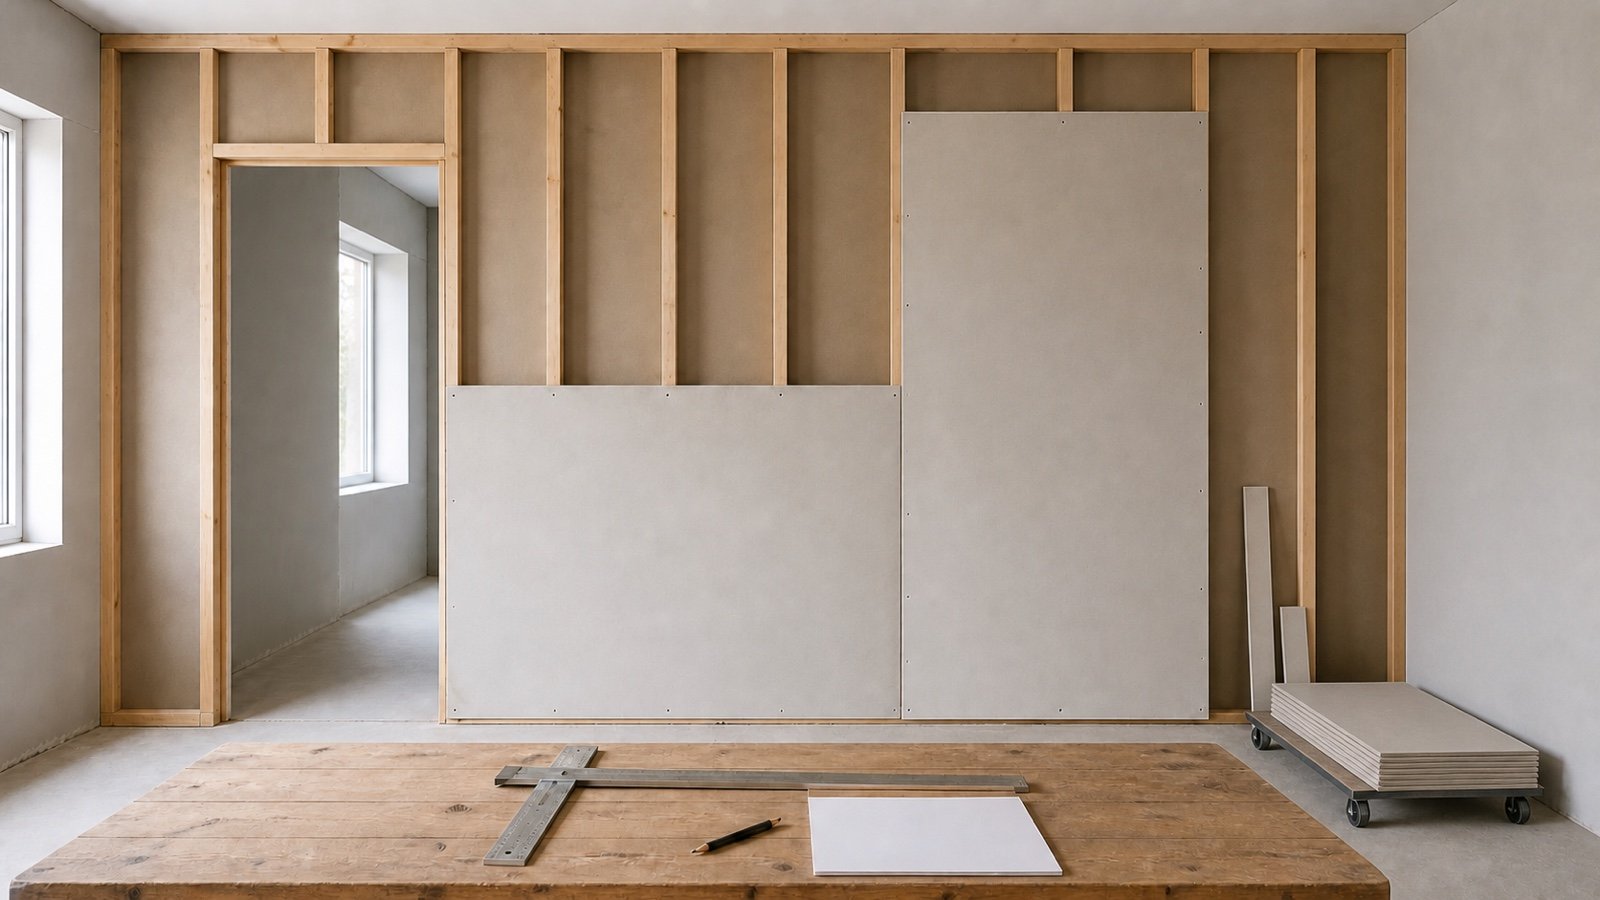
A drywall takeoff begins with surface dimensions and the exact panel size selected for the job. Net square footage can give a useful lower bound, but it cannot show whether full rectangular panels fit the wall or ceiling without edge strips and cutoffs.
This calculator compares those 2 checks for one rectangular surface. Enter measured large openings for the area calculation, then review the horizontal and vertical grids against framing, joints, access and the approved assembly.
How many drywall panels do you need?
Calculate the net surface area, divide it by one panel's face area and round up to get the area-based lower bound. Then round panel rows and columns for both directions. The smaller grid is a layout check, not an automatic orientation decision.
The calculator starts at 0% allowance. Add a percentage only after a project record explains the reason, and use a panel placement plan before turning the result into an order.
What does the Drywall Calculator return?
The calculator returns gross area, measured opening area, net area and panel face area. It then gives an area-based lower bound and 2 rectangular grids.
| Result | Meaning | Main limit |
|---|---|---|
| Area-based lower bound | Net area divided by panel face area, rounded up | Assumes every cutoff can be used perfectly |
| Horizontal grid | Panel long dimension runs across the entered surface length | Rounds full rows and columns and keeps openings inside the grid |
| Vertical grid | Panel short dimension runs across the entered surface length | Rounds full rows and columns and keeps openings inside the grid |
| Smaller grid check | The lower of the 2 rectangular no-reuse grids | Does not approve panel direction or joint placement |
| Panels after allowance | Smaller grid multiplied by the entered percentage and rounded up | Uses the user's assumption and is not a cut plan |
| Face area above net area | Purchased panel face area minus calculated net area | Includes grid rounding, entered allowance and whole-panel rounding |
The area lower bound can be smaller than both grid counts. That difference is useful because it exposes the dimensional work that square footage hides.
Which surface dimensions should you enter?
For a wall, enter its accepted horizontal length and height. For a flat rectangular ceiling, enter its 2 plan dimensions. Measure each surface separately when its length, height, openings, panel product, number of layers or assembly changes.
- Use finished or framing reference lines that match the approved panel boundary.
- Check wall height and length at more than one location when the structure may be out of square.
- Record soffits, bulkheads, returns and short wall sections as separate surfaces.
- Keep sloped, curved and irregular surfaces outside this rectangular tool.
- Use identical-surface quantity only when every input and opening pattern repeats.
A room-perimeter total loses the dimensions of each wall. That may be adequate for a rough area check, but it cannot produce the row and column counts shown here.
How are large openings handled?
The calculator subtracts entered rectangular openings from net area. It does not remove those openings from the horizontal or vertical grid.
USG's J371 guide tells users to calculate each wall from length and height, subtract large openings such as doorways and picture windows, and ignore small penetrations such as electrical boxes and pipe fittings for its quantity method. The same guide advises avoiding vertical joints directly above or below windows and doors in the wall method it describes.
Those instructions explain why an opening has 2 different effects. Its measured area can reduce the net coverage requirement, while its position changes panel cuts and joints. A 21 ft² doorway does not prove that 21 ft² of panel purchases disappear.
If identical walls do not have identical opening sizes and positions, calculate them separately. The tool multiplies each opening group by the entered surface quantity.
What formula sets the area-based lower bound?
Multiply surface length by the second surface dimension and by the number of identical surfaces. Subtract measured opening area. Divide the result by one panel's face area and round up.
Gross area = surface length × surface height or width × identical surfaces
Net area = gross area − measured opening area
Area lower bound = ceiling(net area ÷ panel face area)
USG J371 includes a coverage table for 4 ft × 8 ft, 4 ft × 10 ft and 4 ft × 12 ft panels. Their face areas are 32 ft², 40 ft² and 48 ft². The calculator does not prefill those sizes because another product, market or approved assembly may use different dimensions.
How do the horizontal and vertical grids work?
The horizontal grid places the panel long dimension across the entered surface length. The vertical grid places the panel short dimension across that same surface length. Each division rounds up before rows and columns are multiplied.
Horizontal panels = ceiling(surface length ÷ panel length) × ceiling(surface height ÷ panel width) × identical surfaces
Vertical panels = ceiling(surface length ÷ panel width) × ceiling(surface height ÷ panel length) × identical surfaces
These grids treat every surface as a full rectangle. They do not move offcuts to another row, column, opening or wall. This makes them conservative in some simple layouts, but they still cannot account for joints, framing, damaged edges or assembly rules.
Does the smaller grid choose the panel orientation?
No. The label reports only which rectangular count is smaller. The project documents, panel product, framing direction and spacing, required edge support, joint position, finish expectations, handling route and tested assembly can control the permitted direction.
USG J371 states that panels may be applied horizontally or vertically in its scope. It notes that longer panels can reduce joints and gives framing tables that change with panel thickness, location and application direction. The live USG FAQ also states that either direction can be used and gives joint-length context for horizontal application.
Use those manufacturer records for the named systems only. A fire-rated, acoustic, abuse-resistant, shaft, ceiling or multi-layer assembly can have its own required construction. The calculator does not inspect or approve it.
Worked imperial example with a doorway
One wall measures 13 ft long by 9 ft high. It has one measured 36 in × 84 in doorway. The selected panels measure 48 in × 96 in. The checked planning record uses a 5% allowance.
- Gross area: 13 × 9 = 117 ft².
- Doorway area: 36 × 84 ÷ 144 = 21 ft².
- Net area: 117 − 21 = 96 ft².
- Panel face area: 48 × 96 ÷ 144 = 32 ft².
- Area lower bound: ceiling(96 ÷ 32) = 3 panels.
- Horizontal grid: ceiling(13 ÷ 8) × ceiling(9 ÷ 4) = 2 × 3 = 6 panels.
- Vertical grid: ceiling(13 ÷ 4) × ceiling(9 ÷ 8) = 4 × 2 = 8 panels.
- Smaller grid after allowance: ceiling(6 × 1.05) = 7 panels.
The 3-panel area result assumes perfect reuse and ignores the wall's 13 ft by 9 ft fit. The 6-panel horizontal grid ignores reuse and keeps the doorway inside the rectangular count. A panel drawing must resolve the final quantity and the cuts around the doorway.
Worked metric example
One wall measures 5 m by 2.7 m. It has one measured 900 mm × 2,100 mm opening. The selected panels measure 1,200 mm × 2,400 mm. Allowance stays at 0%.
- Gross area: 5 × 2.7 = 13.5 m².
- Opening area: 0.9 × 2.1 = 1.89 m².
- Net area: 13.5 − 1.89 = 11.61 m².
- Panel face area: 1.2 × 2.4 = 2.88 m².
- Area lower bound: ceiling(11.61 ÷ 2.88) = 5 panels.
- Horizontal grid: ceiling(5 ÷ 2.4) × ceiling(2.7 ÷ 1.2) = 3 × 3 = 9 panels.
- Vertical grid: ceiling(5 ÷ 1.2) × ceiling(2.7 ÷ 2.4) = 5 × 2 = 10 panels.
The 4-panel difference between the area lower bound and smaller grid is a layout question. Offcut reuse may reduce the no-reuse grid, while joint position, opening corners or rejected cuts may add panels.
Why does each grid round rows and columns first?
A partial row or column still needs a panel strip. Dividing total surface area by panel area can pool that strip with an unrelated cutoff before checking whether the dimensions match.
An 8 ft × 8 ft wall with 4 ft × 8 ft panels illustrates an exact boundary. Both panel directions need 2 panels. The calculator uses stable ceiling logic so unit conversion noise does not turn the exact edge into a third panel.
A 13 ft × 9 ft wall has a different result even though its area ratio may look efficient after an opening deduction. Two separate whole-number divisions preserve the dimensional constraint.
How should repeated surfaces be calculated?
Use the identical-surface field when every wall or ceiling has the same length, second dimension, opening groups, panel size and approved layout basis. The calculator computes one grid and multiplies it by the quantity.
Two identical 12 ft × 8 ft walls with no openings and 4 ft × 8 ft panels contain 192 ft². The area lower bound is 6 panels. The horizontal grid totals 8 panels, and the vertical grid totals 6. No panel cutoff is moved from one wall to the other.
Run separate calculations when one wall has a door, another has a window, a ceiling uses another panel, or any dimension changes. Add the reviewed results after preparing each placement record.
How should panel allowance be handled?
Allowance starts at 0%. Enter a percentage only when the project record identifies the source of added panels, such as approved cut losses, damage history, access constraints, appearance selection, supplier increments or intentional spare stock.
The calculator applies the percentage to the smaller rectangular grid and rounds up to a whole panel. It does not apply the same factor to the area lower bound, because that would create another lower-bound result without resolving the grid.
Keep grid rounding, handling damage, rejected panels, change orders and spare material on separate ledger lines when the estimate needs an audit trail. One generic waste number can hide why the order changed.
Which conditions require another method?
| Condition | Required treatment |
|---|---|
| Sloped or vaulted surface | Measure the true plane and prepare a segmented layout |
| Curved wall or ceiling | Use approved radius, layer and product requirements |
| Several panel sizes | Create a placement and cut schedule for the available lengths |
| Multi-layer assembly | Schedule every layer, orientation and joint offset from the approved assembly |
| Fire or sound system | Follow the listed or tested assembly and current project documents |
| Large or irregular openings | Draw panel edges, framing and joints around the exact opening |
| Short walls, soffits and returns | Measure them as separate surfaces and review offcut reuse |
| Damaged or wet substrate | Resolve the condition and product suitability before quantity approval |
Which drywall quantity mistakes change the result?
- Using floor area as wall area.
- Combining a room perimeter into one grid without preserving wall lengths.
- Entering nominal or assumed panel dimensions instead of the selected product.
- Subtracting standard door and window sizes instead of measured large openings.
- Removing opening area from a grid as if a complete panel disappeared.
- Treating the area lower bound as a cut plan.
- Calling the smaller grid an approved orientation.
- Pooling offcuts between rows, walls or ceilings without showing where they fit.
- Applying an allowance twice.
- Using one panel count for different layers or products.
- Ignoring framing, edge support, joint staggering and opening-corner requirements.
- Mixing feet with inches or metres with millimetres.
What should the drywall quantity record contain?
- Project, room, elevation or ceiling zone and drawing revision.
- Surface reference edges, length, height or second dimension and measurement date.
- Opening IDs, dimensions, quantities and offsets from stable references.
- Manufacturer, product, type, thickness, edge and actual panel dimensions.
- Current installation guide, approved assembly and framing record.
- Gross area, opening area, net area and panel face area.
- Area lower bound, both grid checks and the reviewed placement quantity.
- Allowance, reason, approver and whole-panel supplier increment.
- Separate fastener, tape, compound, trim, primer and finish schedules.
- Measured by, checked by, unresolved conditions and final order date.
Safety, product and assembly limits
Gypsum panels can be large and difficult to handle. USG J371 lists protective equipment and job tools in its planning section and tells users to follow safety and industrial-hygiene practices, wear the required protective equipment, and read current safety data and product literature before installation.
Control panel transport and storage, cutting tools, dust, work at height and overhead installation under the current product instructions and site safety plan. Use suitable lifting or access equipment and trained assistance for the selected panel and location.
This calculator does not select a gypsum panel, design framing, approve edge support, set fastener spacing, place control joints or verify fire, sound, moisture or structural performance. Confirm current product documents, project drawings, specifications, local codes and the authority having jurisdiction.
Use the Drywall Joint Compound Calculator after selecting a compound and documenting its coverage basis. Use the Paint Calculator after the accepted drywall finish is ready for a product-specific coating takeoff. Return to the Drywall planning hub for all current tools and guides. The calculation methodology explains unit and rounding checks, and the corrections route accepts formula or source issues.
Sources and scope
- USG Sheetrock Brand Installation and Finishing Guide J371 supports its wall and ceiling measurement method, large-opening treatment, panel coverage table, application-direction context, wall opening-joint caution and safety direction. It does not approve another product or current local assembly.
- USG FAQs supports the manufacturer's statement about horizontal and vertical panel application and its joint-length context. It does not select a direction for every project.
- USG and CGC Sheetrock Gypsum Panels product record shows one product's 48 in width and available lengths. Product dimensions and availability vary by record and market.
- NIST Handbook 44 (2026), Appendix C supports exact unit relationships. It does not select panels or layouts.
Source scope: the USG records support only their stated products and installation context. NIST supports unit relationships. The grid formulas and worked examples use declared rectangular geometry. These sources do not select a panel, allowance, orientation, assembly, supplier or installer for a reader's project.
Review note: Saleem Sial owns the research and editorial record. Source checks, independent fixtures, build validation, link crawl, schema review and rendered QA form the internal publication gate. Waseem Sial, External Reviewer and Engineer, is listed for ongoing external review; no completed review date is claimed.