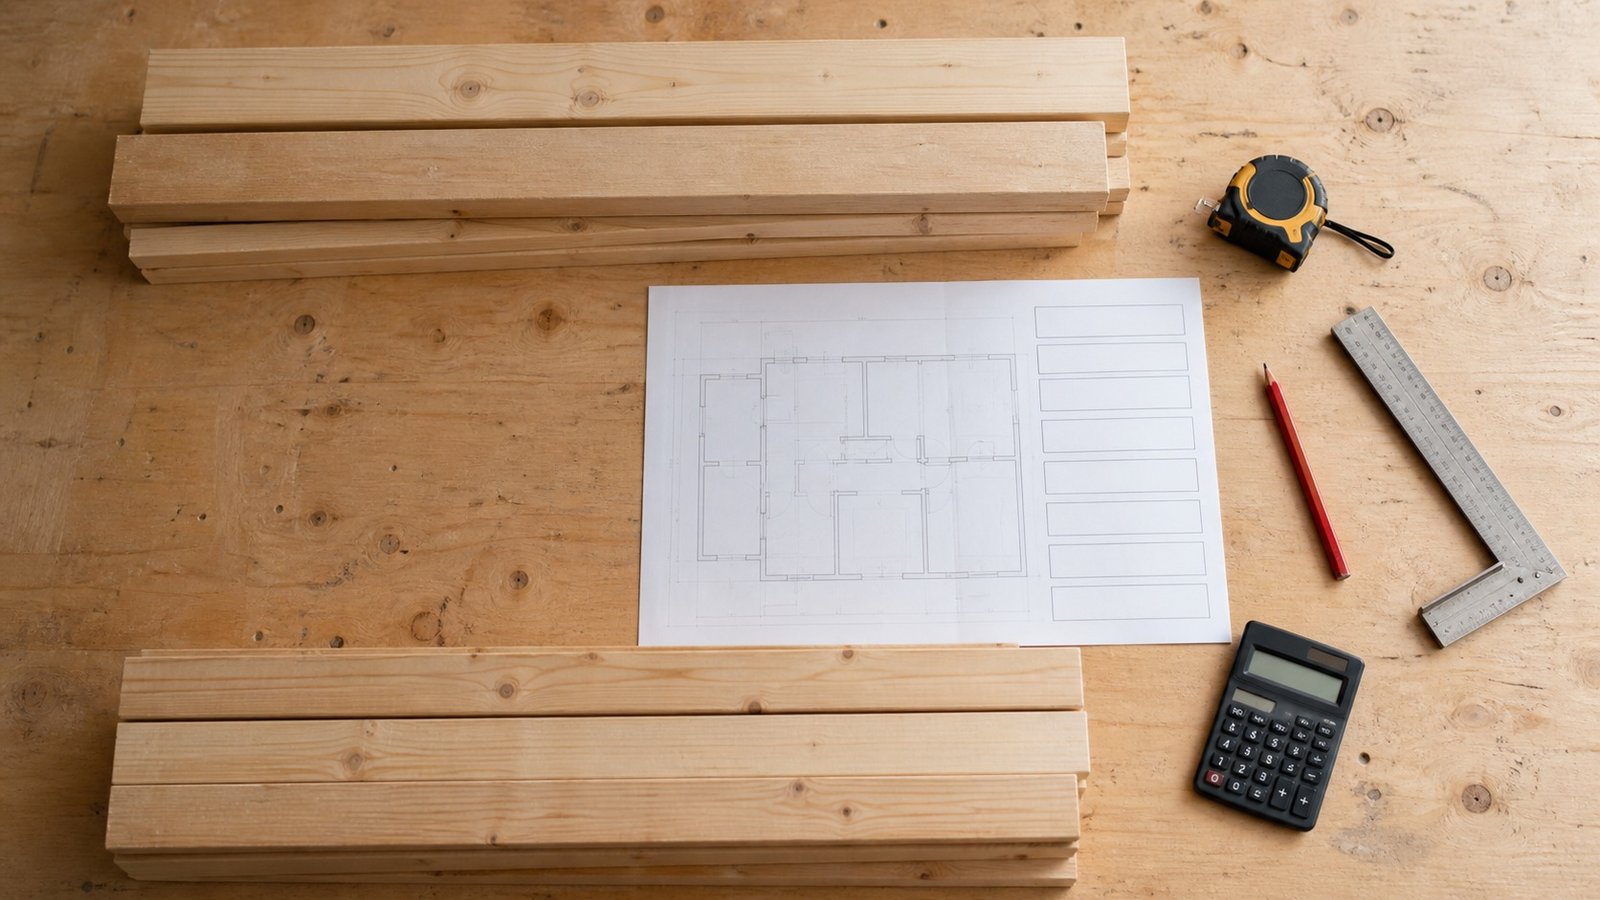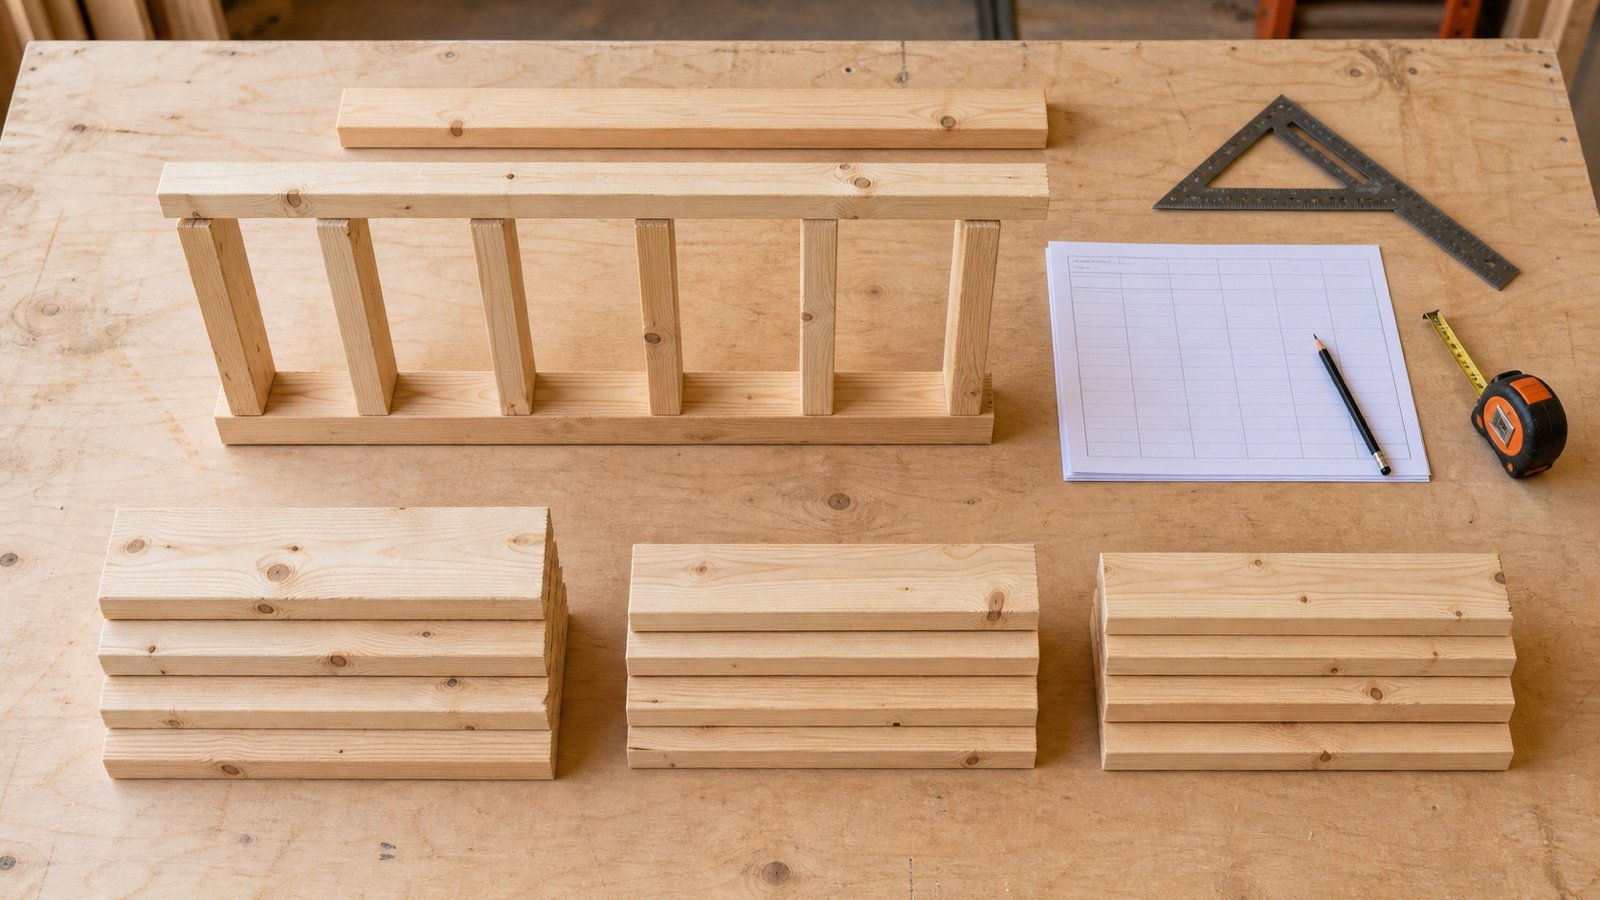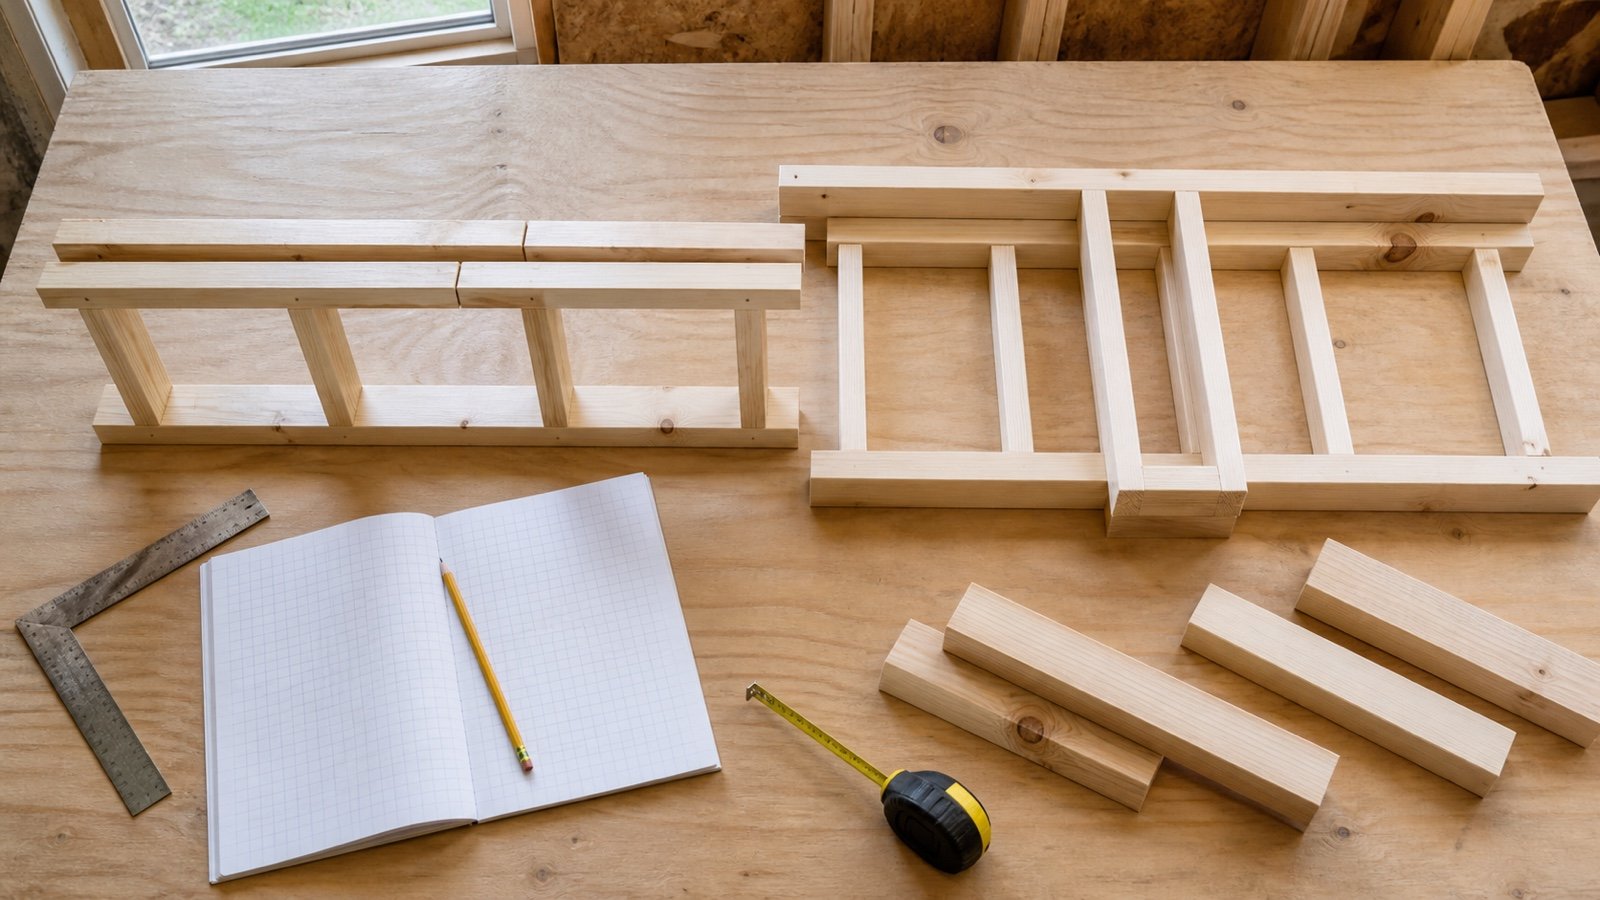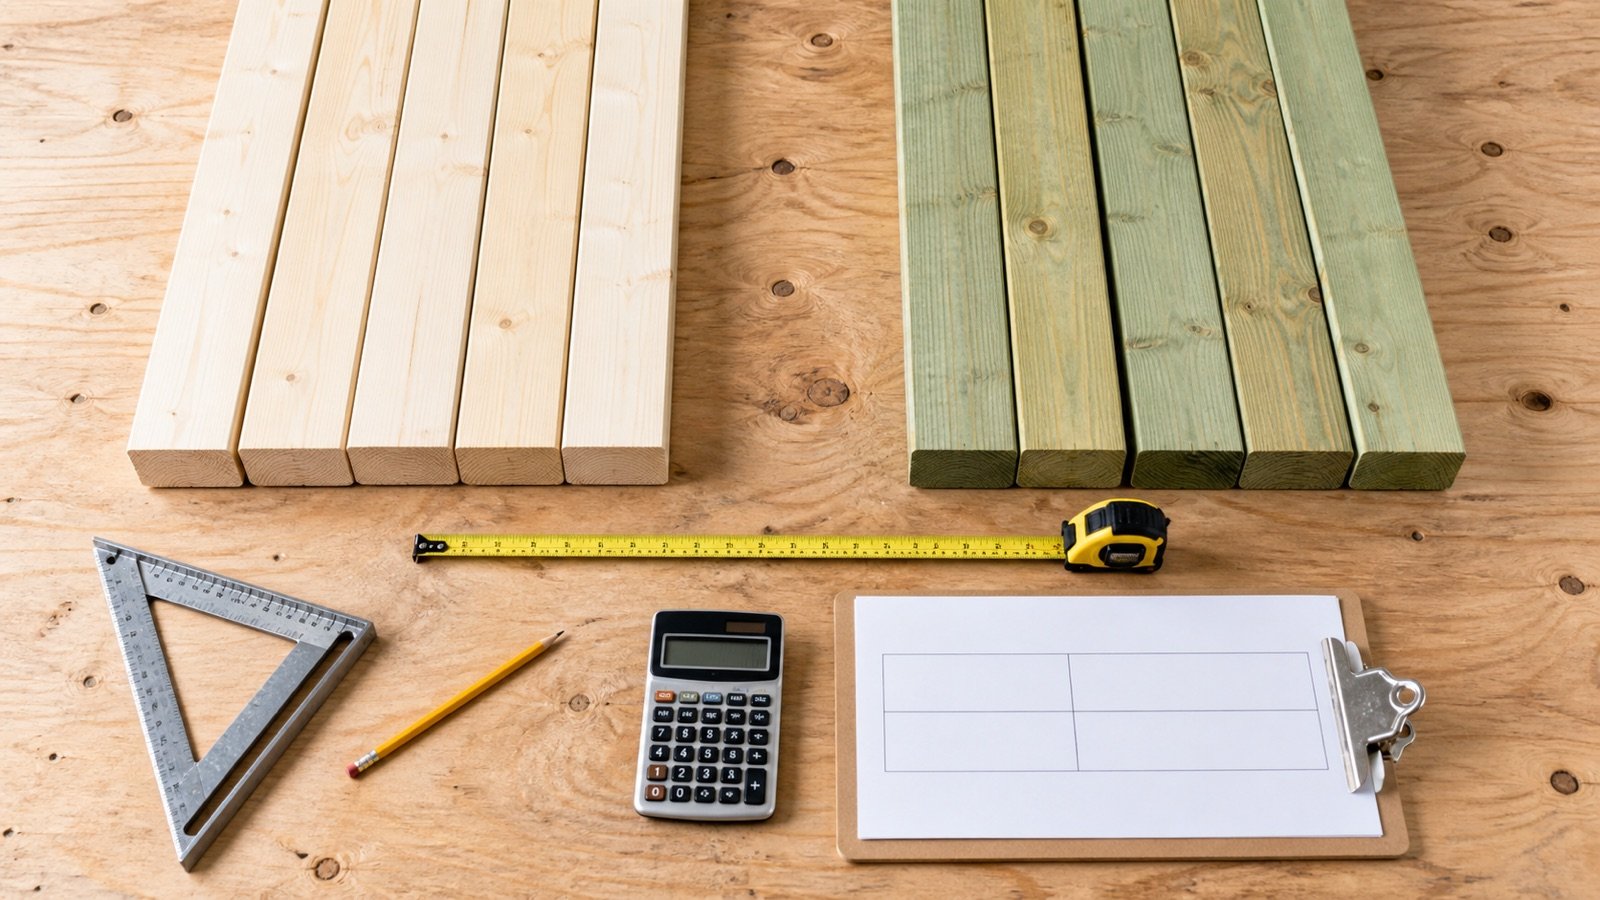
Wall-plate ordering starts with the measured wall runs and the plate detail approved for each wall type. A combined three-times-wall-length shortcut can hide different bottom and top products, stock lengths, deductions and splice material.
This calculator keeps bottom and top plate rows separate. Prepare the inputs with the wall-plate takeoff worksheet, use the bottom plate vs top plate comparison to check role and layer differences, and measure detail additions with the wall-plate splices, laps and intersections guide. Then use the tool to convert each checked row into linear length, a length-based whole-piece count, matching stock applied and pieces to purchase.
How much wall-plate lumber do you need?
Multiply each wall run by its number of identical runs and the approved plate layers. Subtract only measured omissions supported by the framing sequence, add the checked length required by laps, returns or other details, then apply any documented allowance. Divide each product row by its matching stock length and round up to whole pieces.
Run another calculation when wall length, layer count, plate product or stock length changes. Use the Wall Stud Calculator for vertical field positions and full-height stud quantity.
What does the Wall Plate Calculator calculate?
The calculator returns the measured wall length across identical runs, base plate length, approved deduction, approved extra length, allowance length, planning length, length-based whole pieces, usable stock applied, purchase pieces and rounded surplus for bottom and top plate rows.
| Output | Meaning | Check before ordering |
|---|---|---|
| Base length | Total wall length multiplied by the entered plate layers | Wall IDs, run limits and approved layer count |
| Net required length | Base length minus approved deductions plus approved extra length | Opening sequence, returns, laps and detail references |
| Planning length | Net required length plus the entered allowance | Reason and approval for the allowance |
| Length-based pieces | Planning length divided by matching stock length, rounded up | Segment lengths and cut feasibility |
| Stock applied | Usable matching full pieces deducted from the length-based count | Product identity, length and condition |
| Purchase pieces | Length-based pieces less usable stock | Supplier selling increment and final cut plan |
| Rounded surplus | Available full-piece length above the planning length | Whether the surplus exists in reusable segments |
Why are bottom and top plates calculated separately?
Bottom and top plates can belong to different purchase rows. Treatment, species, grade, size, seasoning, stock length, connector compatibility and acceptance conditions may differ.
A single total can deduct a treated bottom piece from an untreated top requirement or divide both rows by one stock length. Separate rows preserve the product identity that the buyer and receiving crew need.
Which formulas does the calculator use?
The calculator applies the same arithmetic to each active plate row. It does not choose the plate layer count, deduction, extra length, allowance or stock length.
Total wall length = wall-run length × identical runs
Base plate length = total wall length × approved plate layers
Net required length = base plate length − approved deduction + approved extra length
Allowance length = net required length × entered allowance ÷ 100
Planning length = net required length + allowance length
Length-based pieces = ceiling(planning length ÷ matching stock length)
Purchase pieces = maximum(0, length-based pieces − usable matching stock pieces)
Rounded surplus = length-based pieces × stock length − planning length
The calculator keeps the unrounded planning length visible. It rounds only the piece count, because a supplier cannot deliver a fraction of a full board.
Worked example: 2 identical 18 ft wall runs
Two straight runs each measure 18 ft. The checked detail has 1 bottom layer and 2 top layers. The takeoff uses 12 ft bottom stock, 16 ft top stock and a documented 5% allowance on both rows. One matching 12 ft bottom piece is already usable.
- Total wall length: 18 ft × 2 = 36 ft.
- Bottom base length: 36 ft × 1 = 36 ft.
- Bottom planning length: 36 ft × 1.05 = 37.8 ft.
- Bottom length-based pieces: ceiling(37.8 ÷ 12) = 4 pieces.
- Bottom purchase: 4 pieces − 1 usable stock piece = 3 pieces.
- Top base length: 36 ft × 2 = 72 ft.
- Top planning length: 72 ft × 1.05 = 75.6 ft.
- Top purchase: ceiling(75.6 ÷ 16) = 5 pieces.
The combined purchase result is 8 pieces, split into 3 bottom pieces and 5 top pieces. The 5% entries are example inputs, not recommended factors. A segment-level cut plan may increase either row.
Worked example: measured metric deductions and additions
Two identical wall runs each measure 5.4 m. The bottom row has 1 layer, a checked 0.9 m deduction and 0.3 m of added detail length. The top row has 2 layers and 1.2 m of checked extra length.
- Total wall length: 5.4 m × 2 = 10.8 m.
- Bottom net length: 10.8 m − 0.9 m + 0.3 m = 10.2 m.
- With 3.6 m stock and no allowance, the length-based result is ceiling(10.2 ÷ 3.6) = 3 pieces.
- Top net length: 10.8 m × 2 + 1.2 m = 22.8 m.
- A stated 10% example allowance produces 25.08 m.
- With 4.8 m stock, the length-based result is ceiling(25.08 ÷ 4.8) = 6 pieces.
The deductions, additions and allowance in this fixture come from the example record. They do not establish a plate detail for another wall.
How should wall runs be measured?
Measure each straight run between the reference lines used by the approved layout. Record the wall ID, start, end, level, revision and measured length. Keep different lengths in separate calculations.
- Separate exterior, interior bearing and nonbearing wall groups when their details differ.
- Separate straight, stepped, curved, raked and offset segments.
- Record returns and intersections according to the accepted measurement convention.
- Reconcile the total against the plan dimensions before applying layers.
The wall-stud layout guide explains start lines, paired-plate transfer and closing-bay checks. Carry the accepted runs into the wall-stud takeoff worksheet.
How should the plate layer count be selected?
Copy the layer count from the current drawings, specifications, accepted design and applicable requirements. The interface starts blank so the calculator does not select a framing system.
The 2024 IRC Section R602.3.2 gives a US model-code example with double top plates and a conditional single-top-plate alternative. Section R602.5 permits at least a single top plate for the stated interior nonbearing-wall conditions. APA's Advanced Framing Construction Guide treats a single top plate as part of a coordinated framing system that includes member alignment and connection details.
Those sources show why 2 top layers cannot be a universal calculator default. The locally adopted code, project design and complete wall assembly control the actual row.
Should door and window widths be deducted?
Deduct an opening only when the approved takeoff and construction sequence omit that measured plate segment from the order. Bottom plates may continue across an opening during layout and be cut later. Top plates may continue above an opening as part of the wall detail.
Record each proposed deduction with the opening ID, affected plate row, measured width and detail reference. A door width does not create an automatic deduction in this calculator.
What belongs in approved extra length?
Enter the checked linear total for material required beyond the base wall runs. The field can record measured laps, returns, intersection pieces, splice development or another detail-specific addition.
Do not count the same length in both the measured wall run and the extra field. Keep a line-item ledger so another person can reproduce the total.
| Record | Required detail |
|---|---|
| Wall and plate row | Wall ID, bottom or top, and layer |
| Reason | Lap, return, intersection, splice or named detail |
| Length | Measured addition in the active unit |
| Source | Drawing, specification or accepted field instruction |
| Revision | Current document revision and check date |
Why is the piece result a length-based lower bound?
Dividing total length by stock length assumes offcuts can move between every required segment without violating splice positions, layer staggering, treatment, grade or wall identity. A real cut list can leave unusable remainders.
Example: 3 separate 7 ft segments need 21 ft in total. Pure length division suggests 2 pieces of 12 ft stock. Each 12 ft piece can supply only one 7 ft segment, so the segment list needs 3 pieces unless an accepted splice plan changes the cuts.
Use the result to establish a lower bound, then assign every required segment to a specific stock piece. Add any cut-plan shortage as a documented piece or extra length before ordering.
How should bottom-plate product identity be checked?
Match each row to the project requirement and supplier record. Product identity can include nominal size, dressed dimensions, species or species group, grade, seasoning, treatment, end-use category, certification mark and stock length.
NIST PS 20-25 supplies current US softwood-lumber size and grade-mark terminology. The 2021 IRC gives edition-specific examples for locations requiring decay protection and lists information carried by preservative-treated-lumber quality marks. Those records do not choose a product for this project.
Keep treated and untreated plate stock in separate rows. Verify fasteners and connectors for the selected treated product through the current project specification and manufacturer documentation.
How should usable stock be deducted?
Count a stored piece only when it matches the calculator row and remains acceptable for the project. The stock field assumes every counted piece has the same entered stock length.
- Check size, grade, species or product designation, treatment and seasoning.
- Check full usable length after damaged ends, holes, notches and prior cuts.
- Quarantine pieces that fail the project acceptance rules.
- Do not deduct short offcuts as full matching pieces.
The wall-stud ordering guide gives a product-identity, supplier and receiving workflow that also applies to separate plate rows.
Which conditions need another calculation?
| Change | Separate record |
|---|---|
| Wall length or geometry | Measured run group |
| Bottom or top layer count | Plate detail and formula row |
| Member size, species, grade or seasoning | Product identity |
| Treatment or end-use category | Bottom-plate purchase row |
| Stock length | Piece rounding and cut plan |
| Splice, return or intersection detail | Approved extra-length ledger |
| Delivery phase or supplier | Order and receiving record |
| Curved, raked, stepped or irregular walls | Segment geometry outside this tool |
Which mistakes change the wall-plate order?
- Using 3 times total wall length without checking the plate detail.
- Combining treated bottom plates with untreated top plates.
- Subtracting every door width even when the plate continues through layout.
- Adding a generic overlap length to every corner without a detail takeoff.
- Dividing combined length by stock length without checking segment cuts.
- Applying one allowance to hide laps, cuts, defects and spare stock.
- Deducting mismatched or damaged stock.
- Using supplier bundle size as a formula input before the piece requirement is known.
- Changing the document date without checking revised wall runs and details.
What should the order record contain?
- Project, level, wall IDs and drawing revision.
- Measured run length, identical-run count and plate layer count.
- Bottom and top product identity on separate rows.
- Approved deductions and extra-length ledger references.
- Allowance reason, matching stock and cut-plan adjustment.
- Stock length, raw pieces, supplier increment and final order pieces.
- Delivered, accepted, quarantined, returned and shortage quantities.
- Prepared by, checked by and date.
Safety, design and code limits
The calculator estimates linear material and whole stock pieces. It does not design the wall, select the plate system, verify load paths, size members, approve splices, check anchors or fasteners, or establish fire, sound, moisture and structural performance.
Follow current drawings, specifications, manufacturer instructions and the locally adopted code. A change from double to single top plates, a treatment substitution, an altered splice or an opening revision can need approval from the designer or authority responsible for the project.
For US construction workplaces, OSHA 1926.250 requires lumber stacks to rest on level, supported sills and remain stable and self-supporting. Apply the safety requirements that govern the actual workplace and material-handling method.
Return to the Drywall planning hub for related sheet, fastener, finishing and wall-framing tools. Review the calculation methodology or report a formula or source problem through the corrections route.
Sources and source scope
- 2024 IRC Chapter 6: US model-code examples for plate layers, joint conditions and bottom-plate bearing.
- APA Advanced Framing Construction Guide: coordinated single-top-plate framing context.
- NIST PS 20-25: current American softwood-lumber terminology.
- NIST Handbook 44, 2026, Appendix C: unit-conversion reference.
- 2021 IRC Chapter 3: edition-specific decay-protection and treated-product mark examples.
- OSHA 1926.250: US construction-workplace material storage.
Source scope: the code pages support only their stated editions and conditions. Local adoption, amendments, drawings and specifications control project use. APA explains one coordinated advanced-framing approach. NIST supports units and lumber terminology. OSHA supports the cited US workplace-storage rules. None of these sources approves the user's entries or finished wall design.
Review note: Saleem Sial owns the research and editorial record. Source checks, independent formula fixtures, interface tests, build validation, link crawl, schema review and rendered QA form the internal publication gate. Waseem Sial, External Reviewer and Engineer, is listed for ongoing external review; no completed review date is claimed.