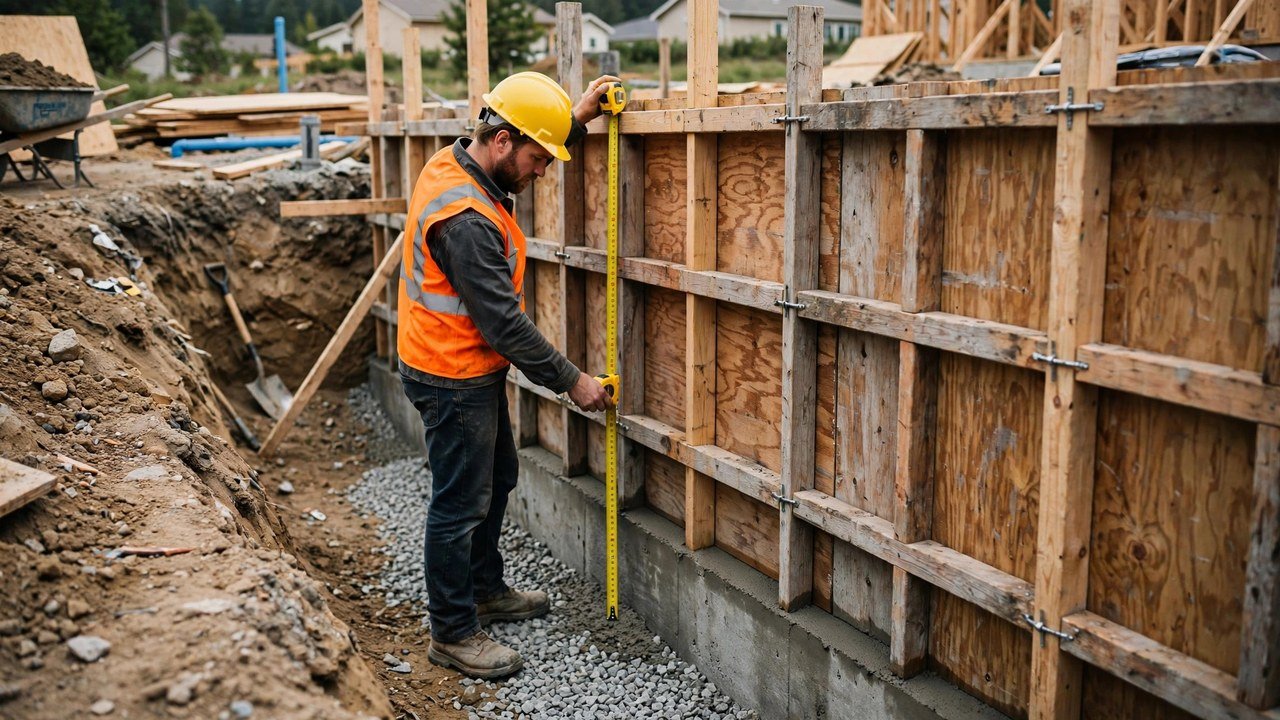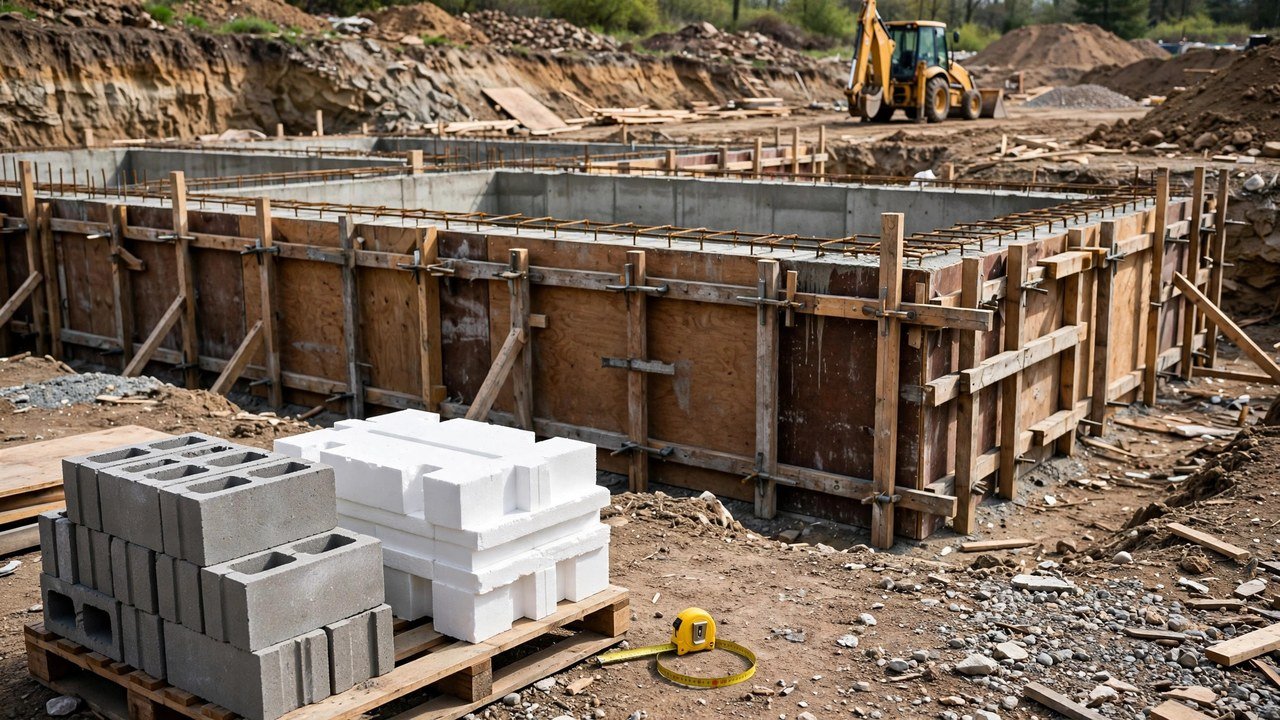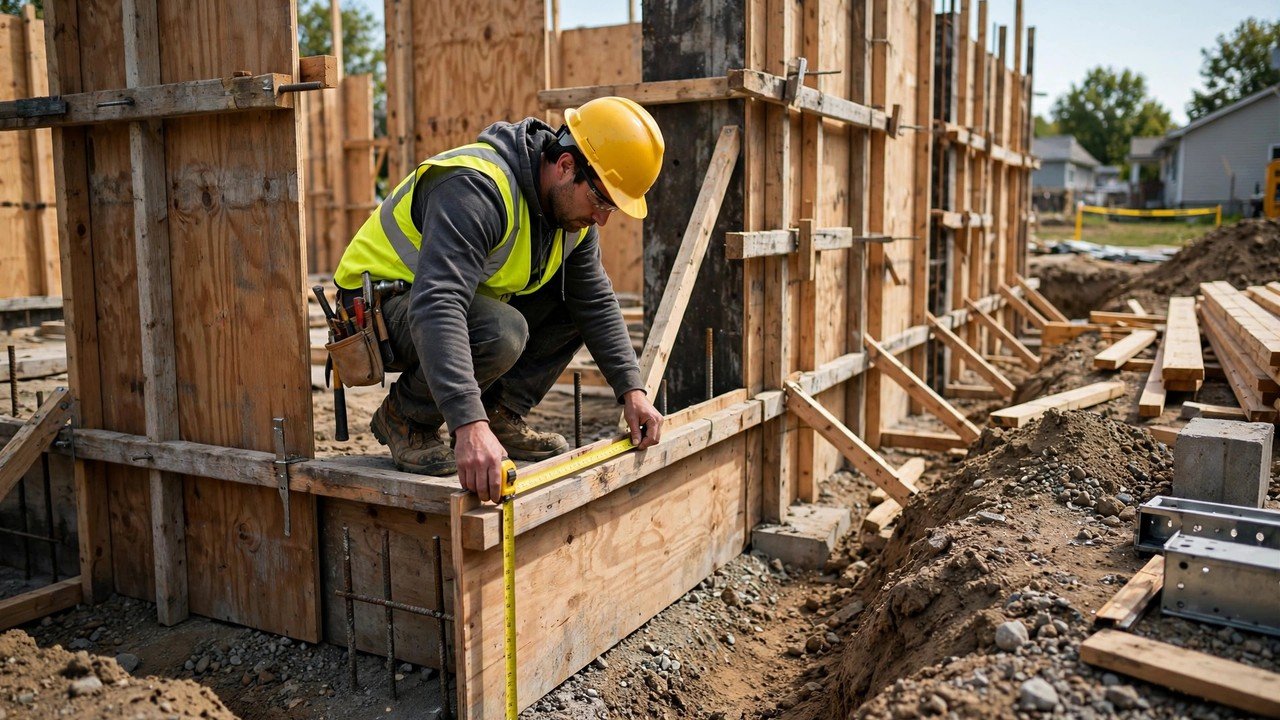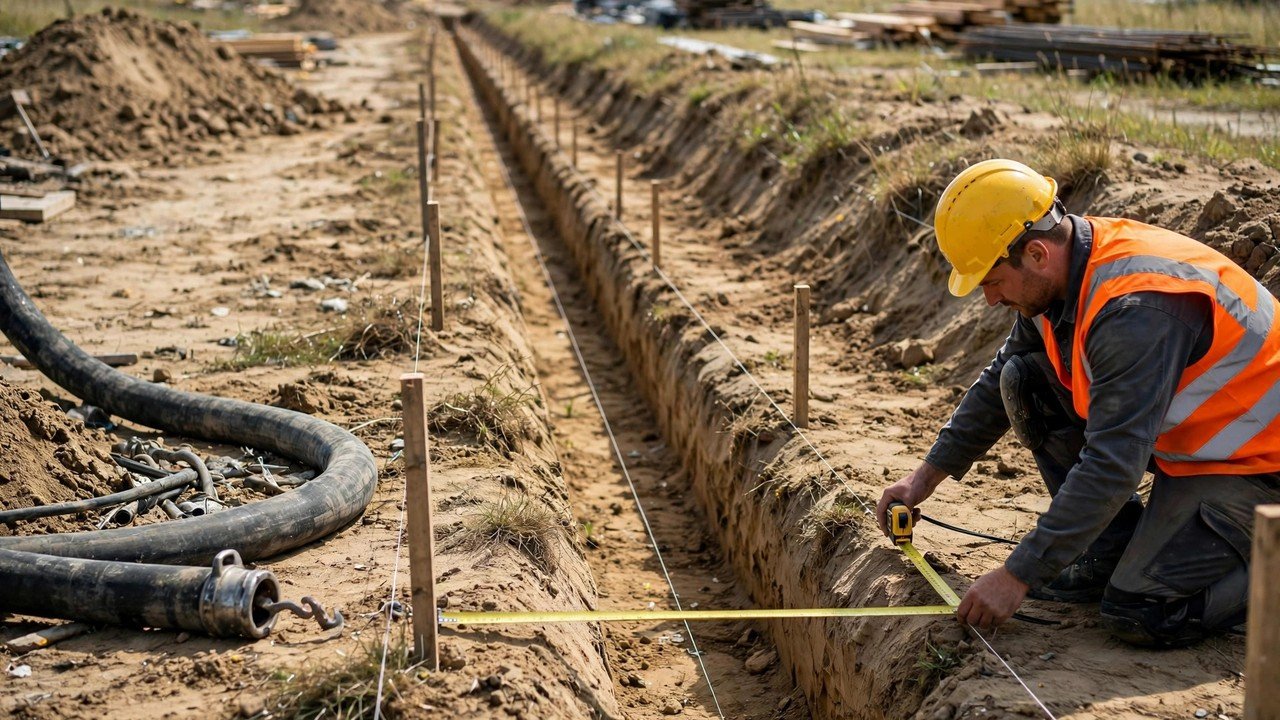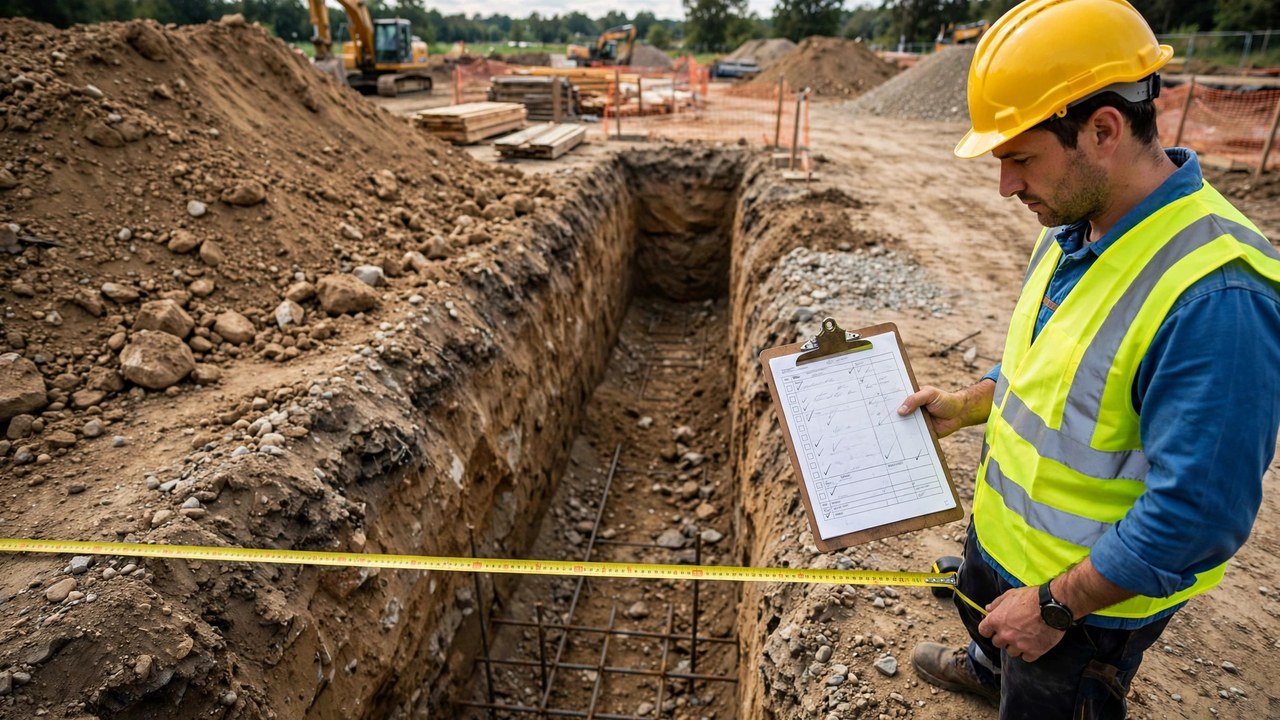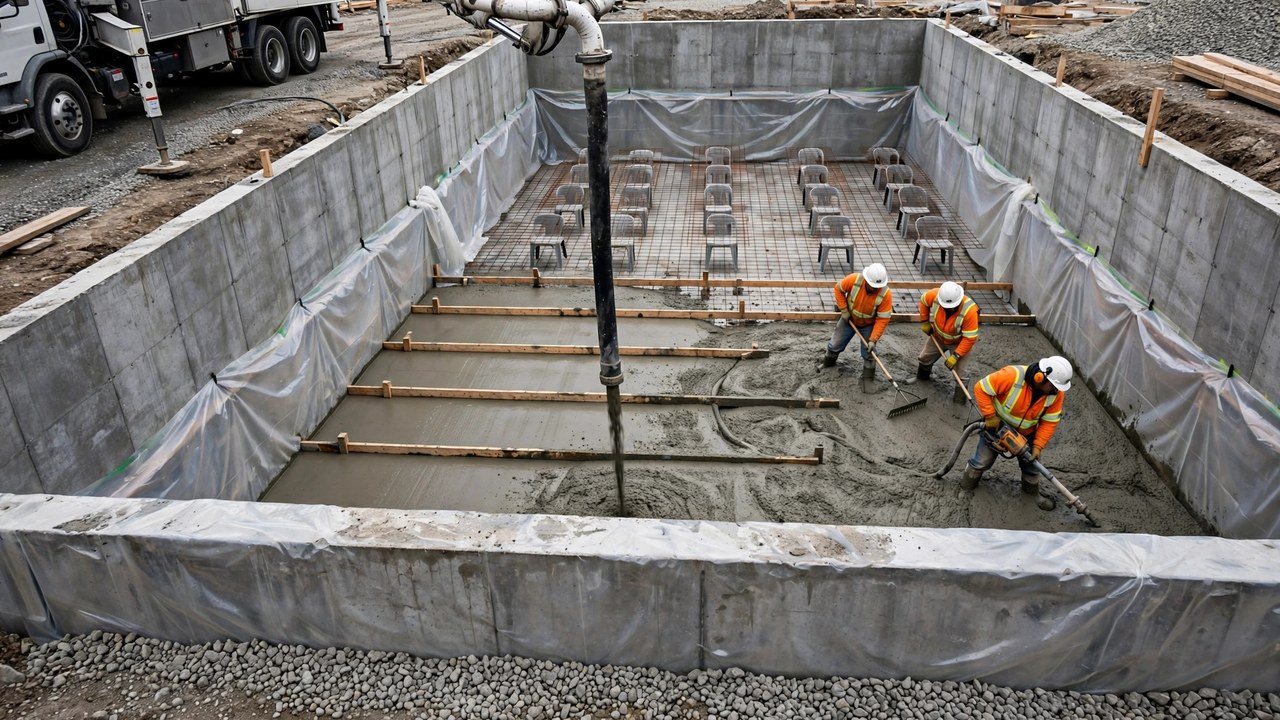
A basement slab pour is four decisions: where the concrete comes from, how it reaches the pour, what sits under and in the slab, and whether the pour runs continuously or stops at planned joints. Each decision changes the order and the day's plan. This guide compares the methods side by side on one basement so the choice is visible before you book the truck or the pump.
Which basement slab method fits your project?
Pick the combination that matches your slab size, subgrade condition, truck access, and the structural drawings. Most basement slab pours use one of these combinations:
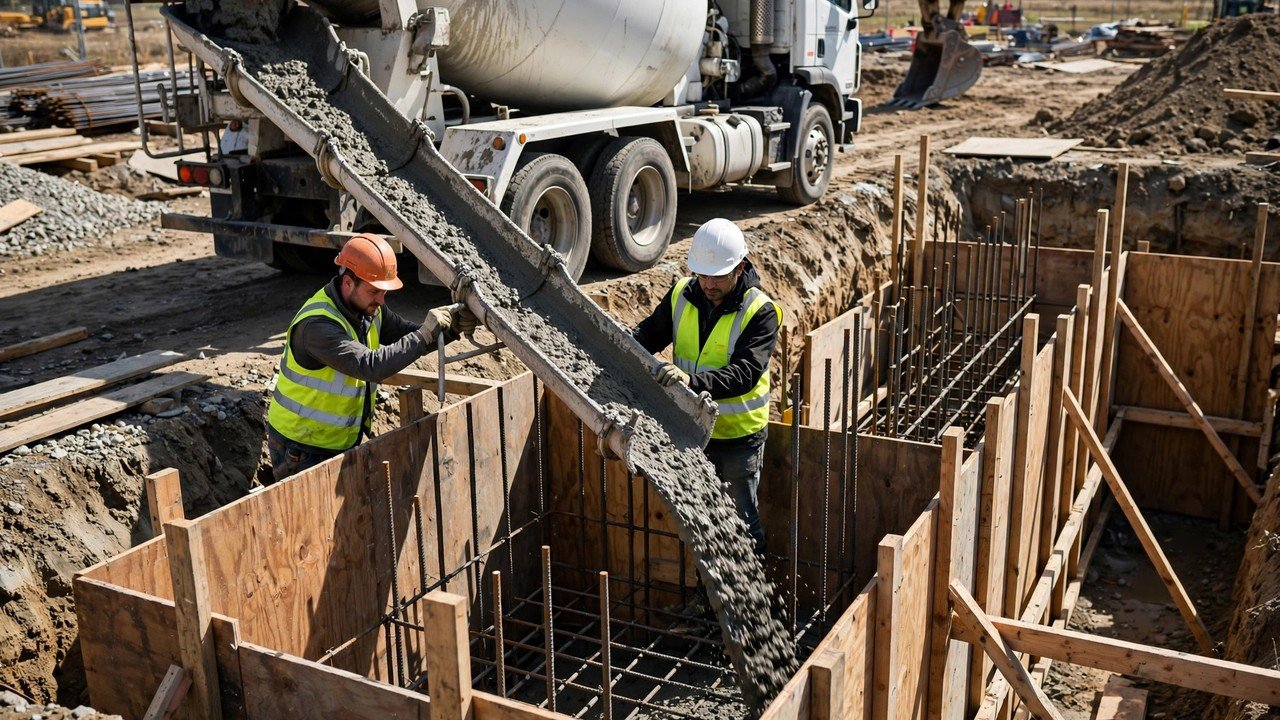
- Ready-mix concrete, direct chute discharge from above, continuous pour.
- Ready-mix concrete, boom pump placement over the walls, continuous pour.
- Ready-mix concrete, line pump placement through hoses, continuous pour.
- Site-batched concrete, wheelbarrow placement, continuous pour.
- Any supply with a segmented pour split at planned bulkheads with keyed construction joints.
The direct answer for most projects: order ready-mix when the volume clears the small-load line, place by the simplest route the site access allows, and pour continuously unless the drawings show bulkhead joints. The sections below show how each choice changes the order.
How does the concrete supply change the order?
Ready-mix concrete arrives in mixer trucks, produced under the ASTM C94 specification for ready-mixed concrete. The NRMCA's CIP 31 states that the quantity ordered should be 4% to 10% more than the plan-dimension estimate, covering contingencies such as waste, over-excavation, and spreading of forms. Truck mixer capacity runs 8 to 12 yd³ (5 to 9 m³), so ask the supplier for the usable capacity of the trucks on your order. Small orders can carry short-load charges, and CIP 31 advises avoiding clean-up loads under 4 yd³ (2.5 m³), so ask about minimum loads before fixing the delivery size.
Site-batched concrete is mixed on site in a drum mixer from cement, aggregates, and water in the proportions of the approved mix design. It suits small pours and sites a mixer truck cannot reach, but it adds batching labor, batch records, and mixing-time control to the day. Keep every batch to the same proportions and the same mixing time; drift between batches shows up in the finished slab.
Use the basement slab ordering guide for the allowance, truck arithmetic, and delivery rules that apply to the ready-mix route, and the Concrete Slab Calculator to turn slab dimensions into cubic yards for a ready-mix order or into a batch count for site mixing.
How does the placement route change the pour?
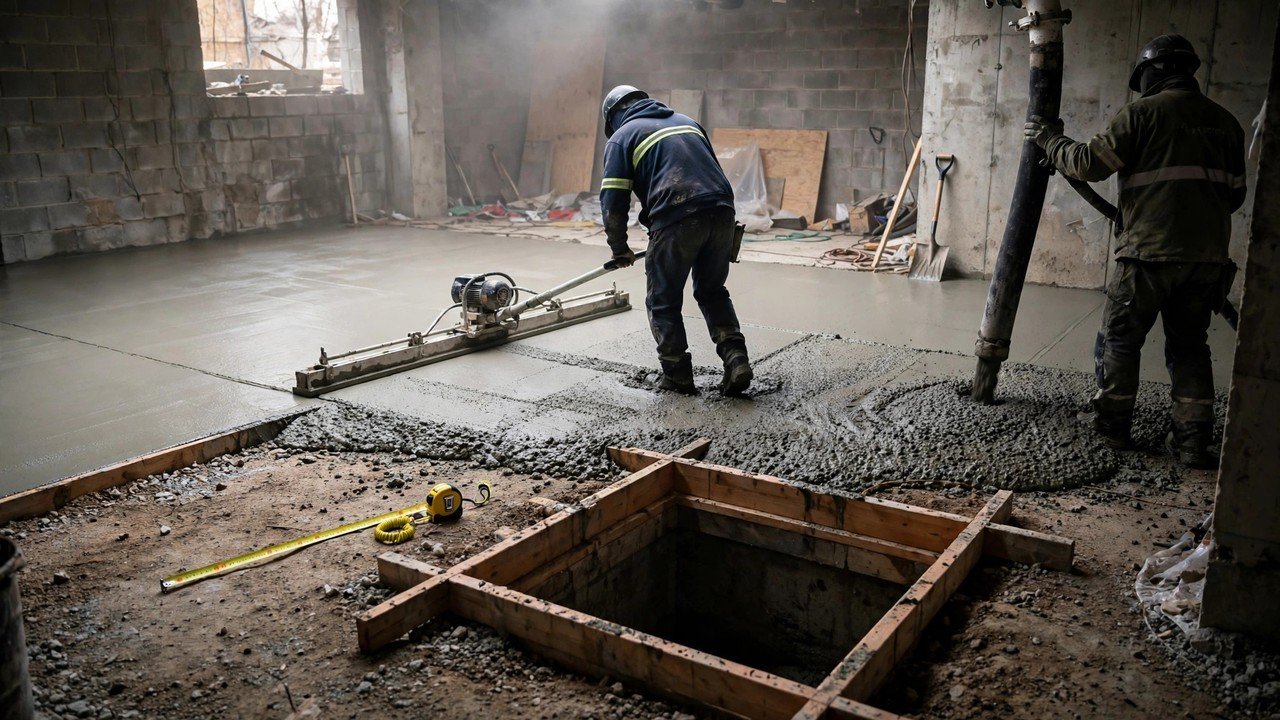
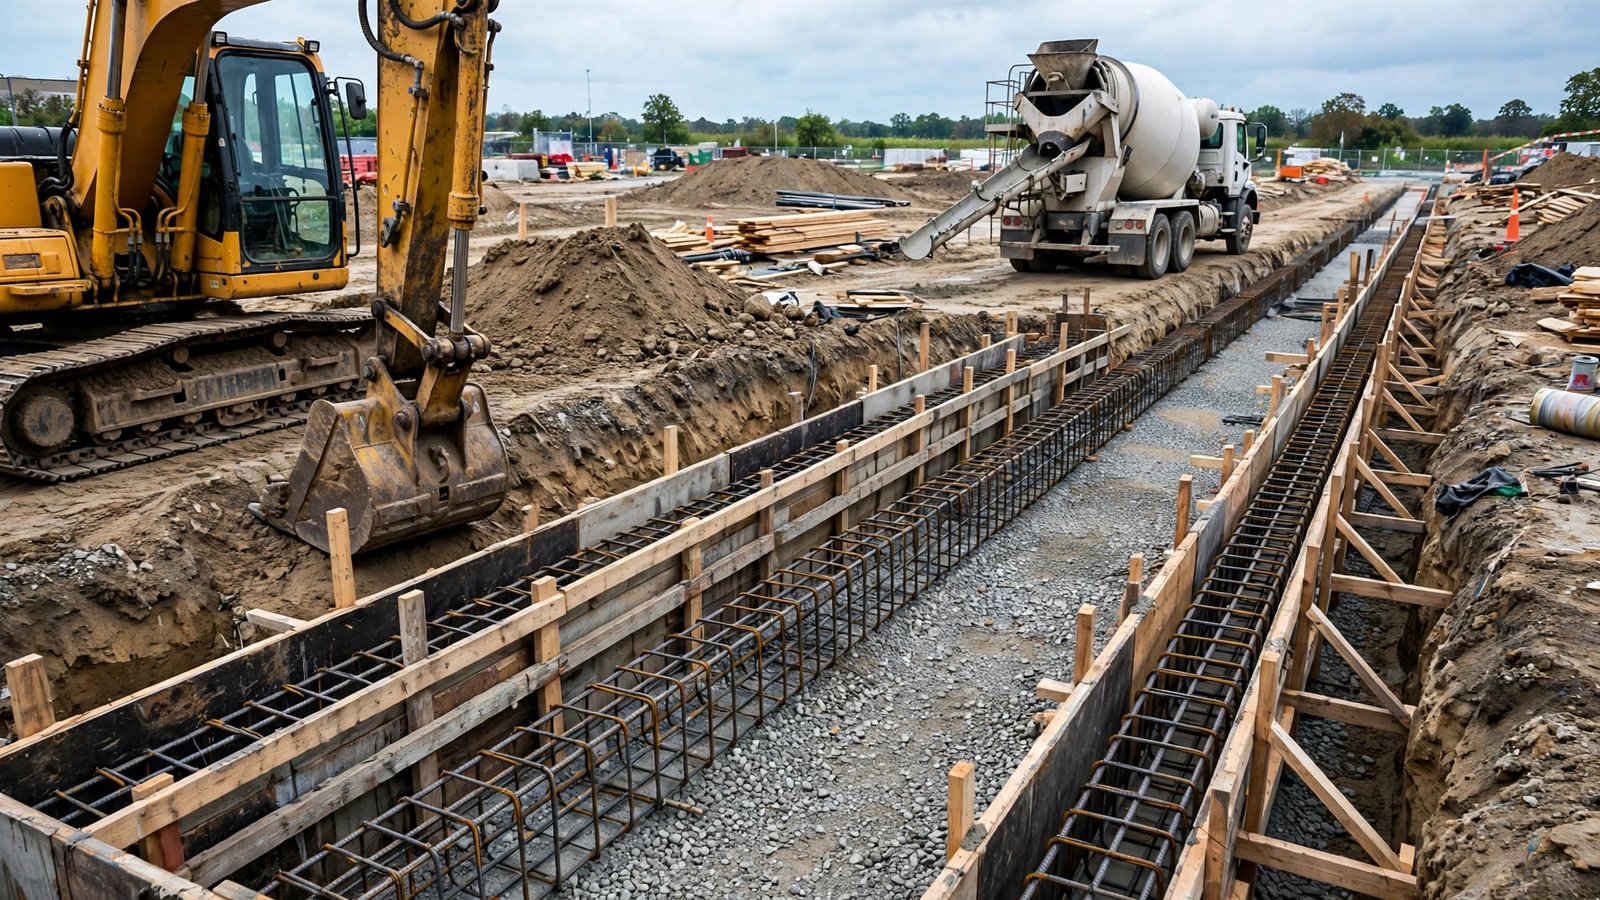
The basement sits below grade, so concrete comes in from above. Four routes cover most pours:
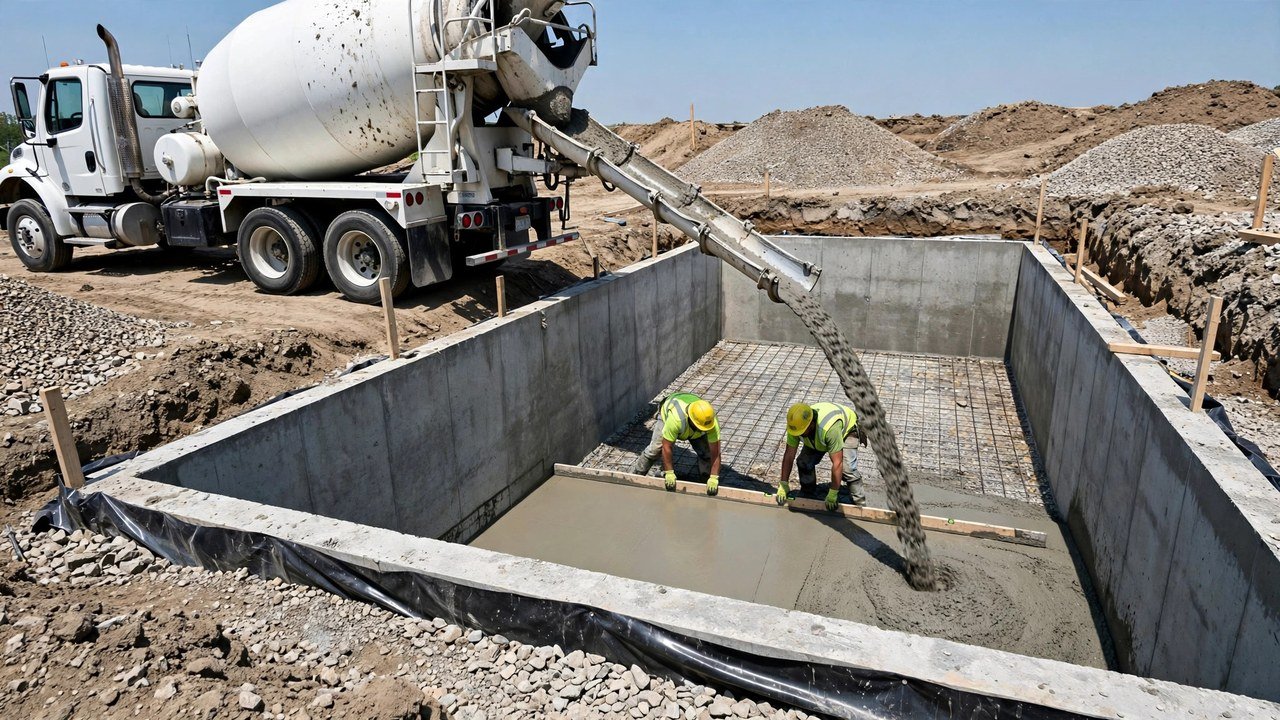
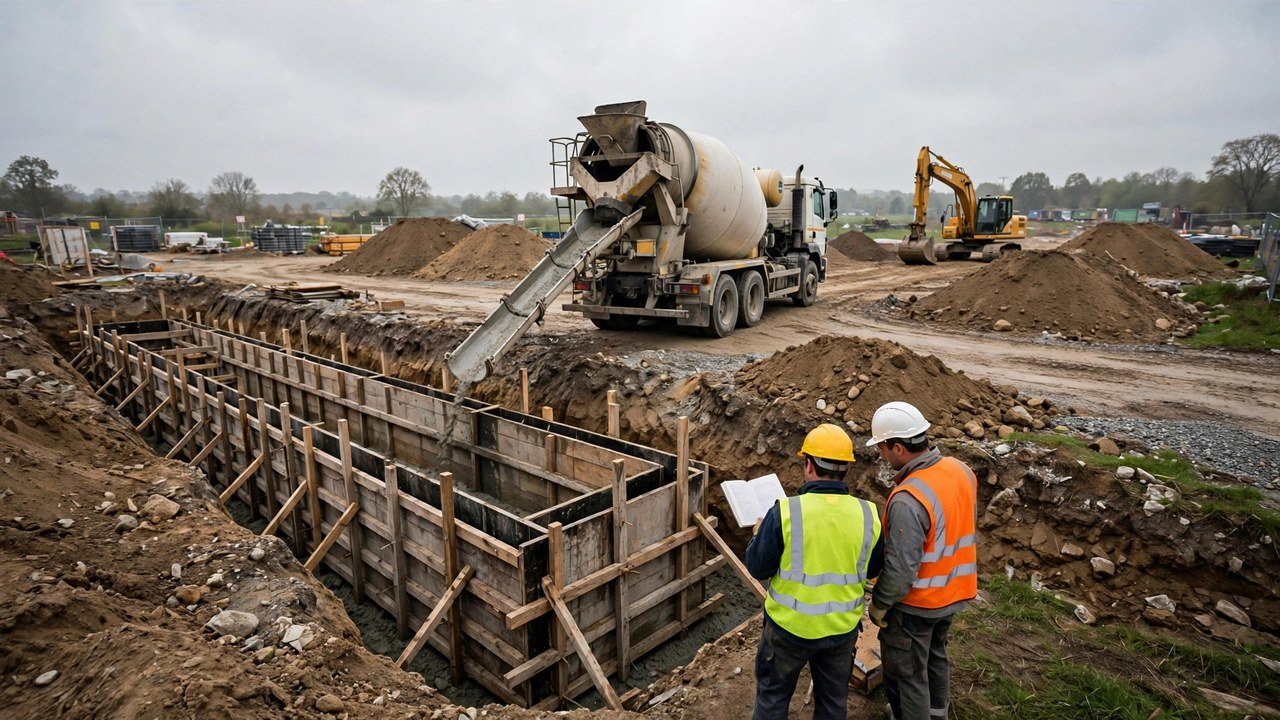
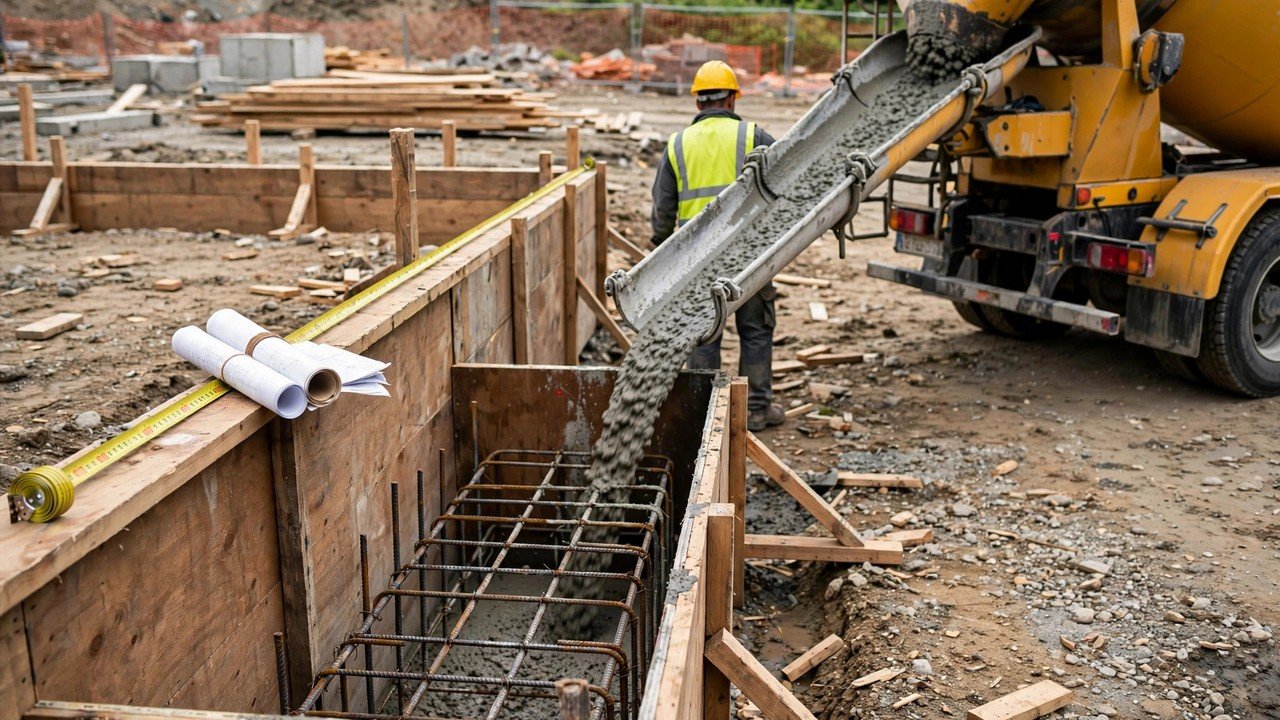
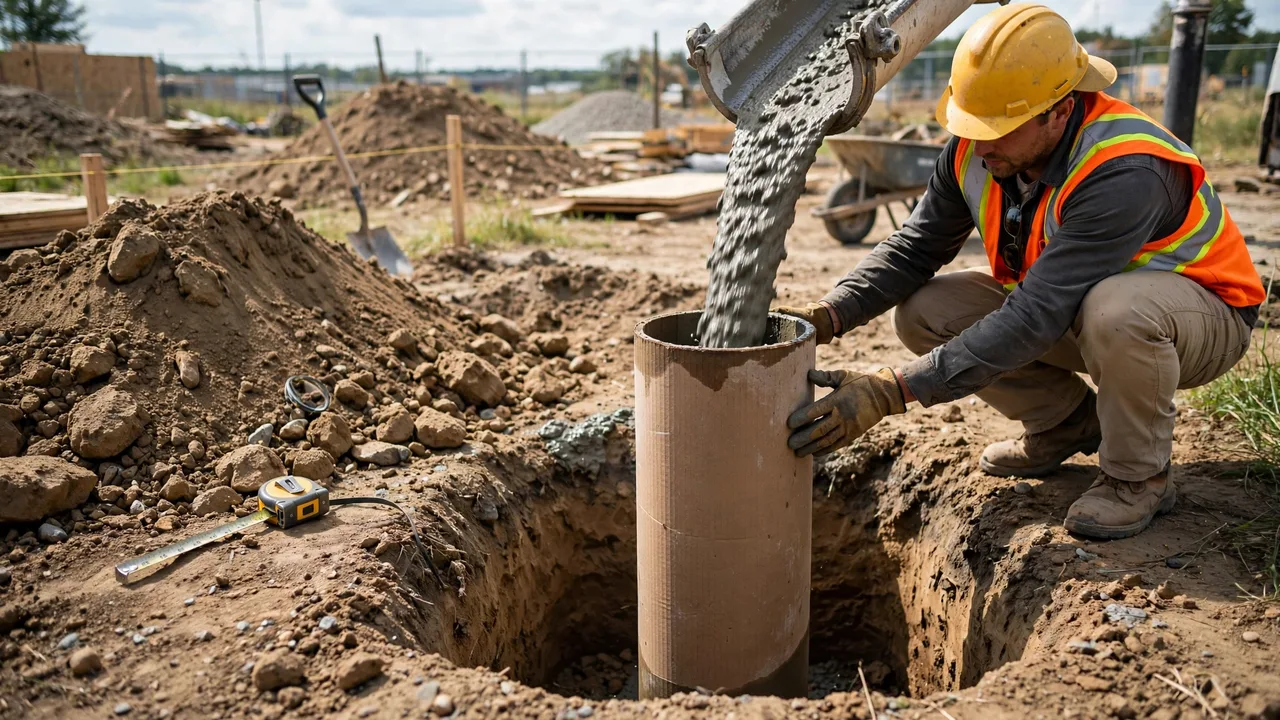
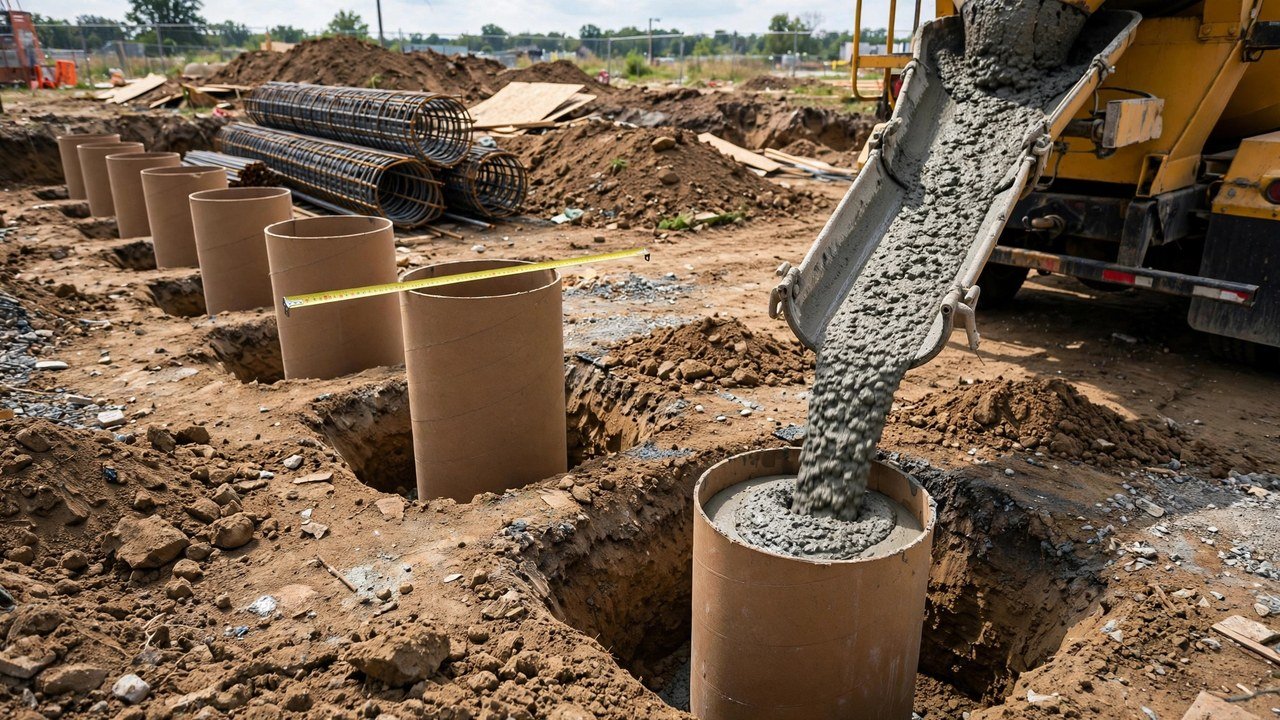
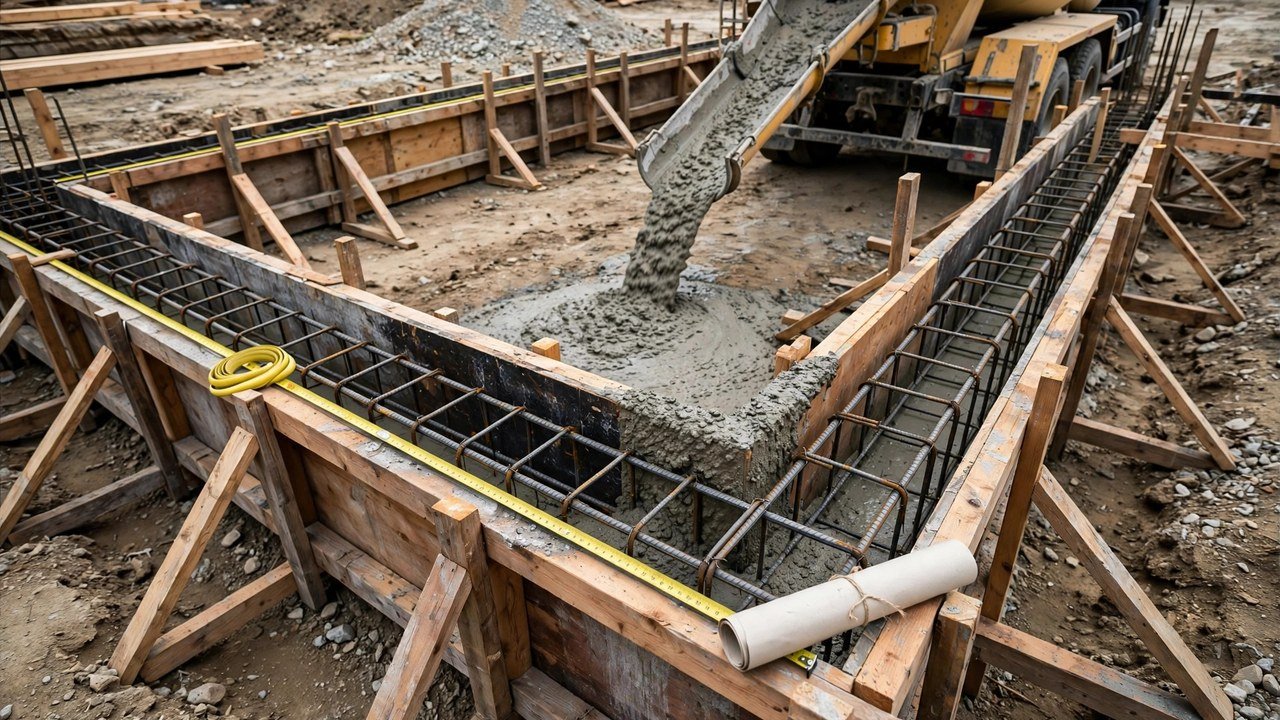
- Direct chute discharge: the mixer parks at the slab edge and concrete flows down extended chutes. The cheapest route, but the truck must reach the perimeter and the chutes must reach every pour point.
- Boom pump: an articulated boom carries the concrete over the foundation walls to any pour point. Industry placement guidance notes that aerial pumps can place concrete up to 120 ft (36.6 m) from the truck. Book the pump time against the delivery schedule.
- Line pump: pipes and hoses carry concrete from the truck to the pour with a smaller footprint than a boom, but the crew moves the hoses as the pour advances.
- Wheelbarrow: manual placement for small pours where machines are not justified. It is the slowest route, so keep the pour small enough that placed concrete stays workable until the slab is finished.
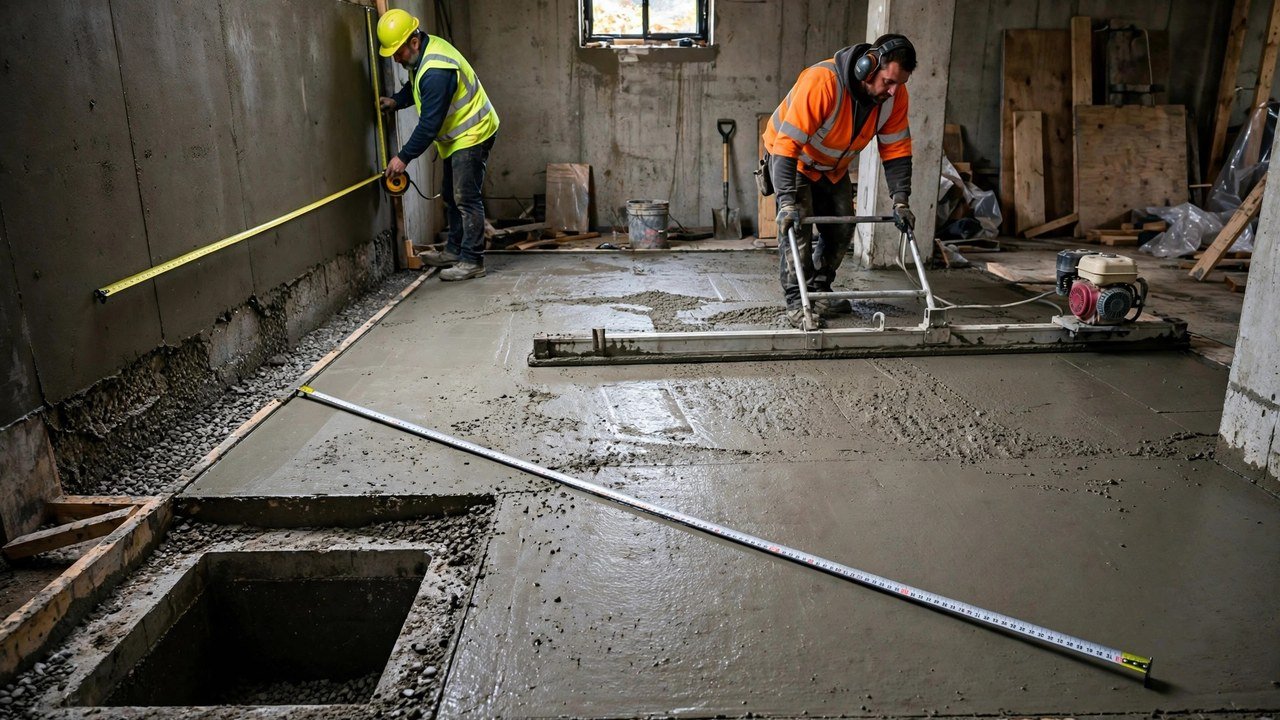
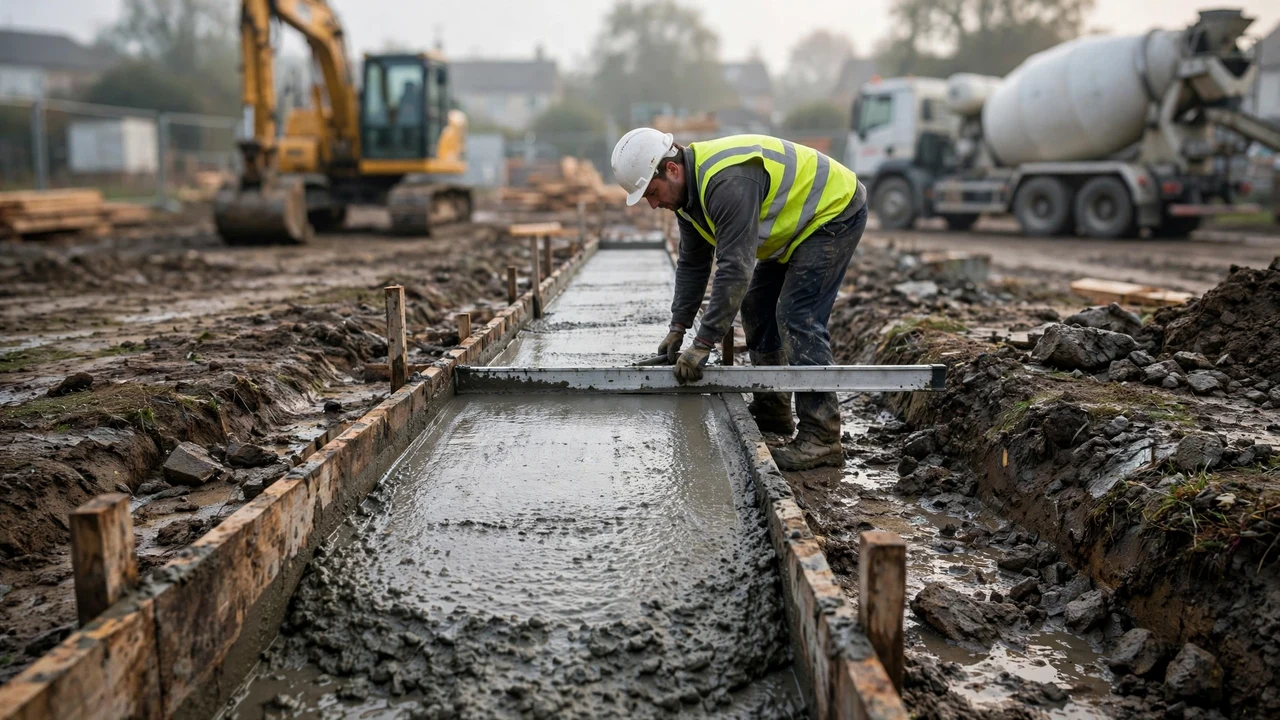
Whatever the route, consolidate each load as placed so concrete wraps the reinforcement and fills the pour without voids, and land new concrete on plastic concrete so the pour stays continuous. The practical rule for basement floors is simple: do not dump concrete in and hope to spread it. Use extra chutes or hire a pump.
How does the base and reinforcement plan change the quantity?
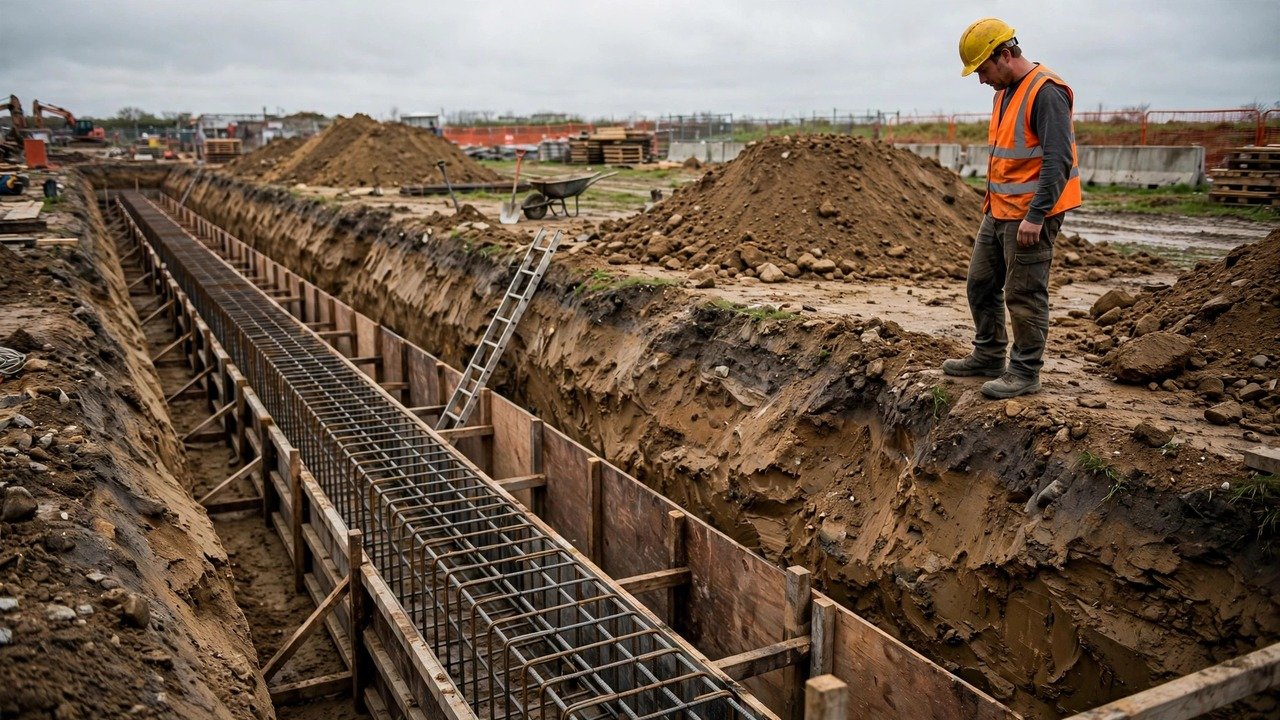
The geometric volume is length times width times depth, and it does not change with the method. The allowance answers what the base looks like. A finished subgrade inside straight walls sits near the low end of the CIP 31 4 to 10% range; rough subgrade, out-of-square walls, or soft spots that swallow concrete move it toward the high end. The subgrade condition, not the placement route, decides where the allowance lands.
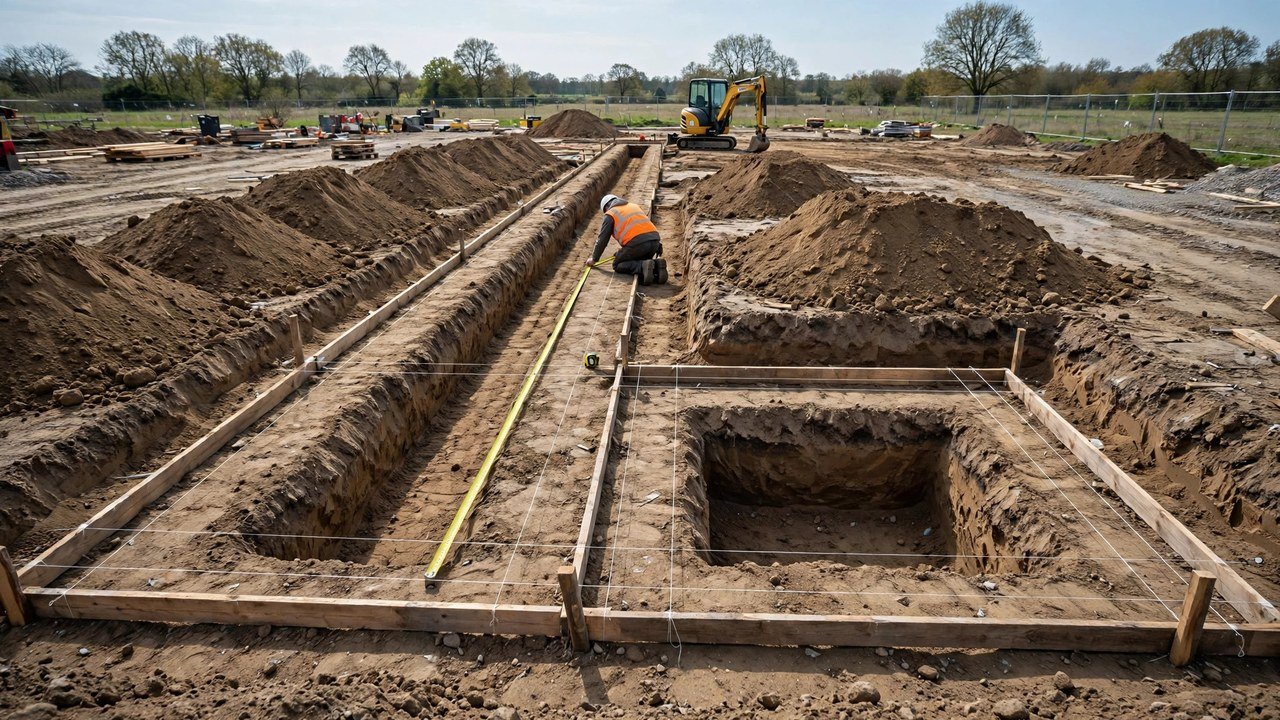
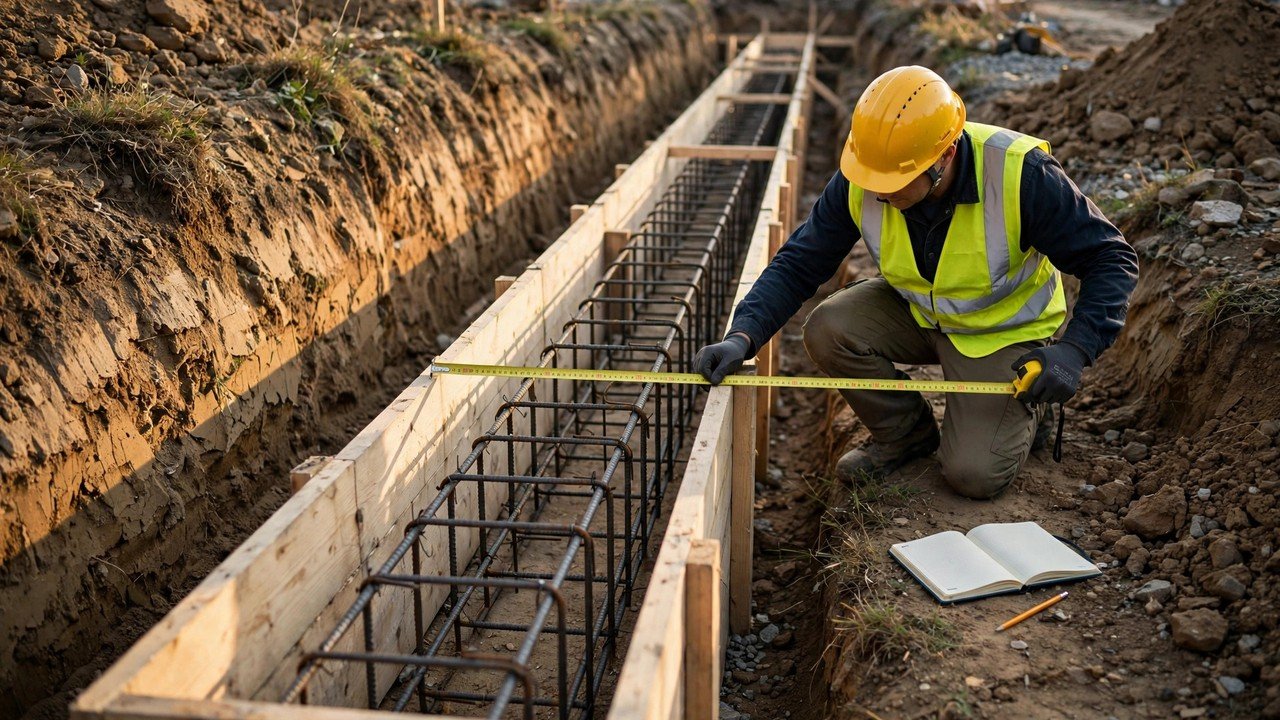
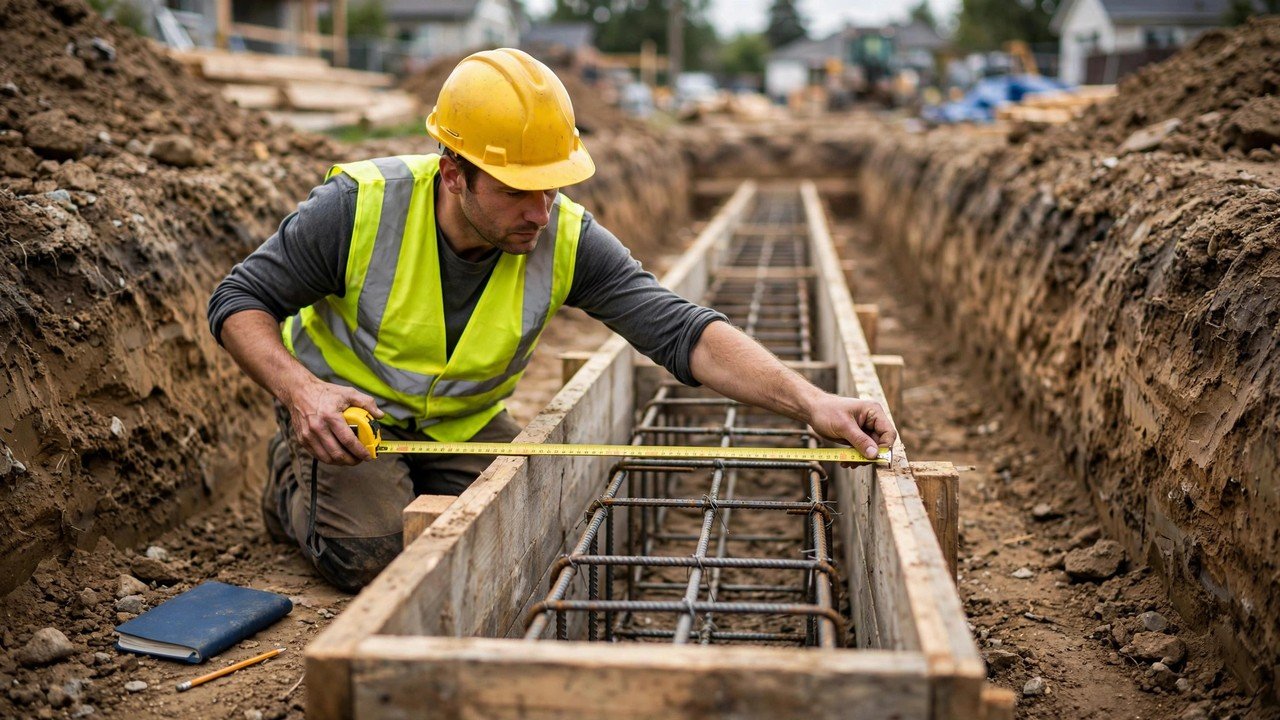
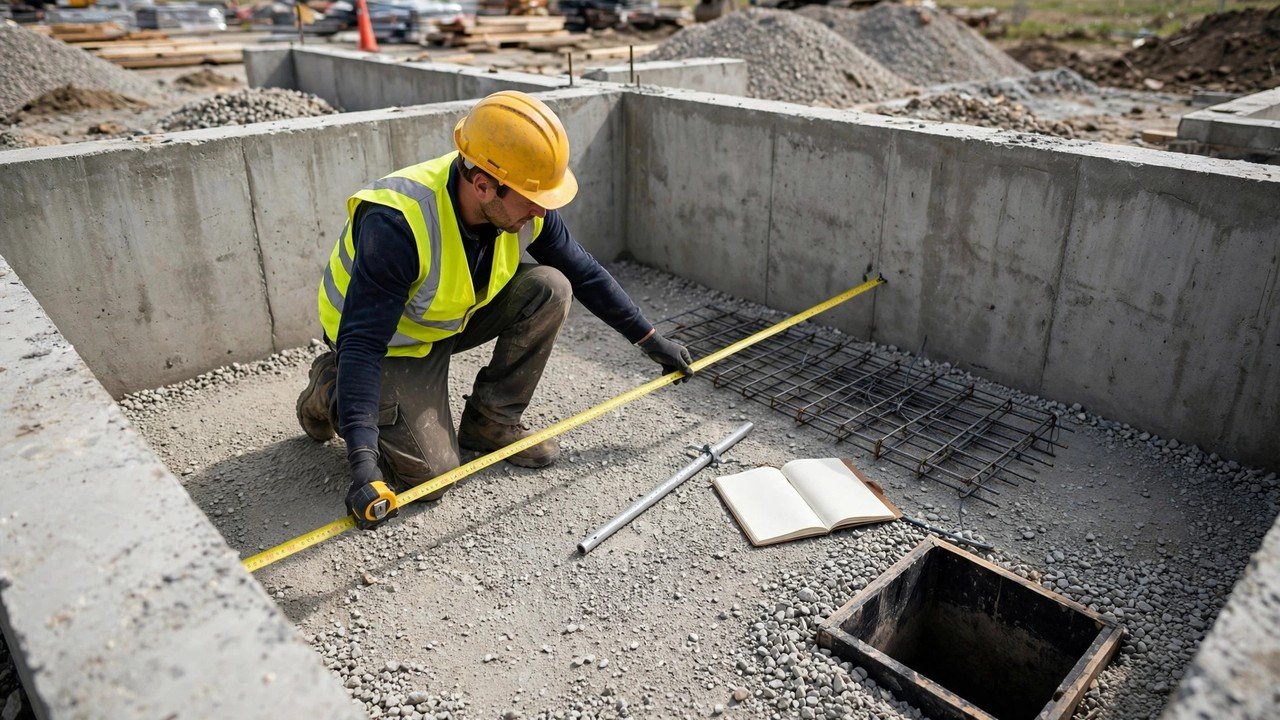
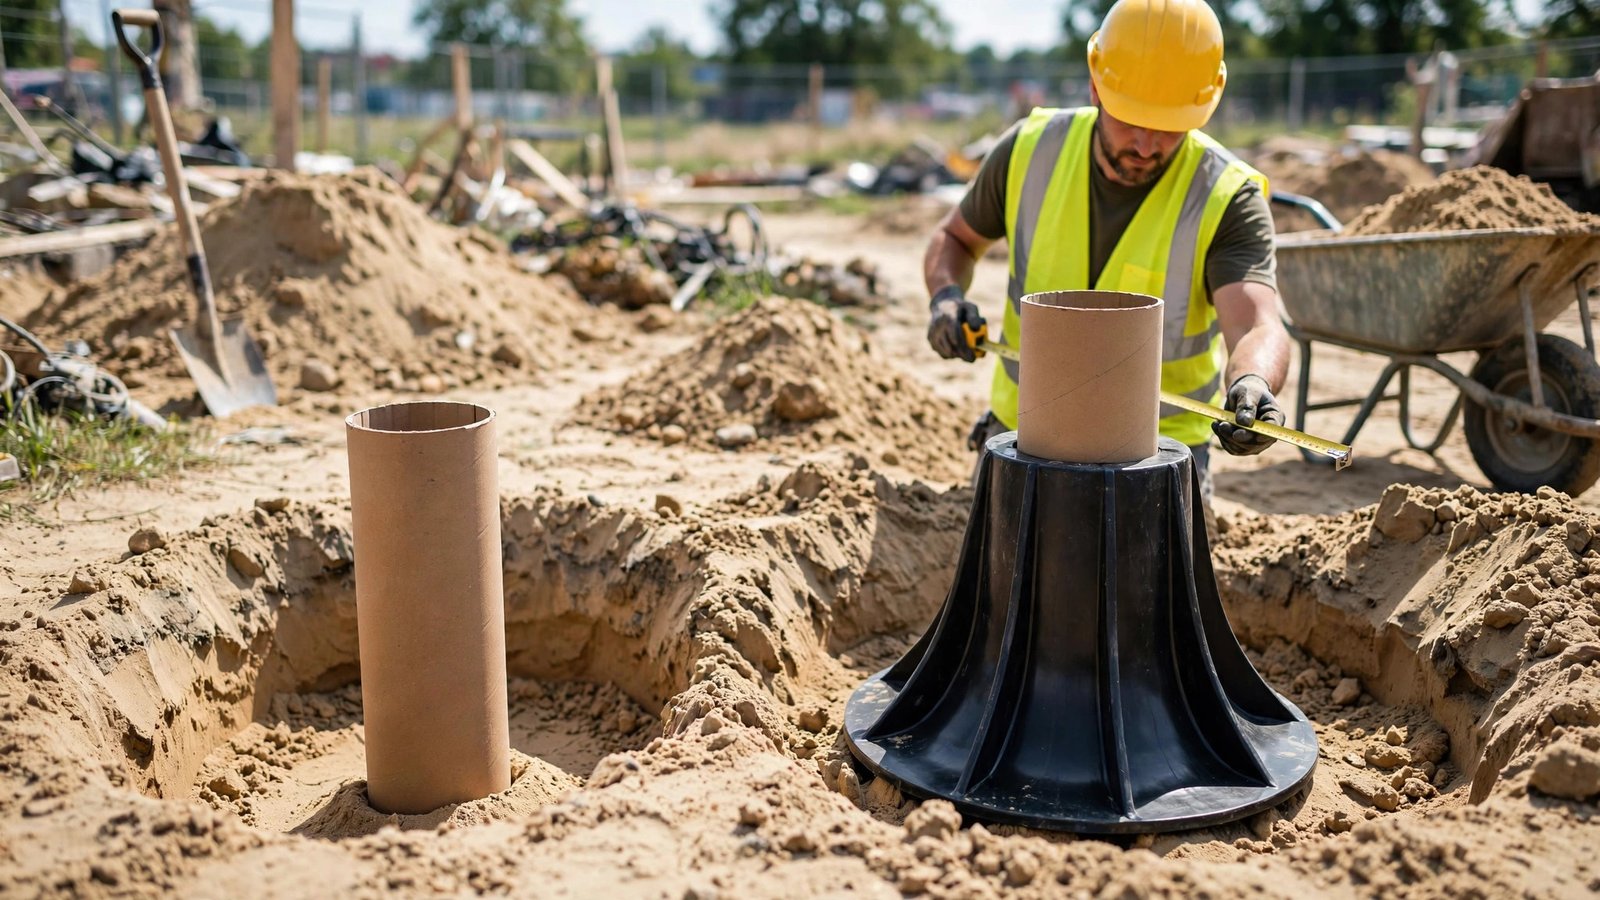
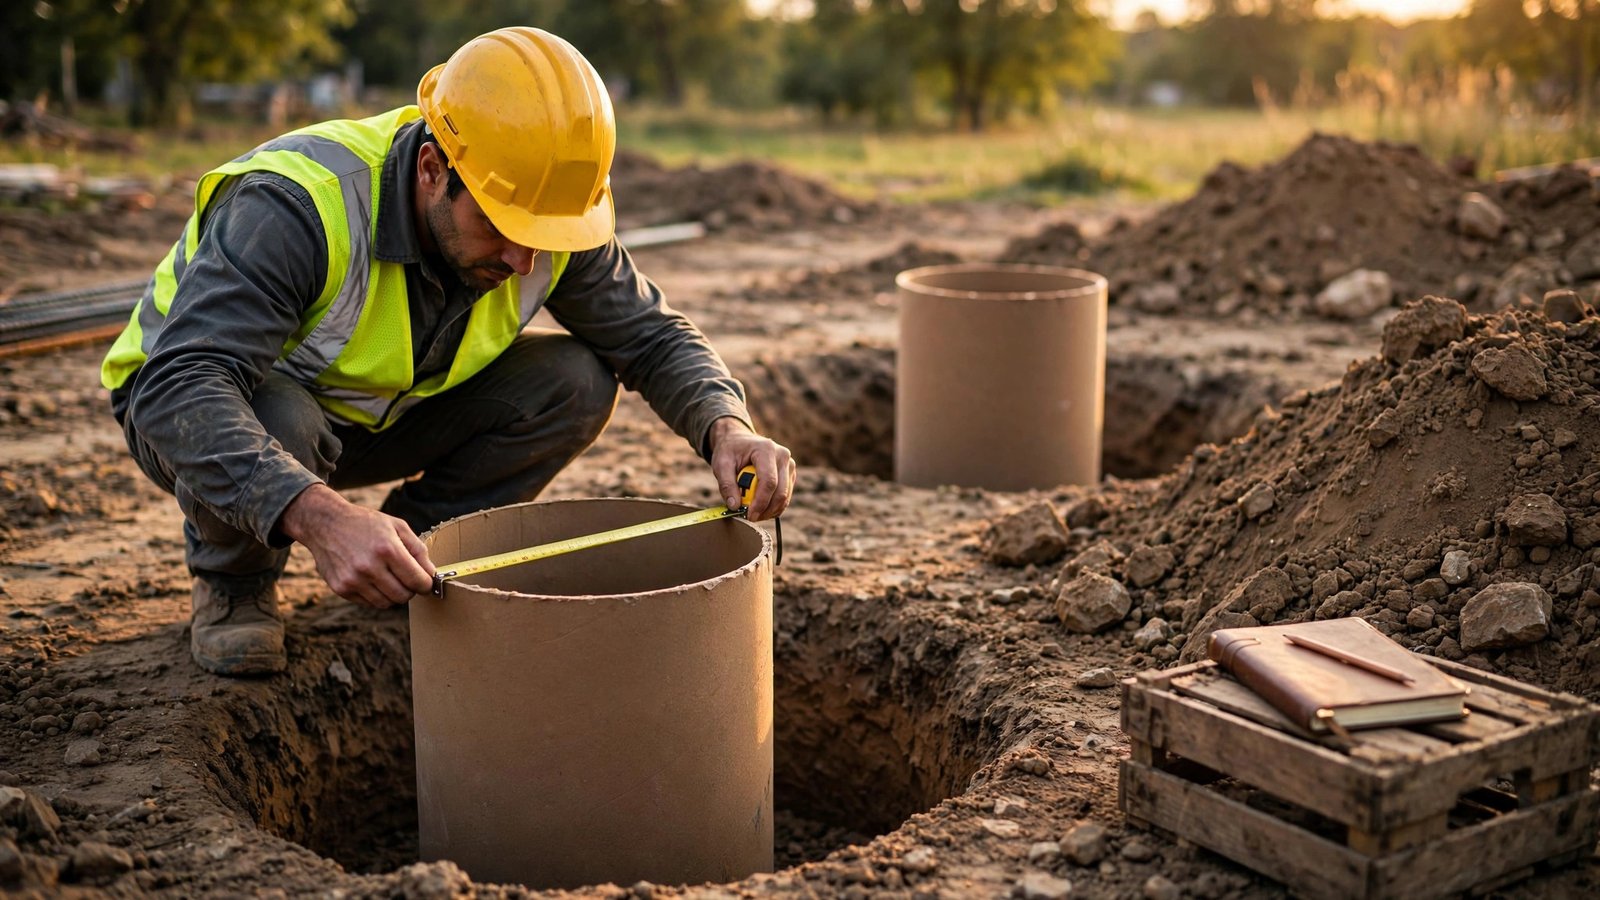
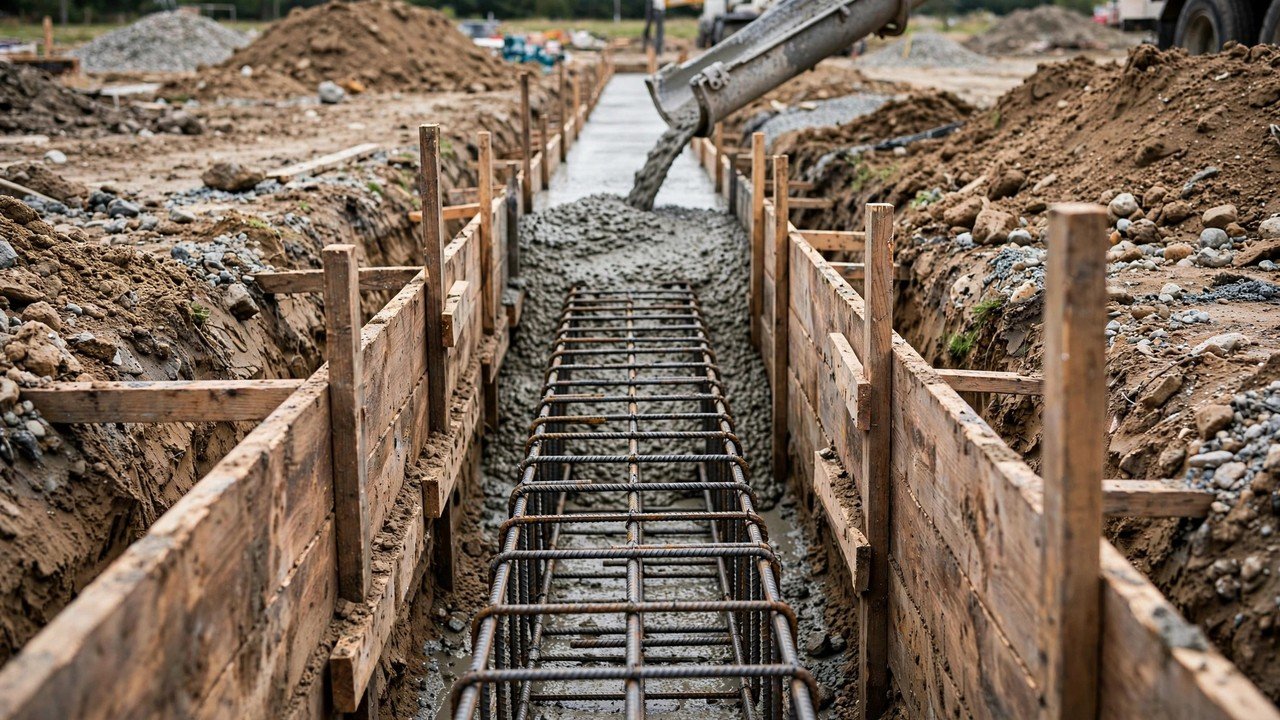
The vapor retarder and the welded-wire mesh follow the drawings and the specification. They do not change the concrete volume, but they change what the crew sets before the pour: barrier laps, mesh on chairs at the designed height, and the joint positions marked on the ground. Record the allowance beside the measured volume so a later check can separate what was measured from what was added; the basement slab measurement guide shows how to take that measured number.
Order volume = measured volume × (1 + allowance % ÷ 100)
The worked example below uses a stated 5% allowance. That number is a calculation fixture, not a standard. A finished subgrade with straight walls justifies the low end of the CIP 31 range; rough subgrade or spread walls need their own allowance from the project record.
When does the slab need construction joints?
A slab that cannot finish before placed concrete starts to set must stop at planned bulkheads, and the joint must transfer load across the stop. Concrete Alberta's Tech Tip #6 on joints in concrete describes construction joints that key the two edges of the slab together: galvanized metal keys are preferred for interior slabs, while a beveled lumber strip can form the key in slabs at least 125 mm thick. In reinforced work, clean the joint and bond the next day's pour.
Isolation joints separate the slab from walls, footings, and columns so the slab can move without cracking against them. Contraction joints give shrinkage a planned place to crack: the Tech Tip caps spacing at 25 times the slab thickness, keeps panels square or nearly so with length no more than 1.5 times the width, and requires the groove to reach at least 1/4 of the thickness. On a 100 mm basement slab that means joints no more than 2.5 m apart and grooves at least 25 mm deep. Cut or tool the joints at early age, before the concrete sets hard.
If the slab carries mesh, cut alternate wires across the control joints. Mesh holds cracks tightly closed but does not prevent them. Plan every joint location before construction; a joint improvised on pour day is an unplanned joint, not a designed one.
How do the methods compare on one basement?
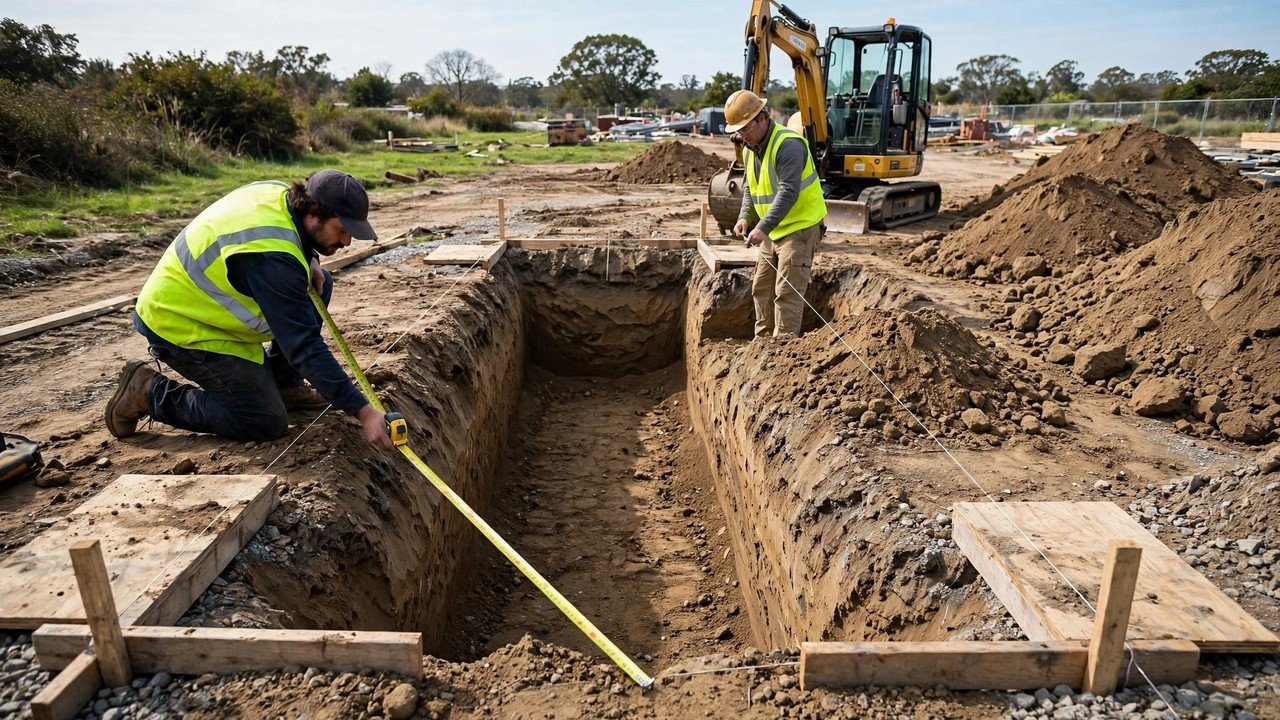
One basement: 12.0 by 9.0 m interior, 100 mm deep. The geometric volume is 12.0 × 9.0 × 0.1 = 10.8 m³. The checked measured volume from the measurement guide, after deductions, is 10.764 m³. With the stated 5% fixture allowance, the order is 10.764 × 1.05 = 11.3022 m³, recorded as 11.31 m³.
| Method | Concrete order | Setup | Placement plan |
|---|---|---|---|
| Ready-mix + direct chute from above | 11.31 m³ with the stated 5% allowance | No pump booking; needs truck access at the slab edge | Truck parks at the perimeter; chute sections reach each pour point |
| Ready-mix + boom pump | 11.31 m³ + pump booking | Pump booking against the delivery schedule | Boom reaches over the walls to any pour point; no truck at the edge |
| Ready-mix + line pump | 11.31 m³ + pump booking | Pump booking; hose crew | Crew moves hoses as the pour advances; smaller footprint than a boom |
| Site-batched + wheelbarrow | 57 nominal batches at a fixture 0.2 m³ per batch, with batch records | Drum mixer, batching labor, water control | 57 sequential batches; the crew pace must keep the pour continuous |
| Segmented pour with bulkheads | The same 11.31 m³ total, split into sequential loads at the drawn joint positions | Bulkhead forms with metal keys at each joint | Delivery follows the joint plan; joints bonded before the next pour |
The 5% allowance and the 0.2 m³ batch size are calculation fixtures, not recommendations. The ready-mix 11.31 m³ is a stated-allowance order, not a universal rule. See the basement slab worked example for the full arithmetic on the same fixture basement.
An imperial cross-check: a 40 by 30 ft interior at 4 in deep gives 40 × 30 × (4 ÷ 12) = 400 ft³, and 400 ÷ 27 = 14.8148 yd³. A 5% allowance makes 14.8148 × 1.05 = 15.5556 yd³, so the order line reads 15.56 yd³. With a 10 yd³ usable load, 15.56 ÷ 10 = 1.556 rounds up to 2 trucks, a 10 yd³ load plus a 5.56 yd³ load.
What six questions narrow the choice?
- Is the order large enough that ready-mix delivery makes sense, or do short-load charges push you toward site batching?
- Can the mixer park within reach of every pour point, or does access force a boom pump, a line pump, or wheelbarrows?
- Is the subgrade finished and the walls straight, or does the allowance move toward the high end of the 4 to 10% range?
- Can the pour finish while the placed concrete is still plastic, or do drawn bulkhead joints split it into segments?
- What strength, reinforcement, vapor retarder, and joint positions do the structural drawings fix?
- What do temperature, weather, access, and crew size mean for the placement rate and the finishing window?
Where do the drawings and the code override every preference?
Method choice is a construction convenience; the structural requirements are not. The drawings fix the concrete strength, reinforcement, vapor retarder, and joint positions. Local building codes and the project specifications govern excavation protection, concrete quality, and inspection. A cheaper method that cannot deliver the specified concrete, reach the pour, or honor the drawn joint plan is not a saving. Keep the specification, the approved mix information, and the joint layout with the quantity record so the pour matches what was designed.
Method-selection mistakes
- Ordering the measured volume with no allowance on a rough subgrade.
- Booking a small ready-mix order without asking about short-load charges.
- Planning direct chute placement where the truck cannot park at the slab edge.
- Choosing wheelbarrows for a pour too large to stay continuous.
- Letting the pour outrun the placement window and creating an unplanned cold joint.
- Skipping isolation joints at walls, footings, and columns.
- Pouring over an unfinished subgrade so the depth datum behind the measurement does not survive.
- Adding water to a stiff load to stretch it across the slab.
- Treating the fixture 5% allowance as a standard instead of recording a project allowance.
Safety and professional scope
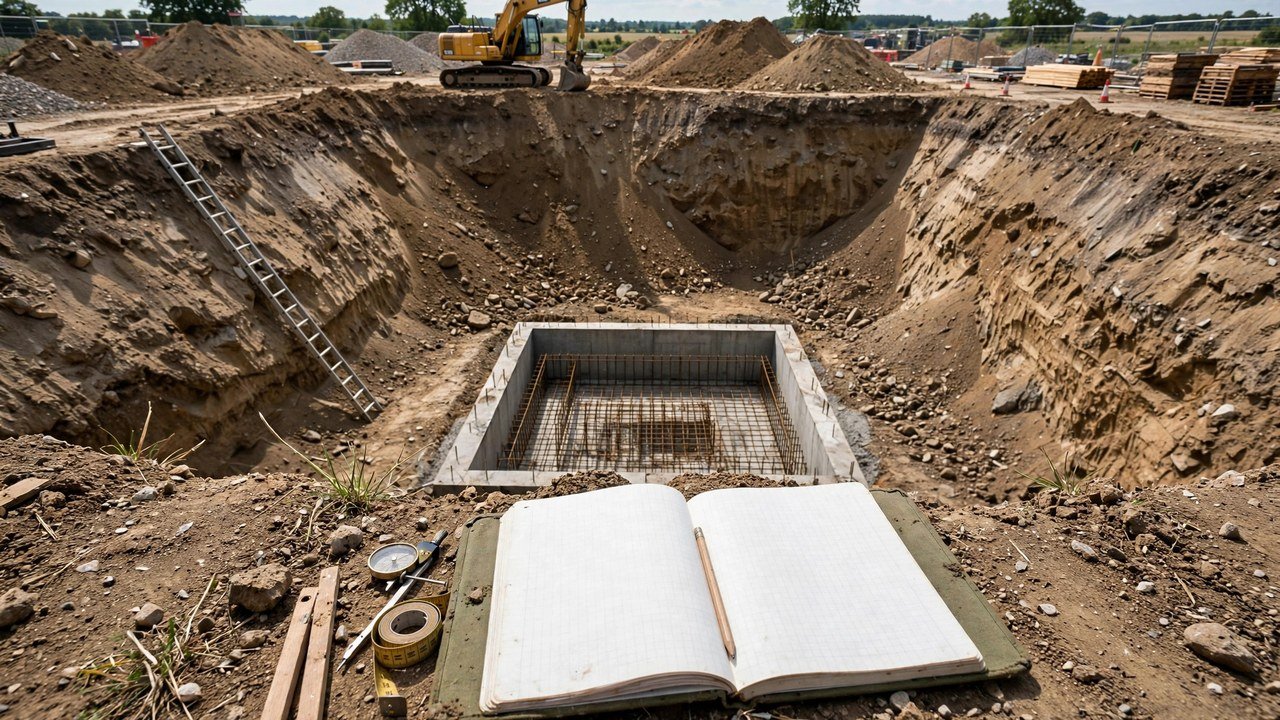
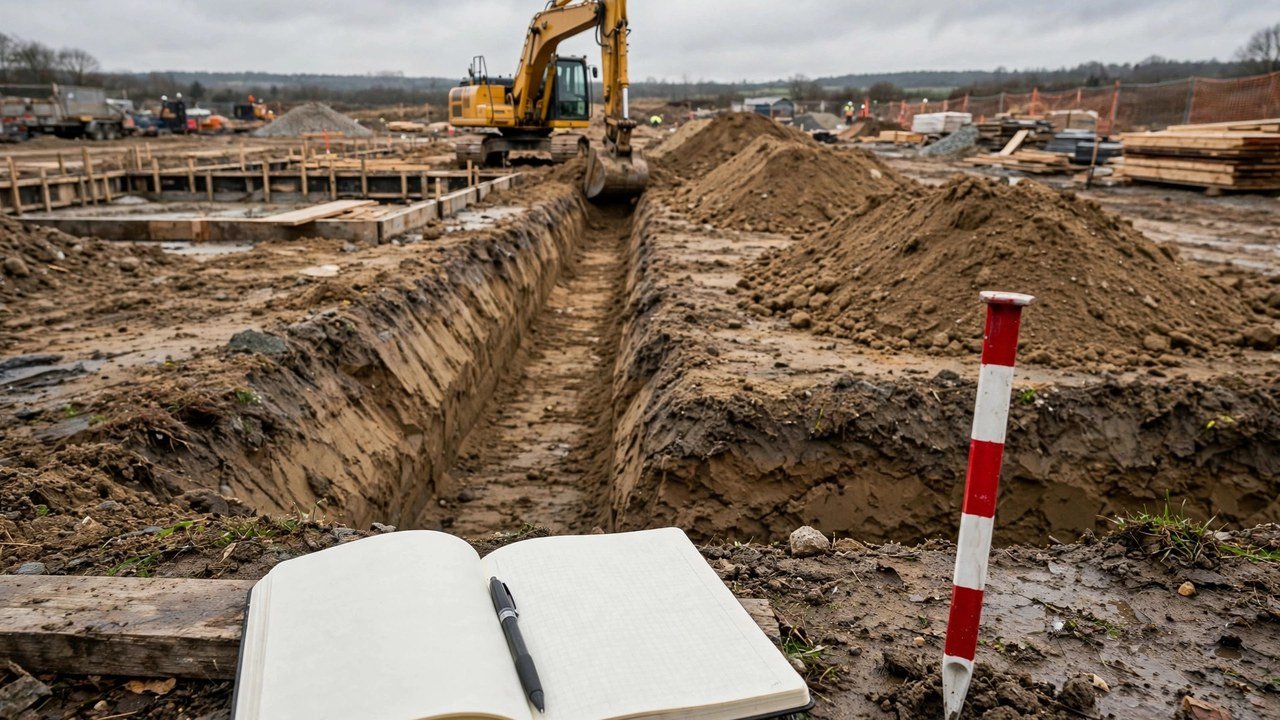
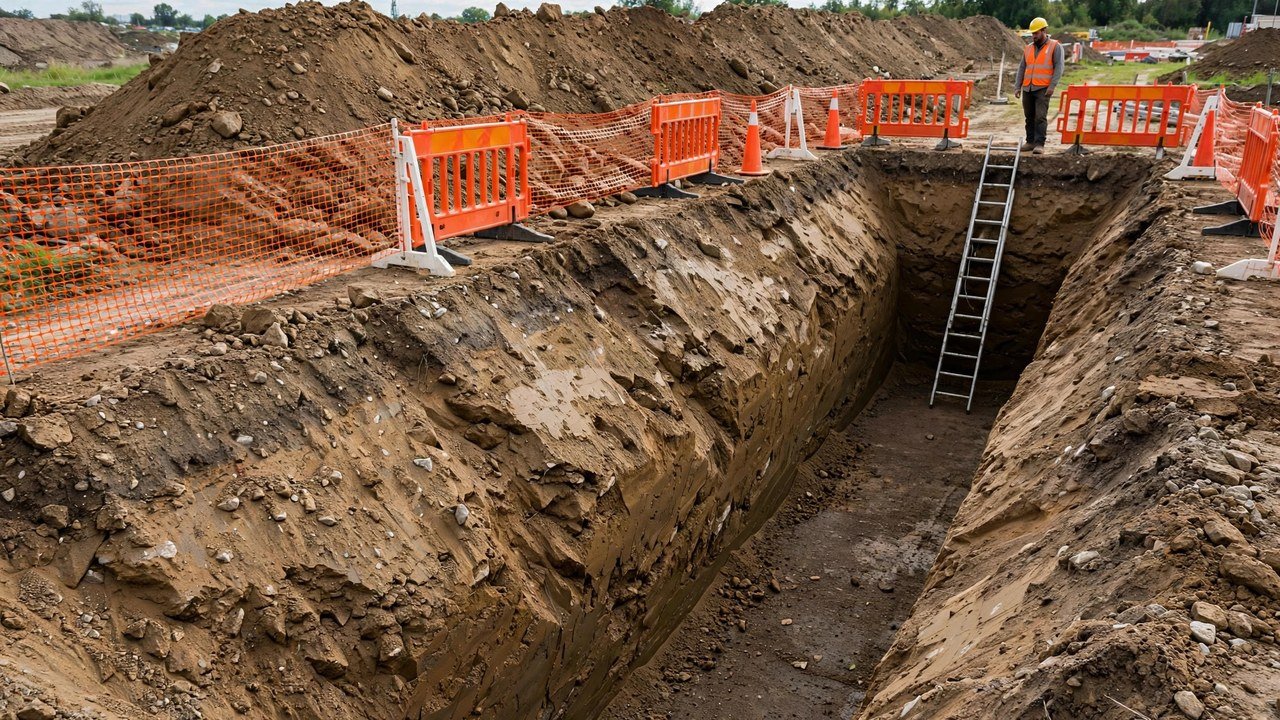
Method selection does not replace structural design or the project specifications. Fresh concrete causes chemical burns: keep it off skin and eyes and wear rubber boots, gloves, eye protection, and protective clothing. Keep people clear of the pour edge and the pump line; a boom or a line under pressure moves with real force. The basement excavation safety guide covers the pit the walls were built in. For U.S. construction work, OSHA 29 CFR 1926.651 covers excavation safety including protective systems, competent-person inspections, and spoil placement; other countries use their own workplace rules.
Sources and scope
- NRMCA, CIP 31: Ordering Ready Mixed Concrete (2000, 2016): the 4 to 10% order contingency, truck mixer capacity of 8 to 12 yd³ (5 to 9 m³), clean-up loads under 4 yd³ (2.5 m³), ready-mix ordering information, and the chemical-burn caution.
- Concrete Alberta, Tech Tip #6: Joints in Concrete (reviewed and revised 2025): construction-joint keying, isolation joints at walls and columns, maximum 25x-thickness contraction-joint spacing, square-ish panels with length no more than 1.5 times width, groove depth at least 1/4 of the thickness, and the wire-mesh guidance.
- How to Place Concrete (industry placement guidance): boom pump reach, line pump practice, bucket placement, and direct chute discharge methods.
- NIST Handbook 44, 2026 Appendix C: cubic-foot to cubic-yard relationships.
- OSHA 29 CFR 1926.651 and OSHA Trenching and Excavation: U.S. occupational excavation-safety context.
Scope: the example arithmetic uses stated fixtures for the allowance and batch size. Ready-mixed concrete is governed by ASTM C94; the joint numbers come from Concrete Alberta Tech Tip #6, which references ACI 302.1-15 and ACI 224.3R-95. The governing structural drawings, project specifications, testing methods, applicable law, and responsible qualified people control the accepted method, the mix, the joint positions, and the final quantity.
Review responsibility: Saleem Sial owns the published calculation, source, and editorial checks. Waseem Sial, External Reviewer and Engineer, remains listed for ongoing external review; no completed external-review date is claimed.
Next, use the basement slab measurement guide to take the interior dimensions, the ordering guide to book the delivery, or return to the Foundation Calculators hub.