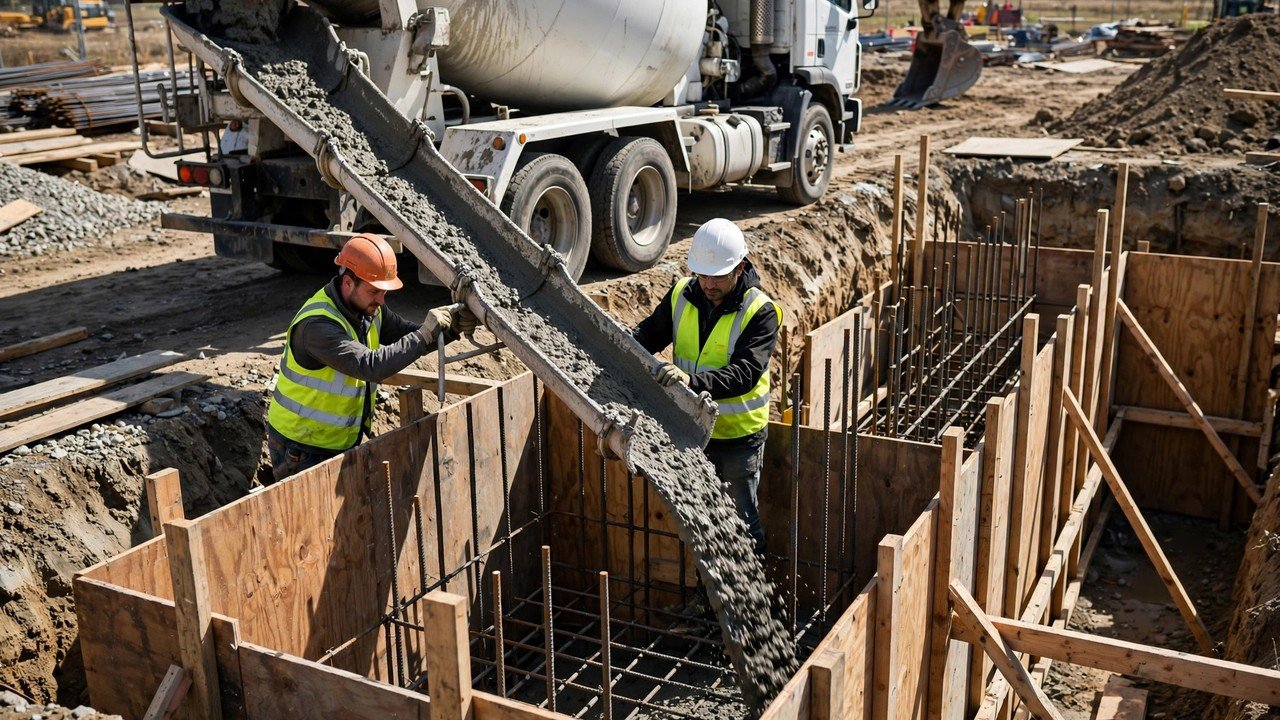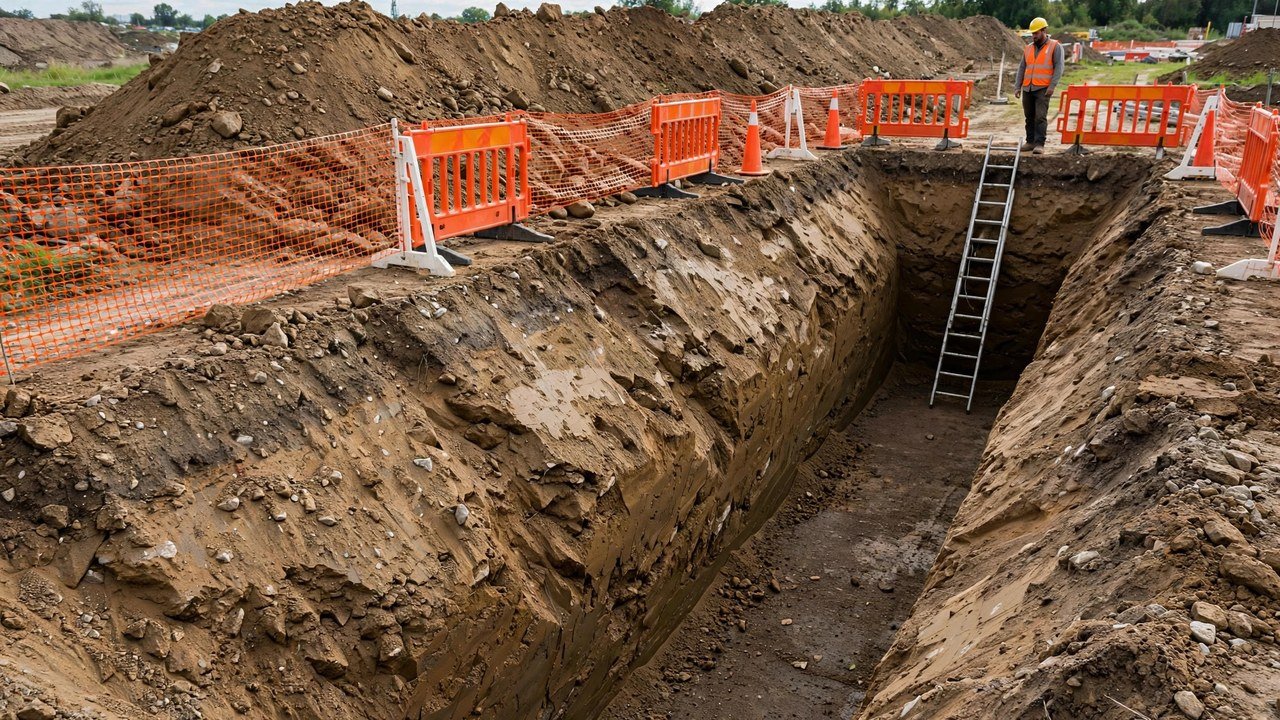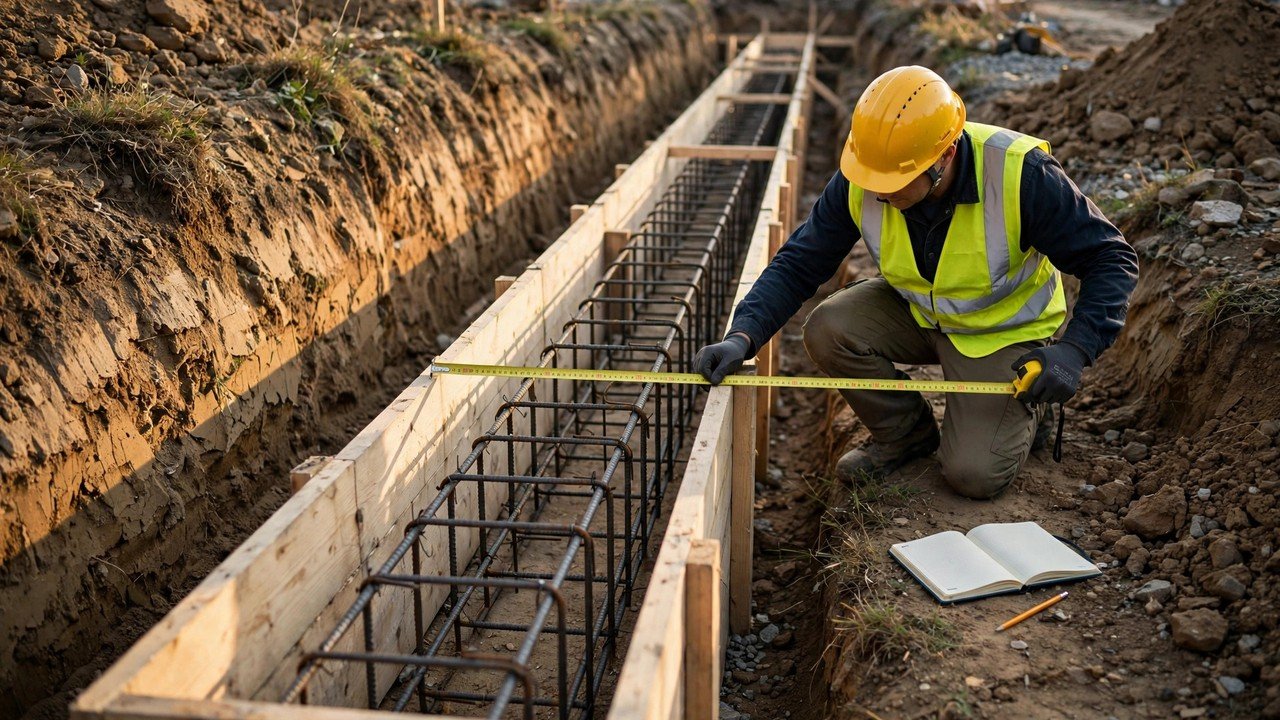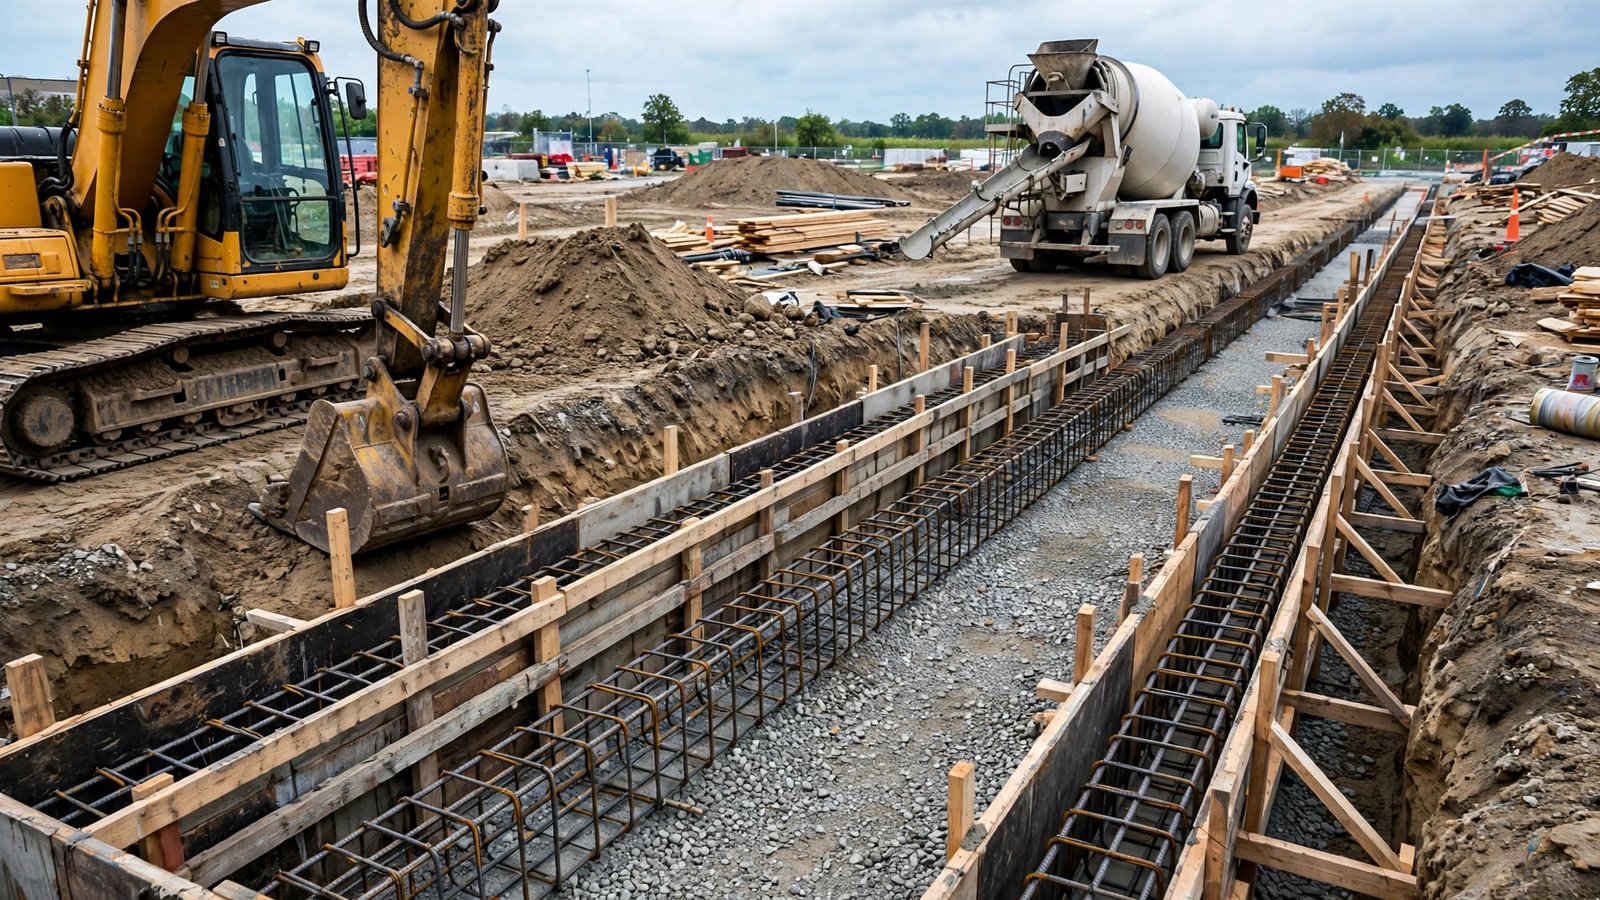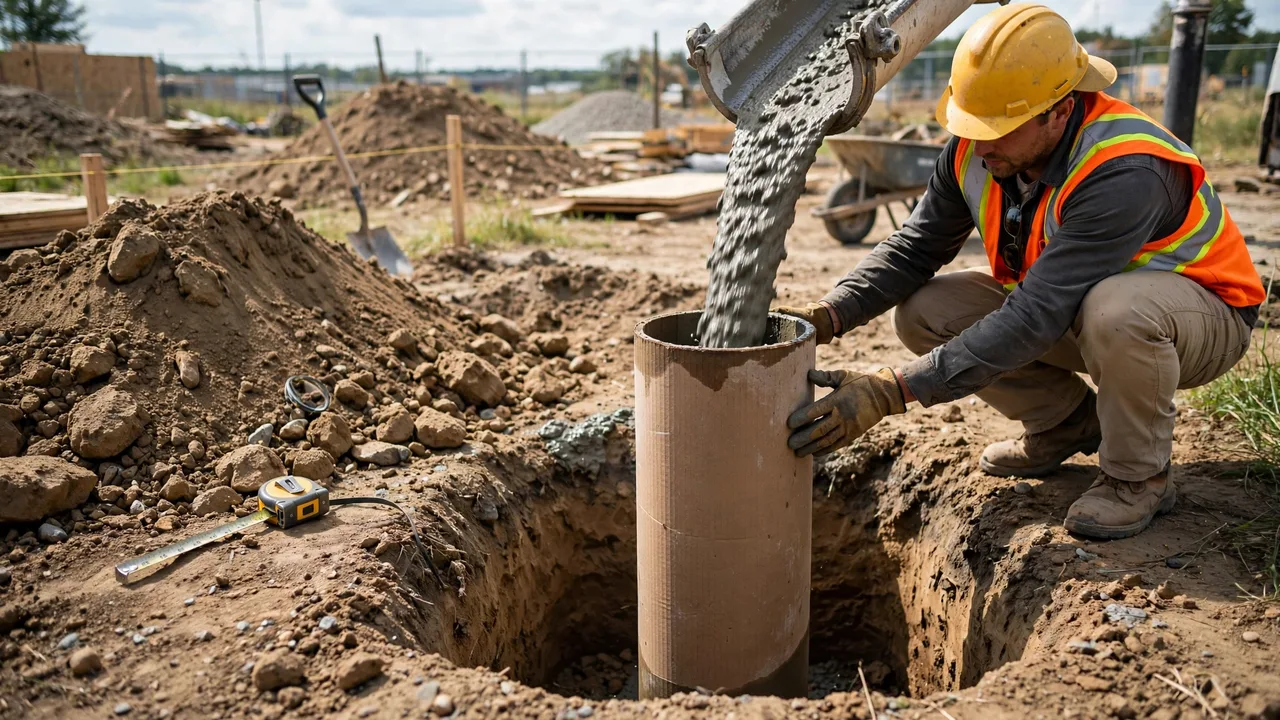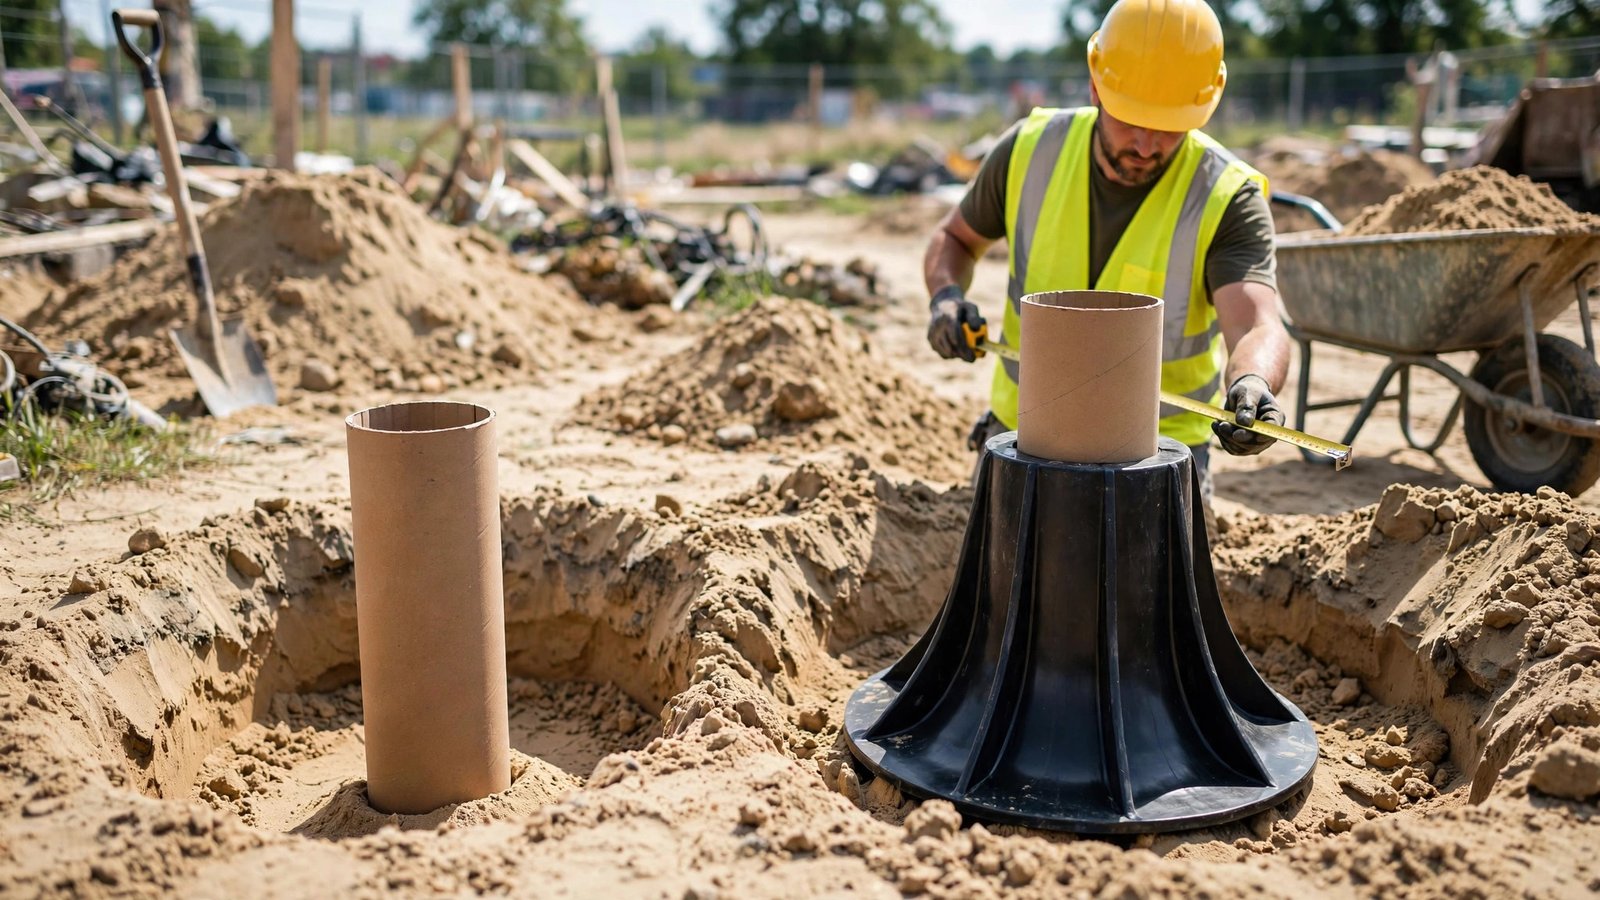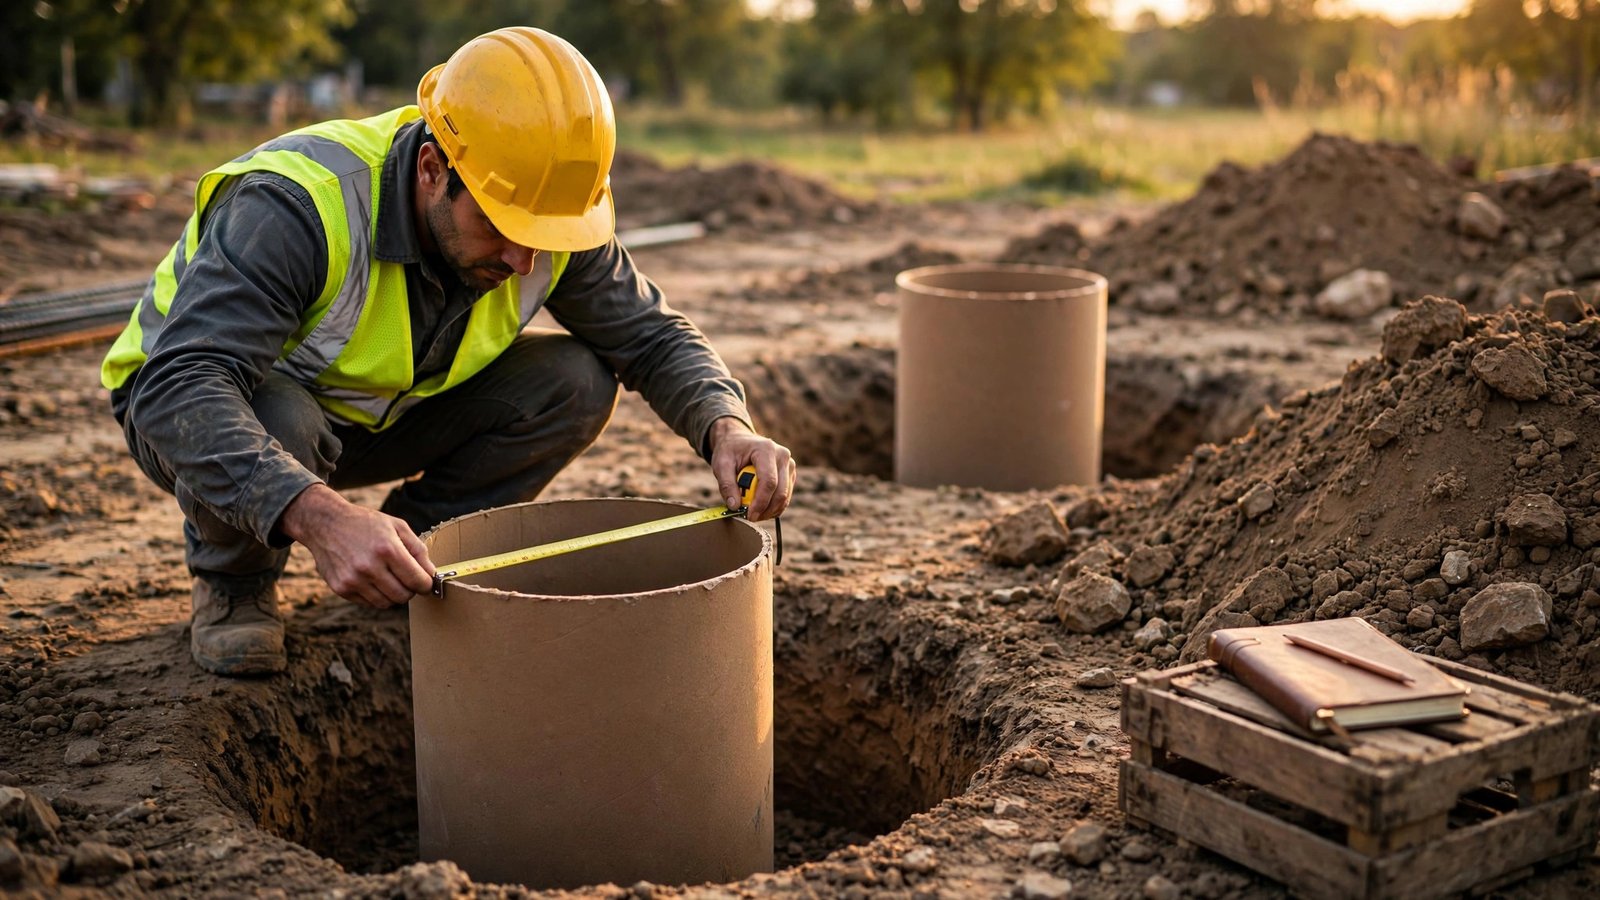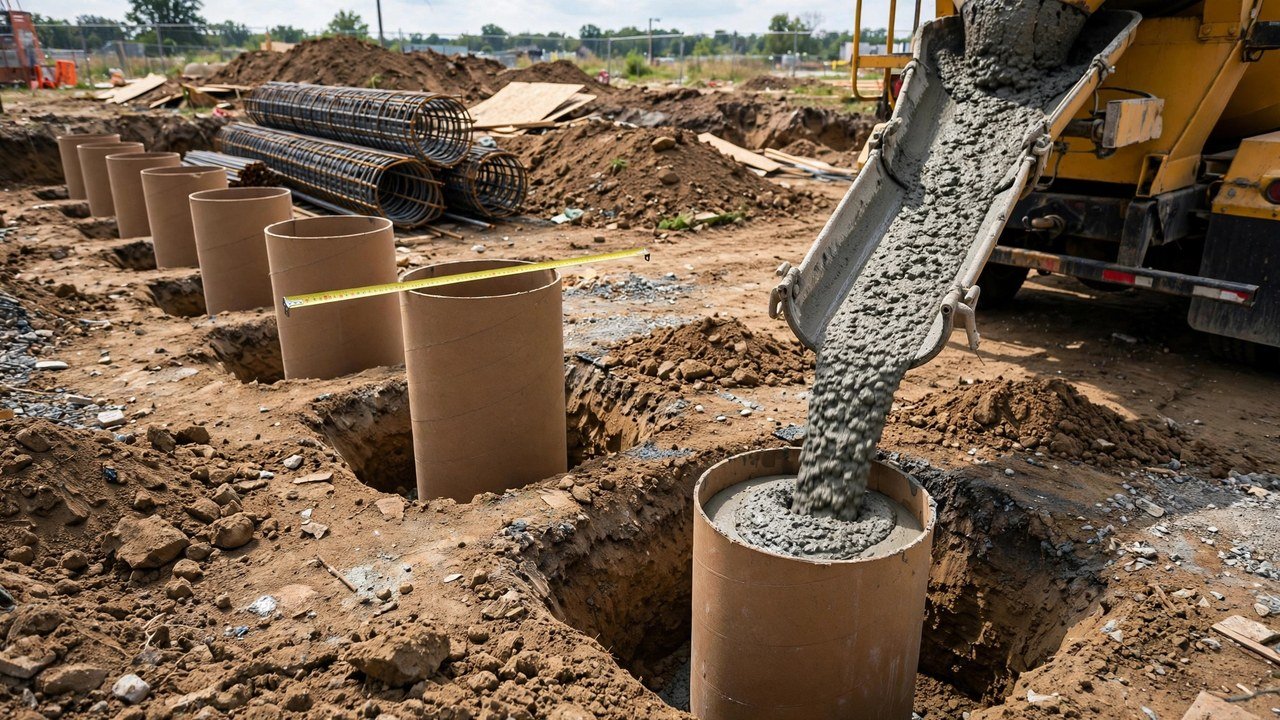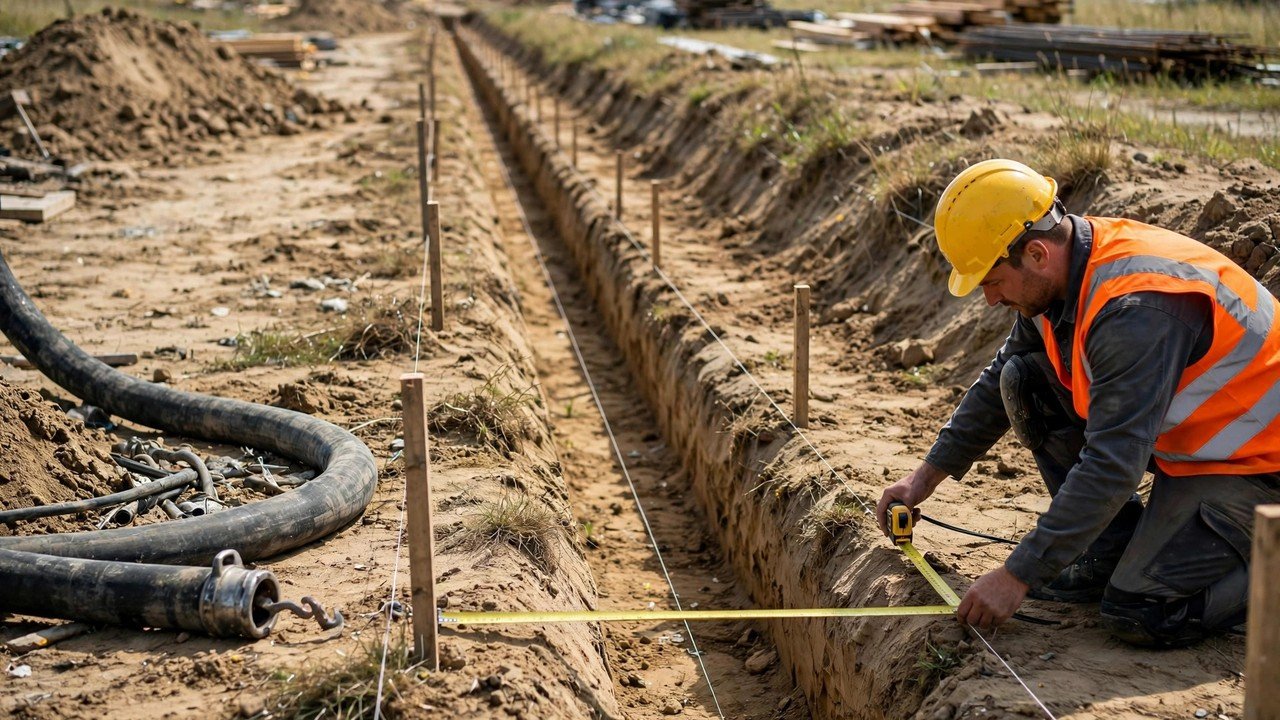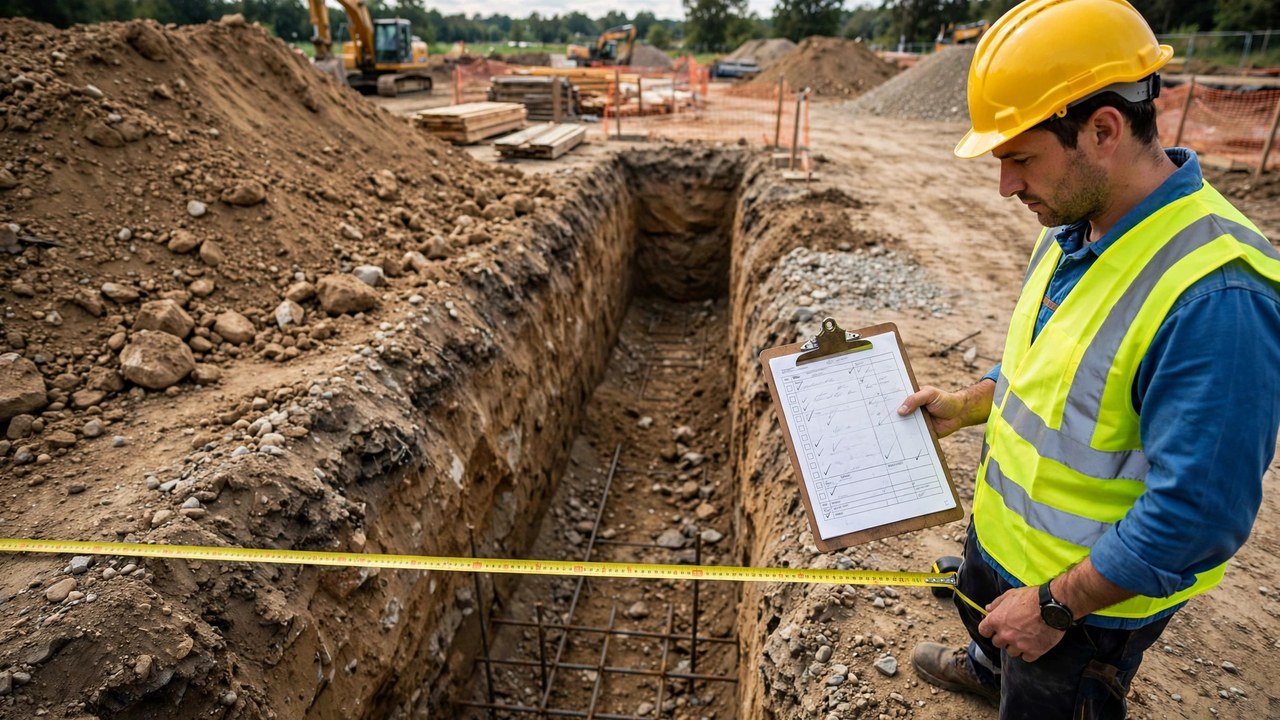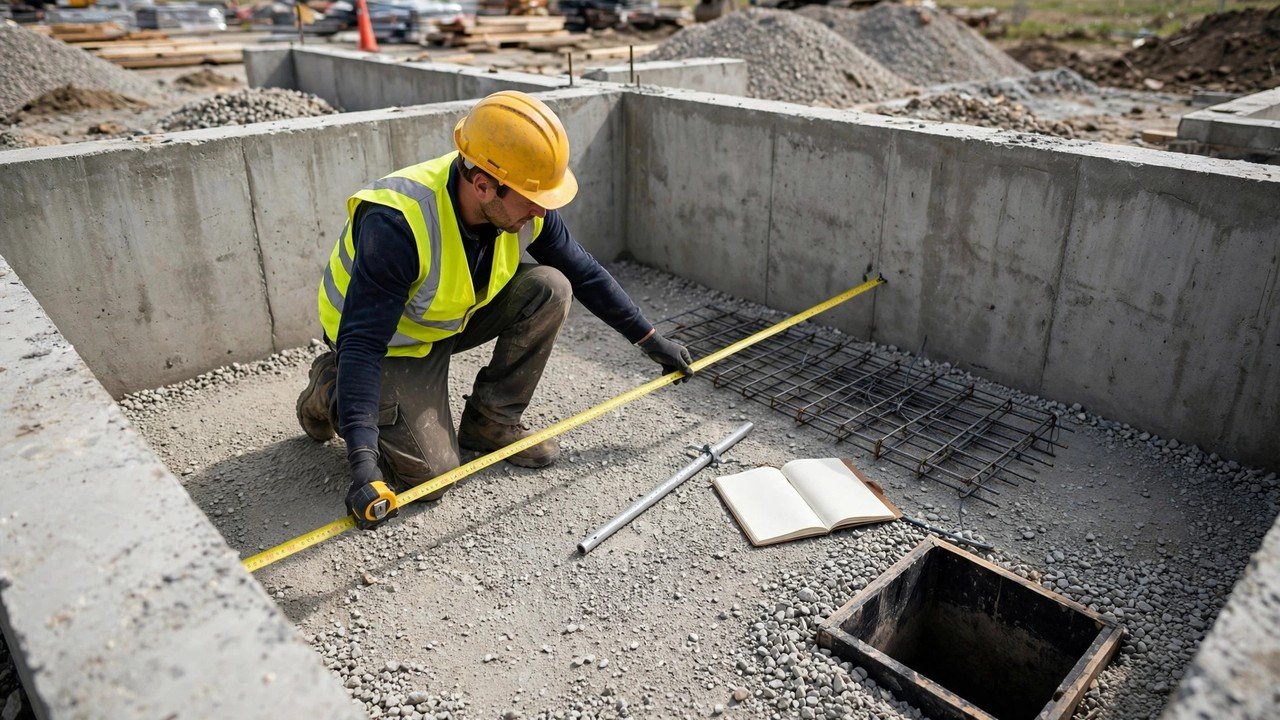
A basement slab is poured inside the foundation walls, so the measurement starts where the slab will sit, not at the building line. This guide measures the interior area, sets the poured depth on the prepared subgrade, deducts what the concrete will not fill, and verifies the result in two unit systems. Selecting the slab thickness is structural design; this page covers the measurement method only.
How do you measure a basement slab for concrete?
Measure the inside faces of the foundation walls, split non-rectangular plans into rectangles, take the poured depth from the top of the prepared subgrade to the top of the pour line, and deduct sump pits, drains, and rough-ins. A 12.0 by 9.0 metre interior with a 100 mm pour gives 10.764 m³ after the sump pit deduction in the worked example below.
What do you need before measuring?
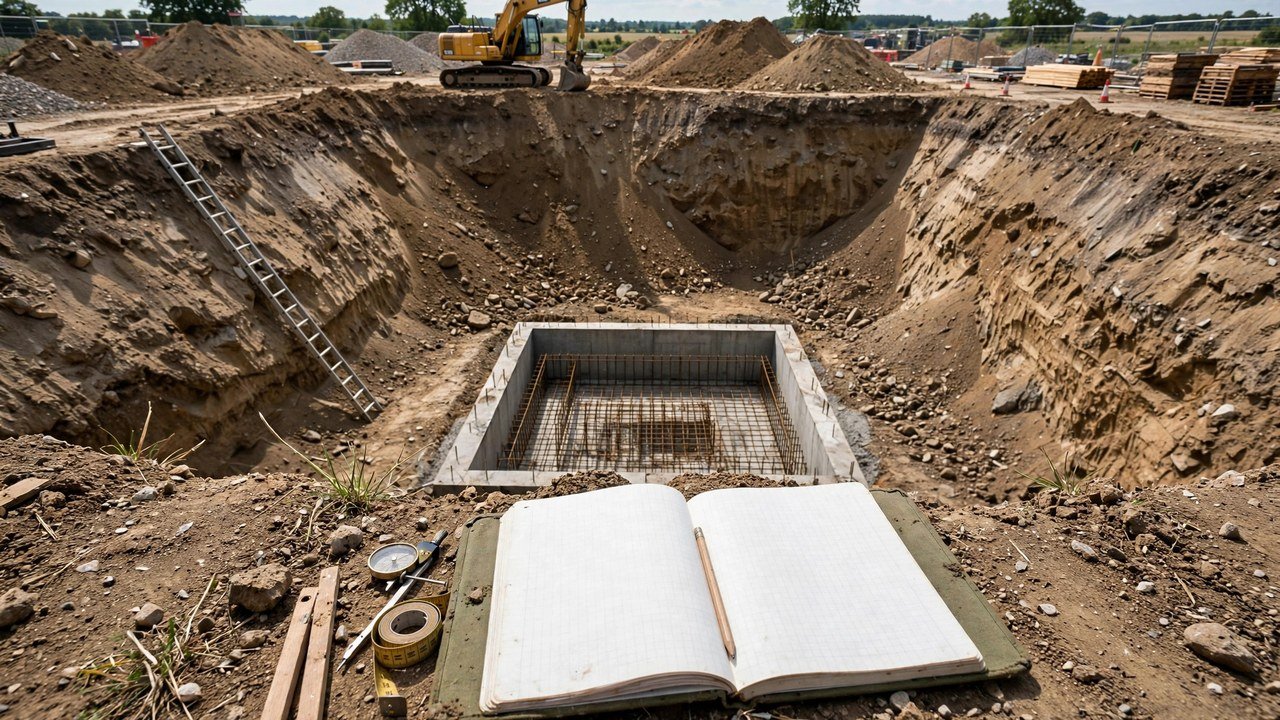
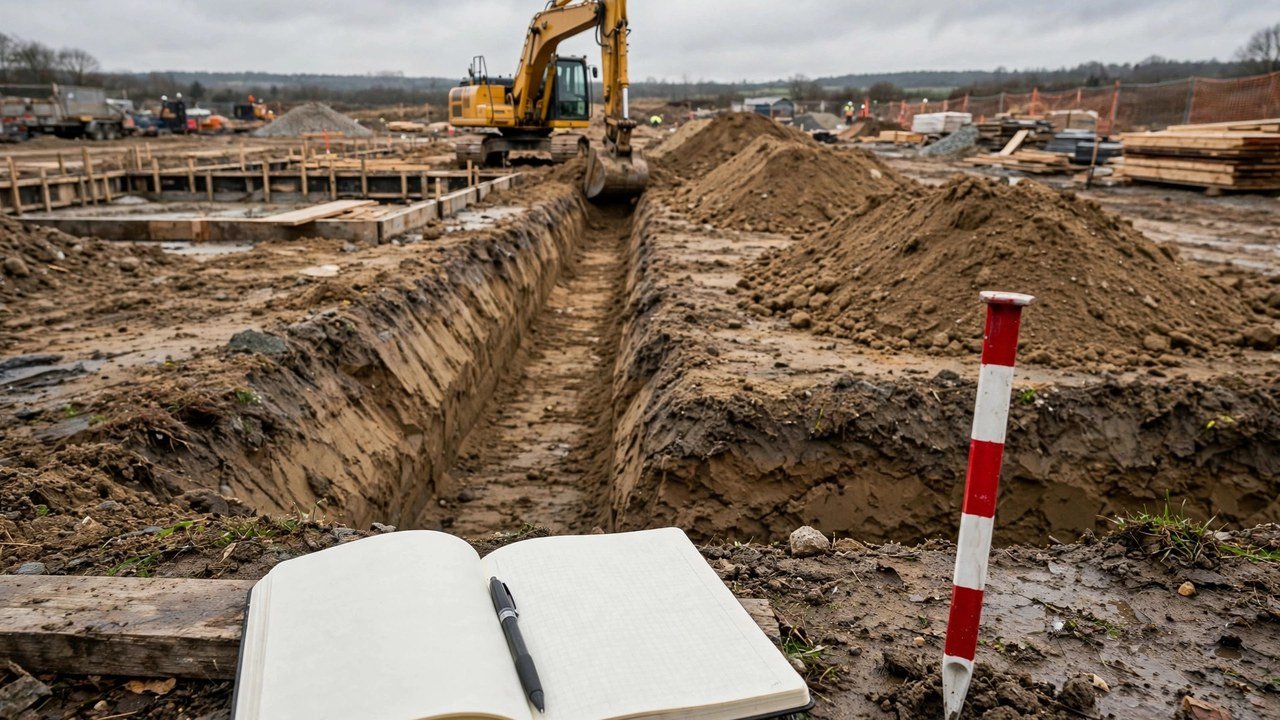
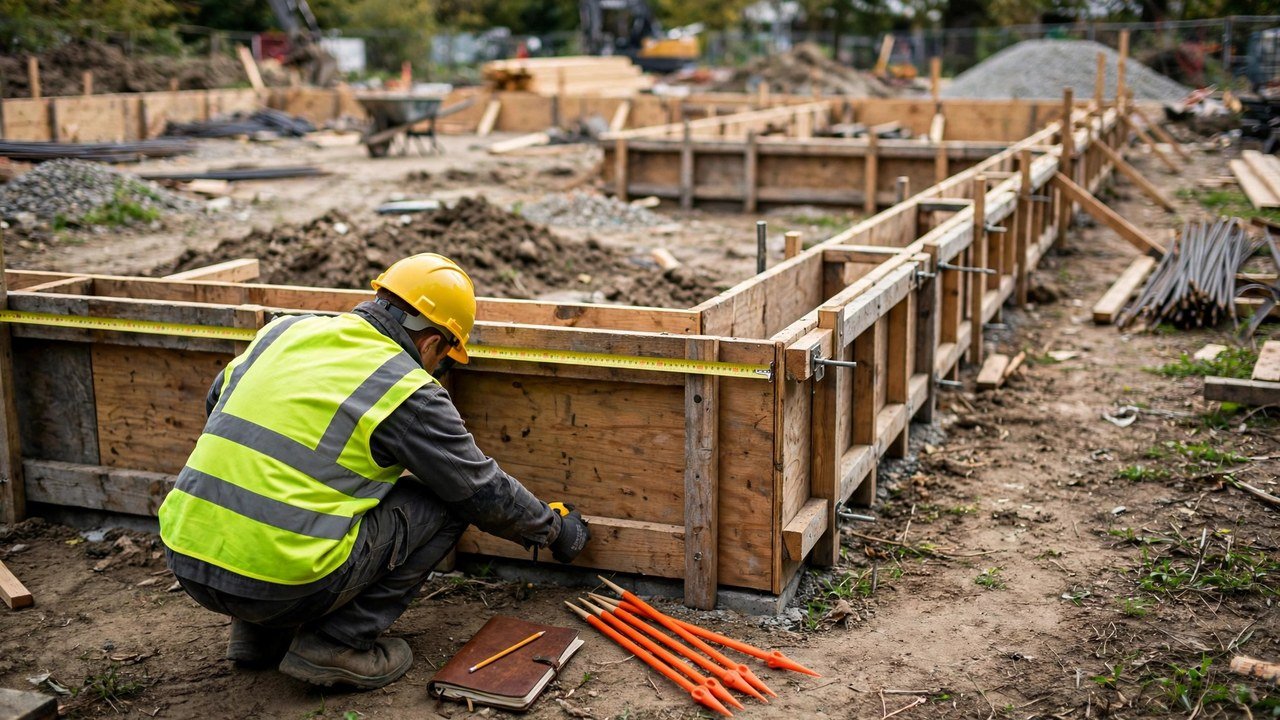
Collect the approved drawings showing the slab outline, the poured depth, sump pit and rough-in locations, and any thickened edge or interior footing details. Bring a tape measure, a depth rod or marked stake, and a notebook. Confirm the subgrade is finished, with the compacted granular fill and vapour barrier in place, before you fix the depth datum. Measuring over unfinished subgrade records a depth that does not survive the next site pass.
How do you take the wall-to-wall measurements?
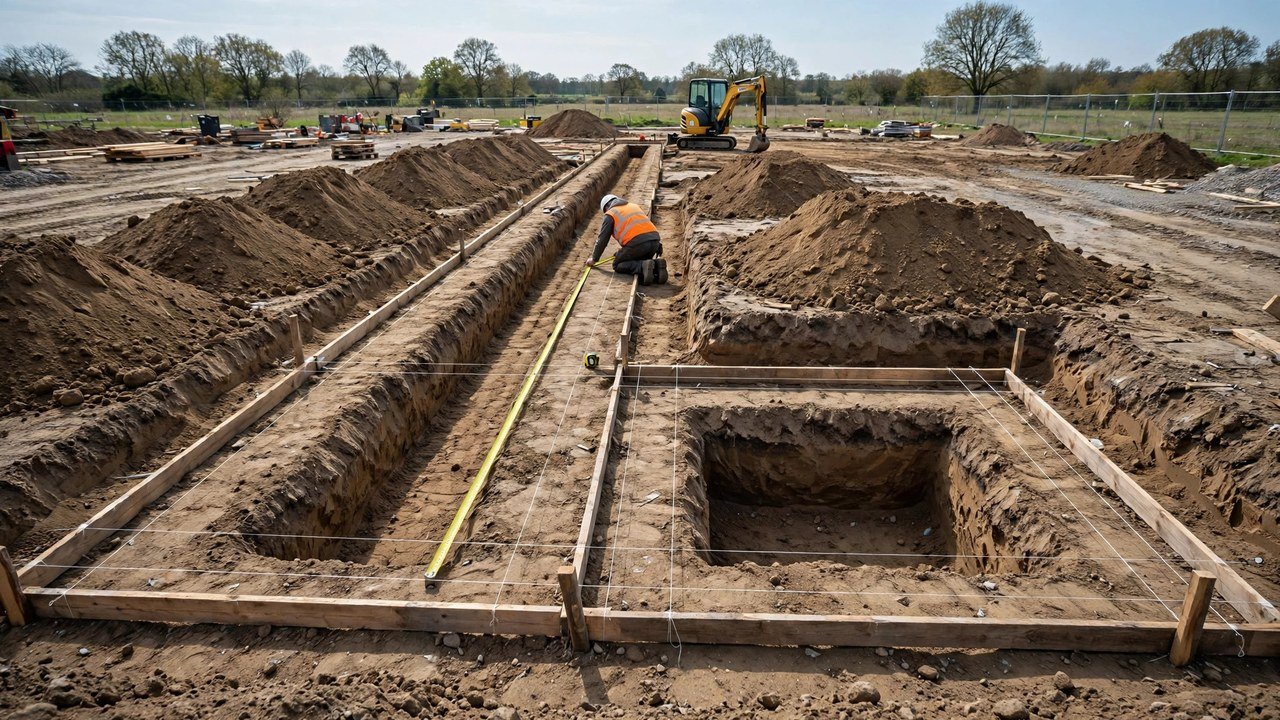
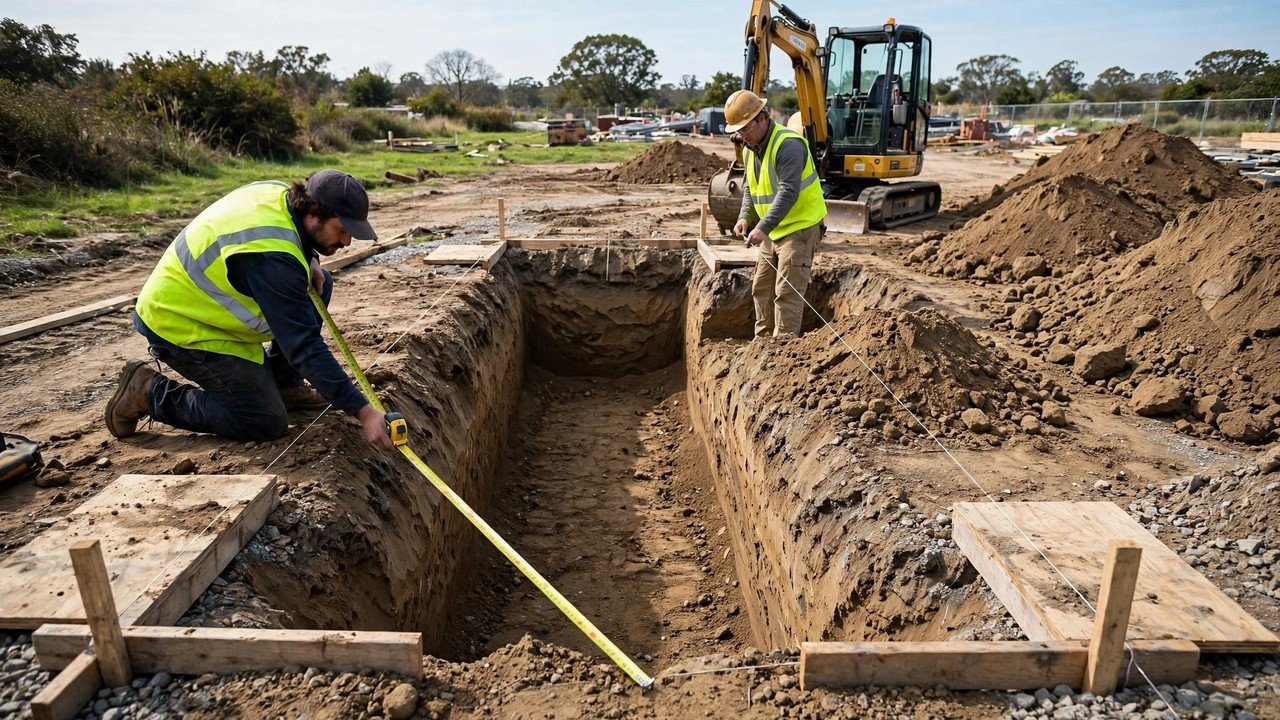
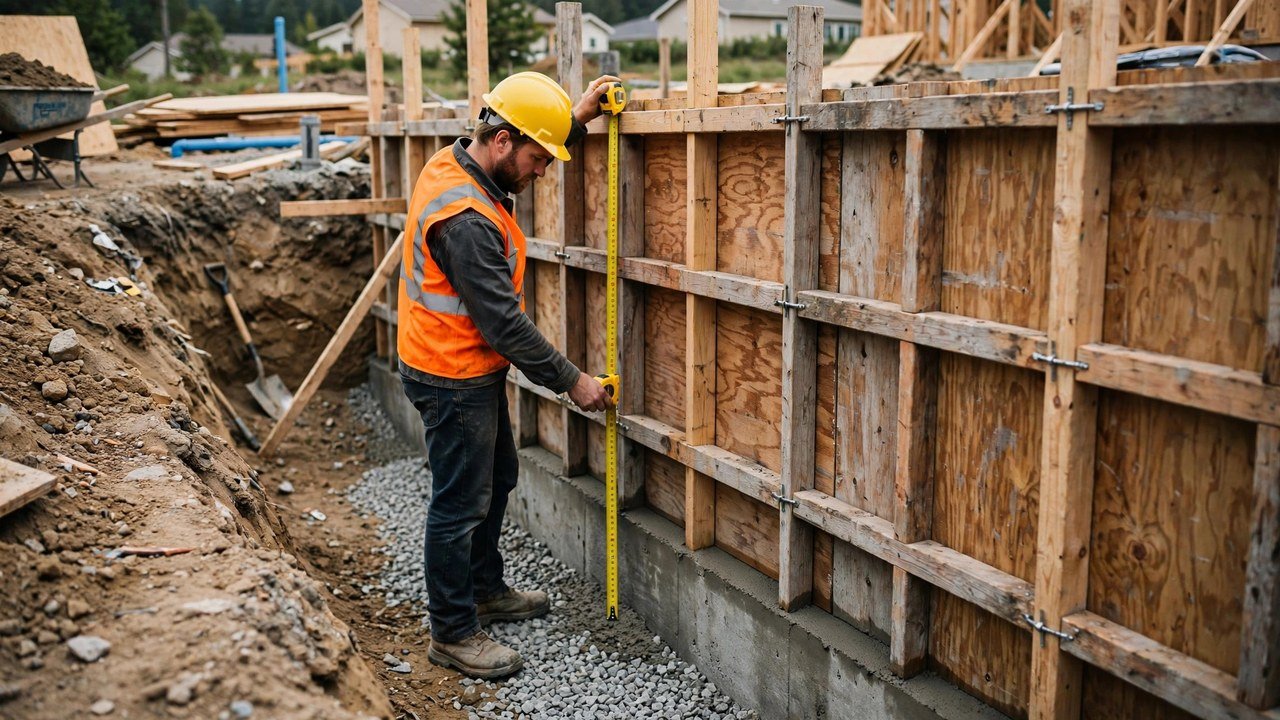
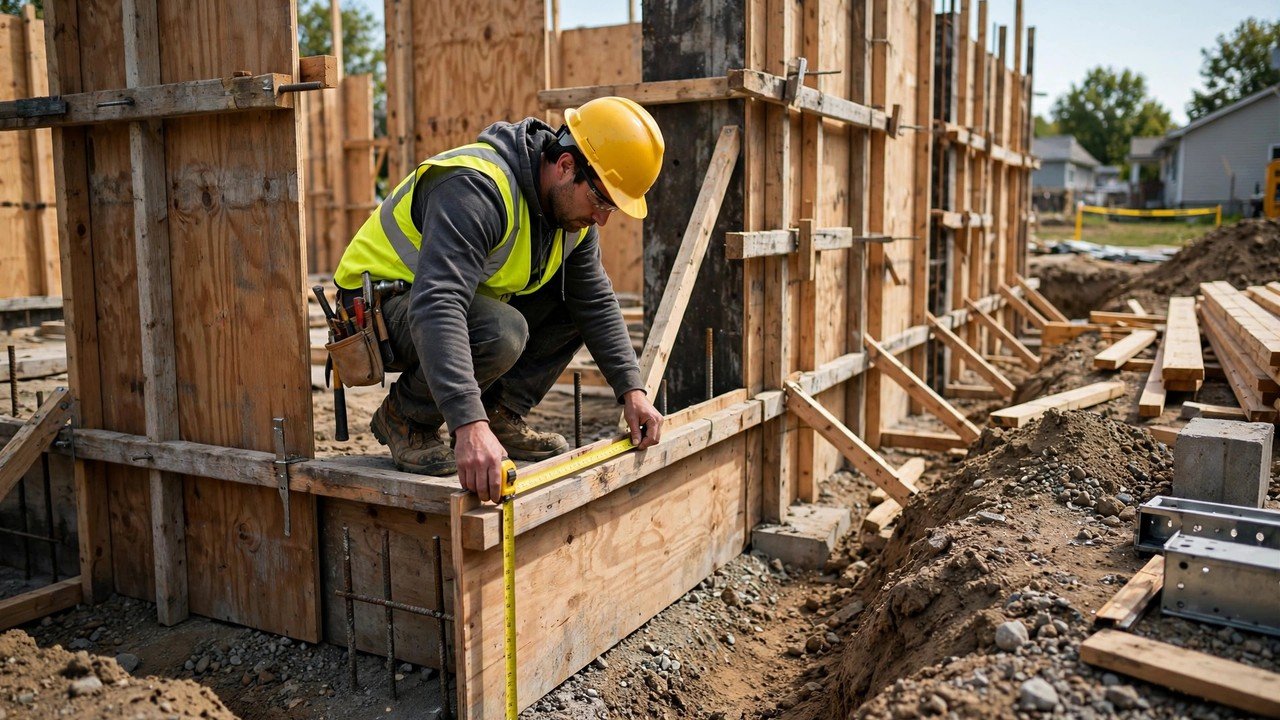
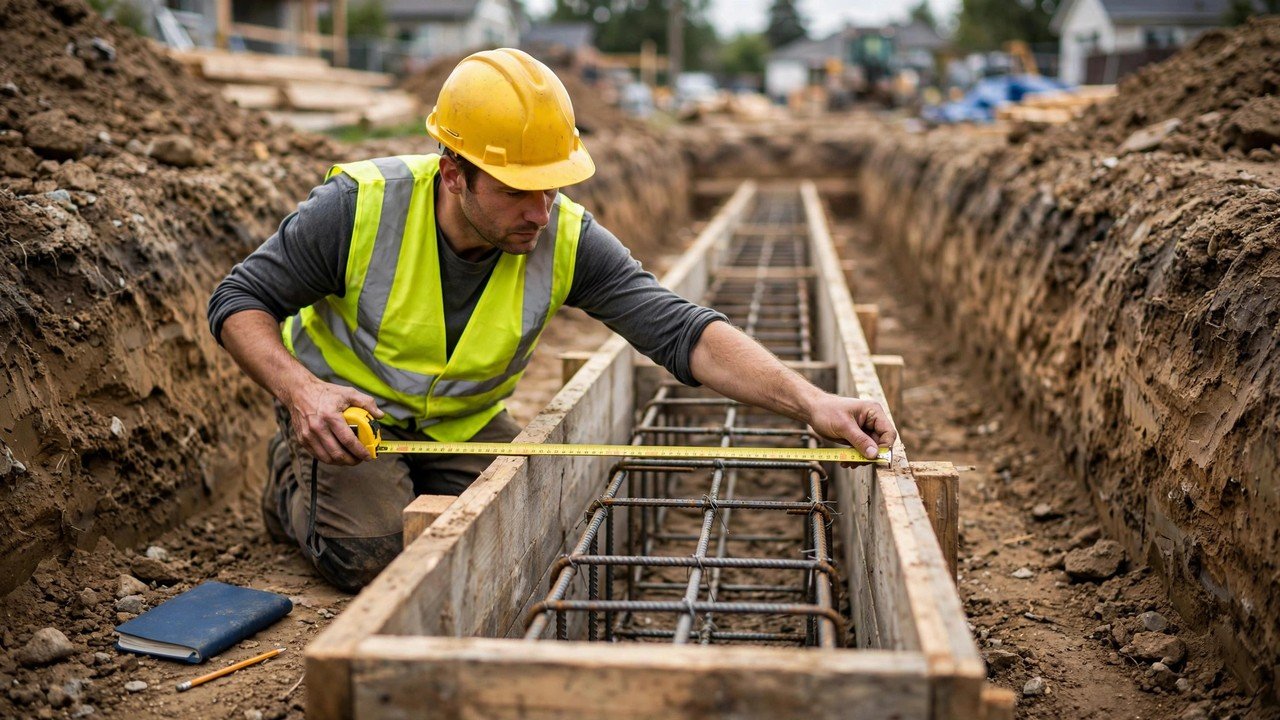
Hook the tape on the inside face of one foundation wall and read the inside face of the opposite wall. Record the length and the width in one consistent unit. Measure each run twice at different points along the wall and use the average reading when the two readings differ. Walls are not always perfectly parallel, and two readings catch the spread before it becomes a volume error.
Outside-face measurements add the wall thickness twice and overstate the interior slab. The slab fills the space between the walls, so that is the space you measure.
How do you handle a non-rectangular plan?
Split the plan into rectangles, measure each rectangle, and add the volumes. Check the drawing so neighbouring rectangles do not overlap; an overlap counted twice inflates the total. For an L-shaped interior, split at the inner corner and treat each arm as its own rectangle with its own length, width, and measured depth.
Where does the poured depth start?
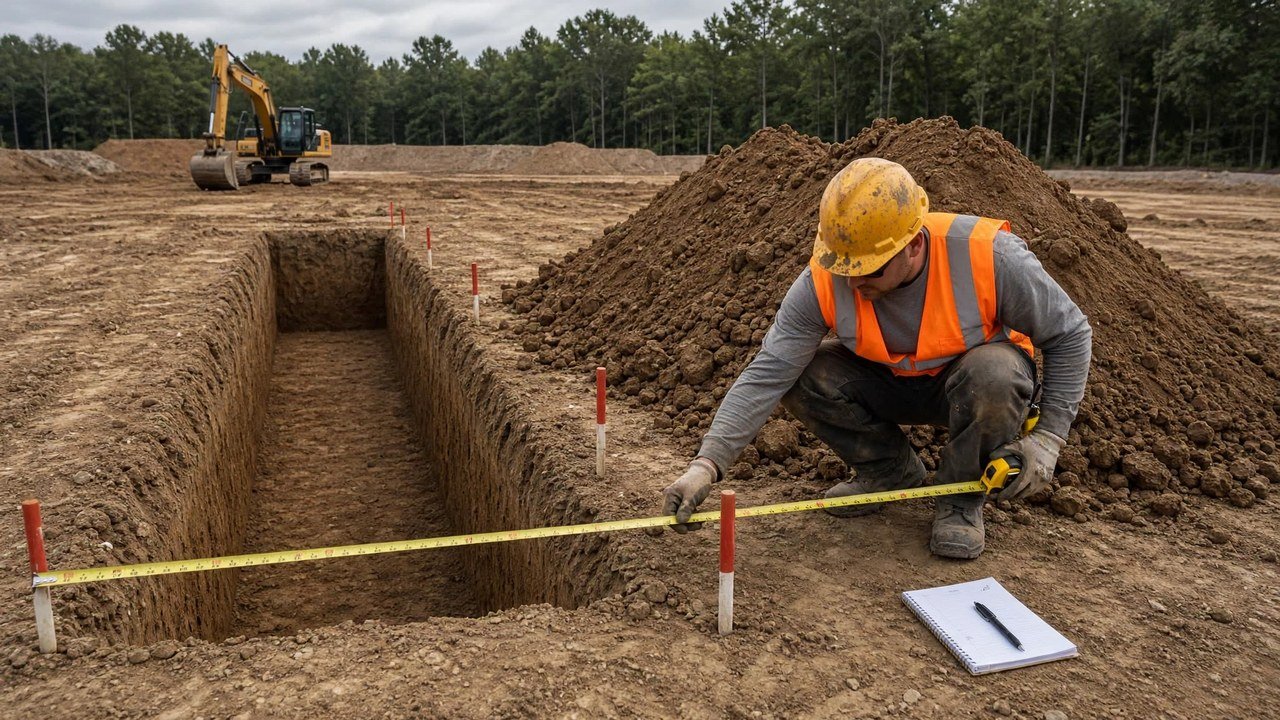
The poured depth runs from the top of the prepared subgrade to the top of the pour line marked on the foundation walls. It does not start at the ground level outside the walls. Check the depth at several stations across the interior with the depth rod before you multiply. Subgrade unevenness makes the actual depth differ from the nominal drawing depth. Record the readings, use the average for the volume, and note the spread so the site crew sees what the average hides.
Slab volume = inside length × inside width × poured depth
Rectangle volume = length × width × depth, added per rectangle
What do you deduct from the slab?
Deduct every item the concrete will not fill, each with its own dimensions and record:
- Sump pit: measure its plan dimensions and deduct its full depth below the pour line from the slab record. A 0.6 by 0.6 m pit at 100 mm of slab depth removes 0.036 m³.
- Floor drains and rough-ins: measure each opening area and multiply by the poured depth. Group identical openings in one line with their count.
- Openings for stairs, elevator, or hatches: deduct the clear opening area times the poured depth, with the opening boundaries from the drawings.
Keep the deduction record beside the main slab volume. It shows the checker exactly what left the total.
What stays out of the slab record?
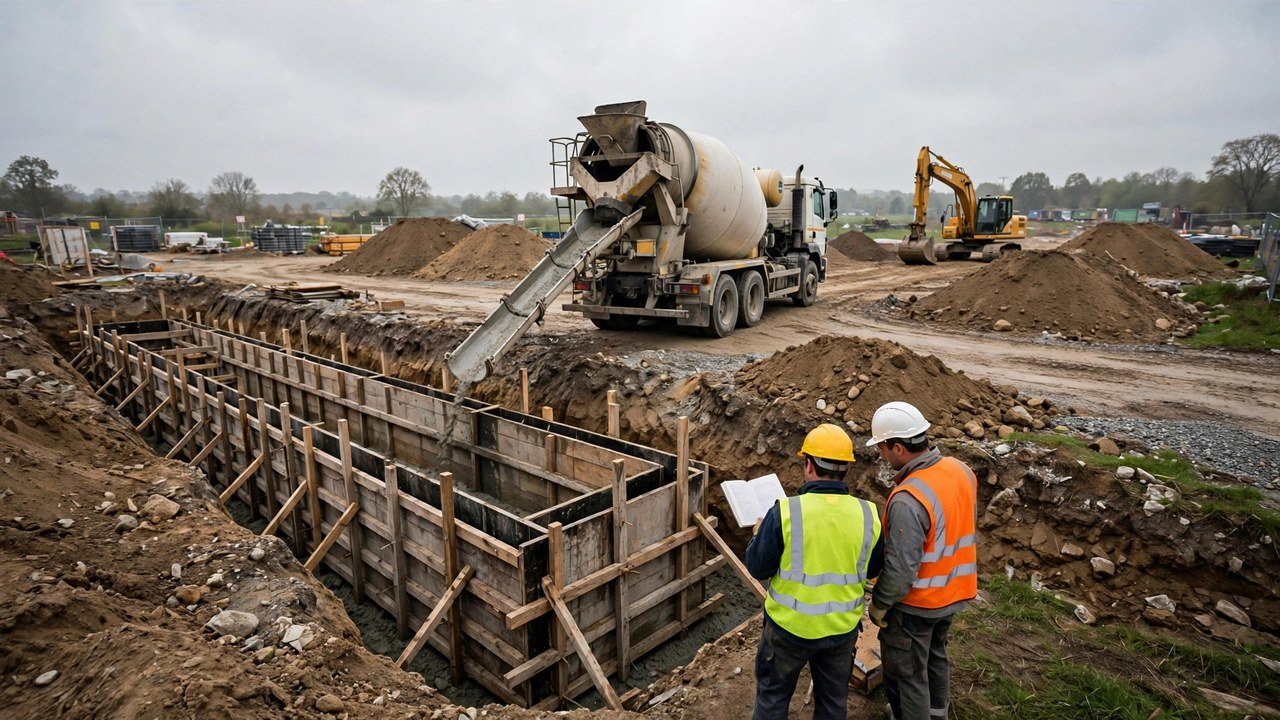
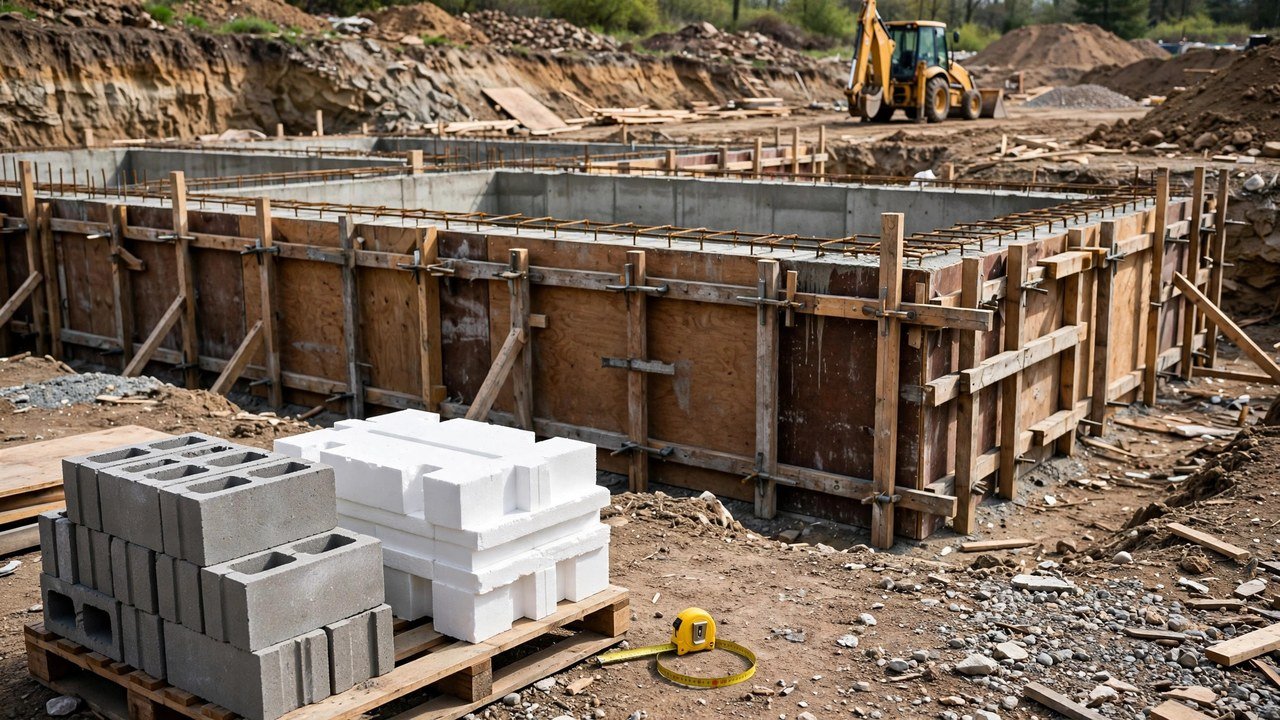
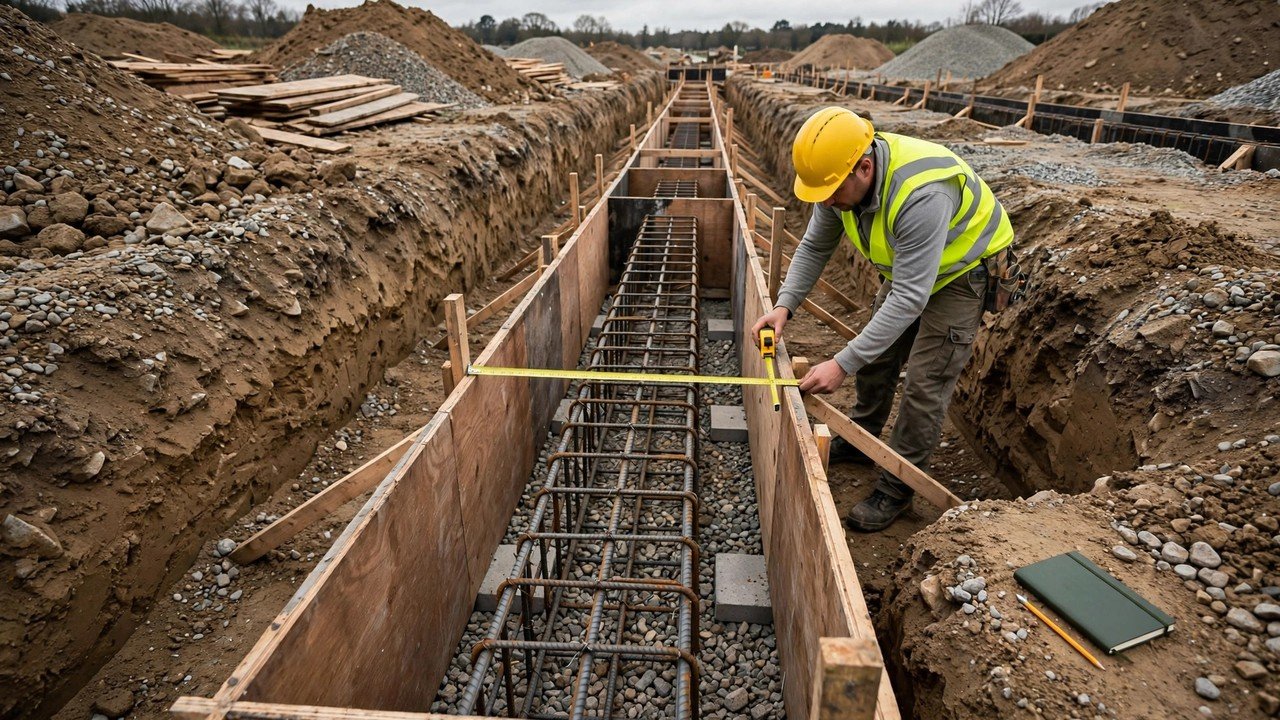
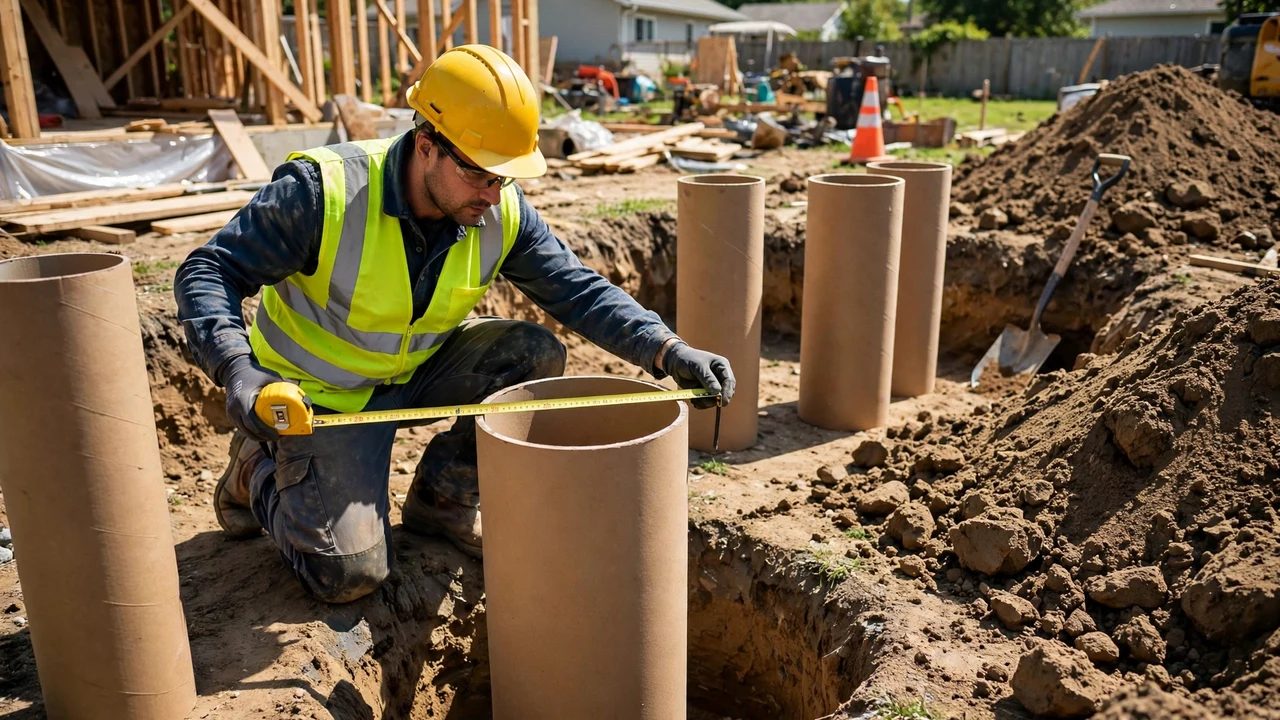
Thickened slab edges and interior column or pier footings are separate concrete records with their own geometry. They are poured as part of the same operation but they occupy space beyond the slab depth, so folding them into the slab rectangle double-counts the overlap. Measure each footing as its own length, width, and depth, add it to a separate record, and keep it out of the slab total.
The slab record holds the slab area times the poured depth. Footings, pits, and rough-ins each hold their own record. One total never carries two concrete locations.
Worked example: 12.0 m by 9.0 m interior
A rectangular basement interior measures 12.0 m by 9.0 m between the inside faces of the foundation walls. The poured depth is 100 mm from the top of the prepared subgrade. One sump pit 0.6 by 0.6 m interrupts the slab.
- Convert millimetres to metres: 100 mm = 0.1 m.
- Main slab = 12.0 × 9.0 × 0.1 = 10.8 m³.
- Sump pit deduction = 0.6 × 0.6 × 0.1 = 0.036 m³.
- Net measured = 10.8 − 0.036 = 10.764 m³.
| Record | Length (m) | Width (m) | Depth (m) | Volume (m³) |
|---|---|---|---|---|
| Main slab | 12.0 | 9.0 | 0.1 | 10.8 |
| Sump pit deduction | 0.6 | 0.6 | 0.1 | −0.036 |
| Total measured slab concrete | 10.764 |
How does the result read in imperial units?
Convert each dimension, then multiply and divide. 12.0 m = 39.3701 ft, 9.0 m = 29.5276 ft, 0.1 m = 0.328084 ft. The volume is 39.3701 × 29.5276 × 0.328084 = 381.3984 ft³. Divide by 27 for cubic yards: 14.1259 yd³. The independent path from cubic metres gives the same answer: 10.8 × 1.307950376 = 14.1259 yd³. The two paths agree, which confirms the conversion arithmetic, not the measurements. The net record converts as 10.764 × 35.314666721 = 380.1271 ft³ and 10.764 × 1.307950376 = 14.0788 yd³.
Common basement slab measurement mistakes
- Measuring the outside faces of the foundation walls.
- Setting the depth datum at the ground level outside the walls.
- Multiplying the nominal drawing depth without checking depth at several stations.
- Ignoring the sump pit, floor drains, and rough-ins.
- Adding thickened edges or interior footings into the slab rectangle.
- Mixing feet and inches inside one multiplication instead of converting first.
- Rounding the measured number before the order record uses it.
- Publishing one universal thickness, waste, or allowance figure as a rule.
Measured record versus order record
The measured record stays untouched at 10.764 m³. Any ordering allowance belongs in the order record with its own basis, never edited into the measurement. This page sets no waste, overage, or truck-rounding figure, because the correct allowance depends on the supplier, the site, and the project controls.
Sources and scope
- NIST Handbook 44, 2026 Appendix C: cubic-foot, cubic-yard, litre, and cubic-metre relationships.
- OSHA 29 CFR 1926.703: U.S. workplace requirements for cast-in-place concrete formwork.
- OSHA 29 CFR 1926.651 and OSHA 29 CFR 1926.652: covered U.S. excavation conditions, inspections, and protective systems.
Source scope: the formulas calculate stated slab geometry. The worked fixtures verify the arithmetic independently. NIST supports the unit relationships. OSHA supports the workplace safety context in covered U.S. work. None of these sources selects the slab thickness, sets an ordering allowance, or designs the foundation.
Review note: Saleem Sial owns the research and editorial record. Formula fixtures, source checks, build validation, and rendered QA form the internal publication gate. Waseem Sial, External Reviewer, Engineer, is listed for ongoing external review; no completed review date is claimed.
Enter the checked measurements in the Concrete Slab Calculator to total slab sections and convert units. The concrete slab volume guide covers the general volume method, the slab thickness guide covers how depth is stated and checked, and the Foundation Quantity Planning Tools and Guides hub lists the related foundation calculators and guides.