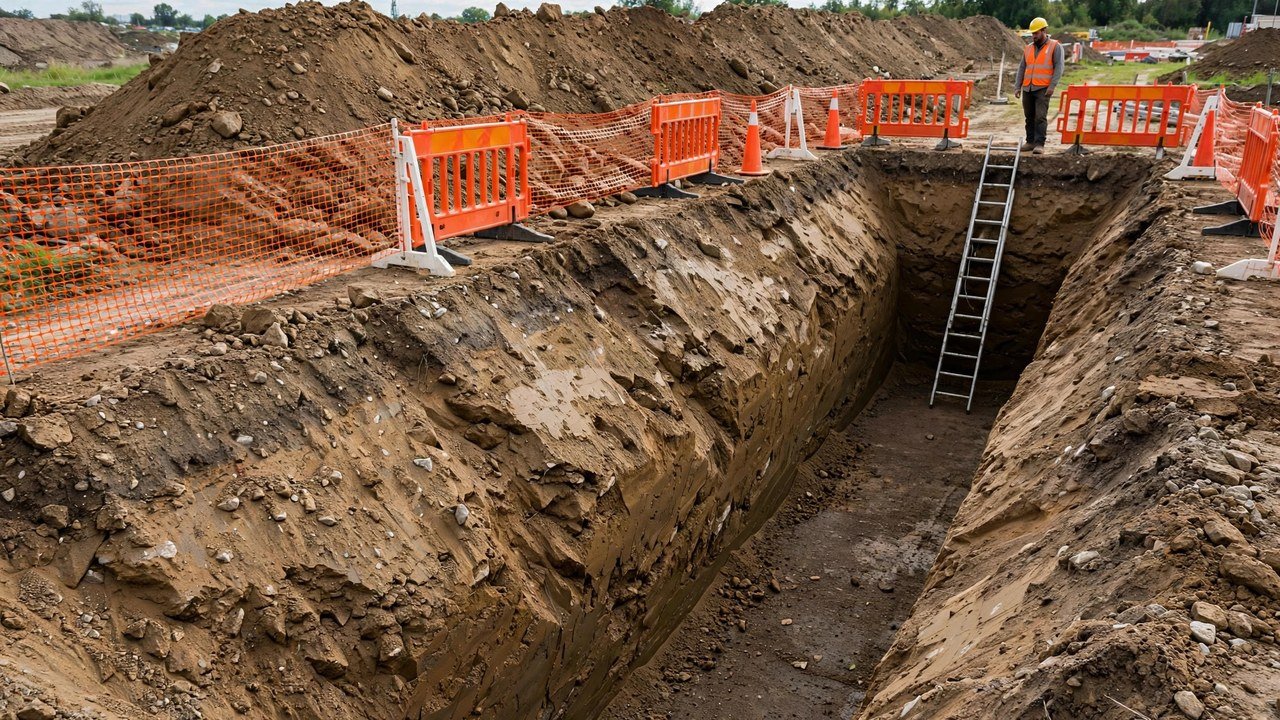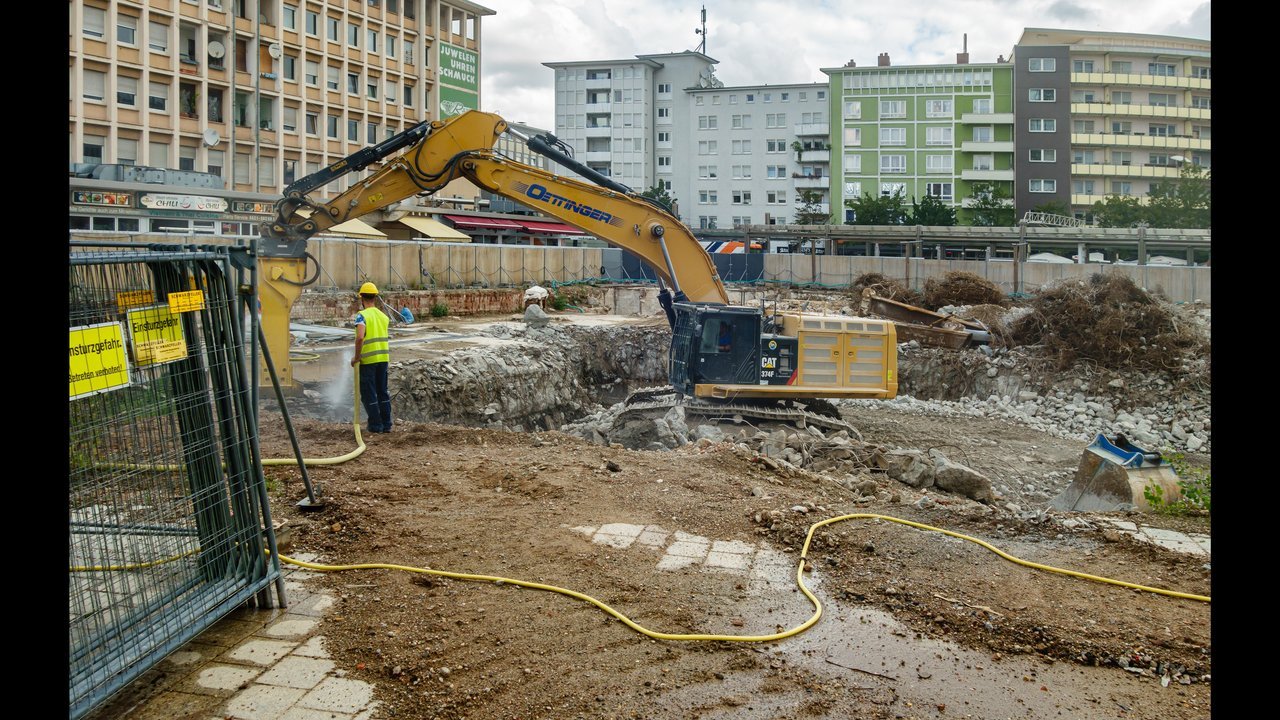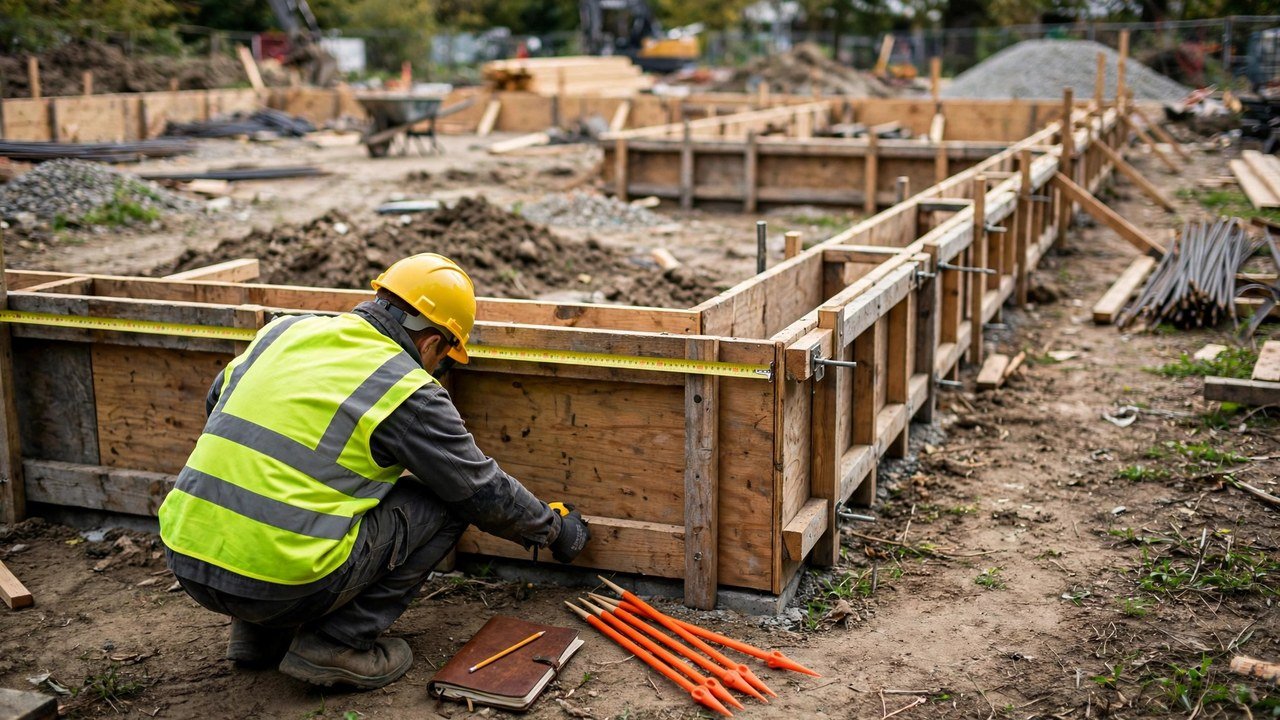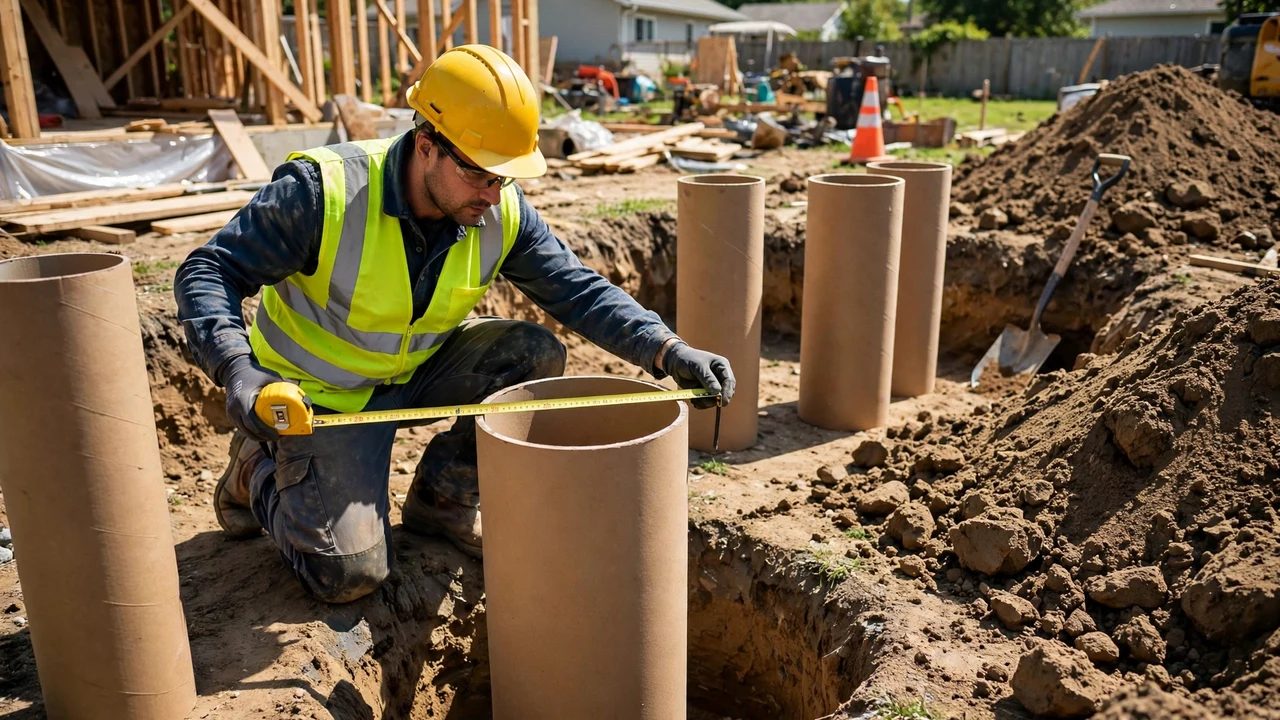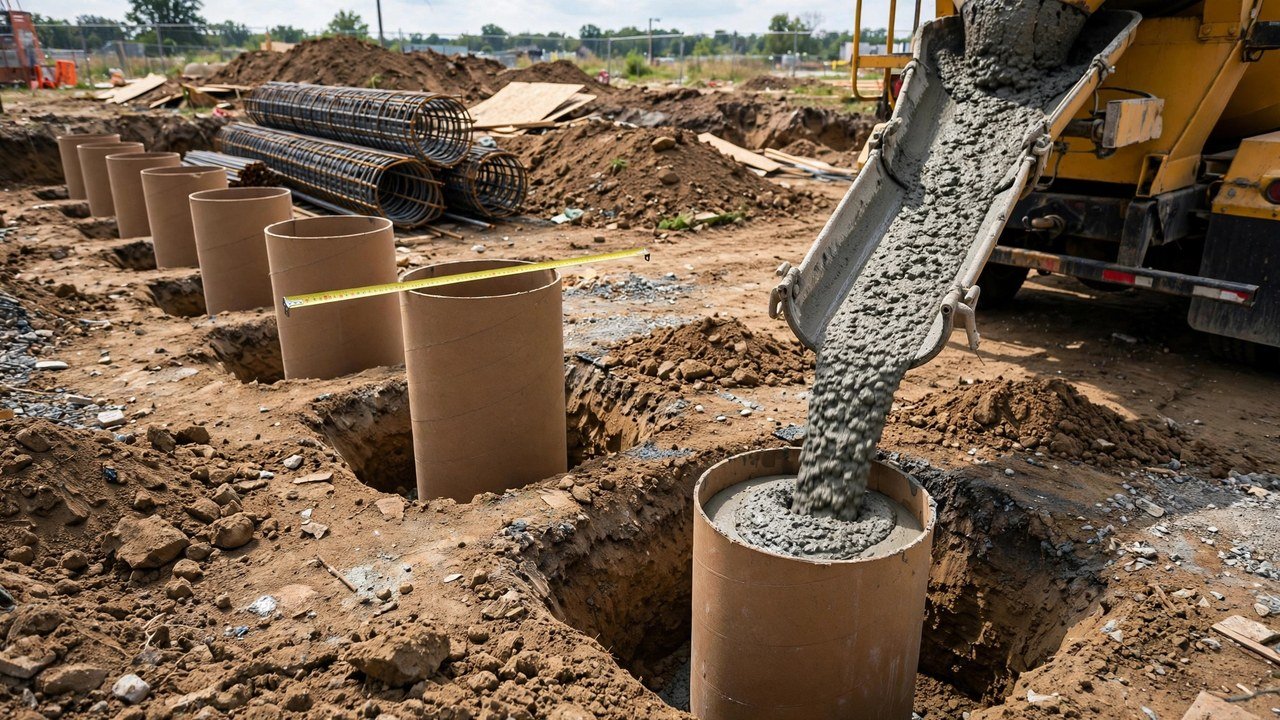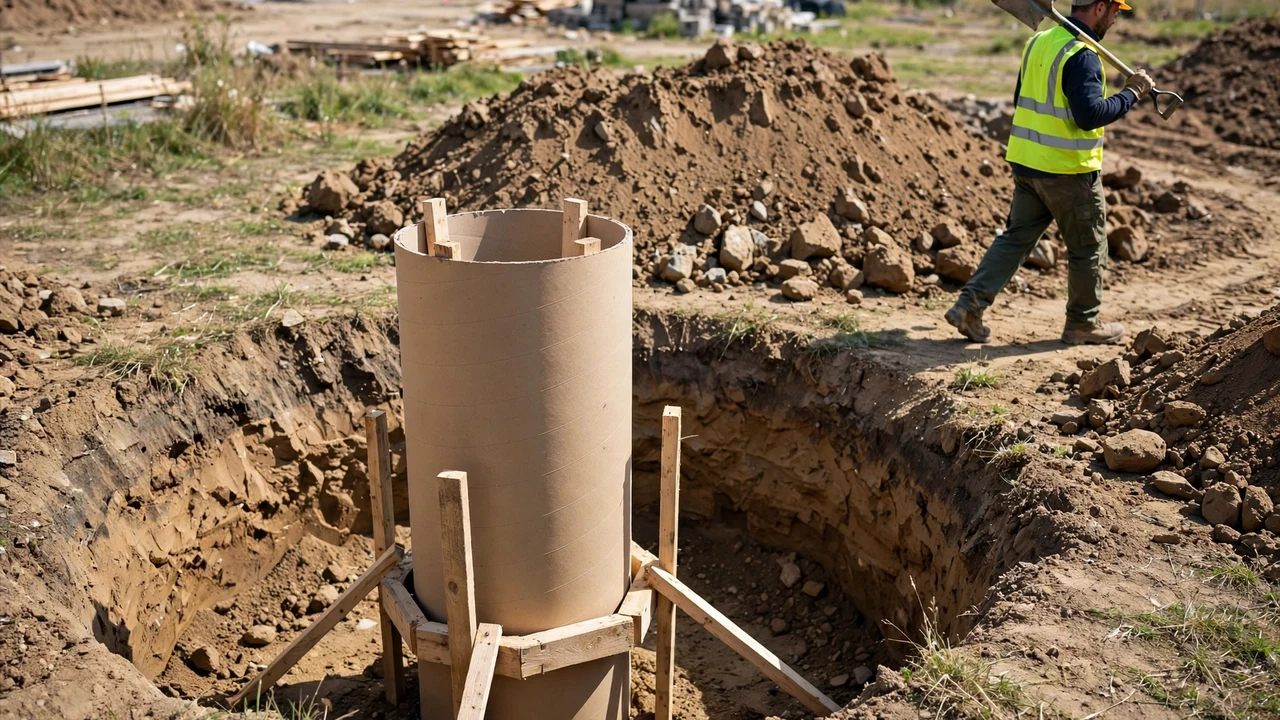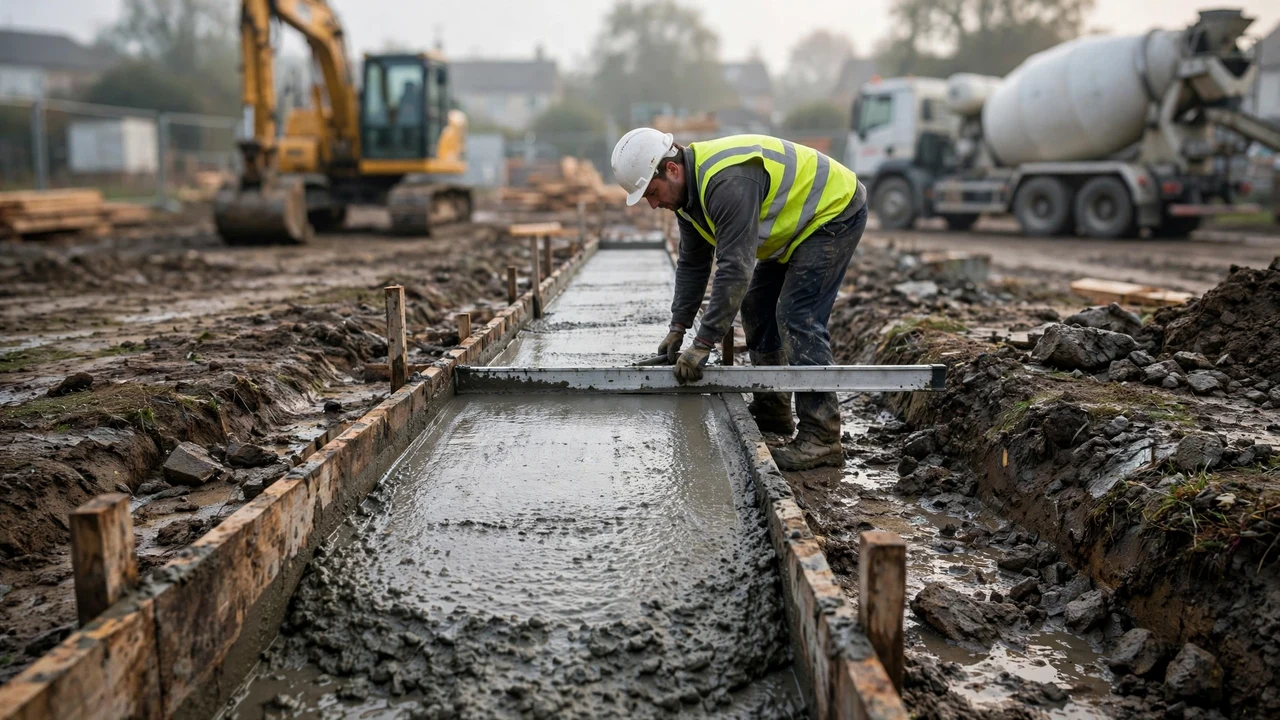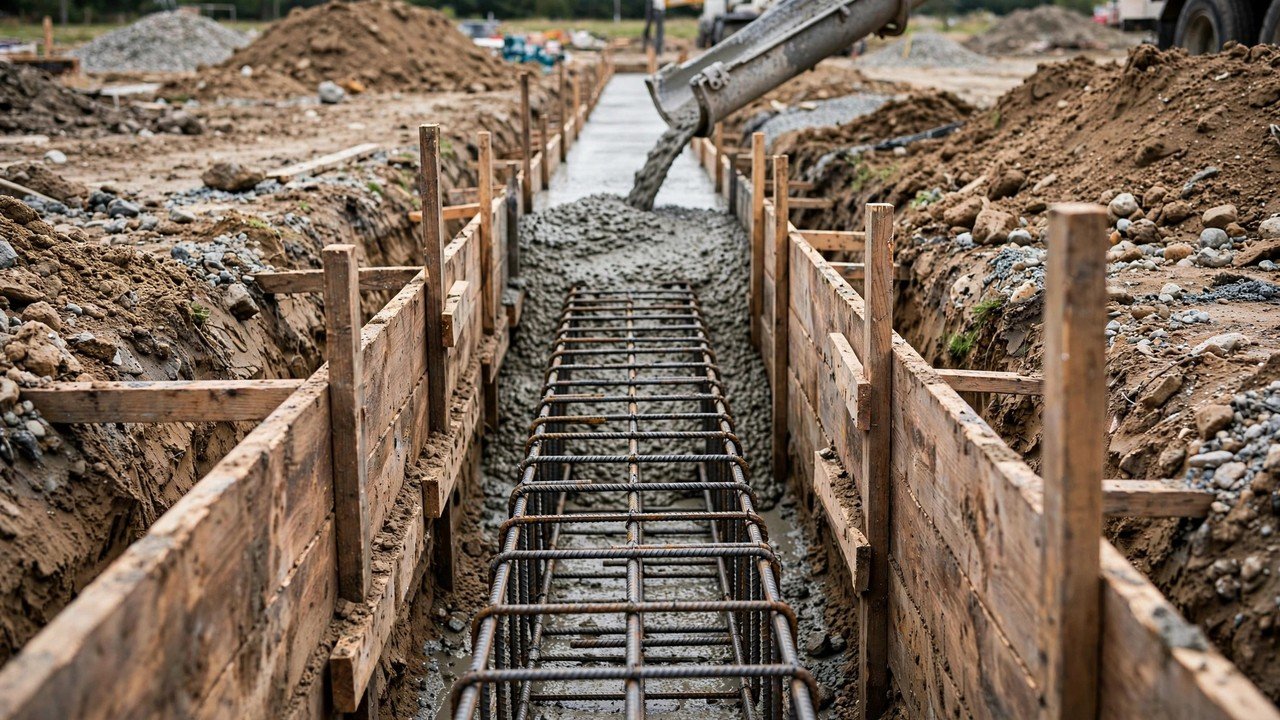
A footing excavation takeoff fails in the arithmetic, not the method. One wrong boundary, one forgotten slope, or one rounded row sends a bad number into every truck plan, spoil record, backfill quantity, and payment line. Find the mistakes on the worksheet, before the number goes anywhere.
What goes wrong most often when calculating footing excavation volume?
The pit gets treated as a smaller, simpler shape than the crew actually digs. Eight mistakes cause most of the error: using the footing plan as the excavation boundary, forgetting side slopes, taking one depth reading on sloping ground, counting corners twice, mixing units, applying percentage allowances to dimensions instead of volume, rounding before the total, and mixing bank, loose, and concrete states. Each section below shows the wrong number, the right number, and the arithmetic you can repeat.
Why does the footing plan understate the excavation?
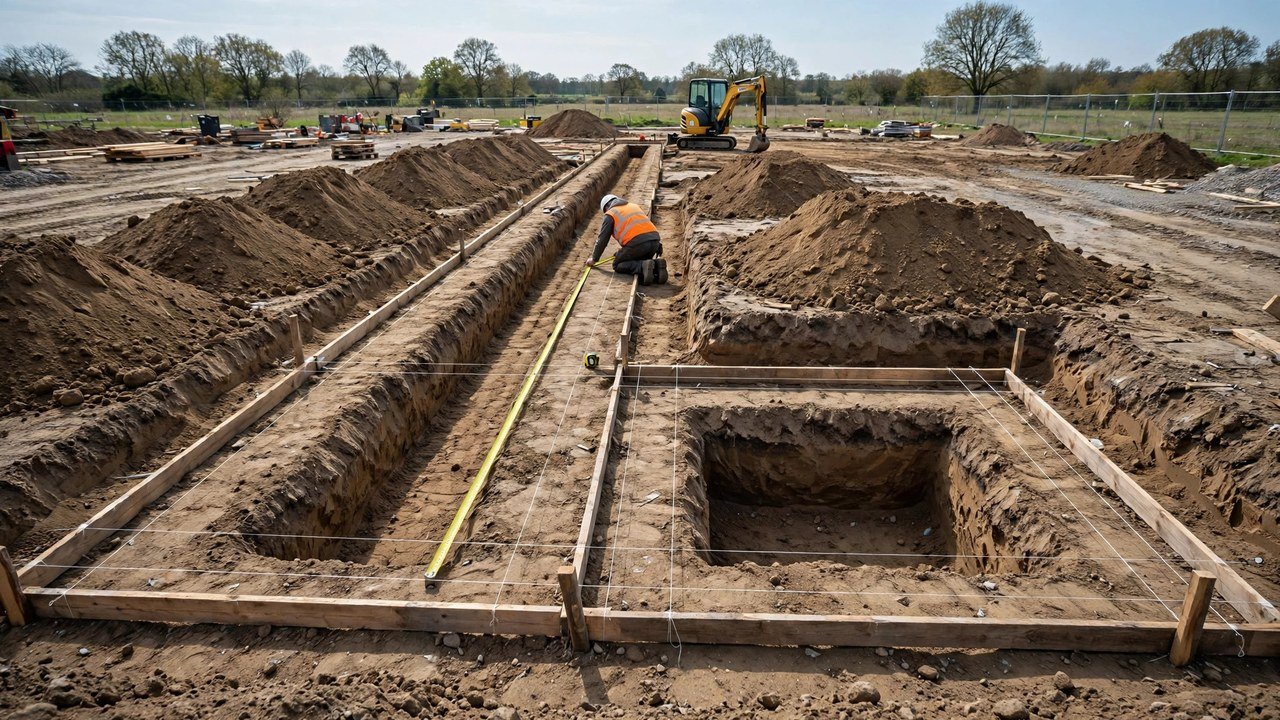
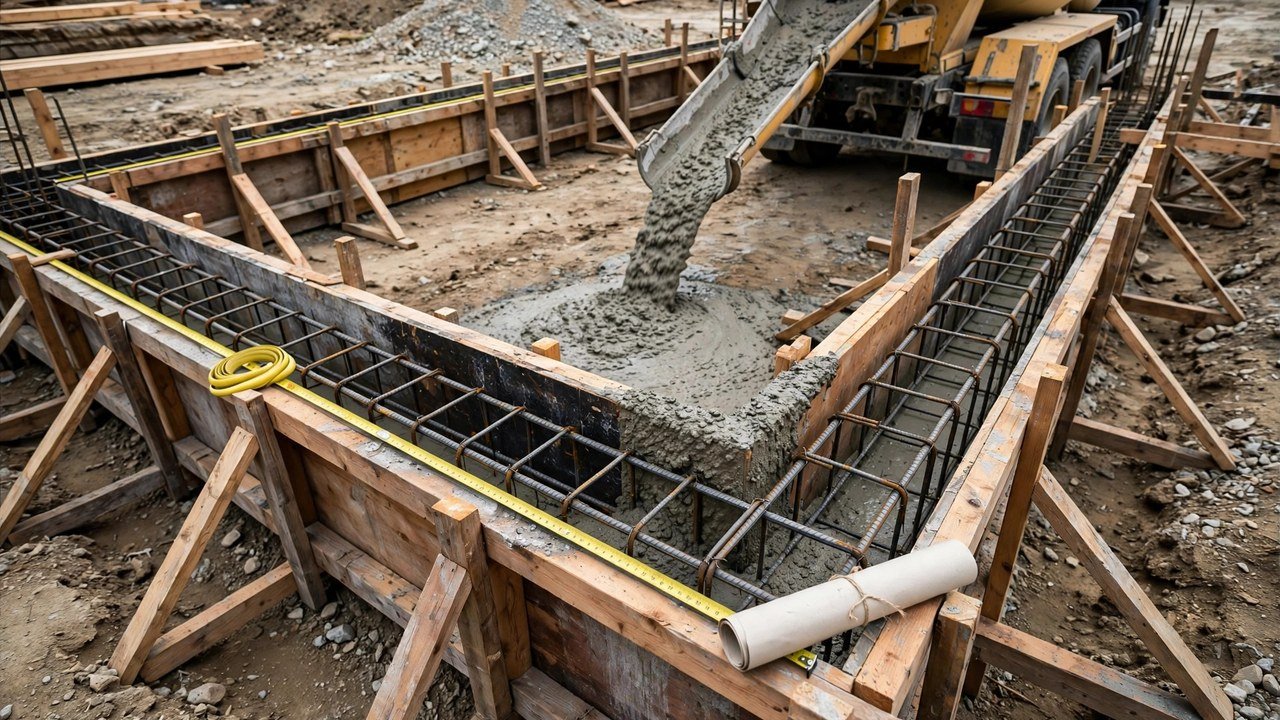
The plan shows the concrete. The crew digs a larger hole around it. Working space, slopes, and overbreak add digging that never becomes concrete.
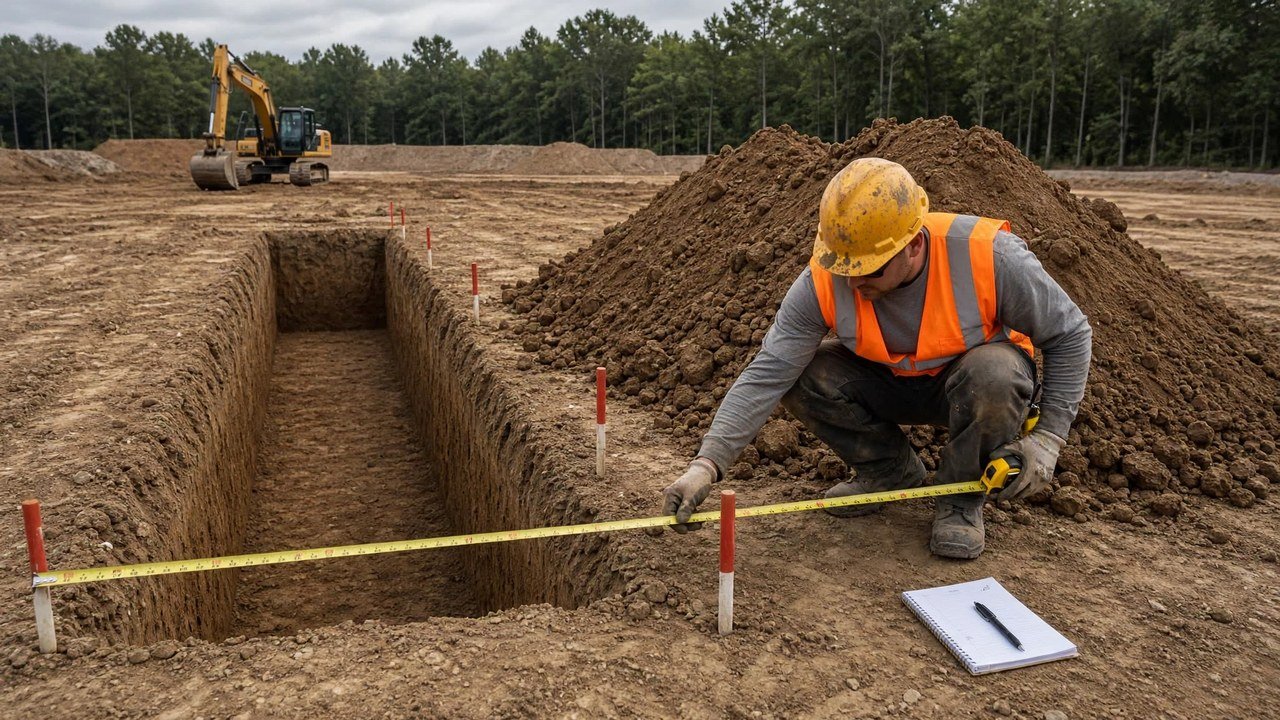
Take a strip footing planned at 12 m long, 0.6 m wide, and 0.3 m deep. The plan volume is 12 × 0.6 × 0.3 = 2.16 m³. That number describes the concrete, not the excavation. If the pit is actually dug 12 m long, 1.1 m wide, and 0.45 m deep, the excavation is 12 × 1.1 × 0.45 = 5.94 m³. Recording 2.16 m³ as the excavation understates the digging by (5.94 − 2.16) ÷ 5.94 = 63.6%.
Use plan dimensions only for the concrete line. Every excavation line on the worksheet must come from measured pit dimensions taken after digging.
The footing measurement guide shows how to record the pit, including working space and slopes.
What happens when side slopes are ignored?
A sloped pit is a truncated pyramid, not a box. A rectangular calculation from either the top or the bottom dimensions misses the real shape by a wide margin.
Sloped pit volume = h ÷ 3 × (A1 + A2 + √(A1 × A2))
Here h is the depth, A1 is the top area, and A2 is the bottom area.
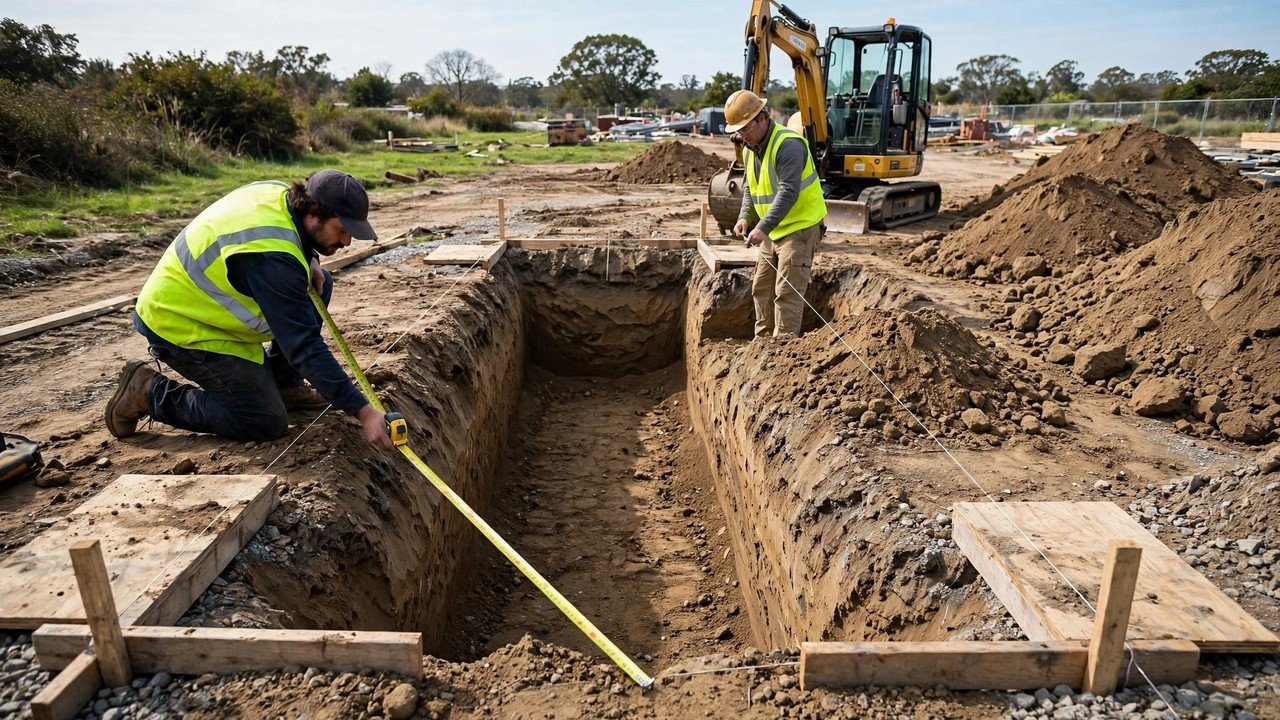
Take a square pad pit dug 1.2 m deep, 3 m × 3 m at the top and 2 m × 2 m at the bottom. The top area is 9 m² and the bottom area is 4 m². The sloped volume is 1.2 ÷ 3 × (9 + 4 + √(9 × 4)) = 0.4 × 19 = 7.6 m³. A box from the bottom dimensions gives 2 × 2 × 1.2 = 4.8 m³, which is 37% under. A box from the top dimensions gives 3 × 3 × 1.2 = 10.8 m³, which is 42% over.
A second method confirms the 7.6 m³. The prismoidal rule gives 1.2 ÷ 6 × (9 + 4 + 4 × 6.25) = 0.2 × 38 = 7.6 m³, using the 2.5 m × 2.5 m mid-section. When two shape models agree, the geometry is closed.
How should depth be handled on sloping ground?
One depth reading cannot describe a run that rises or falls. Section the run by its depth change and use the average end area for a straight, linear variation.
Run volume = (A1 + A2) ÷ 2 × L
Here A1 and A2 are the end cross-sections and L is the run length. For a uniform width, this equals length × width × average depth.
Take an 8 m strip run, 0.9 m wide, measured 1.0 m deep at one end and 1.6 m deep at the other. One reading gives 8 × 0.9 × 1.0 = 7.2 m³. The average depth is (1.0 + 1.6) ÷ 2 = 1.3 m, so the run is 8 × 0.9 × 1.3 = 9.36 m³. The single-reading number understates the run by (9.36 − 7.2) ÷ 9.36 = 23.1%.
Average end area is exact only for a linear depth change. If the ground rises and falls along the run, split it into shorter sections and apply the rule to each one.
Why do corners and T-junctions get counted twice?
Two footing runs that share a corner overlap in plan. Summing both full runs counts the overlap twice. Deduct it once, or shorten one arm by the trench width before multiplying.
Take an L-shaped pair: one arm 8 m long, the other 6 m long, both 0.8 m wide and 1.0 m deep. The naive sum is 8 × 0.8 × 1.0 + 6 × 0.8 × 1.0 = 6.4 + 4.8 = 11.2 m³. The shared corner occupies 0.8 × 0.8 × 1.0 = 0.64 m³, counted twice. The corrected total is 11.2 − 0.64 = 10.56 m³. The naive number overstates the excavation by (11.2 − 10.56) ÷ 10.56 = 6.1%.
The arm-shortening method confirms it: 6.4 + (6 − 0.8) × 0.8 × 1.0 = 6.4 + 4.16 = 10.56 m³. Mark every corner and junction on the layout sketch, and show the deduction line on the worksheet.
How do mixed units break a calculation?
A calculation that mixes feet and inches without conversion produces a number with no volume unit at all. Convert every dimension to one unit before multiplying.
Take a footing measured 12 ft long, 18 in wide, and 3 ft deep. Entering the raw numbers gives 12 × 18 × 3 = 648, a number with no meaning as a volume. Converting first gives 12 × 1.5 × 3 = 54 ft³. The raw entry is 12 times the correct answer, exactly the inches-to-feet ratio. Use one unit set per calculation, from the first keystroke.
Why should percentage allowances go on the volume, not the dimensions?
A percentage applied to each dimension compounds. A 5% addition on length, width, and depth is 1.05³ = 1.1576, which adds 15.8% to the volume instead of 5%.
Allowed volume = measured volume × (1 + allowance % ÷ 100)
Take a pit measuring 4 × 1 × 1.2 m = 4.8 m³. A stated 5% allowance on the volume gives 4.8 × 1.05 = 5.04 m³. The same 5% on each dimension gives 4.2 × 1.05 × 1.26 = 5.5566 m³. The difference is 0.5166 m³ of phantom digging. Apply the percentage once, to the finished volume.
A percentage on the worksheet needs a name and an evidence note: what it covers, which project record supports it, and which line it applies to.
When should you round?
Round once, at the end, on the number that leaves the worksheet. Rounding every row before the total lets small errors add up in one direction.
Take three pits measuring 2.16, 3.15, and 1.44 m³. The exact total is 6.75 m³. Rounded to whole cubic metres per row, the worksheet shows 2 + 3 + 1 = 6 m³. The total loses 0.75 m³, which is 11.1% of the real quantity. Keep unrounded numbers through every line and round the supplier-facing total once.
What happens when bank, loose, and concrete states are mixed?
Three different volumes share the footing: the bank volume in the ground, the loose volume after digging, and the concrete volume in the forms. A haul plan built from bank volume books too few trucks. A concrete order built from excavation volume buys concrete for soil.
Take 24 m³ of bank excavation with a stated 18% swell fixture. The loose volume is 24 × 1.18 = 28.32 m³. A truck with 8 m³ of usable loose body capacity needs 28.32 ÷ 8 = 3.54, which rounds up to 4 loads. Planning from bank volume gives 24 ÷ 8 = 3 loads exactly, and 4.32 m³ of loose soil has no ride home.
The bank and loose volume guide separates the states with a full ledger. The excavation vs concrete guide closes the footing-specific loop.
| Mistake | Wrong number | Right number |
|---|---|---|
| Plan used as the excavation | 2.16 m³ | 5.94 m³ measured pit |
| Slopes ignored, box from bottom | 4.8 m³ | 7.6 m³ sloped pyramid |
| One depth reading | 7.2 m³ | 9.36 m³ average end area |
| Corner counted twice | 11.2 m³ | 10.56 m³ with deduction |
| Units mixed | 648, no volume unit | 54 ft³ converted |
| Allowance on dimensions | 5.5566 m³ | 5.04 m³ on the volume |
| Rounded per row | 6 m³ | 6.75 m³, rounded once |
| Haul planned from bank volume | 3 loads | 4 loads from loose volume |
How do you check the total before it goes anywhere?
Run this routine on the finished worksheet:
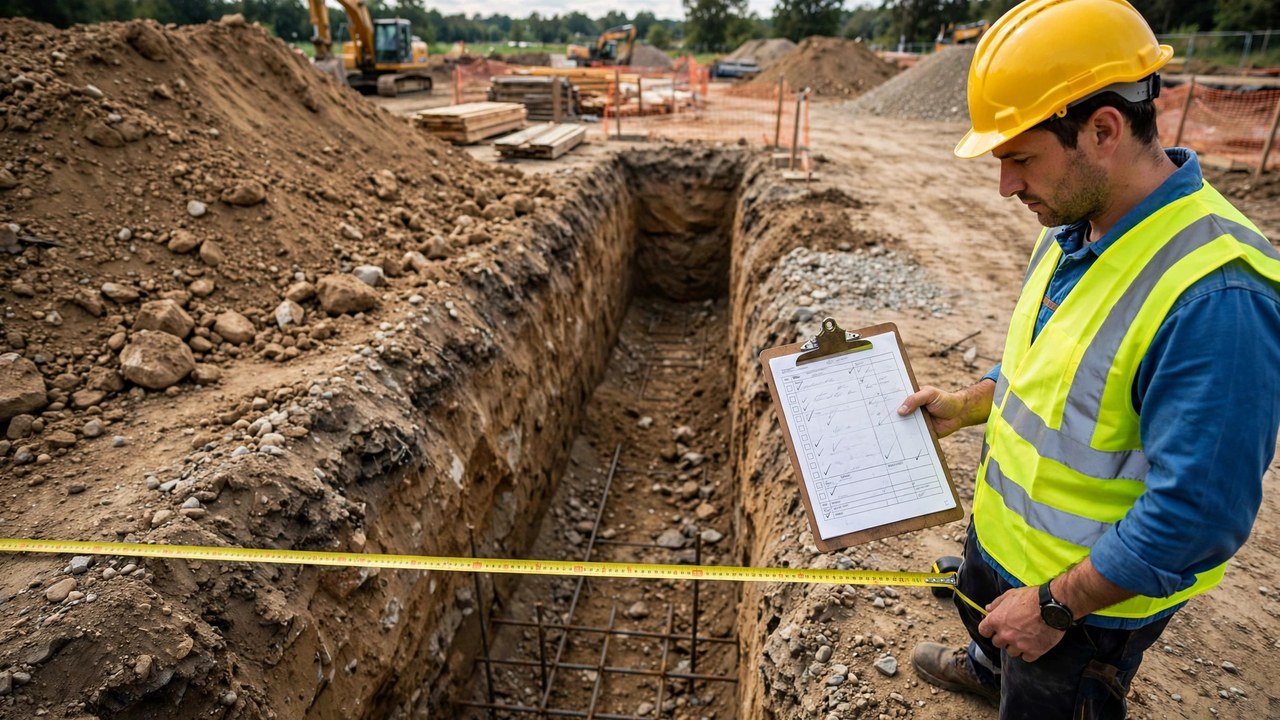
- Confirm every excavation line measures the dug pit, not the footing plan.
- Confirm each section uses the right shape model: box, sloped pyramid, or average end area.
- Confirm one unit set through the whole calculation.
- Confirm every percentage was applied once, to a finished volume, with its evidence named.
- Confirm one rounding step, at the end, on the outgoing number.
- Confirm every quantity carries its state label: bank, loose, or concrete.
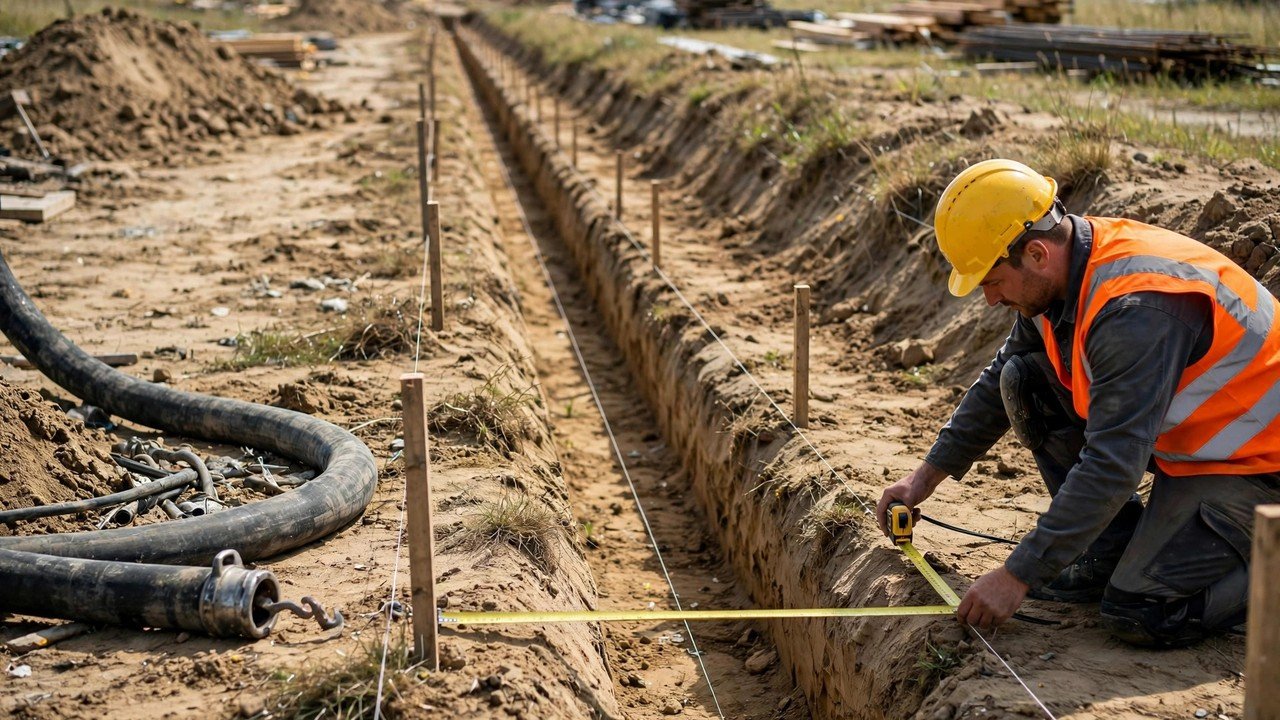
- Re-measure one section independently and compare. A second tape on a different day catches most of the mistakes above.
Safety and professional scope
A volume calculation measures a void. It does not select excavation geometry, protective systems, equipment, or loading limits. Those decisions follow the project documents, applicable law, site conditions, and responsible competent or qualified people.
For U.S. construction work, OSHA identifies cave-ins as the main trench hazard. OSHA 29 CFR 1926.651 also covers underground installations, access and egress, hazardous atmospheres, water accumulation, adjacent structures, loose material, and competent-person inspections. Other countries use their own workplace rules. The footing excavation safety guide covers the measurement-relevant basics.
Sources and scope
- NIST Handbook 44, 2026 Appendix C: cubic-foot, cubic-yard, litre, and cubic-metre relationships.
- U.S. Office of Surface Mining Reclamation and Enforcement, Directive TSR-1 Appendix A: bank, loose, and compacted volume definitions and swell context.
- OSHA Trenching and Excavation and 29 CFR 1926.651: U.S. occupational excavation-safety context.
Scope: the fixtures in this article are worked arithmetic examples showing how each mistake changes the number. They are not project quantities, and no percentage, allowance, or rounding rule here is a published recommendation. The governing drawings, survey method, geotechnical information, contract measurement provisions, safety plan, and responsible qualified people control the accepted quantity on a real project.
Review responsibility: Saleem Sial owns the published calculation, source, and editorial checks. Waseem Sial, External Reviewer and Engineer, remains listed for ongoing external review; no completed external-review date is claimed.
Next, use the footing measurement guide to record the pit correctly, or turn the checked excavation into an order with the footing ordering guide, or run the corrected measurements through the Footing Excavation Volume Calculator.