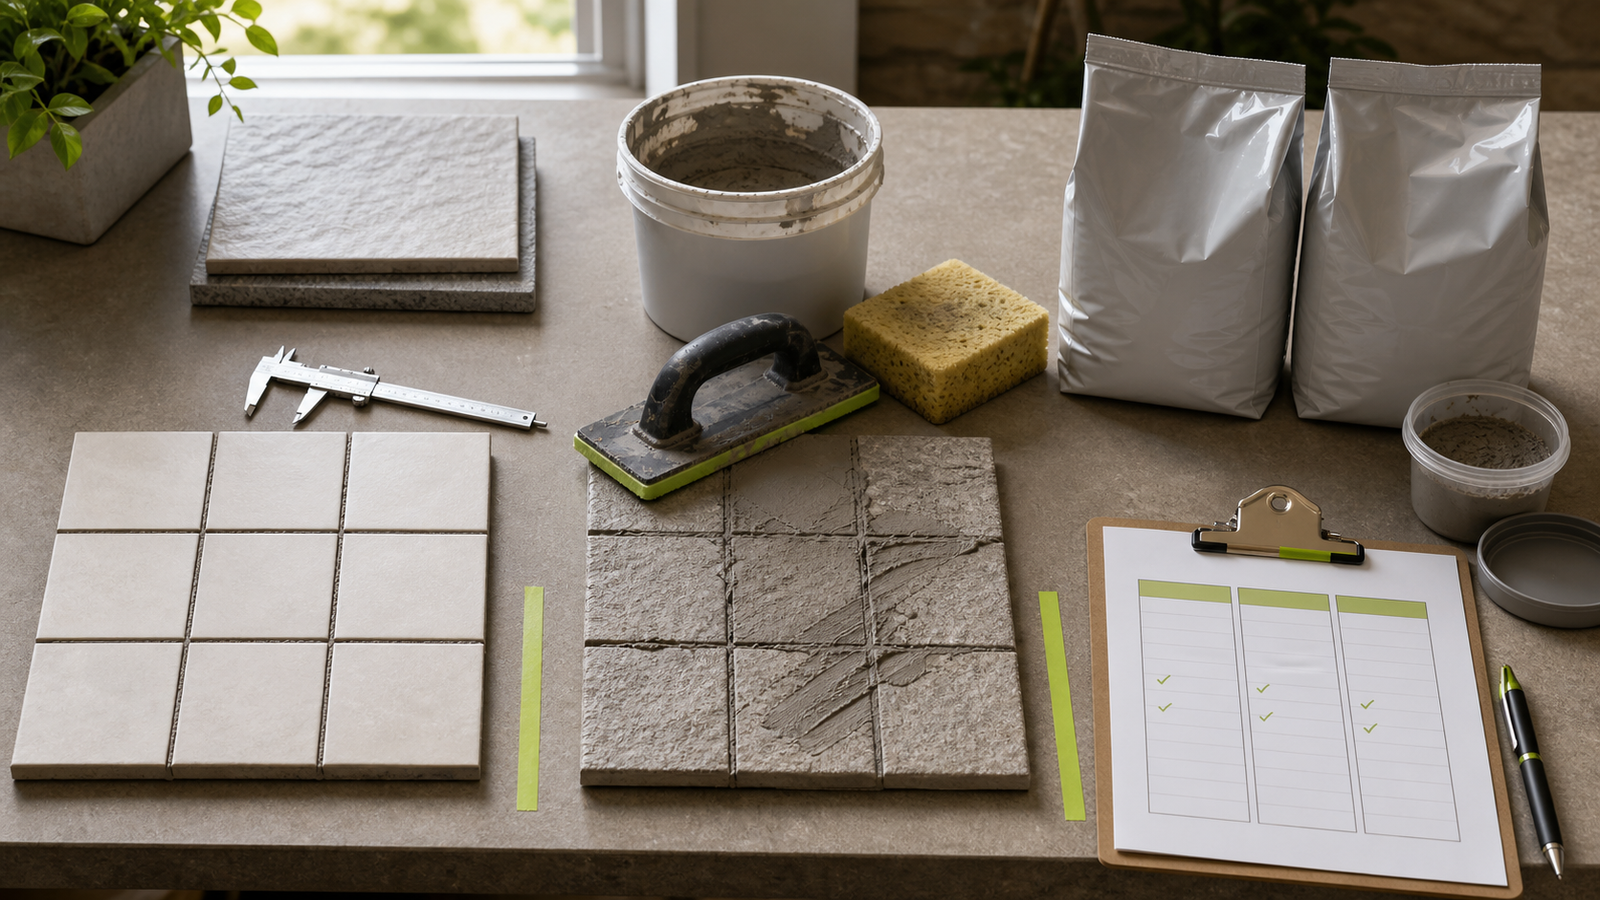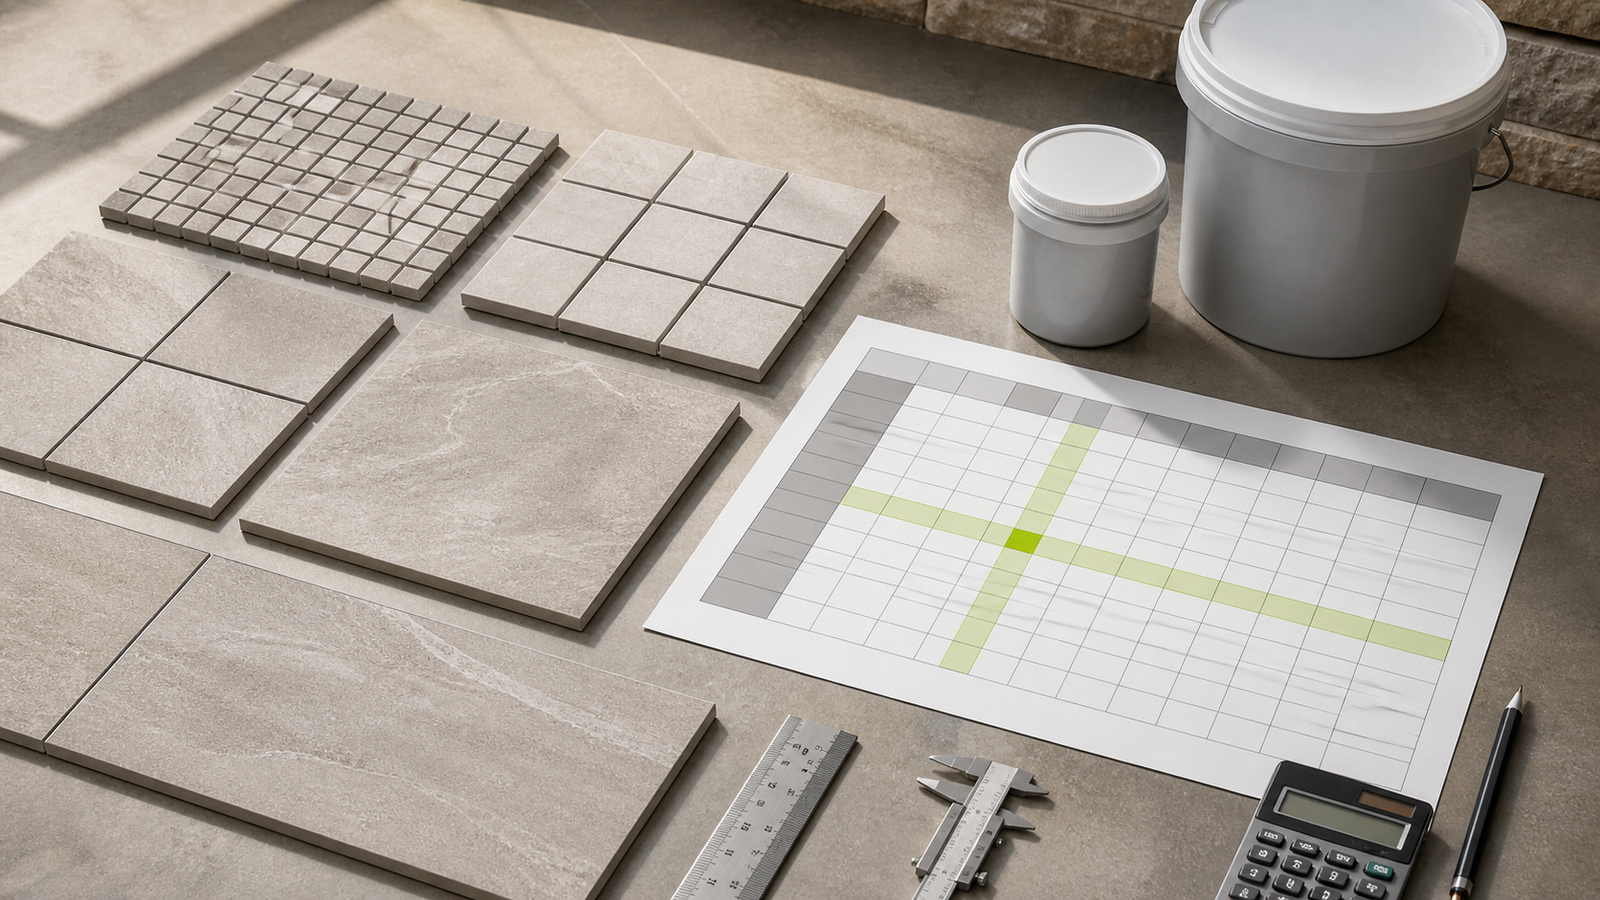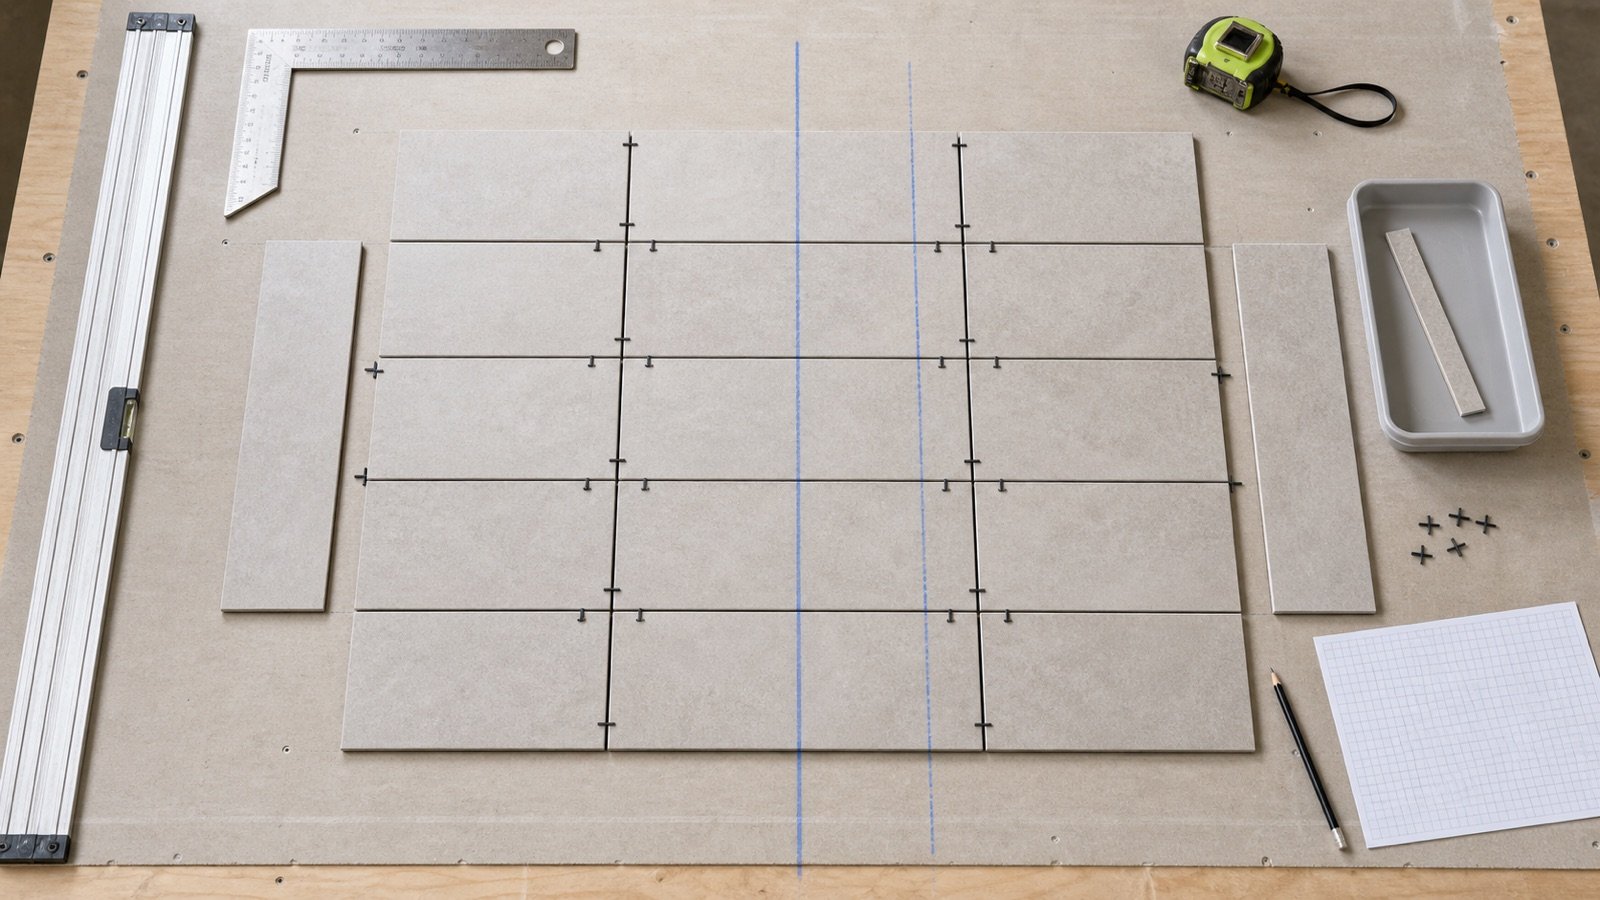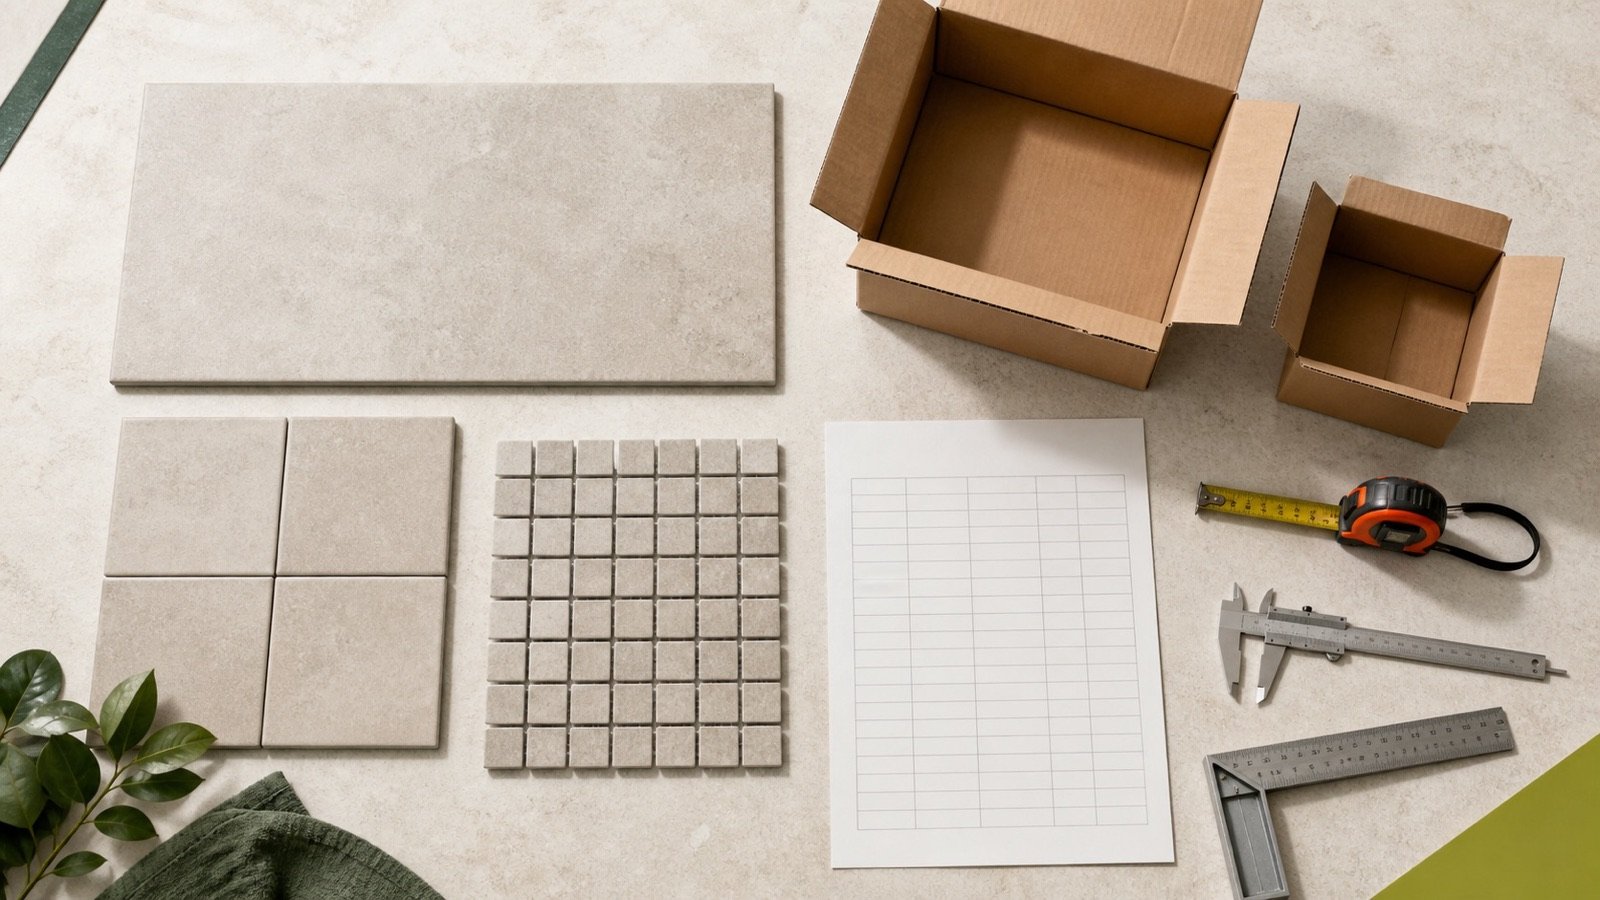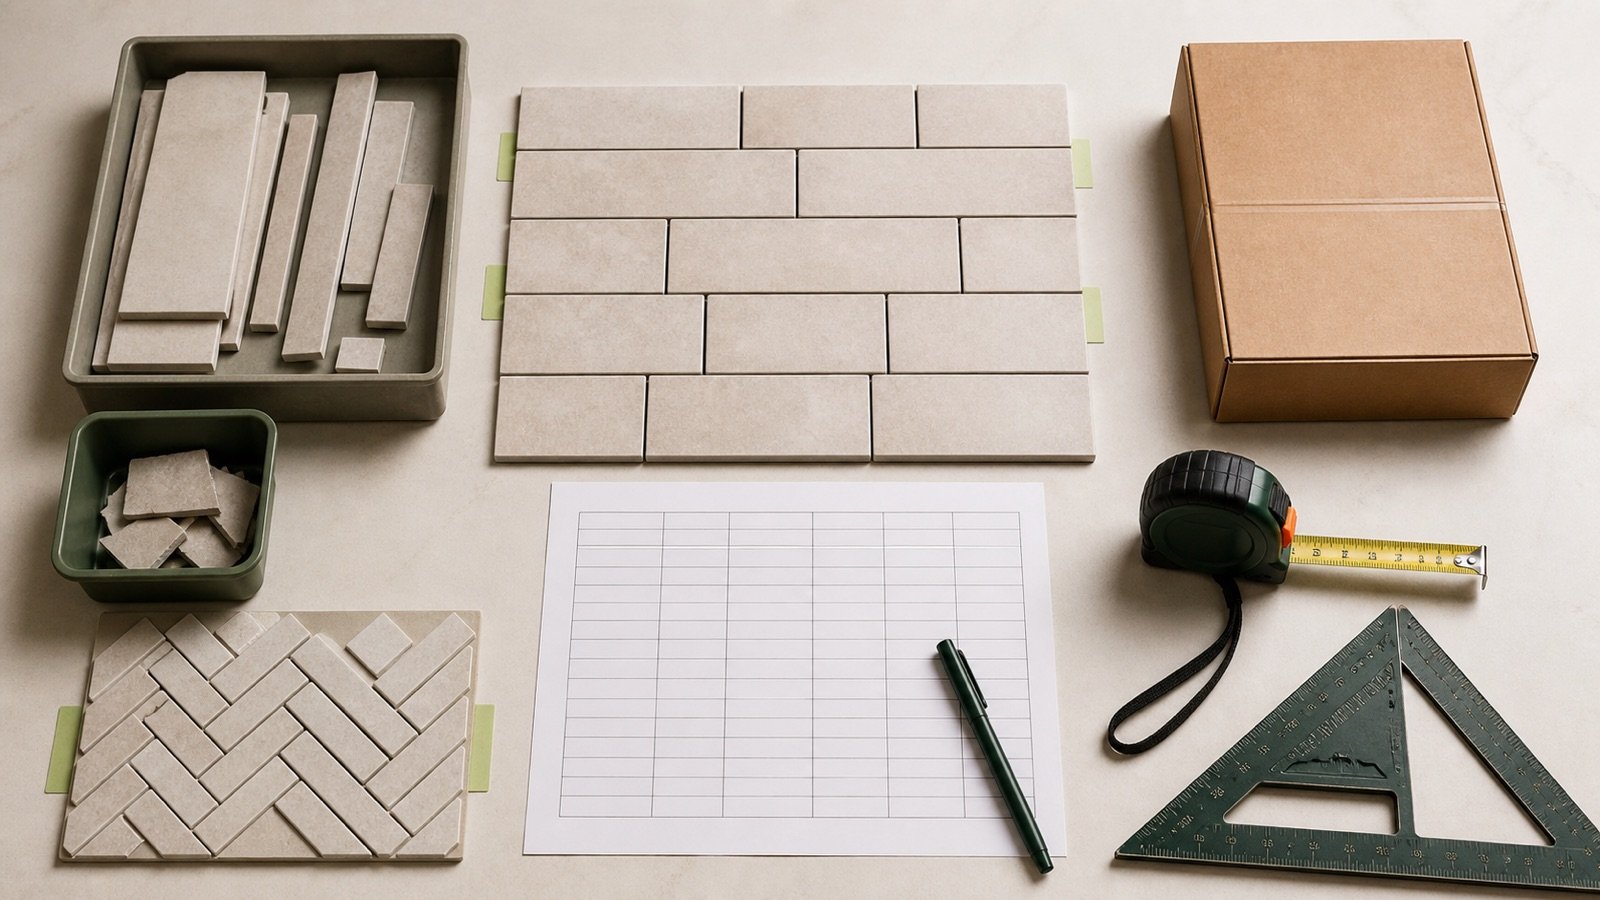
A grout coverage estimate is only as good as the measurements attached to it. A total floor area cannot show the tile size, joint width, filled depth or product row used to turn that area into packages.
Build a short field ledger before opening the calculator. Keep separate lines when the tile format, joint condition, grout product or published coverage basis changes.
Which grout-joint measurements do you need?
Record the compatible tiled area, the face dimensions of one repeated tile, the internal grout-joint width, the depth that grout will fill and the selected product's current coverage row. Save the units, measurement locations, product, package, market and source date with those values.
The Grout Calculator can turn a matched product coverage into whole packages and can run a separate rectangular joint-volume check. It cannot decide which joints receive grout or supply missing product evidence.
| Field | What to record | Why it matters |
|---|---|---|
| Zone ID | Room, floor, wall or elevation reference | Ties the quantity to a drawing or site sketch |
| Compatible tiled area | Net area and units | Sets the surface covered by one calculation |
| Tile face | Length × width of one repeated piece | Controls joint length per unit area |
| Joint width | Approved or installed internal gap | Changes the joint cross-section and coverage row |
| Filled depth | Prepared cavity expected to receive grout | Changes theoretical volume |
| Grout record | Manufacturer, product, color, package and market | Identifies the material being ordered |
| Coverage evidence | Matching row, revision, URL and access date | Makes the package result reproducible |
How do you measure the tiled area?
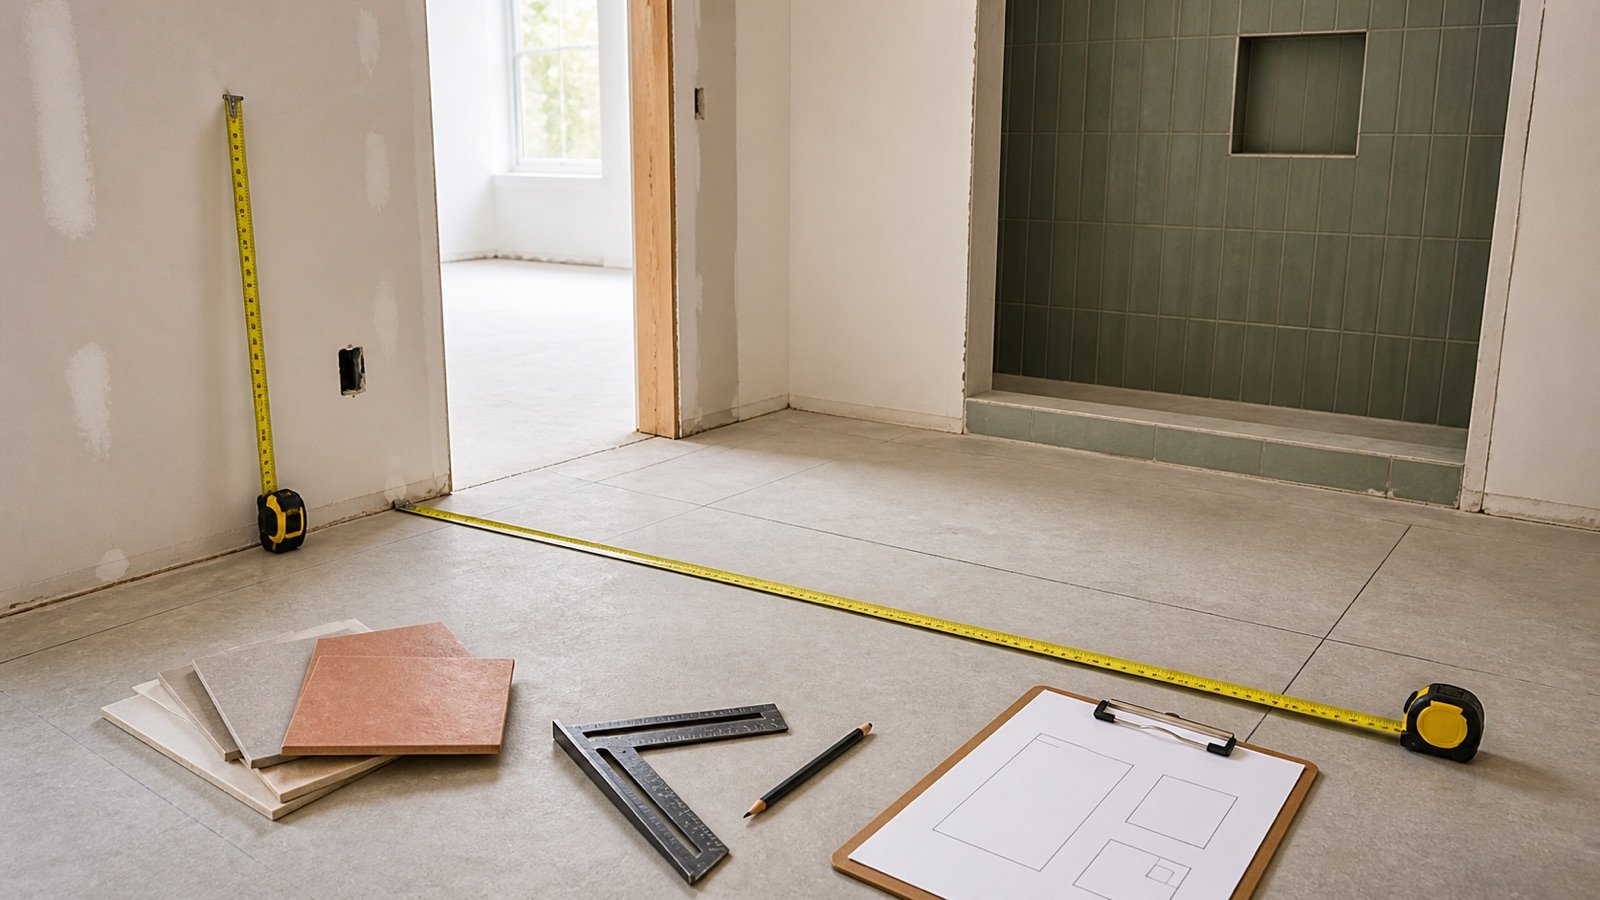
Measure only the floor and wall faces that will use the same grout product and coverage basis. Add compatible receiving surfaces before package rounding, and split any zone that needs a different product, package, tile format, joint width or filled depth.
Use a sketch or area schedule. Divide irregular boundaries into checked non-overlapping shapes, subtract confirmed untiled openings and retain the calculation behind the net area. The floor and wall tile measurement guide covers openings, niches, returns and irregular boundaries in detail.
Do not include perimeter sealant, movement joints, control joints or change-of-plane joints in the grout area merely because they appear between tile edges. Follow the current project detail for those locations and keep their material quantities separate.
Which tile dimensions belong in a coverage row?
Use the dimensions described by the selected manufacturer's table or calculator. When it requests tile length, width and thickness, match the actual selected format and units rather than choosing a nearby row without recording the difference.
Nominal product names can differ from measured face dimensions. Check the current product record and a representative sample when the coverage method calls for actual dimensions. Do not change the approved layout or joint design to make a coverage row fit.
A mosaic sheet's outside dimensions can help order sheets, but they do not describe the many internal joints that receive grout. Use the individual-piece dimensions or a manufacturer coverage row that explicitly matches the mosaic.
How should grout-joint width be measured?
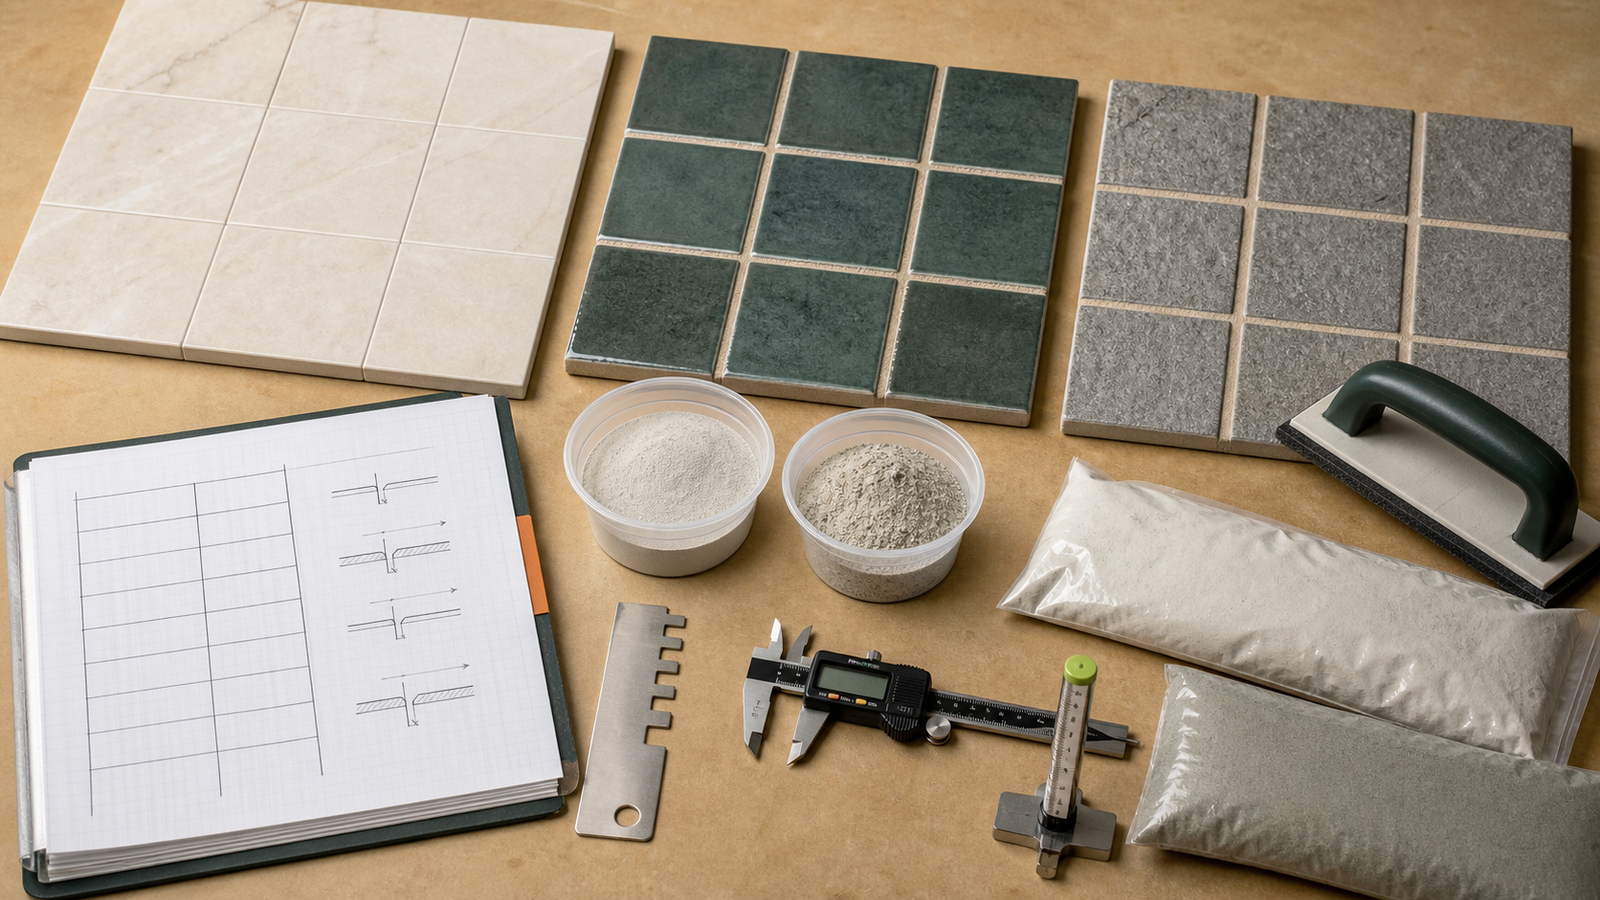
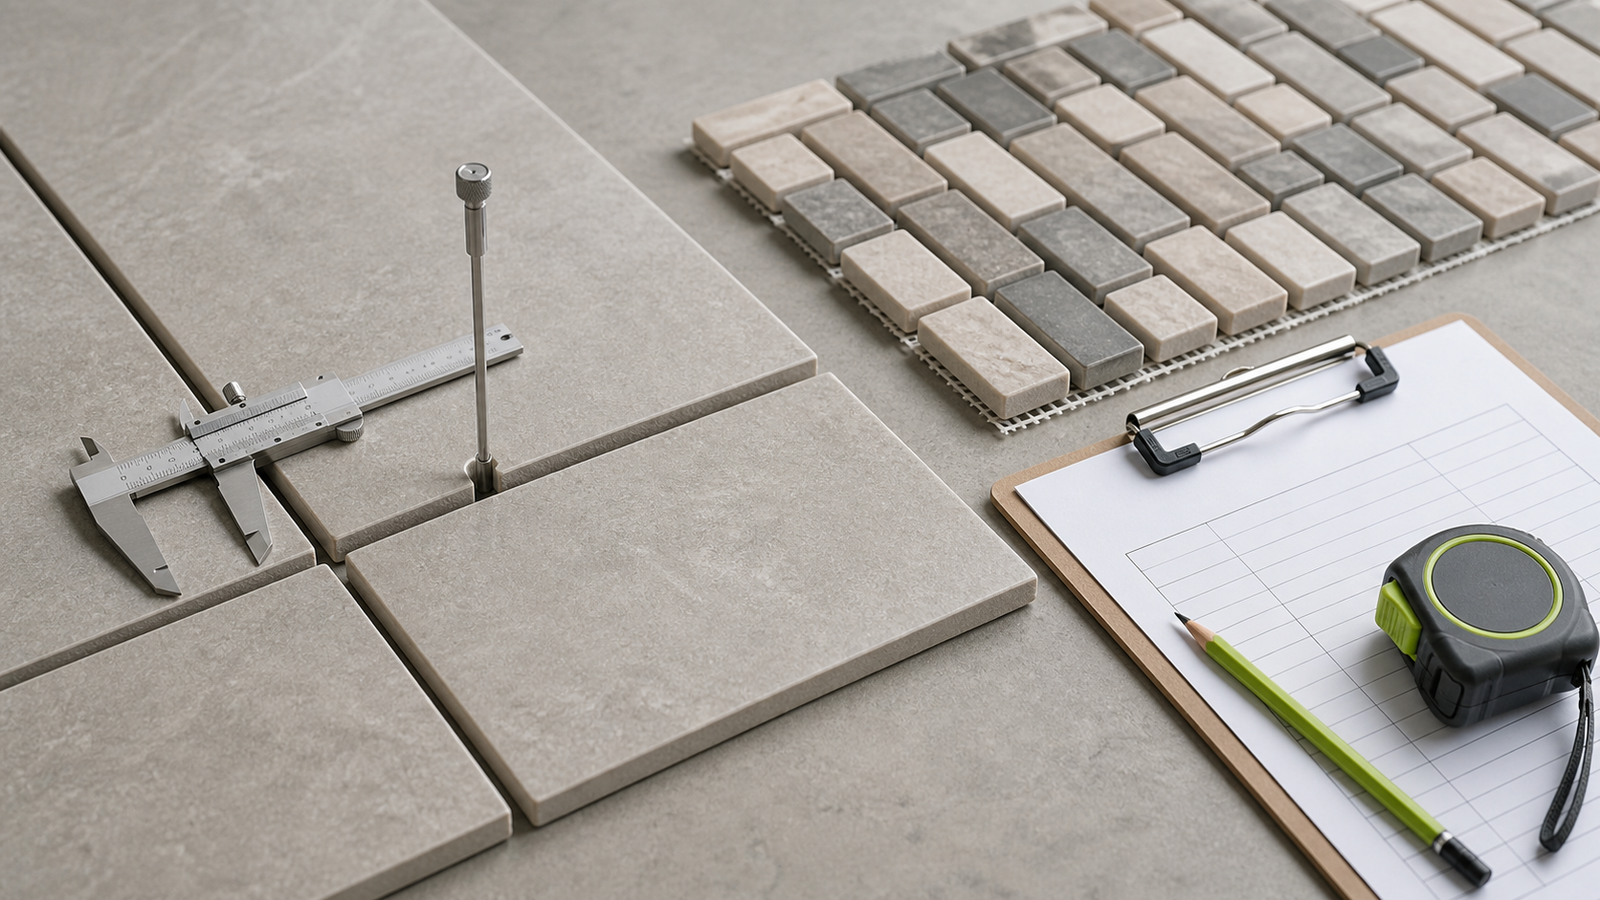
Measure the clear internal gap between adjacent tile edges at several representative locations. Record where each reading came from and whether it is an approved design dimension, a dry-layout check or an installed condition.
A single measurement can hide variation between tiles, sheets, courses or installers. TCNA notes that tile dimensional variation and edge characteristics can affect joint width. If readings create materially different manufacturer coverage rows, split the zones or obtain a project decision instead of inventing one average.
- Confirm that the location is an internal grout joint, not a movement or perimeter joint.
- Use a suitable rule, gauge or caliper without forcing the tool against fragile tile edges.
- Take readings in both tile directions when the layout has crossing joints.
- Sample field areas, sheet-to-sheet transitions and visibly different conditions.
- Record the range and the value accepted for the takeoff.
This procedure collects quantity inputs. Joint width selection still depends on the tile, product instructions, project specification, layout and installation requirements.
Is grout-joint depth the same as tile thickness?
Not automatically. Tile thickness can be a useful product dimension, but the quantity input is the cavity that grout is expected to fill. Edge profiles, lugs, mesh, setting material, cleaning depth, existing material and the specified joint detail can change that cavity.
For new work, use the approved detail and current grout instructions. For an exposed sample or prepared repair, measure at representative locations with a suitable depth probe and document what surface forms the bottom of the cavity. Never probe a live electrical, plumbing or waterproofing detail blindly.
MAPEI's product data states that actual jobsite coverage can vary with tile size, joint depth and joint width. That limitation supports measuring the cavity rather than silently substituting tile thickness.
How do you measure mosaic joints?
Identify one individual mosaic piece, its internal joints and the sheet-to-sheet transition. The mesh sheet envelope is not one large tile when grout fills between the mounted pieces.
Check whether the internal spacing matches the gap between sheets. A visibly wider or narrower sheet boundary can create a separate condition and an appearance issue. For penny rounds, hexagons, interlocking pieces or mixed modules, use a manufacturer coverage row for that format when available because a rectangular piece formula does not model the geometry faithfully.
| Tile condition | Record | Coverage action |
|---|---|---|
| One rectangular format | Individual face, internal width and filled depth | Match the product row or use the rectangular geometry check |
| Mesh-backed square mosaic | Individual piece and internal spacing | Prefer a named-product mosaic row |
| Penny round or hexagon | Format, piece dimensions and joint condition | Do not force it into the rectangular formula |
| Mixed-size modular pattern | Pattern schedule and each piece group | Use a supported pattern or project-specific takeoff |
| Variable natural edge | Representative width range and detail | Obtain product and project guidance |
How do you match measurements to a manufacturer coverage table?
Select the exact grout product and package first. Then find the row and column that match the tile dimensions, joint width and any depth or thickness condition stated by that source.
- Confirm the manufacturer, product name, package size and sales market.
- Check the technical-data revision or calculator access date.
- Read the table heading, units, footnotes and definition of coverage.
- Match tile length, width and thickness or filled depth as the source requires.
- Match joint width without crossing to a more favorable column.
- Record the published area per package and any stated limitation.
- Enter that coverage in the calculator and retain a copy or link to the source.
If the exact condition is absent, do not present the closest row as exact. Ask the manufacturer or supplier, use a supported conservative project decision, or keep the package result unavailable.
Worked example: from field ledger to whole packages
A rectangular tile zone has 18 m² of compatible net area. The accepted project record adds 5%, producing 18.9 m² of planning area. For an arithmetic fixture, assume the user enters a current matching product coverage of 7.5 m² per package.
- Planning area: 18 × 1.05 = 18.9 m².
- Exact package ratio: 18.9 ÷ 7.5 = 2.52 packages.
- Whole-package order: ceiling(2.52) = 3 packages.
- Published coverage purchased: 3 × 7.5 = 22.5 m².
- Package surplus above planning area: 22.5 − 18.9 = 3.6 m² of published coverage.
The 7.5 m² value tests the arithmetic and is not a grout-product claim. Replace it with the selected product's matching current record. Keep the 0.9 m² allowance separate from the 3.6 m² created by whole-package rounding.
Worked example: checking rectangular joint geometry
A 10 m² field repeats 300 × 600 mm rectangular tile faces with 3 mm internal joints and an 8 mm filled depth.
- Tile face area: 300 × 600 = 180,000 mm².
- Repeating module: 303 × 603 = 182,709 mm².
- Joint share: (182,709 − 180,000) ÷ 182,709 = 0.0148269, or about 1.483%.
- Theoretical volume: 10 × 0.0148269 × 0.008 = 0.001186 m³.
- Volume check: about 1.186 L.
This result describes nominal joint space. It does not prove grout mass, mixed yield or package count. Texture, boundaries, voids, chamfers and installation loss can change consumption.
When should one grout takeoff be split?
Split the takeoff whenever one coverage row cannot honestly describe the full area. Combine compatible unrounded areas only after confirming that the product, package and measured conditions match.
| Change | Why one total fails | Next step |
|---|---|---|
| Field tile to mosaic | Joint length per area changes sharply | Use separate product coverage rows |
| Wall to floor product | Product or package may change | Close each selected grout separately |
| Joint-width range crosses table columns | Published coverage changes | Split or obtain a documented decision |
| Different filled depths | Joint volume changes | Measure and calculate each condition |
| Repair beside intact grout | Prepared cavity is not a full new joint | Measure only the removed and cleaned section |
| Movement or perimeter joint | It uses another specified material system | Exclude it from grout quantity |
Which measurement mistakes distort grout coverage?
- Using gross room area after tile openings or finish boundaries changed.
- Combining different tile formats under one coverage row.
- Entering the mosaic sheet envelope as one tile.
- Measuring one convenient joint and ignoring a wider condition.
- Using nominal tile names without checking what the coverage table requests.
- Substituting tile thickness for filled depth without checking the cavity.
- Counting movement and perimeter joints as grout joints.
- Copying coverage from another product, package, country or old data sheet.
- Adding allowance inside the area and again inside coverage.
- Rounding every small zone to a package before compatible areas are totalled.
What should be checked before ordering grout?
- The area ledger ties to the current drawing or field sketch.
- Each combined zone uses one tile format and joint condition.
- Mosaics are identified by individual pieces and internal joints.
- Joint width readings have locations and an accepted takeoff value.
- Filled depth has a detail, product record or measured basis.
- The product, color, package, market and coverage revision are current.
- Allowance and whole-package surplus appear as separate lines.
- Movement-joint materials and repair stock are separate decisions.
Return to the tile planning tools and guides for the category workflow. Use the tile layout guide when start lines, modules and edge cuts still need approval. The calculation methodology explains unit, precision and rounding controls.
Sources and source scope
- CUSTOM Building Products Polyblend Plus Sanded Grout technical data: one named product's approximate coverage table across tile dimensions and joint widths.
- MAPEI 2-1/2 to 1 technical data: jobsite coverage variation with tile size, joint depth and joint width, plus movement-joint separation.
- LATICRETE Product Selection Catalogue: named-product coverage tables organized by tile size and joint width.
- Tile Council of North America grout FAQ: factors that can change grout-joint width.
- NIST Handbook 44 (2026), Appendix C: length and area unit relationships.
Source scope: Manufacturer sources support product-specific coverage inputs and limitations. TCNA supports joint-width context. NIST supports unit relationships. None of these sources supplies a universal joint width, filled depth, coverage, allowance or package order.
Review responsibility: Saleem Sial owns the research and editorial record. Source checks, independent arithmetic, internal-link review, build validation, link crawl, schema review and rendered QA form the internal publication gate. Waseem Sial, External Reviewer and Engineer, remains listed for ongoing external review; no completed external-review date is claimed.