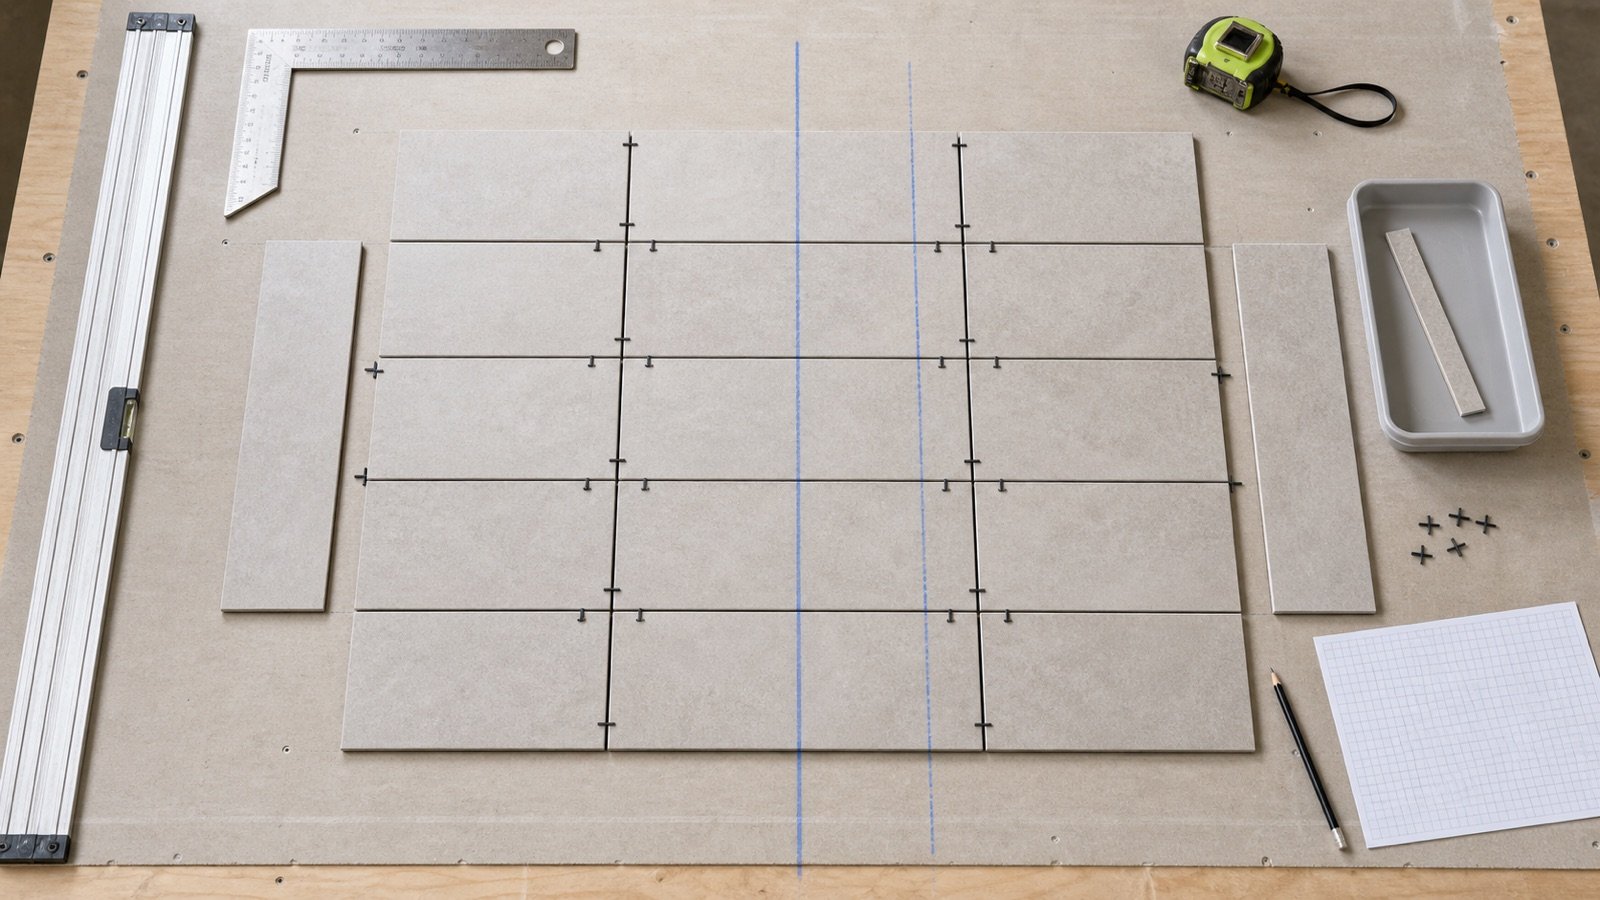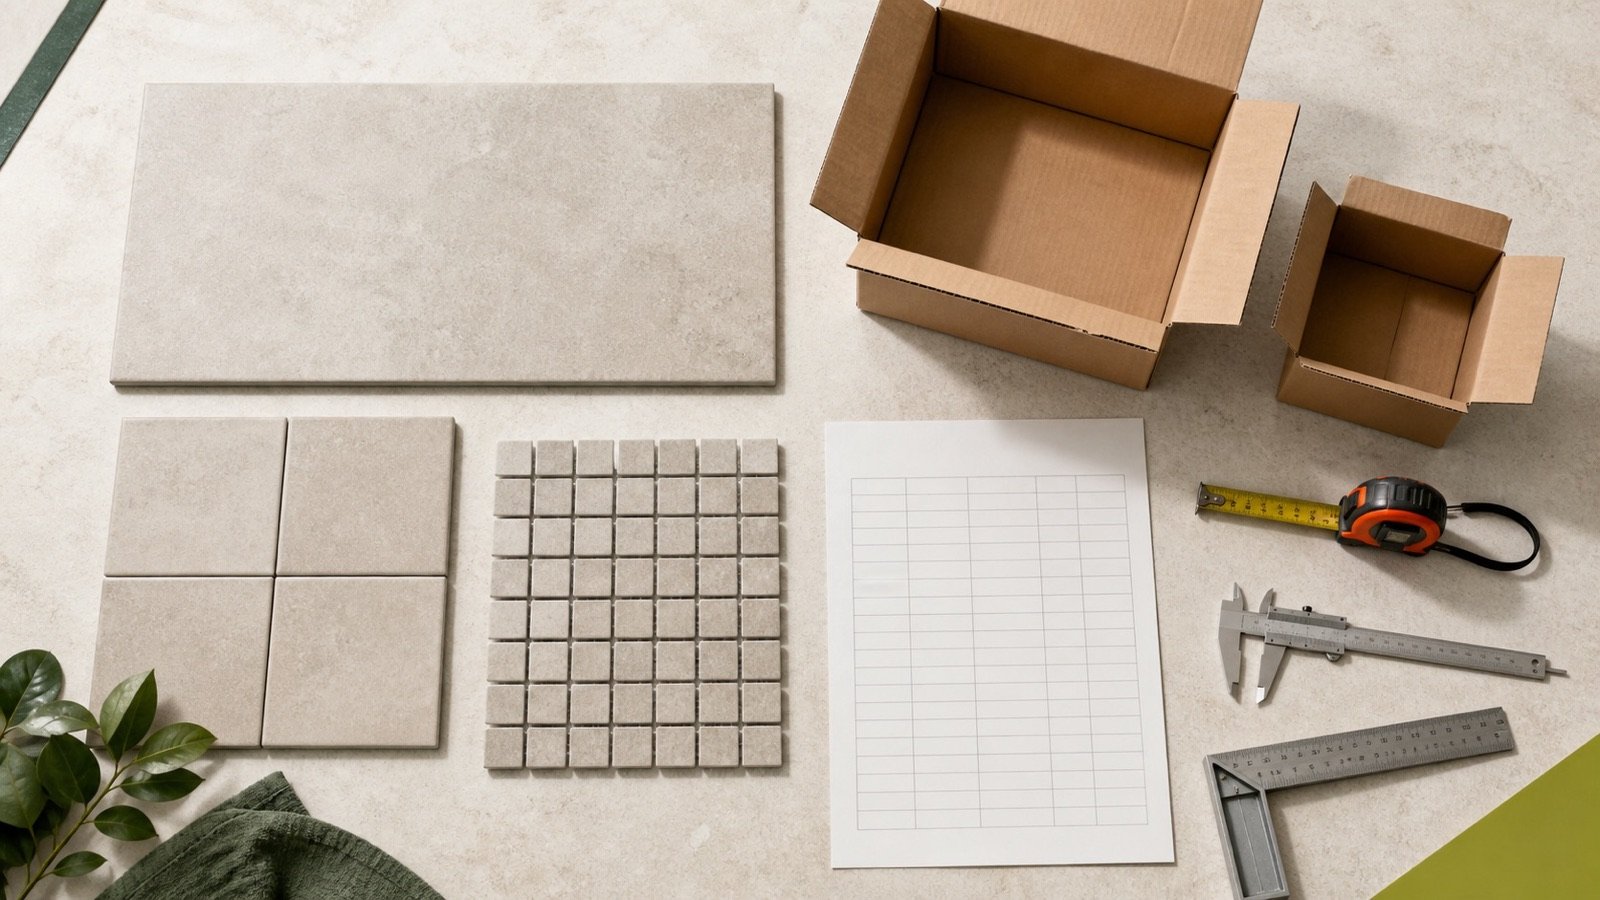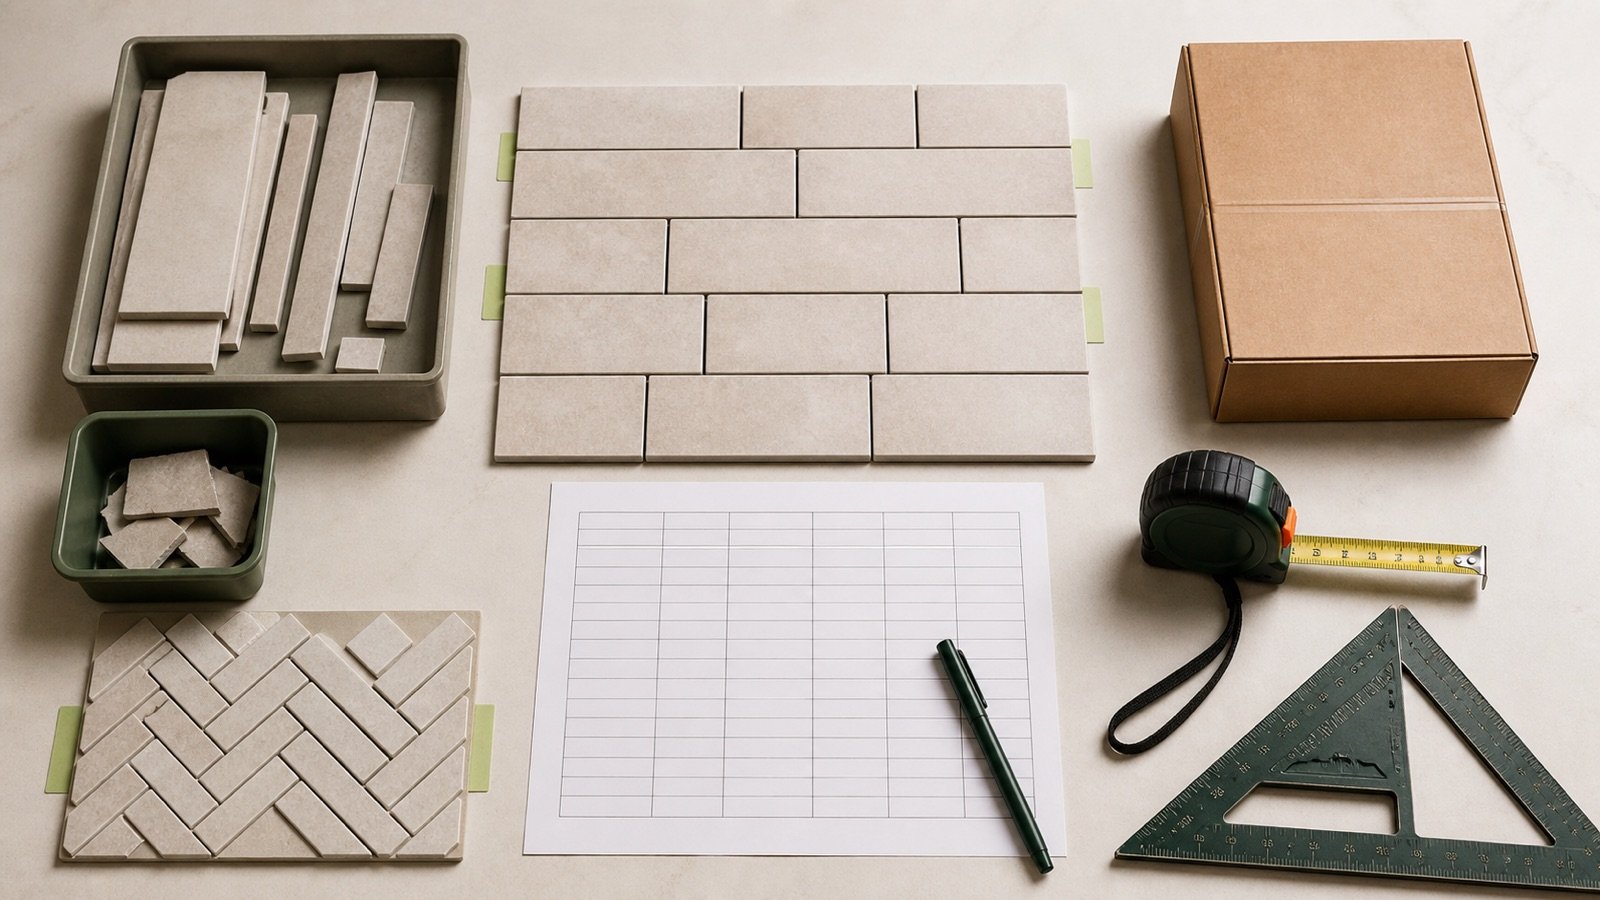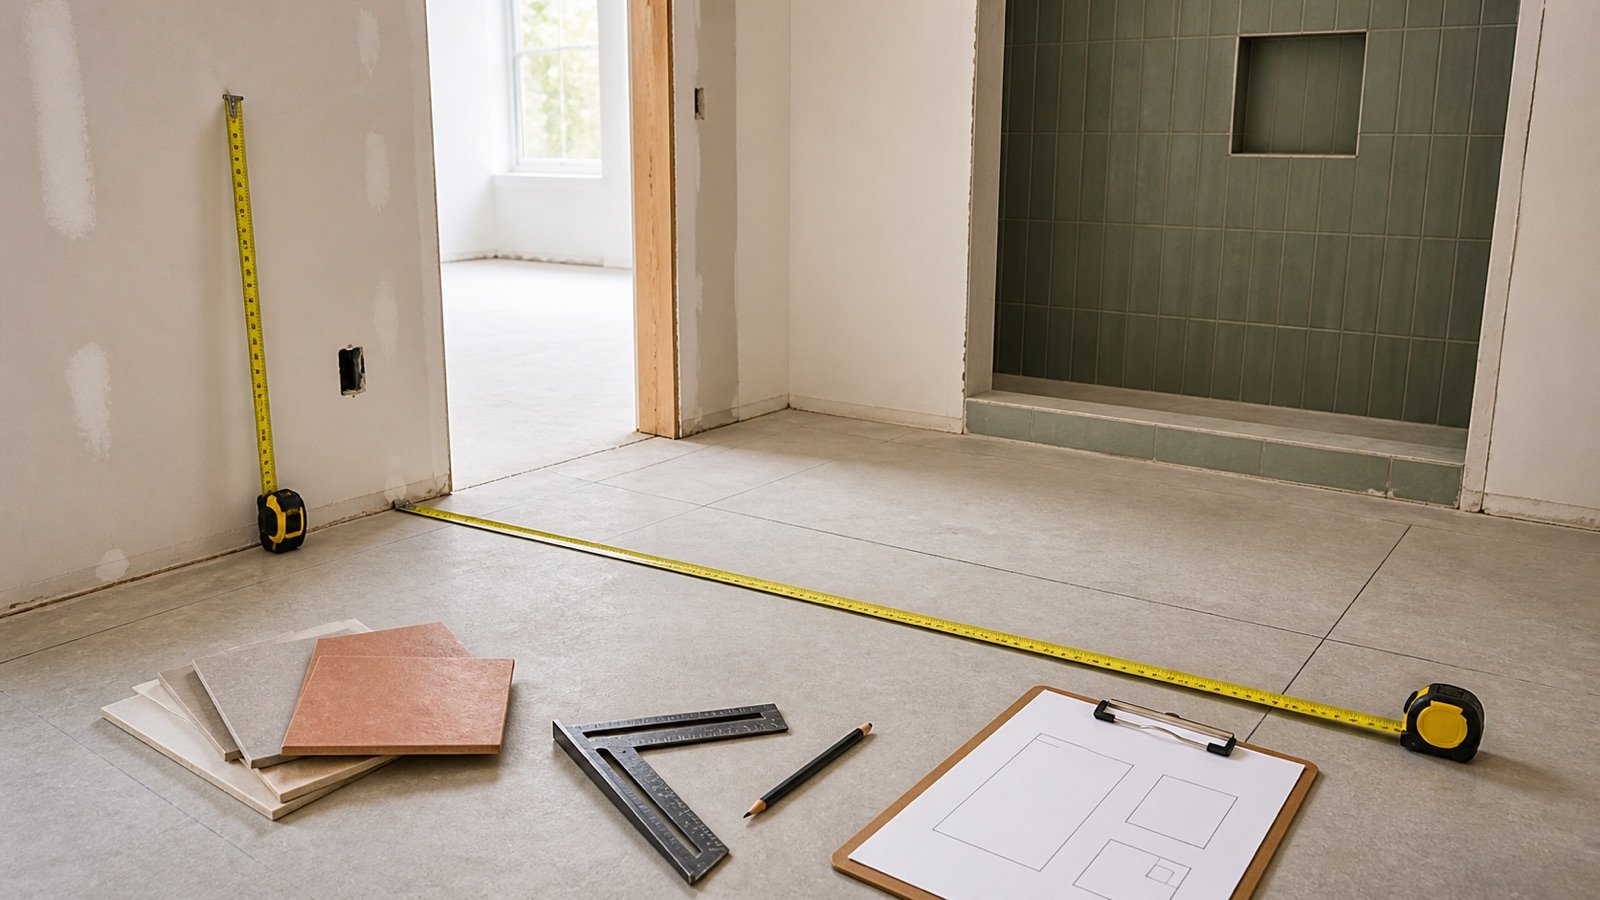
A tile measurement should describe every surface that will receive one selected product. A room name or one total area cannot show whether you included an alcove, deducted a window, tiled a door return or changed the finish height.
Start with a sketch and label each floor or wall face. Add receiving surfaces, subtract confirmed untiled zones and keep trims or different tile products on separate lines.
How do you measure a floor or wall for tile?
Divide the tile boundary into non-overlapping rectangles and, where needed, checked triangles. Measure each shape, record its location and calculate its area. Add all receiving faces, then subtract only the openings or footprints that will remain untiled.
Net tile area = sum of receiving-face areas − sum of untiled deductions
Rectangle area = length × width
Right-triangle area = base × perpendicular height ÷ 2
Keep the dimensions in one unit system until the area is closed. When measurements are in inches, divide square inches by 144 to obtain square feet. When they are in millimetres, divide square millimetres by 1,000,000 to obtain square metres.
The boundary decides which faces belong in the quantity. The Tile Calculator can process a rectangle or a checked known area, but it cannot decide whether tile continues beneath a cabinet or around a niche.
What should the tile measurement sheet contain?
Give every measured face and deduction an ID. A reviewer should be able to match each line to a room, elevation, sketch or drawing without guessing.
| Field | Entry | Check |
|---|---|---|
| Surface ID | Room, wall, floor, niche or detail reference | Matches the sketch or current drawing |
| Tile boundary | Start edge, finish edge and finish height | Paint, trim, cabinet and fixture interfaces are clear |
| Shape | Rectangle, right triangle or checked known area | Zones do not overlap |
| Dimensions | Measured length, width or perpendicular height | Units appear beside every value |
| Add or deduct | Receiving face or confirmed untiled zone | The reason is recorded |
| Product group | Field tile, mosaic, accent, trim or another product | Only compatible areas are combined |
| Source control | Drawing revision, site date and measurer | Later changes can be reconciled |
The CFI Ceramic Installation Workbook treats the drawing and detailed measurement record as part of installation planning. Its estimating section also carries net area into a stated allowance and whole-carton calculation. Keep those stages separate in your worksheet.
How should a rectangular floor be measured?
Measure the tile boundary from finished edge to finished edge in both directions. Use the planned finish boundary rather than a convenient room dimension when tile stops at a transition, hearth, built-in unit or another floor finish.
- Label the floor zone on a sketch.
- Measure its length and width along straight, unobstructed lines.
- Repeat a critical dimension from the opposite side when walls are not parallel.
- Record alcoves, doorways and projections as separate additions.
- Record confirmed untiled footprints as deductions.
A cabinet, island, tub or shower base is a deduction only when the accepted finish boundary stops at that footprint. If tile continues beneath it, retain the area. Save the decision with the takeoff because the room geometry alone cannot prove it.
How do you measure an L-shaped or irregular floor?
Split an L-shaped floor into 2 non-overlapping rectangles and add their areas. For an angled edge, use a rectangle plus a checked right triangle when that geometry matches the boundary.
Avoid drawing 2 rectangles that cover the same corner. If overlap cannot be avoided, calculate and subtract the overlap once. A curved or free-form boundary needs a checked segmented or surveyed area outside the basic rectangle method.
| Boundary | Measurement method | Record to keep |
|---|---|---|
| Rectangle | Length × width | Two dimensions and surface ID |
| L-shape | Two non-overlapping rectangles | Sketch showing the split line |
| Straight diagonal edge | Rectangle plus or minus a right triangle | Base and perpendicular height |
| Curved edge | Checked segmented, coordinate or surveyed area | Method, points and checker |
| Known drawing area | Accepted known-area input | Drawing revision and area calculation |
How should walls and partial-height tile be measured?
Measure each wall face separately. Record the horizontal run and the actual planned tile height, which may end at a ceiling, cabinet, trim line, wainscot line or other accepted boundary.
Walls with changing heights need separate rectangles or a rectangle and triangle. A sloped ceiling does not justify using the highest wall height across the full run. Keep the wall ID beside each area so windows, doors and returns remain tied to the correct elevation.
The Tile Association's 2026 Tiling Guide treats wall setting-out, windows, corner pattern matching and cut sizes as layout decisions. Area measurement supplies the receiving surface; it does not prove the final course count or cut arrangement.
Which doors, windows and fixtures should be deducted?
Deduct a zone when the accepted tile boundary leaves that zone untiled. Record its width, height or footprint and location. A universal minimum-opening rule cannot replace the project boundary or layout decision.
| Condition | Area treatment | Follow-up |
|---|---|---|
| Door opening with no tiled jamb or head | Deduct the opening inside the measured wall face | Confirm the exact finish edge |
| Window with tiled sill and reveals | Deduct the aperture, then add each tiled return | Separate product or trim lines where needed |
| Small pipe or electrical cutout | Keep or deduct only under the accepted takeoff method | Layout still needs a cut around the penetration |
| Cabinet or tub footprint | Deduct only when floor tile stops there | Check the finish plan and installation sequence |
| Freestanding fixture | Retain the floor area when tile continues below or around it | Record the actual tile boundary |
An opening can reduce net area while increasing cut complexity. Keep the area decision and the layout allowance decision on different lines.
How do you measure a shower niche?
Deduct the niche aperture from the main wall face once. Add the niche back, top, bottom and 2 side returns when those 5 faces receive tile. Measure trim or edge pieces by their own selling unit.
Niche-adjusted wall area = gross wall area − aperture + back + top + bottom + side returns
A niche can use a different mosaic on its back and field tile on its returns. In that case, keep the back and returns in separate product groups even though they belong to one physical opening.
This same face-by-face method applies to tiled benches, curbs, shelves, window reveals and door jambs. List every receiving plane once. Check adjacent faces at corners so no area is duplicated.
Worked example: 3 shower walls and a niche
A shower has a 2.4 m × 2.1 m back wall and 2 side walls, each 1.2 m × 2.1 m. A niche in the back wall has a 0.6 m × 0.4 m aperture and is 0.12 m deep. All 5 internal niche faces receive the same field tile.
| Line | Calculation | Area |
|---|---|---|
| Back wall | 2.4 × 2.1 | 5.04 m² |
| Two side walls | 2 × 1.2 × 2.1 | 5.04 m² |
| Gross walls | 5.04 + 5.04 | 10.08 m² |
| Niche aperture | 0.6 × 0.4 | −0.24 m² |
| Niche back | 0.6 × 0.4 | +0.24 m² |
| Top and bottom | 2 × 0.6 × 0.12 | +0.144 m² |
| Two sides | 2 × 0.4 × 0.12 | +0.096 m² |
| Net receiving area | 10.08 − 0.24 + 0.24 + 0.144 + 0.096 | 10.32 m² |
The niche adds 0.48 m² of internal receiving faces after its 0.24 m² aperture is deducted. The net effect is 0.24 m² above the 3 flat wall areas. No allowance or carton rounding has been applied.
Worked example: L-shaped bathroom floor
A bathroom floor has a 12 ft × 9 ft main rectangle and a 4 ft × 3 ft alcove. A fixed 5 ft × 2.5 ft tub footprint remains untiled under the accepted finish plan.
- Main floor: 12 × 9 = 108 ft².
- Alcove: 4 × 3 = 12 ft².
- Gross floor: 108 + 12 = 120 ft².
- Untiled tub footprint: 5 × 2.5 = 12.5 ft².
- Net tile area: 120 − 12.5 = 107.5 ft².
Enter 107.5 ft² as a checked known area in the Tile Calculator if all listed zones use one compatible tile product and allowance basis. Retain the sketch because the single input cannot show how the total was built.
How much can a measurement difference change the area?
The effect depends on the other dimension. A 12 ft × 9 ft rectangle is 108 ft². If only the 12 ft measurement increases by 1/2 in, the area becomes 12.0416667 × 9 = 108.375 ft², a difference of 0.375 ft².
This example illustrates sensitivity and does not set an acceptable tolerance. Recheck inconsistent measurements, bowed walls, changing widths, drawing scale and the physical finish boundary. Record whether dimensions came from site measurement, a drawing or an accepted digital takeoff.
When should tile areas be combined?
Combine unrounded net areas when the same selected product, color, size, carton coverage, layout basis and allowance apply across all zones. Apply the documented allowance once to that compatible total, then round to the current seller's carton increment.
Keep separate calculations when the product, orientation, pattern, finish, carton, allowance or selling unit changes. Field tile, mosaics, trim, borders and decorative panels often need separate quantity lines.
Rounding each small wall to a carton can order more material than combining compatible unrounded wall areas first. Keep the zone subtotals, then close the shared product order.
Why does measured area not determine the layout?
Area arithmetic does not position tiles. Joint width, tile module, start line, orientation, pattern repeat, centered cuts, edge conditions and reusable offcuts can change the piece layout without changing the measured receiving area.
The TTA guide calls for setting out walls around windows and corners and checking floor lines before fixing. Use an approved layout drawing or dry layout when course counts, edge cuts, directional graphics or pattern matching control the quantity.
Mesh mosaics, interlocking sheets, mixed-size packs and shaped tiles need current assembled coverage or a pattern schedule. Do not turn one bounding rectangle into a piece count unless the selected product record supports that method.
How do you hand the measurement to the Tile Calculator?
Use Tile Calculator rectangle mode for one rectangular receiving surface with up to 2 rectangular deduction groups. Use known-area mode after a separate worksheet has closed an L-shape, multiple walls, niches or another supported geometry.
- Confirm the product group and net area.
- Select metric or imperial units.
- Enter the rectangle or checked known area.
- Enter the project-approved allowance, if any. The field starts at 0%.
- Use current coverage per carton for the purchase calculation.
- Save the calculator result with the surface ledger and product record.
The calculator separates net area, allowance, planning area, full cartons and carton surplus. That sequence prevents a package increment from being mislabeled as measured area or project waste.
Which tile measurement mistakes change the quantity?
- Using the room name as the measurement boundary.
- Combining overlapping rectangles without subtracting the overlap.
- Using the highest wall height across a sloped boundary.
- Deducting a niche aperture and omitting its tiled internal faces.
- Deducting a window while omitting tiled sill and reveal areas.
- Deducting a cabinet or tub when tile continues beneath it.
- Adding a doorway, alcove or return twice.
- Mixing metres and millimetres or feet and inches inside one multiplication.
- Rounding each surface before compatible areas are totalled.
- Combining field tile, mosaics and trim in one square-area result.
- Applying a preset allowance before the layout and product are known.
- Discarding the sketch after entering one known-area total.
Measurement and installation limits
This guide calculates receiving-surface area. It does not inspect substrate flatness or strength, design waterproofing, select a tile or adhesive, set movement joints, approve a layout, check slip resistance, plan cuts or establish an installation tolerance.
Use current drawings, specifications, manufacturer instructions, seller records and qualified project decisions. The TTA guide notes that setting out, substrate condition, tile type and installation details affect the work after area measurement.
Return to the tile quantity planning tools and guides for the category record. The calculation methodology explains unit, precision and rounding checks. Report a factual or calculation issue through the corrections route.
Sources and source scope
- International Certified Flooring Installers Association Ceramic Installation Workbook: detailed drawing, measurement, rectangle-area, stated allowance, carton and trim-estimating context.
- Fireclay Tile Measuring for Bathroom Tile worksheet: smaller rectangular sections, inch measurements, square-inch arithmetic and a manufacturer-specific overage instruction.
- The Tile Association Tiling Guide, 2026: floor and wall setting-out, windows, patterns, cuts, joints, substrate and installation context.
- NIST Handbook 44, 2026, Appendix C: exact and published length and area unit relationships.
Source scope: CFI and Fireclay support rectangular measurement workflows. Fireclay's overage belongs to that manufacturer's worksheet and is not used as a universal default. TTA supports layout and installation context. NIST supports unit relationships. The niche and L-shaped floor ledgers are original checked examples.
Review responsibility: Saleem Sial owns the research and editorial record. Source verification, independent arithmetic, build validation, link crawl, schema review and rendered QA form the internal publication gate. Waseem Sial, External Reviewer and Engineer, remains listed for ongoing external review; no completed external-review date is claimed.