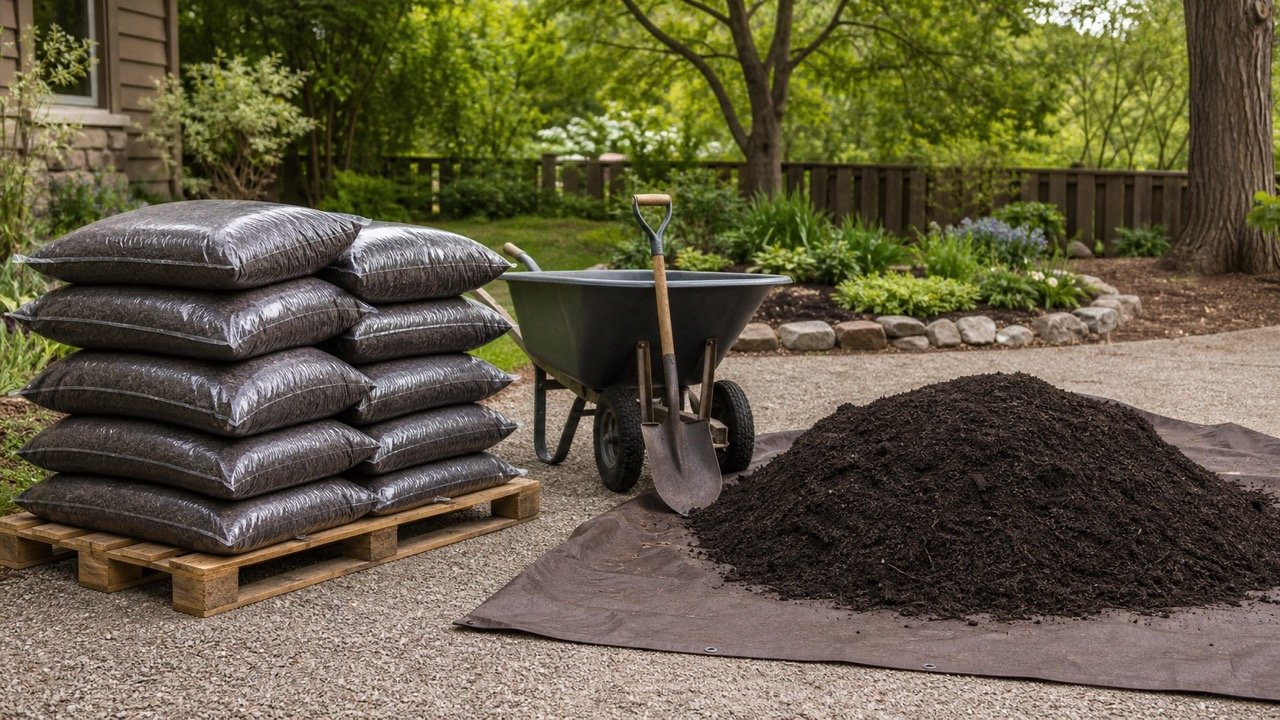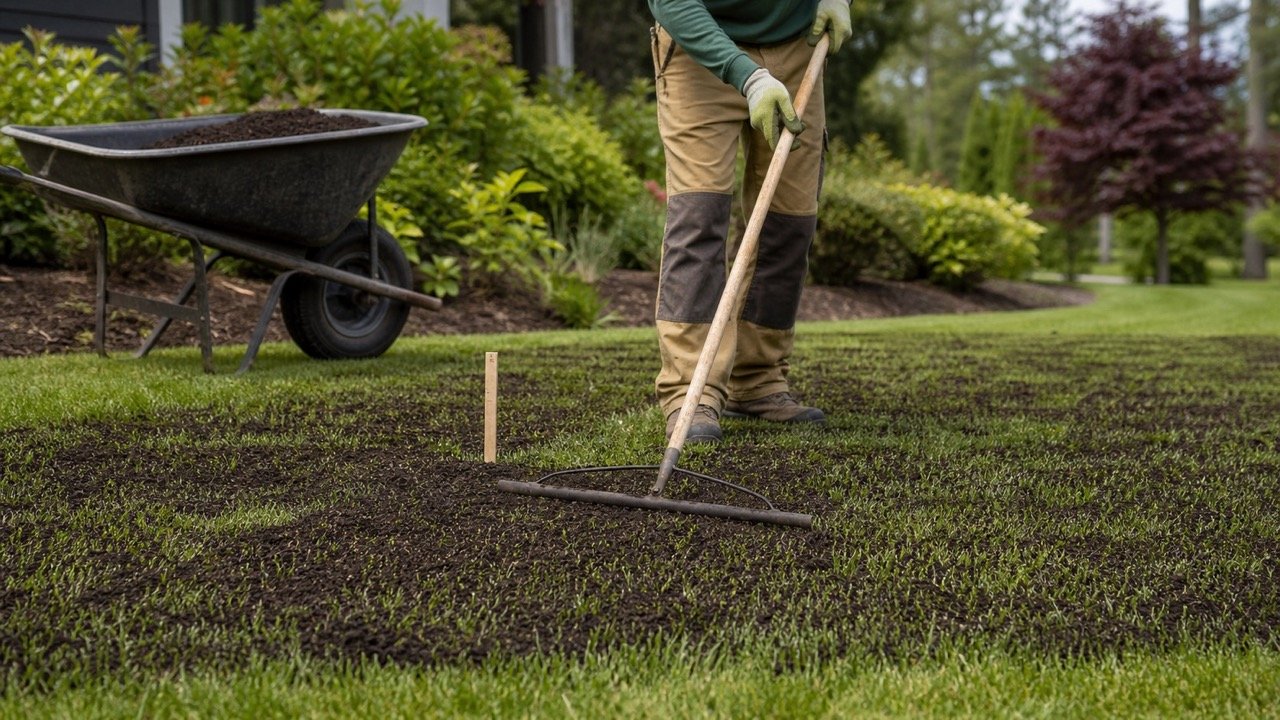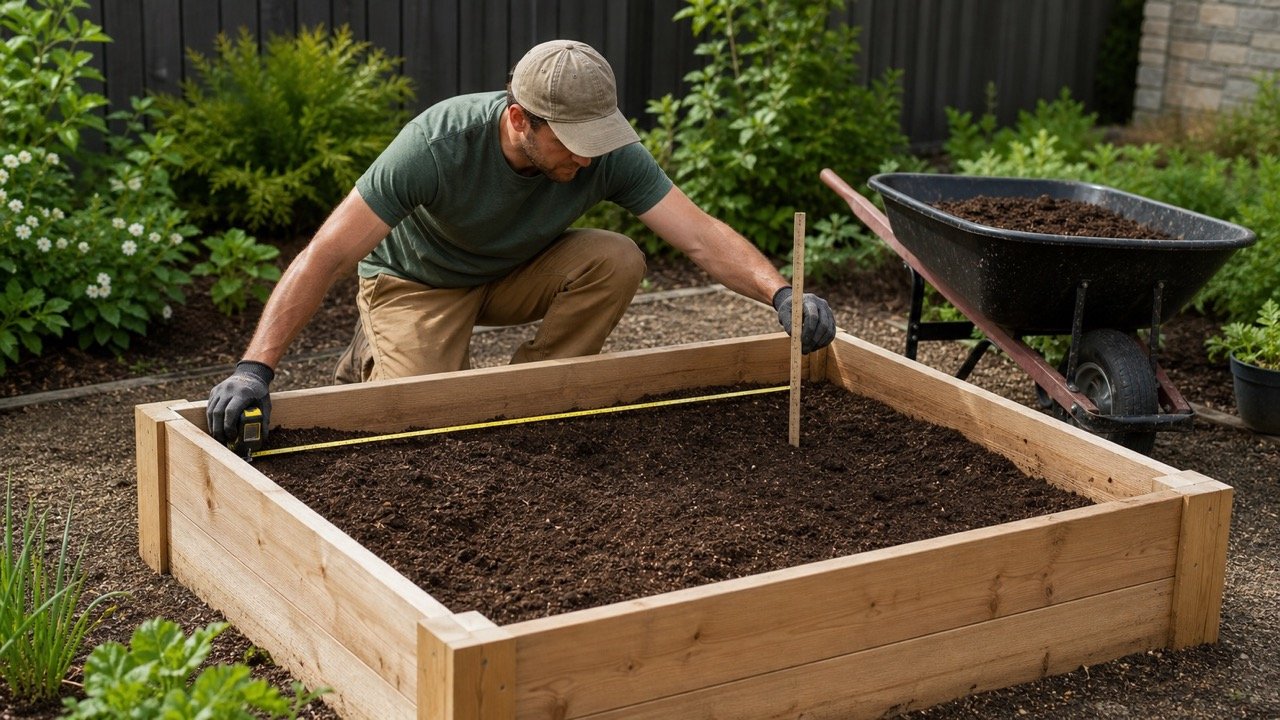
Mulch depth affects the quantity you buy, but the target depth comes before the calculator. Material texture, soil drainage, plant type, climate, existing buildup, and local guidance can change the suitable layer.
Choose a supported target for each bed zone, measure the usable mulch that remains, and calculate only the depth still needed. Keep trunks, root flares, stems, drains, and other no-cover areas visible in the quantity record.
How deep should mulch be?
Many U.S. university-extension sources publish ranges between 1 in and 4 in for common landscape materials, with important exceptions. Use guidance that matches the exact material, plant, soil, drainage, climate, and site rather than treating one depth as universal.
Iowa State University Extension describes 3 to 4 in of wood chips or shredded bark for well-drained sites around trees and shrubs and 2 to 3 in on heavy soils. University of Maryland Extension gives 1 to 3 in for bark and wood chips, 2 to 3 in for pine needles and shredded leaves, 1 to 2 in for grass clippings, and about 1 in for compost in its stated landscape context.
A depth published for coarse mulch in an open space does not automatically apply beside a tree trunk, in heavy soil, in an annual bed, or in another climate. Check local Extension guidance and the current landscape or planting specification.
Why do published mulch depths differ?
Different sources describe different materials and site conditions. Particle size, matting, drainage, rainfall, irrigation, soil temperature, wind, slope, plant age, and management purpose can change the result.
| Source and stated context | Published depth example | Limit to retain |
|---|---|---|
| Iowa State, wood chips or shredded bark around trees and shrubs | 3 to 4 in on well-drained sites; 2 to 3 in on heavy soils | Soil drainage changes the range |
| UNH, trees and shrubs | 2 to 3 in | Keep material away from trunk or branches |
| Maryland, bark or wood chips | 1 to 3 in | Named material and landscape context |
| Maryland, grass clippings | 1 to 2 in | Material decomposes quickly and can contain weed seed or treatment residue |
| UC Marin, fine material under 1/2 in particle size | No more than 2 in | Thin layers reduce obstruction of air and water |
| UC Marin, coarse mulch in open spaces | 4 to 6 in or more for weed control | Open-space guidance; poorly drained soil calls for less |
| Colorado State, stated weed-suppression context | 4 in | Colorado climate and material guidance; avoid deeper placement |
The table preserves each source.s context. Use it only within those recorded limits.
How does mulch texture change the depth?
Fine materials can mat, crust, or restrict water and air when placed too deeply. Coarse particles leave larger spaces and may need another depth for the stated purpose, but wind, slope, dryness, and poor drainage can limit their use.
| Material condition | Depth decision to document | Field check |
|---|---|---|
| Fine or double-shredded organic mulch | Use guidance for fine texture | Check matting, crusting, and infiltration |
| Coarse wood chips or bark | Use the source's named site and material range | Check wind movement, slope, irrigation, and contact with plants |
| Grass clippings or shredded leaves | Use the thinner material-specific guidance | Check matting, treatment history, weed seed, and decomposition |
| Compost used as surface mulch | Use compost-specific guidance | Keep it separate from a soil-amendment or mixed-in quantity |
| Rock or other inorganic cover | Use the landscape detail and local guidance | Check heat, drainage, fabric, edging, plant, and fire-safety context |
Do not convert a loose pile's appearance into a finished depth. Spread the material, settle it only as the product or project requires, and measure the placed layer.
How should mulch be placed around a tree?
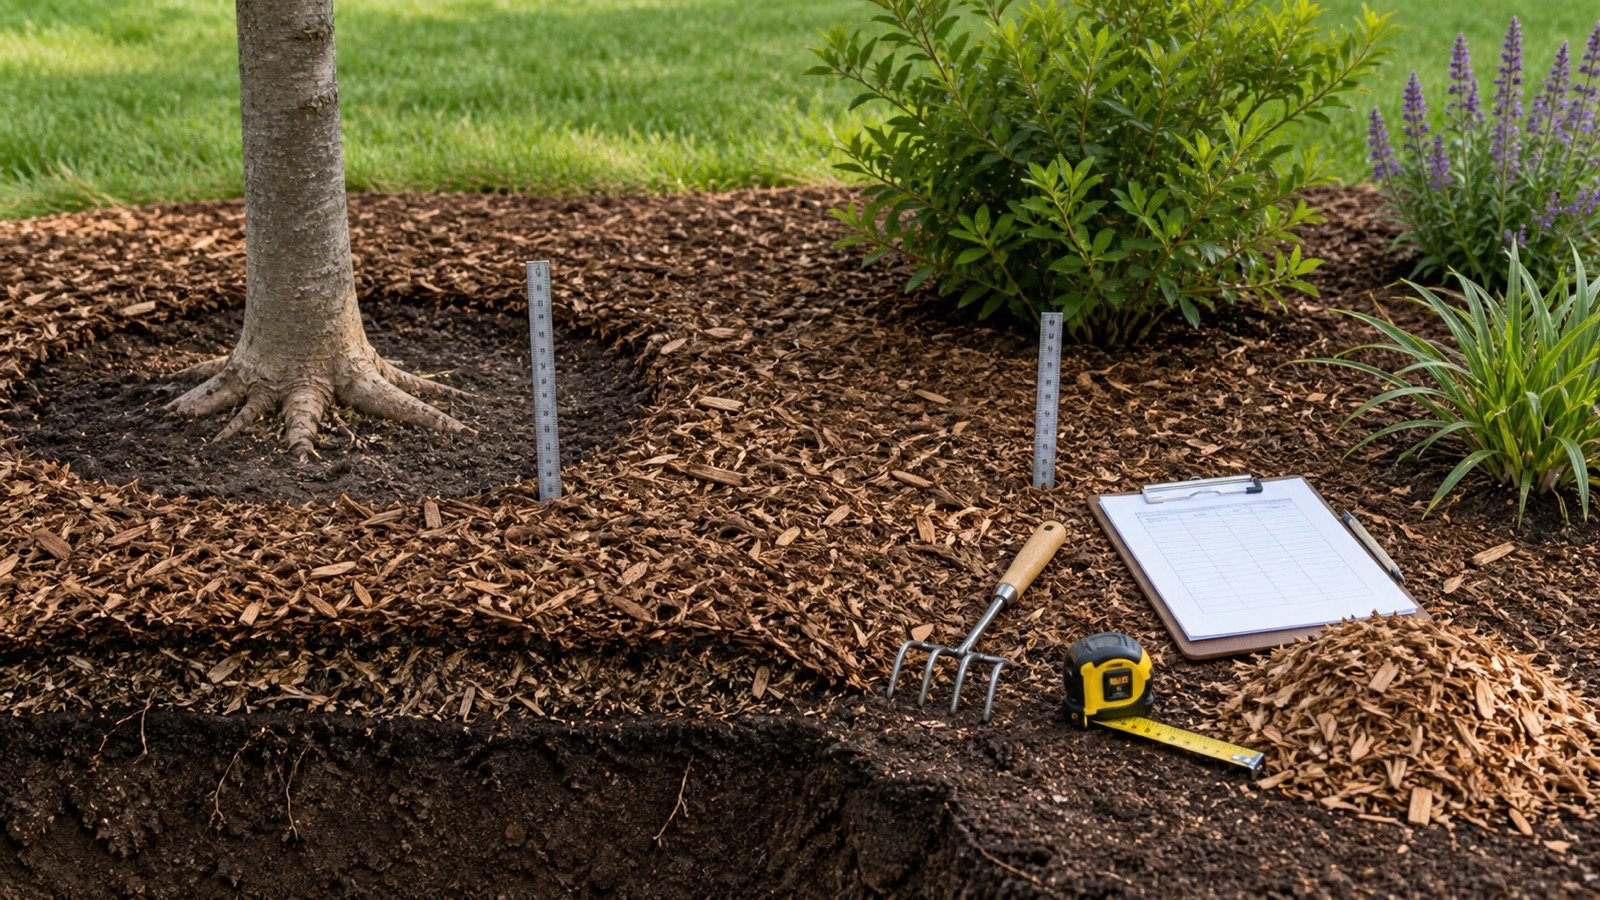
Keep the trunk and root flare exposed. Apply the chosen layer across the intended root-zone area and taper or stop it before the trunk according to the applicable guidance.
Reviewed Extension sources agree on avoiding mulch piled against the trunk, while their stated clearances vary. Iowa State and UC Marin state 6 in from trunks in their guidance. UNH describes 2 to 3 in of mulch and a few inches of clearance from the trunk or stem. Maryland states about 3 in from the trunk.
Record the actual no-mulch opening instead of deducting the whole canopy. A tree ring can extend outward while the inner opening keeps living bark and the root flare visible.
How should mulch be placed around shrubs and perennials?
Keep material away from stems and crowns under the applicable plant guidance. UNH's garden-mulch fact sheet states 2 to 3 in of clearance from the base of plants in its application guidance.
Give annuals, perennials, shrubs, groundcover, seedlings, containers, and vegetable beds separate zones when their material or depth guidance differs. A continuous bed outline does not prove one treatment across every plant.
Should you add the full target depth during a refresh?
Measure the usable layer that will remain and subtract it from the chosen target total. Adding the full target every season can create buildup.
Net top-up depth = max(target total depth − retained usable depth, 0)
| Existing condition | Quantity treatment |
|---|---|
| Bare new bed | Use the supported target depth |
| Even usable retained layer | Subtract its measured depth |
| Patchy layer | Create measured depth zones |
| Layer already at target | 0 added depth pending placement review |
| Layer above target or against plants | Resolve redistribution or removal before ordering more |
| Mixed or contaminated material | Resolve reuse, removal, and material compatibility separately |
The Mulch Calculator accepts target and retained depth separately so the measured top-up stays visible.
How do you measure retained mulch depth?
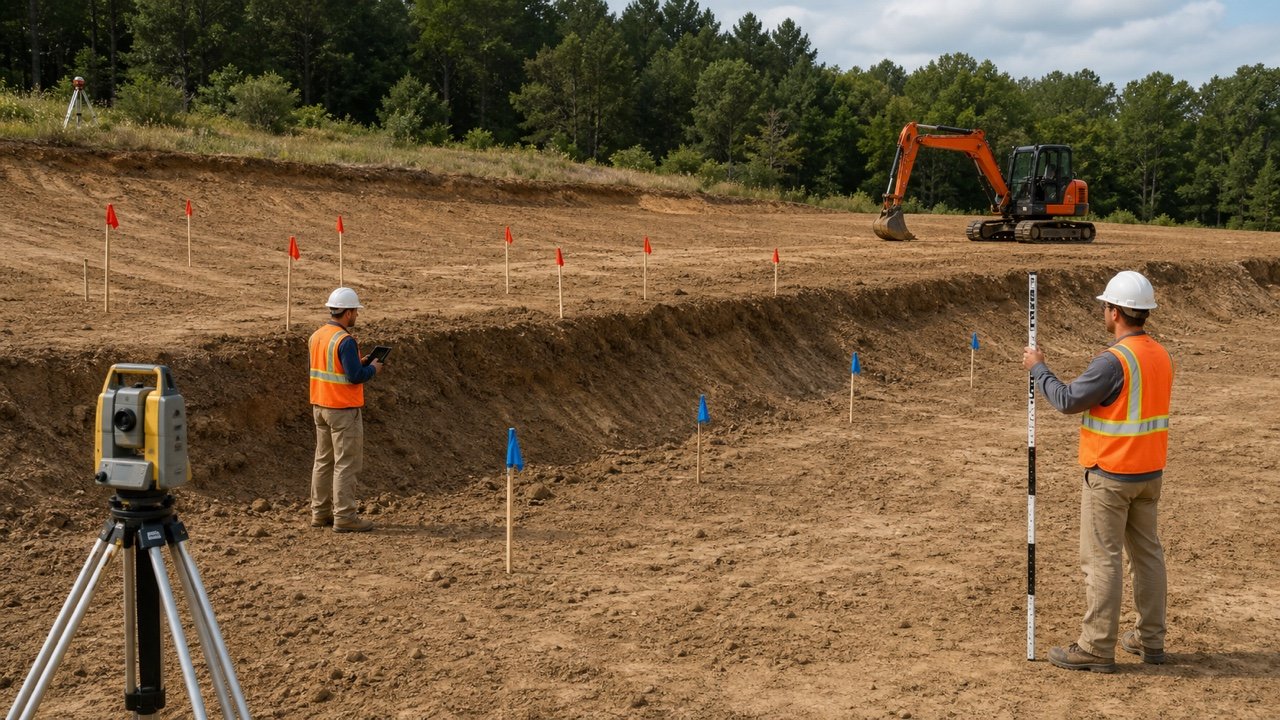
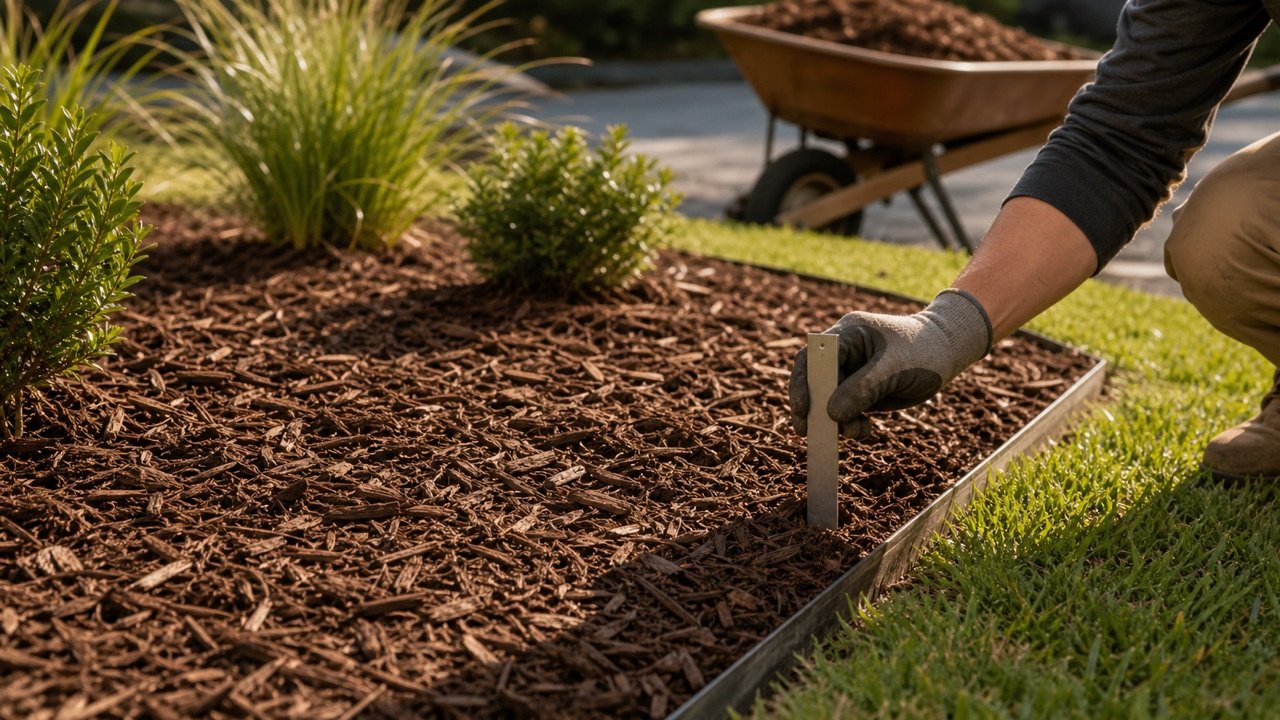
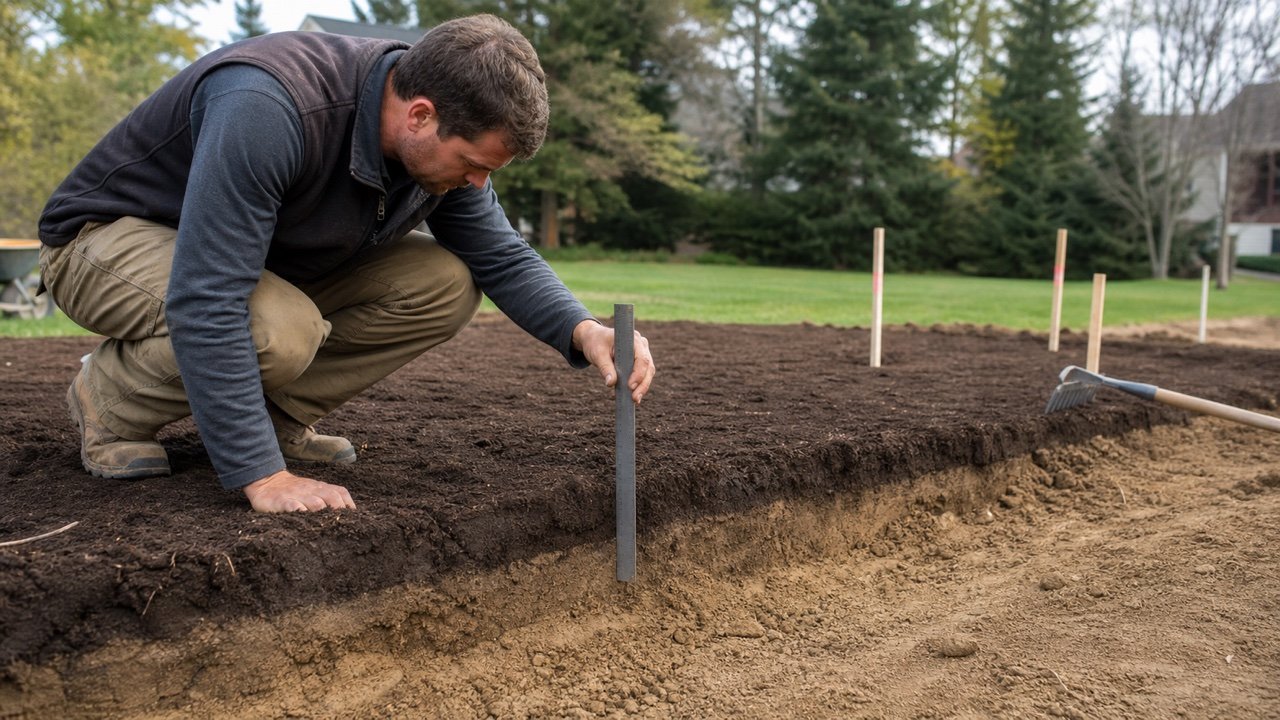
Use several representative points in each condition zone. Push aside loose surface pieces, identify the boundary between mulch and soil, and measure the vertical layer without compressing it with the tool.
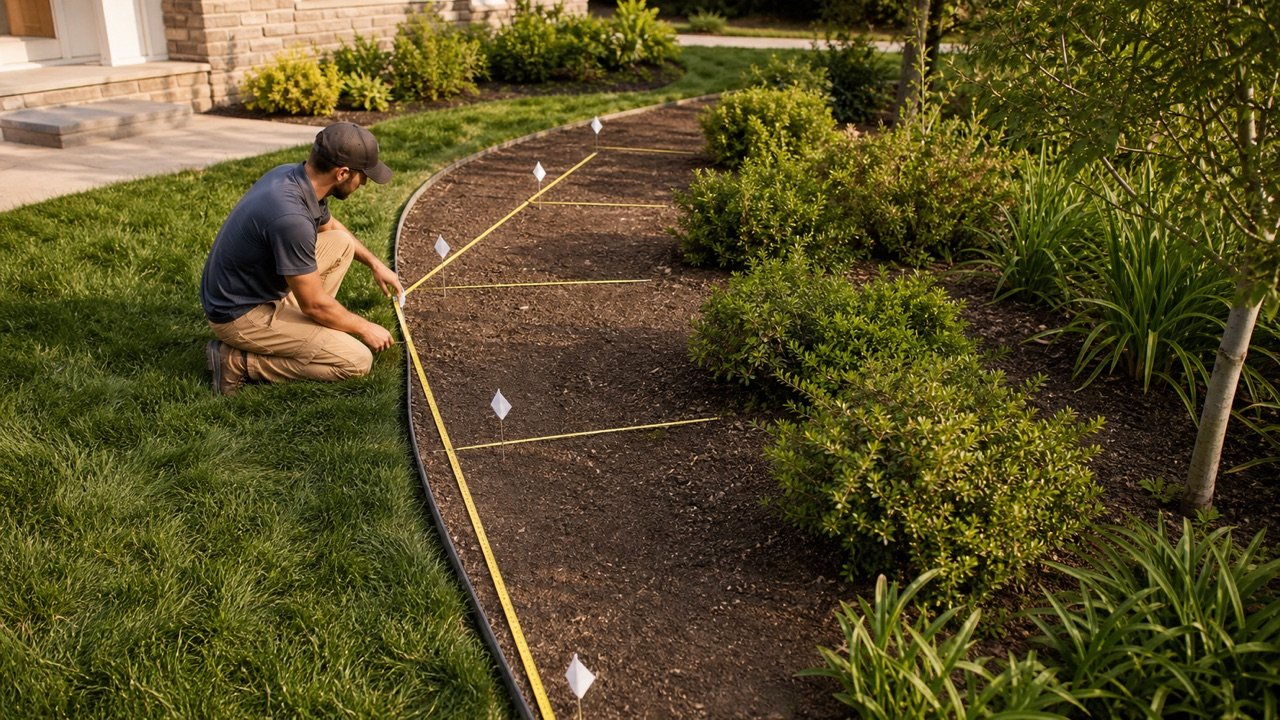
- Sketch the bed and mark plant clearances, edges, slopes, wet areas, and visibly thin or deep zones.
- Select measurement points across each repeated condition.
- Measure to the soil surface with one unit system.
- Record each reading instead of keeping only the average.
- Separate zones when readings or conditions change enough to alter the top-up.
- Check trunks, root flares, stems, crowns, irrigation outlets, drains, and edging.
- Retain photographs or field notes where the project permits them.
A single reading at the easiest edge cannot describe a large bed. A documented average can support a planning estimate only when the sampling pattern and variation are suitable for that decision.
Worked example: a 600 ft² bed with 3 retained-depth zones
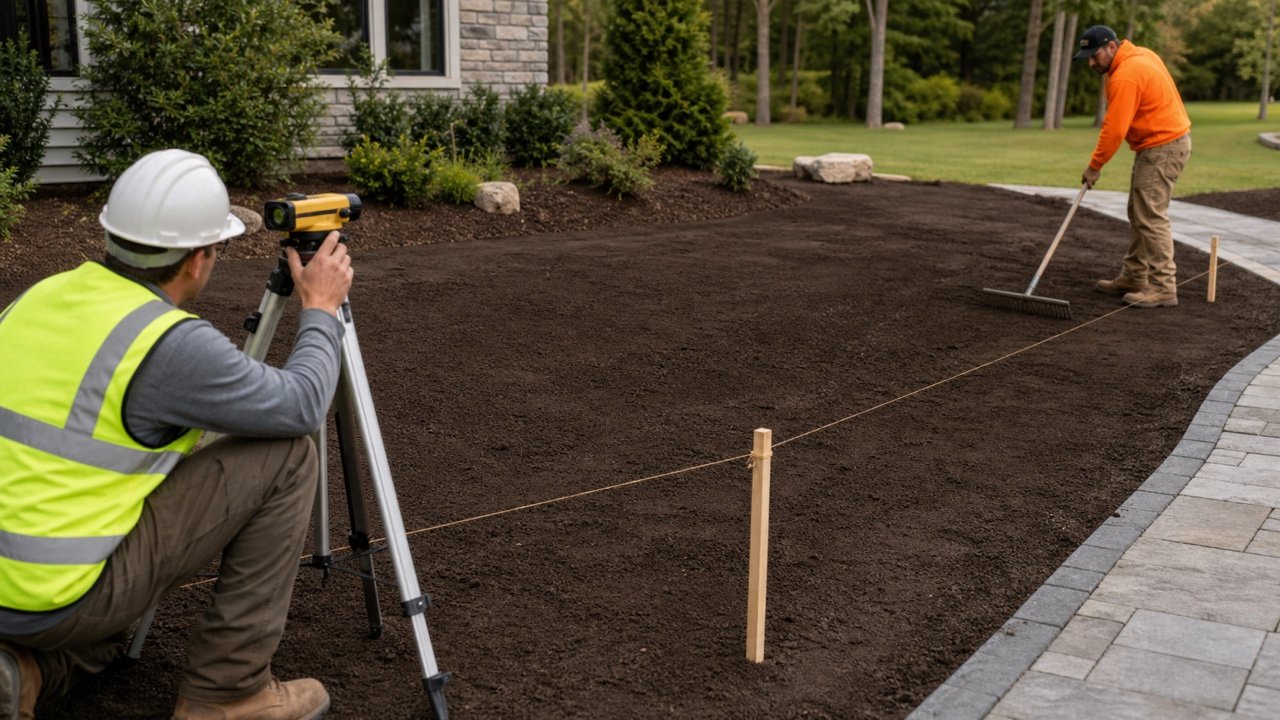
A local landscape specification selects a 3 in target for one material and site. Field checks split the 600 ft² bed into 3 zones:
| Zone | Area | Retained depth | Top-up depth | Top-up volume |
|---|---|---|---|---|
| A | 240 ft² | 1 in | 2 in | 40 ft³ |
| B | 240 ft² | 2 in | 1 in | 20 ft³ |
| C | 120 ft² | 3 in | 0 in | 0 ft³ |
| Total | 600 ft² | Preserved by zone | Preserved by zone | 60 ft³ |
The measured top-up is 60 ft³, or 2.222222 yd³. Applying the full 3 in target to the whole bed would calculate 150 ft³, which is 90 ft³ above the checked top-up fixture.
The target and zone measurements are fixture inputs. They do not prescribe 3 in for another bed.
How does a tree clearance change the quantity?
Deduct the actual no-mulch opening while retaining the surrounding ring. For a circular fixture with a 12 ft outside diameter and a project-defined 2 ft inside opening:
Ring area = π × (6² − 1²) = 109.955743 ft²
If the supported target is 3 in and 1 in remains, the 2 in top-up equals 109.955743 × 2 ÷ 12 = 18.325957 ft³, or 0.678739 yd³.
The 2 ft opening is a calculation fixture, not a horticultural clearance recommendation. Measure the placement boundary selected under the applicable guidance.
How is the chosen top-up depth converted to mulch volume?
Multiply each zone's net area by its top-up depth in compatible units. Add unrounded compatible zone volumes before package or supplier rounding.
Cubic yards = area in ft² × top-up depth in inches ÷ 324
Cubic metres = area in m² × top-up depth in millimetres ÷ 1,000
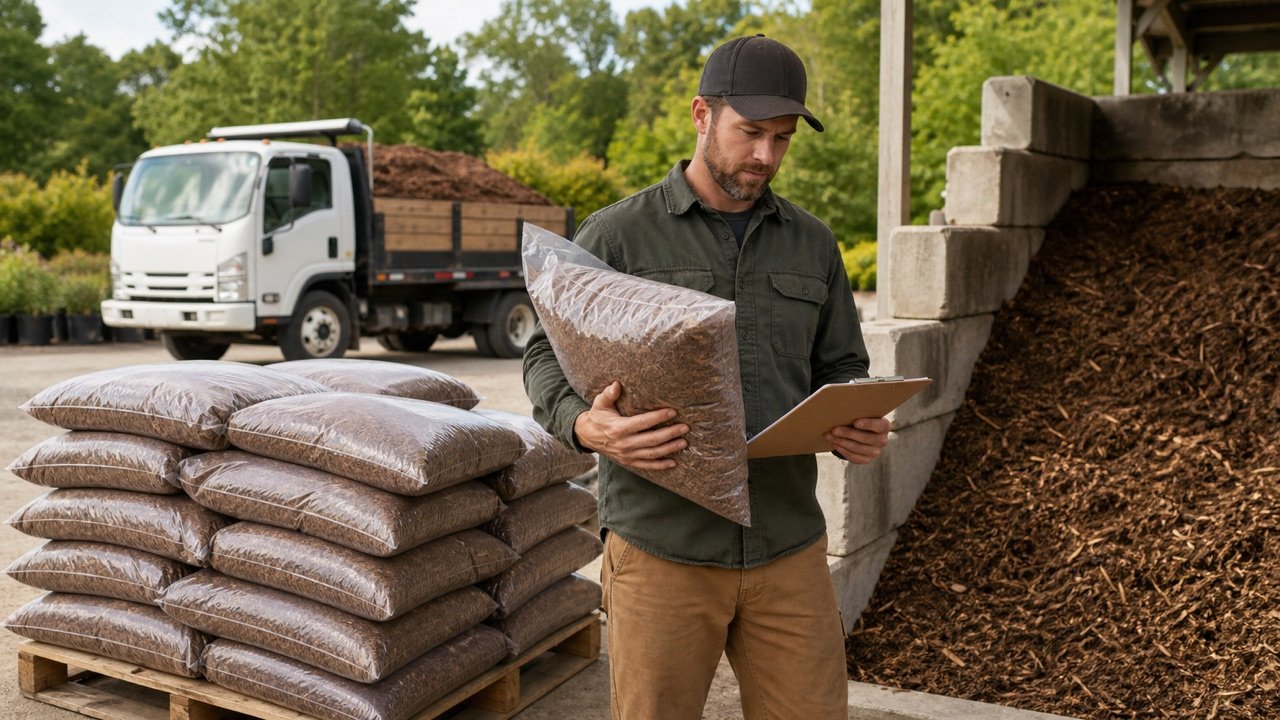
Use the Mulch Coverage Guide when starting from one cubic yard, one cubic metre, or a labelled package volume. Use Mulch Bags vs Bulk after the measured volume is ready for a purchase-format decision.
What changes on slopes, windy sites, or poorly drained soil?
Use site-specific guidance before setting depth or material. A slope changes actual surface area and can increase movement. Wind can move light material. Poor drainage can make a deep layer unsuitable. Hot, dry sites can change water movement through some wood products.
Colorado State Extension discusses wind, intense sunlight, irrigation, and hydrophobic surface behavior in its regional wood-chip guidance. Iowa State and UC Marin explicitly reduce depth for heavy or poorly drained soil in the reviewed pages. These examples show why a national preset cannot replace local advice.
Wildfire-prone locations can have separate combustible-material, defensible-space, or local fire-code requirements. Check current local fire authority and landscape requirements before choosing organic mulch or its location.
Common mulch-depth mistakes
- Using one depth for every mulch material and plant zone.
- Adding the full target without measuring the retained layer.
- Piling leftover mulch against a trunk, root flare, stem, or crown.
- Using one convenient depth reading for the entire bed.
- Averaging thin and deep areas that need different actions.
- Ignoring heavy soil, poor drainage, slope, wind, irrigation, or local fire requirements.
- Mixing compost topdressing with a wood-chip mulch quantity.
- Using plan area for a steep surface without checking the surface basis.
- Rounding each small zone before compatible volumes are added.
- Letting a calculator choose the horticultural target.
Use How to Measure Irregular Garden Beds for Mulch when curves, changing widths, exclusions, or slopes control the area. Return to the Landscaping Planning hub for mulch, topsoil, compost, and fill tools.
What should the mulch-depth record contain?
- Bed or tree ID, date, location, plant type, and preparer.
- Material name, texture, source, condition, and intended purpose.
- Target depth, exact guidance or specification, revision, and scope.
- Existing-depth readings with marked locations.
- Trunk, root-flare, stem, crown, drain, and other no-cover boundaries.
- Area and net top-up depth for every zone.
- Measured volume, documented allowance, package or bulk basis, and supplier rounding.
- Post-placement checks, corrections, and unresolved conditions.
Sources and source scope
- Iowa State University Extension, mulch depth around trees and shrubs: wood-chip and shredded-bark depths by drainage condition and trunk clearance in its stated context.
- Iowa State University Extension, Using Mulch in the Garden: material, texture, climate, soil, timing, depth, and trunk-contact context.
- University of New Hampshire Extension, Garden Mulches and Planting and Mulching Trees and Shrubs: stated depth, plant clearance, root-zone extent, and application context.
- University of Maryland Extension, Mulching Trees and Shrubs: material-specific depth examples and tree-trunk clearance.
- University of California Agriculture and Natural Resources, Applying Mulch: fine and coarse material distinctions, poor-drainage qualification, tree clearance, and volume formula.
- Colorado State University Extension, Mulching: regional material, climate, irrigation, wind, depth, and tree-placement context.
Source scope: Every depth belongs to its named source, material, plant, soil, climate, and site context. The worked target and clearances are calculation fixtures. This page does not select a universal mulch depth or material, diagnose plant or soil conditions, set a fire-safety zone, verify a package or delivery quantity, or replace local Extension guidance, landscape specifications, product instructions, supplier terms, or qualified assessment.