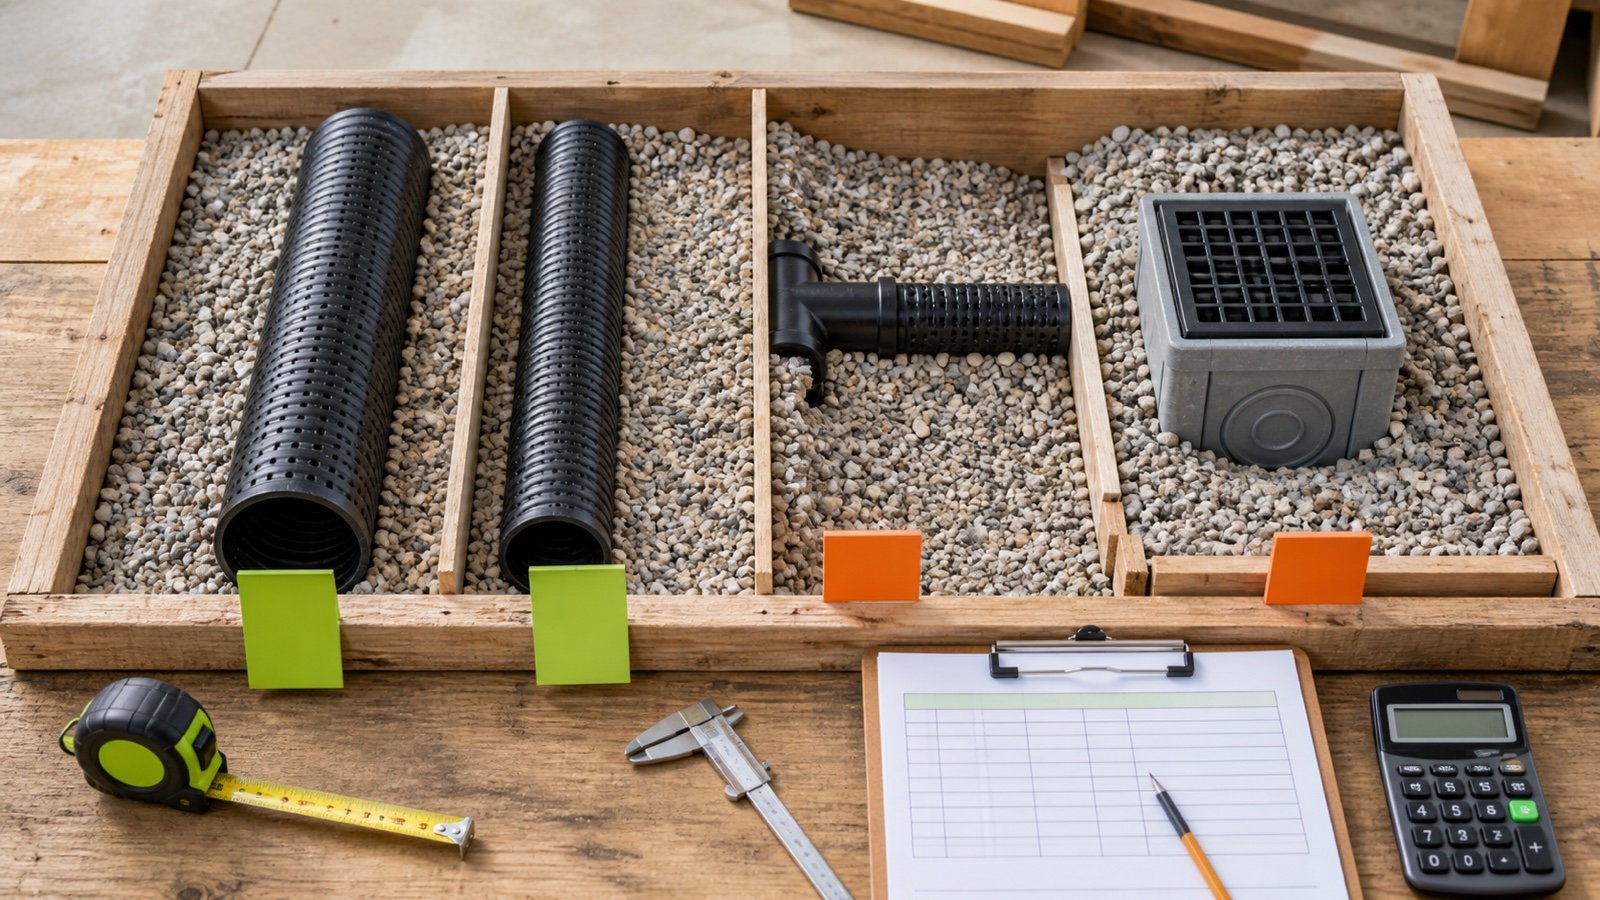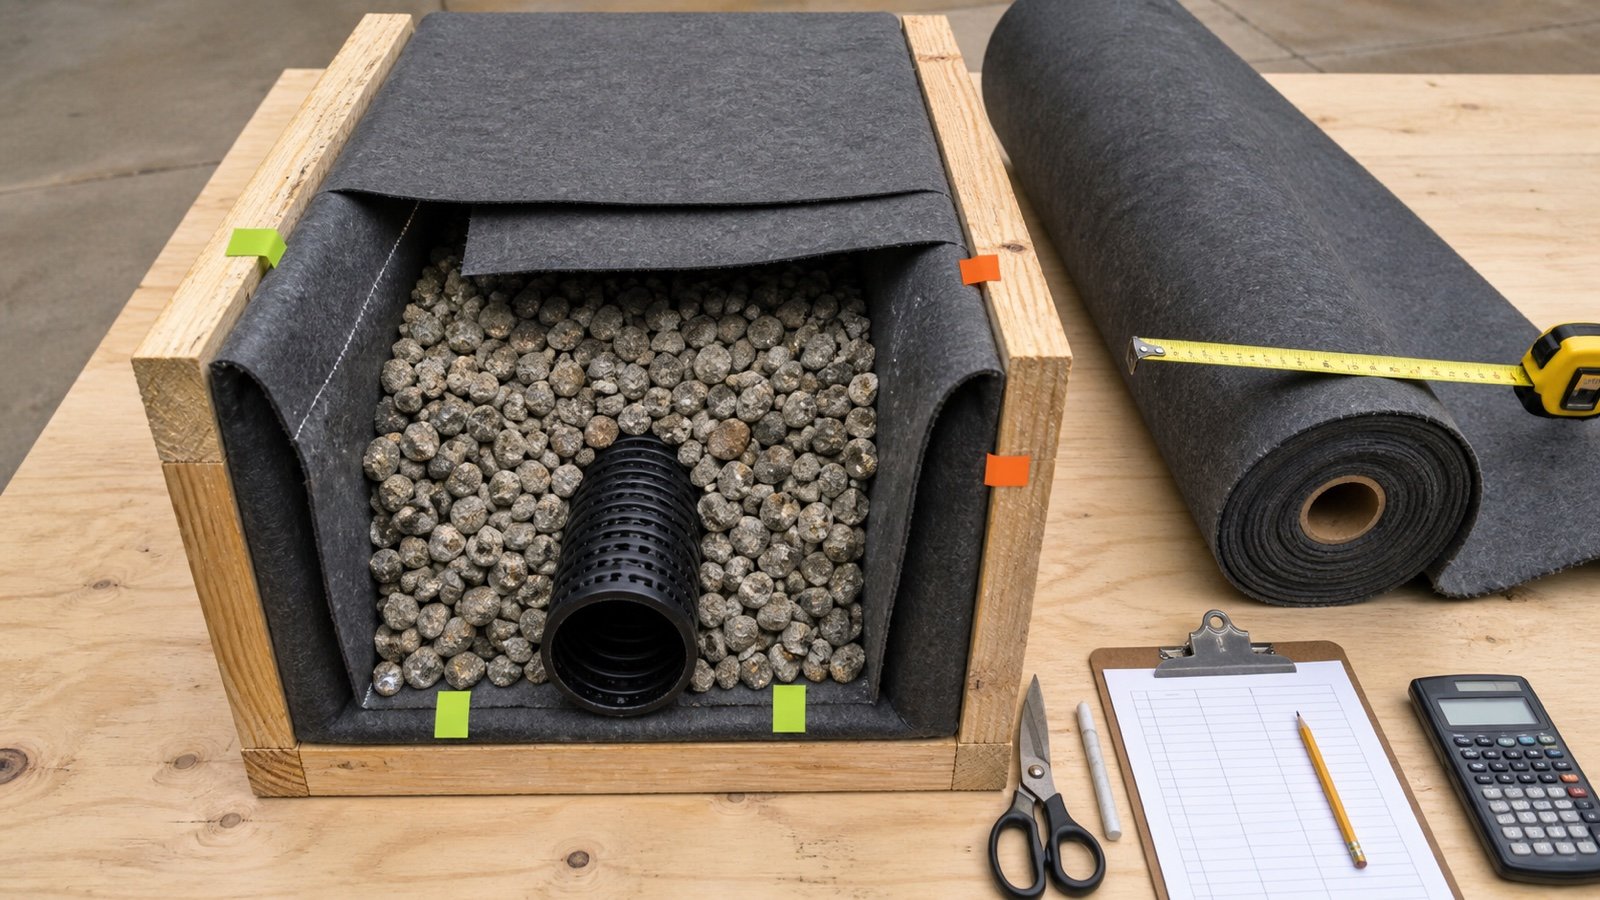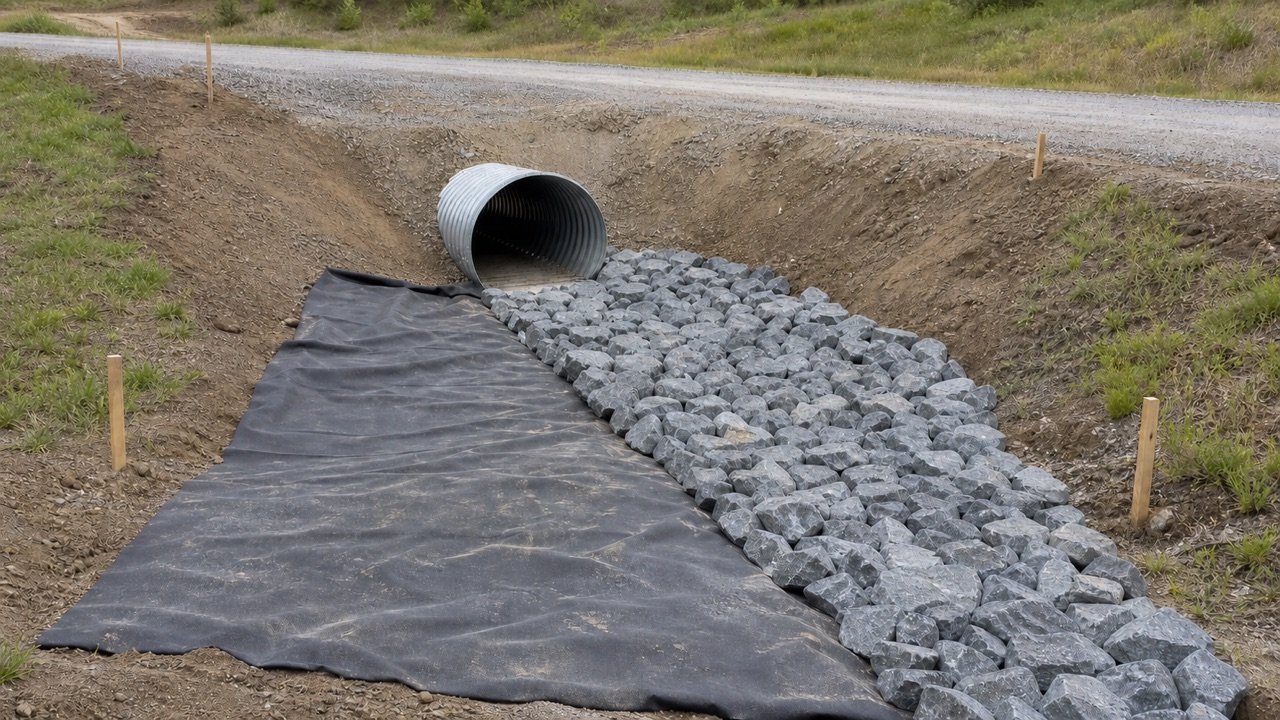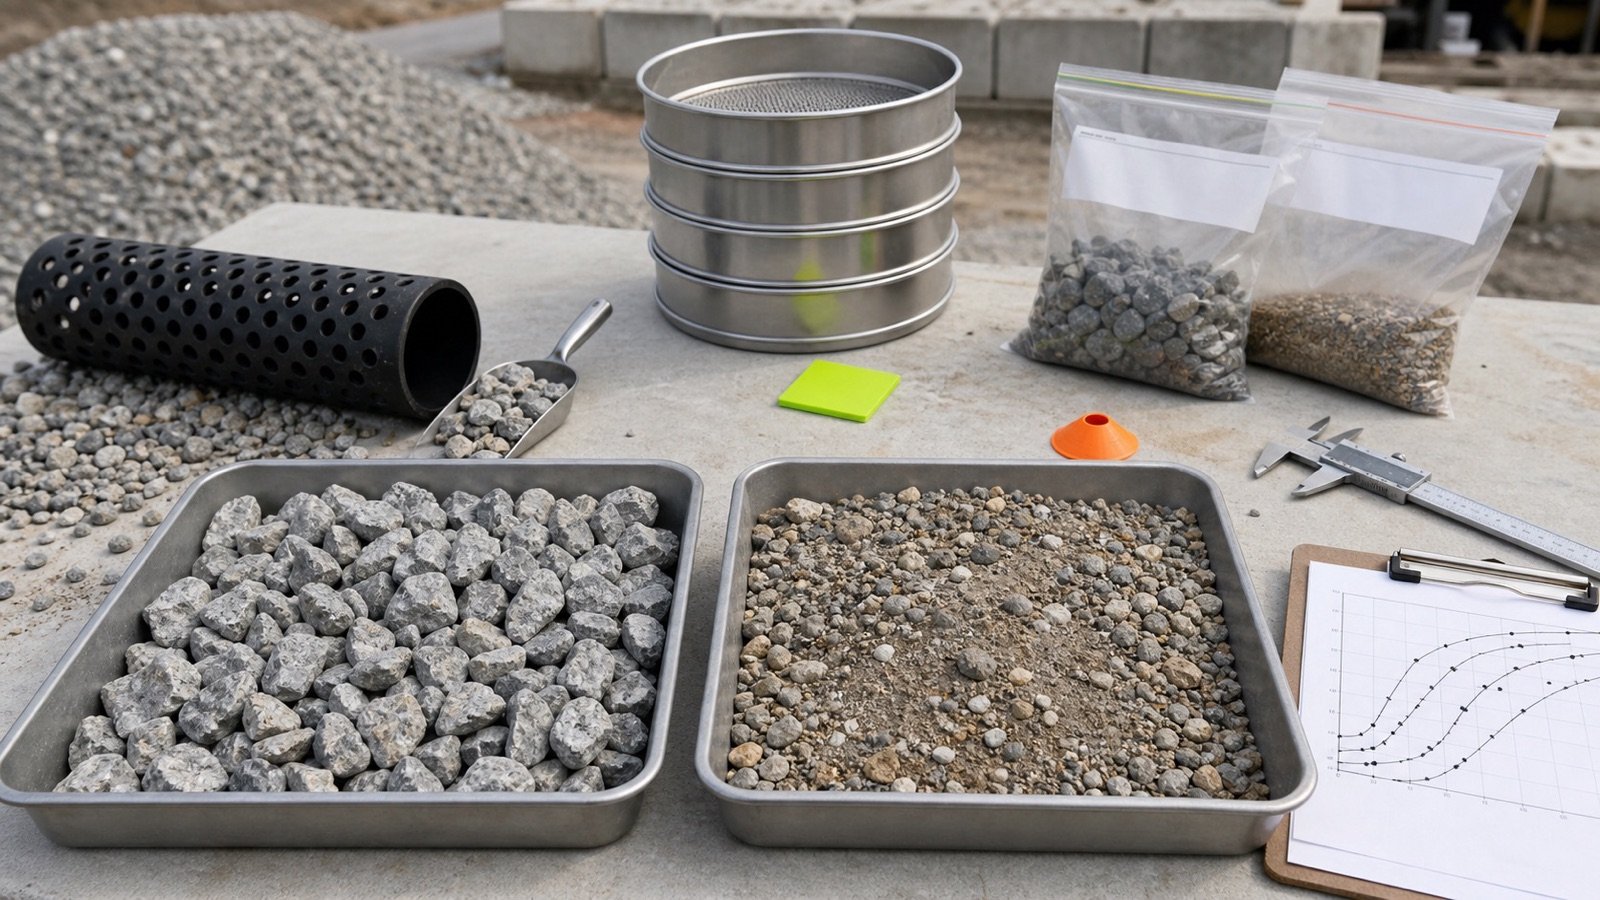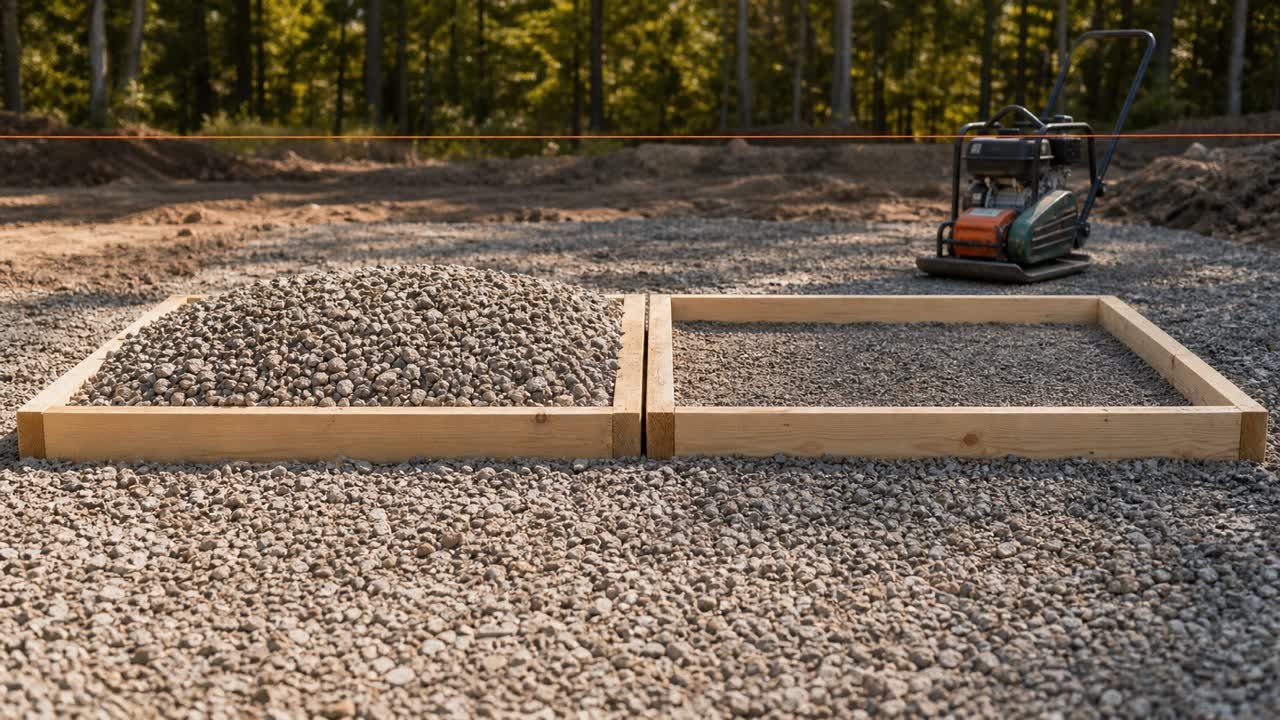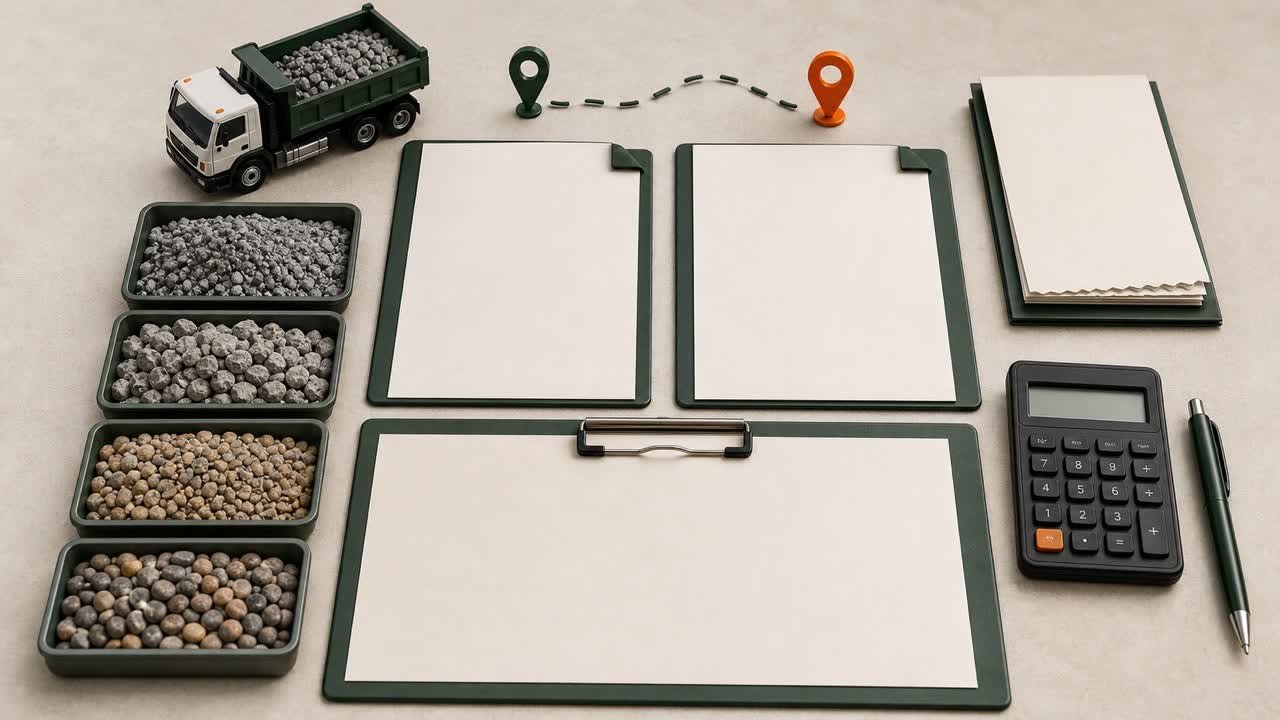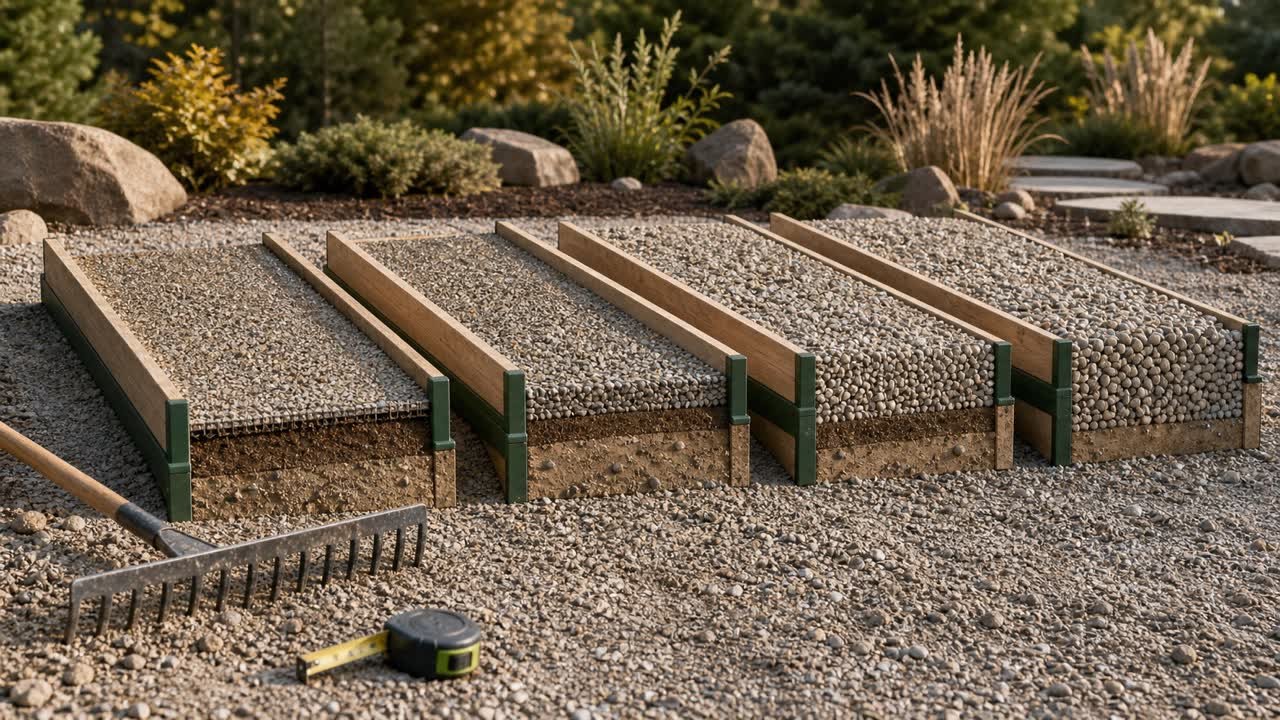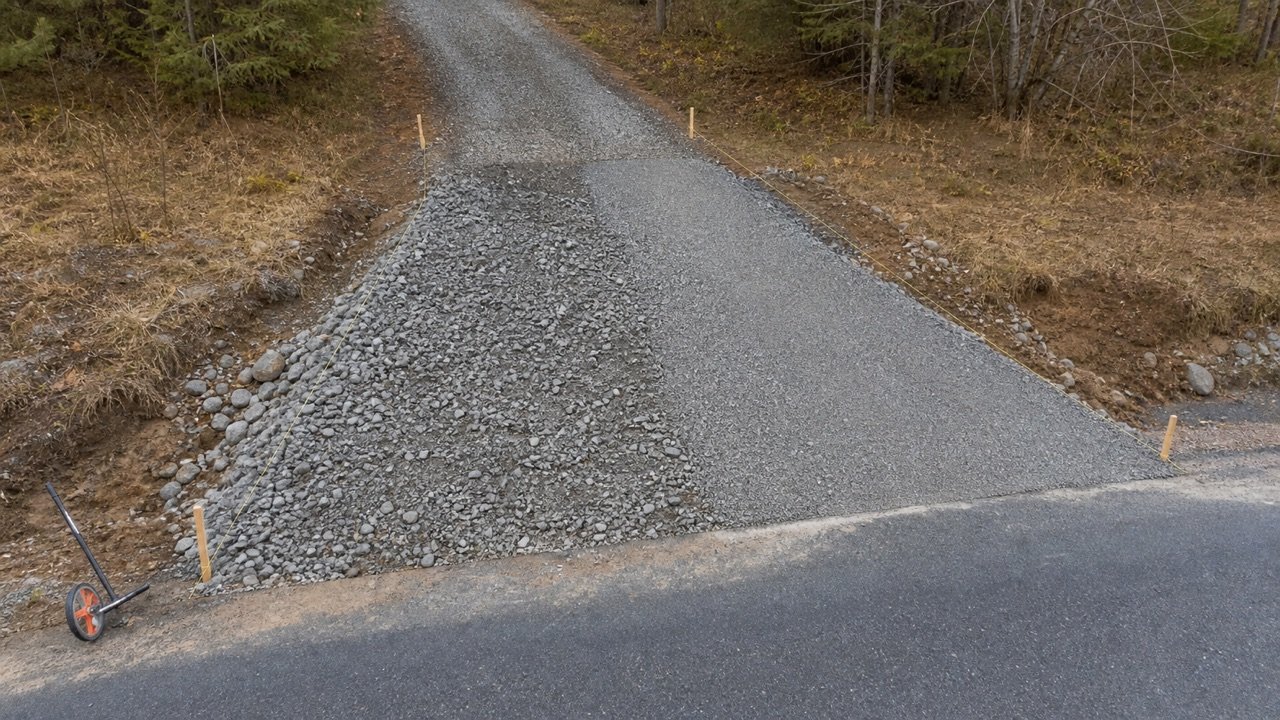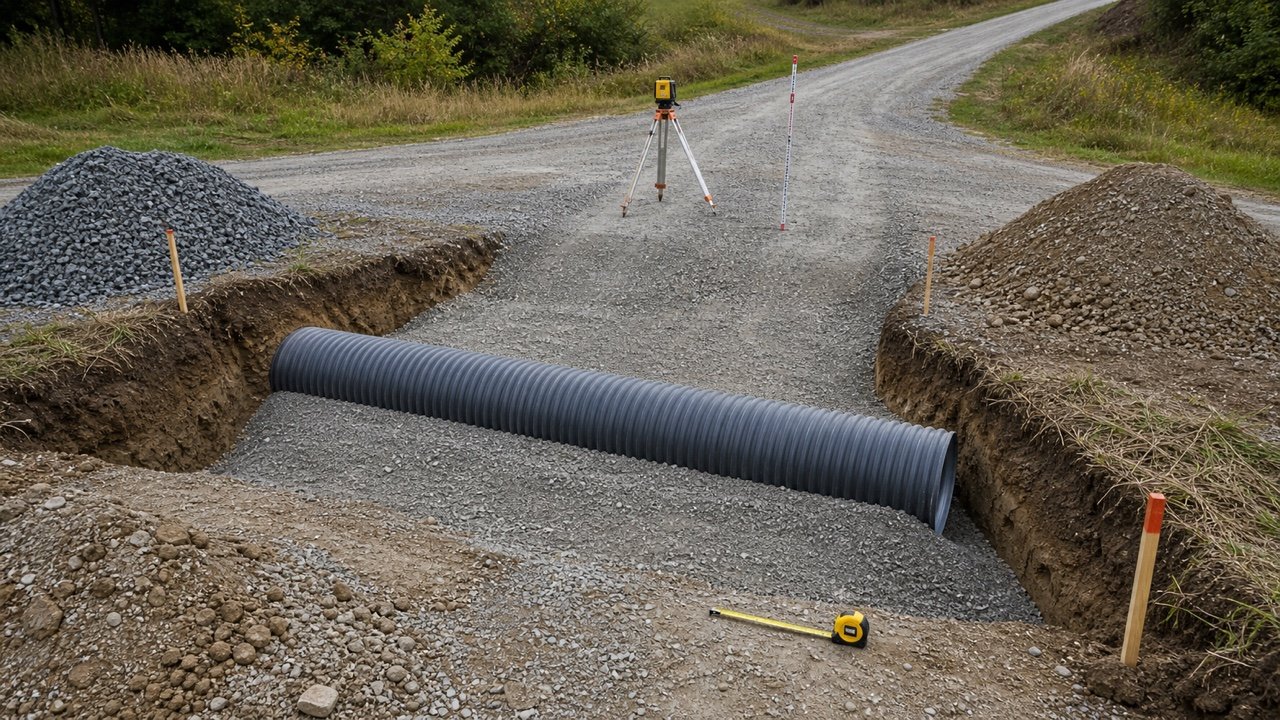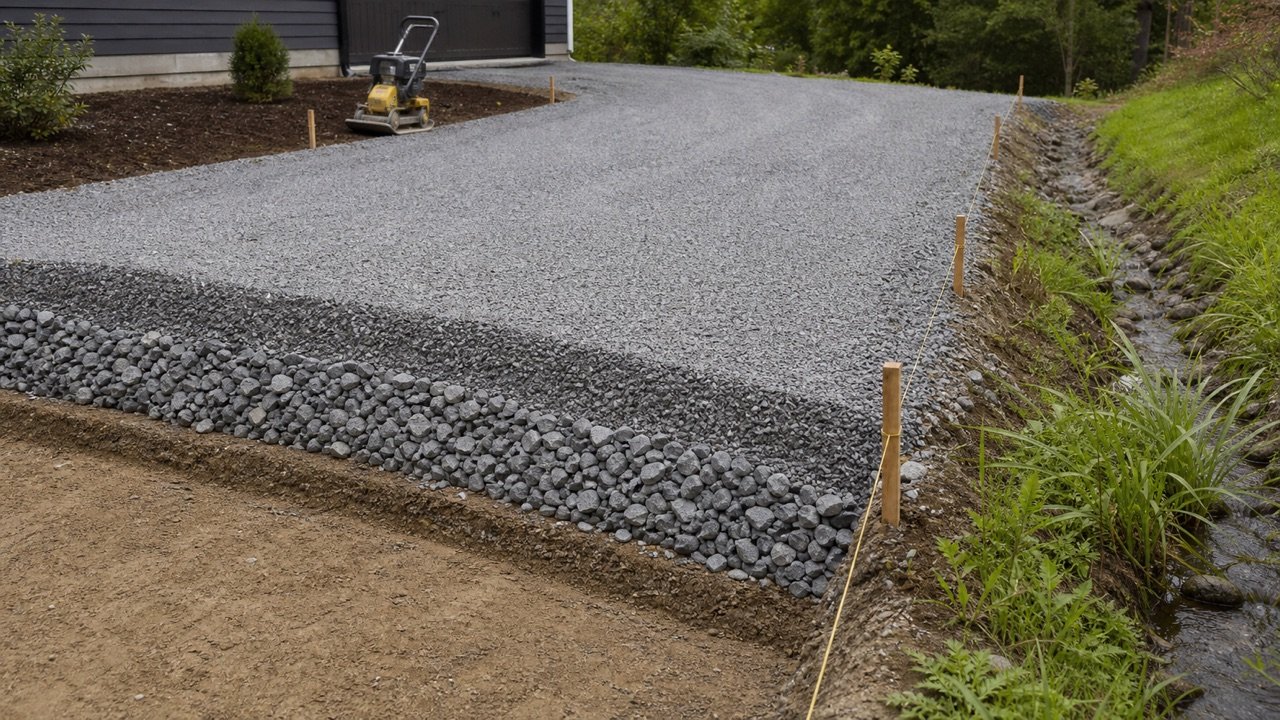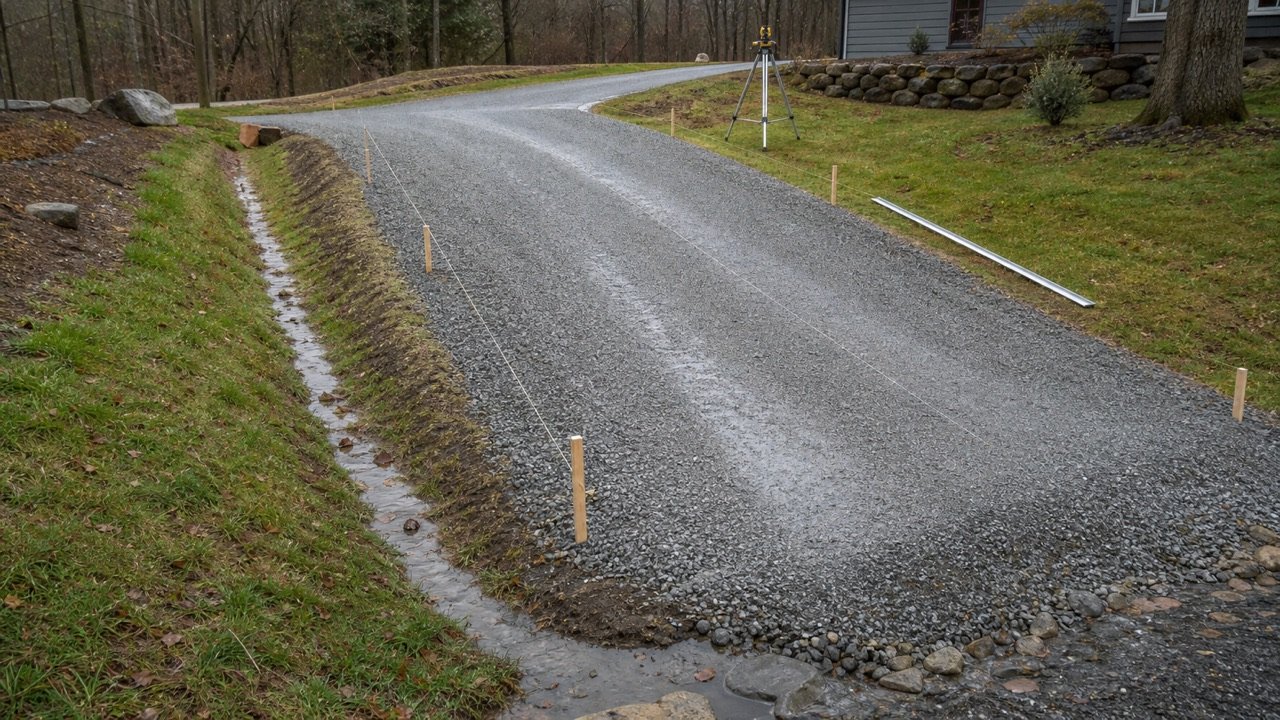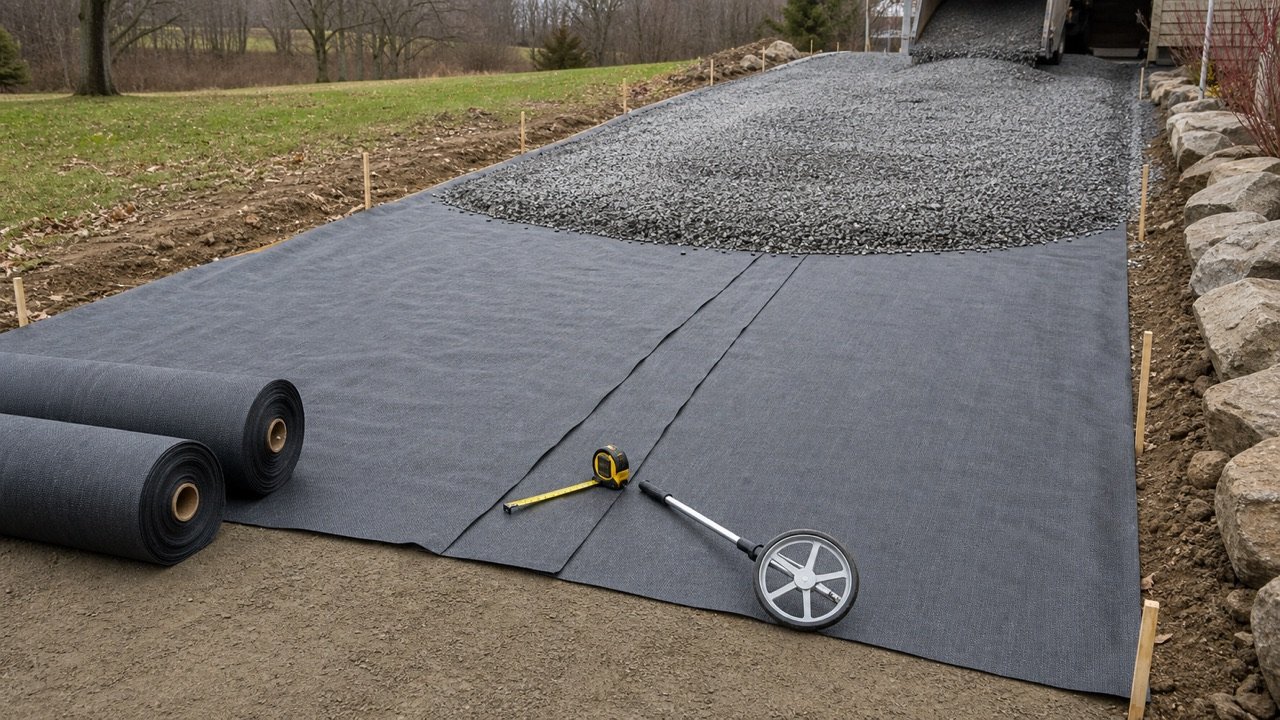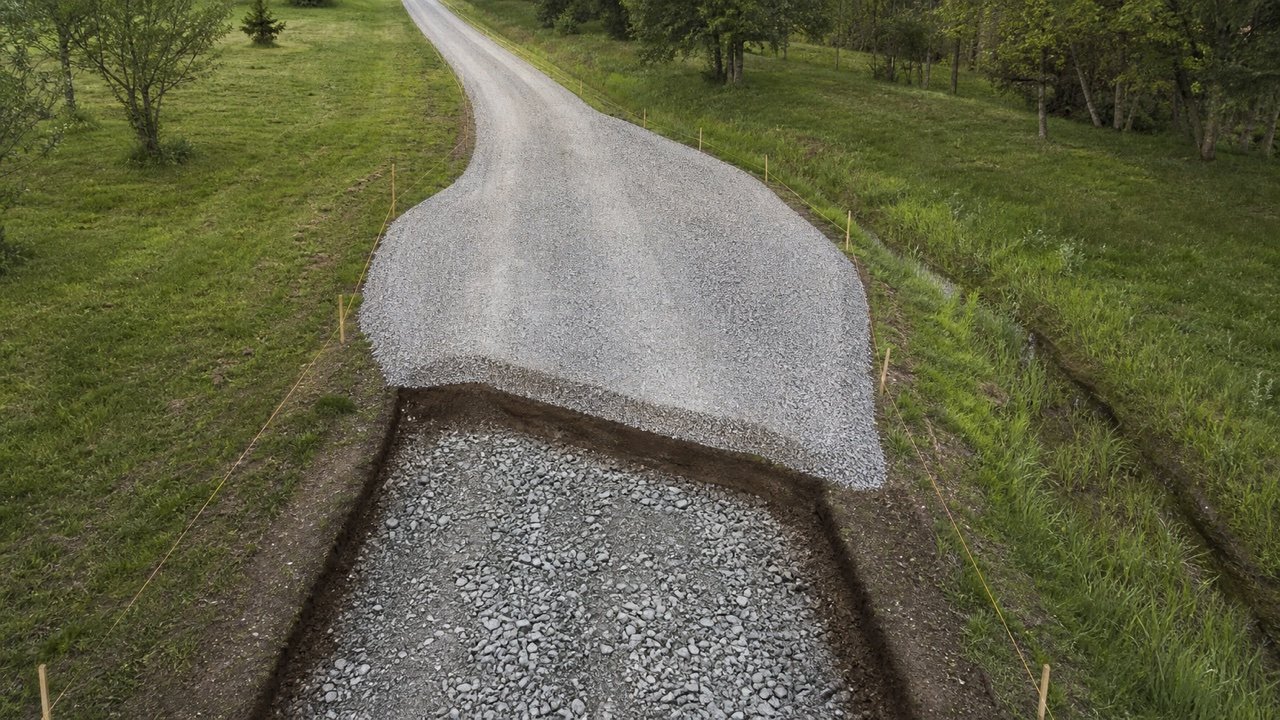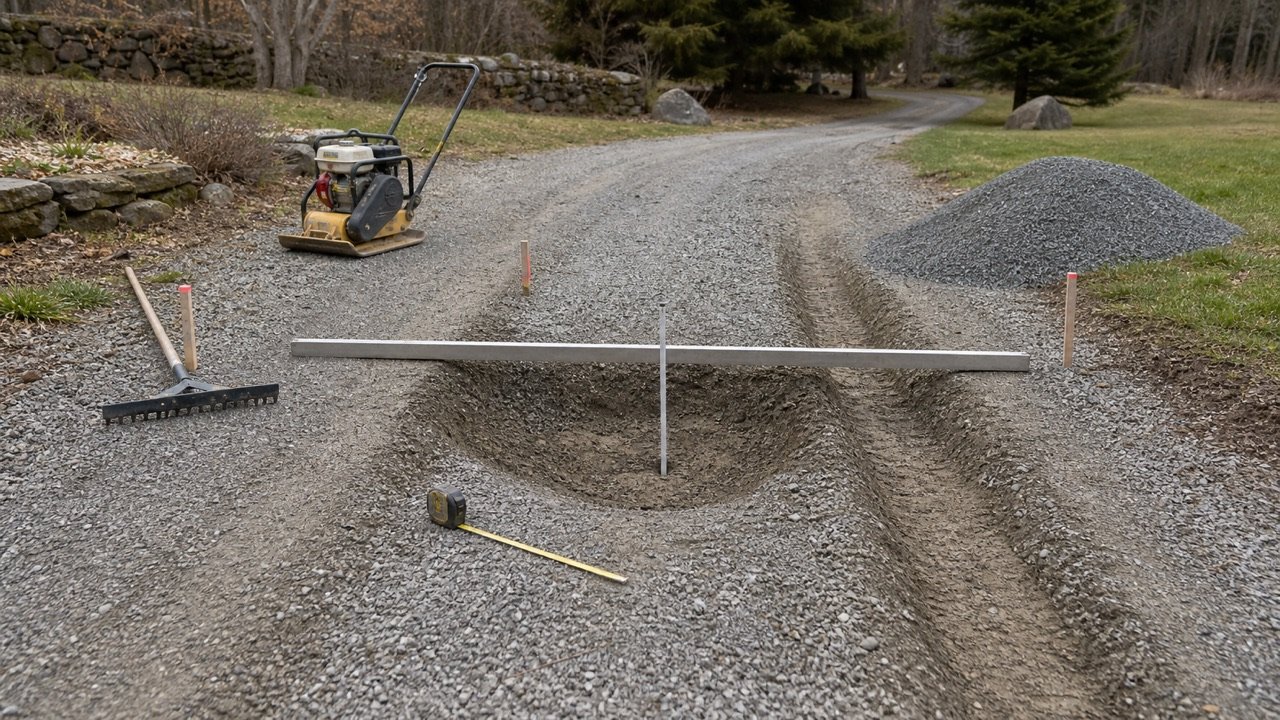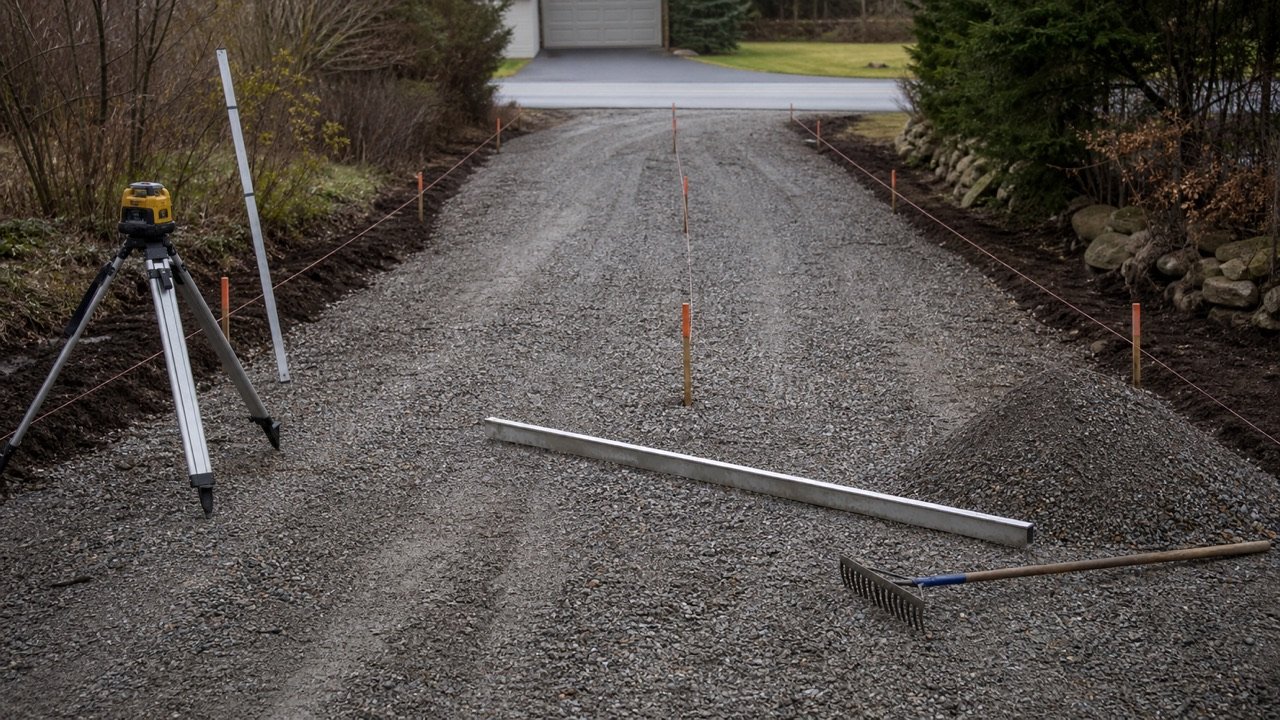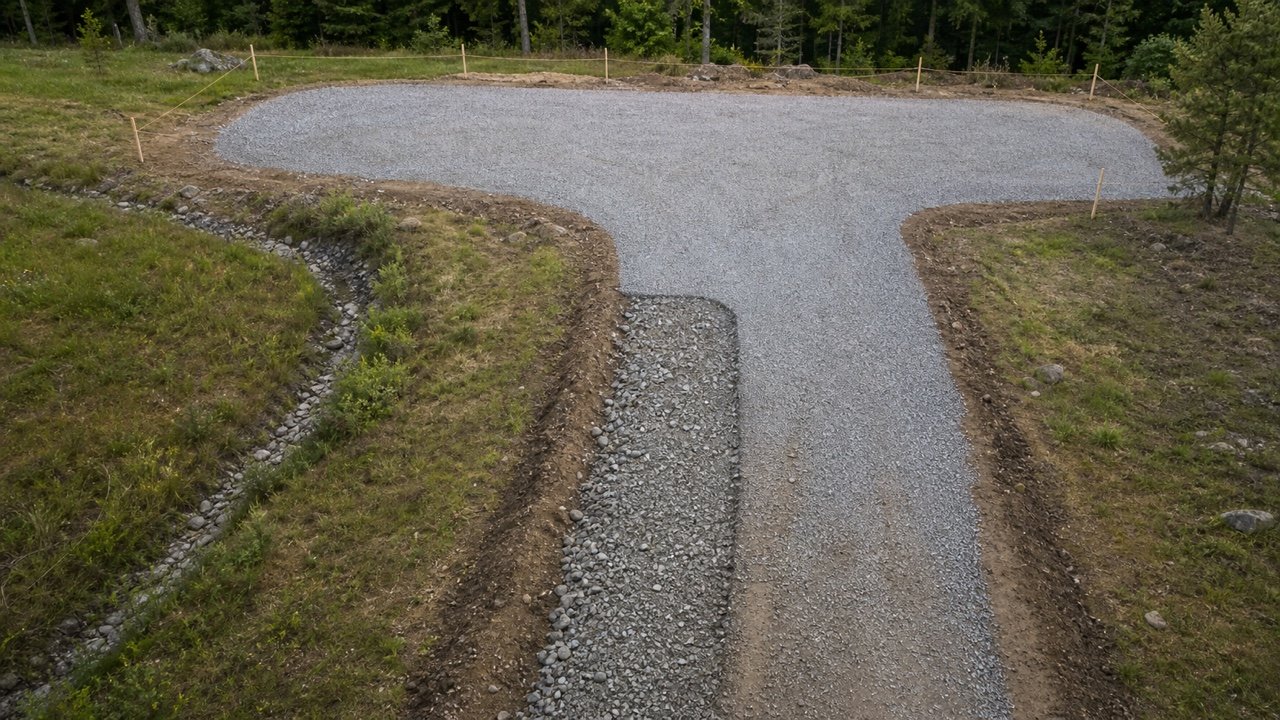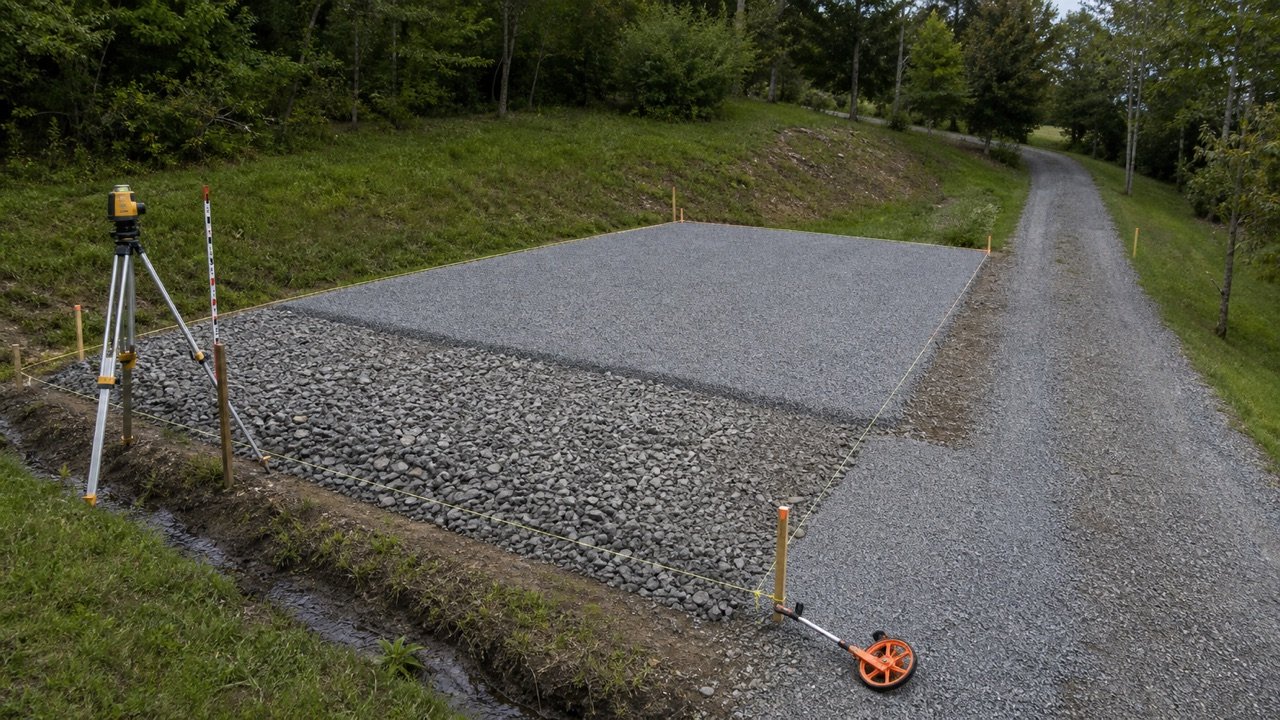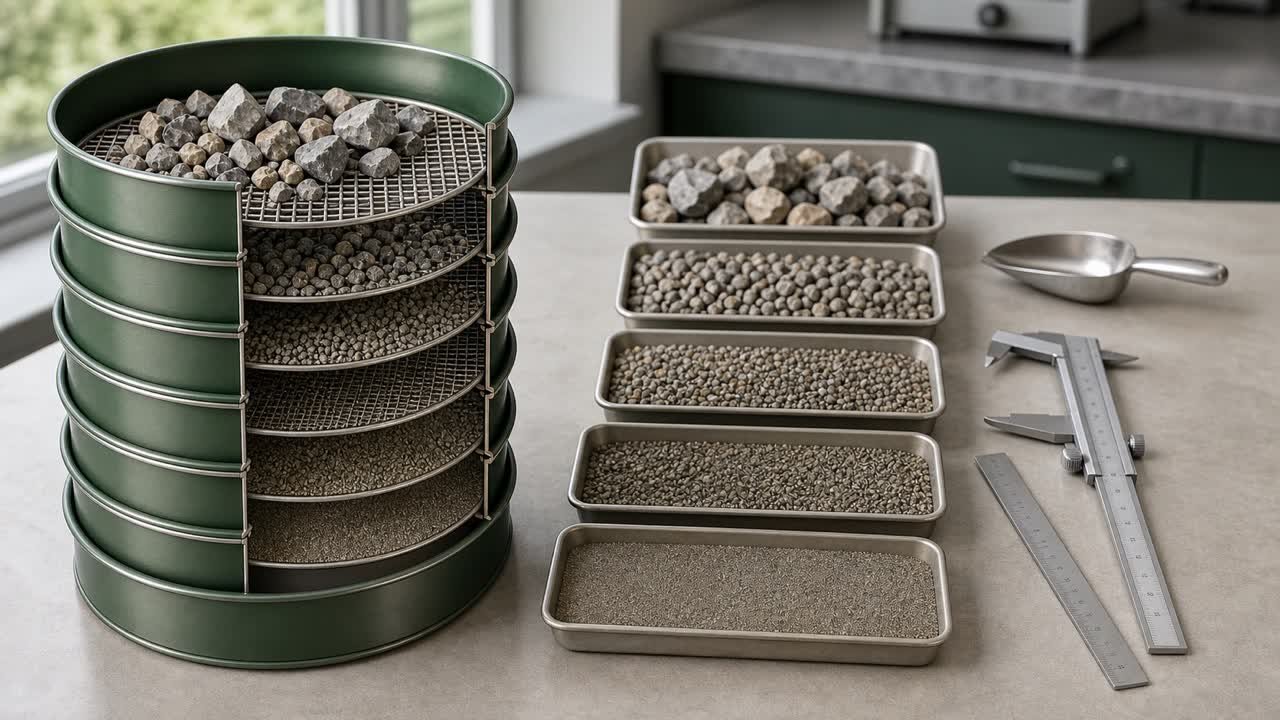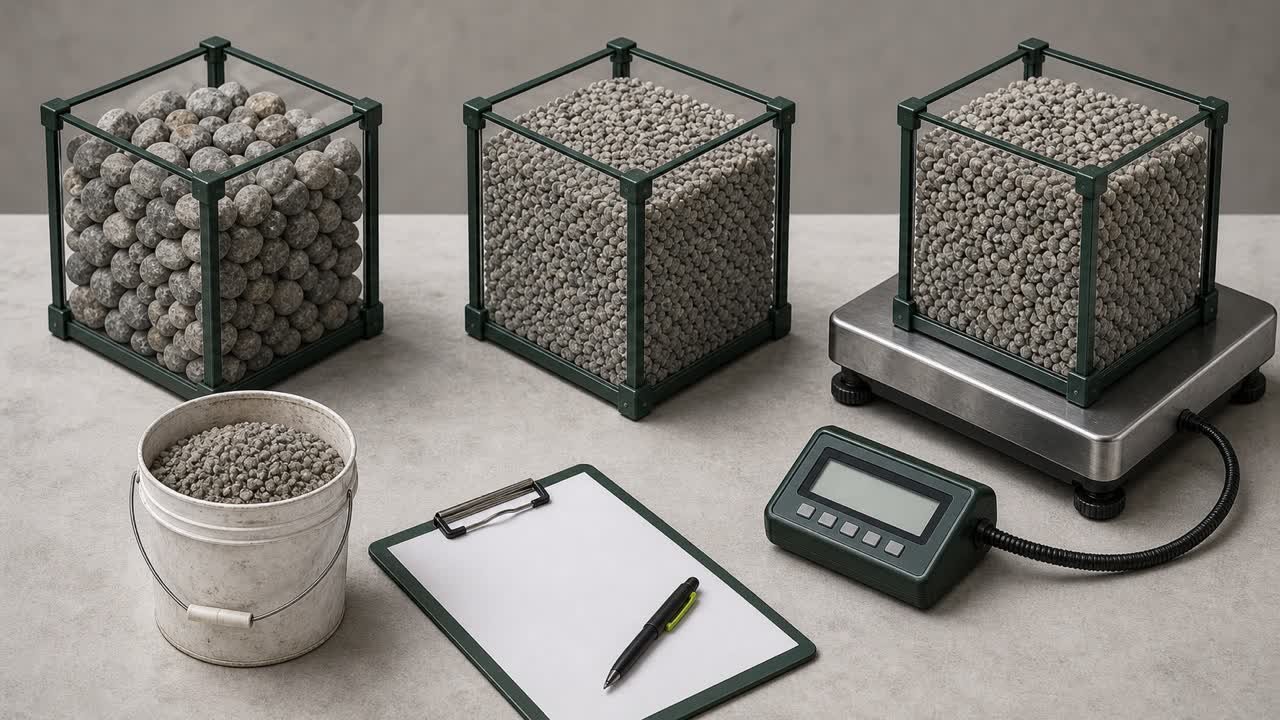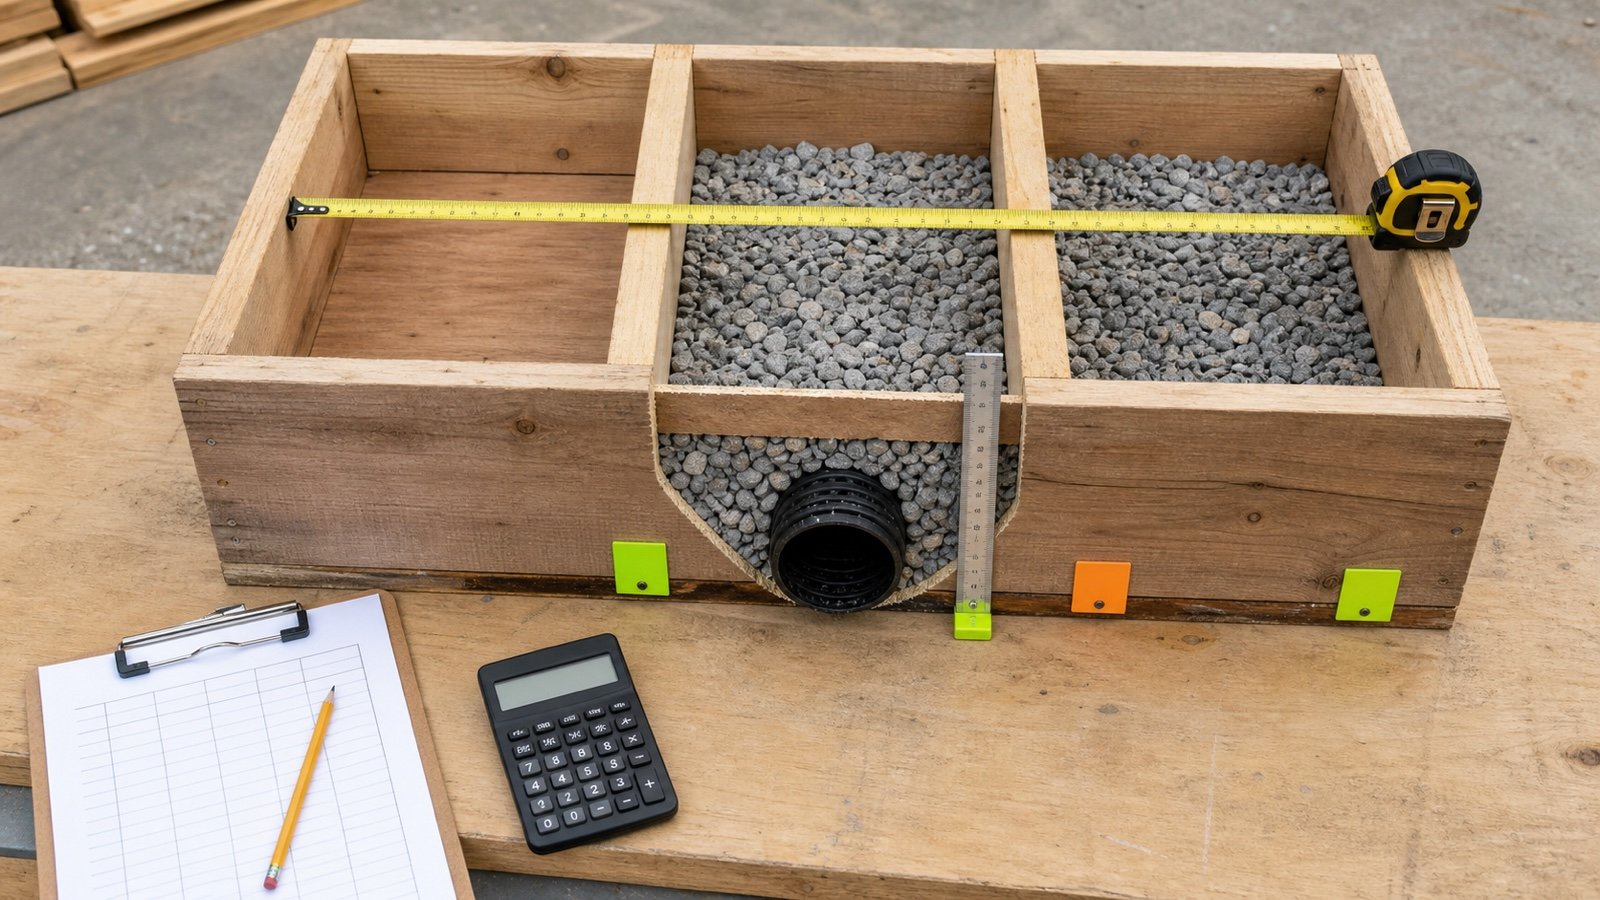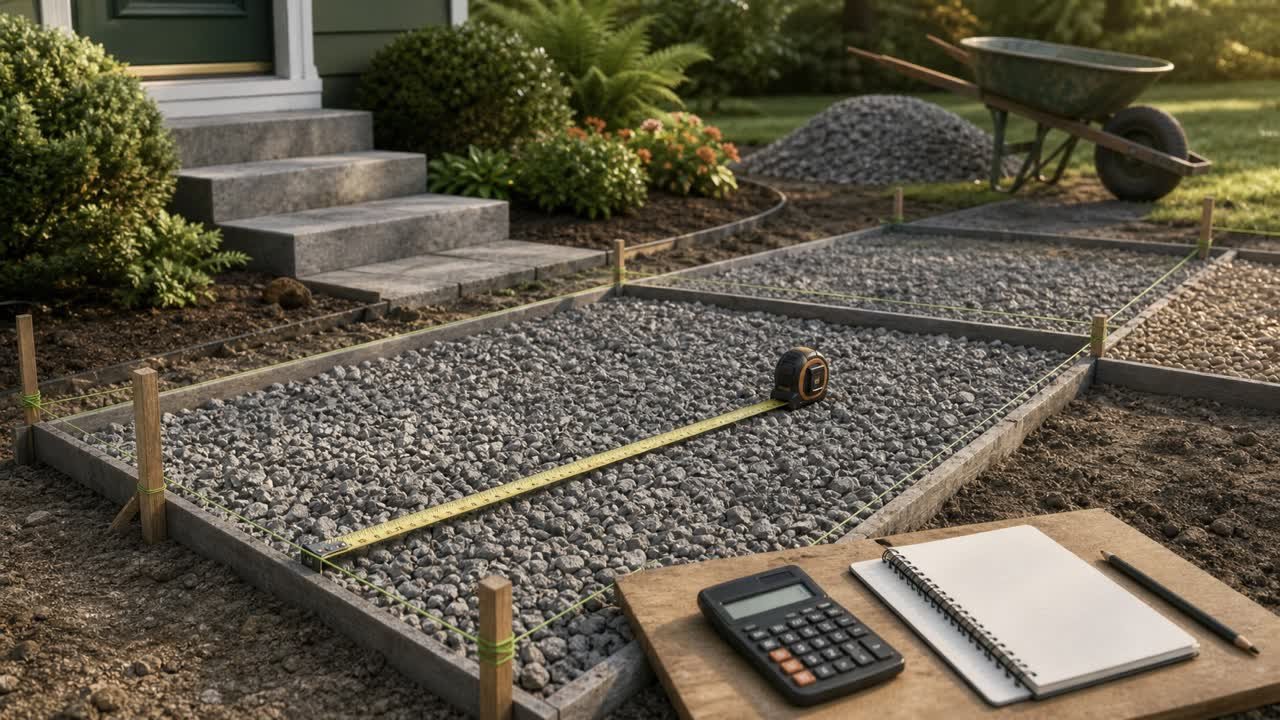
A gravel order starts with the project area, the required layer depth, and the material the supplier will deliver. Keep the measured quantity, project allowance, and supplier rounding separate so you can check each one.
How much gravel do I need?
Calculate the volume of each project section, add the section volumes, and then use the supplier's selling unit and product information to prepare the order. For a rectangular area, volume equals length × width × depth.
Enter the checked area and depth in the Gravel Calculator. It keeps measured volume, an optional user-entered allowance, and an optional supplier-density mass conversion as separate result stages.
Record the measured volume, project-specific allowance, planning quantity, and supplier-rounded order as separate lines. This identifies whether a difference came from measurement, an assumption, or the selling increment.
Measurements you need
Measure the finished area that will actually receive gravel. Record length and width for rectangles, diameter for circles, and the planned compacted or placed depth. Keep every dimension in one unit system before calculating.
For an irregular project, divide the shape into smaller rectangles or other measurable sections. Calculate each section separately and add the results. Section totals preserve the measured shape of a driveway or path that changes width.
Volume formulas
Rectangle: volume = length × width × depth
Circle: volume = π × radius² × depth
When measurements are in feet, convert depth from inches to feet by dividing by 12. The result is cubic feet. Divide cubic feet by 27 to obtain cubic yards. NIST Handbook 44 lists 27 cubic feet in one cubic yard.
Worked example
A rectangular area is 20 ft long, 10 ft wide, and 3 in deep.
- Convert depth: 3 ÷ 12 = 0.25 ft.
- Calculate cubic feet: 20 × 10 × 0.25 = 50 ft³.
- Convert to cubic yards: 50 ÷ 27 = 1.85 yd³, rounded to two decimals.
The geometric result is 1.85 cubic yards. Prepare the order with the supplier's selling unit, product data, settlement or compaction information, minimum order, and delivery limits.
Which measurement error changes the gravel result most?
For this shallow 20 × 10 ft layer, a 0.25 in depth change has a larger percentage effect than a 0.5 ft change in length or width. Check the dimension with the largest relative uncertainty before choosing an allowance.
Percentage quantity change = (changed volume ÷ base volume - 1) × 100
| Changed input | Calculated volume | Change from 1.8519 yd³ |
|---|---|---|
| Length increases from 20.0 to 20.5 ft | 1.8981 yd³ | +0.0463 yd³ (+2.50%) |
| Width increases from 10.0 to 10.5 ft | 1.9444 yd³ | +0.0926 yd³ (+5.00%) |
| Depth increases from 3.00 to 3.25 in | 2.0062 yd³ | +0.1543 yd³ (+8.33%) |
The largest effect depends on each dimension's percentage error. A 0.25 in miss equals 8.33% of a 3 in layer, so it changes this fixture by 8.33%.
How do you bracket uncertain measurements?
Calculate a low and high geometric result from observed measurement limits. Keep this range separate from compaction, handling loss, contingency, and the supplier's order increment.
| Check | Dimensions used | Volume |
|---|---|---|
| Low geometric check | 19.5 ft × 9.75 ft × 2.75 in | 1.6137 yd³ |
| Recorded dimensions | 20.0 ft × 10.0 ft × 3.00 in | 1.8519 yd³ |
| High geometric check | 20.5 ft × 10.25 ft × 3.25 in | 2.1077 yd³ |
The stated limits are calculation fixtures, not recommended tolerances. Measure the site, drawing, or finished layer closely enough for the project and record the basis of every range.
Metric example
A garden strip is 8 m long, 1.2 m wide, and 50 mm deep. Convert 50 mm to 0.05 m before multiplying:
8 × 1.2 × 0.05 = 0.48 m³.
The geometric volume is 0.48 cubic metres. Keep that measured result unchanged. Show the supplier-rounded order on a separate line using the actual package or delivery increment.
Handle changing width and depth
Split abrupt changes into separate measured sections. A rectangular apron, narrow path, turning area, and edge strip can use separate dimensions and depths, then combine as one volume total.
For a section that changes width at a steady rate, use the average of the two end widths:
Section area = length × (start width + end width) ÷ 2
A 30 ft section widening evenly from 8 ft to 12 ft has an area of 300 ft². At an even 4 in depth, the volume is 300 × (4 ÷ 12) = 100 ft³, or 3.70 yd³.
Use this average-width method only for a steady change. Curves, bulb-outs, isolated low spots, and abrupt width changes need smaller sections or field-measured offsets. When width and depth both vary, calculate short sections separately; multiplying one average width by one average depth can hide where the wider and deeper portions occur together.
Match area and depth to the same finished surface
Area and depth must describe the same layer. Measure the surface that will receive the gravel and use the finished thickness required for that layer. A sloped drive, crowned path, tapered edge, or prepared base with depressions can require several measured sections.
Record whether the stated depth is loose, settled, or compacted. Project drawings, specifications, and the responsible supplier or professional determine that state. The geometric calculation stays useful because the label shows exactly what was measured.
Match the result to the supplier's selling unit
| Selling unit | Information to obtain | Planning step |
|---|---|---|
| Cubic yard or cubic metre | Order increment, minimum quantity, and delivered material state | Compare the measured volume with the quoted increment and record the rounded order separately. |
| Ton, short ton, or metric tonne | Current bulk density for the exact product and its moisture or material condition | Multiply measured volume by the documented density, then apply the supplier's order increment. |
| Bag or bulk bag | Package yield, package size, and whether yield refers to loose or placed material | Divide required volume by stated yield and round package count up to a whole unit. |
| Truckload | Supplier load quantity, payload controls, access limits, and split-load policy | Use the supplier's confirmed load quantity for delivery planning. |
Choose and document an allowance
An allowance belongs to the planning record when a specific source justifies it. Record the reason and quantity next to the measured volume. This keeps later changes traceable.
| Condition | Evidence to check | Record |
|---|---|---|
| Uncertain edges or dimensions | Field measurements and drawing tolerances | Which section is uncertain and by how much |
| Settlement or compaction | Project specification, test information, or supplier product guidance | Required material state and applied conversion |
| Trimming, handling, or spillage | Placement method and site access | Expected loss and its basis |
| Supplier increment | Written quote or product listing | Calculated planning quantity and final rounded order |
Myth and reality: one gravel number rarely describes the whole order
| Myth | Reality |
|---|---|
| A cubic-yard result also proves the weight. | Mass needs the exact product's documented bulk density and material condition. |
| Every project should add the same percentage. | Allowance follows measured uncertainty, project requirements, placement conditions, and selling increments. |
| The supplier's rounded quantity replaces the calculation. | The measured volume and supplier-rounded order serve different purposes and should remain separate. |
| One average width works for every irregular area. | Section measurements preserve changing geometry and make the total checkable. |
Prepare a supplier-ready quantity record
Bring the calculation and its inputs to the supplier. A short written record reduces ambiguity when two products use different selling units or delivery rules.
- List every measured section, its dimensions, and the unit system.
- State the required finished depth and whether it is loose, settled, or compacted.
- Show the unrounded calculated volume and the displayed measured result.
- Identify the selected product, gradation, package yield, or bulk-density source.
- Record each allowance, its reason, the supplier's selling increment, and the final quoted order.
When the product or layer requirement changes, revise the affected line and recalculate from the original measurements. This preserves the earlier result for comparison and keeps supplier rounding out of the geometry.
Build an order audit trail
| Line | What to record | Worked example |
|---|---|---|
| Measured volume | Geometry before allowance or supplier rounding | 1.85 yd³ |
| Allowance | Named reason and user-selected quantity | 0.15 yd³ for measured edge variation |
| Planning quantity | Measured volume plus stated allowance | 2.00 yd³ |
| Supplier order | Rounded to the quoted selling increment | 2.0 yd³, subject to confirmation |
The 0.15 yd³ allowance demonstrates recordkeeping. Its value is illustrative. Use project documents, field tolerance, compaction information, or supplier advice to choose an allowance.
From volume to an order
- Tell the supplier the project use and the calculated placed volume.
- Confirm the exact product and gradation.
- Ask for the product's current bulk density if the order is sold by weight.
- Confirm whether the supplier's density represents loose, stockpiled, or compacted material.
- Ask about minimum quantities, truck capacity, split loads, and delivery access.
- Add an allowance only when it reflects real uncertainty, settlement, compaction, spillage, or trimming for the project.
Keep the estimate checkable
Record the dimensions, section names, unit conversions, calculated volume, supplier product, density or package yield, allowance, and final rounded order. This makes it possible to identify whether a later difference came from measurement, material selection, conversion, rounding, or delivery.
For projects with several areas, keep a subtotal for each one. A driveway apron, parking strip, path, and border may use different depths or products even when they are delivered together.
Return to the Gravel calculators and guides hub to choose the next calculation or reference.
Common mistakes
- Entering depth in inches while length and width remain in feet.
- Omitting widened edges or separate sections from the measured area.
- Converting volume to tons with an unsourced internet average.
- Assuming “gravel” describes one density, size distribution, or use.
- Rounding intermediate steps and changing the final planning result.
Questions to ask before ordering
Should I order by cubic yards or tons?
Use the unit in which the chosen supplier sells the chosen product. If the supplier sells by weight, use that product's stated bulk density and material condition for the conversion.
How much extra gravel should I add?
Choose the allowance from measurement uncertainty, layer tolerances, compaction or settlement expectations, edge loss, and the supplier's delivery increments. Record the reason and value.
Can I use the same depth for a driveway and a garden path?
The required section depends on use, loads, subgrade, drainage, material, local practice, and project specifications. Obtain the depth from the governing project source.
Sources and scope
- NIST Handbook 44 (2026), Appendix C: customary volume relationships.
- U.S. Geological Survey: Construction Sand and Gravel Statistics and Information: construction sand-and-gravel commodity and construction-use context.
- NIST Handbook 130 (2026): U.S. model legal-metrology and method-of-sale context; adoption and local requirements vary.
Source scope: NIST Handbook 44 supports the unit conversions. Handbook 130 supplies U.S. model method-of-sale context and does not prove adoption in a specific jurisdiction. Project documents and the selected supplier control depth, allowance, gravel type, density, and order quantity. Sources checked 8 August 2026.
Review responsibility: Saleem Sial owns the published page and its internal checks. Waseem Sial, External Reviewer and Engineer, remains listed for ongoing external review; no completed external-review date is claimed.