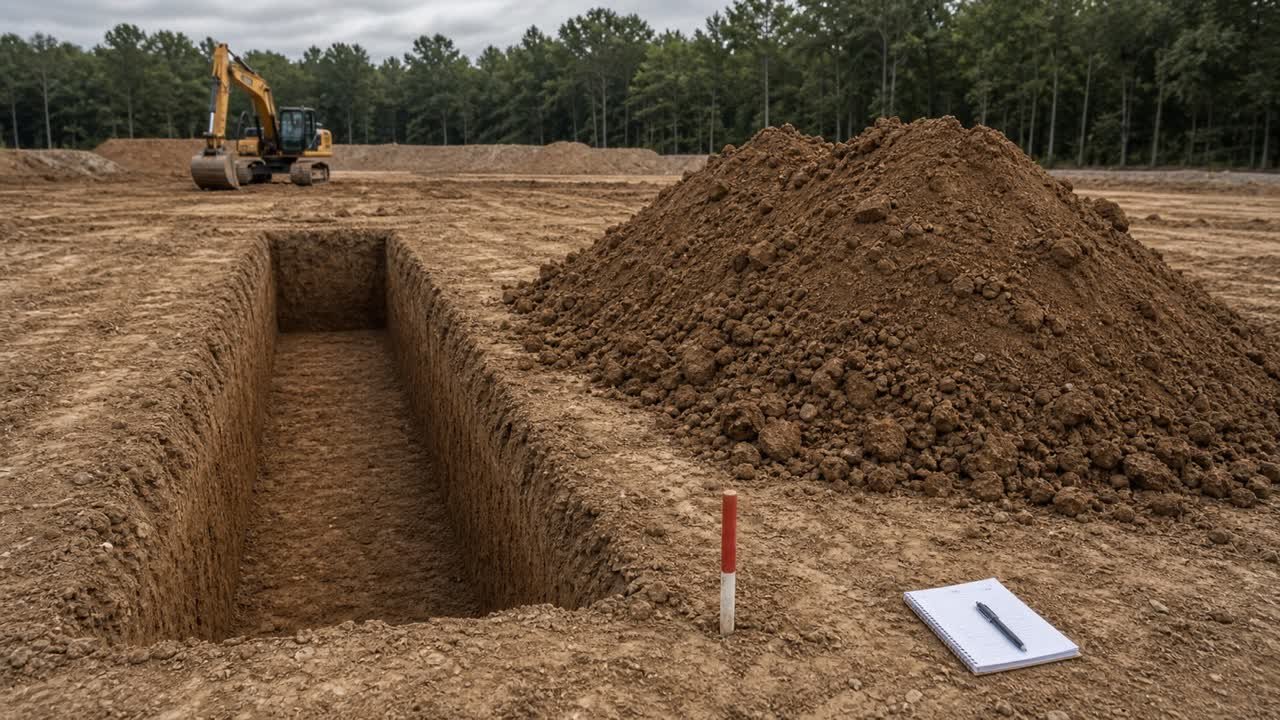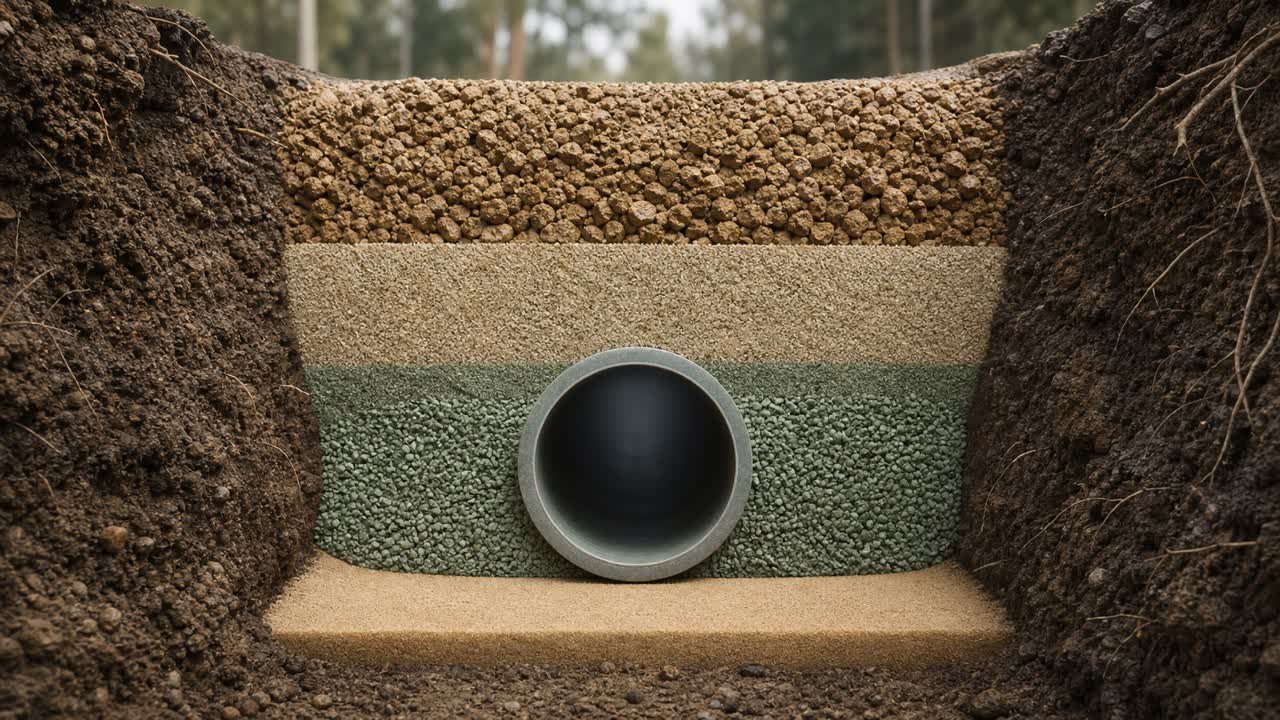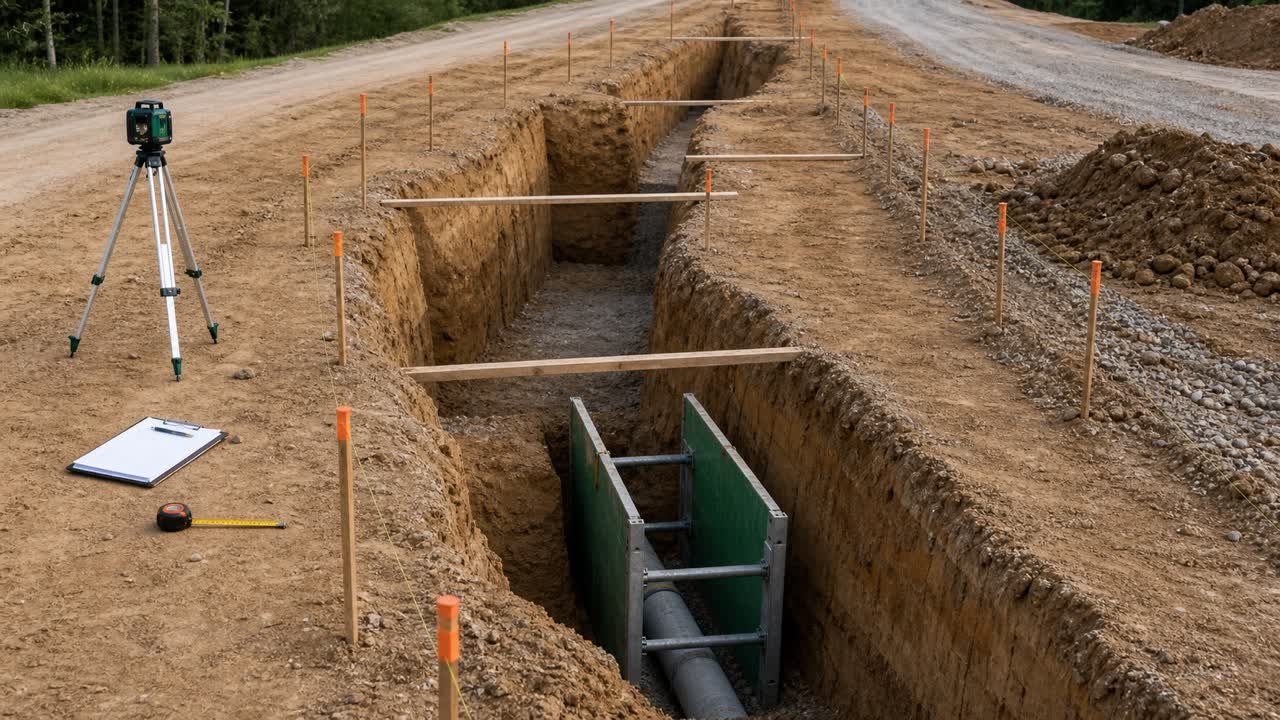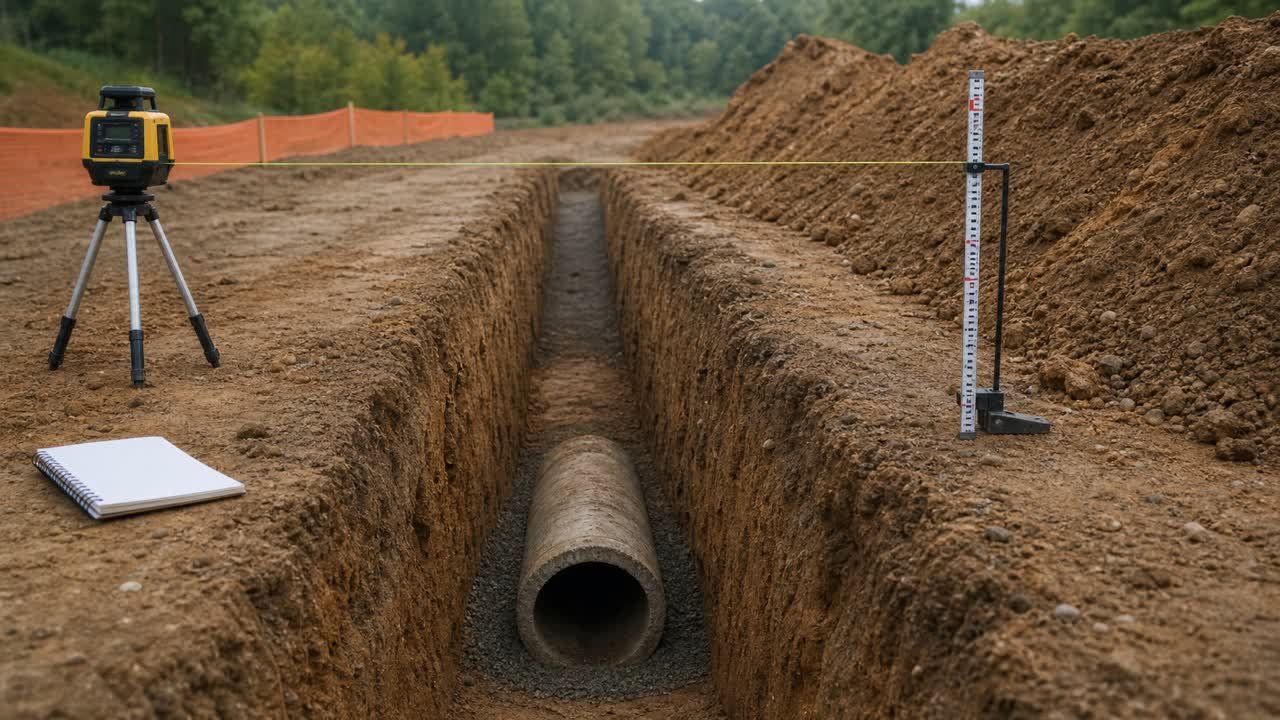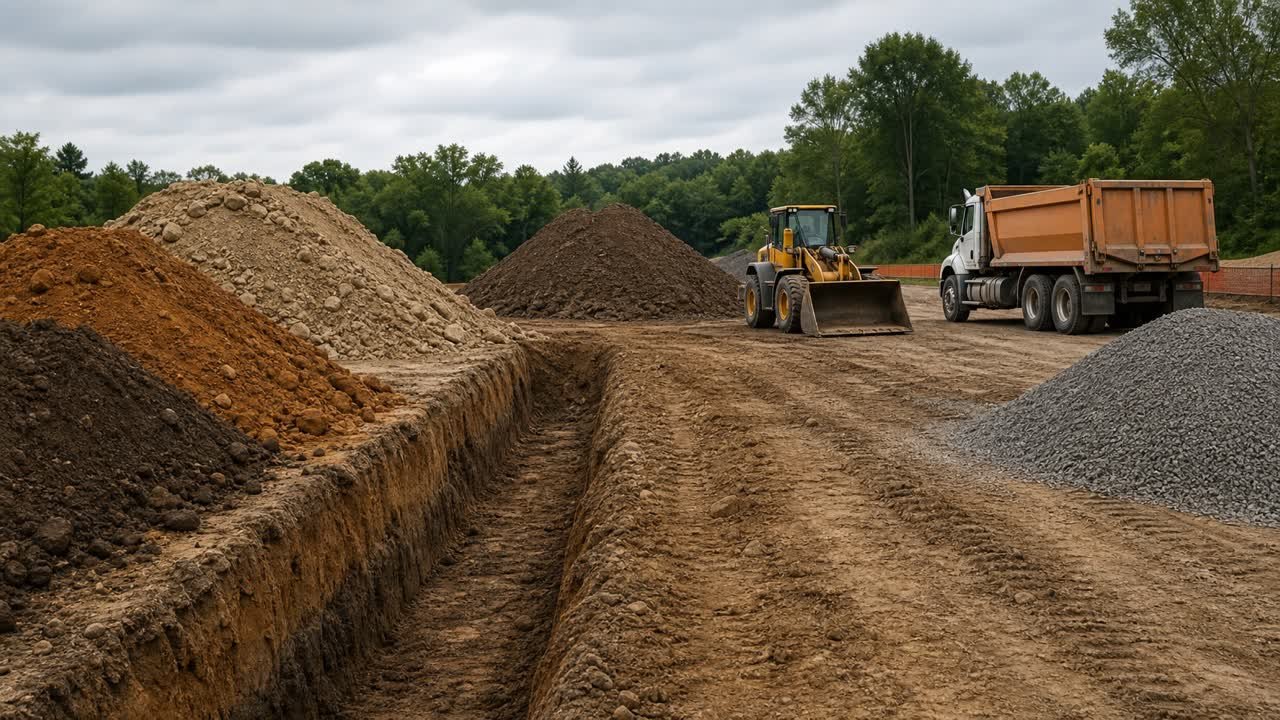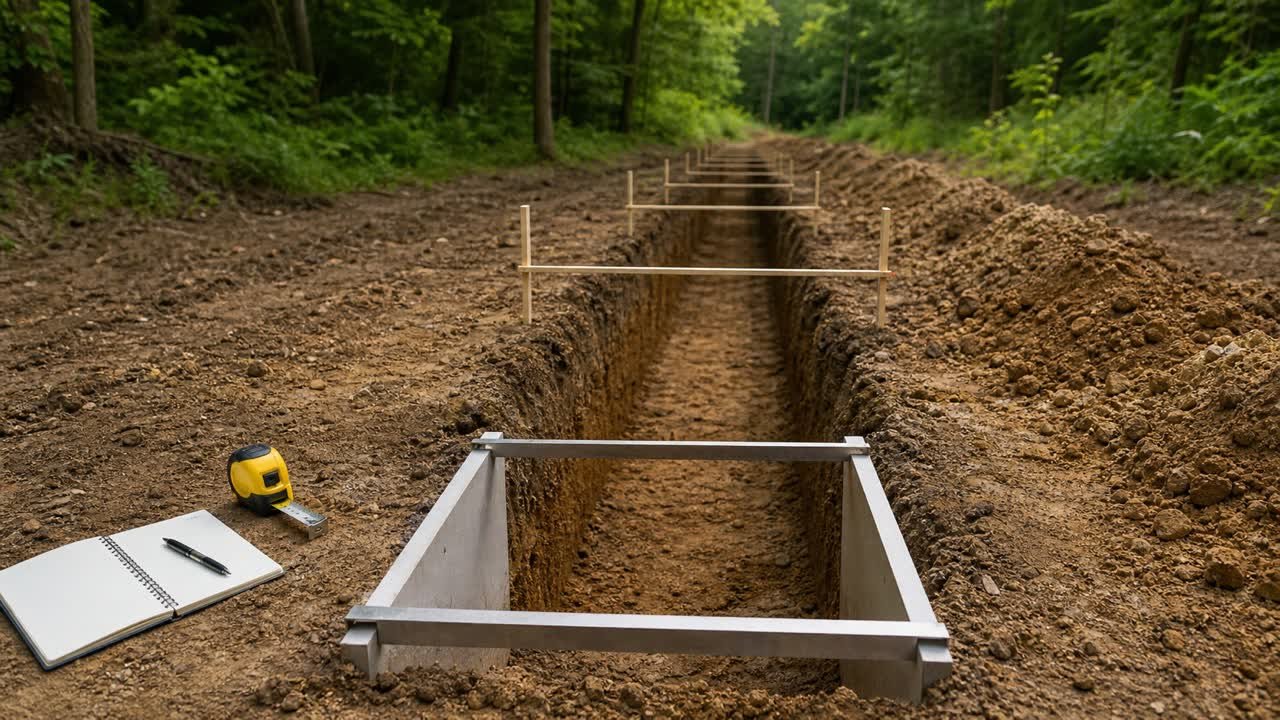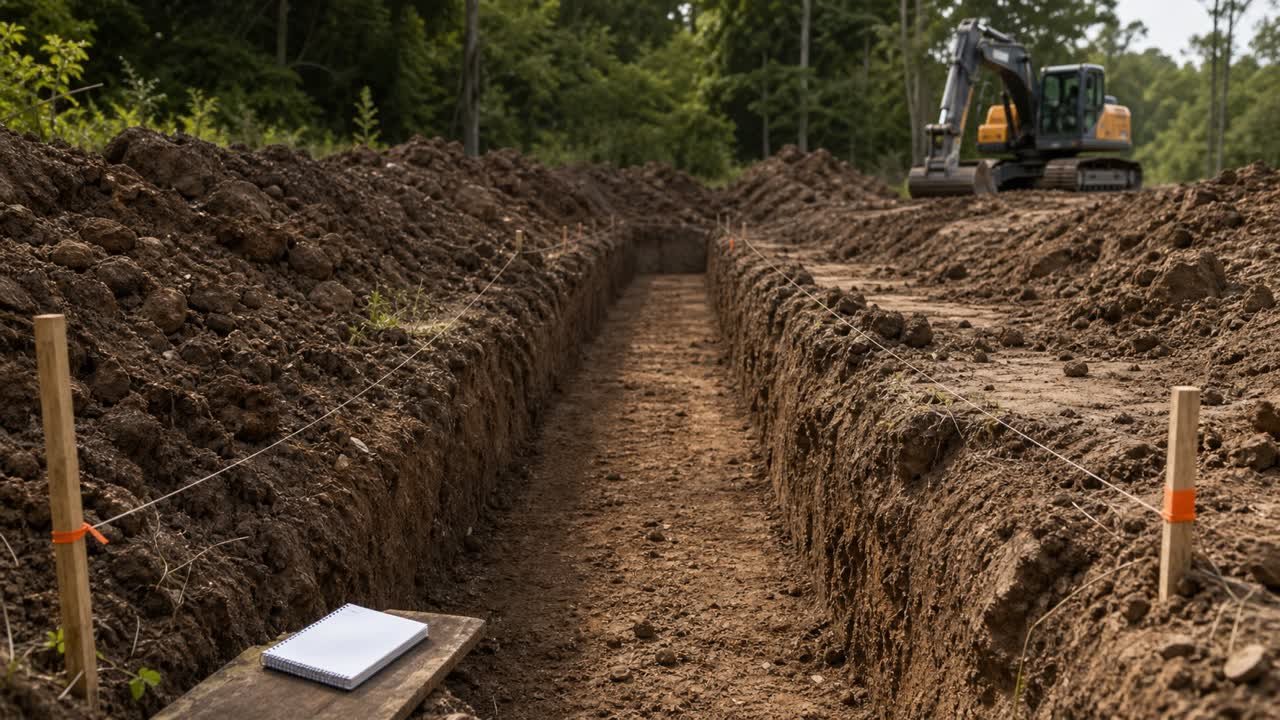
A trench can finish wider, deeper, or less regular than the approved excavation boundary. Compare the design and actual boundaries over the same route limits to find the volume difference.
Use an approved safe survey for the actual boundary. Keep the geometric variance separate from loose-soil swell, replacement backfill, payment rules, and hauling because each quantity has a different basis.
What is trench overbreak?
Trench overbreak is excavation outside the approved design, neat-line, or comparison boundary. A measured result needs 2 volumes: the approved reference volume and the actual excavated volume for the same station range.
Record the drawing, revision, station limits, cross-section, measurement method, and approval status. An overbreak percentage has no clear meaning without that reference.
| Quantity | What it describes | Main evidence |
|---|---|---|
| Design or neat-line volume | The excavation inside the approved comparison boundary | Current drawing, model, specification, or directed change |
| Actual excavated volume | The space inside the safely measured as-excavated boundary | Approved survey, cross-sections, surface model, or verified field record |
| Excess excavation | The positive difference between actual and design volume | Compatible design and actual calculations |
| Pay quantity | The quantity accepted for payment under the contract method | Contract, pay limits, approvals, and measurement record |
| Loose spoil volume | The space occupied after the excavated material is disturbed | Measured yield or supported bank-to-loose factor |
| Replacement material | The accepted material needed to restore or fill the extra space | Actual void, permanent displacement, specification, and approved repair |
The Trench Excavation Calculator calculates a uniform rectangular design or measured section. Use separate runs for changing sections, then total the unrounded results.
How do you calculate excess trench excavation?
Subtract the approved design volume from the actual excavated volume. Calculate a percentage only when the design volume is greater than zero and both volumes use matching limits, units, and material state.
Excess excavation volume = actual volume - design volume
Excess excavation % = (actual volume - design volume) ÷ design volume × 100
Report a positive difference as excess excavation. If the difference is negative, record it as a negative variance and investigate the design boundary, survey, units, station limits, and excavation completeness.
Worked example: measured overbreak from station areas
An approved rectangular trench section is 0.80 m wide and 1.20 m deep over 50 m. A safe as-excavated survey provides actual cross-sectional areas at 0 m, 25 m, and 50 m.
Calculate the design volume
The design cross-sectional area is 0.80 × 1.20 = 0.96 m².
Design volume = 50 × 0.96 = 48.00 m³
Calculate the actual volume
| Segment | End areas | Length | Volume |
|---|---|---|---|
| 0 m to 25 m | 1.02 m² and 1.10 m² | 25 m | 25 × (1.02 + 1.10) ÷ 2 = 26.50 m³ |
| 25 m to 50 m | 1.10 m² and 1.18 m² | 25 m | 25 × (1.10 + 1.18) ÷ 2 = 28.50 m³ |
| Total | 3 safely surveyed sections | 50 m | 55.00 m³ |
Calculate the difference
Actual volume exceeds the design volume by 55.00 - 48.00 = 7.00 m³.
Excess excavation % = 7.00 ÷ 48.00 × 100 = 14.58%
Record: 48.00 m³ design, 55.00 m³ actual, 7.00 m³ measured excess, and 14.58% geometric variance. The percentage does not state the loose spoil volume or payable quantity.
How should design and actual trench boundaries be compared?
Use the same alignment, station limits, datum, units, and cross-section convention for both quantities. A difference in the calculation boundary can look like overbreak even when the excavation matches its approved limit.
- Freeze the approved reference. Record the drawing or model revision, approved changes, station limits, and cross-section definition.
- Choose the comparison method. Use compatible dimensions, cross-sections, or design and as-built surfaces under the project procedure.
- Collect the actual boundary safely. Follow the survey plan and excavation safety controls. Do not enter an unprotected trench for a quantity reading.
- Split meaningful changes. Add a station at grade breaks, width changes, structures, branches, ground changes, or different support details.
- Calculate design and actual volumes separately. Keep the station table and unrounded segment values.
- Compare matching totals. Subtract only after both calculations cover the same route and exclusions.
- Classify the difference. Record excess, negative variance, approved change, survey uncertainty, and unresolved causes as separate fields.
- Apply downstream conversions later. Calculate swell, disposal, replacement material, or payment after the geometric comparison is approved.
The changing trench measurement guide explains station placement and average end-area calculations in more detail.
Which measurement method should you use?
Use the method required by the project and suited to the geometry and available survey data. Record the method with the result because different methods can produce different estimates.
| Method | Suitable use | Main limitation |
|---|---|---|
| Uniform dimensions | Short, consistently rectangular section with verified dimensions | Misses local width, depth, and wall changes |
| Average end area | Linear route with representative cross-sections | Assumes a transition between stations and can miss changes between them |
| Component areas | Benched, asymmetric, or composite sections that can be divided into defined shapes | Needs a traceable boundary and correct treatment of shared edges |
| Surface-to-surface comparison | Design and actual survey surfaces with sufficient coverage and quality | Depends on survey accuracy, point density, surface limits, and model settings |
| Contract pay-line method | Measurement for payment under a named specification | May intentionally exclude actual work outside stated limits |
FHWA reports that a surface-to-surface comparison can give a more precise volume than average end-area estimates when the underlying survey data supports it. FHWA also notes that cross-section spacing and original-ground accuracy can materially affect an earthwork result.
Why can a fixed overbreak percentage fail?
A fixed percentage estimates a difference before the actual excavation is known. It cannot replace a measured as-excavated boundary or a contract-defined allowance.
- A bucket or support system may control width on one section and not another.
- Ground loss can occur locally at a wet layer, utility crossing, joint, or unsupported face.
- Approved side geometry, shoring, benches, and working space can change along the route.
- A percentage applied to the whole project can hide one short section with a large variance.
- The contract may exclude excavation beyond a pay line even when it was physically removed.
Use a planning allowance only when the estimate basis supports it. Label it as an assumption, state what it covers, and replace it with measured information when that becomes available.
What if the actual volume is below the design volume?
Record the negative result as a variance and check it before using the quantity. Possible causes include incomplete excavation, different survey limits, a revised design, missing sections, unit errors, surface gaps, or a boundary definition that changed.
Do not automatically net a short section against excess excavation elsewhere. The project may require separate acceptance, correction, or measurement for each location.
| Check | Question |
|---|---|
| Design status | Does the reference include the latest approved revision and field direction? |
| Station coverage | Do design and actual quantities start and end at the same stations? |
| Surface coverage | Are voids, occlusions, water, structures, and inaccessible areas handled under the survey method? |
| Units and datum | Do both datasets use the same horizontal and vertical reference? |
| Construction status | Was the full required boundary excavated and accepted when the survey was taken? |
How do you keep local overbreak visible when another segment is short?
Record positive excess and negative variance in separate columns before calculating a route total. A net difference can hide the location and size of each condition.
| Segment | Design volume | Actual volume | Signed variance | Record as |
|---|---|---|---|---|
| A | 20.00 m³ | 23.00 m³ | +3.00 m³ | Positive local excess |
| B | 18.00 m³ | 16.50 m³ | -1.50 m³ | Negative variance to investigate |
| Route total | 38.00 m³ | 39.50 m³ | +1.50 m³ | Net route difference |
The gross positive excess is 3.00 m³. The negative variance is -1.50 m³. The route net is +1.50 m³, or 3.95% of the 38.00 m³ design total. Keep all 3 figures because the governing survey, acceptance, correction, and payment process may treat the 2 segments differently.
Use unrounded segment values for these totals. Add the positive values for gross excess, add the negative values for the negative-variance total, and add every signed value for the net route difference. Apply netting only when the project measurement method permits it.
How is overbreak different from swell and backfill?
Overbreak changes the excavated geometric boundary. Swell changes the occupied volume of the material after excavation. Backfill quantity describes the material needed in the remaining space under a stated placement condition.
| Stage | Calculation basis | Result state |
|---|---|---|
| 1. Design excavation | Approved geometry | Bank or in-place design volume |
| 2. Actual excavation | Safely measured as-excavated boundary | Bank or in-place actual volume |
| 3. Geometric variance | Actual minus design | Excess or negative variance |
| 4. Loose spoil plan | Accepted bank volume and supported state conversion | Loose stockpile or haul volume |
| 5. Net backfill | Actual void minus permanent displacement and separate material zones | Placed or compacted space |
| 6. Order or payment | Supplier or contract method | Commercial or accepted quantity |
Use the bank and loose volume guide for the state conversion. Use the pipe bedding and backfill zone guide before calculating replacement materials.
How do you avoid double counting at crossings and structures?
Assign one owner to every excavated space. Deduct overlaps before adding branch trenches, chambers, pits, widened joints, and crossing excavations to the route total.
- Draw or list the limits of each excavation component.
- Choose which component owns each shared volume.
- Calculate the main trench and each added component.
- Calculate any shared intersection volume once.
- Subtract the duplicated intersection from the combined total.
- Keep structures and permanent displacement separate from excavation variance.
A 3D surface or solid model can handle complex intersections when the source data and model checks meet the project procedure. A spreadsheet needs an explicit overlap line so the deduction remains visible.
Does measured overbreak become a payable quantity?
Payment follows the contract measurement clause, accepted changes, and responsible contract administration. A physically measured volume can exceed the quantity eligible for payment.
FHWA FP-24 gives one public example. Its structural-excavation measurement clause excludes specified material outside defined vertical planes and other listed volumes. Its controlled-blasting provisions also require overbreak reporting and measurement under that work scope.
Those clauses show why actual, accepted, and payable quantities need separate columns. They do not set the pay rule for a private project, another agency, or another country.
Worked imperial check
A design trench is 120 ft long, 2.50 ft wide, and 4.00 ft deep. A safe measurement confirms a consistently excavated opening of 2.60 ft by 4.10 ft over the same 120 ft route.
| Quantity | Calculation | Result |
|---|---|---|
| Design volume | 120 × 2.50 × 4.00 | 1,200.00 ft³, or 44.444 yd³ |
| Actual volume | 120 × 2.60 × 4.10 | 1,279.20 ft³, or 47.378 yd³ |
| Excess volume | 1,279.20 - 1,200.00 | 79.20 ft³, or 2.933 yd³ |
| Excess percentage | 79.20 ÷ 1,200 × 100 | 6.60% |
Keep the cubic-foot values through the comparison and divide by 27 after totaling. The displayed cubic-yard difference can vary by 0.001 yd³ if rounded values are subtracted.
What should an overbreak record contain?
- Project, route, work item, drawing, model, specification, and revision.
- Approved design or neat-line boundary and all directed changes.
- Station limits, alignment, datum, units, and cross-section convention.
- Actual survey date, method, equipment, control, coverage, and stated accuracy.
- Design and actual station areas or surface files.
- Unrounded segment volumes and totals.
- Excess or negative variance by section and for the approved total.
- Cause classification only when evidence supports it.
- Separate swell, disposal, backfill, repair, and pay calculations.
- Preparer, checker, acceptance status, unresolved issues, and corrections route.
Common trench overbreak mistakes
- Applying a generic percentage and presenting it as measured overbreak.
- Comparing design and actual volumes with different start or end stations.
- Mixing cubic feet, cubic yards, and cubic metres.
- Comparing a bank design volume with a loose truck or stockpile volume.
- Using one average width and depth across abrupt changes.
- Rounding station volumes before adding them.
- Counting a branch, chamber, or crossing overlap twice.
- Offsetting negative variance without checking excavation completeness.
- Assuming actual excavated volume equals payable quantity.
- Entering an unsafe trench to collect a measurement.
- Using a quantity calculation to choose a protective system or approve ground stability.
Safety and scope
Obtain actual dimensions through the approved safe survey method. OSHA's United States trenching eTool requires competent-person inspections under stated conditions and says spoil and equipment should be kept at least 2 ft from an adequately protected excavation edge or controlled by another stated method.
Excavation geometry follows the drawings, specifications, soil and groundwater conditions, utilities, protective-system design, and responsible people. This page calculates a quantity difference. It does not design sloping, benching, shoring, shielding, dewatering, access, or adjacent-structure support.
Saleem Sial owns the published calculation, source, and editorial checks. Waseem Sial, External Reviewer and Engineer, remains listed for ongoing external review; no completed external-review date is claimed.
Sources and source scope
- FHWA FP-24, Standard Specifications for Construction of Roads and Bridges on Federal Highway Projects: federal contract examples for structural-excavation measurement exclusions, accepted payment quantities, and controlled-blasting overbreak reporting.
- FHWA FP-24 Errata dated 6 August 2026: current corrections to FP-24, including revised average-end-area measurement wording. Read it with the base specification and the project's incorporated contract documents.
- FHWA HIF-17-027, Utilizing 3D Digital Design Data in Highway Construction: surface-to-surface volume comparison, average end-area limitations, section spacing, and source-survey accuracy.
- OSHA Construction Trenching and Excavation eTool: United States competent-person inspection, spoil placement, and trench hazard controls.
- NIST Guide to the SI, Appendix B.8: exact foot and cubic-unit conversion relationships.
Scope: these sources support the stated calculation, measurement, contract-example, unit, and United States safety context. The current project documents, survey procedure, contract, jurisdiction, responsible engineer, competent person, and contract administrator control the approved excavation, acceptance, safety system, and payment.
Calculate a uniform reference section with the Trench Excavation Calculator, return to the Earthwork and Drainage hub, or use the trench order guide after the accepted net material volume is known.