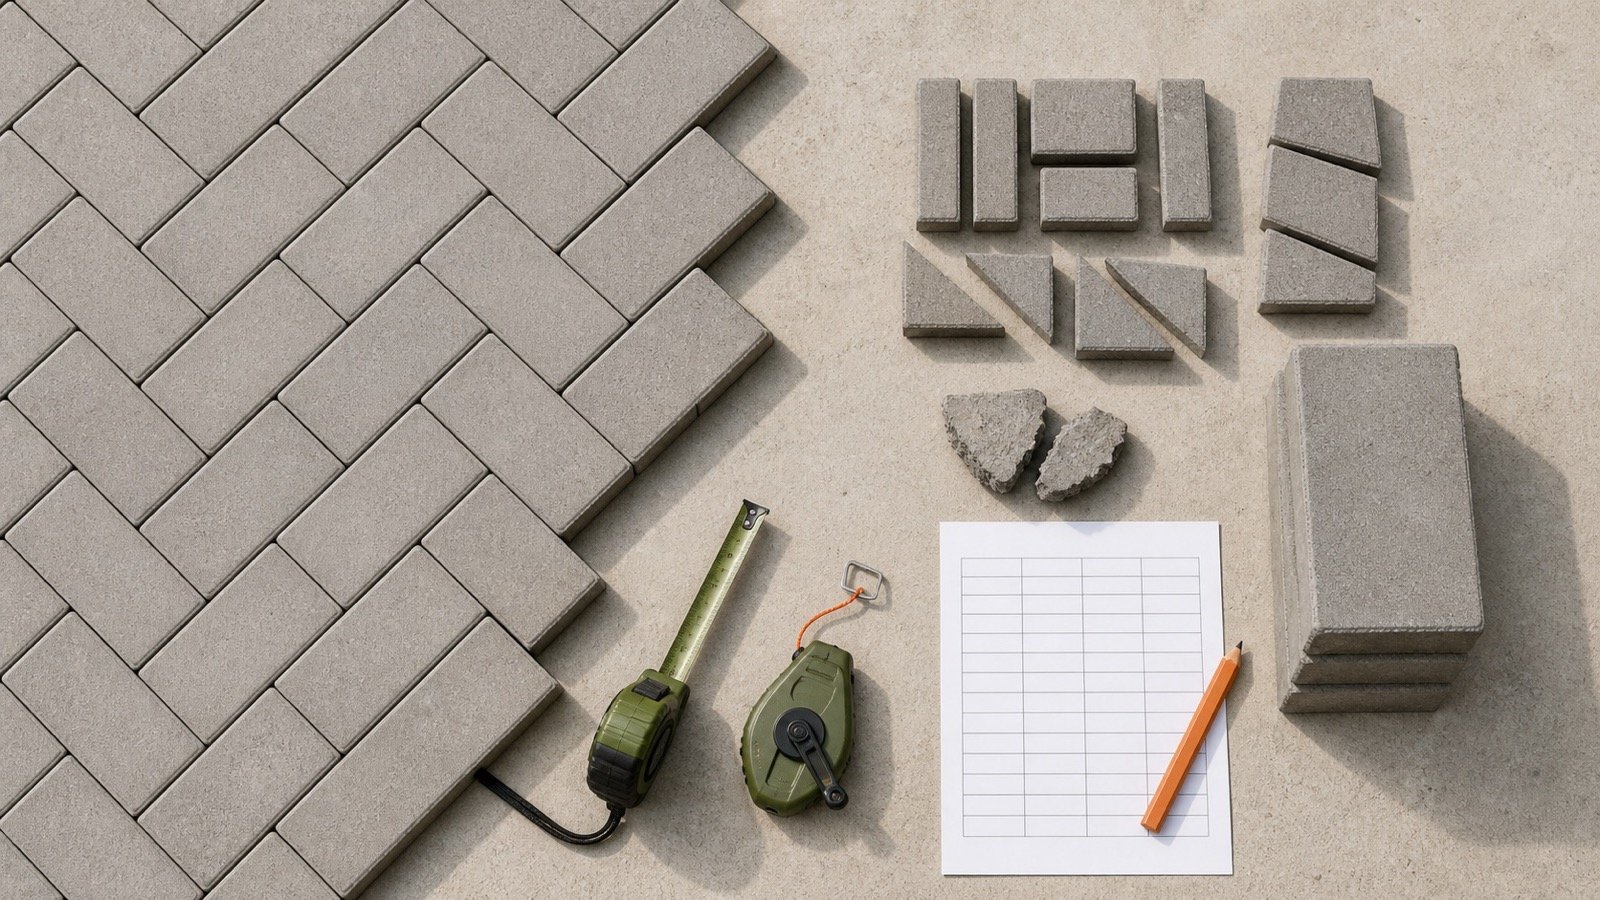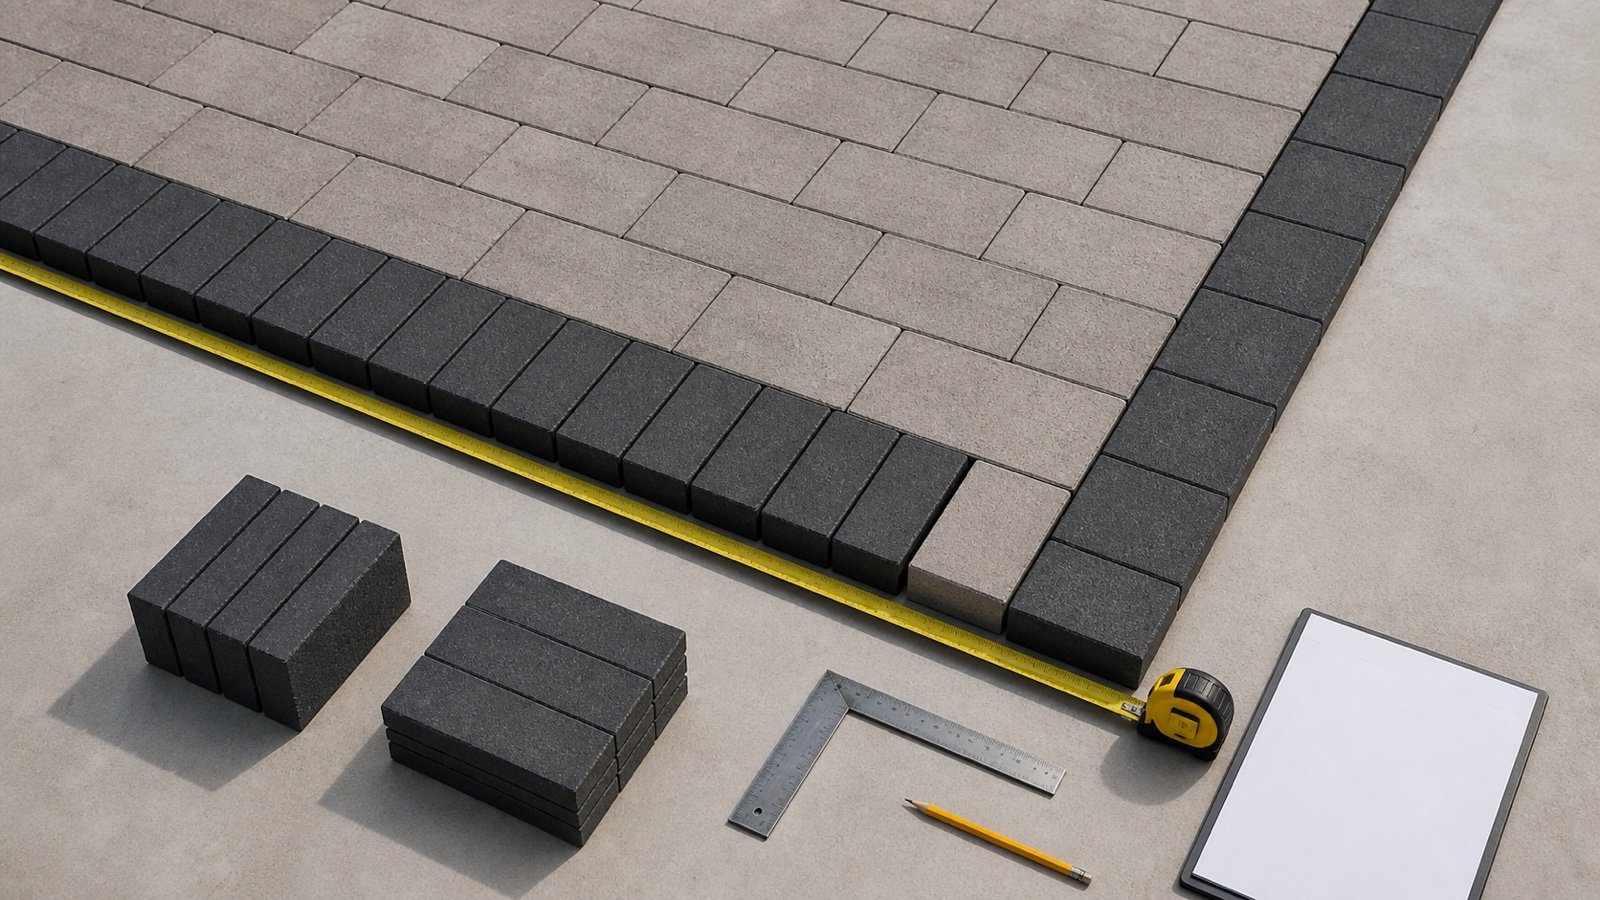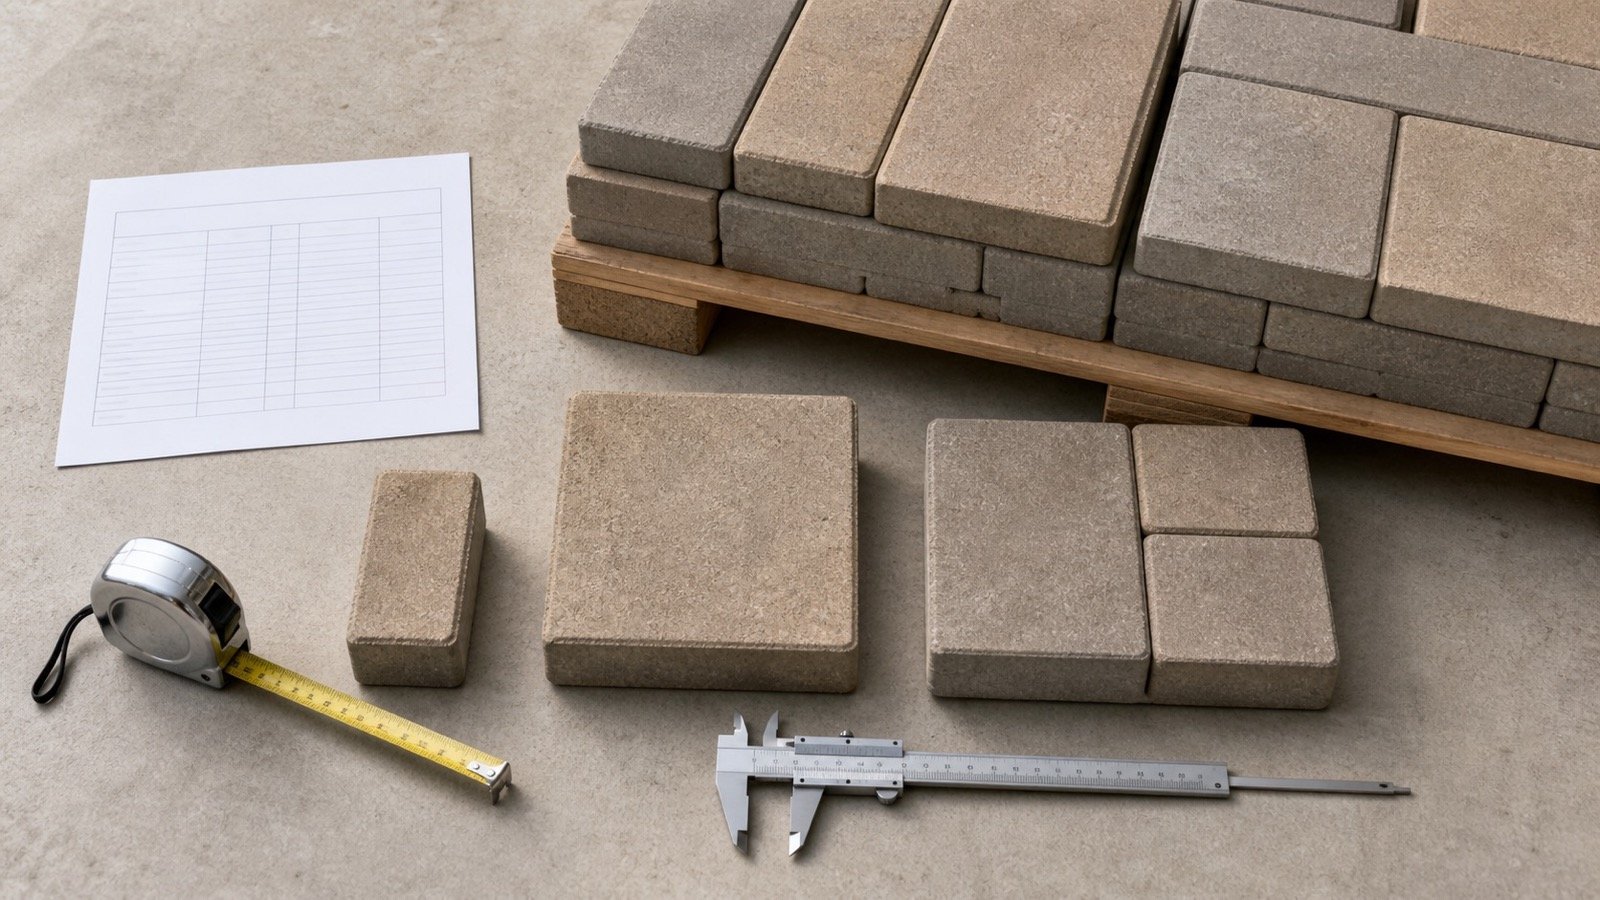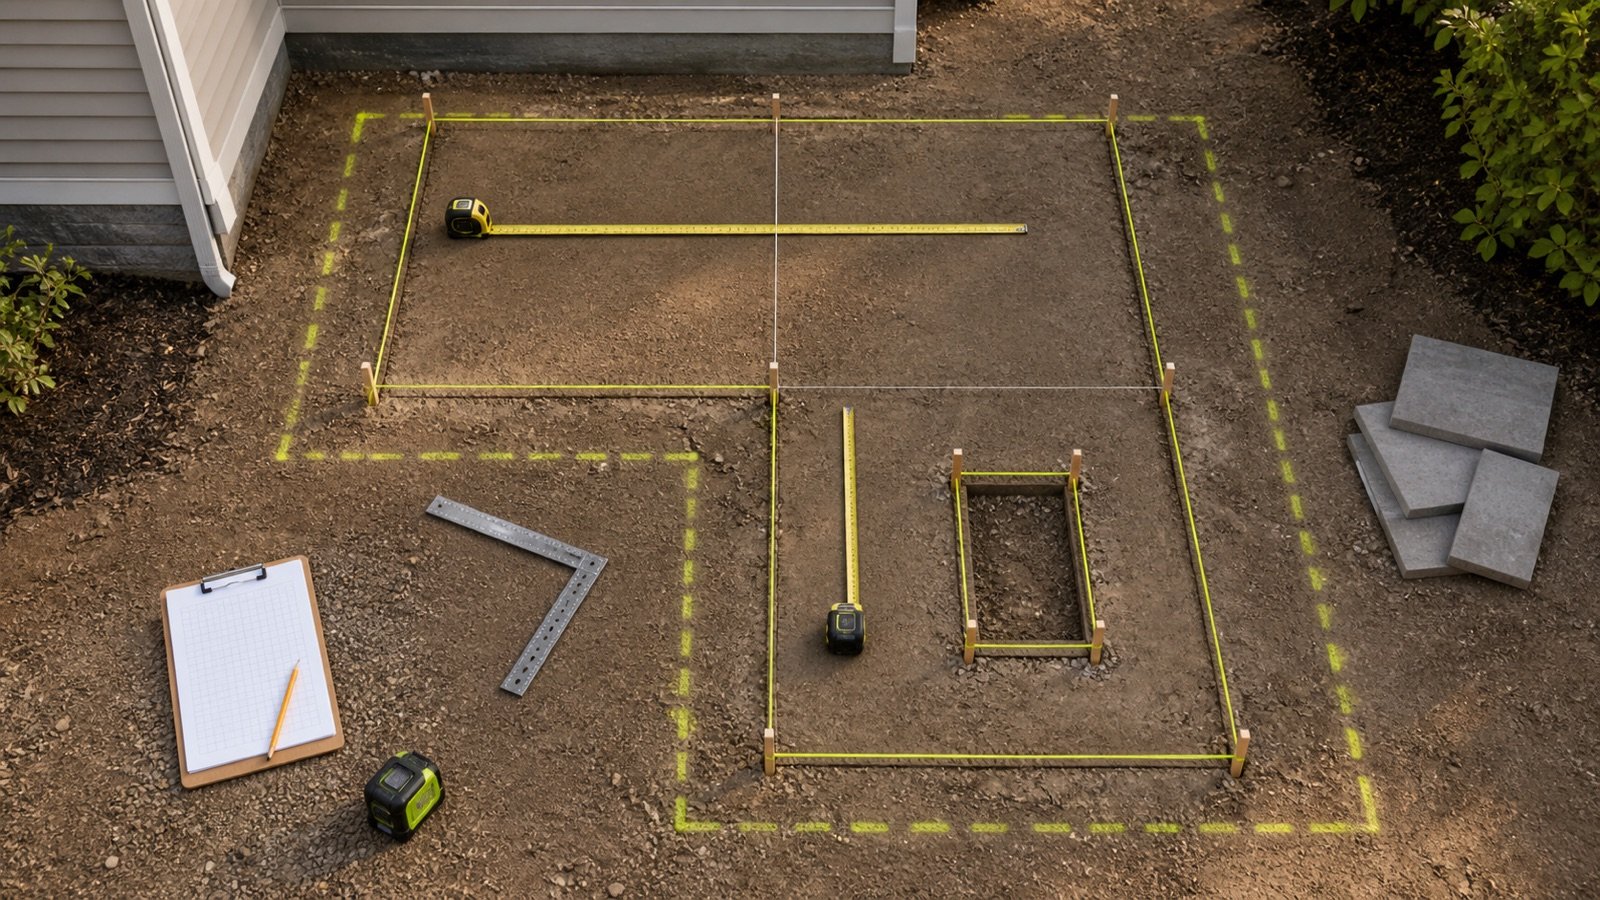
A patio takeoff starts at the finished edge of the pavers. The excavation, extended base, edge restraint, planter opening and separate border can occupy different outlines, so one outside measurement may count the wrong surface.
Mark the planned paver edge, sketch it from above and give each non-overlapping field a zone ID. Keep every dimension, deduction and product change visible before calculating the net area.
How do you measure a patio for pavers?
Measure the finished paver boundary, split the outline into non-overlapping shapes and calculate each shape's area. Subtract named openings that receive no field pavers, then keep borders or different products on separate lines.
Retain the zone dimensions rather than carrying only one square-foot total. Enter each accepted rectangular field in the Paver Calculator, and combine compatible unrounded areas before the final full-bundle rounding.
Unilock's current patio guide places its excavation and base extension at least 6 in (15 cm) beyond the paver edge. That wider construction line is a separate base or excavation record, not extra paver surface.
Which boundary belongs in the paver measurement?
Use the accepted outside face of the finished field or border pavers. Show the house, steps, walls, drains, planters and other fixed references so another person can find the same corners.
| Outline | Measurement use | Quantity treatment |
|---|---|---|
| Finished paver edge | Defines the paved surface | Use for field plus border area |
| Field-to-border line | Separates the main paver from a border product | Measure both product zones |
| Excavation or base-extension edge | Provides working room and support outside the pavers | Keep out of paver surface area |
| Planter, pool or building opening | Defines a zone with no field pavers | Deduct once and record any separate coping or border |
| Step, wall or raised feature | Identifies a vertical or specialty component | Use its own drawing and material schedule |
The current Unilock installation page uses a 6 in minimum base extension for its shown patio process. Its older Advanced Tech Guide Figure 9 shows an 8 in (200 mm) construction perimeter. Those values belong to their stated systems and editions. Project drawings, site conditions and the selected installation system control the extension on your job.
What tools and records do you need?
Use a tape or checked laser measure, stakes, taut string, marking paint or chalk, a square and a field sketch. A second person should check the critical dimensions when site access permits.
| Record | What to write | Check |
|---|---|---|
| Project reference | Patio ID, plan revision, date and location | Confirm the measured layout matches the approved work |
| Baseline | One straight reference edge and 2 fixed end points | Use the same baseline for offsets and rechecks |
| Zone | ID, shape, dimensions, unit and formula | Confirm zones touch without gaps or overlaps |
| Opening | ID, offsets, dimensions and treatment | Confirm it lies inside the stated zone |
| Border or inset | Product, width, orientation and limits | Separate it from the field when the product record changes |
| Measurement check | Repeated sides, widths and diagonals | Keep different readings rather than hiding their spread |
| Unresolved condition | Curve, slope, access, drainage or permit question | Assign the person who must resolve it |
Measure all dimensions in one unit inside each formula. NIST Handbook 44 records 1 ft² as exactly 144 in² and 0.09290304 m². Convert the area after the geometry check when you need another unit system.
How do you stake and sketch the patio?
- Confirm the approved patio location, access and fixed structures.
- Choose a straight baseline, such as an accepted wall reference or 2 survey points.
- Mark the finished paver corners or curve controls with stakes and taut string.
- Mark the excavation or base-extension limit with a different line type or color.
- Draw the outline from above and label each corner in order.
- Add steps, planters, drains, walls and other excluded or specialty zones.
- Mark field-to-border lines and every product change.
- Measure the sides, repeated widths, offsets and diagonals. Write the readings on the sketch as taken.
Unilock's Advanced Tech Guide tells crews to mark site elements such as steps and planters, set measurements and stakes with another crew member as a check, and use string lines for finished elevation controls. The same page draws the excavation edge outside the paver edge.
How do you measure a rectangular patio field?
Measure the finished length and width between accepted paver edges, then multiply them. Check both dimensions at more than one location when the opposite sides should be parallel.
Rectangle area = finished length × finished width
- Label the 4 intended corners A, B, C and D.
- Measure all 4 sides, not one length and one width alone.
- Measure the width near both ends and through the middle.
- Measure both corner-to-corner diagonals.
- Record any difference and resolve the accepted boundary before choosing one calculator width.
- Calculate the area only after the rectangle check closes.
An 18 ft × 12 ft rectangle has a target diagonal of √(18² + 12²) = 21.6333 ft, about 21 ft 7.6 in. Equal measured diagonals support the corner check when the 4 sides also match the intended layout. They do not prove that an edge is straight or that drainage and elevation are correct.
Why should repeated widths stay in the ledger?
Start, middle and end readings show a taper, bowed edge or misplaced stake. An average removes the spread from the record and may create a rectangular area that matches no part of the actual boundary.
Suppose an intended 12 ft width measures 12 ft 0 in, 12 ft 3 in and 11 ft 10 in. Keep all 3 values. The 5 in spread needs a layout decision, a corrected line or a documented irregular-area method before one width goes into the calculator.
Use an average only when the approved measurement method calls for it and states how the approximation will be checked. Record the original readings beside the calculated value.
How do you measure an L-shaped or offset patio?
Split the patio at clear straight lines into rectangles that do not overlap. Calculate each zone, then add the areas after checking that their shared boundary appears once.
Composite net area = sum of non-overlapping zone areas − named openings
Choose split lines that make the field easy to check from fixed references. Preserve the separate zone dimensions because different run lengths, products, patterns or borders may need separate calculator entries.
Worked imperial patio measurement
Zone A measures 18 ft × 12 ft. Zone B adjoins it and measures 8 ft × 6 ft. A 3 ft × 4 ft planter lies inside Zone A and receives no field pavers.
- Zone A gross area: 18 × 12 = 216 ft².
- Zone B area: 8 × 6 = 48 ft².
- Planter deduction: 3 × 4 = 12 ft².
- Net paver area: 216 + 48 − 12 = 252 ft².
- Metric check: 252 × 0.09290304 = 23.41156608 m².
For the calculator handoff, enter Zone A with the planter deduction to obtain 204 ft². Enter Zone B as a separate 48 ft² field. Add their unrounded planning areas before bundle rounding only when the same product, coverage record and approved allowance apply to both zones.
Worked metric patio measurement
Zone A is 6.4 m × 4.2 m, and adjoining Zone B is 2.1 m × 1.8 m. A 1.2 m × 0.8 m opening lies inside the combined outline.
- Zone A: 6.4 × 4.2 = 26.88 m².
- Zone B: 2.1 × 1.8 = 3.78 m².
- Opening: 1.2 × 0.8 = 0.96 m².
- Net paver area: 26.88 + 3.78 − 0.96 = 29.70 m².
- Imperial check: 29.70 ÷ 0.09290304 = 319.6881 ft².
These examples verify the zone arithmetic. They do not set a border, pattern, cut allowance, product, drainage plan or excavation size.
How should circles and free-form curves be measured?
Use a circle formula when the boundary has a defined center and radius. A full circle with a 5.5 ft radius covers π × 5.5² = 95.0332 ft².
Circle area = π × radius²
Semicircle area = π × radius² ÷ 2
A free-form curve needs an approved plan takeoff, coordinates or a documented strip or segment method. Record the station spacing, every measured offset and the approximation rule. A surrounding rectangle can provide a rough upper boundary, but it does not become the accepted paver area.
Keep the curve controls for the cut plan. Unilock's current installation guide treats straight and curved field-to-border cuts as different marking tasks, which can change the allowance and edge-unit record after the area is measured.
How should openings, planters and posts be deducted?
Deduct a zone once when field pavers will not cover it. Locate the opening from 2 fixed references and record its dimensions, shape and relationship to borders.
| Condition | Area record | Follow-up |
|---|---|---|
| Rectangular planter inside one zone | Subtract length × width from that zone | Measure any separately paved border |
| Opening already outside composite zones | No second deduction | Mark the surrounding zone limits on the sketch |
| Small post through the field | Record offsets and cut condition | Do not assume its area removes a whole paver from the order |
| Pool opening with coping | Subtract the pool opening from field area | Give coping and field-to-coping border their own schedules |
| Drain or utility cover | Record the actual excluded surface when the design defines it | Keep access, edge and cut details with the layout |
A small opening may change cuts without reducing the purchased count by its geometric area. The field calculator reports area and product coverage; the approved cut and spare-stock process controls the order adjustment.
How do you measure a separate paver border?
Mark both border edges and calculate the border as its own product zone. Record width, orientation, corner treatment and the lines where the field meets the border.
For a uniform border around a simple rectangle, subtract the inner field rectangle from the outside finished rectangle. For an L shape, curve or changing border width, divide the border into checked non-overlapping segments or use the approved drawing takeoff.
Simple rectangular border area = outside finished area − inside field area
The current Unilock guide separates field installation from border placement and describes different cutting methods at the field-to-border line. A border with another product, thickness, bundle or orientation needs its own calculator and supplier record.
Do slope and elevation belong in the area worksheet?
Record the benchmark, finished elevations and slope controls beside the area sketch. They determine drainage and construction levels, while the area ledger states the dimensional basis used for the quantity.
Label dimensions taken from a plan as horizontal plan dimensions. Label dimensions measured along an intended sloped surface as surface dimensions. Use the basis required by the approved design and product takeoff, and obtain a survey or design check when terraces, ramps or steep grade changes make one flat outline unreliable.
The Paver Calculator does not design drainage, set elevations or convert plan area into a sloped surface. Unilock's technical guide uses benchmark and string lines for excavation depth and finished elevation checks, so keep those records with the layout rather than hiding them in an area allowance.
How do you transfer patio measurements to the Paver Calculator?
- Choose one zone that uses one paver product and current bundle-coverage record.
- Enter its rectangle or separately checked known area.
- Enter up to 2 groups of equal rectangular deductions when they lie inside that zone.
- Run another entry when the zone shape, product, bundle, border or allowance changes.
- Keep the exact zone areas and calculator outputs in the field ledger.
- Combine compatible unrounded planning areas before rounding to whole bundles.
- Record bundle surplus separately from the entered project allowance.
Use the calculator's coverage-per-bundle mode when the current product sheet, pallet tag or seller quote gives the paved area in one bundle. A mixed-size pattern needs the manufacturer's layer and per-size schedule in addition to the total area.
Which patio measurement mistakes change the quantity?
- Measuring to the excavation line instead of the finished paver edge.
- Using the whole yard or furniture zone as the paved boundary.
- Drawing composite rectangles that overlap.
- Subtracting the same opening from 2 zones.
- Removing a pool or planter and forgetting its separate coping or border pavers.
- Averaging unequal widths before resolving the boundary.
- Using one length and width without checking the other sides and diagonals.
- Treating a free-form curve as a true circle without a defined center and radius.
- Combining field and border products under one area-per-bundle value.
- Adding a fixed allowance to the measured net area before the calculator.
- Rounding each compatible zone to a whole bundle before combining it.
- Converting feet and inches after multiplying inconsistent units.
- Keeping only one total area and discarding the sketch or zone dimensions.
What should the completed patio measurement record contain?
- Project, patio and zone IDs; address or site reference; date; drawing revision.
- Finished paver edge, field-to-border lines and separate excavation limit.
- Baseline, labeled corners, offsets, all side readings and both diagonals.
- Non-overlapping zone dimensions, formulas and unrounded areas.
- Openings, planters, pools, posts, drains, steps and fixed structures.
- Border, inset, specialty and mixed-pattern product zones.
- Benchmark, elevations, slope basis and unresolved drainage or layout questions.
- Manufacturer, product, color, thickness, current bundle coverage and seller increment.
- Calculator entries, entered allowance reason, full-bundle result and bundle surplus.
- Measured by, independently checked by, photographs and correction notes.
Return to the Paver planning hub for the calculator and published supporting resources. Use the Paver Sand Calculator only after the bedding or joint material, depth or product coverage has been specified for its own task.
Safety, permit and construction limits
Confirm local permits, zoning, property limits, drainage requirements and utility-location rules before excavation. United States readers can use 811 Before You Dig to find the applicable state contact and advance-notice record. Timing and mark-validity rules vary by state.
Measuring an area does not approve excavation, pavement structure, base extension, drainage, slope, edge restraint, steps, walls, vehicle loading, product selection or installation. Control access around stakes and strings, and do not enter an unstable excavation or unsafe grade to collect a dimension.
Later cutting of concrete, brick or stone can create respirable crystalline silica. United States employers covered by OSHA's construction silica standard must use the exposure-control process that applies to the material, tool, duration and workplace.
The calculation methodology explains unit and fixture checks. Report a measurement, formula or source issue through the corrections route.
Sources and source scope
- Unilock patio-on-grade installation guide: current pre-excavation checks, paver-edge and base-extension distinction, field, border, cut and edge-restraint context, and string-line checks.
- Unilock Advanced Tech Guide: Figure 9 project layout, marked site elements, independent measurement check, separate paver and excavation edges, benchmarks and elevation strings. The PDF metadata is dated 2018, so current project and product instructions take priority where details differ.
- NIST Handbook 44 (2026), Appendix C: exact area-unit relationships used in the examples.
- 811 Before You Dig: United States utility-location contacts and state-specific notice records.
- OSHA construction silica guidance: United States worker-exposure and control context for later cutting.
Source scope: Unilock supports the stated layout and system examples, not a universal patio design or base extension. NIST supports unit relationships. 811 Before You Dig supports the U.S. locate handoff, and OSHA supports the named U.S. workplace warning. Project drawings, permits, current product instructions, site conditions, local rules and responsible professionals govern the work.
Review note: Saleem Sial owns the research and editorial record. Source retrieval, PDF extraction and rendering, geometry fixtures, editorial review, build validation, link crawl, schema review and rendered QA form the internal publication gate. Waseem Sial, External Reviewer and Engineer, is listed for ongoing external review; no completed external-review date is claimed.