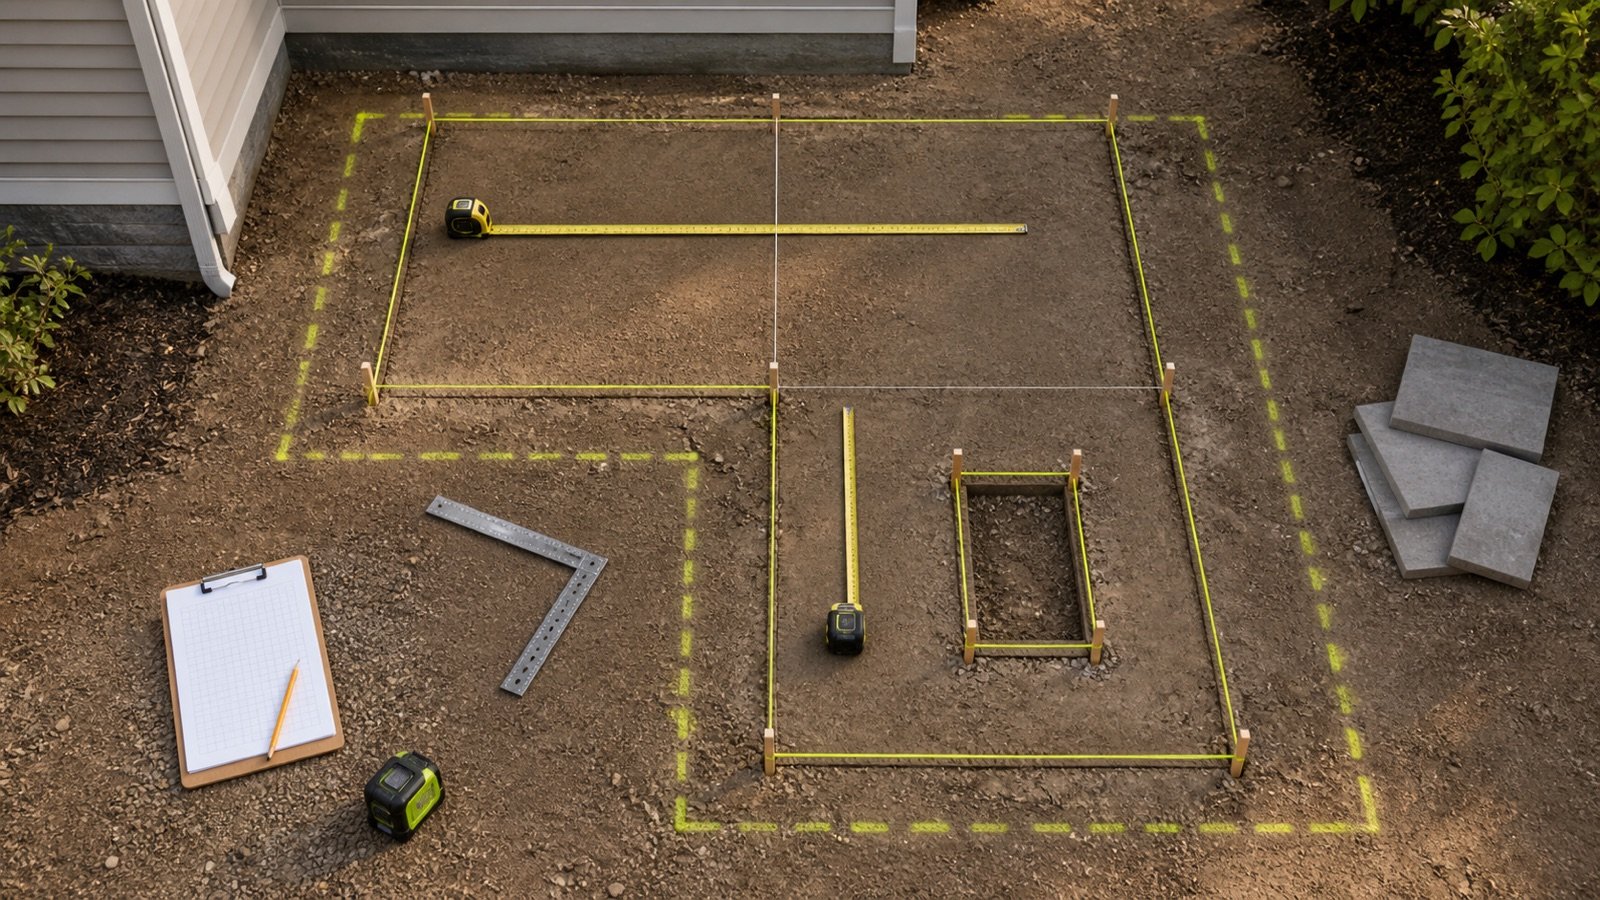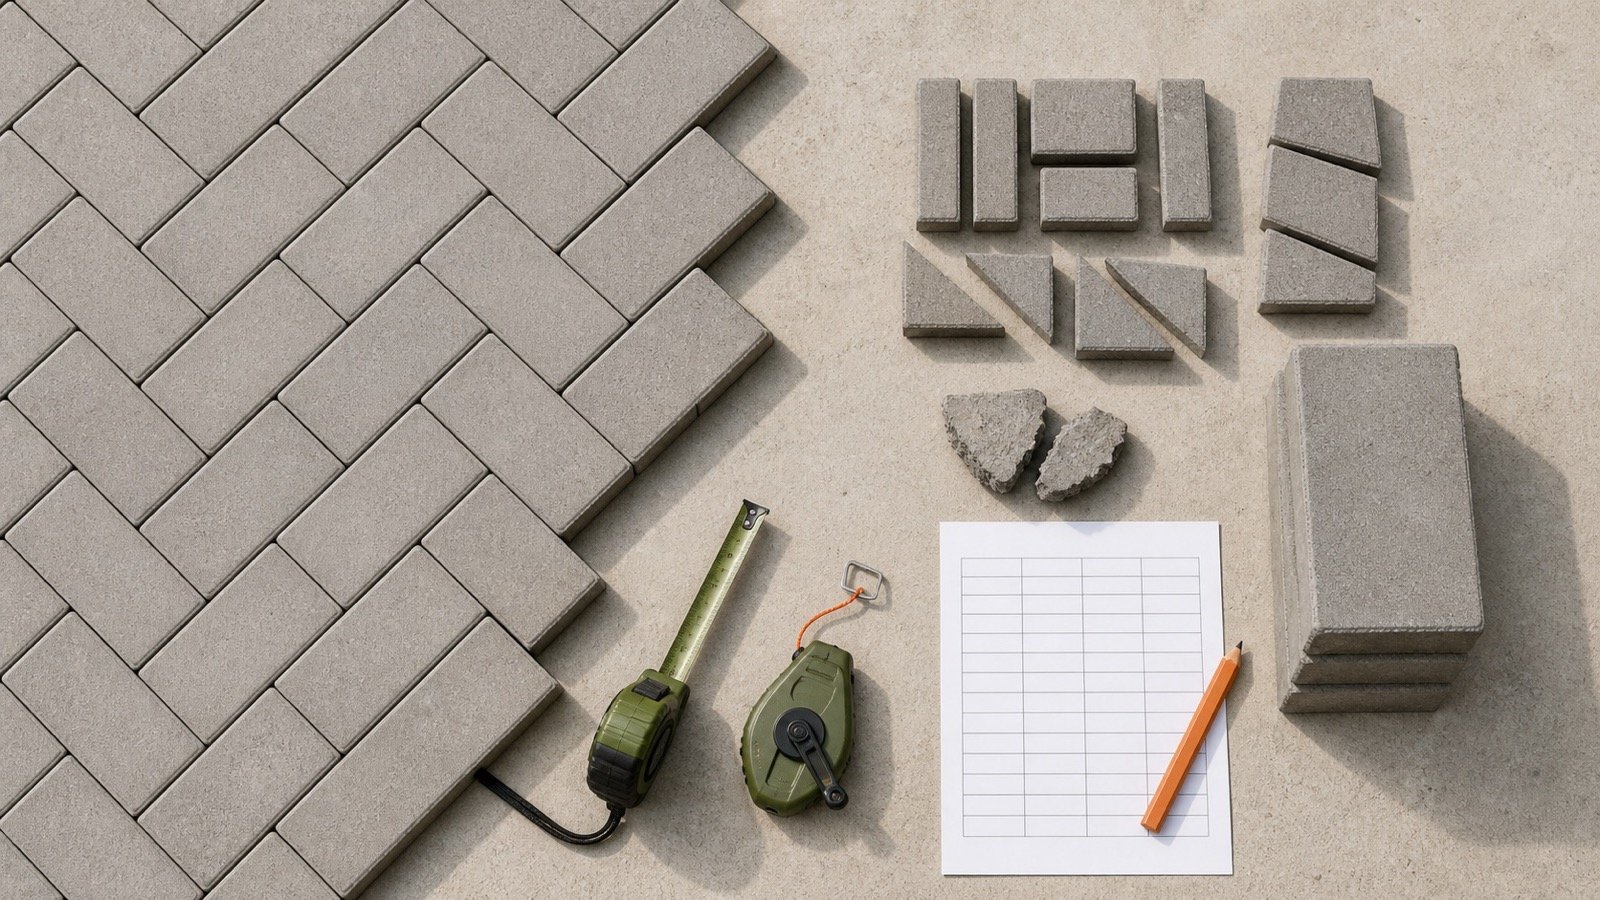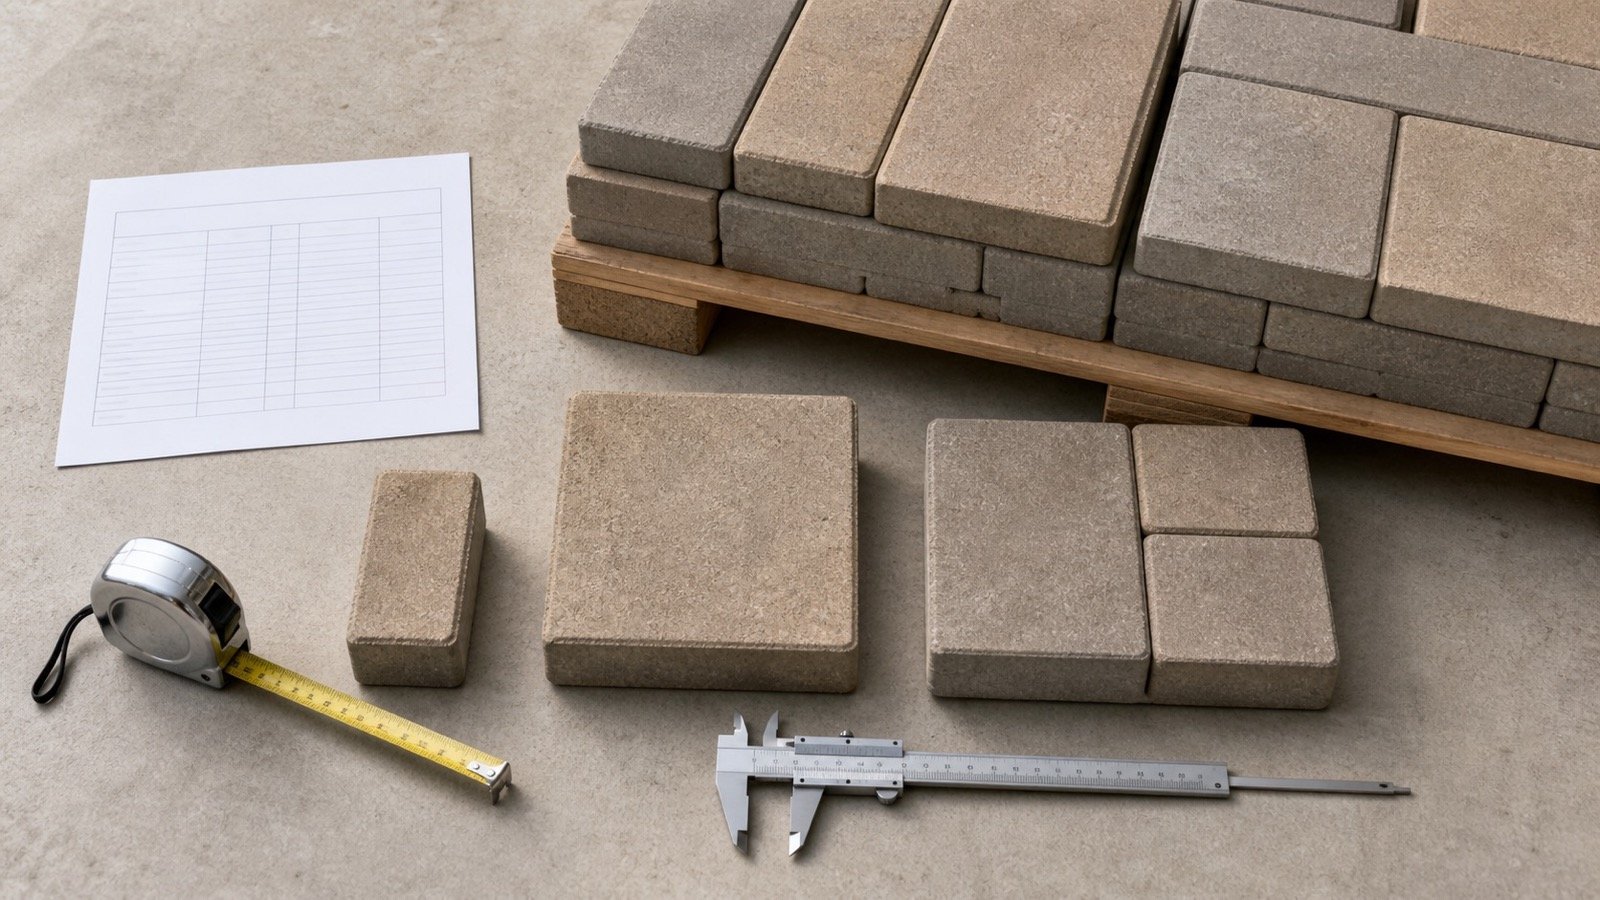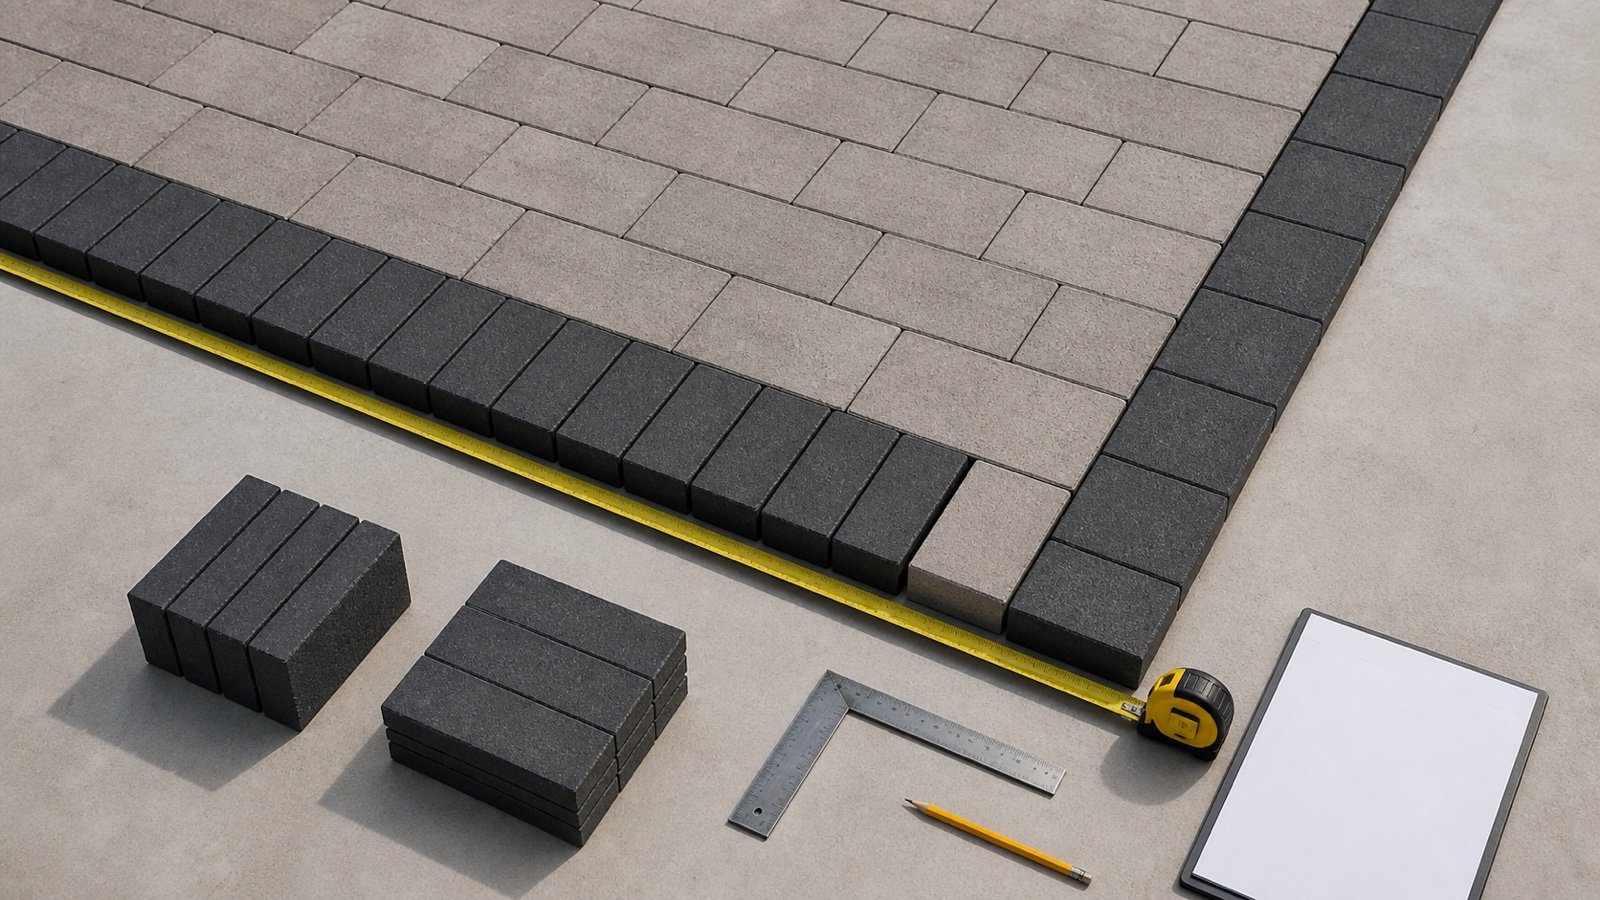
A contrasting paver border needs its own quantity line. Its length, orientation, corner layout and package can differ from the pavers inside the field.
Start with the finished border run. Then copy the selected product's current linear coverage or verify the paver module that advances along the run. Keep the sketch beside the calculation because the words soldier and sailor are used inconsistently across live supplier and trade pages.
How many pavers do you need for a border?
Divide the net border run by the current laid linear coverage per paver, then round up to a whole unit. If the manufacturer gives linear coverage per bundle, divide the run by that value and round to the seller's package increment.
Net border run = gross measured run − border-free openings
Preliminary border units = ceiling(net border run ÷ laid linear coverage per unit)
Preliminary bundles = ceiling(net border run ÷ linear coverage per bundle)
Corners, curves, returns, non-reusable cuts, damaged units and retained spares remain separate adjustments. The straight-run formula cannot decide those details.
Write which paver dimension runs along the border and which dimension forms the border depth. A small orientation sketch prevents a label mismatch from doubling or halving the count.
What do soldier course and sailor course mean?
Both names describe a row of pavers used at an edge or as an accent band. The quantity changes when a rectangular paver rotates because a different face advances along the border.
Live pages do not use the names consistently. One supplier calculator labels soldier as the short side and sailor as the long side. Other trade descriptions explain the arrangement by which sides touch or by the depth of the border. A name alone is an incomplete takeoff input.
| Record item | What to write | Why it changes quantity |
|---|---|---|
| Advancing face | Actual laid dimension that repeats along the border | Controls units per linear foot or metre |
| Border depth | Dimension running from the outer edge toward the field | Controls field-area deduction and visual width |
| Joint or laid module | Manufacturer's linear coverage, or a verified layout module | Face dimensions alone may omit the laid joint |
| Course count | Single, double or another approved arrangement | Each row needs a separate run and corner layout |
| Corner detail | Butt, mitre, special unit or approved cut | Changes how the 2 runs meet |
Use the project's drawing, manufacturer pattern sheet or a dry-laid sample to identify the orientation. Keep the familiar course name as a note after the geometry is clear.
How do you measure the net border run?
Measure along one stated reference line around every segment that receives the selected border product. Record each side, opening, inside return and isolated border separately before adding them.
For a closed rectangular border measured around a consistent rectangle, the gross run is:
Rectangular border run = 2 × (length + width)
An 18 × 12 ft rectangle has a gross run of 2 × (18 + 12) = 60 linear ft. This arithmetic is valid only when the entered length and width describe the same reference line on all 4 sides.
Which reference line should you use?
State whether the dimensions follow the outside edge, inside edge or another drawn line. A wide border produces different inside and outside perimeters, so mixing the 2 creates an error at every corner.
- Use the outside edge when the project dimensions define the finished outer pavement.
- Use the inside edge when the border meets a separately measured field and that line is shown on the drawing.
- Use a centerline only when the detail and estimator both use it consistently.
- For an irregular boundary, list measured segments or use a checked survey length.
Write the reference line in the quantity record. The linear-coverage value must describe units placed along that same run.
Which openings should you deduct?
Deduct a segment only where this border product is absent. A doorway, gate, wall, threshold or open side can interrupt an outer border. An island, planter or pool can add an internal border rather than reduce the outside run.
Example: a 6 m × 4 m field has border on 3 complete sides and only 2 m of the fourth side. Its net run is 6 + 4 + 6 + 2 = 18 m. Writing each segment is safer than calculating a 20 m perimeter and using an unexplained 2 m deduction.
Which border calculation basis should you use?
Use current manufacturer linear coverage for an order check. Use a verified advancing module for an independent early estimate when product coverage is unavailable.
| Available record | Method | Required follow-up |
|---|---|---|
| Linear feet or metres per bundle | Net run ÷ bundle linear coverage | Confirm region, product, orientation and seller increment |
| Linear coverage and units per bundle | Derive coverage per unit from the same record | Check the arithmetic against the package result |
| Verified laid module only | Net run ÷ advancing module | Obtain current package coverage before ordering |
| Mixed-size or irregular border | Use the approved per-size or pattern schedule | Check each size and package separately |
| Curved or changing-width border | Use a drawn piece and cut schedule | Approve joint, wedge and cut treatment |
Keep every product value inside one matching record. Dimensions from one catalog, bundle coverage from another market and a unit count from a seller listing can describe different packages.
How do you calculate from manufacturer linear coverage?
Copy the linear coverage for the exact product, thickness, orientation, plant or market and publication date. Divide the checked net run by that coverage.
Unilock's 2026 Michigan data lists Holland Premier 4 × 8 at 486 units per bundle. The same record gives 159.45 linear ft per bundle for its soldier orientation and 318.90 linear ft per bundle for its sailor orientation. It states a 3 mm joint spacing and identifies the dimensions as nominal.
Worked 60 ft border example
The 18 × 12 ft patio above has a 60 ft closed border. This example uses the cited Holland Premier record only.
- Soldier bundle ratio: 60 ÷ 159.45 = 0.3762935 bundle.
- When the cited full-bundle increment applies, round upward to 1 bundle.
- Soldier coverage per unit: 159.45 ÷ 486 = 0.3280864 linear ft/unit.
- Preliminary soldier count: ceiling(60 ÷ 0.3280864) = 183 units.
- Sailor coverage per unit: 318.90 ÷ 486 = 0.6561728 linear ft/unit.
- Preliminary sailor count: ceiling(60 ÷ 0.6561728) = 92 units.
The rotation changes the preliminary count by 91 units over this 60 ft run. The result still needs the selected orientation sketch, corner schedule, project allowance and current seller terms.
The cited bundle has 486 pavers. Against the preliminary straight-run counts, that is 303 units above the soldier count or 394 above the sailor count. Confirm whether the seller splits layers or bundles, and record the planned use or return status of surplus material.
How do you check a border from paver dimensions?
Divide the run by the verified laid module that advances along it. This check is useful before the final product record arrives, and it should not replace current manufacturer coverage for purchasing.
Preliminary units = ceiling(border run in one unit ÷ advancing laid module in the same unit)
For the 18 m partial border, a verified module advances 200 mm along the run. Convert 18 m to 18,000 mm, then calculate ceiling(18,000 ÷ 200) = 90 units.
A catalog name such as 4 × 8 may use nominal dimensions. Actual listed dimensions, spacer bars and the designed joint can change the laid module. Adding a guessed joint to every paver also creates an unsupported result.
How should corners be counted?
Draw each corner using the selected product and course orientation. Count the actual full and cut units in that detail, then reconcile the corner with the straight-run count.
A closed rectangular perimeter formula counts length around a reference line. It does not specify whether corner pavers overlap, meet with a butt joint, use a mitre, alternate direction or use a specialty unit. Adding 4 pavers automatically can double-count one detail and miss another.
| Condition | Quantity check | Record |
|---|---|---|
| 90° outside corner | Dry-lay or draw the 2 meeting runs | Full units, cuts and joint locations |
| Inside corner or return | Check overlap and the remaining field piece | Reference line and cut dimensions |
| Mitred corner | Count source units and reusable offcuts | Cut schedule and accepted edge finish |
| Special corner unit | Use its current piece and package record | Product code and quantity |
| Several course rows | Draw each row's different radius or perimeter | Row ID, run and corner treatment |
CMHA guidance covers cut-to-line work, pattern adjustment and limits on small edge pieces in cited vehicular conditions. The approved project detail controls the corner choice.
How do curves change a paver border count?
Measure the approved curved run, then test how the selected paver and joint arrangement follow the radius. Inner and outer edges of a wide curve have different lengths.
A tight curve may use tapered joints, wedge-shaped cuts, shorter units or a different border product. These decisions change the advancing module and the usable-offcut record. A universal curve percentage cannot inspect the radius or the accepted joint range.
- Mark the inside and outside curve limits.
- State the reference line used for the measured run.
- Dry-lay enough units to test the radius and joints.
- Count full units, planned cuts and reusable offcuts.
- Obtain approval for the edge and restraint detail.
Run a separate quantity for every curve that uses a different radius, product, orientation or course count.
How do you calculate borders around openings and islands?
Add every border that will be installed. An outer opening can remove border length, while an internal opening can create another closed run.
A 3 × 2 ft planter inside a paved field has a 10 ft rectangular perimeter when all 4 sides receive one course: 2 × (3 + 2) = 10 ft. Add that run to the named internal-border line. Keep it separate from the outside border if its orientation, product or corner treatment differs.
Columns, drains, fire features, steps and utility covers often need cut units or a purpose-made surround. Record each object ID and its approved edge detail. Repeated objects can share a quantity basis only when their dimensions and details match.
How does the border change the field-paver area?
Remove the border area from the field quantity when the border and field are calculated as separate products. Use the finished geometry rather than multiplying one perimeter by a width without checking corner overlap.
For a rectangular pavement with outside dimensions L and W and a uniform border depth b on all 4 sides:
Inner field area = (L − 2b) × (W − 2b)
Border plan area = L × W − inner field area
Example: an 18 × 12 ft outside rectangle has a uniform 8 in border. Convert 8 in to 0.6666667 ft. The inner field is (18 − 1.3333334) × (12 − 1.3333334) = 177.777776 ft². The outer area is 216 ft², so the geometric border ring is about 38.222224 ft².
This area check does not replace the linear piece count. It verifies that the field and border areas reconcile. Curves, changing widths, partial sides and internal borders need their own geometry.
Use the Paver Calculator for the remaining field product after the border area is checked. Keep the border product on its linear schedule.
How should allowance and package rounding be added?
Add a documented allowance after the base run and corner layout are checked. Keep package surplus separate from project allowance.
- Record non-reusable corner and curve cuts in full-unit equivalents.
- Add a damaged or rejected-unit line only when the project record supports it.
- List whole matching pavers retained for repairs.
- Round the documented requirement to the current seller's layer, bundle or pallet.
- Show unopened package surplus and loose-unit surplus separately.
The paver allowance guide provides the piece ledger. It separates cut loss, damaged units, retained spares and package surplus so a reviewer can trace each addition.
Which paver border mistakes change the order?
- Using the word soldier or sailor without an orientation sketch.
- Counting with border depth instead of the face that advances along the run.
- Mixing outside and inside reference-line measurements.
- Using nominal dimensions as exact laid coverage.
- Adding a guessed joint width to each unit.
- Combining product coverage from one region with package data from another.
- Deducting an opening that receives its own internal border.
- Adding 4 corner pavers without drawing the corner.
- Using one perimeter for both rows of a double border.
- Subtracting border area twice from the field.
- Treating full-bundle surplus as installation loss.
- Assuming a supplier splits bundles or accepts returns.
The paver sizes and coverage guide shows how to keep dimensions, laid coverage, units and bundles inside one product record. The patio measurement guide covers field boundaries and openings.
What should the border quantity record contain?
- Project, pavement-zone ID, drawing revision and measurement date.
- Border ID, outside or inside location and selected reference line.
- Manufacturer, product, size, thickness, color, finish, plant or market.
- Orientation sketch, advancing face, border depth and course count.
- Gross run, every opening or added internal run, and net run.
- Current linear coverage per unit, layer or bundle with source date.
- Corner, curve, return, cut and reusable-offcut schedule.
- Preliminary units, project allowance, sellable packages and package surplus.
- Seller quote date, split-package policy, returns, delivery and pallet terms.
Keep this record with the field calculation and product sheets. A later checker can then reproduce the order without guessing which edge or orientation was measured.
Safety and installation limits
Paver borders can involve excavation, lifting, cutting equipment, sharp edges, utilities and silica-containing concrete or stone. Quantity arithmetic does not select a pavement section, drainage design, base, bedding course, joint, edge restraint, cut detail or exposure control.
United States employers covered by OSHA's construction silica standard must use the control method that applies to the material, tool, task duration and workplace. Follow the complete standard, manufacturer instructions and site safety plan for saw work.
Use project drawings, specifications, permits, current product instructions and qualified site decisions. Report a formula or source issue through the corrections route.
Sources and source scope
- Unilock 2026 Michigan Product Data: one current regional example with nominal dimensions, joint spacing, units per bundle and separate soldier and sailor linear coverage.
- CMHA PAV-TEC-002: layout, joint, edge-cut and installation context.
- CMHA PAV-TEC-003: cut-to-line work, pattern adjustment and edge-course context.
- CMHA PAV-TEC-010: pattern, cut-unit and edge-restraint scope.
- NIST Handbook 44 (2026), Appendix C: exact unit relationships.
- OSHA 29 CFR 1926.1153: U.S. construction silica requirements for covered employers.
Source scope: The Unilock values apply to the named 2026 Michigan product record. CMHA supports layout and installation limits. NIST supports unit conversion. OSHA supports the U.S. workplace safety note. These sources do not select a border, define every use of soldier or sailor, approve a corner, set an allowance, state a price or confirm a seller's package policy.
Return to the Paver planning hub for the cluster record. The calculation methodology explains formula, unit and rounding checks.
Review note: Saleem Sial owns the research and editorial record. Formula fixtures, source checks, build validation and rendered QA form the internal publication gate. Waseem Sial, External Reviewer and Engineer, is listed for ongoing external review; no completed external-review date is claimed.