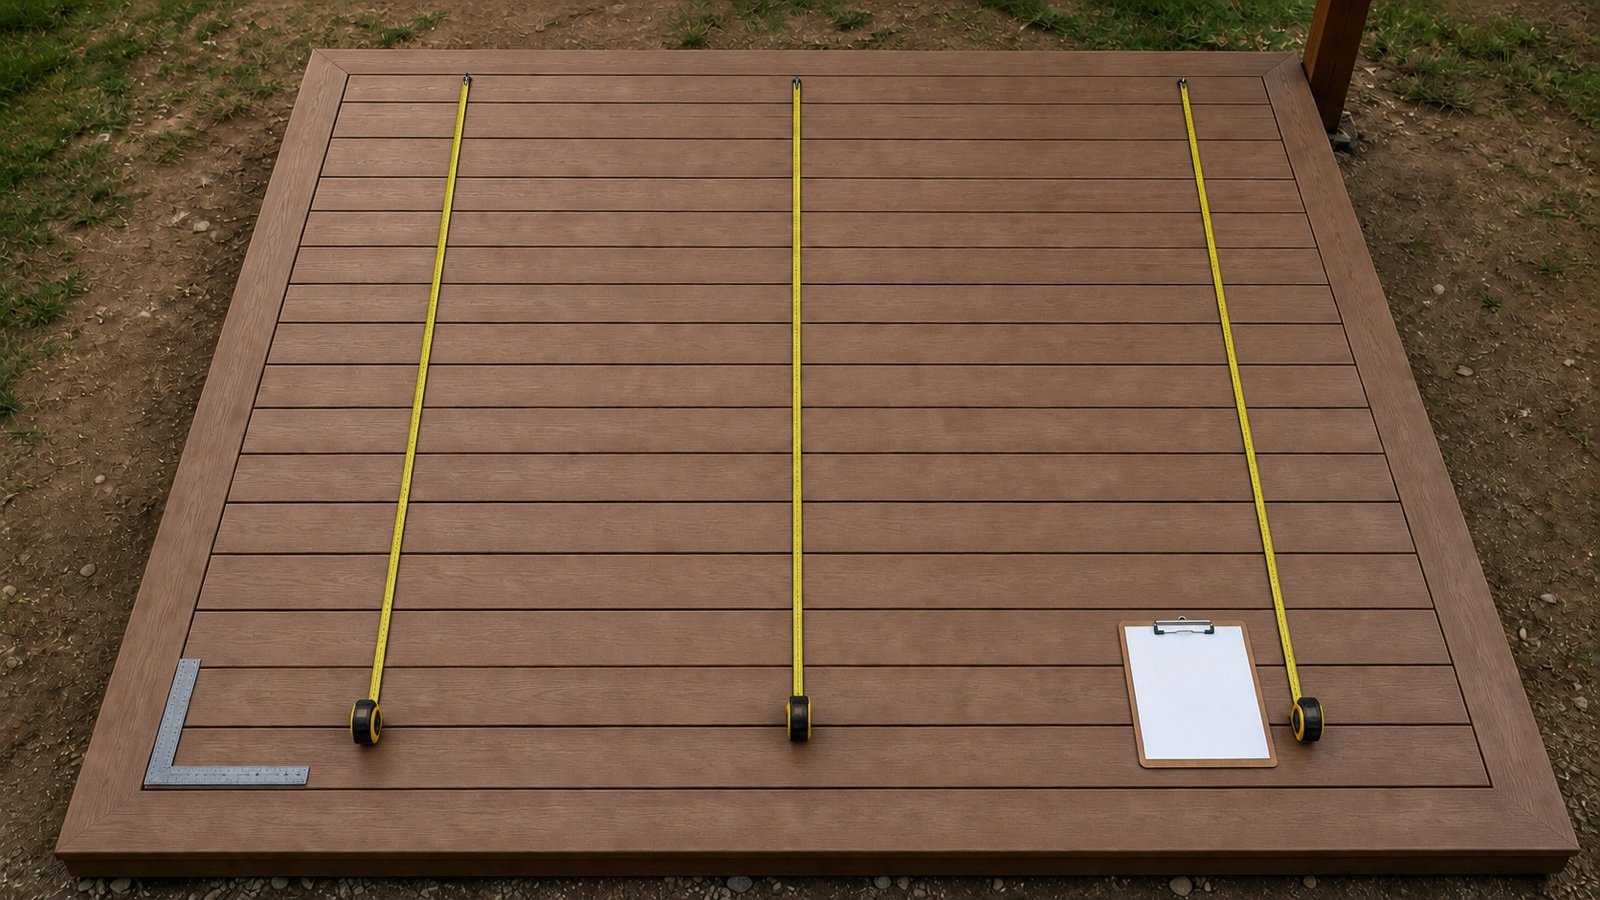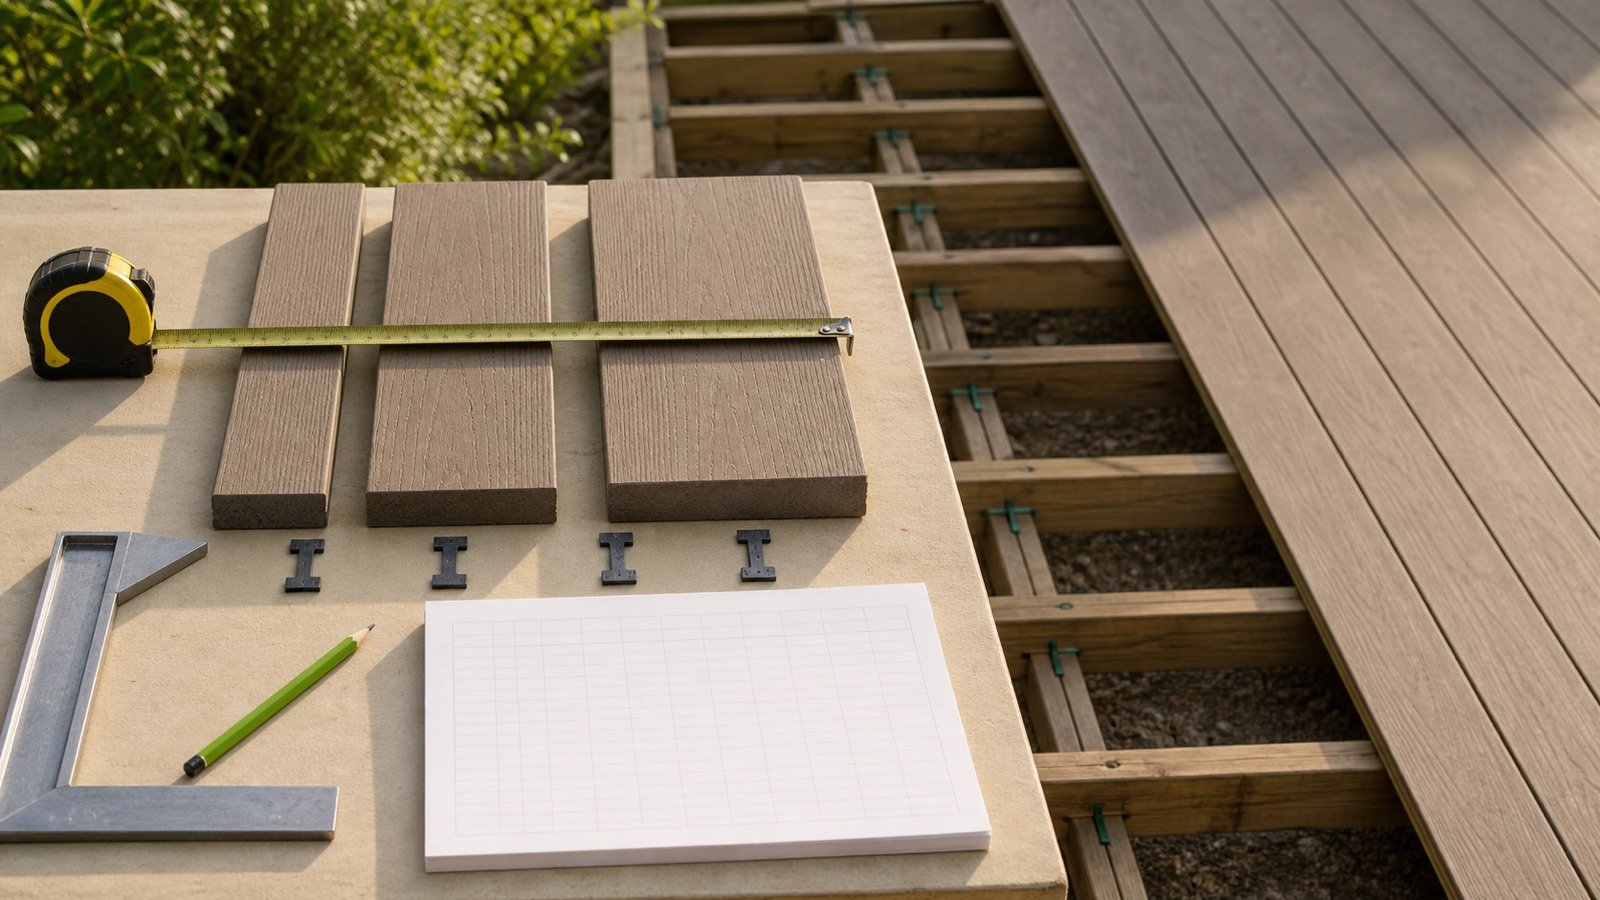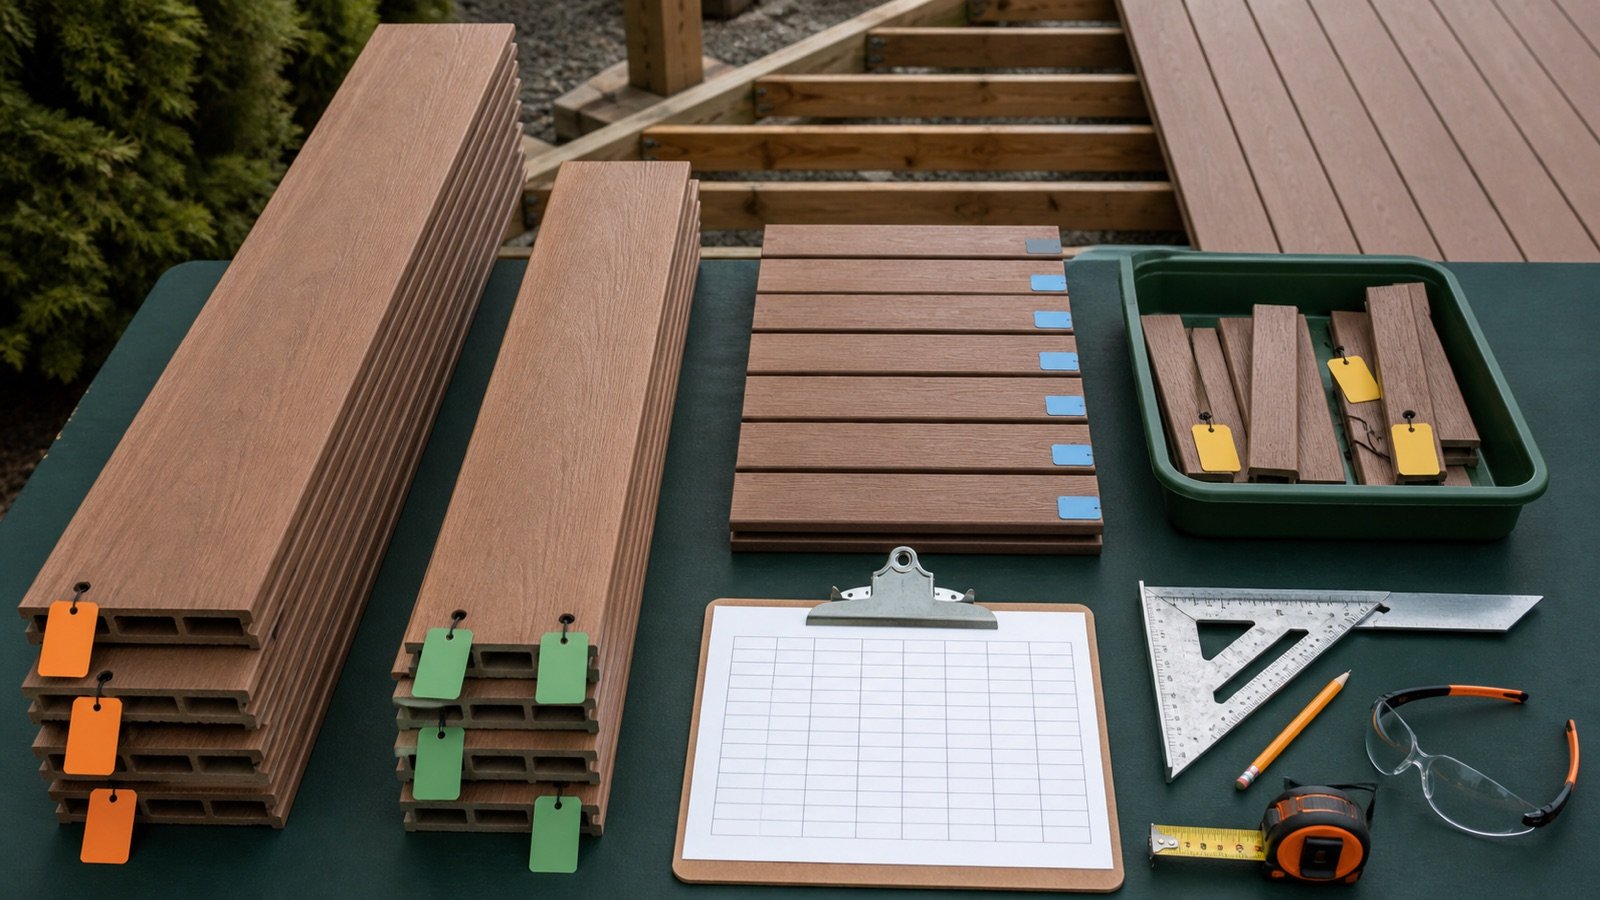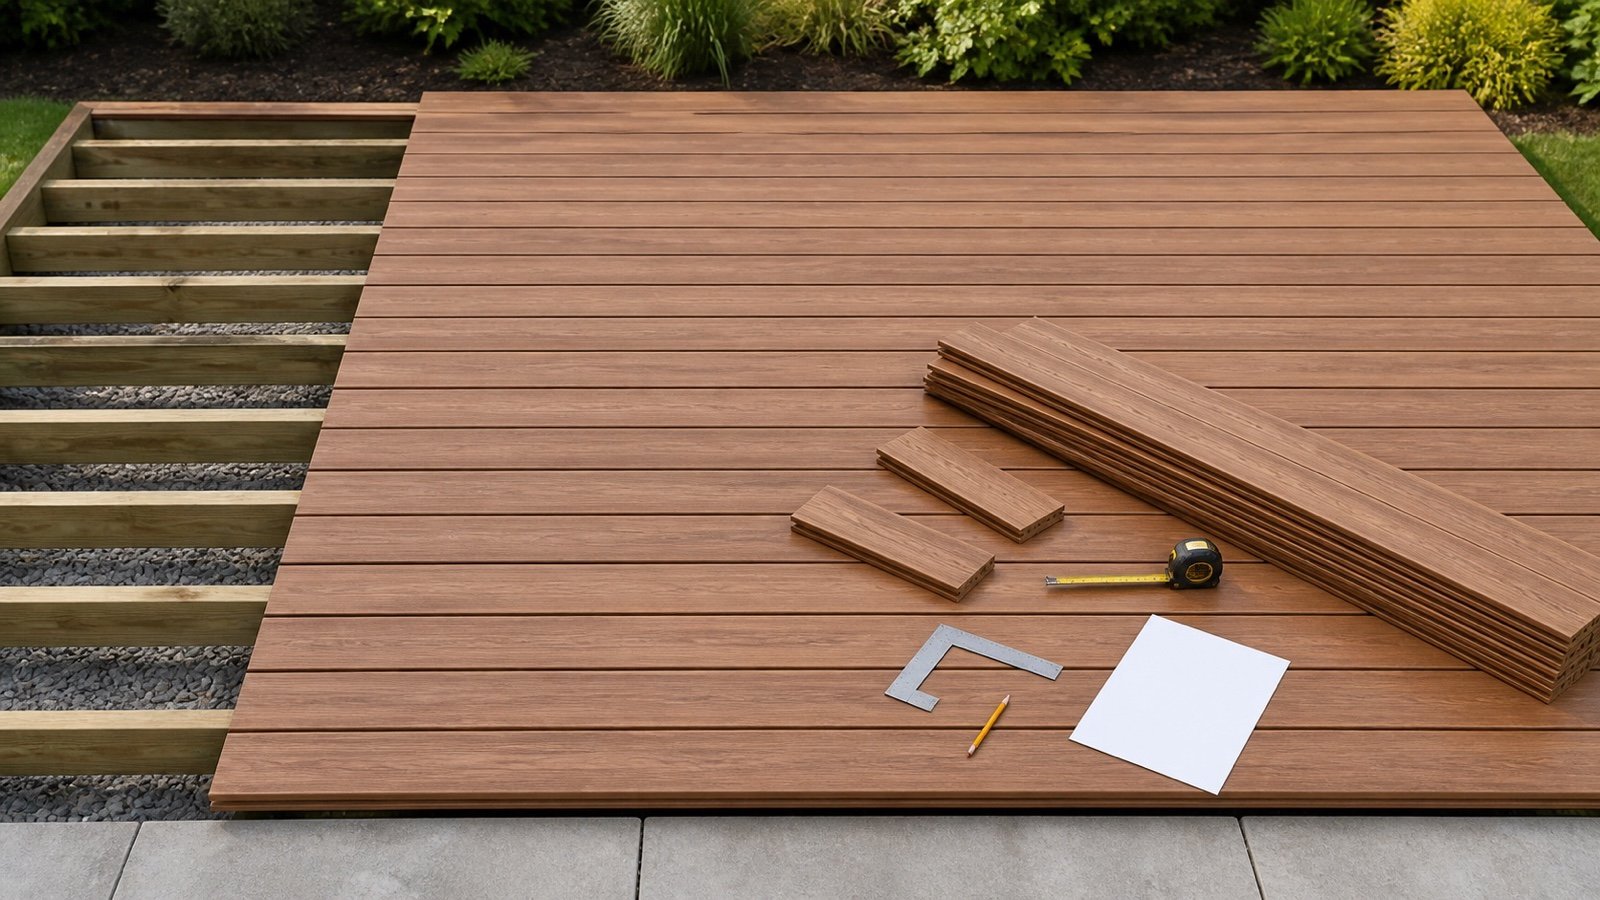
A deck-board takeoff depends on the direction of the boards, the clear field they must cover and the purchase lengths that are actually available. A square-foot result alone cannot show whether each row can be cut from the selected stock.
This calculator handles one rectangular field with straight parallel rows. Enter actual board face width and the gap approved for the selected product and fastening method. Keep borders, picture frames, fascia, stairs and irregular zones on separate schedules.
How many deck boards do you need?
Count the rows across the clear field, multiply those rows by the board-run length, then test each row against the available stock length. The calculator returns a conservative no-pooling stock-board count and shows the pooled linear-length minimum only as a lower bound.
The order result begins at 0% allowance. Add a percentage only when the project record supports it, and compare the result with an actual cut and joint plan before ordering.
What does the Deck Board Calculator return?
The calculator returns the rectangular field area, exact row ratio, whole rows, covered width and installed board length. It then checks how many pieces of the entered stock length each row needs.
| Result | Meaning | Use |
|---|---|---|
| Whole rows | Rows needed across the clear field, including internal gaps | Checks surface coverage |
| Installed board length | Rows × clear run length | Records the finished field quantity |
| No-pooling base | Stock pieces required when each row is planned independently | Conservative starting quantity before cross-row reuse |
| Pooled lower bound | Installed length ÷ stock length, rounded up | Shows the mathematical minimum, not a proven order |
| Width above clear field | Full-row coverage minus the entered field width | Flags edge-row layout review |
| Length above installed amount | Ordered stock length minus installed board length | Includes cutoffs, row constraints, whole boards and allowance |
The result does not place joints or decide where an offcut can be reused. When the run is longer than one stock board, the no-pooling result can be deliberately conservative.
Which measurements should you enter?
Measure the board-run length parallel to the planned rows. Measure the clear field width perpendicular to those rows. If a picture-frame border surrounds the field, measure between the accepted inside edges of that border and schedule the border separately.
Use the selected product's actual face width rather than relying on a nominal trade name. Copy the side-to-side gap from the current manufacturer and fastener instructions for that exact product and method.
- Record one run length for the clear rectangular field.
- Record one clear width across the rows.
- Verify actual board face width from the product record or a checked sample.
- Verify the internal gap for the product, fastening system and installation conditions.
- Enter one stock length that the supplier can provide for this calculation.
- Leave allowance at 0% until the layout and procurement record support another value.
How does the internal-gap row formula work?
Only gaps between rows consume width. There is no automatic gap after the final row, so the row equation adds one gap to the clear field before dividing.
Exact row ratio = (clear field width + internal gap) ÷ (board face width + internal gap)
Whole rows = ceiling(exact row ratio)
Covered width = rows × board width + (rows − 1) × internal gap
For 2 boards, the covered width is 2 board faces plus 1 internal gap. A shortcut that divides clear width by board width plus gap can incorrectly treat the last board as if another gap followed it.
Why can the common row shortcut undercount?
Consider a clear width of 11.50 in, boards with an actual 5.50 in face and a 0.25 in internal gap. Two boards and one gap cover 11.25 in, so 2 rows do not close the field.
- Exact ratio: (11.50 + 0.25) ÷ (5.50 + 0.25) = 2.043478.
- Round up: 3 whole rows.
- Three rows and 2 gaps cover 17.00 in.
The shortcut ceiling(11.50 ÷ 5.75) returns 2, which is short. At an exact 11.25 in clear width, however, 2 boards and one 0.25 in gap fit exactly. The calculator uses stable boundary rounding so that exact case remains 2 rows.
How are stock-board quantities calculated?
The installed linear length is rows multiplied by the clear run. The calculator then divides one row by the selected stock length and rounds up before multiplying by the row count.
Installed linear length = rows × board-run length
Stock pieces per row = ceiling(board-run length ÷ stock length)
No-pooling base boards = rows × stock pieces per row
Pooled lower bound = ceiling(installed linear length ÷ stock length)
The no-pooling base treats each row independently. The pooled lower bound treats all stock length as if every cutoff could be used anywhere. A workable cut schedule often falls between those numbers, subject to approved joints, end support, staggering, appearance and product instructions.
Use it to test the efficiency of a proposed cut plan. It becomes a purchase basis only when the plan shows where every required piece and permitted joint will go.
Worked imperial example
A straight field has a 12 ft board run and a 10 ft clear width. The selected board has a verified 5.50 in face, the approved internal gap is 0.25 in and the available stock length is 16 ft.
- Convert the clear width: 10 ft × 12 = 120 in.
- Exact rows: (120 + 0.25) ÷ (5.50 + 0.25) = 20.913043.
- Whole rows: 21.
- Covered width: 21 × 5.50 + 20 × 0.25 = 120.50 in.
- Installed board length: 21 × 12 = 252 ft.
- Pieces per row: ceiling(12 ÷ 16) = 1.
- No-pooling base: 21 × 1 = 21 stock boards.
- Pooled lower bound: ceiling(252 ÷ 16) = 16 stock boards.
The 16-board lower bound cannot supply 21 separate 12 ft pieces. With an entered 5% allowance, the calculator returns ceiling(21 × 1.05) = 23 stock boards. Those boards contain 368 ft, which is 116 ft above the installed length. That difference includes the 4 ft cutoff from each base board, 2 whole allowance boards and whole-board rounding.
Worked metric example with joints
A field has a 4.8 m run and a 3.6 m clear width. The selected board face is 140 mm, the internal gap is 5 mm and the available stock length is 3.6 m. Allowance remains 0%.
- Exact rows: (3,600 + 5) ÷ (140 + 5) = 24.862069.
- Whole rows: 25, covering 3,620 mm.
- Installed length: 25 × 4.8 = 120 m.
- Pieces per row: ceiling(4.8 ÷ 3.6) = 2.
- No-pooling base: 25 × 2 = 50 stock boards.
- Pooled lower bound: ceiling(120 ÷ 3.6) = 34 stock boards.
The 16-board difference is a planning signal. A valid layout may reuse 2.4 m offcuts, but it must still provide permitted piece lengths, supported ends, acceptable joint staggering and the product's required butt gaps. This calculator does not invent that plan.
What does width above the clear field mean?
Whole rows may cover slightly more than the entered width. That excess flags a layout decision; it is not an instruction to rip the last board by exactly that amount.
The layout may balance the first and last rows, adjust a gap only within the approved range, use a permitted edge overhang, or rip one or both edge boards. Picture-frame details and wall or post clearances can also change the usable field.
TimberTech's current CONCEALoc guide describes a straight layout with 5.5 in boards and 3/16 in spacing, and it notes that ripped boards may be required for full coverage. The same guide has separate butt-joint gaps based on installation temperature. Those values belong to that system, not every deck board.
How should allowance be handled?
Allowance starts at 0%. Enter a documented value only after reviewing field geometry, board direction, cut quality, defects, rejected pieces, color or grain selection, joint rules, supplier increments and spare-stock decisions.
The percentage is applied to the conservative no-pooling board count and rounded up to whole stock boards. It does not prove that the resulting cutoffs can satisfy a missing row segment.
Keep damaged or rejected material, intentional spare stock and whole-board rounding visible in the quantity record. Calling every difference “waste” hides why the material was added.
When should the field be split into separate calculations?
Run separate calculations when board direction, product, face width, gap, stock length or clear geometry changes. Add the verified stock schedules afterward instead of averaging incompatible fields.
| Condition | Treatment |
|---|---|
| Picture-frame border | Remove it from the clear field and schedule border boards separately |
| Board direction changes | Split at the accepted transition and calculate each field |
| Opening, tree or post group | Use a measured layout and cut schedule; do not subtract area alone |
| Diagonal rows | Use diagonal geometry and a placement plan outside this tool |
| Curved or irregular edge | Segment the geometry and prepare a field layout |
| Several available stock lengths | Optimize a documented cut schedule rather than averaging lengths |
Which deck-board mistakes change the quantity?
- Using overall deck dimensions after a border has reduced the clear field.
- Swapping the board-run length and the width across rows.
- Using nominal width instead of actual face width.
- Assuming one universal gap for wood, composite and PVC products.
- Counting a gap after the final row.
- Dividing total linear feet by stock length and treating the result as a proven order.
- Assuming every cutoff can cross rows without checking joints and support.
- Applying an allowance twice.
- Mixing stock lengths in one input.
- Using a surface-board result as a structural framing takeoff.
What should a deck-board quantity record contain?
- Project, deck zone, drawing revision and field sketch.
- Board direction, clear run, clear width and each excluded border or opening.
- Manufacturer, product line, profile, actual face width, color and lot information.
- Fastening system, approved side gap, butt-joint requirements and installation-temperature record.
- Available stock length, supplier selling increment and quote date.
- Rows, installed linear length, no-pooling base, tested cut plan and final whole-board order.
- Allowance percentage, reason, approval and intentional spare stock.
- Separate fascia, picture-frame, fastener, framing, railing and stair schedules.
Structural, code and safety limits
This calculator sizes a board field only. It does not design or inspect joists, blocking, beams, ledgers, posts, footings, guards, stairs, connections or lateral resistance. It also does not approve board span, overhang, fasteners, end support or an existing structure.
The American Wood Council's DCA6 guide states that local authority requirements control and that construction and materials must be approved by the authority having jurisdiction. Its published guide is based on the 2015 IRC, so confirm the current code, amendments, permits and approved documents for the project location.
Deck work can involve falls, unstable structures, heavy boards, sharp edges, saws, dust and electrical hazards. Follow current product instructions, tool manuals, workplace controls and the approved project safety plan. Stop when the supporting structure or existing deck condition is uncertain.
Use the Flooring Calculator for an indoor rectangular finish and package-based box order. Return to the Decking planning hub for the current deck-surface tool. The calculation methodology explains unit and rounding checks, and the corrections route accepts formula or source issues.
Sources and scope
- NIST Handbook 44 (2026), Appendix C supports exact unit relationships. It does not select a board or gap.
- TimberTech's current CONCEALoc installation guide supports one product-system example for face width, side and butt gaps, ripped edge boards and framing prerequisites. Its values are not universal.
- TimberTech installation resources show that decking, picture-frame, fascia, fastener and framing instructions are product-specific.
- American Wood Council DCA6 supports the structural and jurisdiction boundary. It does not approve a current local project.