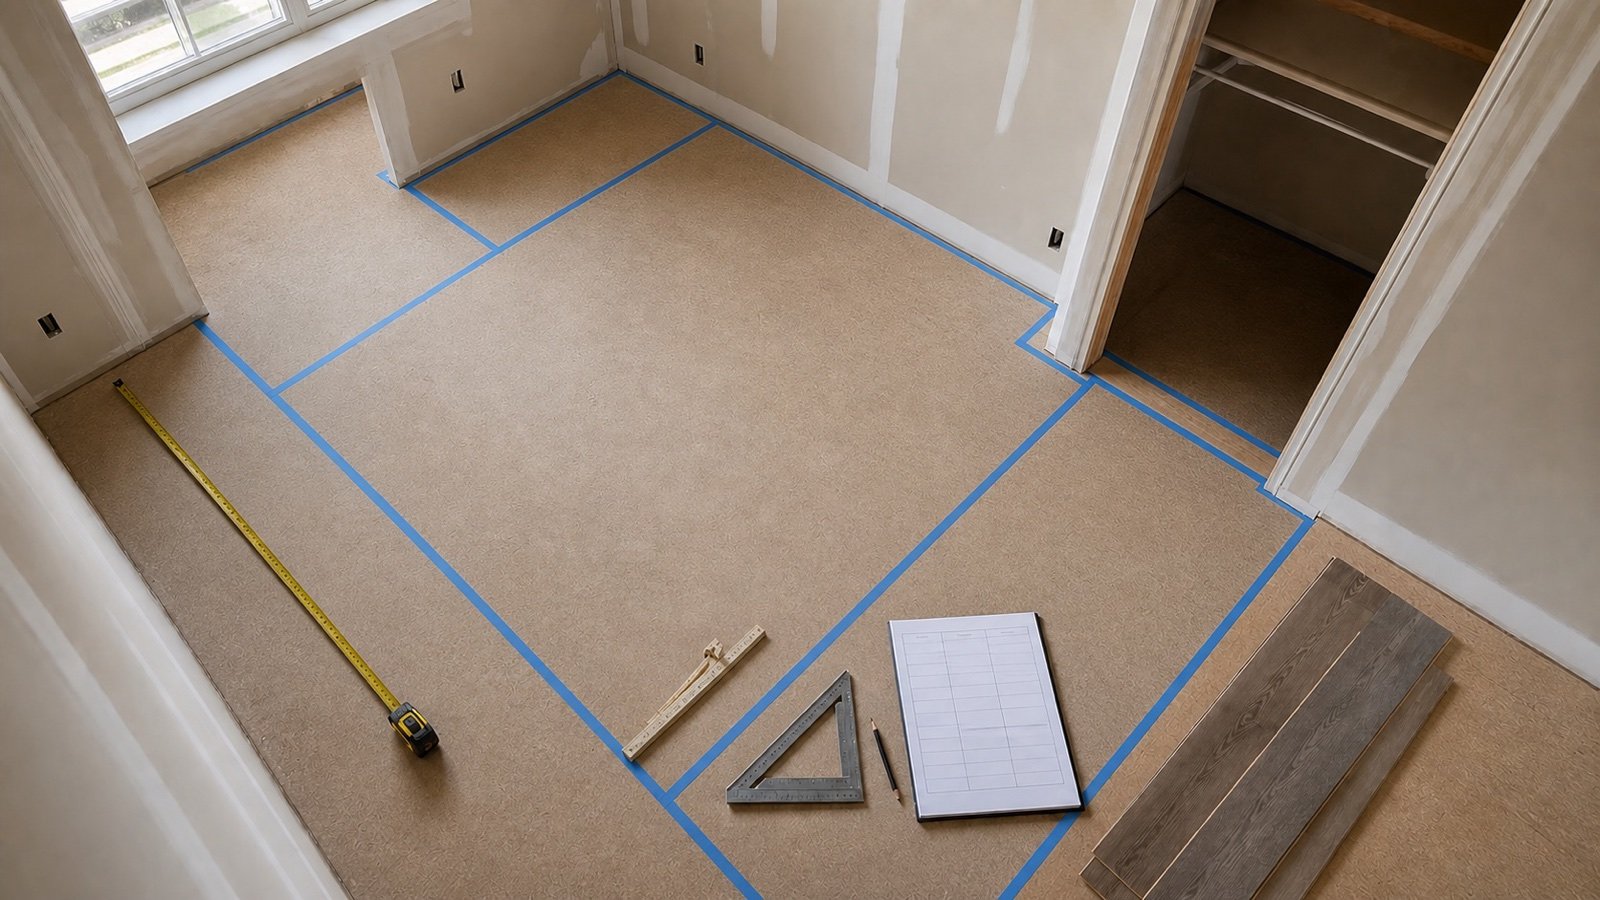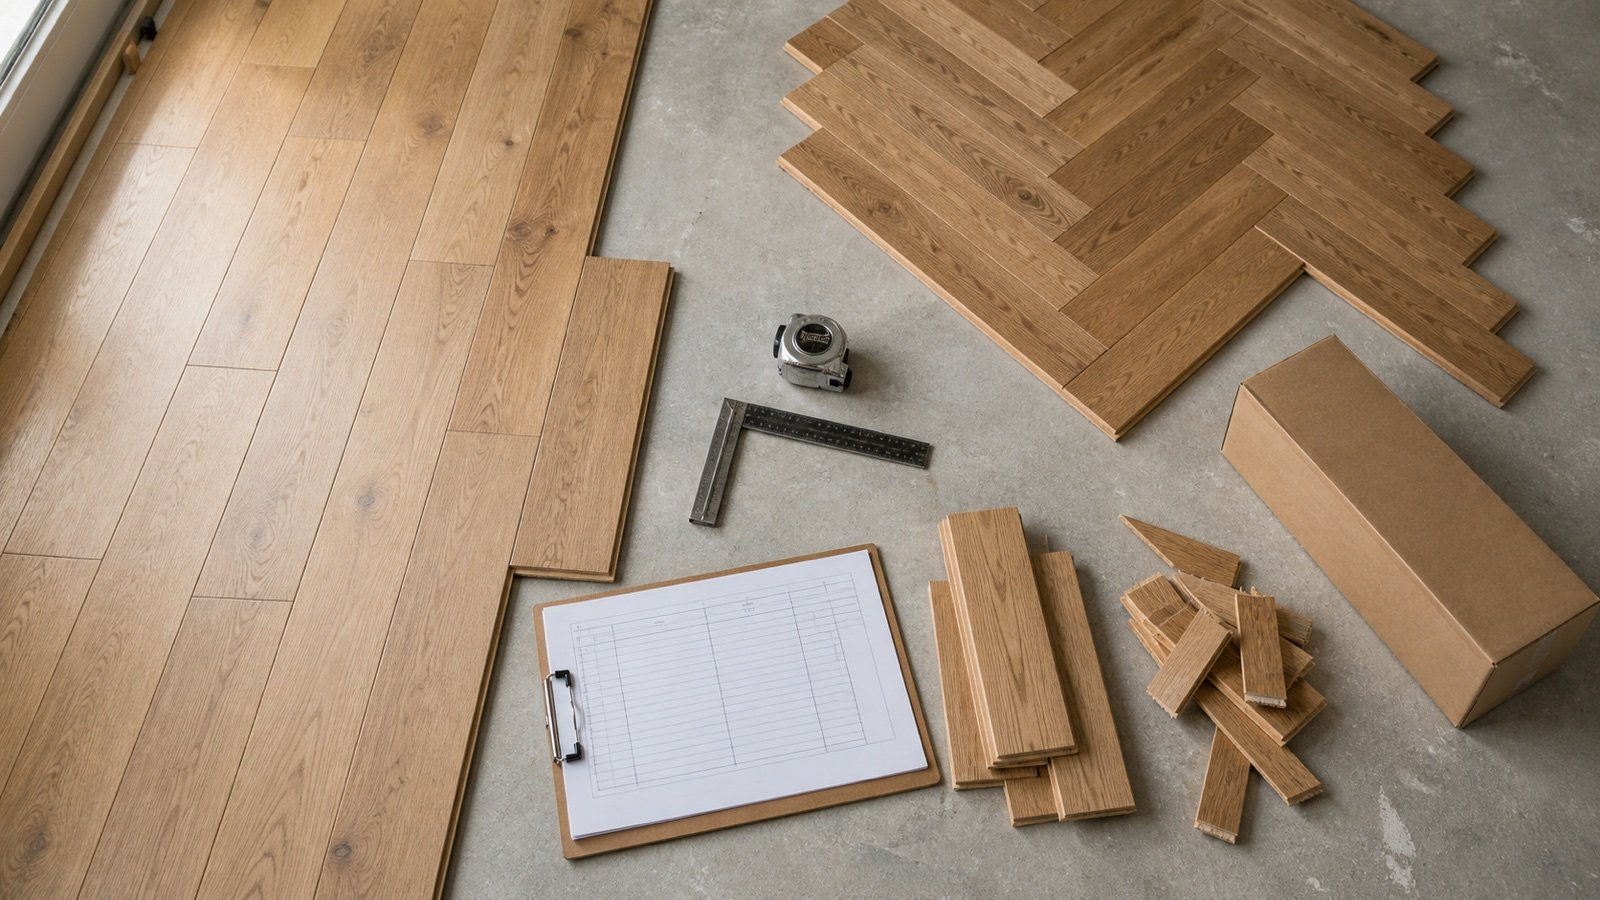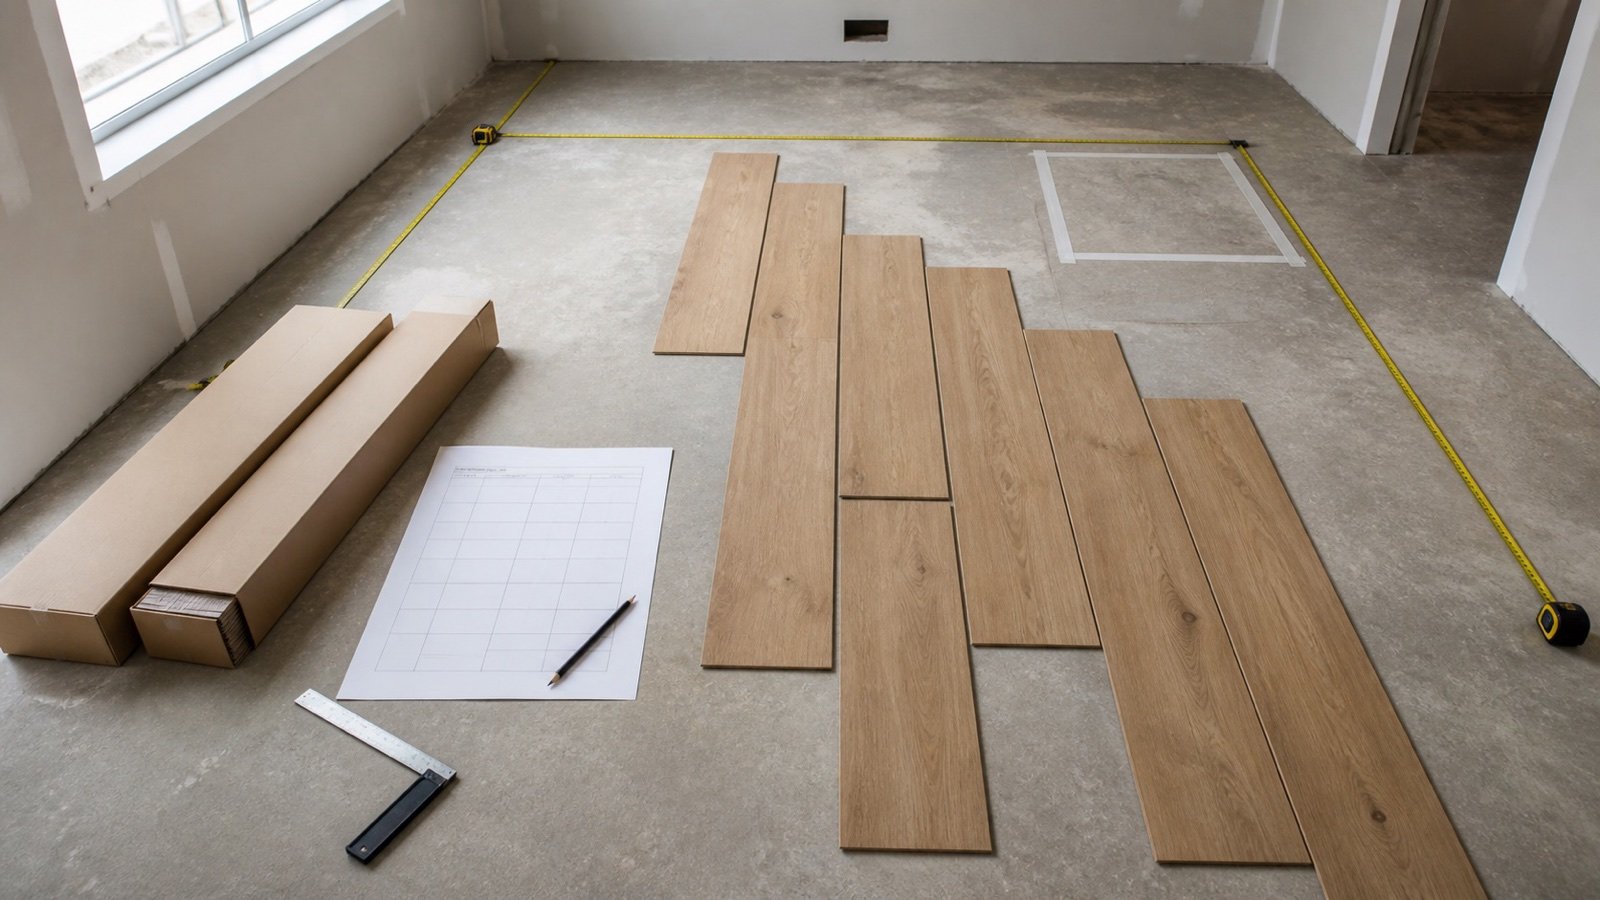
A flooring order begins with the area that will receive one selected product. Fixed cabinets, islands, stairs, transitions and changes in finish can alter that boundary, so record what is included before entering a deduction.
This calculator provides 2 quantity routes. Use current coverage per box when you have the selected product label or data sheet. Use rectangular piece dimensions for an early plank or tile count when package coverage is unavailable.
How much flooring do you need?
Measure the accepted floor area, subtract only approved exclusions and apply the documented allowance once. For a box order, divide the planning area by the current coverage per box and round up to a whole box.
Piece mode divides the planning area by one rectangular piece face and rounds up to whole pieces. It calculates boxes only after you enter the current whole-number pieces per box.
What does the Flooring Calculator return?
The calculator returns gross area, rectangular exclusions, net flooring area, allowance area and planning area. The selected quantity basis then returns whole boxes or whole planning pieces.
| Result | Calculation | Practical use |
|---|---|---|
| Gross floor area | Rectangle geometry or checked known area | Records the measured room or zone |
| Exclusion area | Length × width × quantity for each entered group | Records approved non-flooring rectangles |
| Net flooring area | Gross area − exclusions | Closes the finish boundary |
| Planning area | Net area × (1 + entered allowance ÷ 100) | Keeps the project adjustment visible |
| Whole boxes | Planning area ÷ current coverage per box, rounded up | Closes a full-box purchase quantity |
| Box surplus | Ordered coverage − planning area | Separates package rounding from the allowance |
Box-coverage mode does not infer a piece count unless you enter pieces per box. Piece mode shows exact and whole planning pieces, then adds box outputs when a current pieces-per-box value is available.
Which quantity basis should you use?
Use coverage per box for a purchase check when the current product label, manufacturer record or seller quote states the area in each box. Copy the number and its unit from that exact product.
Use piece dimensions for an early check with one fixed rectangular size. The result treats every piece as a complete rectangle. It does not place rows, test cut reuse or calculate a pattern repeat.
| Record in hand | Use this basis | Follow-up |
|---|---|---|
| Current coverage per box | Coverage per box | Confirm product, lot, seller increment and return terms |
| Rectangular piece dimensions and pieces per box | Piece face dimensions | Compare calculated piece coverage with the box label |
| Piece dimensions only | Piece face dimensions | Obtain current package coverage before ordering |
| Random-length bundle, mixed-width pack or sheet/roll good | Neither route | Use the product's stated selling unit and a compatible takeoff |
How does the flooring formula work?
Gross area = floor length × floor width
Exclusion area = sum(exclusion length × width × quantity)
Net flooring area = gross area − exclusion area
Planning area = net flooring area × (1 + allowance ÷ 100)
Whole boxes = ceiling(planning area ÷ coverage per box)
Box surplus area = whole boxes × box coverage − planning area
Piece mode converts millimetres to metres or inches to feet before multiplying the piece dimensions. It divides planning area by piece-face area and rounds up once to a whole planning piece. Box rounding follows only when pieces per box is entered.
Internal calculations retain full precision. The interface shows up to 3 decimal places. It rejects partial exclusion groups, fractional package counts and exclusions that equal or exceed gross area.
Worked imperial box-coverage example
A room is 14 ft long and 12 ft wide. The accepted finish boundary excludes one 4 ft × 3 ft fixed rectangle. The project record uses an 8% allowance. The selected product record states 29.61 ft² per box and 10 pieces per box.
- Gross floor area: 14 × 12 = 168 ft².
- Exclusion: 4 × 3 = 12 ft².
- Net flooring area: 168 − 12 = 156 ft².
- Allowance area: 156 × 8% = 12.48 ft².
- Planning area: 156 + 12.48 = 168.48 ft².
- Exact box ratio: 168.48 ÷ 29.61 = 5.68997 boxes.
- Order quantity: 6 boxes covering 177.66 ft².
- Box surplus: 177.66 − 168.48 = 9.18 ft². The 6 boxes contain 60 pieces.
The 8% allowance belongs to this worked fixture. The 29.61 ft² and 10-piece package values come from the named Mannington Timber product record checked on 2026-08-09. Recheck the current label and seller record before ordering.
Worked metric piece example
A floor is 5 m by 4 m with one approved 1 m × 0.6 m exclusion. The entered allowance is 7.5%. Each verified rectangular piece measures 200 mm × 1,200 mm, and the current box contains 8 pieces.
- Gross area: 5 × 4 = 20 m².
- Net area: 20 − 0.6 = 19.4 m².
- Planning area: 19.4 × 1.075 = 20.855 m².
- Piece face area: 0.2 × 1.2 = 0.24 m².
- Exact pieces: 20.855 ÷ 0.24 = 86.895833 pieces.
- Planning quantity: 87 whole pieces.
- Box quantity: ceiling(87 ÷ 8) = 11 boxes, containing 88 pieces.
- Ordered face coverage: 88 × 0.24 = 21.12 m², which is 0.265 m² above the planning area.
These piece and box values illustrate the calculation only. Confirm that the selected product is actually sold as fixed-size pieces with 8 pieces per box.
Why can piece dimensions disagree with box coverage?
Product names and listed dimensions may be nominal, while the current box record controls how the manufacturer or seller states coverage. Packaging, actual face dimensions and product records can also change between styles.
The Mannington Timber example lists 7 in × 60 in pieces, 10 pieces per carton and 29.61 ft² per carton. Multiplying the nominal face dimensions gives 29.1667 ft² for 10 pieces, a difference of about 0.4433 ft² from the published carton coverage.
The Mannington Cape May example lists 12 in × 24 in pieces, 12 pieces per carton and 24.00 ft² per carton. Those values reconcile exactly. These 2 records show why current package coverage should control a package-based order instead of assuming every nominal size will reconcile.
Enter current coverage per box for the order calculation. Record nominal or measured piece dimensions separately and ask the manufacturer or seller to resolve a material discrepancy.
Which floor areas should be excluded?
Enter an exclusion only when the approved finish boundary confirms that the selected flooring will not cover that rectangle. A calculator cannot decide whether flooring belongs beneath a cabinet, island, appliance, built-in or partition.
| Condition | Calculator treatment | Required record |
|---|---|---|
| Fixed rectangular zone where the finish stops | Enter an exclusion | Approved floor-finish boundary |
| Repeated equal fixed zones | Enter dimensions once and use quantity | Confirm each zone belongs to the same room and product |
| Cabinet or island footprint | Deduct only when the selected system stops there | Manufacturer instructions and project detail |
| Curved or irregular zone | Calculate a checked area outside this tool | Sketch, coordinates or segmented takeoff |
| Doorway or transition between products | Split at the accepted finish line | Transition and room schedule |
Mannington's current ADURA Rigid guide says its floating planks should not be installed under cabinets or kitchen islands. That is a product-specific instruction, not a rule for every flooring system. Follow the selected product's current method.
How should the flooring allowance be chosen?
The allowance starts at 0%. Enter a value supported by the approved layout, direction, room geometry, cuts, defects, handling, matching, spare-stock decision and estimating method.
A straight run in a simple rectangle and a diagonal or patterned layout do not create the same cut schedule. A percentage still cannot prove that a particular offcut will fit another location. Use a row layout or cutting schedule when piece placement controls the quantity.
Keep future spare stock as a stated decision. Do not hide it inside an unexplained percentage. Product availability, dye or production lots, storage conditions and seller return terms can change the choice.
Why is box surplus separate from allowance?
The entered allowance changes the planning area before purchasing. Whole-box rounding can then add more material because the seller packages the product in a fixed increment.
In the imperial example, the entered allowance adds 12.48 ft². Rounding 5.68997 boxes to 6 adds another 9.18 ft² above the planning area. Combining both numbers under one “waste” label would hide 2 different decisions.
Ordered coverage is a procurement number. It does not prove installed coverage, accepted workmanship or the amount left after cutting.
How should several rooms be combined?
Run separate calculations when the product, color, size, coverage, installation direction or allowance changes. For compatible rooms using one product and one box supply, add the unrounded planning areas before rounding to boxes.
Example: 3 compatible zones have planning areas of 112.4, 86.7 and 54.3 ft². Their combined planning area is 253.4 ft². At 29.61 ft² per box, the combined order is ceiling(253.4 ÷ 29.61) = 9 boxes. Rounding each zone separately would produce 4 + 3 + 2 = 9 boxes in this case, but other dimensions can create an extra box.
Keep each room's source measurements even when the final order is combined. One opaque total makes overlaps and missing thresholds harder to find.
What does piece mode leave unresolved?
Piece mode gives an area-based quantity. It does not establish the starting line, balance edge rows, place end joints, check minimum end lengths, model offcut reuse or verify the manufacturer's pattern.
Mannington's 2026 ADURA Rigid guide includes product-specific layout rules, expansion spaces and fixed-surface instructions. Those rules belong to that system and show why a purchase-area calculator cannot approve the installation layout.
Use current manufacturer instructions and an approved field layout when row count, edge width, stagger, pattern, transitions or fixed objects control the work.
When should you use another takeoff method?
Random-length wood bundles, mixed-width packages, herringbone or parquet modules, borders, stair treads, sheet vinyl, carpet rolls and products sold by lineal measure need inputs this calculator does not collect.
The NWFA installation guidelines distinguish common area-based packaging from lineal-foot workflows for some bundles, trims, transitions and repetitive random-width patterns. Keep those quantities on separate schedules rather than forcing them through a box-coverage field.
- Use a row and cut schedule for fixed plank placement.
- Use bundle or lineal-foot records for products sold that way.
- Use roll-width optimization for sheet goods and carpet.
- Measure stair treads, risers, nosings, landings and returns as separate components.
- Schedule trims, reducers, thresholds and transitions by their own selling unit.
Which flooring calculation mistakes change an order?
- Measuring wall to wall without defining the finish boundary.
- Deducting a fixed object when flooring continues below it.
- Leaving out a doorway, closet or adjoining compatible zone.
- Copying box coverage from a different color, size or product.
- Replacing current package coverage with nominal piece math.
- Applying allowance twice, once to the room and again to the box count.
- Calling all whole-box surplus cutting waste.
- Rounding every compatible room before combining areas.
- Using one area tool for random-length, mixed-width, roll or stair work.
- Assuming split boxes, returns or matching production lots are available.
What should the flooring quantity record contain?
- Project, level, room or zone ID and drawing revision.
- Measured dimensions, area method and each approved exclusion.
- Manufacturer, product, color, size, finish, direction and production-lot record.
- Net area, allowance percentage, reason, planning area and approval.
- Current coverage and pieces per box, whole boxes, ordered coverage and box surplus.
- Separate trims, transitions, underlayment, adhesive, fastener, stair and spare-stock schedules.
- Quote date, selling increment, delivery basis, damaged-box process and return terms.
Safety and installation limits
Flooring work can involve heavy boxes, sharp edges, saws, dust, adhesives, old floor coverings and uneven or moisture-affected substrates. The Mannington guide warns that removal of some existing resilient flooring, backing or adhesive can release asbestos fibers or crystalline silica and says not to create dust when the material is uncertain.
Use the selected product's current safety data, installation instructions and the legal controls that apply to the workplace. This calculator does not inspect a substrate, test moisture, select an underlayment, approve expansion space, verify structural capacity, plan dust controls or decide whether existing material may be disturbed.
Use the Tile Calculator for a separately specified rectangular tile product. Return to the Flooring planning hub for this calculator's category record. The calculation methodology explains formula, unit and rounding checks. Report a problem through the corrections route.
Sources and source scope
- NIST Handbook 44 (2026), Appendix C: exact length and area-unit relationships.
- NWFA Installation Guidelines: area-based wood-floor packaging and separate lineal measurement workflows.
- Mannington Timber Pulp product record: one current nominal-dimension, piece-count and carton-coverage example.
- Mannington Cape May product record: one current package example that reconciles with rectangular piece math.
- Mannington ADURA Rigid Installation Guidelines, rev. 03.25.2026: product-specific layout, fixed-surface, substrate and removal-safety limits.
Source scope: NIST supports unit conversions. NWFA supports packaging and selling-unit context. The Mannington product records support 2 named package examples. The installation guide supports visible product-specific limitations and safety context. These sources do not select an allowance, product, layout, seller, price or installation system for another project.
Review note: Saleem Sial owns the research and editorial record. Formula fixtures, source checks, build validation and rendered QA are completed before publication. Waseem Sial is listed as External Reviewer and Engineer for ongoing external review; no completed review date is claimed.