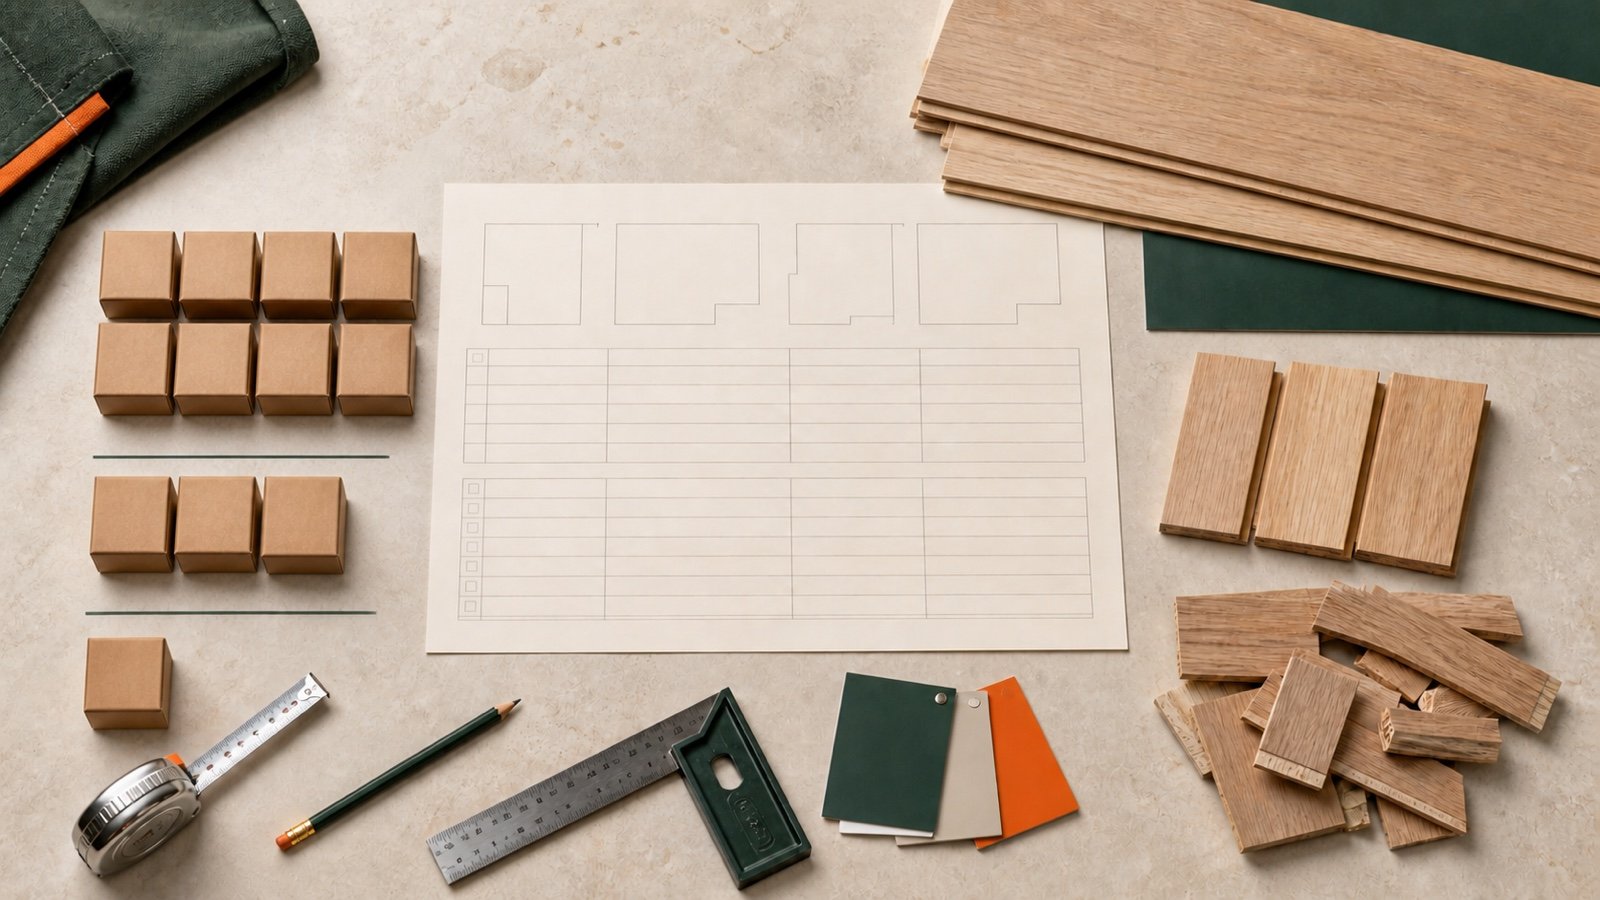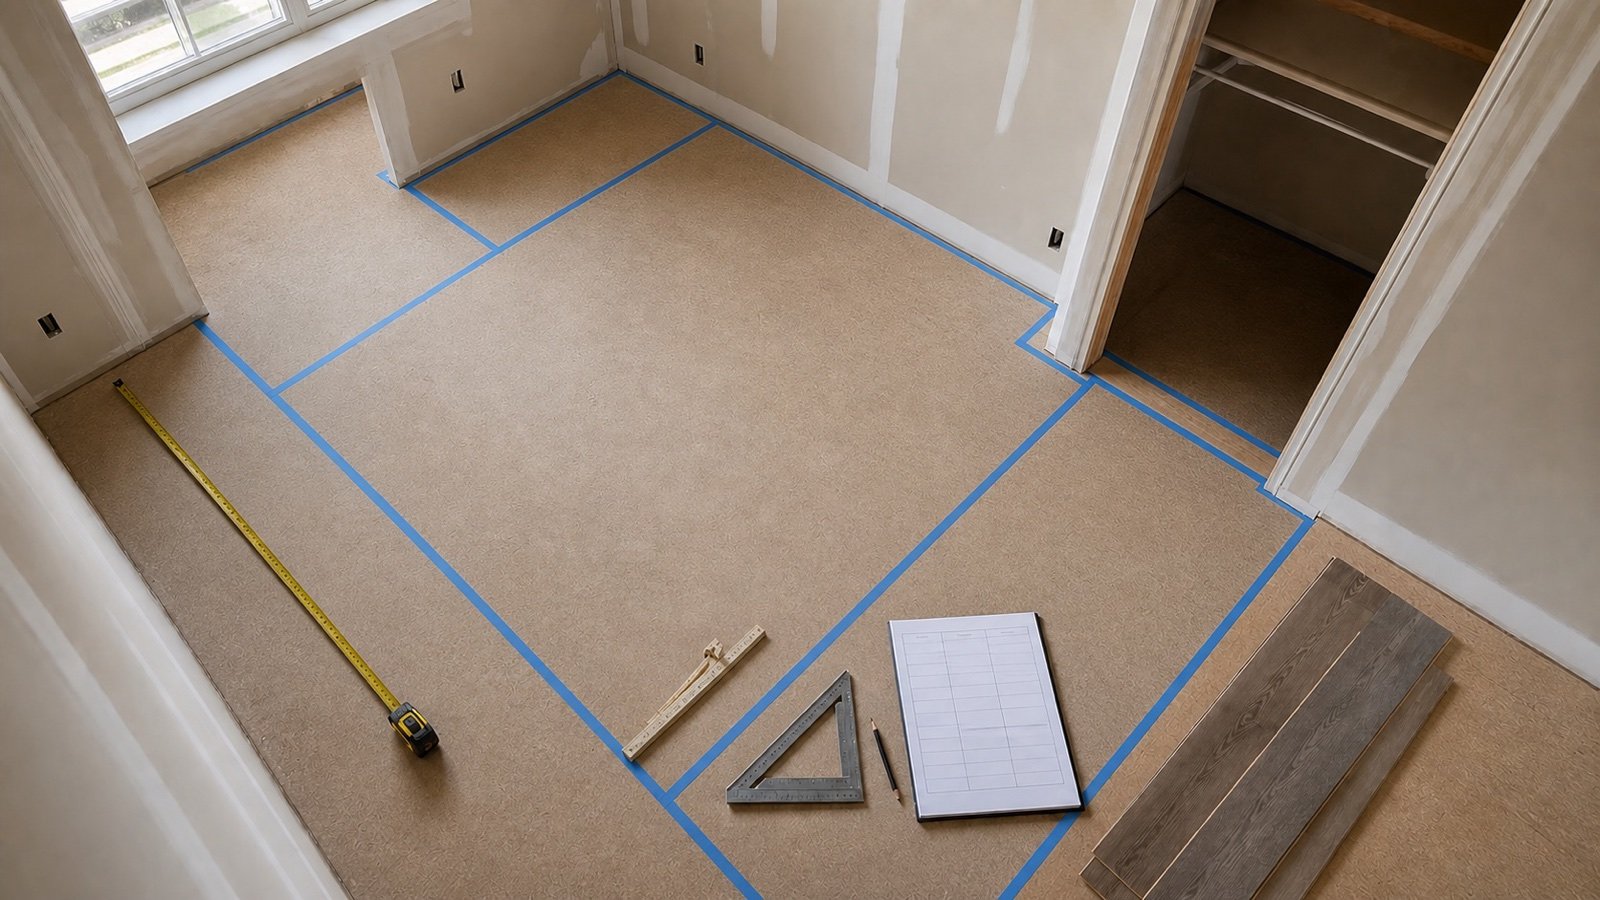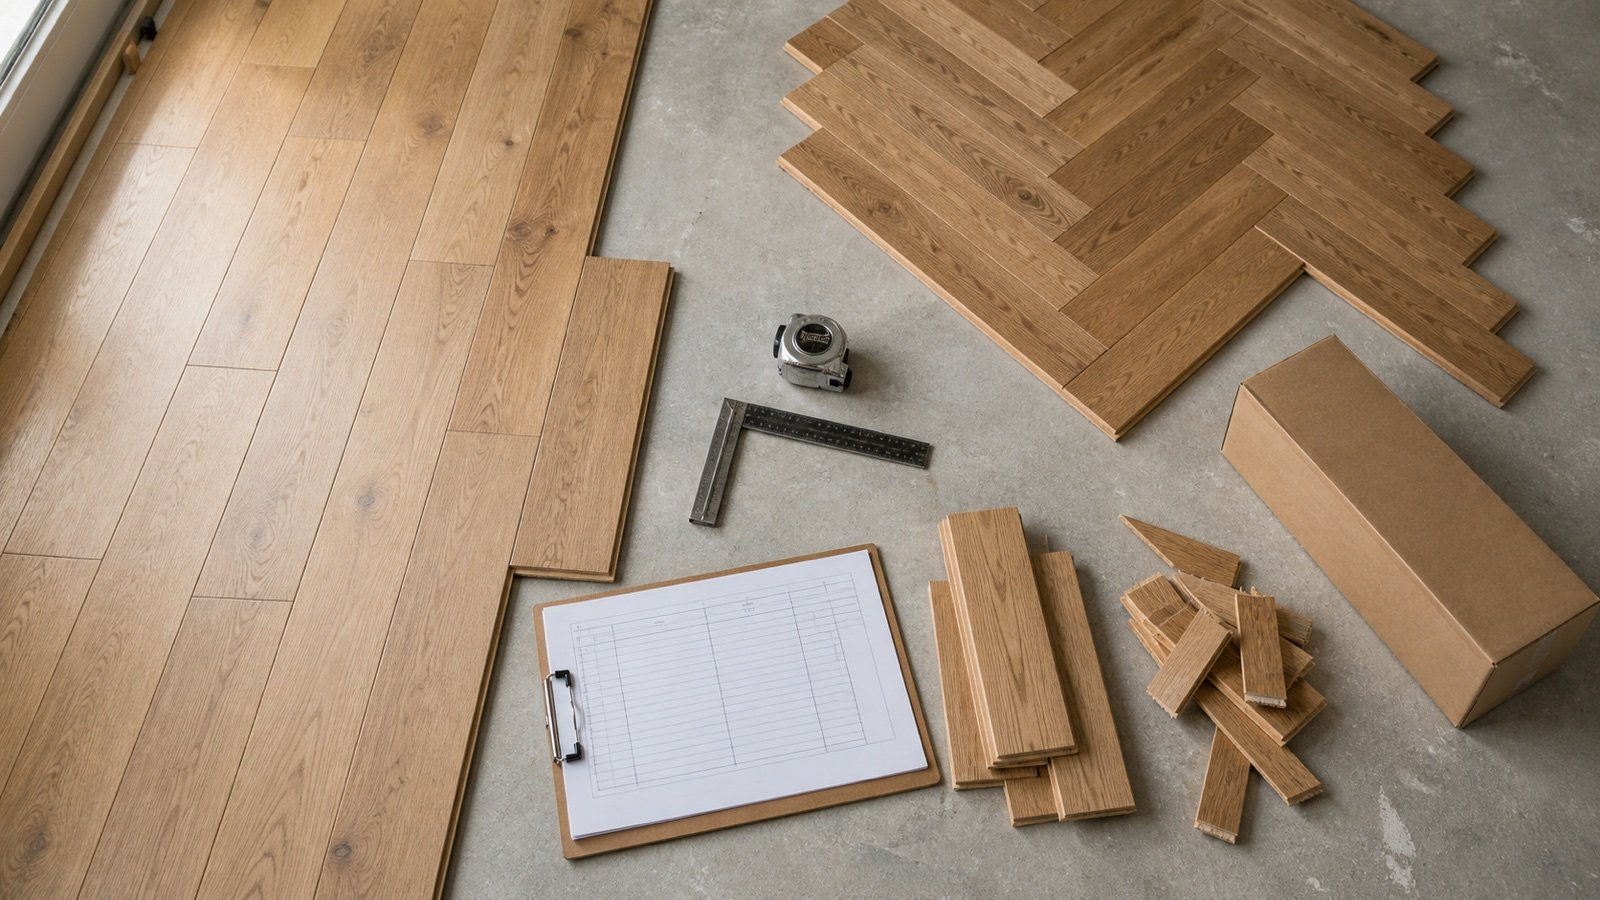
A flooring allowance changes the measured net area before the box calculation. Its basis should be visible: which cuts cannot be reused, which pieces may be rejected, and which product and layout rules apply.
Whole-box rounding and material kept for future repair create extra quantities for different reasons. Recording them separately shows what the installer needs, what the package adds and what the owner chooses to store.
How much flooring allowance should you add?
Choose the allowance from the selected product instructions, approved layout, cut study, inspection plan and installer or estimator record. Use a percentage only after those items have a documented basis.
Manufacturer ranges can provide a scenario check for the product they cover. FirmFit's herringbone manual, for example, says to plan 15–20% depending on room shape and installation area. That range belongs to the manual's herringbone system and cannot set the allowance for another product or layout.
A field containing only “10%” cannot show whether it covers edge cuts, damaged pieces, pattern balance, handling or repair stock.
What should the allowance record keep separate?
Use 4 fields so one quantity is not counted twice. Each field has its own calculation point and approval.
| Field | What it records | When it enters the order |
|---|---|---|
| Cut allowance | Planned offcuts that cannot return to the approved layout | Before package conversion |
| Rejected material | Documented damage, visible defects or pieces excluded under the inspection plan | Before package conversion |
| Package-rounding surplus | Coverage added when the exact box ratio rounds up to the seller's full-box increment | During package conversion |
| Reserve stock | Sealed boxes or identified pieces intentionally retained for a later repair | After the installation quantity is established |
Post-install leftover is a fifth result. Measure it after cutting and installation. The order calculation cannot know which planned offcuts will remain usable or how much material the completed work will consume.
Which records are needed before choosing a percentage?
Close the product and layout decisions first. A room area alone does not describe row direction, pattern modules, edge balance or the selected package.
- Accepted net area for each room or compatible zone.
- Exact product code, format, nominal or actual dimensions and current box coverage.
- Manufacturer installation instructions and project specification.
- Approved direction, starting line, pattern, borders and transitions.
- Row, module or cut study for narrow edges, doorways and fixed objects.
- Rules for minimum end length, stagger, profile direction and offcut reuse.
- Inspection and damaged-material process.
- Separate reserve-stock decision, seller increment and return terms.
Use How to Measure Flooring Area for Boxes to establish the net area. Use the flooring package-label guide to establish the selected product's current coverage per carton.
How does the flooring allowance formula work?
The percentage formula works when the percentage represents the same cut and rejected-material components that appear in the project record.
Installation allowance area = non-reusable cut area + rejected-material area
Installation allowance % = installation allowance area ÷ net area × 100
Planning area = net area + installation allowance area
Installation boxes = ceiling(planning area ÷ coverage per box)
Package surplus = installation boxes × box coverage − planning area
Total boxes = installation boxes + separately approved reserve boxes
Keep full precision through the box division and round once to the seller's confirmed increment. Adding a cut-area component and then applying a percentage that already includes those cuts counts the same material twice.
Worked example: cuts, rejected material and 1 reserve box
A compatible floor has 240 ft² of accepted net area. The cut study records 12 ft² of non-reusable cuts, the inspection plan records 4 ft² for rejected material, and the selected product covers 21.75 ft² per box.
- Installation allowance area: 12 + 4 = 16 ft².
- Equivalent allowance: 16 ÷ 240 × 100 = 6.6666667%.
- Planning area: 240 + 16 = 256 ft².
- Exact installation-box ratio: 256 ÷ 21.75 = 11.7701149 boxes.
- Installation quantity: round up to 12 boxes.
- Purchased installation coverage: 12 × 21.75 = 261 ft².
- Package-rounding surplus: 261 − 256 = 5 ft².
- If the owner approves 1 sealed reserve box, order 13 boxes covering 282.75 ft².
The reserve box contains 21.75 ft². It stays on its own line. The 5 ft² package surplus remains the arithmetic effect of rounding the installation quantity to full boxes.
Why does a balanced row layout change the cut record?
A balanced layout can replace one narrow edge row with 2 wider edge rows. The floor area remains unchanged, while the starting cuts and reusable pieces change.
Example: a hypothetical clear floor width is 122 in and the nominal plank-face width is 7 in. The clear width in this example already excludes the applicable expansion spaces.
- Row count: ceiling(122 ÷ 7) = 18 rows.
- Starting with a full row leaves 122 − 17 × 7 = 3 in at the far edge.
- Using 16 full middle rows leaves 10 in for the 2 edges.
- A balanced plan uses (122 − 16 × 7) ÷ 2 = 5 in at each edge.
Mannington's current ADURA Rigid instructions tell installers to balance the plank layout to avoid narrow wall rows and pieces shorter than the product rules allow. The 5 in fixture explains the arithmetic only. Verify actual face width, expansion space, starting method and product instructions before approving a cut plan.
How does a 45° layout change the quantity check?
A 45° layout changes row lengths and creates angled edge cuts. Net floor area cannot show where those cuts fall or whether a triangular offcut can serve another edge.
A 12 ft × 12 ft square has 144 ft² of area. Its corner-to-corner traverse is 12 × √2 = 16.9705627 ft. The longer angled run does not create more floor area; it changes the cut geometry and row schedule.
The 2025 NWFA guidelines use main, perpendicular and diagonal working lines for 45° and patterned layouts. Dry-lay or digitally set out the selected product, record the edge cuts, then choose the allowance from that plan.
What changes for herringbone and chevron?
Herringbone and chevron need pattern-control lines, directional pieces where applicable and a balanced dry layout. A single area percentage cannot check those constraints.
NWFA notes that herringbone products can use mirror-image left and right pieces. FirmFit's retrieved herringbone manual states that each box contains equal numbers of L and R planks and directs installers to pair them.
A usable R piece cannot replace a required L piece when the profiles differ. Record both counts when the selected product uses directional forms. Confirm borders, starter pieces, center lines and perimeter cuts from that product's current instructions.
When can an offcut return to the layout?
Reuse an offcut only after its size, profile, condition and new location satisfy the selected product's layout rules. A rectangular area value cannot perform this check.
| Check | Accept only when | Record if rejected |
|---|---|---|
| Length and width | The piece covers the next location after all required gaps and cuts | Too short, too narrow or wrong shape |
| Edge profile | The required tongue, groove, click or finished edge remains usable | Required profile removed or damaged |
| Joint position | End-joint spacing and stagger meet the selected instructions | Joint would fall inside a prohibited zone |
| Pattern direction | Face, grain, print, bevel and L/R form match the position | Wrong orientation or directional form |
| Condition | The piece passes the inspection criteria | Chip, crack, damaged lock, contamination or visible defect |
| Traceability | The offcut remains tied to the product and area where it can be used | Mixed or unidentified material |
Mannington's ADURA Rigid guide says the remainder from one row may often start a later row. The same guide also requires a minimum end-seam offset. “May” leaves the reuse decision with the actual cut and its next position.
How should damaged or rejected pieces be counted?
Use the selected product's inspection process and the project's receiving record. Count or measure the rejected material separately from planned cuts.
Inspect cartons and pieces before installation as the manufacturer directs. Record the product code, box or lot identifier, condition, rejected quantity, photographs where appropriate and the supplier's written resolution. Do not assume every damaged piece becomes a project loss when replacement, credit or another approved use remains possible.
A fixed defect percentage needs product or project evidence. Manufacturer examples can show that damaged material is possible; they cannot supply the rate for an unseen shipment.
How should spare stock be planned?
Set the repair reserve as a box or piece count with an owner, storage location and approval. Keep it outside the installation allowance.
Mannington's consumer installation guide says its product-dependent order factor may cover damaged material and recommends keeping extra material for possible future repairs. The statement supports the reserve decision, while the project still has to choose the quantity.
- Match the exact product, color, format and current package.
- Decide whether the reserve is a sealed box, full pieces or approved usable offcuts.
- Record who owns it and where it will be stored.
- Follow the product's storage and environmental instructions.
- Confirm whether unopened returns are allowed before treating surplus as returnable.
- Label retained material without hiding required product or lot information.
Later availability or a matching appearance cannot be guaranteed. Record the current source and seller response instead of predicting future stock.
When can several rooms share one allowance?
Combine unrounded planning areas when the rooms use the same product, package, installation direction, layout basis and allowance decision. Keep separate schedules when any of those records changes.
One compatible cut pool can allow a valid offcut from one room to serve another. The cut ledger should identify the source piece and destination. Rounding each compatible room to whole boxes before combining can add a package that the shared supply does not require.
Run separate quantities for borders, stairs, herringbone fields, straight fields, different colors, different production records and areas where the supplier or installer uses another selling unit.
What should you do with a manufacturer allowance range?
Confirm that the source covers the exact product, pattern, market and revision. Then test the low and high values against the approved layout instead of selecting one endpoint without a reason.
For the named FirmFit herringbone manual's 15–20% range, record the room shape, installation area, L/R package structure and cutting plan. Another herringbone product may use different profiles, modules or instructions.
A manufacturer range can set a planning boundary. The final order record should name the selected value, the condition that supports it and the person who approved it.
Which flooring allowance mistakes change an order?
- Copying a generic percentage without the selected product or layout source.
- Adding cut area, then applying a percentage that includes the same cuts.
- Hiding rejected material and repair stock inside one “waste” field.
- Calling whole-box surplus known cutting waste.
- Assuming every offcut can start another row.
- Ignoring tongue, groove, click profile, minimum end length or directional L/R form.
- Using a straight-run allowance for a diagonal, border, herringbone or chevron field.
- Applying one allowance across different products or layout directions.
- Rounding compatible rooms to boxes before combining their unrounded planning areas.
- Adding a spare box after the entered percentage already contains repair stock.
- Assuming unopened surplus can be returned without written seller terms.
What should the supplier and installer handoff contain?
- Project, room and drawing revision.
- Net area and measurement record.
- Manufacturer, product code, color, format and package coverage.
- Layout direction, start line, pattern, border and transition record.
- Non-reusable cut area and reason.
- Rejected-material allowance and inspection basis.
- Selected installation percentage and approver.
- Exact box ratio, installation boxes and package surplus.
- Separate reserve boxes or pieces, owner and storage location.
- Seller increment, stock, delivery, damaged-material and return terms.
How do you enter the approved allowance in the calculator?
Open the Flooring Calculator after the net area, allowance and package record are approved. Enter the installation allowance once, then enter the accepted coverage per box.
The calculator returns the planning area, exact box ratio, whole installation boxes and package surplus. Add separately approved reserve boxes to the procurement schedule after saving the calculator result.
Return to the Flooring Quantity Planning hub for the cluster workflow. The calculation methodology explains units and rounding, and the corrections route accepts a documented source or arithmetic issue.
Safety and installation limits
Layout and quantity planning do not approve a substrate, expansion detail, cutting method or installation system. Use the selected manufacturer's current instructions, project specification and applicable workplace controls.
Flooring work can involve heavy cartons, sharp edges, saws, dust, adhesives and existing materials that need controlled handling. Plan cutting and dust controls before work, use the required protective equipment, and obtain qualified advice when existing flooring or adhesive may contain hazardous material.
This page does not predict installer skill, shipment damage, product defects, future repairs, matching stock, return eligibility or the final amount left after installation.
Sources and source scope
- NWFA Installation Guidelines, revised 2025: wood-floor working lines, 45° and herringbone layout, balanced dry checks, directional pieces and package context.
- Mannington ADURA Rigid Installation Guidelines, rev. 03.25.2026: one product system's balanced rows, seam offset, possible offcut reuse, inspection and repair method.
- FirmFit Installation Manual Herringbone: one herringbone system's 15–20% planning range and equal L/R package quantities.
- Mannington, What To Expect From Your Floor Installation: product-dependent order-factor context and a general recommendation to retain extra material for later repair.
- NIST Handbook 44 (2026), Appendix C: inch, foot and area relationships plus last-step rounding context.
Source scope: NWFA supports wood-floor layout concepts. Each manufacturer source applies only to its stated product or general manufacturer context. NIST supports unit relationships. These sources do not select this project's allowance, approve offcut reuse, guarantee future stock or establish seller return terms.
Review note: Saleem Sial owns the research and editorial record. Arithmetic fixtures, source checks, build validation and rendered QA are completed before publication. Waseem Sial is listed as External Reviewer and Engineer for ongoing external review; no completed review date is claimed.