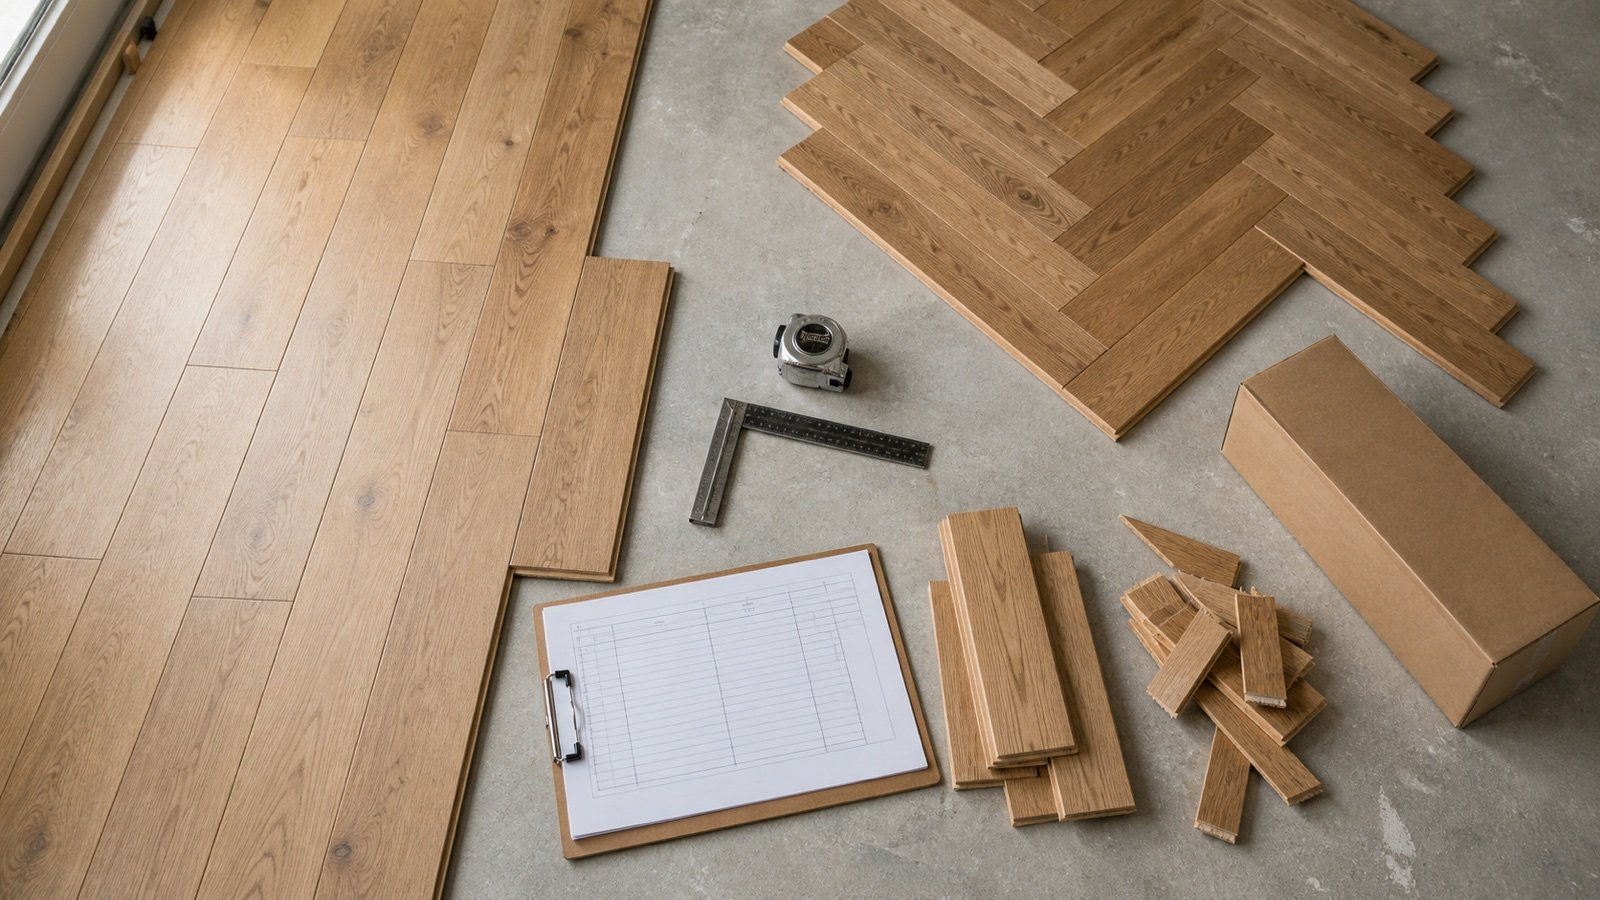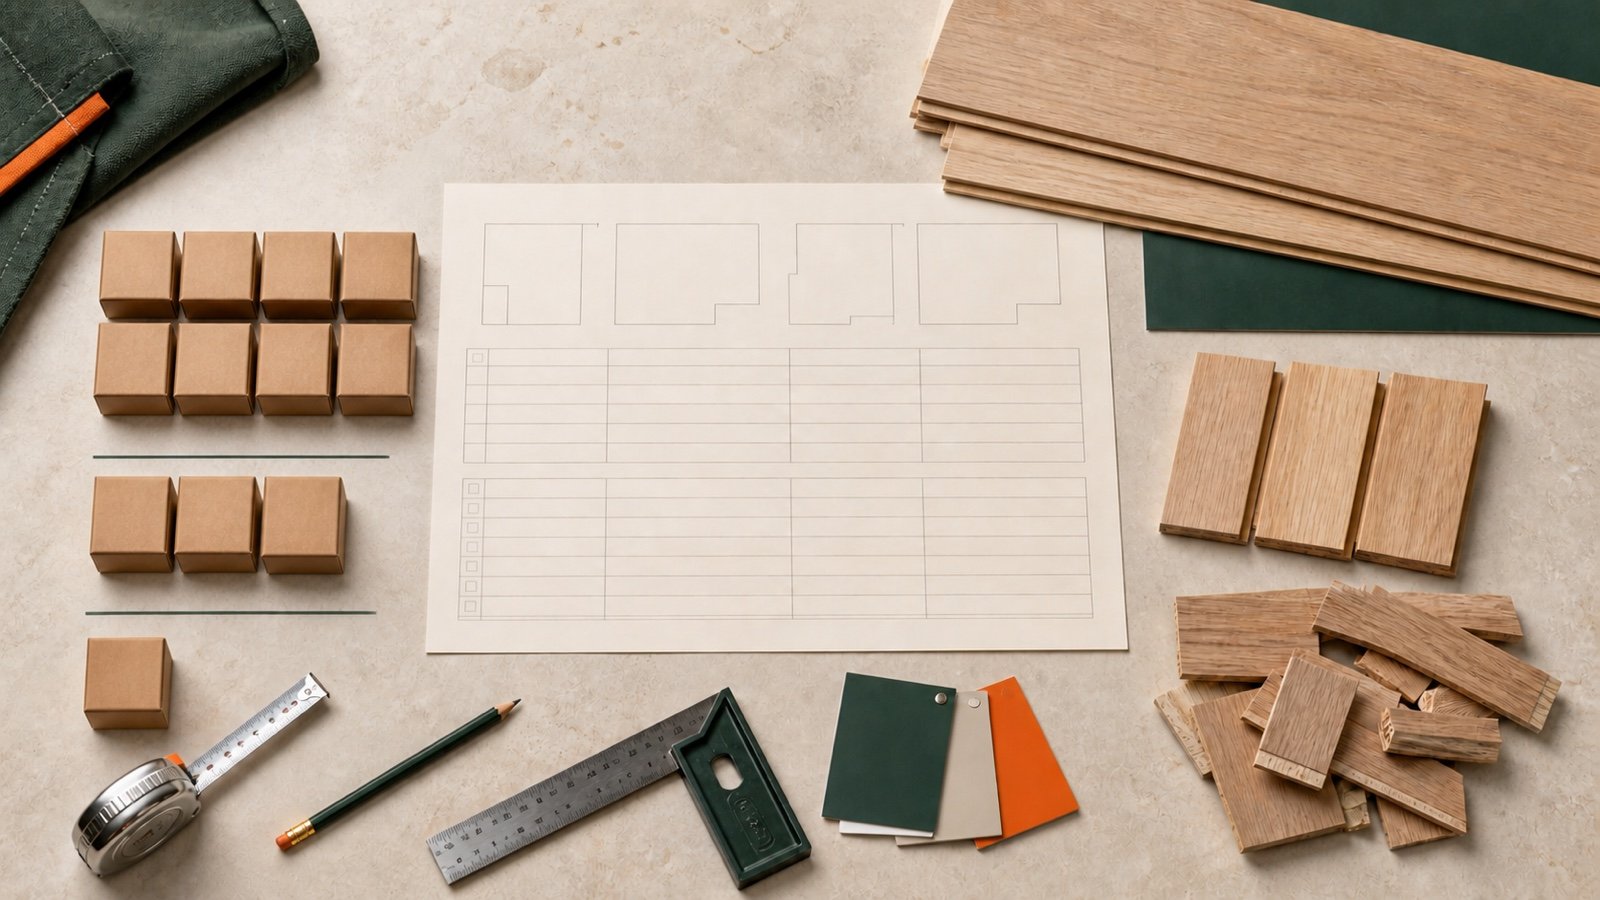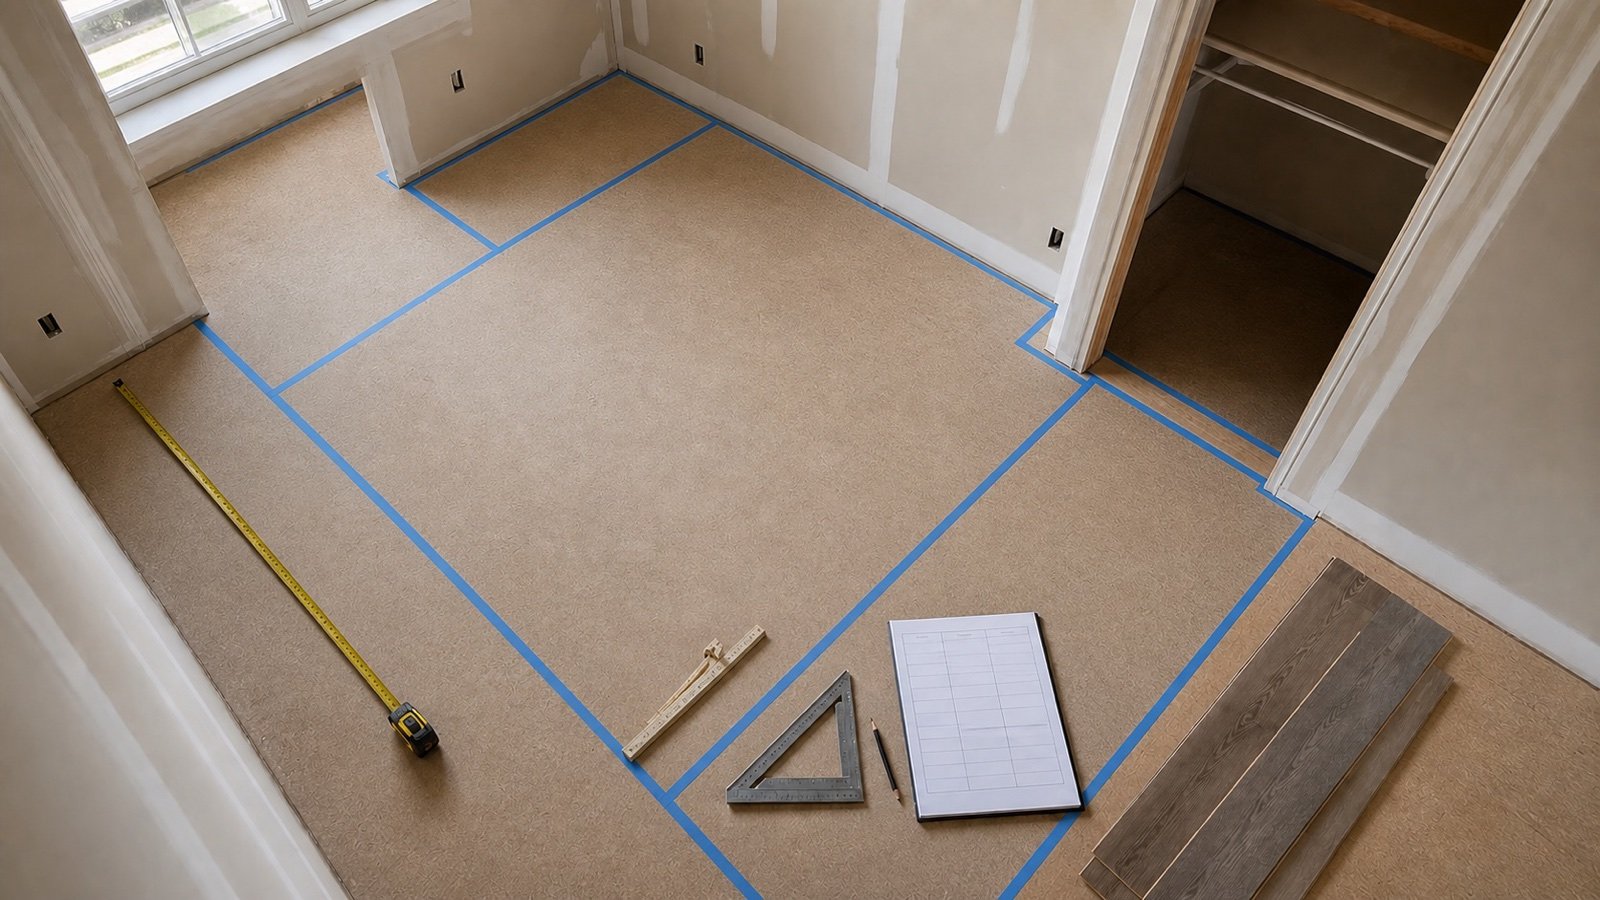
A flooring measurement needs more than one room total. The sketch must show where the selected finish starts and stops, which rectangles were added, and whether a closet, alcove or doorway has already been counted.
Build the measurement ledger before choosing an allowance or rounding to boxes. That separation lets another person check the floor area without guessing which part of the number came from cuts or packaging.
How do you measure flooring area for boxes?
Sketch the finish boundary, measure each wall at floor level, divide irregular spaces into non-overlapping rectangles, and calculate each rectangle as length × width. Add only the sections that will receive the same flooring.
Keep the final net area unrounded. Send that number to the Flooring Calculator, then enter the documented allowance and current coverage per box as separate inputs.
The room ledger proves the floor area. An allowance changes the planning area, and whole-box rounding changes the purchase quantity. Keeping all 3 stages separate makes the order traceable.
What should the room sketch show?
The sketch should identify every boundary that can change the area or the product total. It does not need to be drawn to scale, but its labels and dimensions must let another person reconstruct the arithmetic.
| Record | What to write | Check |
|---|---|---|
| Section ID | Room and rectangle label, such as Bedroom A or Closet A1 | Every area line maps to one visible sketch section |
| Finish boundary | Walls, transitions, thresholds and approved fixed-object limits | The selected product starts and stops at the stated line |
| Dimensions | Length and width with units | Both values belong to the same rectangle |
| Area | Unrounded length × width result | Units are ft² or m², not linear feet or metres |
| Product group | Selected product or provisional compatible-area group | Unlike products do not share one total |
| Boundary note | Included closet, excluded fixed zone or separate connector strip | No section is missing or counted twice |
Photograph or redraw unusual corners when a short return wall is easy to forget. Keep the dated sketch with the final calculator record.
Where should you place the tape measure?
Measure the wall length at floor level along the actual floor boundary. Tarkett's room-measurement sheet specifies holding the tape at the bottom of the wall so the recorded length represents the floor.
Use one unit system throughout a section. Record feet and inches exactly in imperial work, or metres and centimetres in metric work. Measure again when furniture, trim, a bowed tape or an angled line prevents a clean reading.
- Use a tape long enough to span the section without adding several short readings.
- Keep the tape straight, level with the floor and under consistent tension.
- Write the value before moving to the next wall.
- Measure unusual rooms around the full boundary, not only the 2 longest walls.
- Mark openings, closets, alcoves, columns and transition lines on the sketch.
How do you divide an L-shaped or irregular room?
Divide a shape into rectangles that meet at edges but do not overlap. Calculate each rectangle separately and add the areas.
Section area = section length × section width
Gross included area = section A + section B + section C + …
Tarkett uses this rectangular-section method for an L-shaped room. The section lines can run in more than one valid direction, but every valid breakdown should close to the same total when the boundary and measurements are correct.
Do not draw a large bounding rectangle and also add a smaller rectangle that already lies inside it. Use either an additive method with separate non-overlapping sections or a bounding rectangle minus a clearly measured notch.
How do you convert feet and inches before multiplying?
Convert the inches in each dimension to a fraction of a foot, then multiply the unrounded decimal-foot values. Do not round each dimension to a whole foot.
Decimal feet = feet + inches ÷ 12
Square feet = decimal length in feet × decimal width in feet
NIST lists 1 ft² as exactly 144 in². A small section measured entirely in inches can therefore be calculated in square inches and divided by 144.
| Recorded length | Decimal feet | Use in area formula |
|---|---|---|
| 12 ft 8 in | 12 + 8 ÷ 12 = 12.6666667 ft | Keep full value |
| 10 ft 9 in | 10 + 9 ÷ 12 = 10.75 ft | Keep full value |
| 3 ft 4 in | 3 + 4 ÷ 12 = 3.3333333 ft | Keep full value |
Worked imperial room-ledger example
One flooring product will cover a bedroom, an alcove and a closet. The sketch gives each non-overlapping rectangle its own row.
| Section | Dimensions | Area |
|---|---|---|
| Main bedroom | 12 ft 8 in × 10 ft 9 in | 12.6666667 × 10.75 = 136.1666667 ft² |
| Alcove | 3 ft 4 in × 2 ft 6 in | 3.3333333 × 2.5 = 8.3333333 ft² |
| Closet | 5 ft 2 in × 2 ft 7 in | 5.1666667 × 2.5833333 = 13.3472222 ft² |
| Net measured area | 157.8472222 ft² | |
Display the result as 157.85 ft² when a short presentation value is needed, but retain 157.8472222 ft² in the handoff. Rounding the main dimensions first to 13 ft × 11 ft would make that section 143 ft², which is 6.8333333 ft² above its measured area.
Worked metric room-ledger example
A metric project has a main room, alcove, closet and a narrow connector strip beyond the other 3 rectangles. All 4 zones receive one product.
- Main room: 4.8 × 3.7 = 17.76 m².
- Alcove: 1.15 × 0.85 = 0.9775 m².
- Closet: 1.6 × 0.75 = 1.2 m².
- Connector strip: 0.9 × 0.12 = 0.108 m².
- Net measured area: 17.76 + 0.9775 + 1.2 + 0.108 = 20.0455 m².
The connector strip is a separate line because the fixture defines it outside the room, alcove and closet rectangles. If the main rectangle already covered that strip, adding 0.108 m² again would double-count it.
Use metres before multiplying. A dimension recorded as 85 cm becomes 0.85 m. If an area was calculated in square centimetres, divide by 10,000 to obtain square metres.
Should closets, doorways and fixed objects be included?
Include a zone when the selected flooring will cover it and it is not already inside another measured rectangle. Exclude a fixed footprint only when the approved project boundary and selected product method confirm that flooring stops there.
| Condition | Ledger treatment | Evidence to keep |
|---|---|---|
| Closet receives the same product | Add its non-overlapping floor area | Closet ID and dimensions |
| Doorway strip lies beyond both room rectangles | Add it once | Transition line and strip dimensions |
| Doorway is already inside a room rectangle | Do not add it again | Sketch showing the shared boundary |
| Cabinet or island footprint | Follow the selected system and approved finish boundary | Manufacturer instruction and project detail |
| Different flooring begins at a threshold | Stop the product group at the accepted line | Room finish and transition schedule |
Mannington's ADURA Rigid guide says not to install that named floating product under cabinets or kitchen islands. That instruction supports one product-specific boundary; it does not authorize the same deduction for every glue-down, nail-down, tile or other flooring system.
How do you check for overlaps and missing strips?
Trace the perimeter of every ledger section on the sketch. Shared edges may touch, but shaded section interiors should not overlap.
- Give every section one ID and one area row.
- Mark each doorway or transition on one side of the product boundary.
- Compare the summed sections with a separate bounding-box-minus-notch calculation where the geometry allows it.
- Check that closets, bay-window areas and short hall returns appear on both the sketch and ledger.
- Confirm that a deducted fixed footprint lies inside the gross included area.
- Keep additions and deductions in separate columns.
If 2 independent breakdowns do not close to the same area, do not average them. Find the missing, duplicated or mismatched dimension.
What if opposite walls have different measurements?
Record both dimensions and treat the room as irregular. Choosing only the longer width can overstate the area, while choosing only the shorter width can miss floor.
Two different widths do not prove the exact area by themselves. The boundary may taper, bow or step. Segment the shape with enough measurements, use a checked plan or obtain a professional measure when the order depends on that difference.
Equal diagonals can help check whether a four-corner layout is rectangular, but they do not replace wall measurements or prove that a curved wall is straight.
How much can a 1-inch measurement error change the area?
The area change depends on the perpendicular dimension. A 1 in width error across a 12 ft 8 in length changes the calculated area by 1.0555556 ft².
Area change = perpendicular length × measurement change
12.6666667 ft × (1 ÷ 12 ft) = 1.0555556 ft²
A 1 in error on a small closet has less effect than the same error across a long open room. This is why measurement sensitivity belongs in the ledger review instead of being hidden by early rounding.
How should several rooms be grouped?
Keep one area row per room or section, then total only zones that use the same compatible product and package record. Product changes, color changes, layout changes or separate purchasing decisions need separate groups.
Suppose the imperial bedroom ledger is 157.8472222 ft², a compatible hall is 42.5 ft² and an office is 110.25 ft². Their unrounded measured total is 310.5972222 ft².
Send 310.5972222 ft² to one calculator record when all 3 zones share one product and order. Do not convert each room to boxes and add the rounded box counts, because package rounding belongs after compatible areas are combined.
When does an area ledger need another takeoff method?
Use another method when area alone does not describe the selling unit or layout. NWFA distinguishes area-based wood-floor packaging from random-length bundles, equal-lineal-foot patterns and accessories ordered by lineal foot.
| Work | Separate takeoff |
|---|---|
| Factory-finished boxes with stated coverage | Measured floor area followed by box coverage |
| Random-length or nested wood bundles | Current bundle record and applicable NWFA or supplier method |
| Repetitive mixed-width pattern | Pattern-width and equal-lineal-foot schedule |
| Base, transitions, feature strips and borders | Lineal length and selling increment |
| Carpet or sheet flooring | Roll width, seam plan and cutting optimization |
| Stairs | Treads, risers, nosings, landings and returns by component |
How do you hand the area to the box calculation?
Enter the compatible unrounded net area as the known-area input in the Flooring Calculator. Then select metric or imperial units, enter the documented allowance, and copy current coverage per box from the selected product.
The calculator keeps net area, allowance area, planning area, whole boxes and box surplus separate. That output can be checked against the original section ledger without treating every difference as measurement error.
Use piece-dimension mode only for a rectangular fixed-size product when current box coverage is unavailable. Obtain the box label or manufacturer record before turning an early piece estimate into an order.
Which flooring measurement mistakes change the total?
- Rounding feet and inches before calculating each section.
- Using one long rectangle that crosses empty space in an L-shaped room.
- Adding a closet or doorway already contained in another rectangle.
- Leaving out a short connector strip at a transition.
- Deducting every cabinet or island without checking the selected installation system.
- Combining rooms that use different products or package records.
- Rounding every room to boxes before pooling compatible measured areas.
- Using floor area for trims, rolls, stairs or random-length bundles.
- Mixing feet with inches or metres with centimetres during multiplication.
- Discarding the sketch after copying one total into a calculator.
What should the final measurement handoff contain?
- Project, level, room and section IDs.
- Dated sketch with finish and transition boundaries.
- Every recorded dimension and unit.
- Section formulas, included areas and approved deductions.
- Unrounded net area for each product group.
- Notes for closets, doorways, alcoves, fixed objects and irregular walls.
- Selected product or provisional group identifier.
- Person who measured, person who checked and correction history.
Return to the Flooring Quantity Planning hub for the published flooring resources. Use How to Measure for Floor and Wall Tile when the selected finish is a separately measured tile system. The calculation methodology explains units and rounding, and the corrections route accepts source or arithmetic issues.
Safety and professional-measure limits
Measuring can involve stairs, floor openings, clutter, sharp exposed edges, damaged subfloors and old floor coverings. Do not disturb existing resilient flooring or adhesive merely to expose a measurement line. Mannington's cited guide warns that some existing flooring materials may contain asbestos fibers or crystalline silica and says to avoid creating dust.
This guide does not inspect the substrate, establish structural capacity, test moisture, approve removal, plan a roll seam, choose an installation layout or replace manufacturer instructions and a qualified professional measure.
Sources and source scope
- Tarkett North America, How to Measure Your Room: floor-level wall measurement, rectangular area and non-overlapping rectangular segmentation. Its percentage example is not used as a universal allowance.
- NWFA Installation Guidelines, 2025 edition: area-based wood-floor packaging, boxes and bundles, lineal-foot accessories and mixed-width exceptions.
- NIST Handbook 44 (2026), Appendix C: exact and published length and area-unit relationships.
- Mannington ADURA Rigid Installation Guidelines, rev. 03.25.2026: one product-specific fixed-object, door-jamb, layout and removal-safety example.
Source scope: Tarkett supports the measurement method, not one allowance for every floor. NWFA supports wood-floor selling-unit distinctions. NIST supports unit relationships. Mannington supports the visible product-specific boundary and safety example. These sources do not select a product, allowance, package, layout or installer for another project.
Review note: Saleem Sial owns the research and editorial record. Measurement fixtures, source checks, build validation and rendered QA are completed before publication. Waseem Sial is listed as External Reviewer and Engineer for ongoing external review; no completed review date is claimed.